Dresser
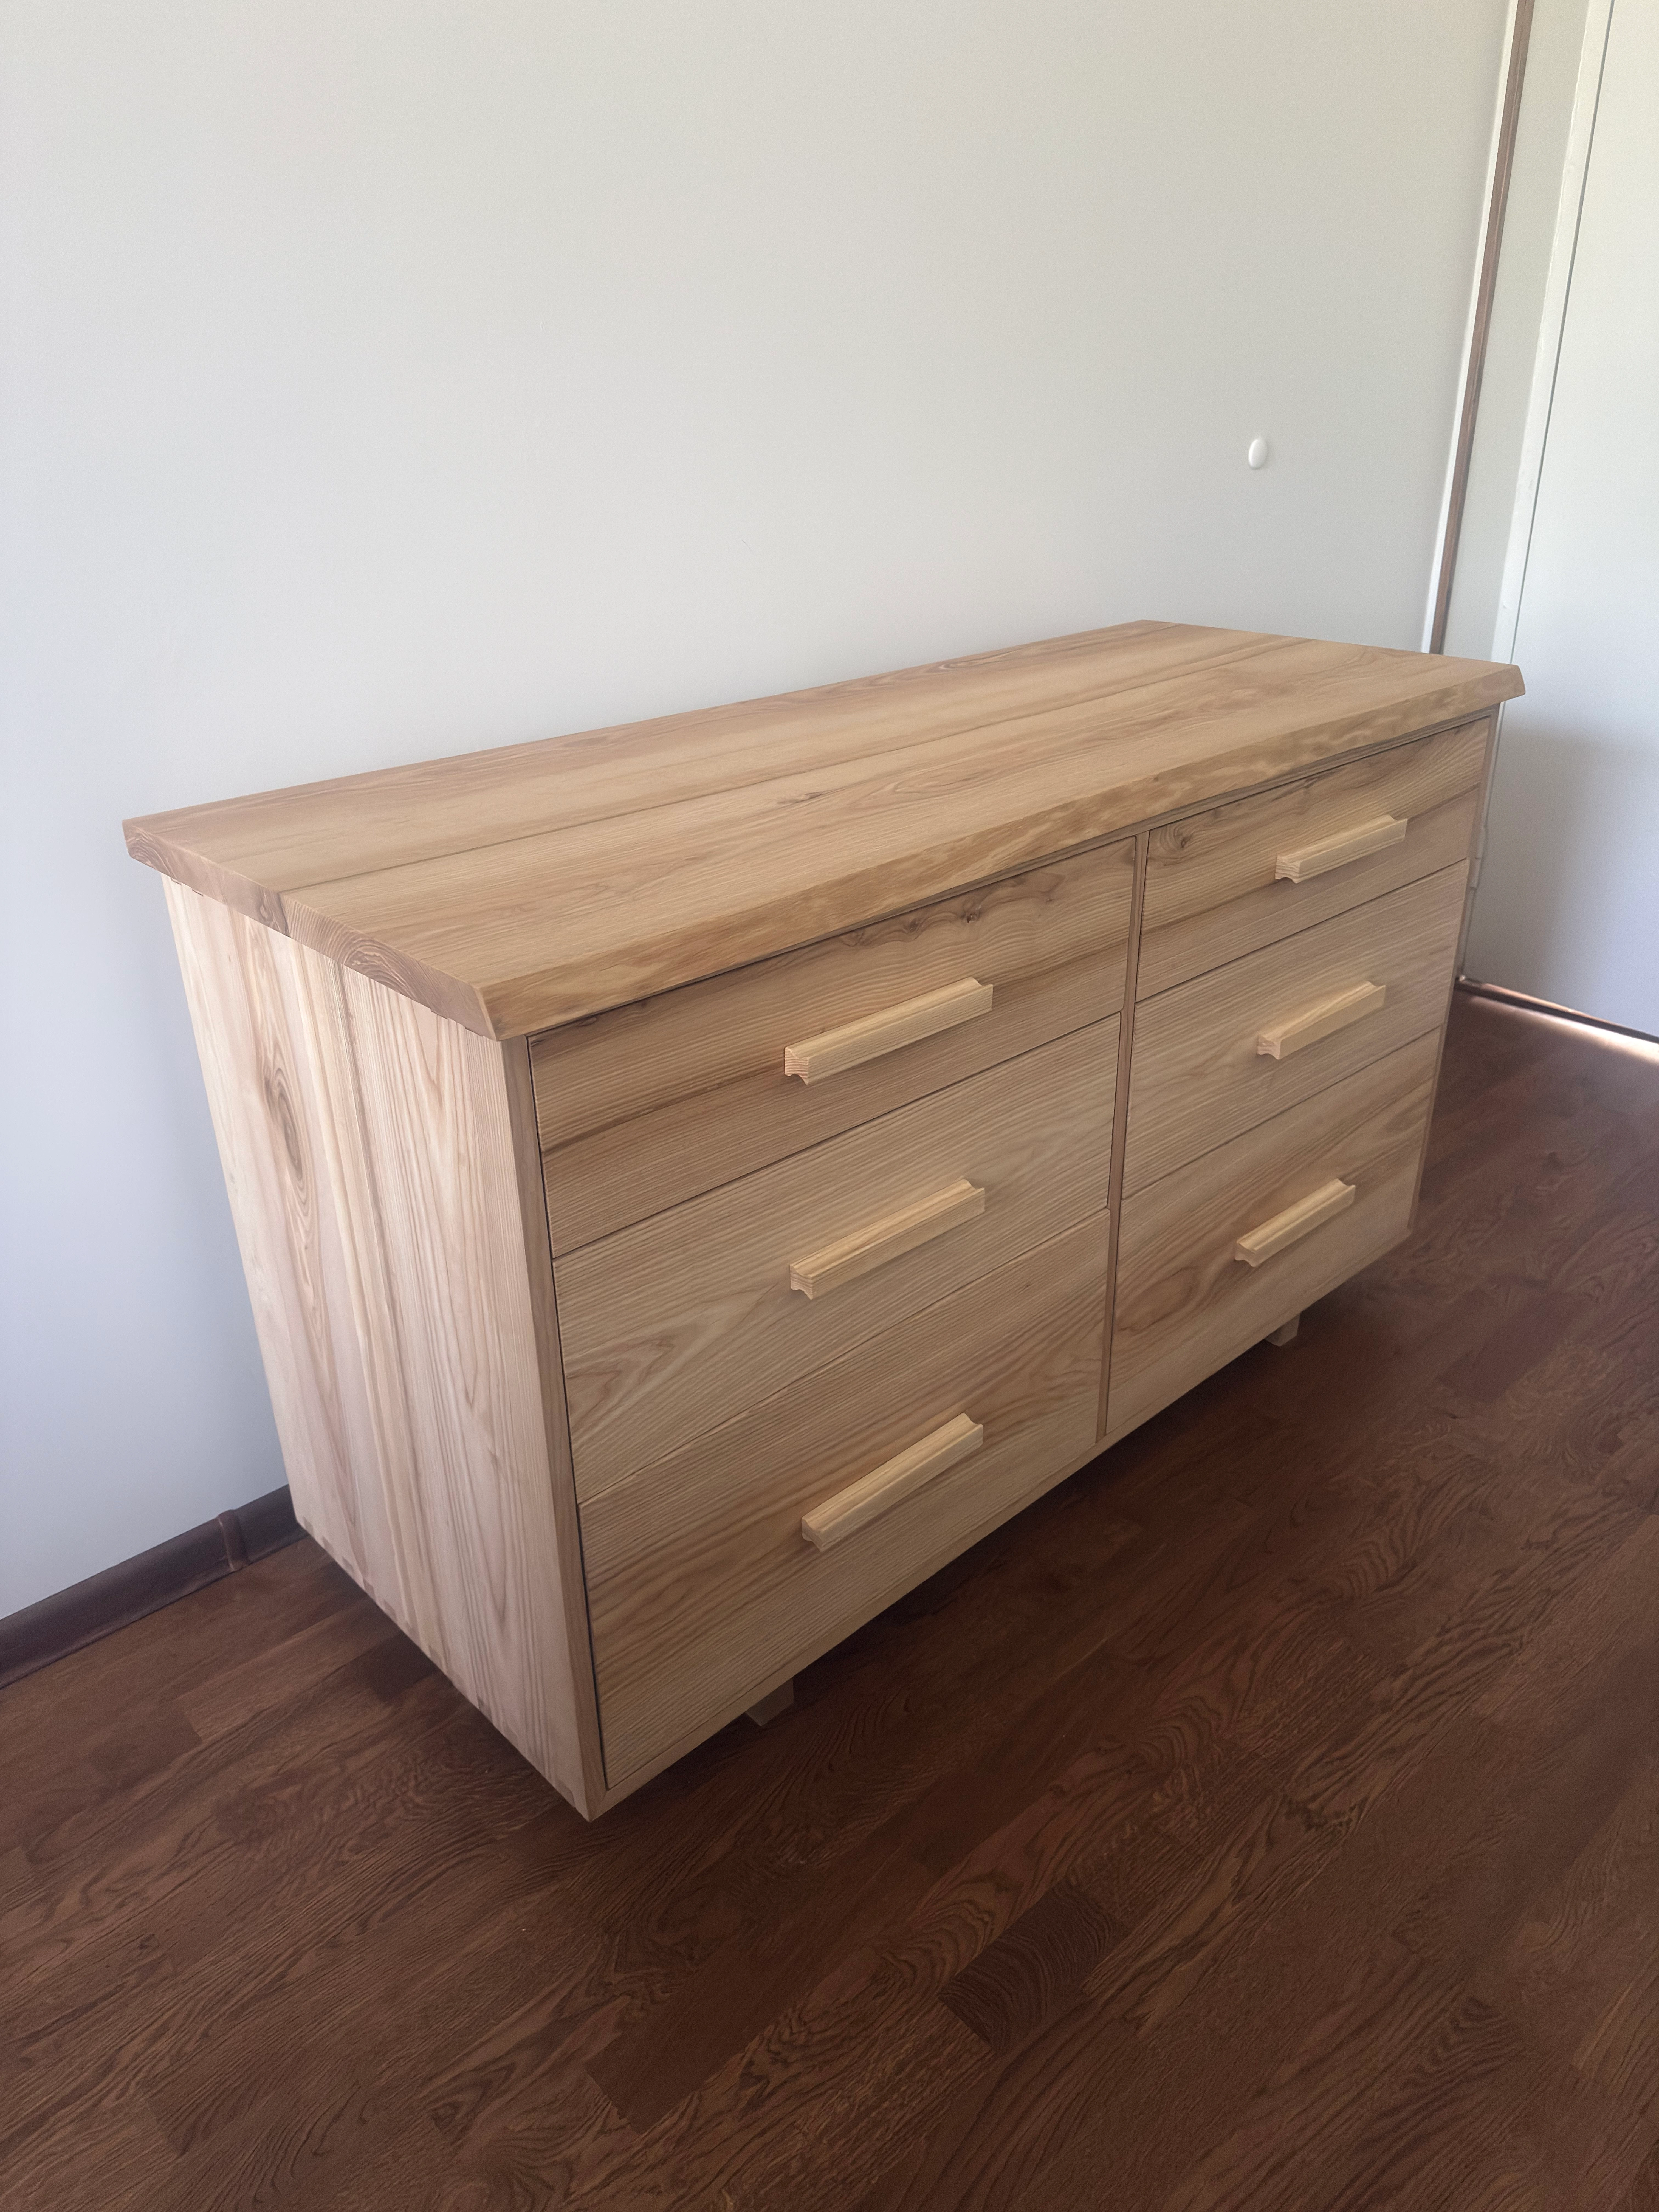
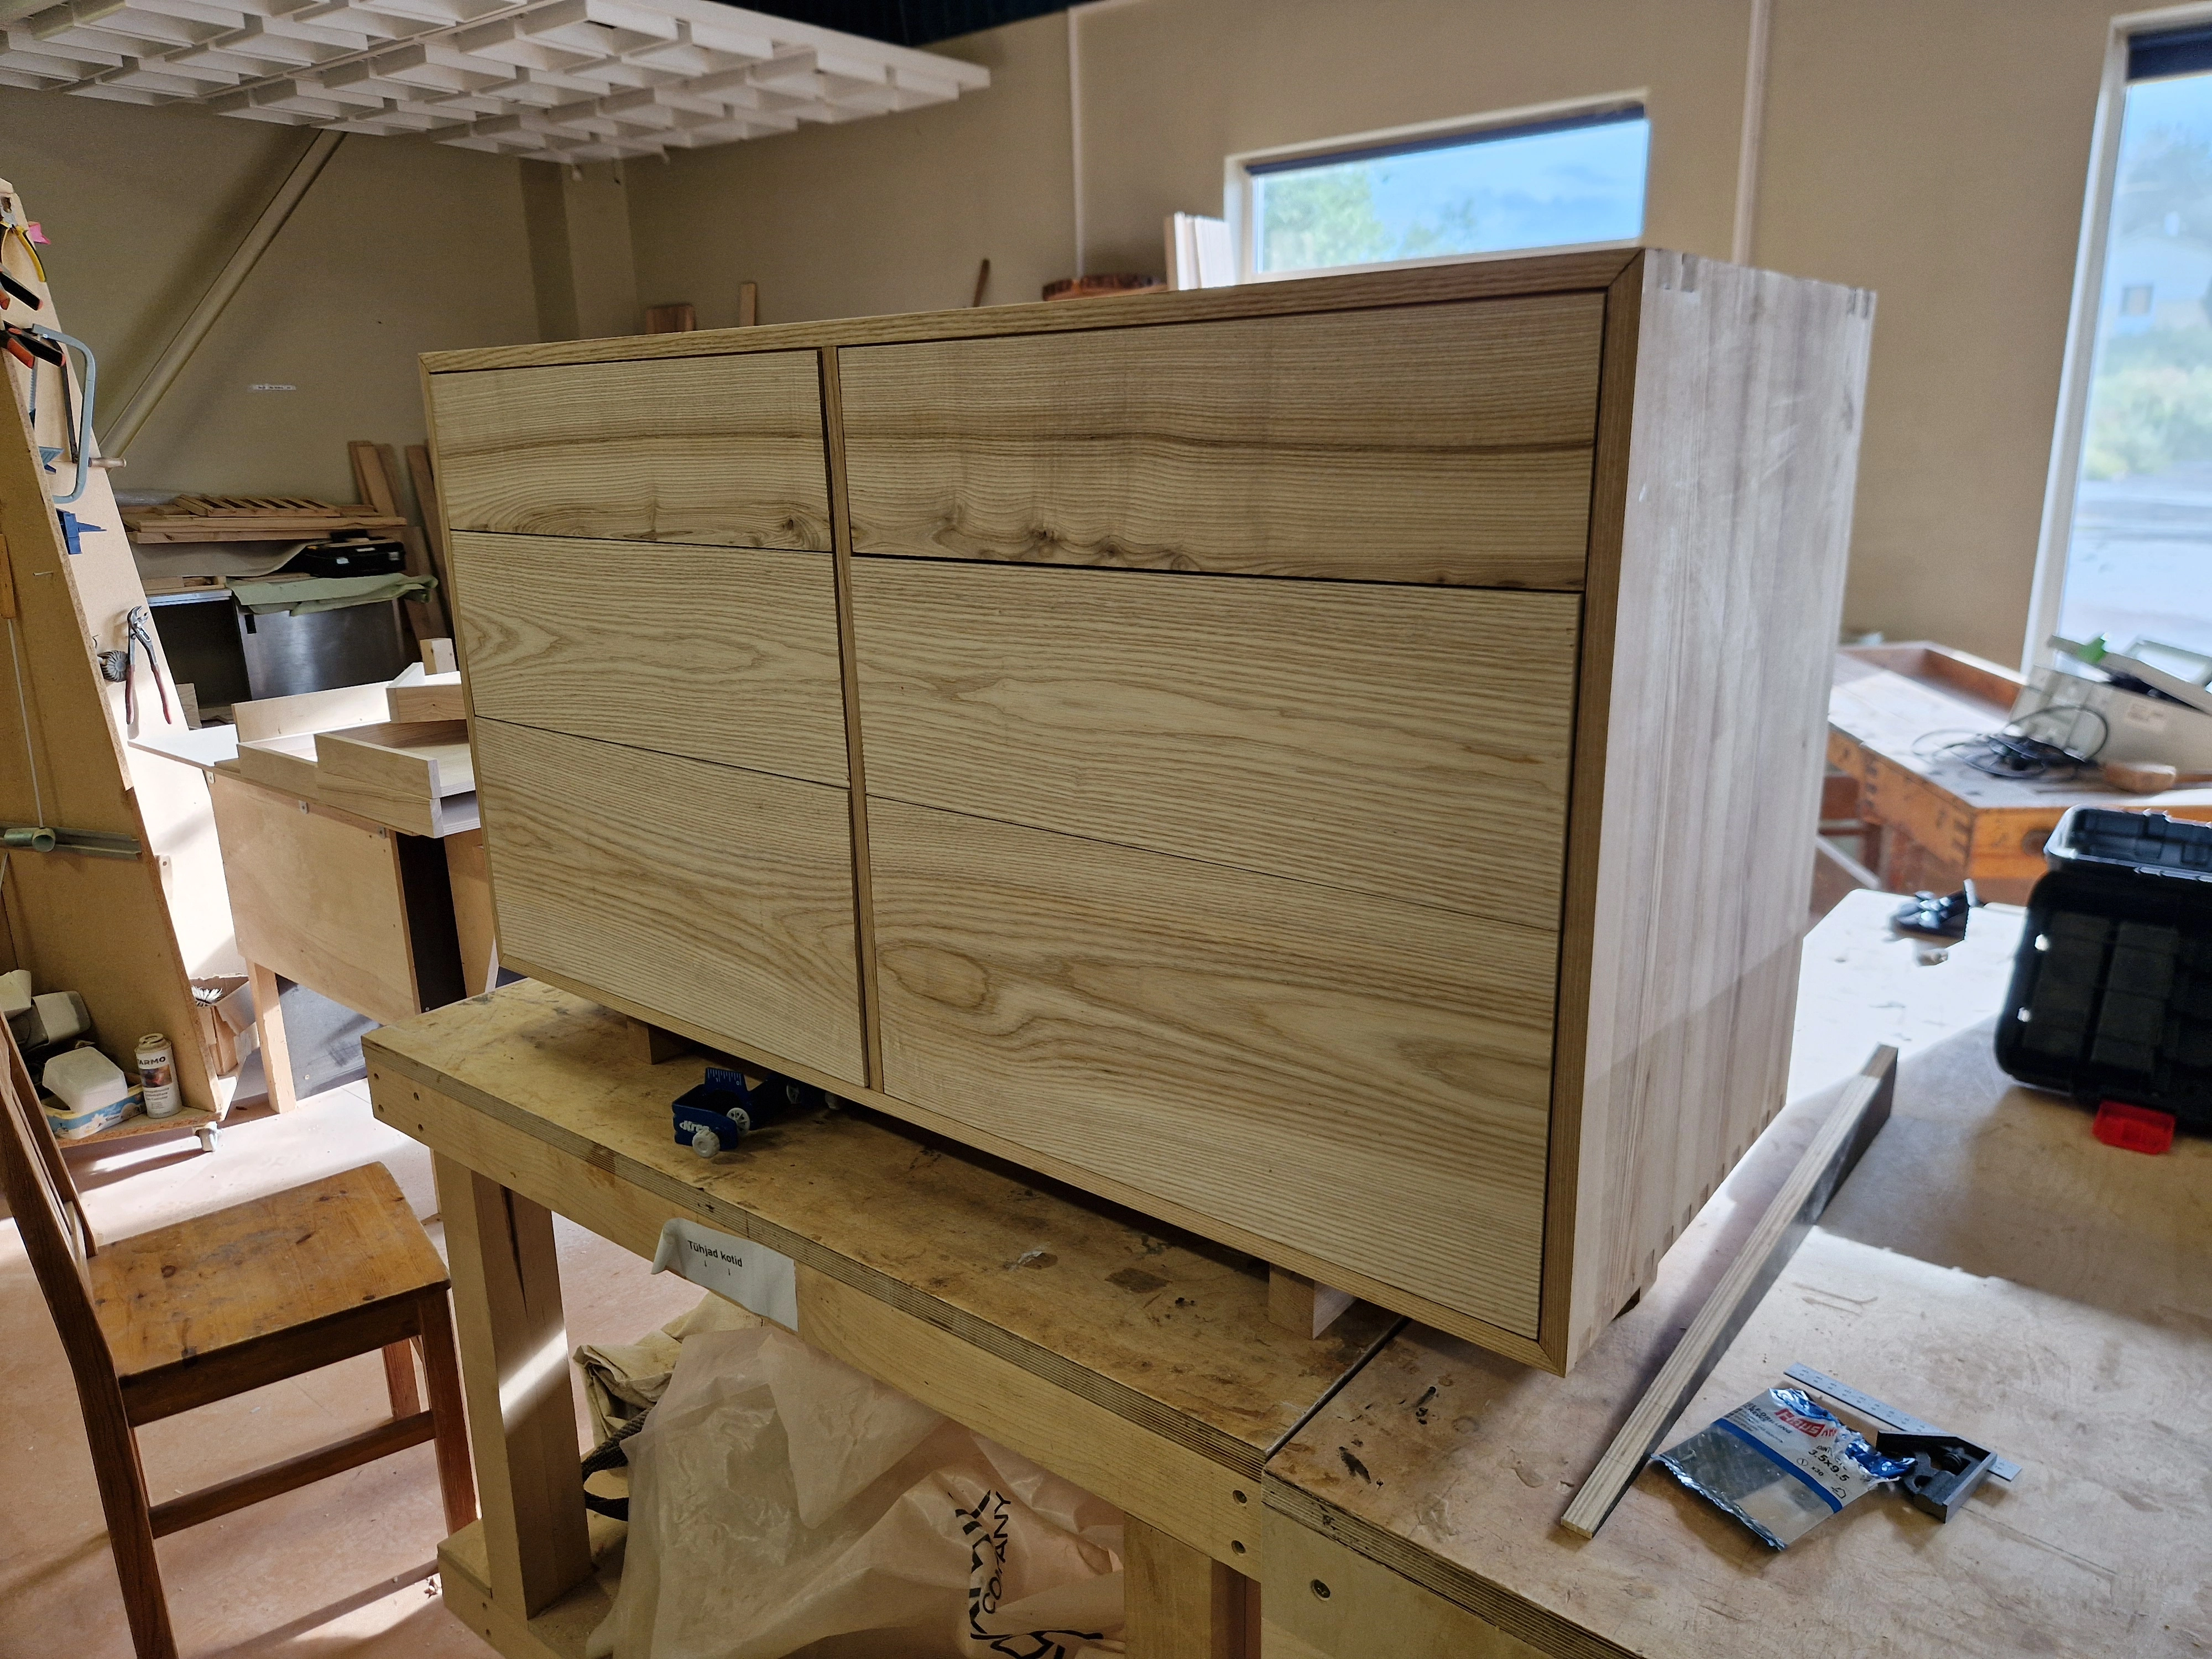
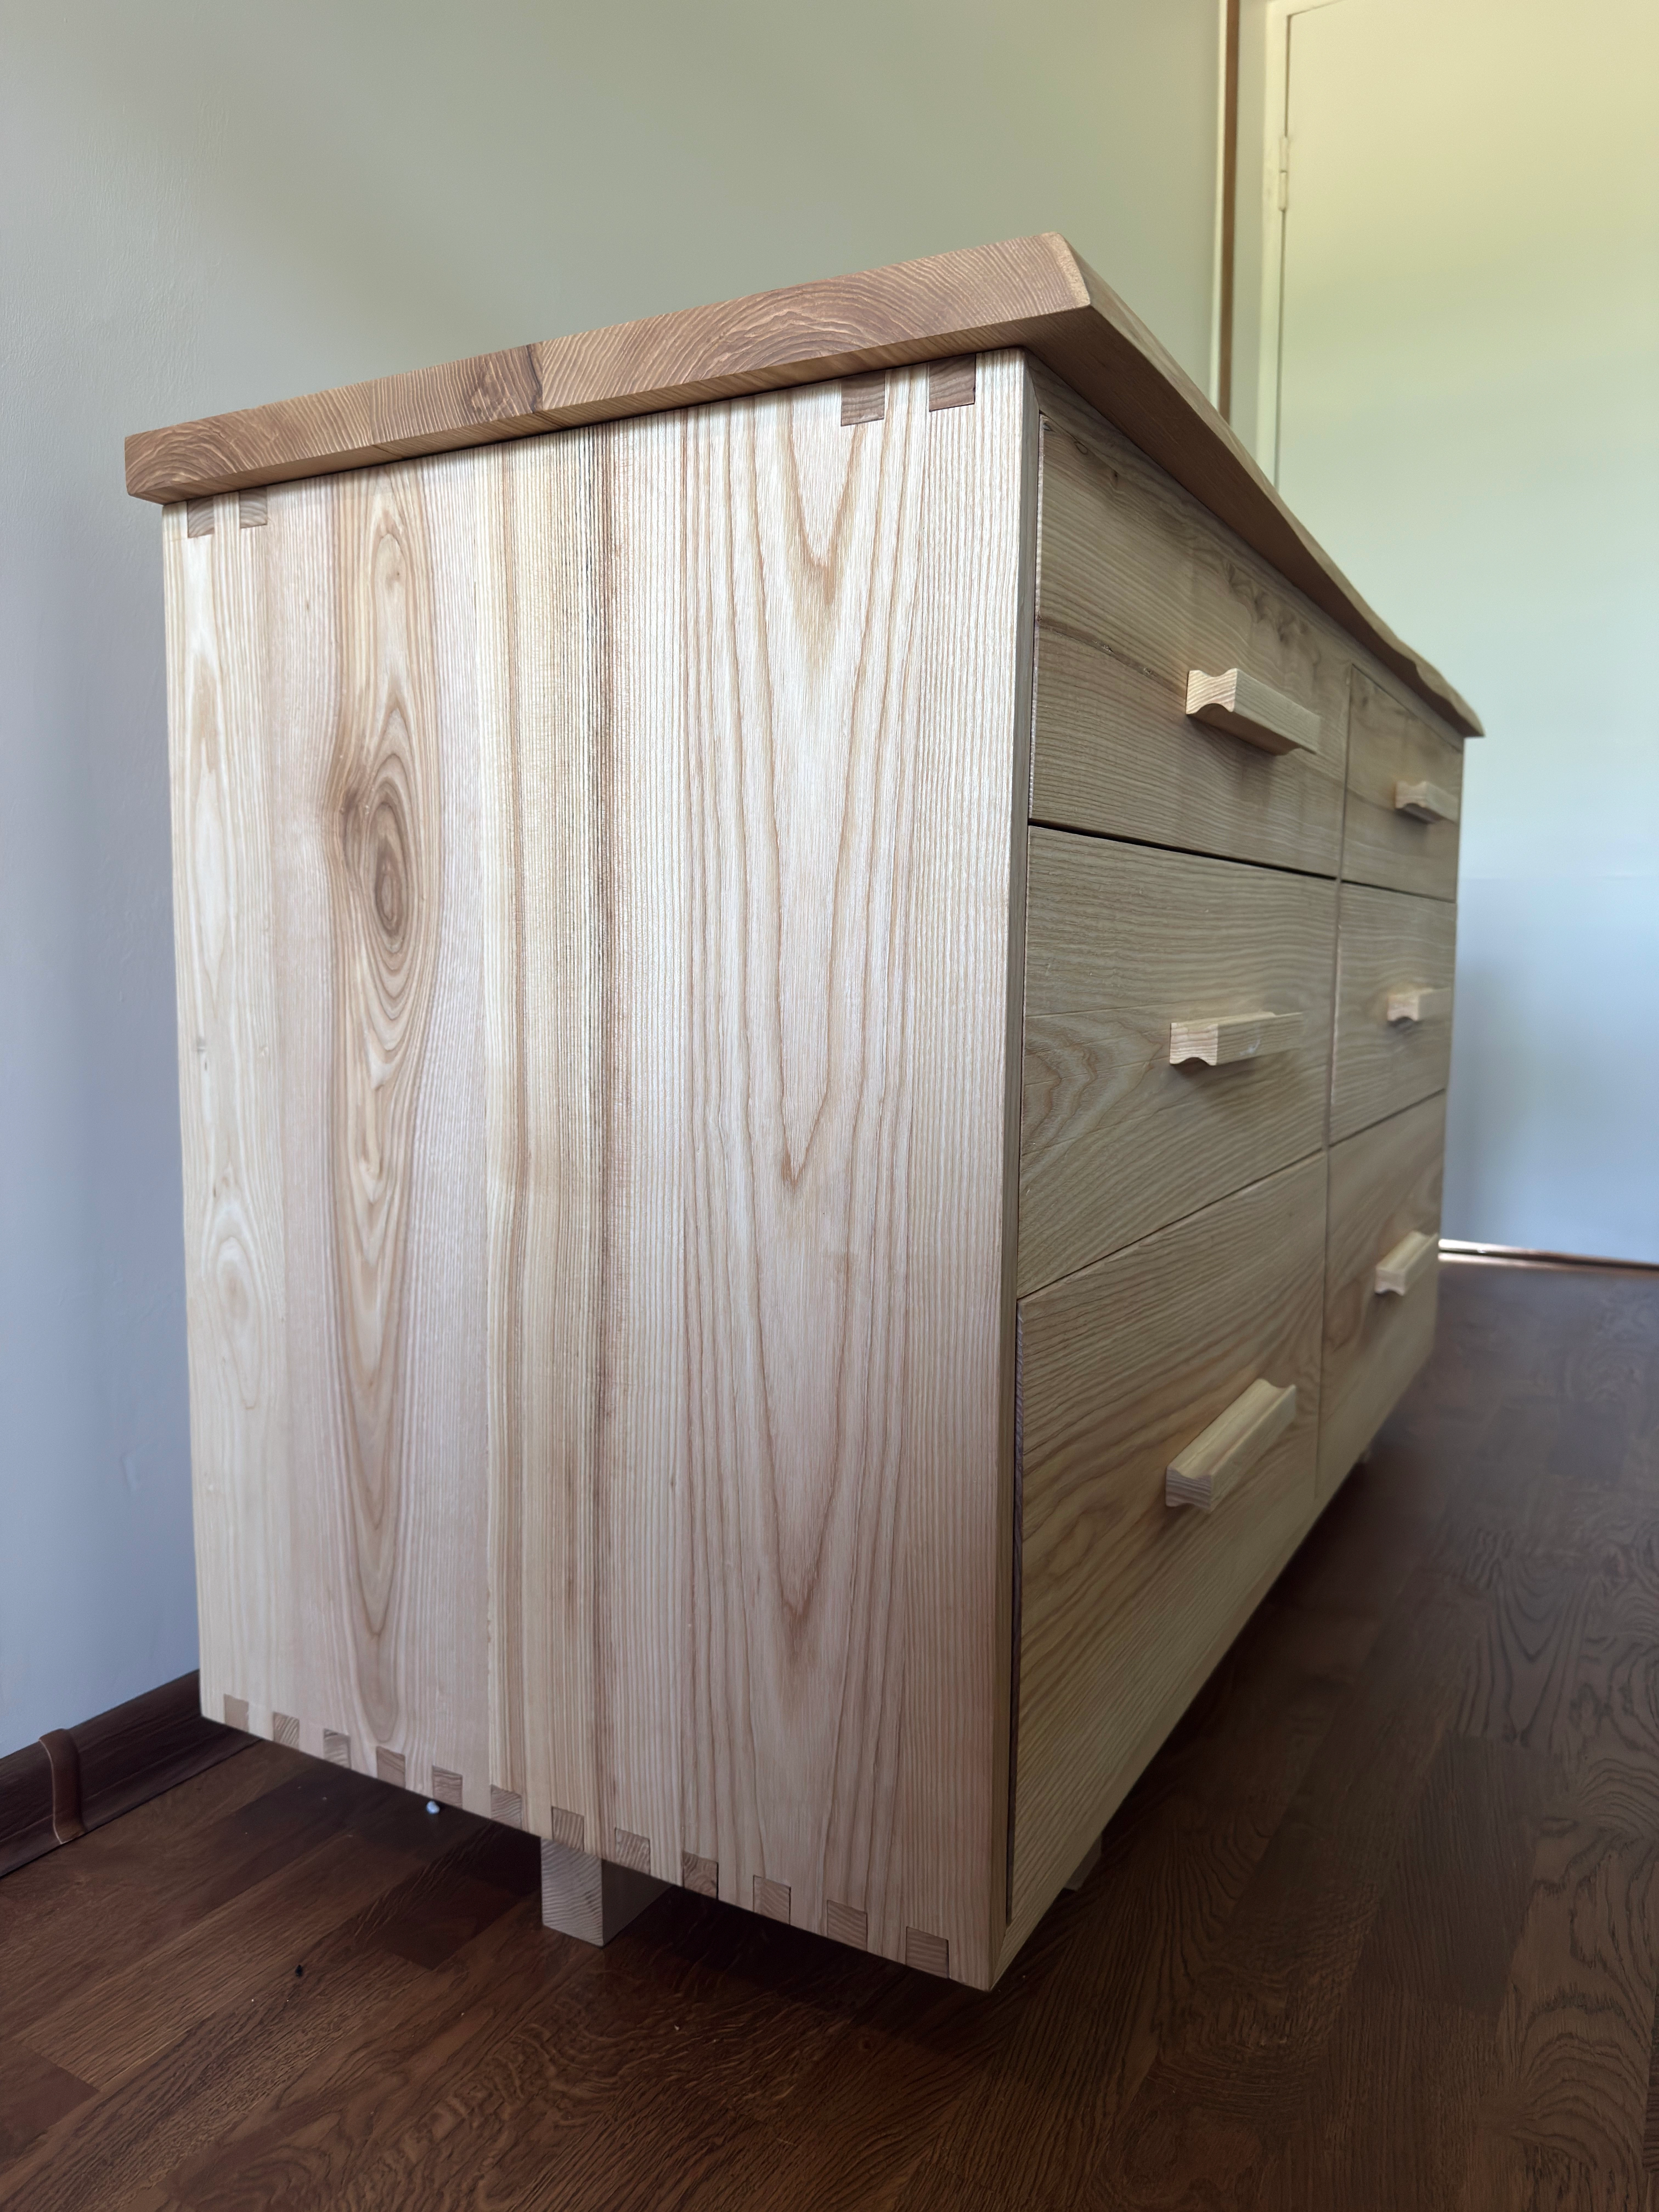
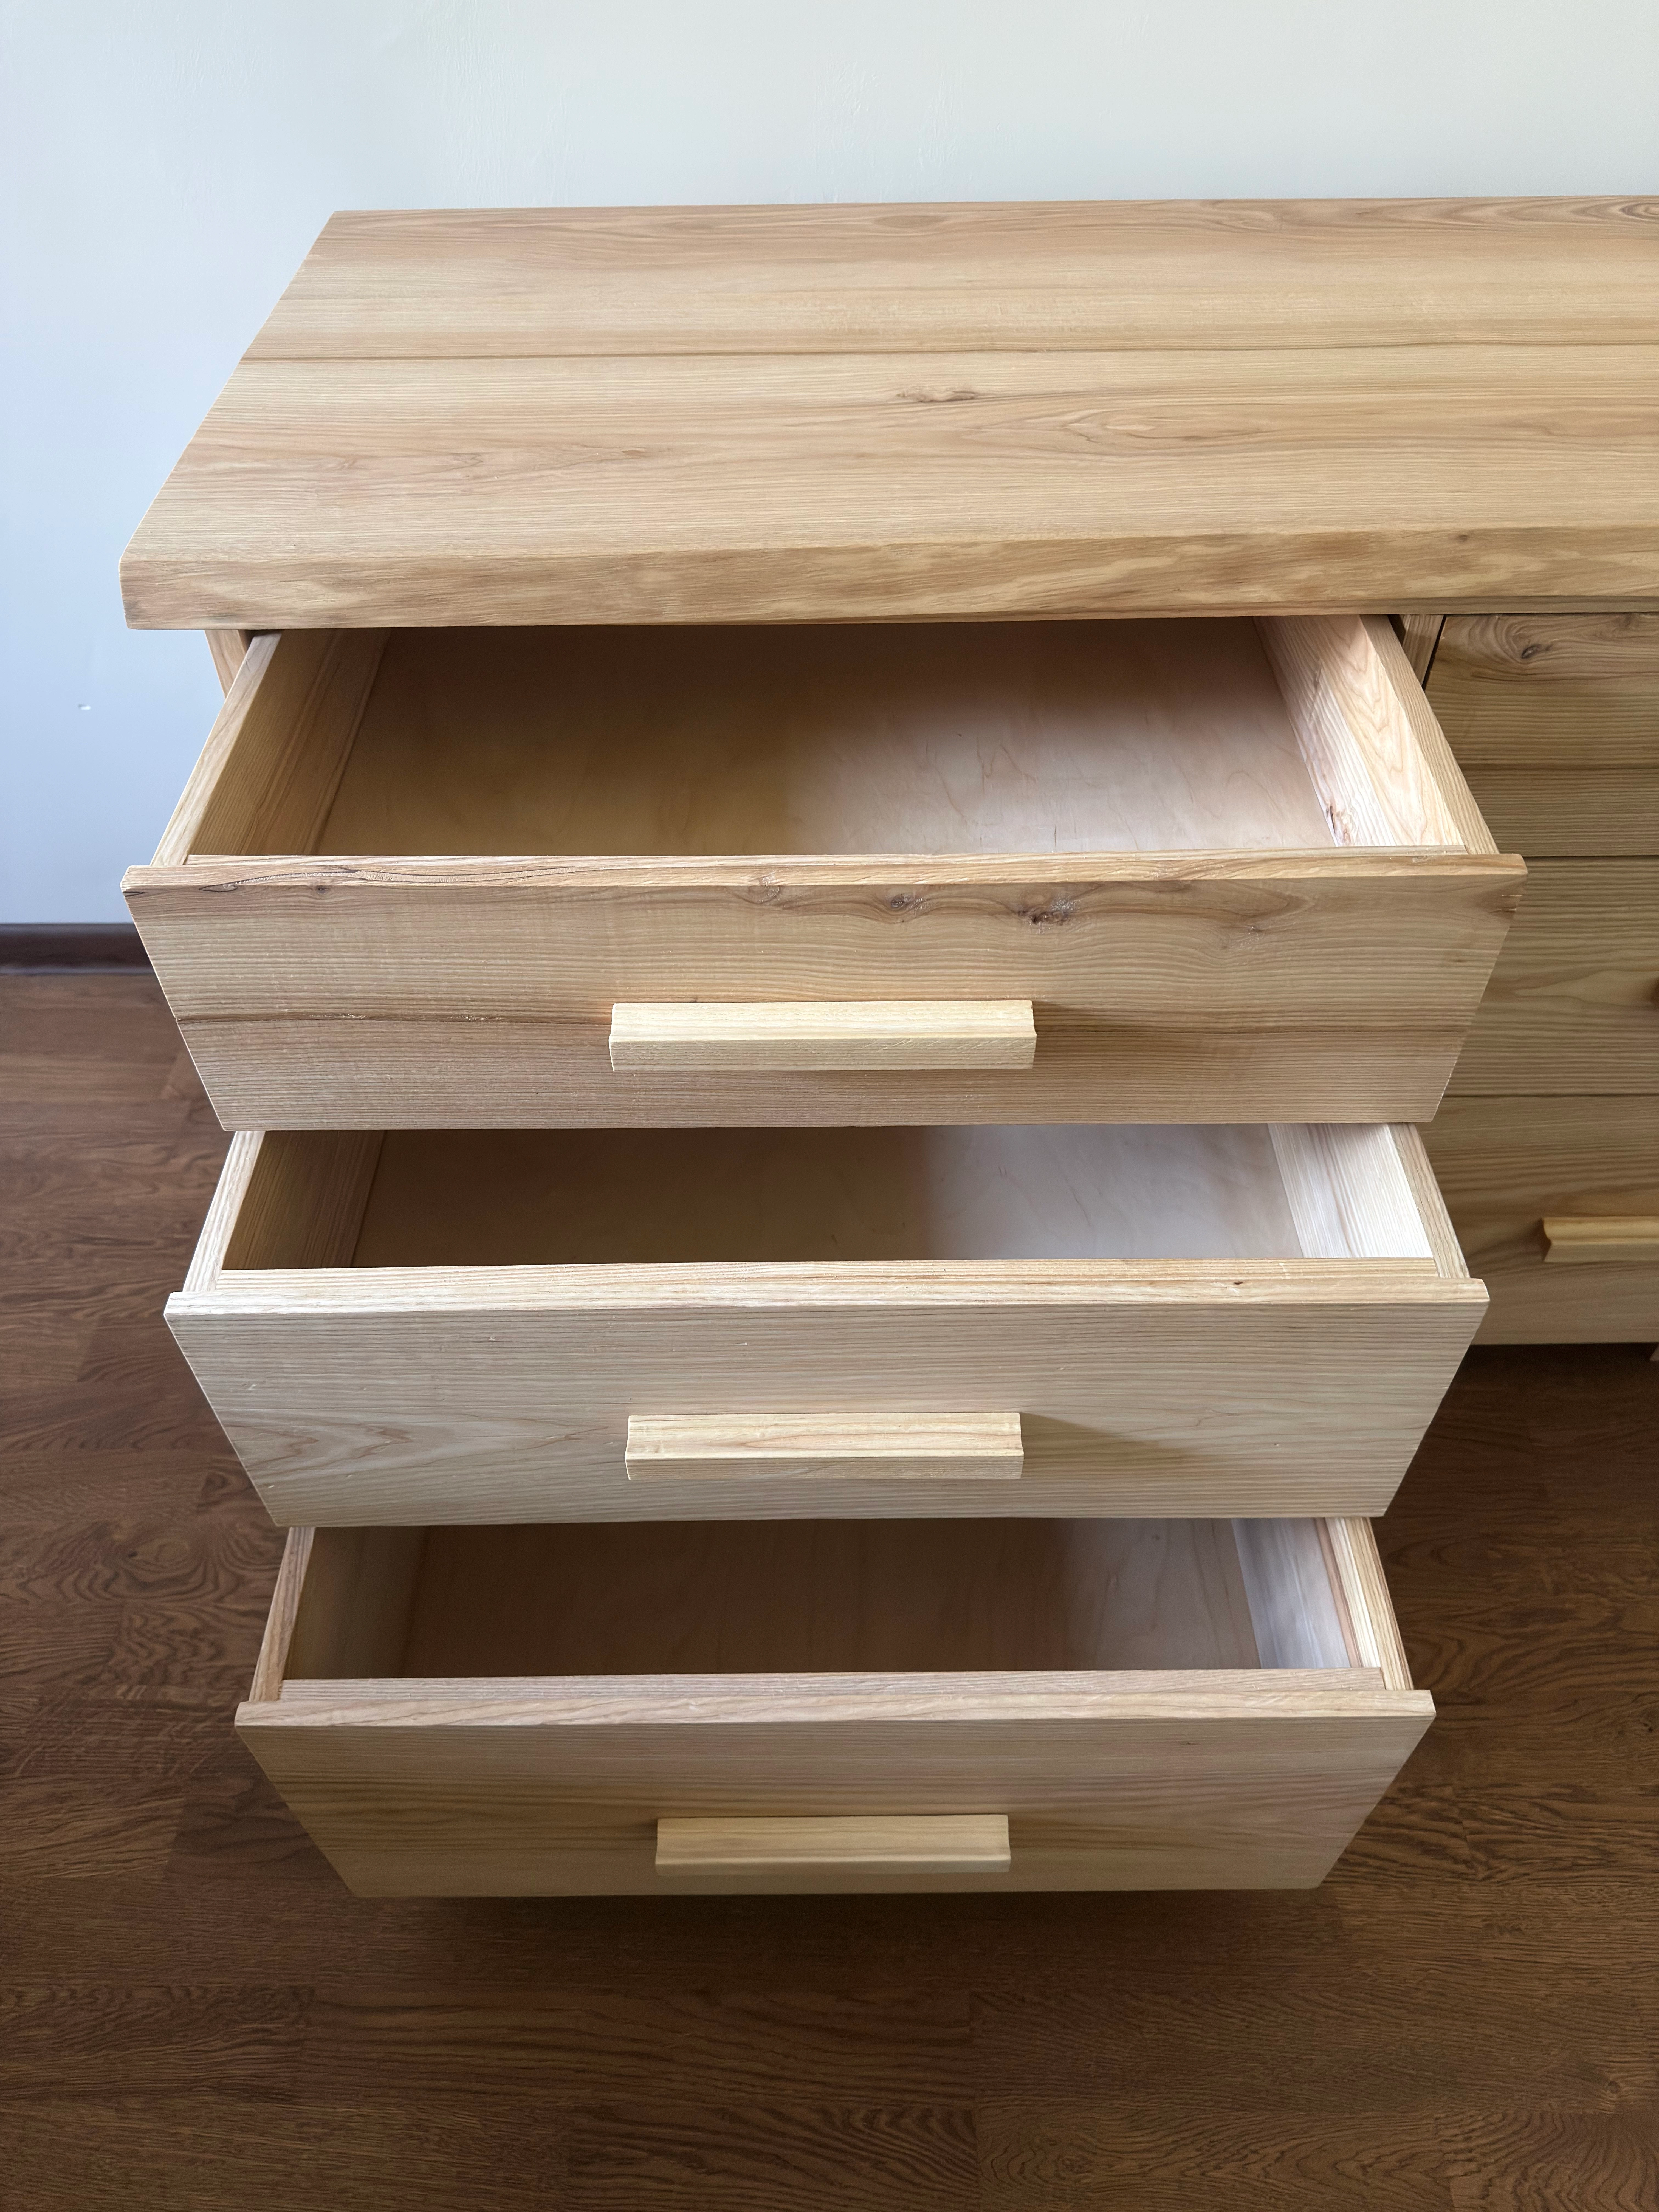
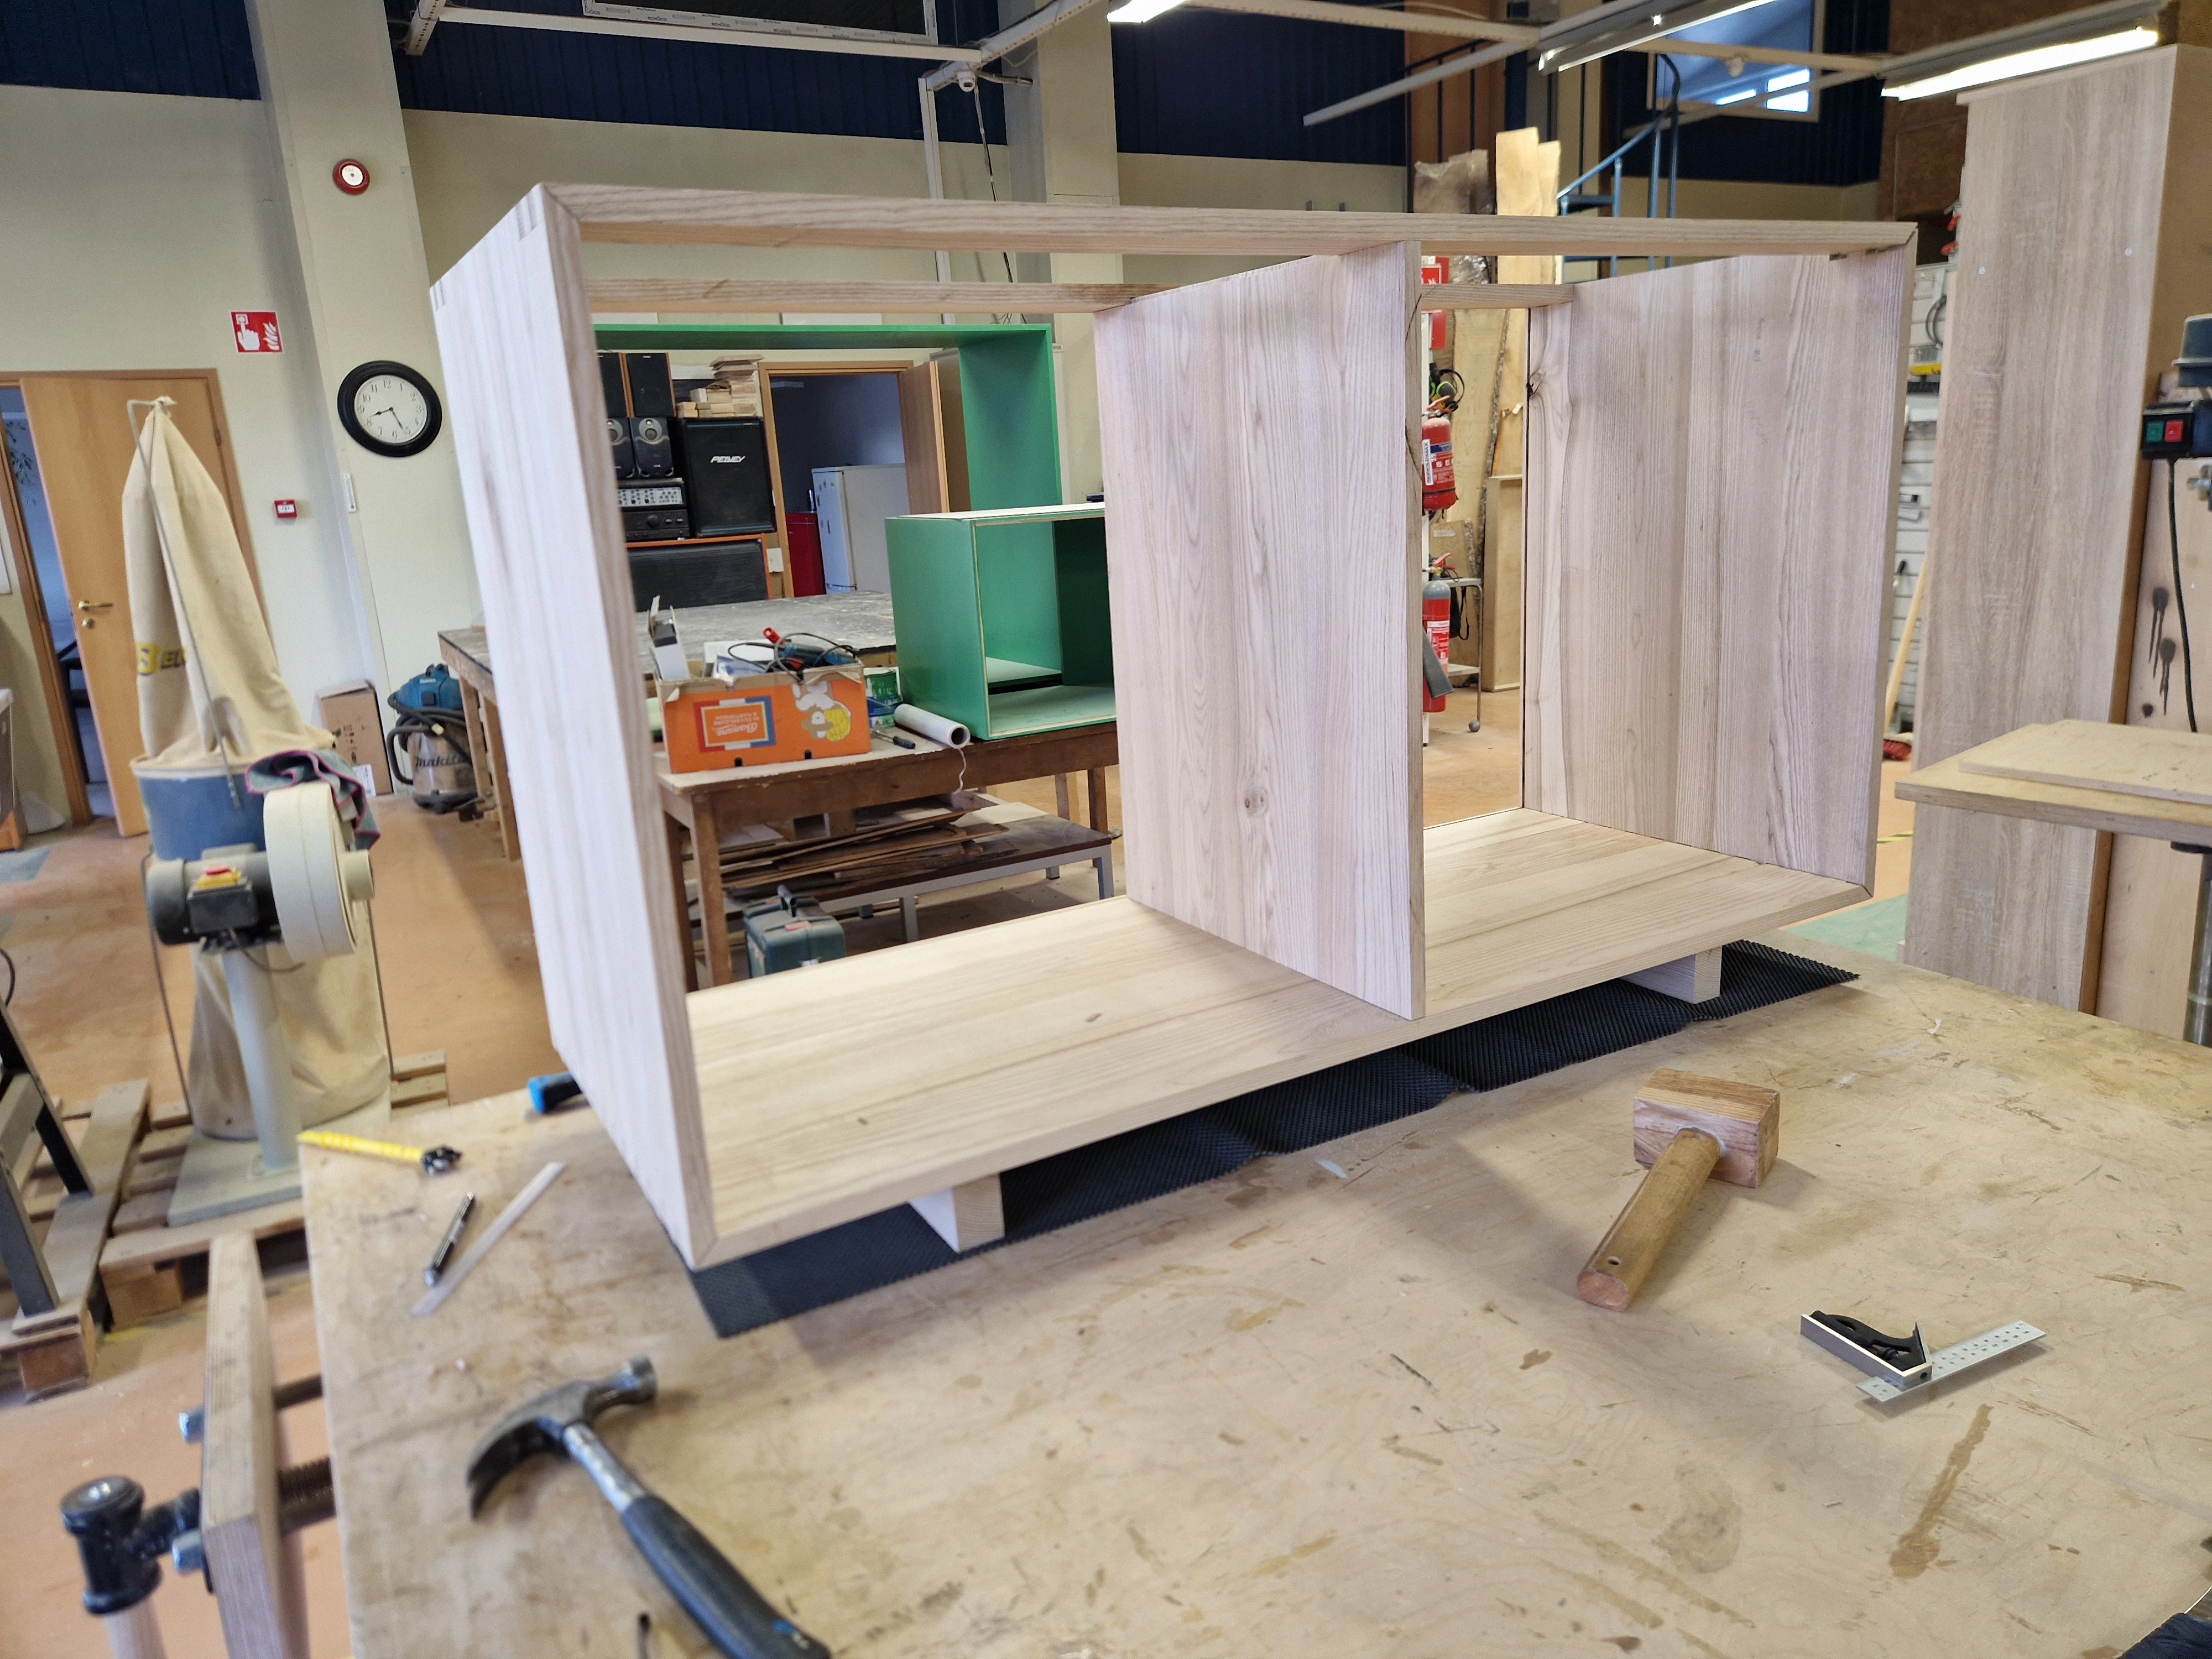
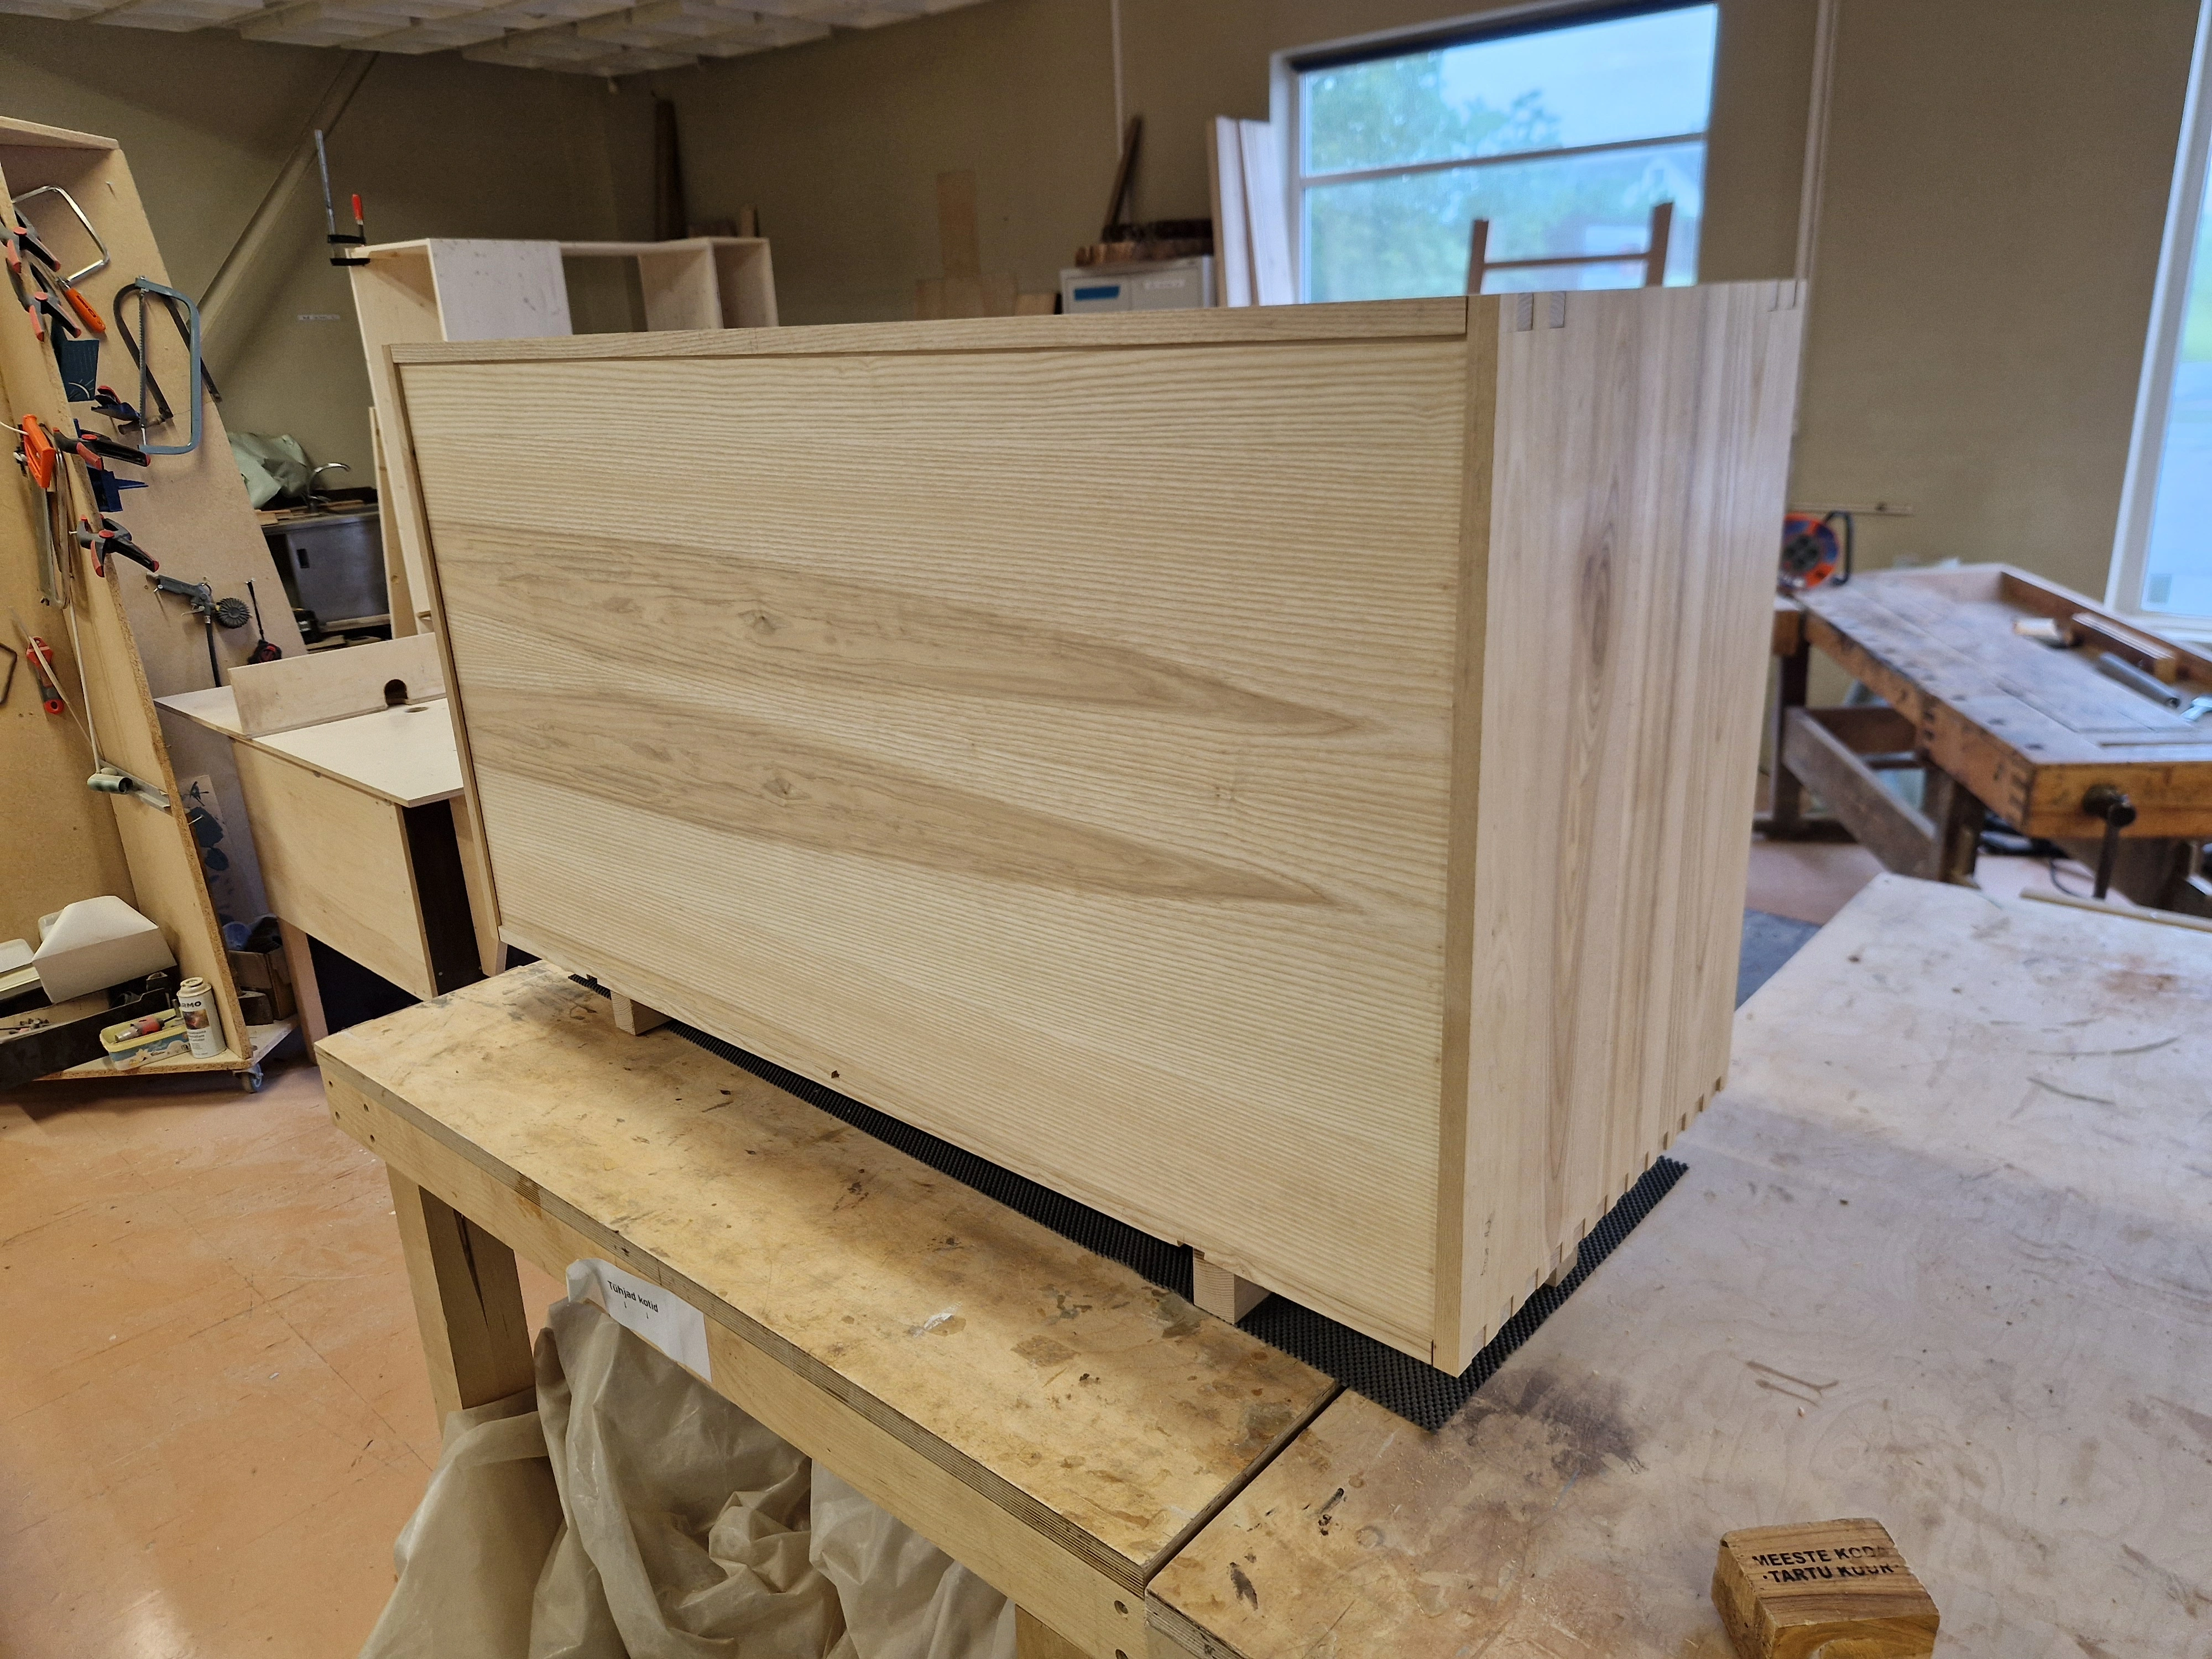
A large dresser made out of solid ash carcass and ash-veneered plywood. A simple design featuring box joints and a live edge tabletop.
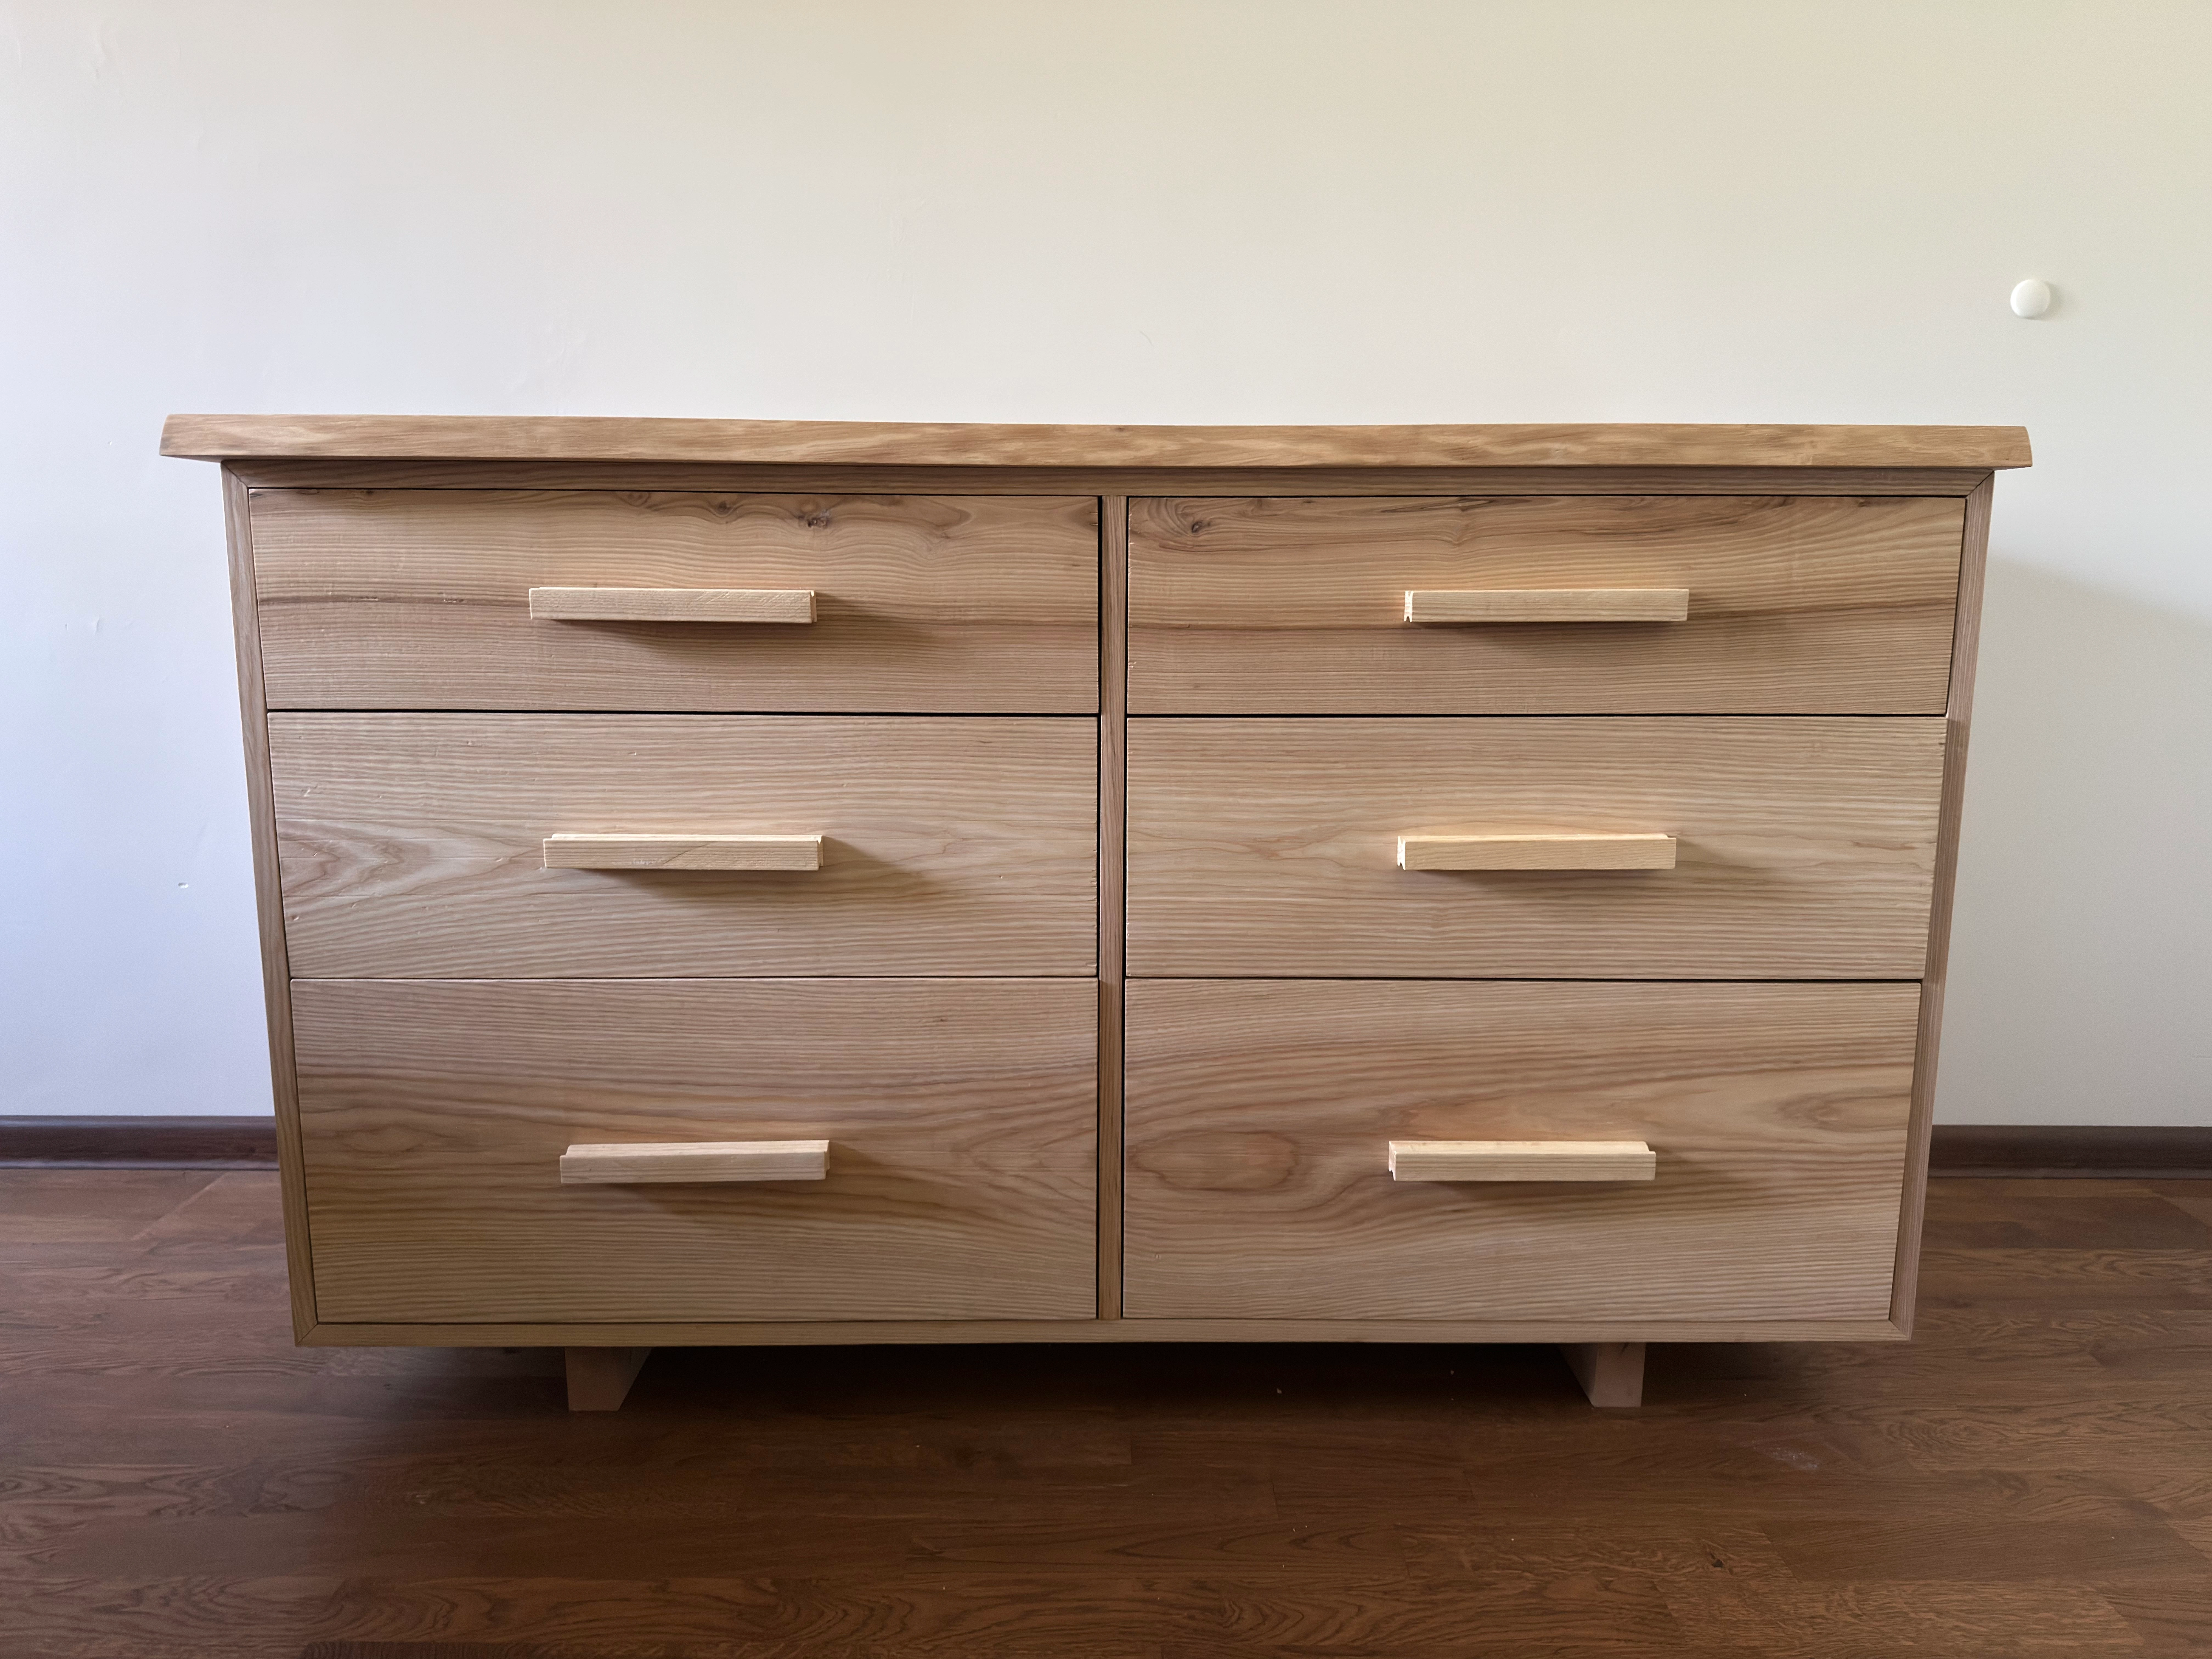
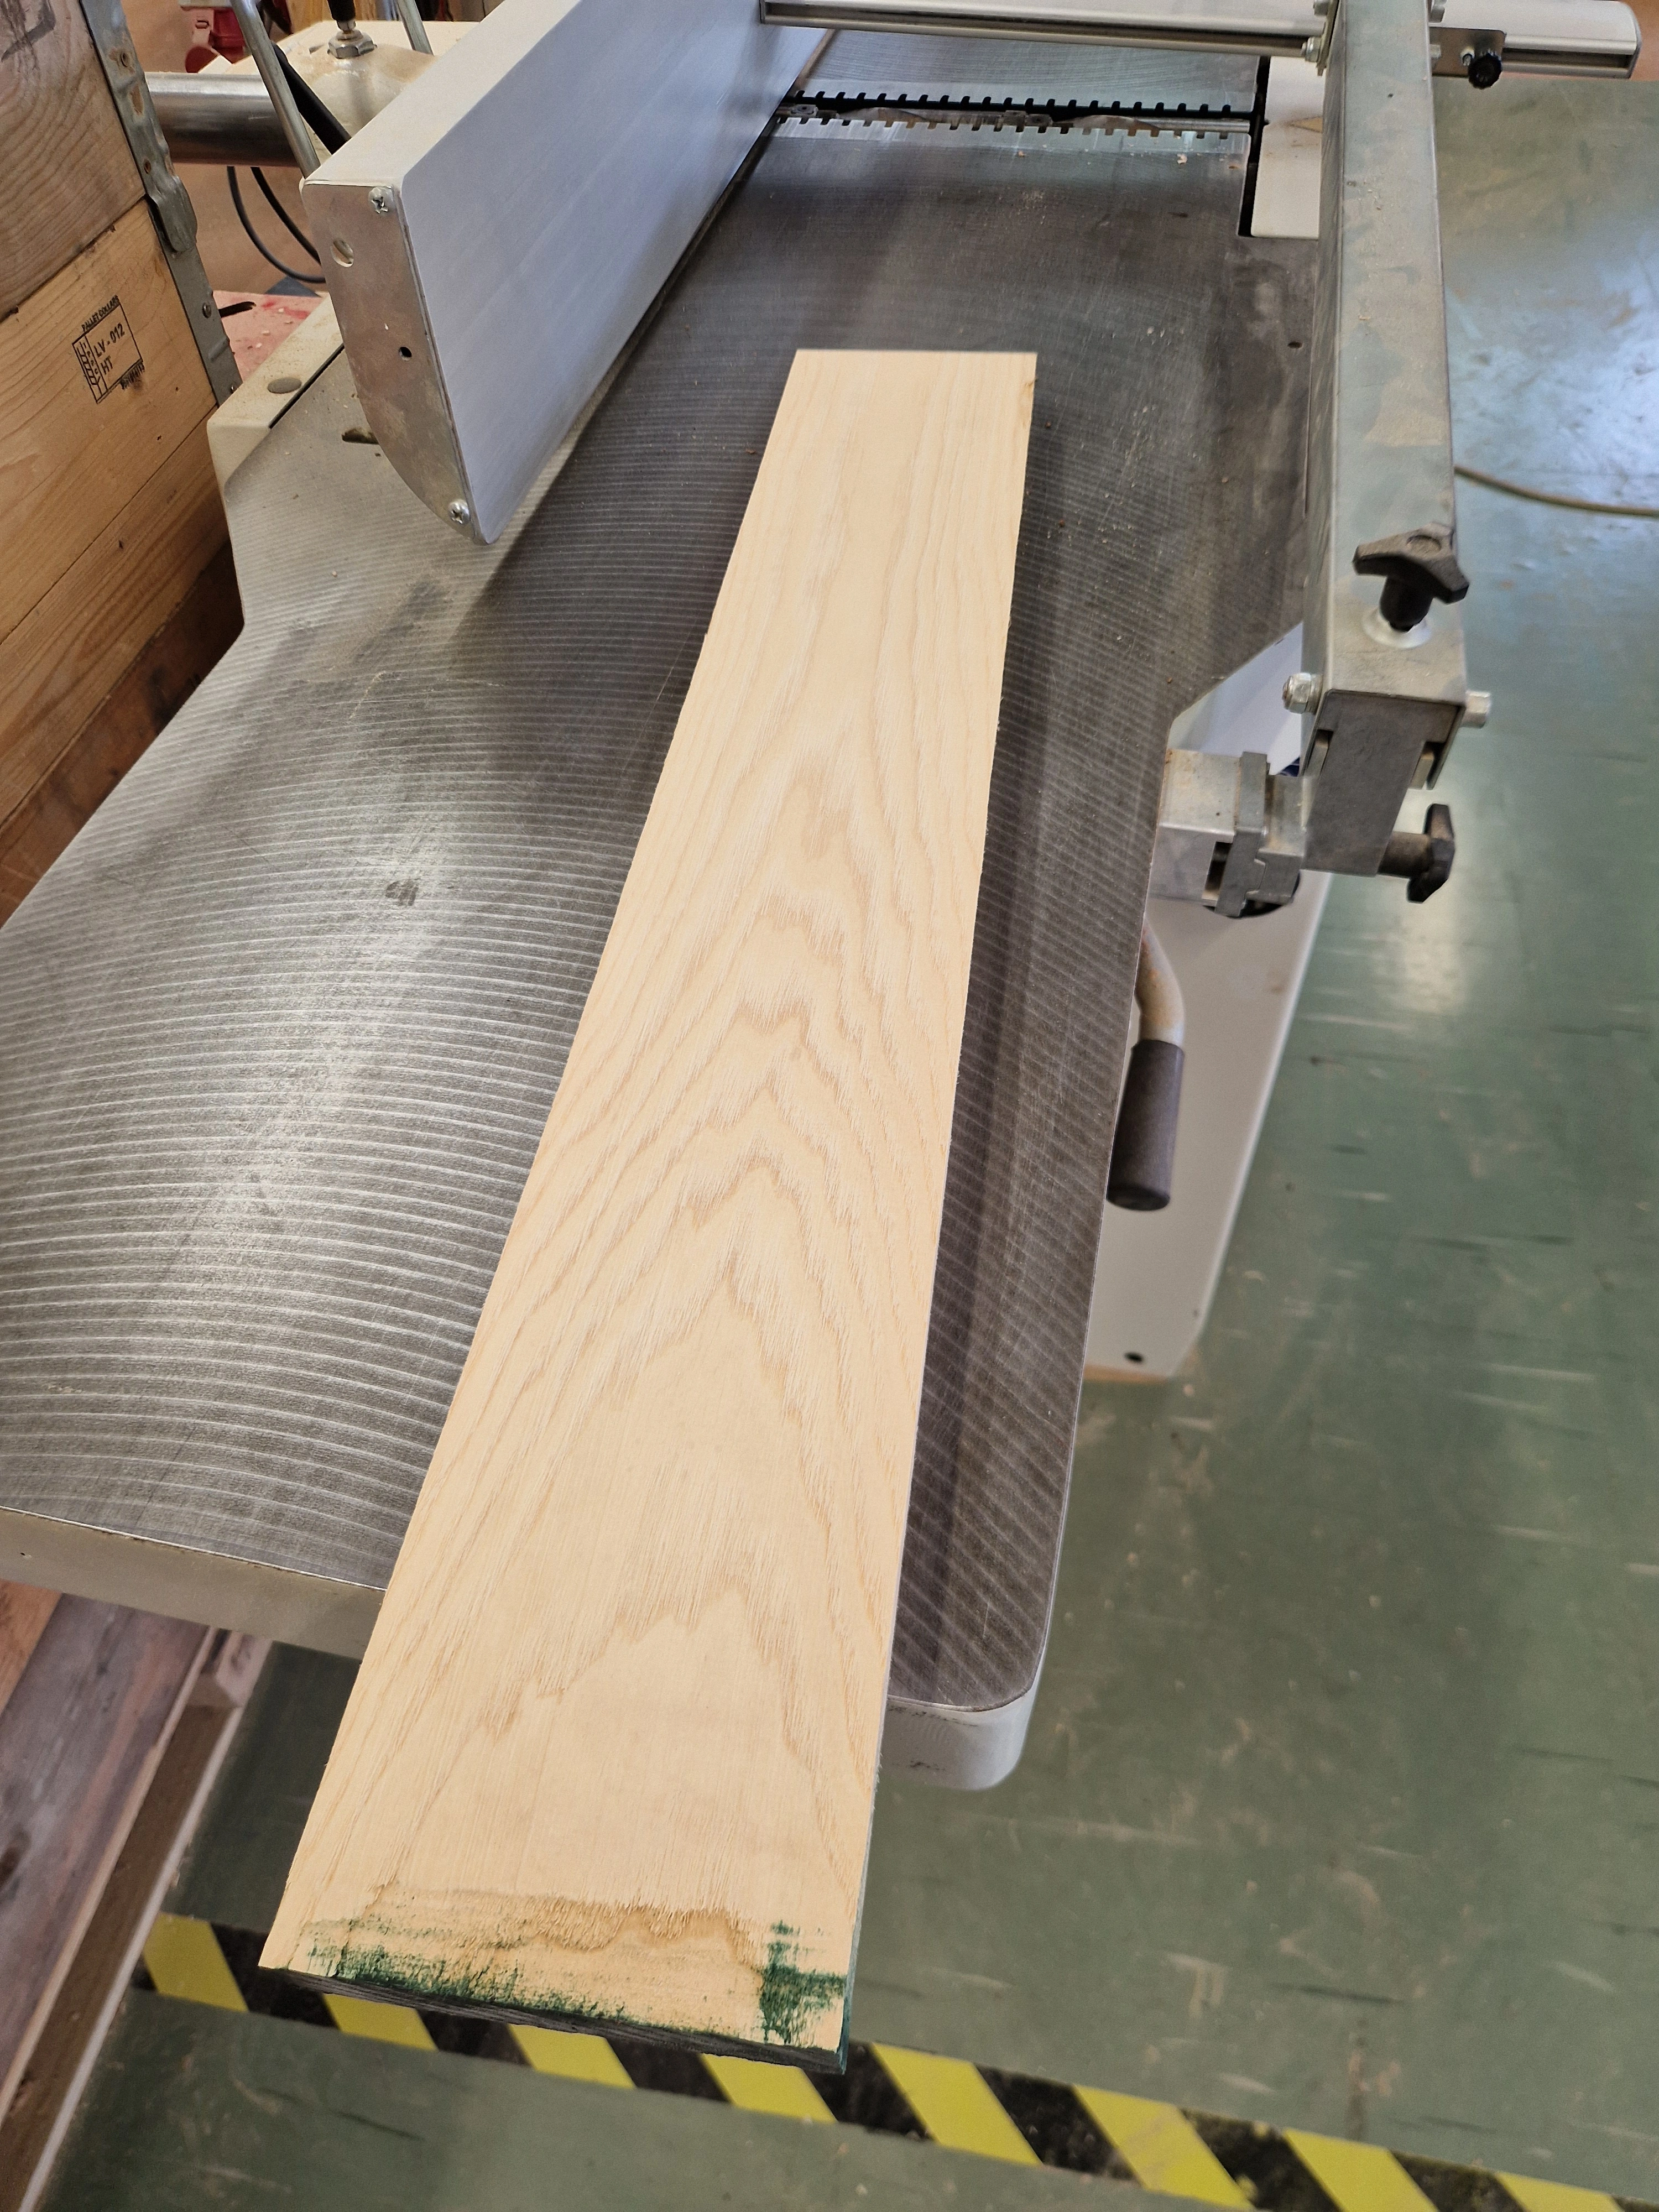
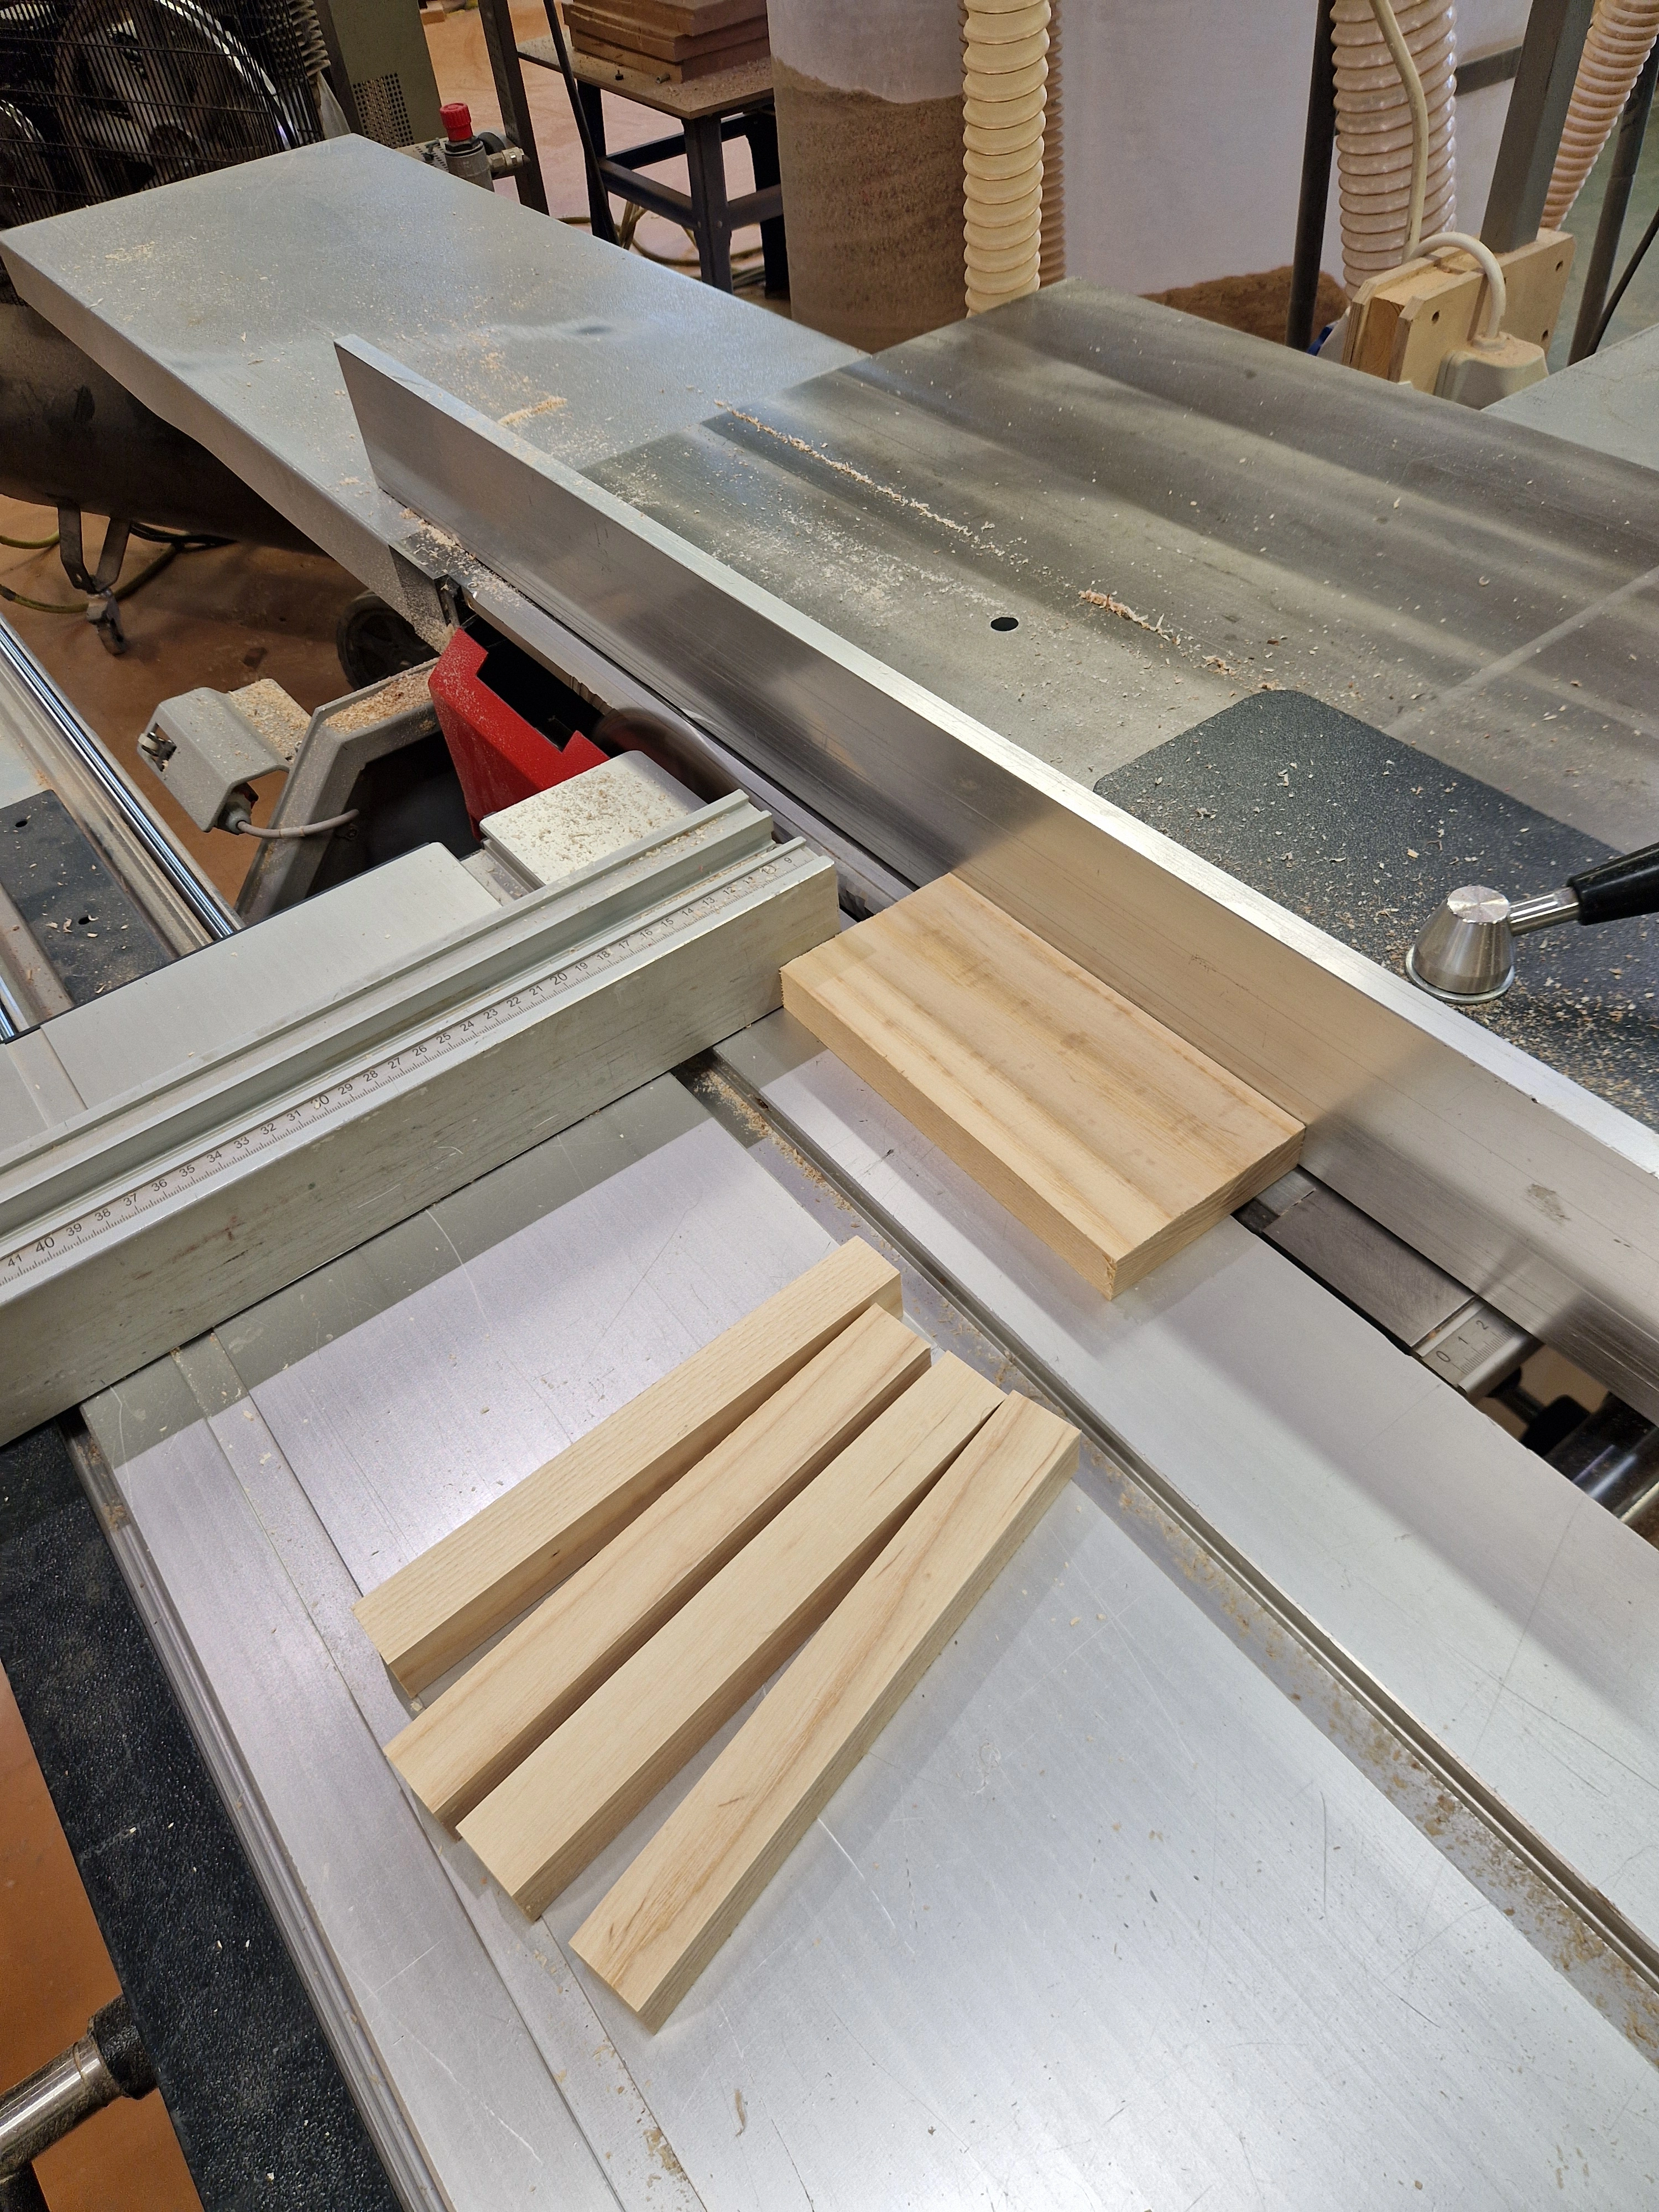
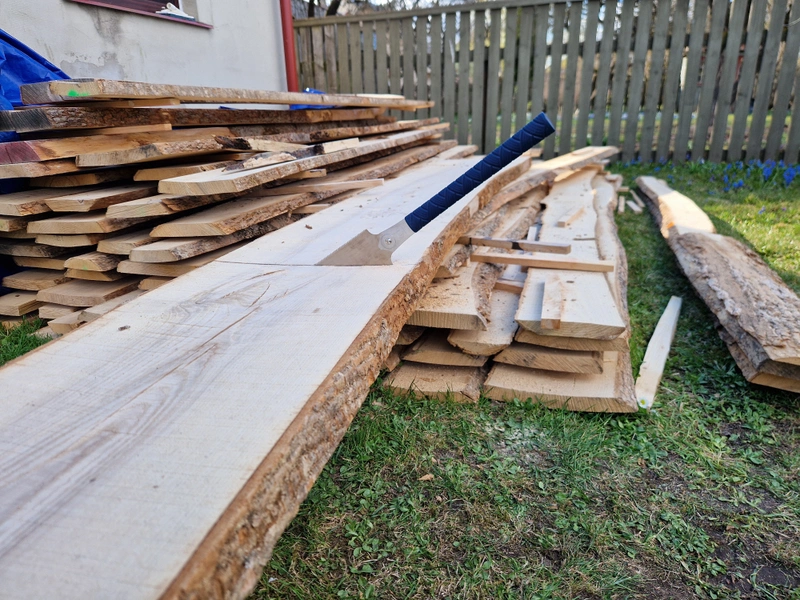
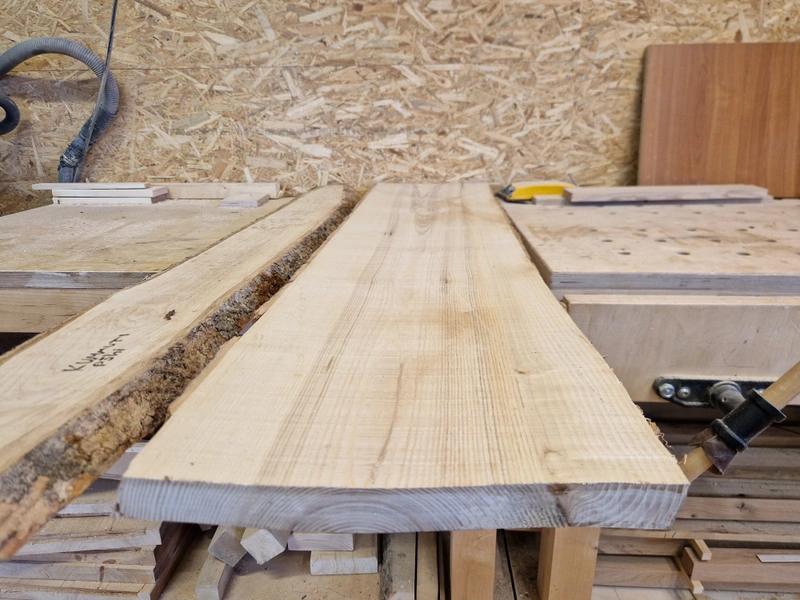
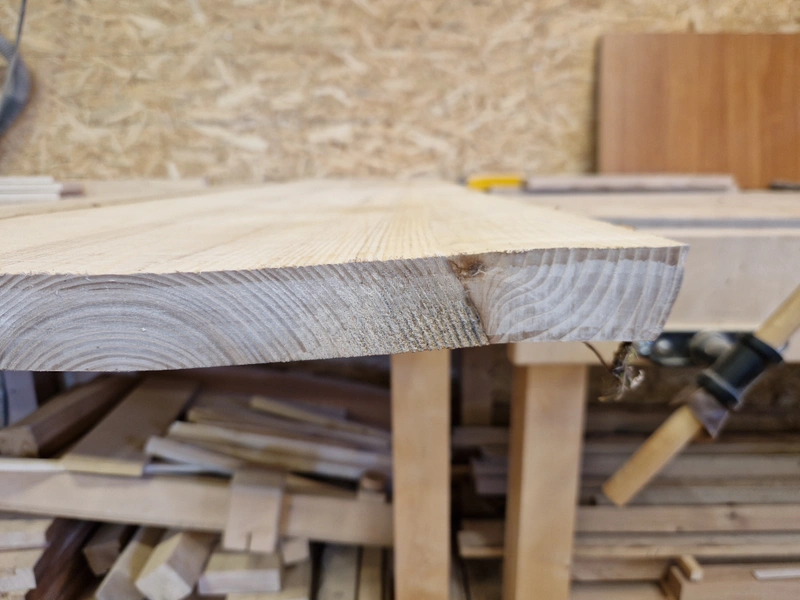
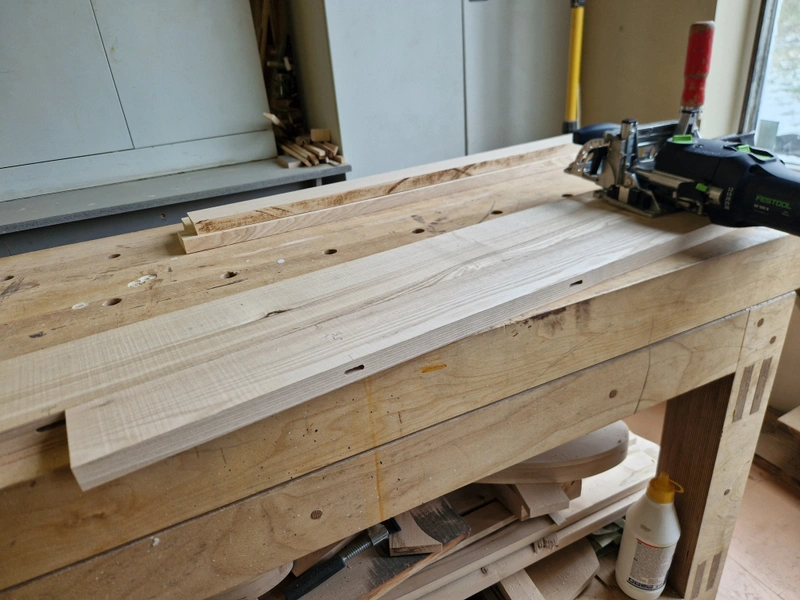
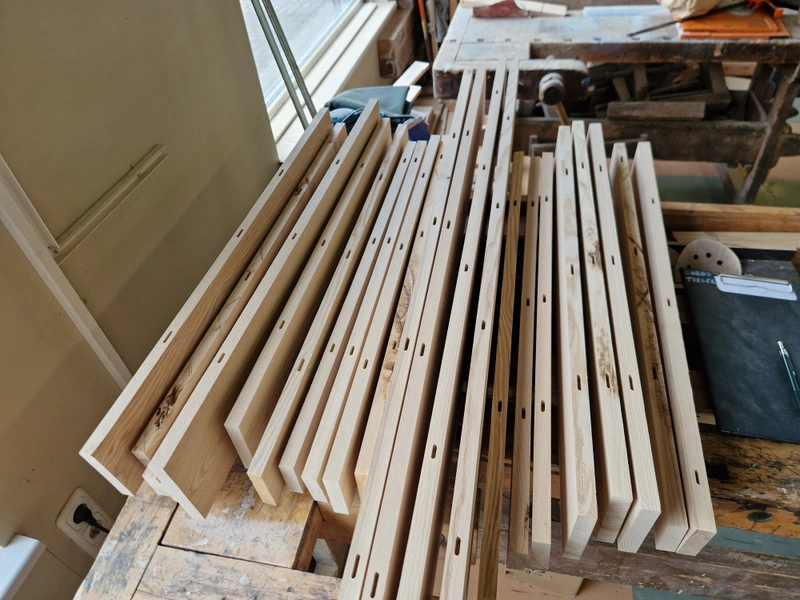
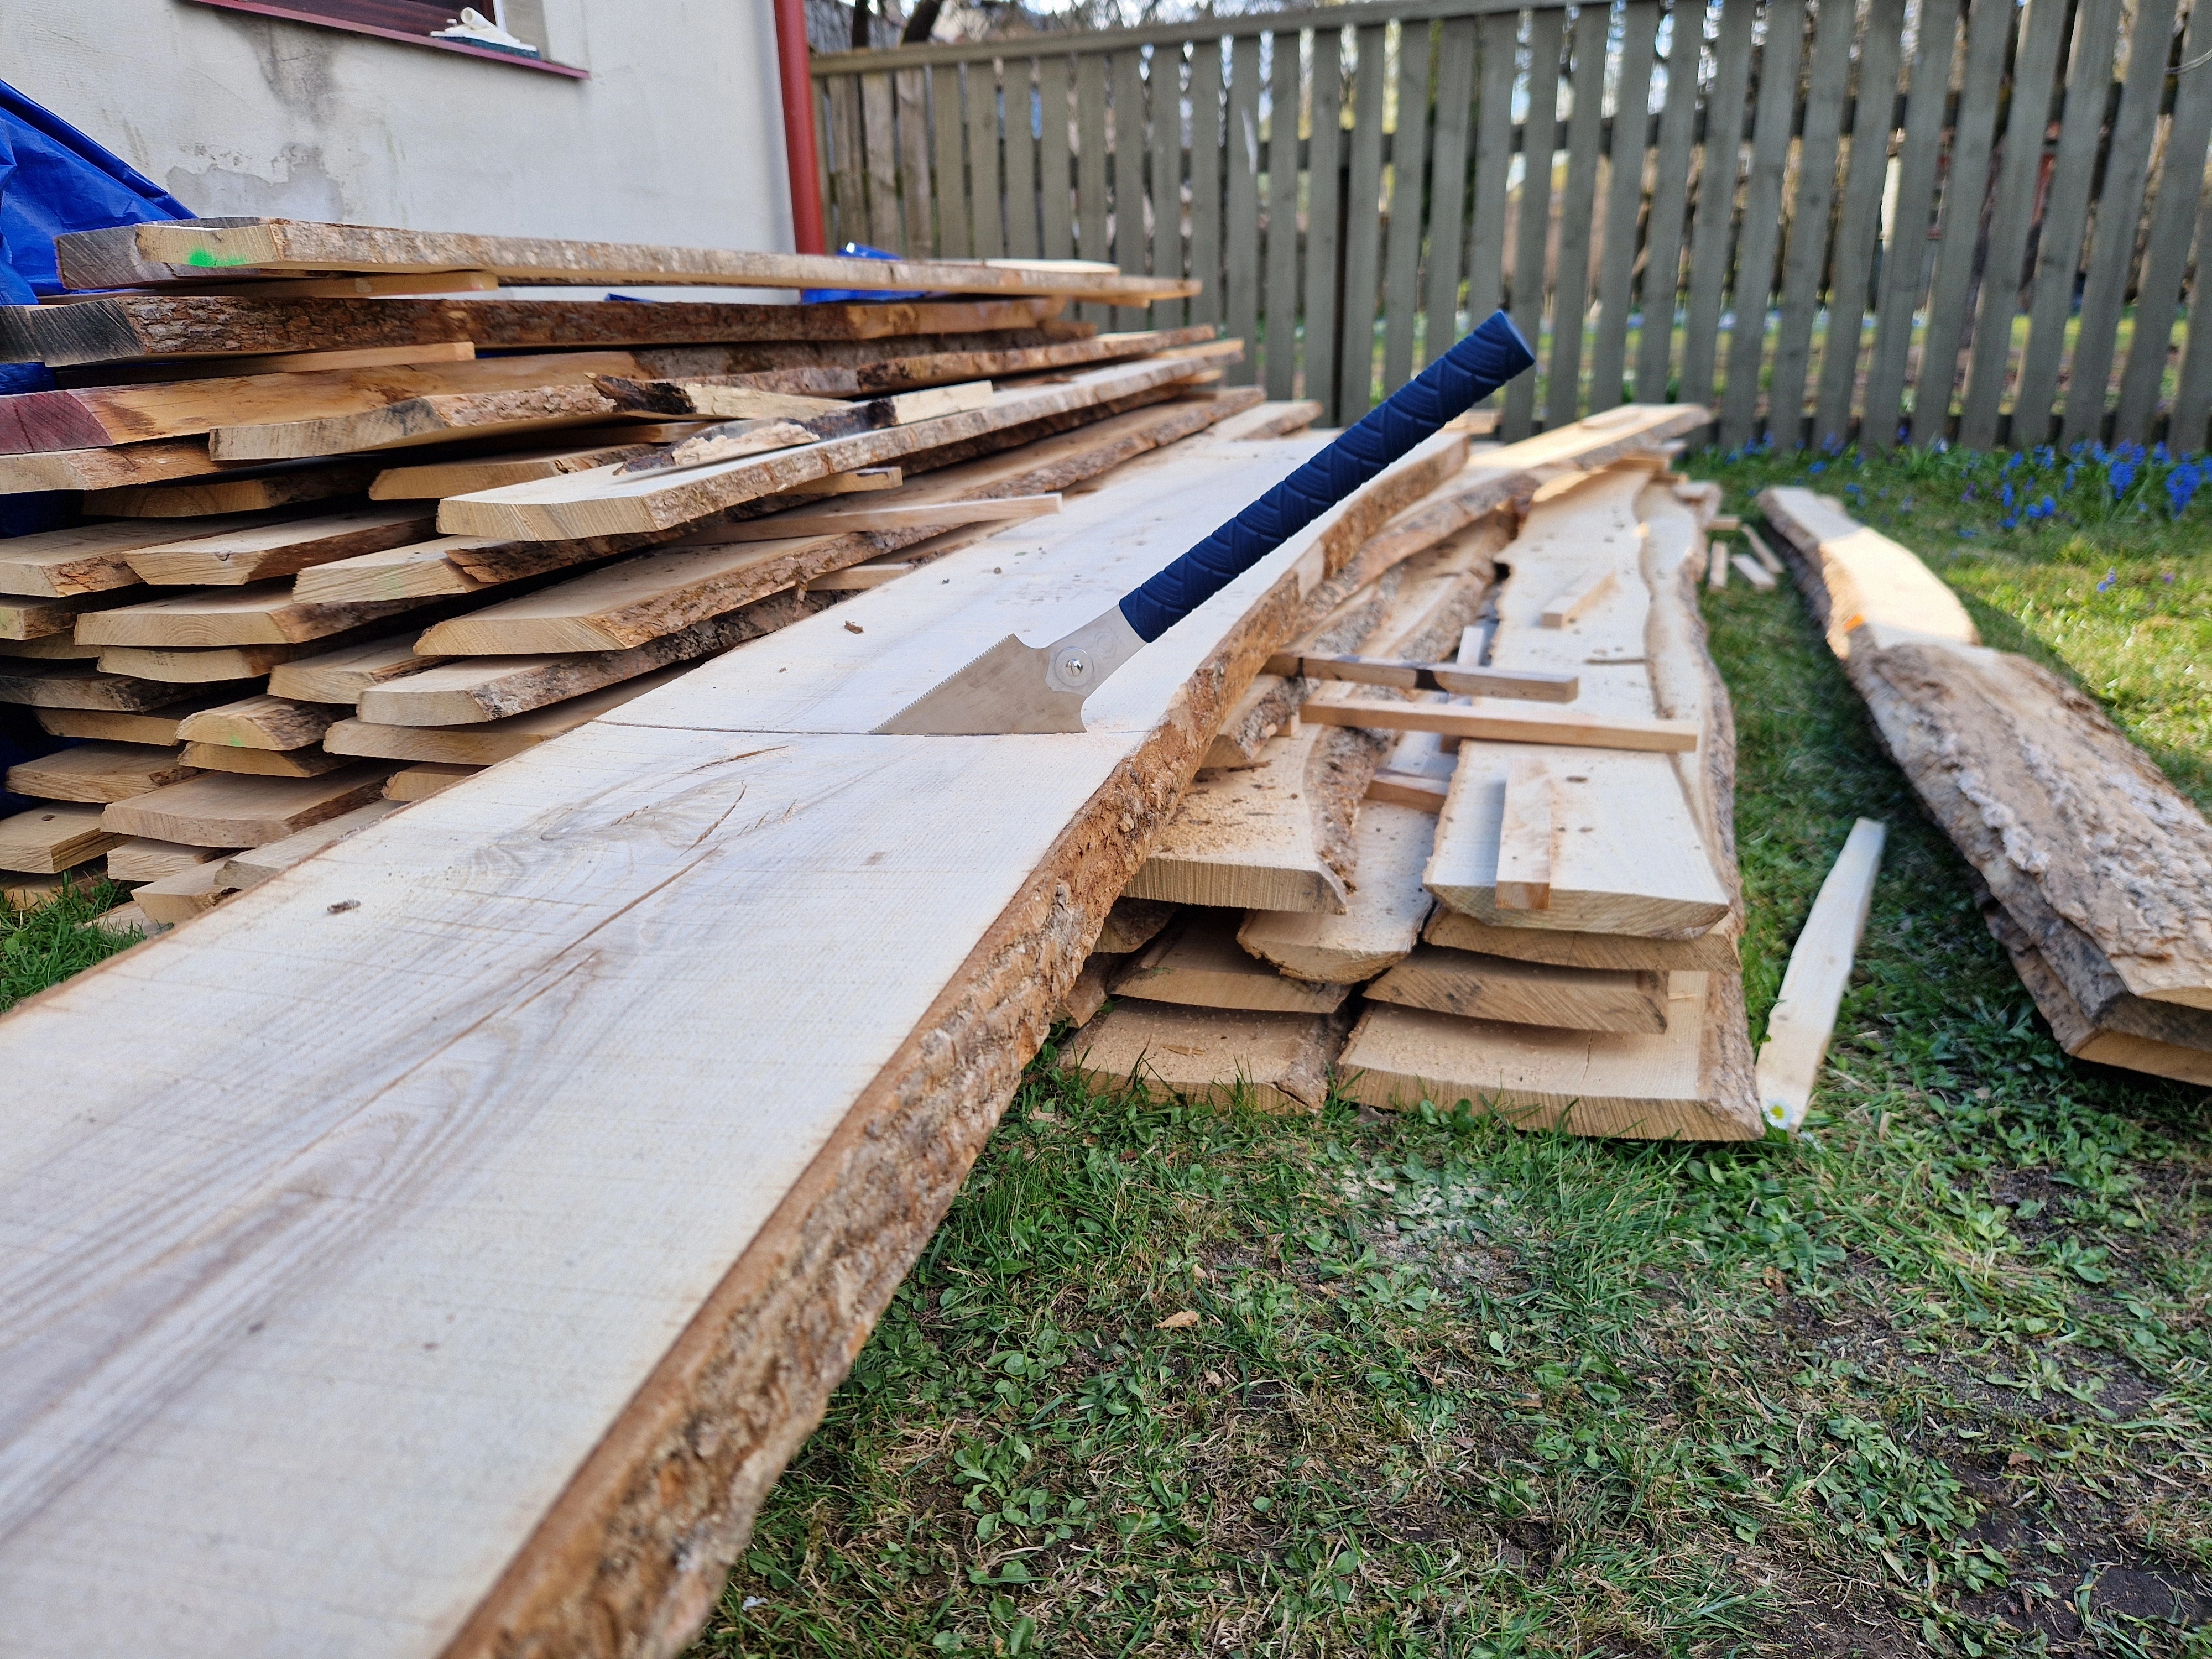
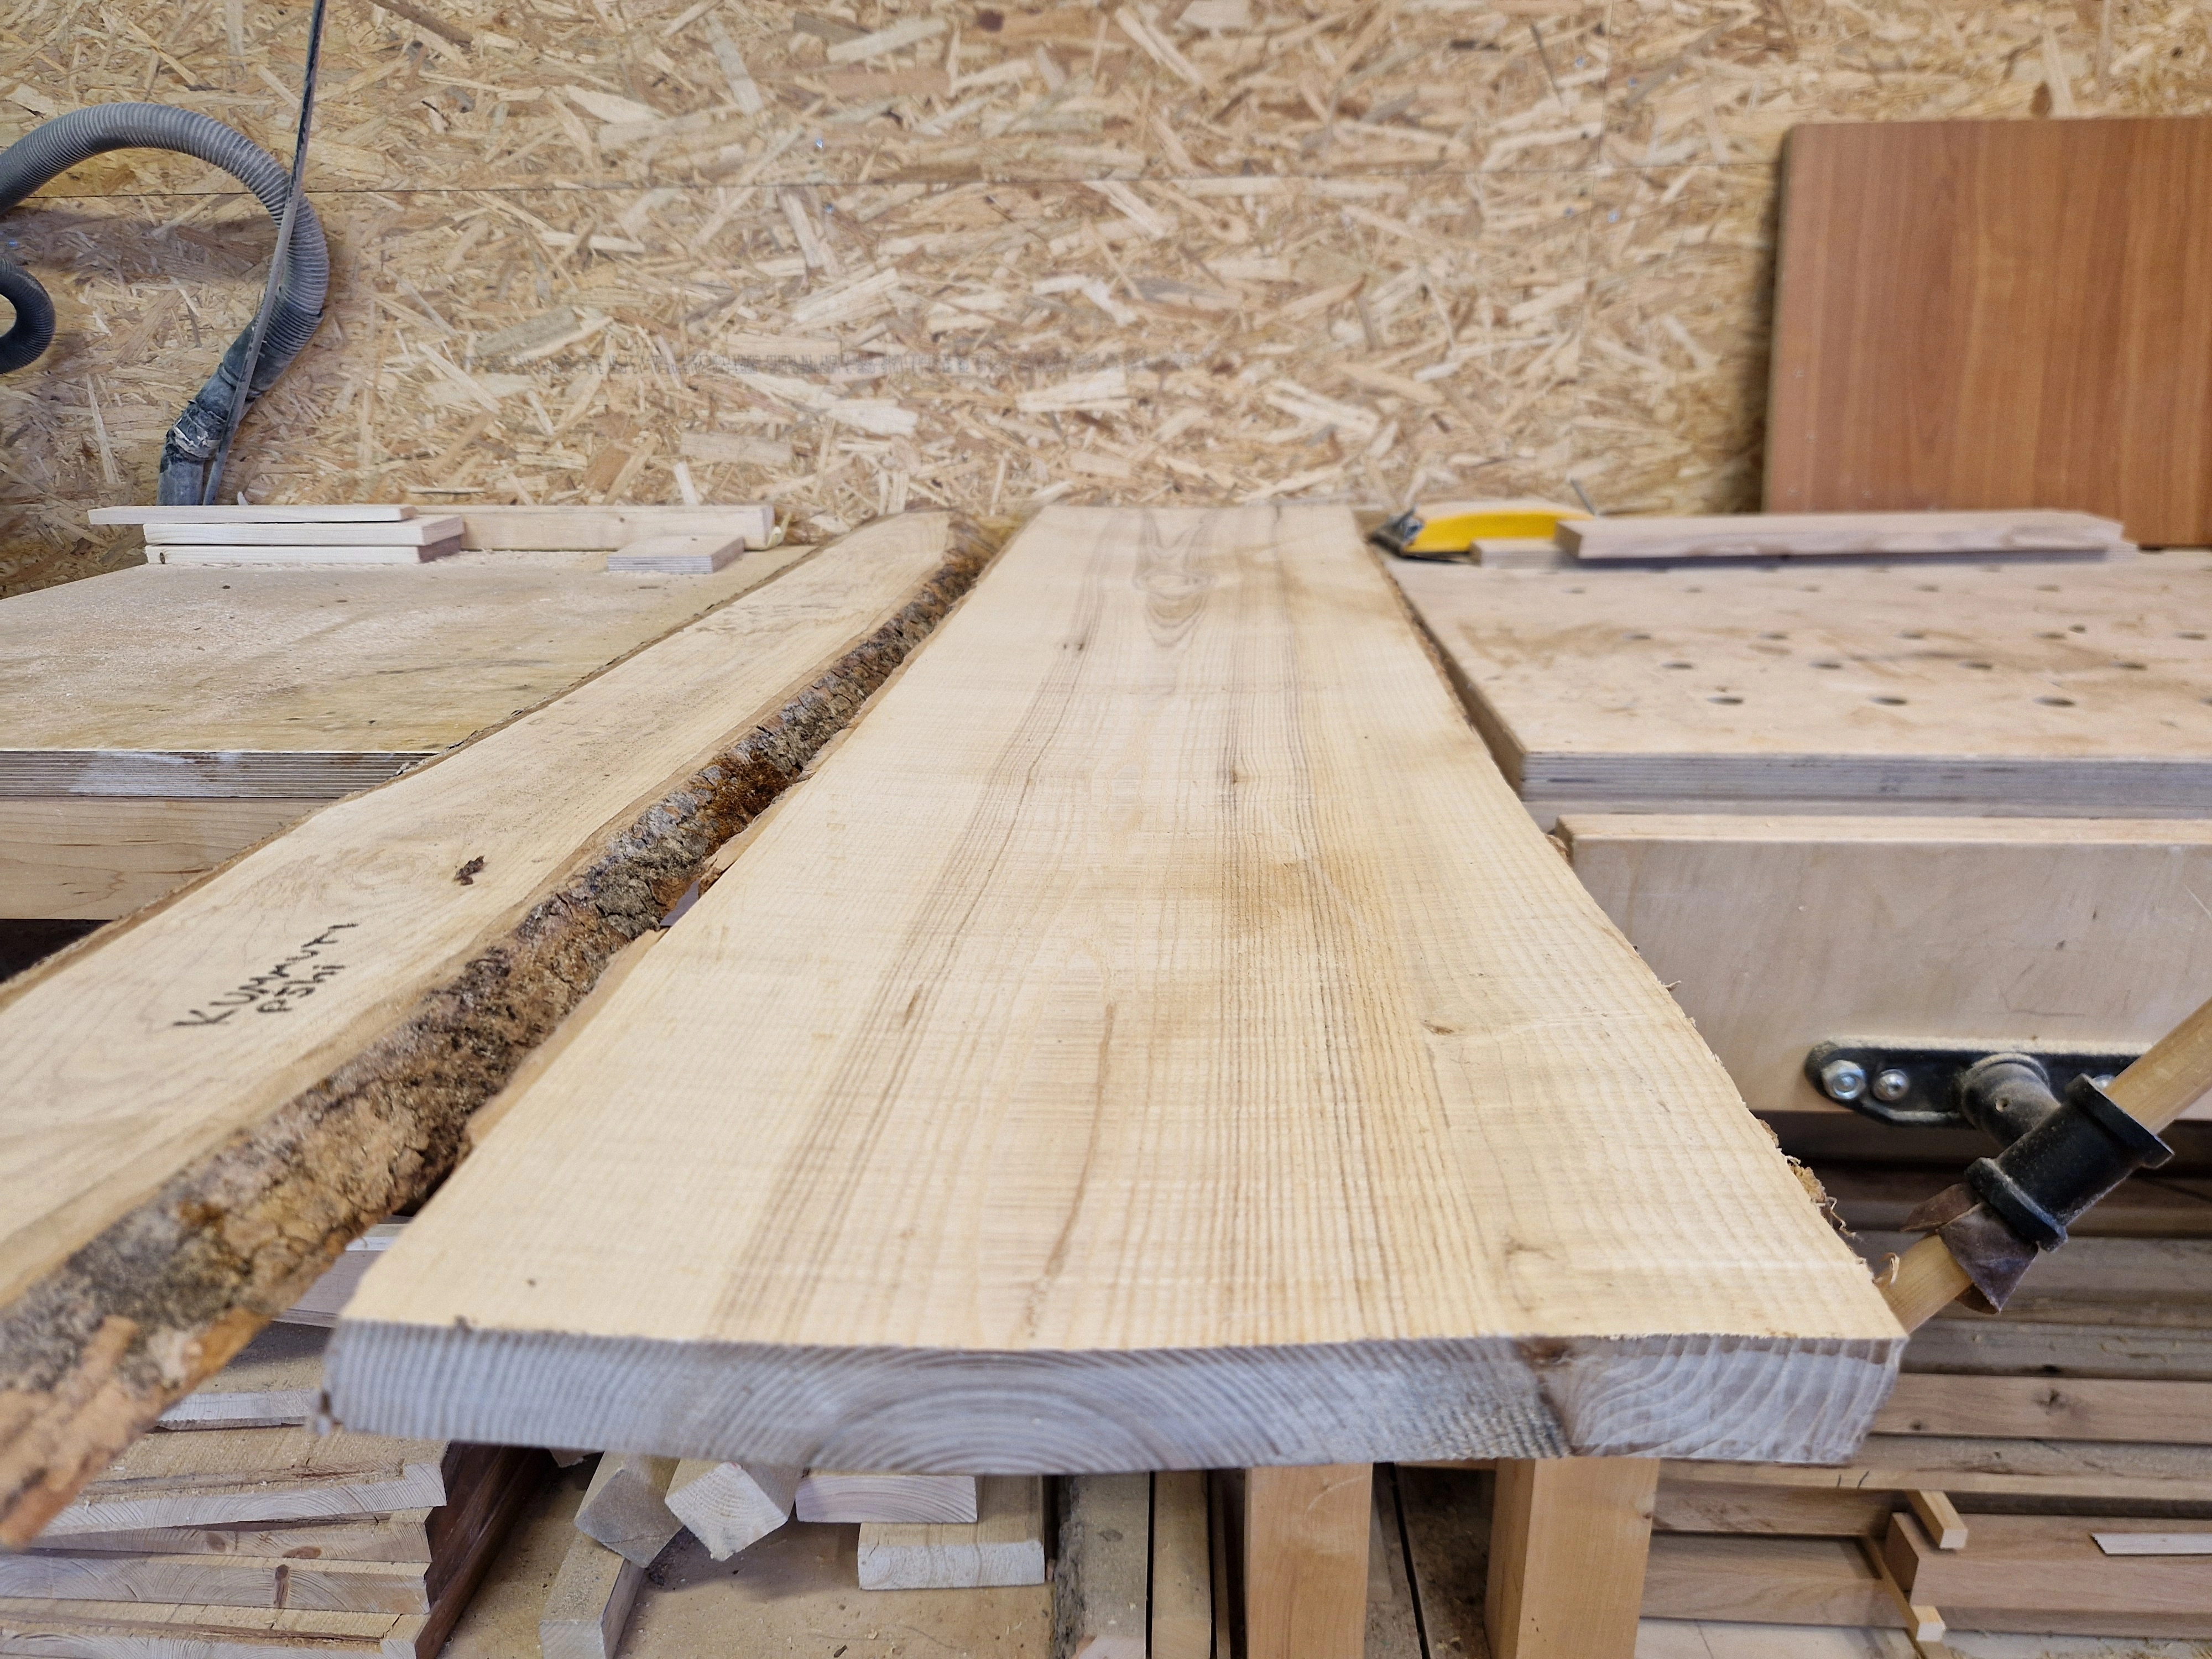
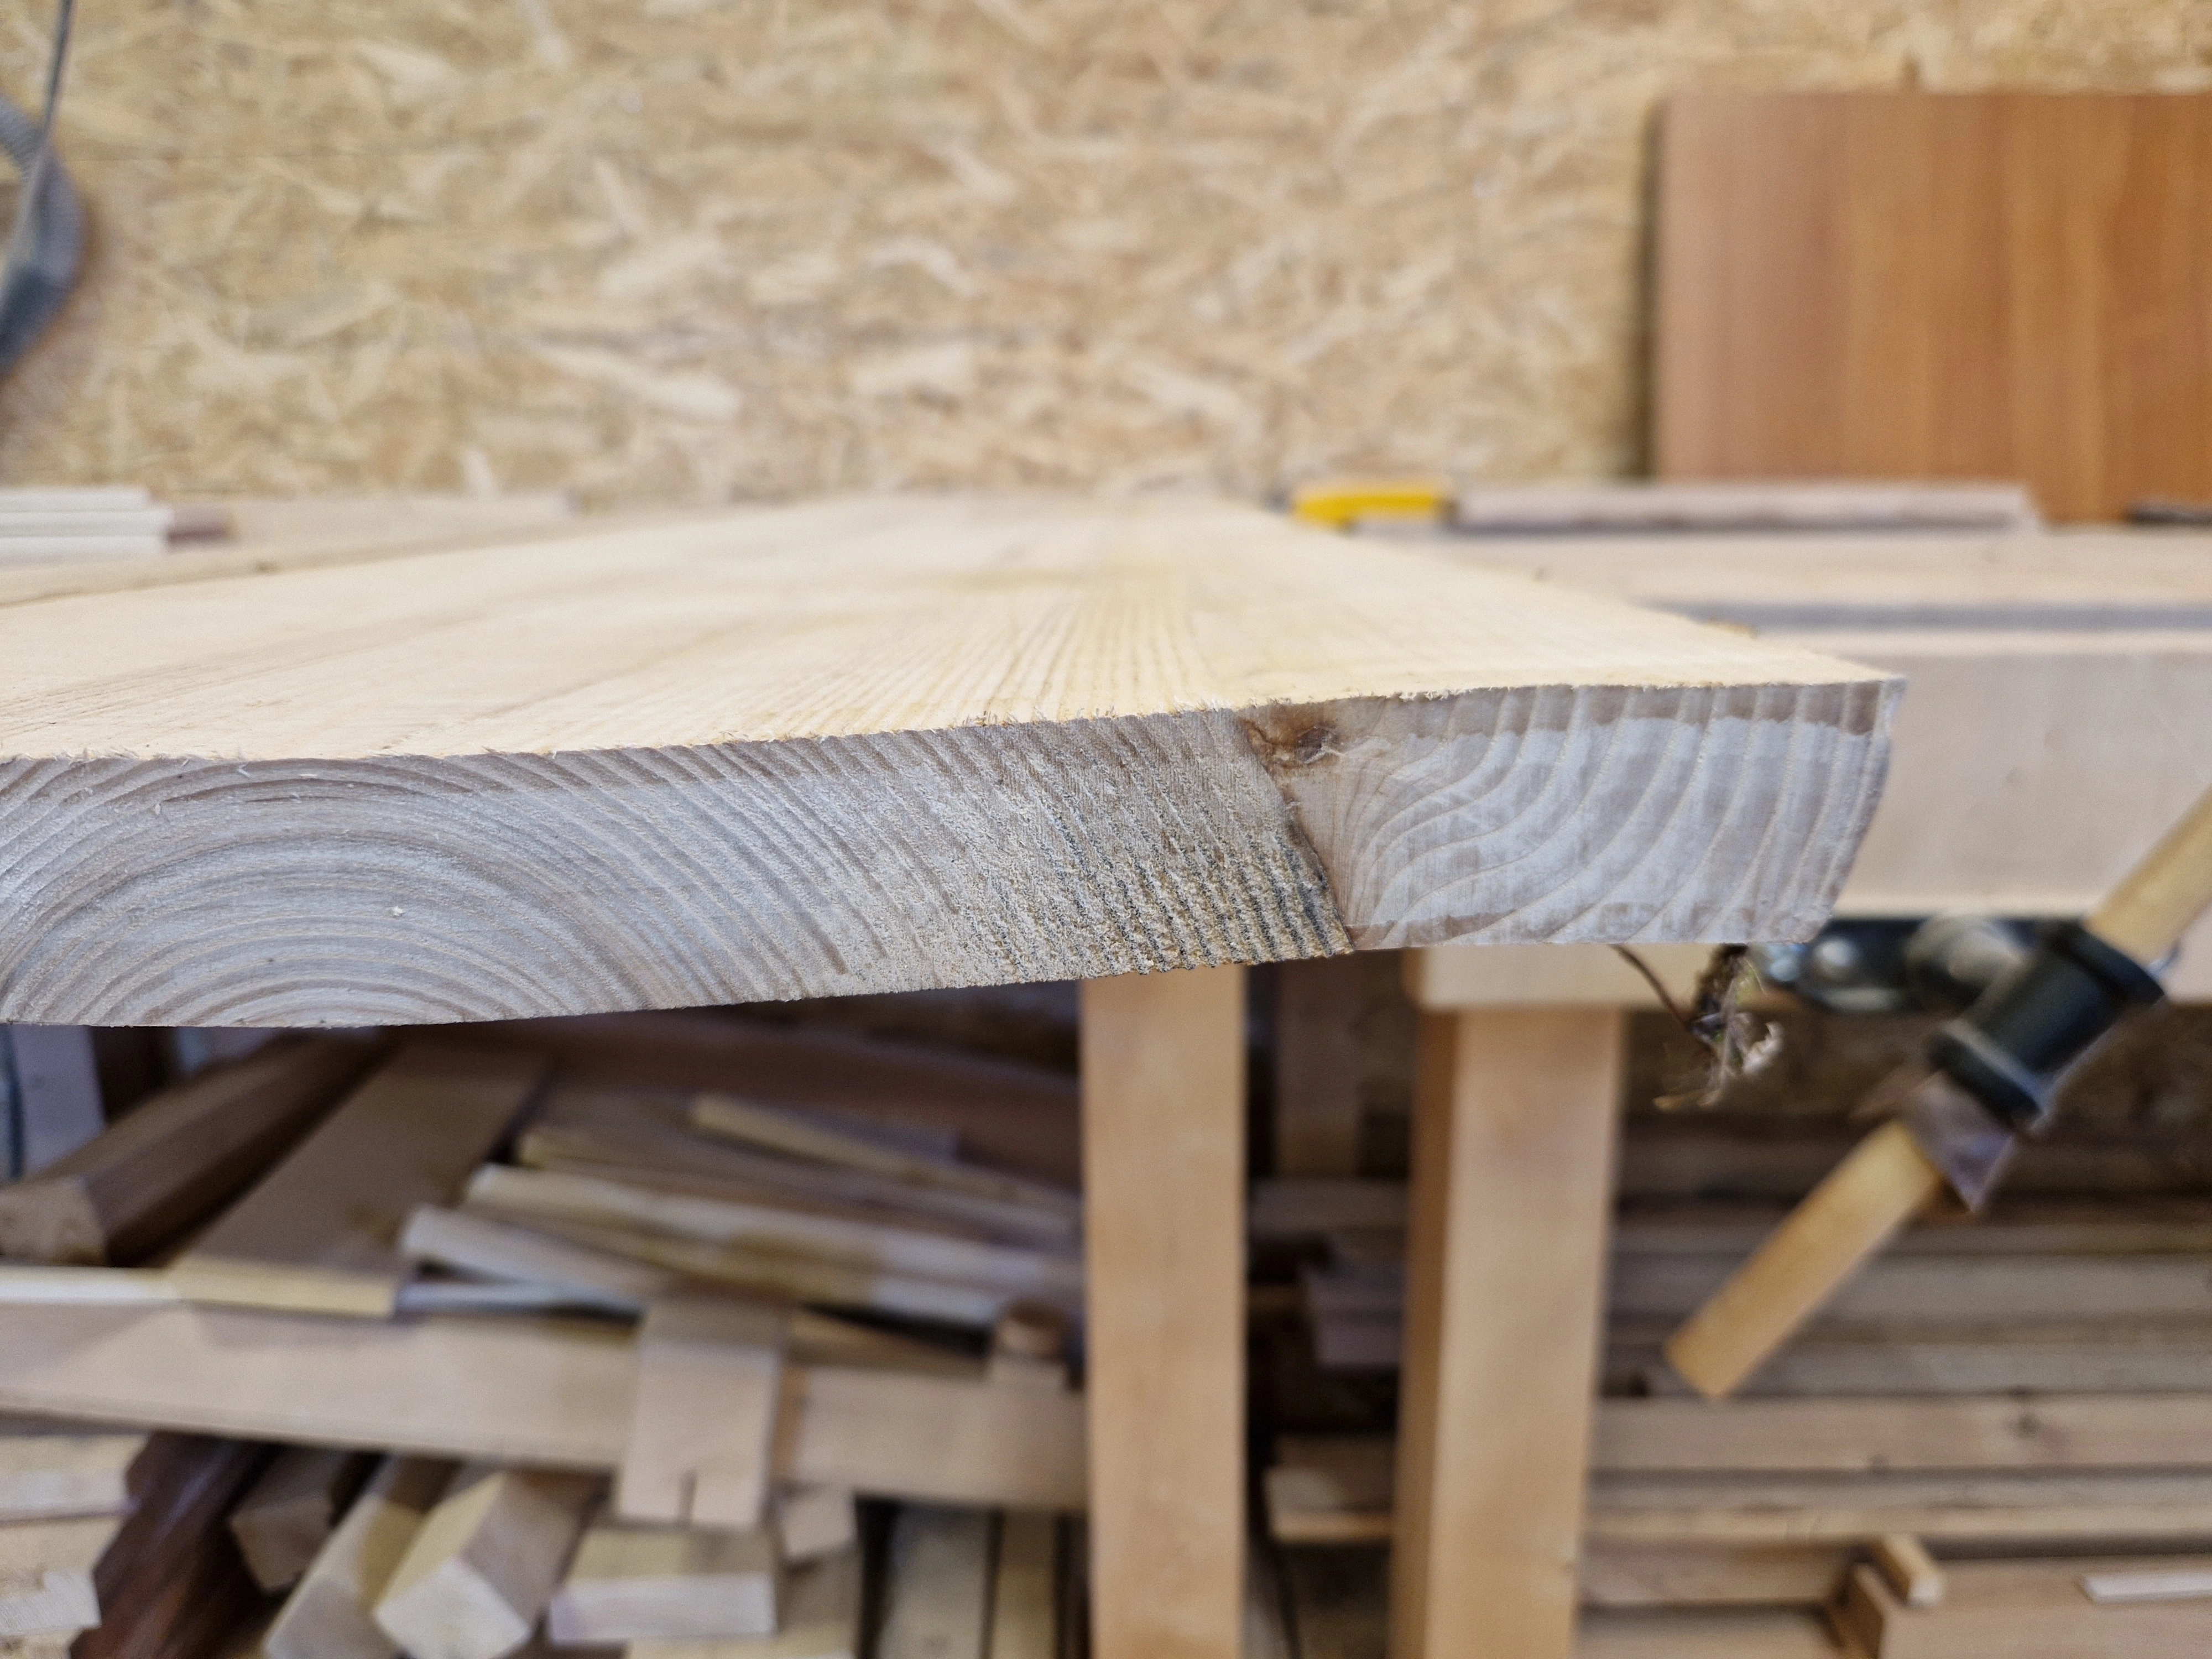
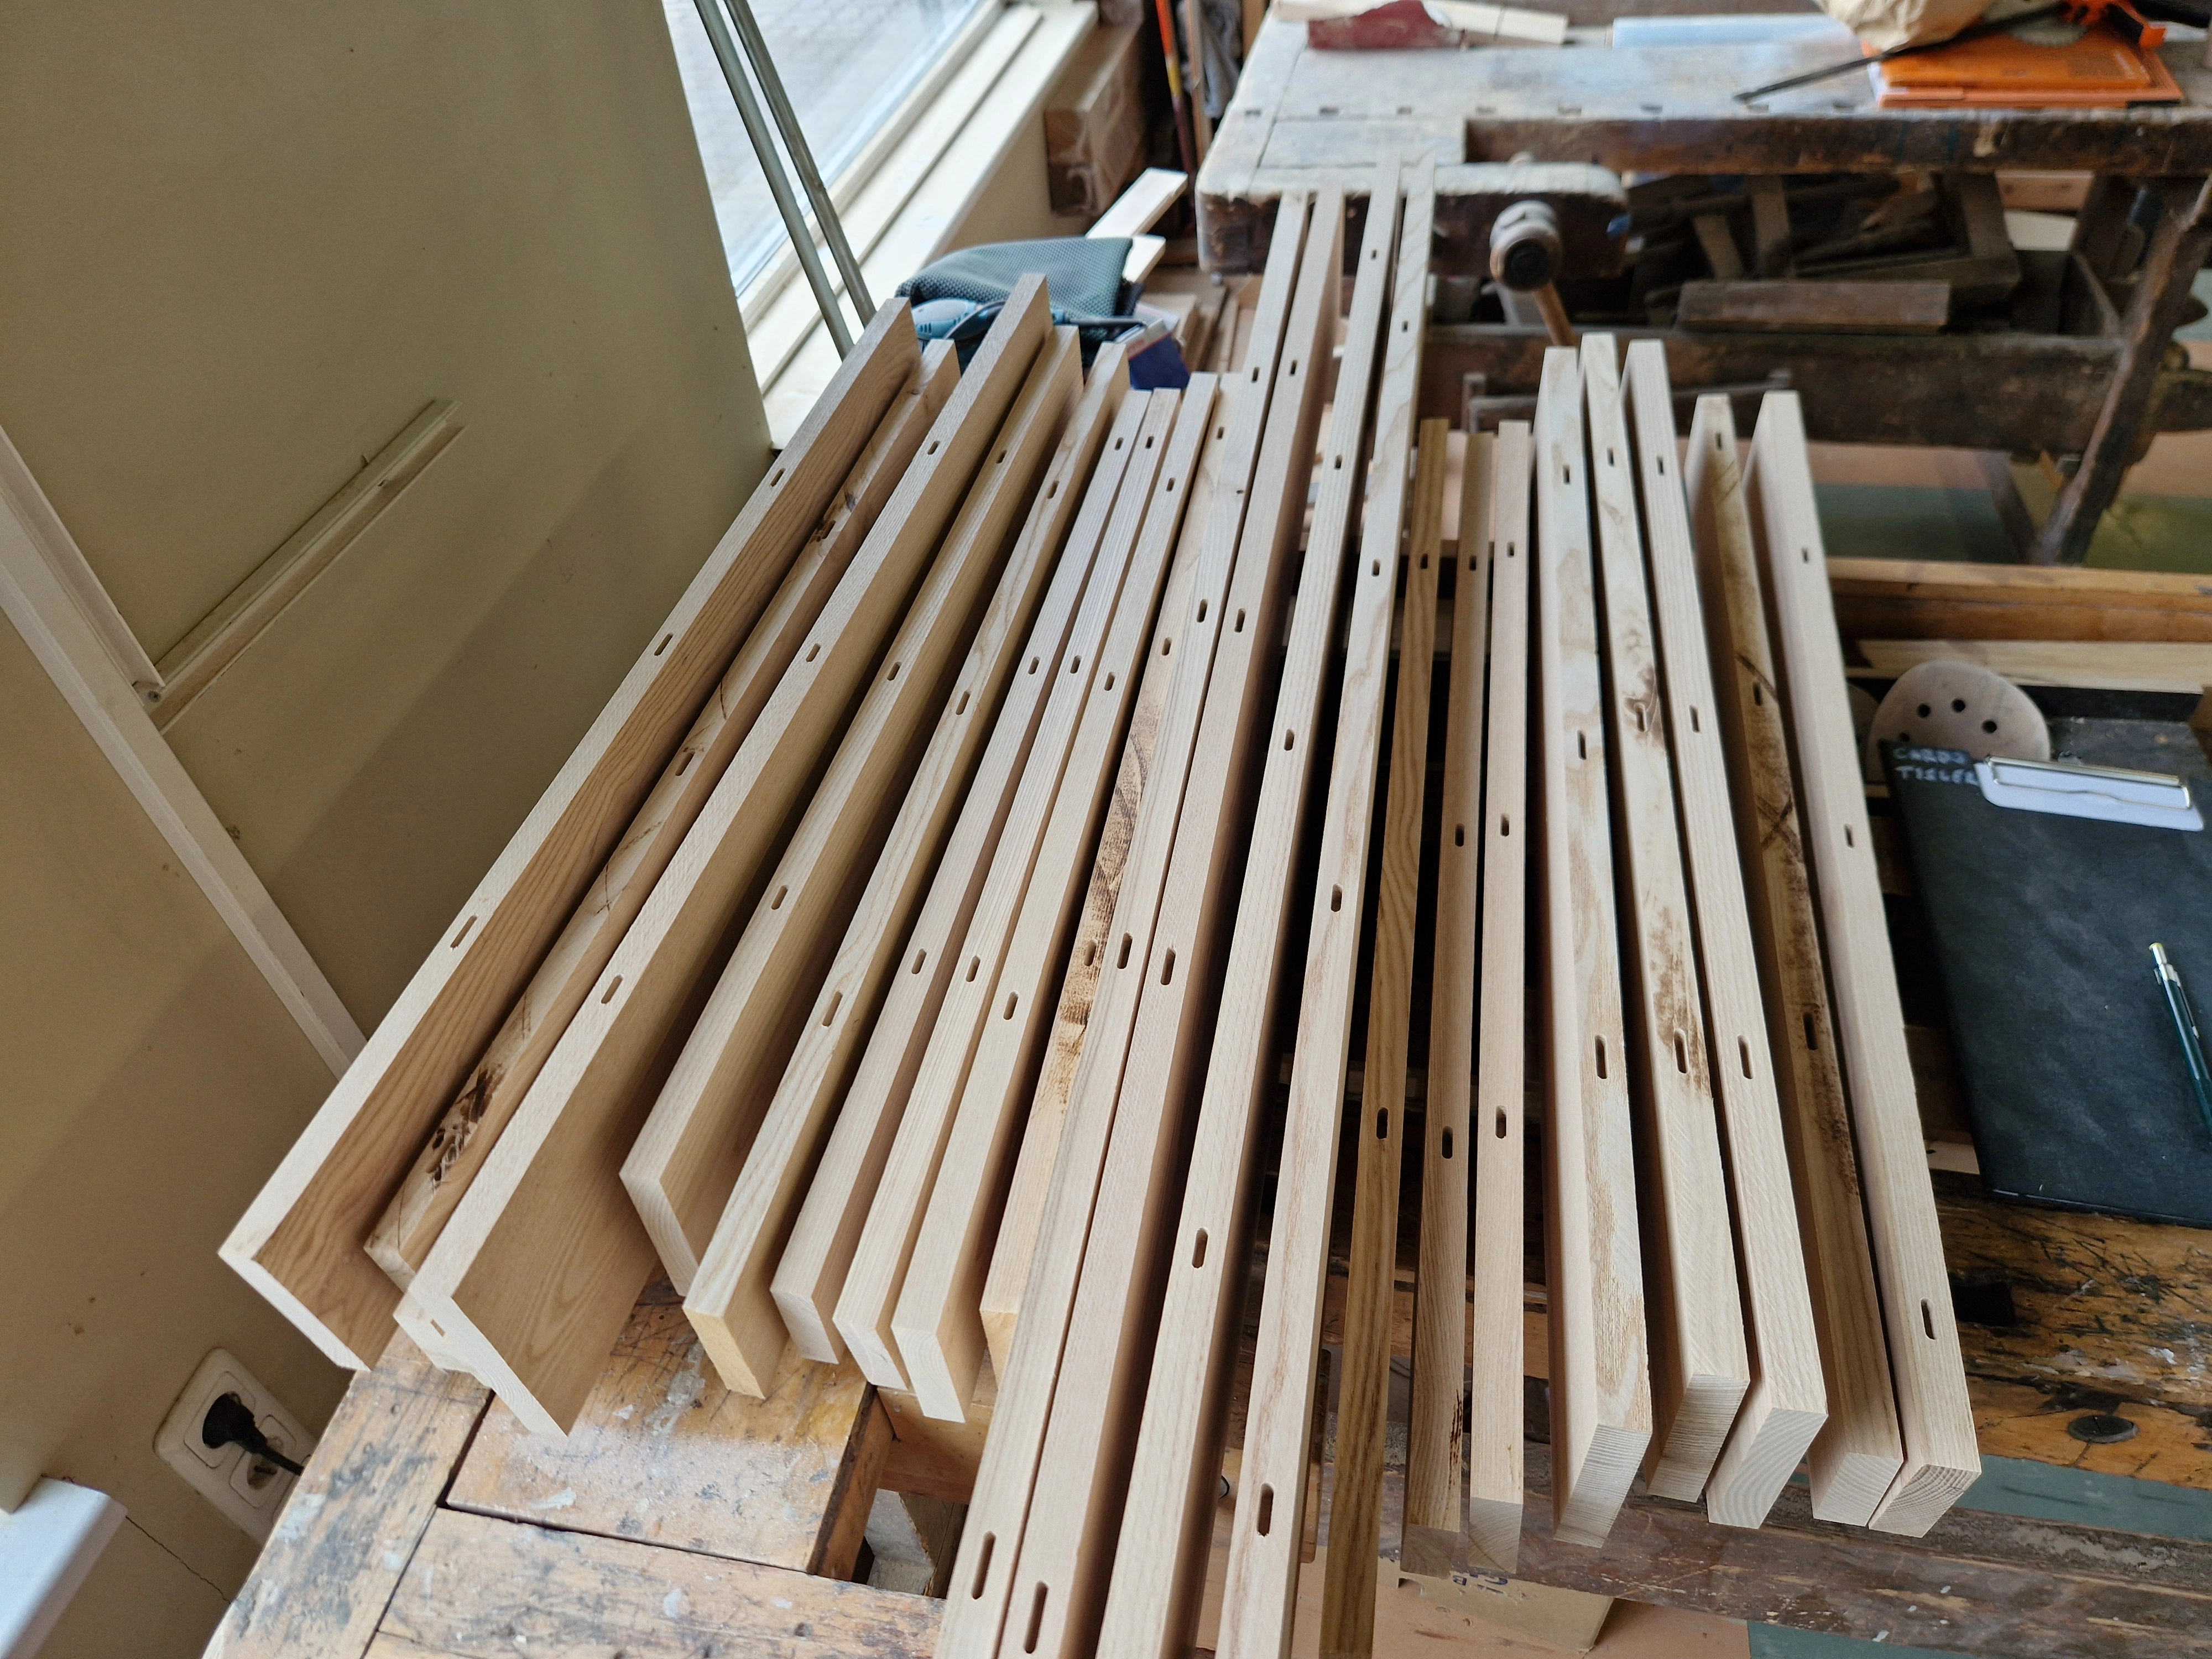
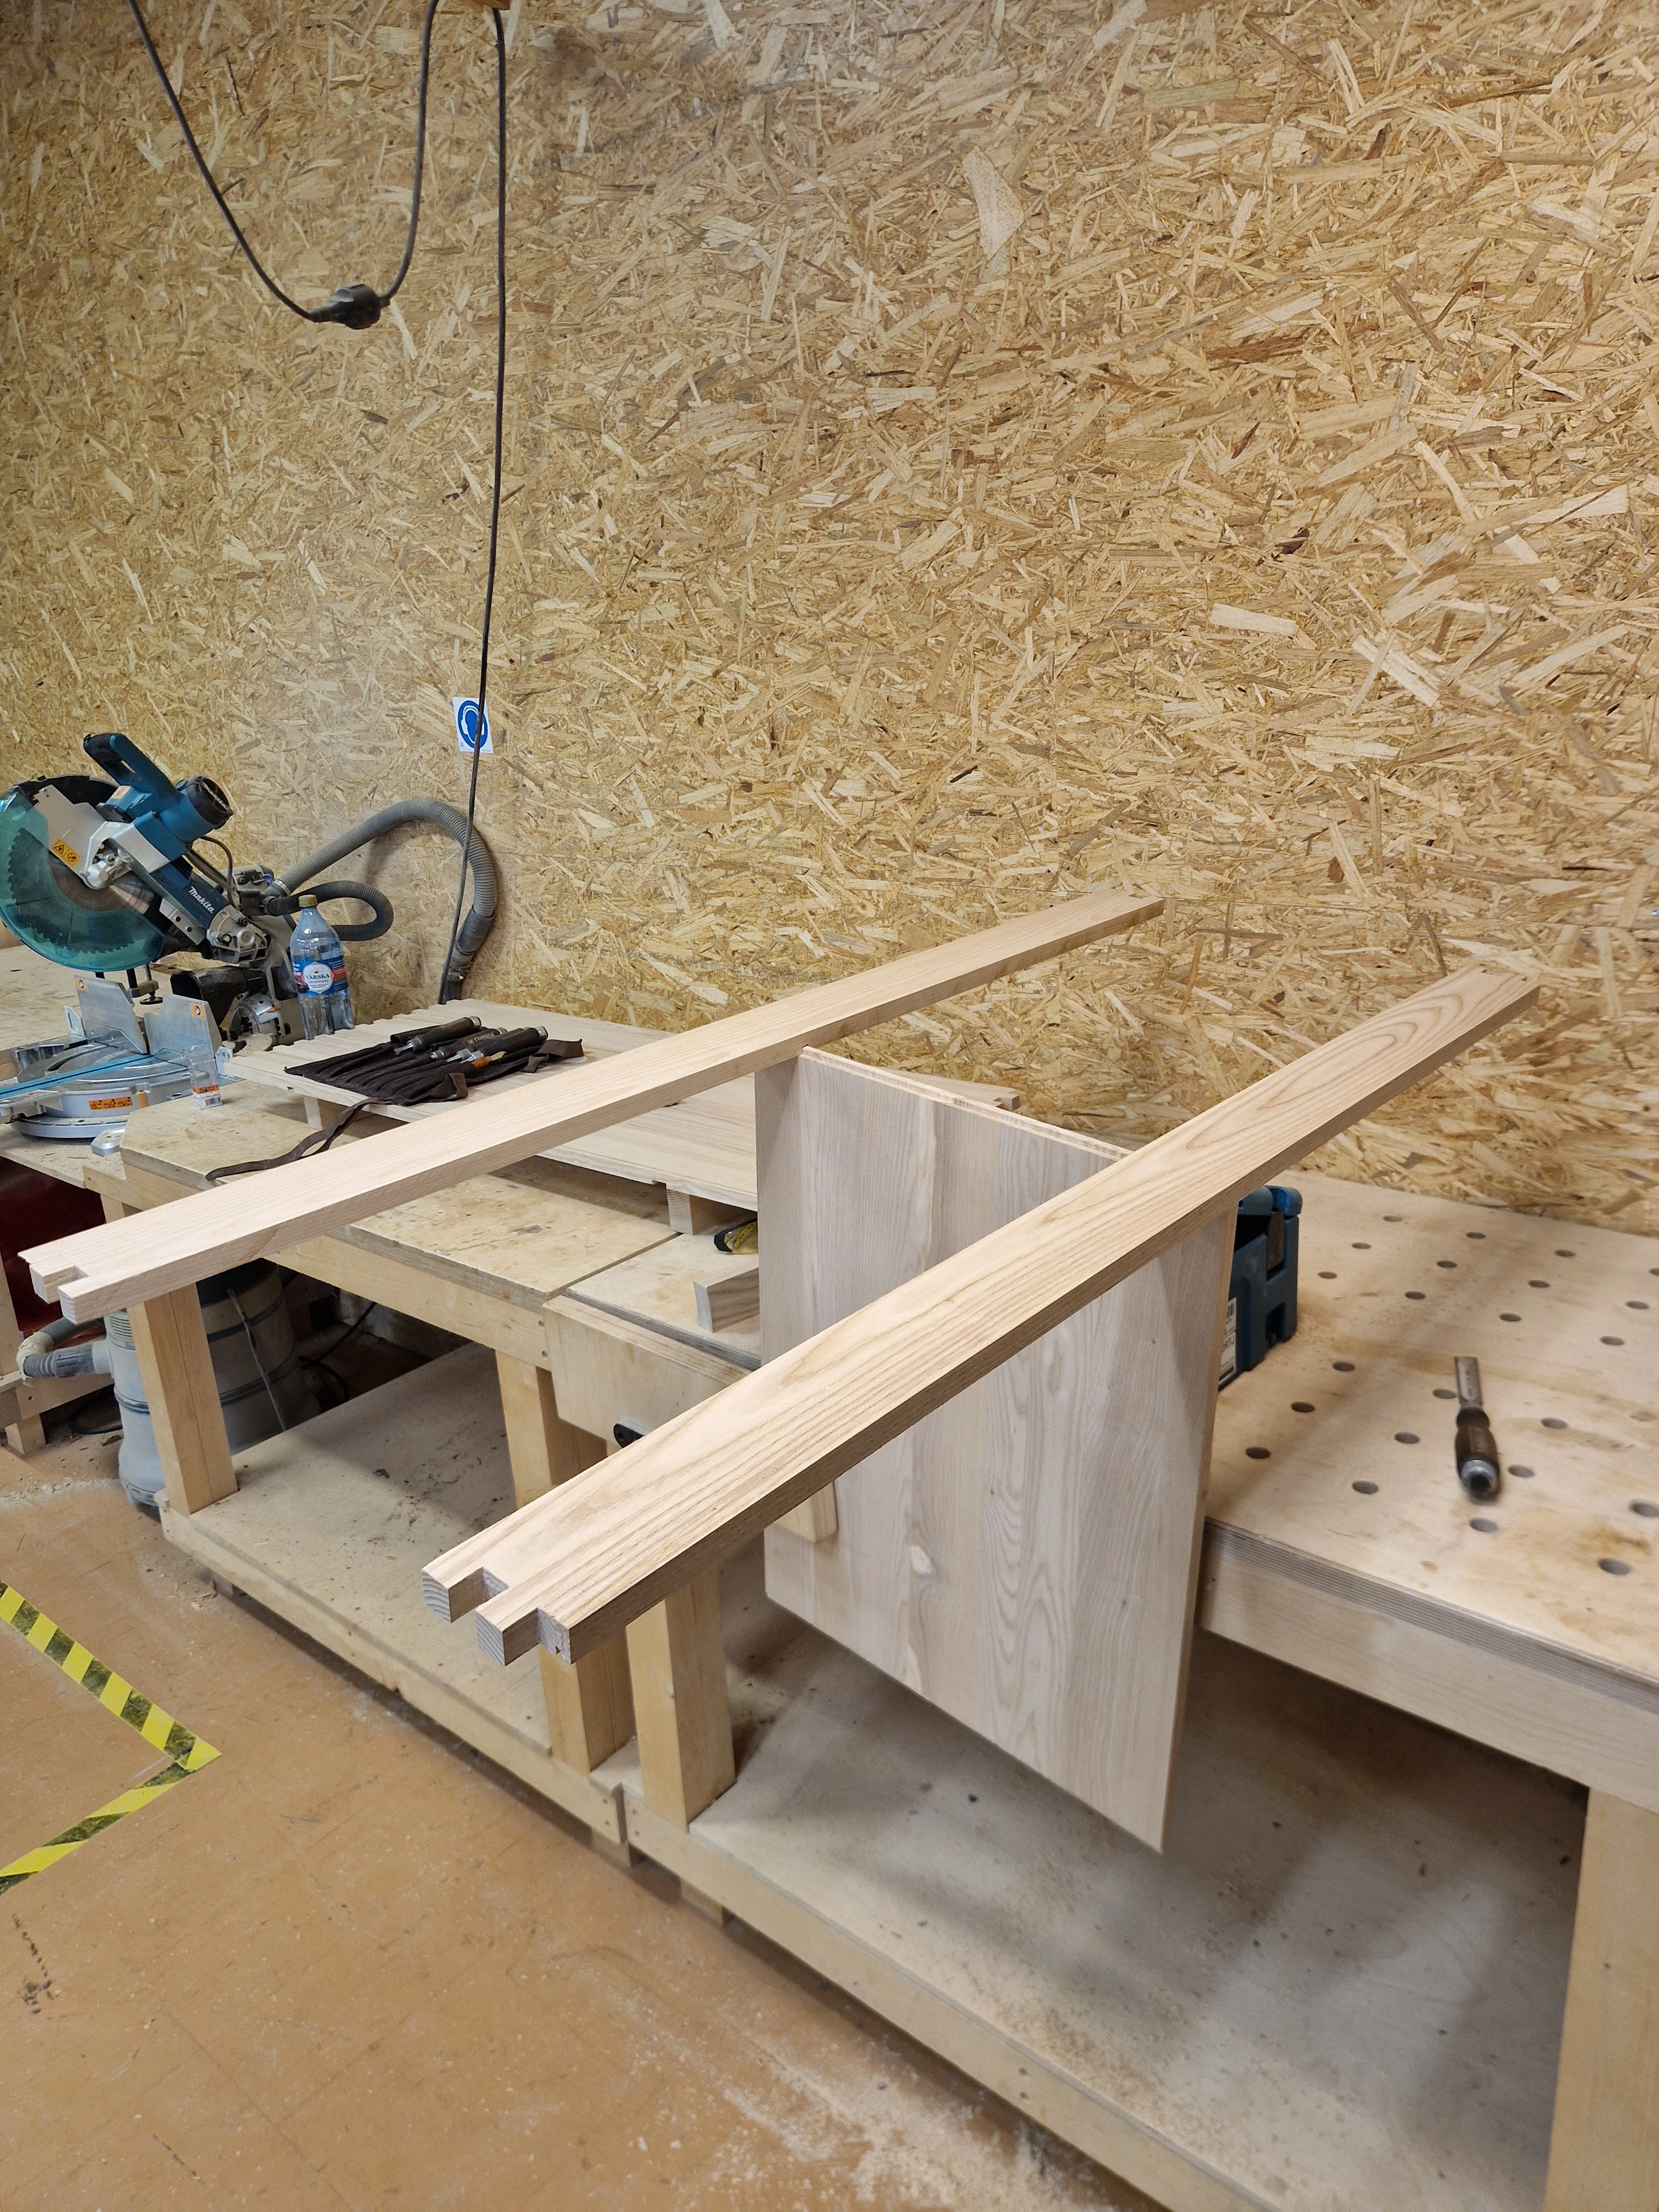
The usual process of material selection, milling them flat & square and then joining them into panels. Panels are flattened with a wide-belt sander and cut to proper dimensions on the table saw. This project needed a 1300x500 bottom panel, 2x 690x500 side-panels and 1300x80 stretchers.
1 / 5
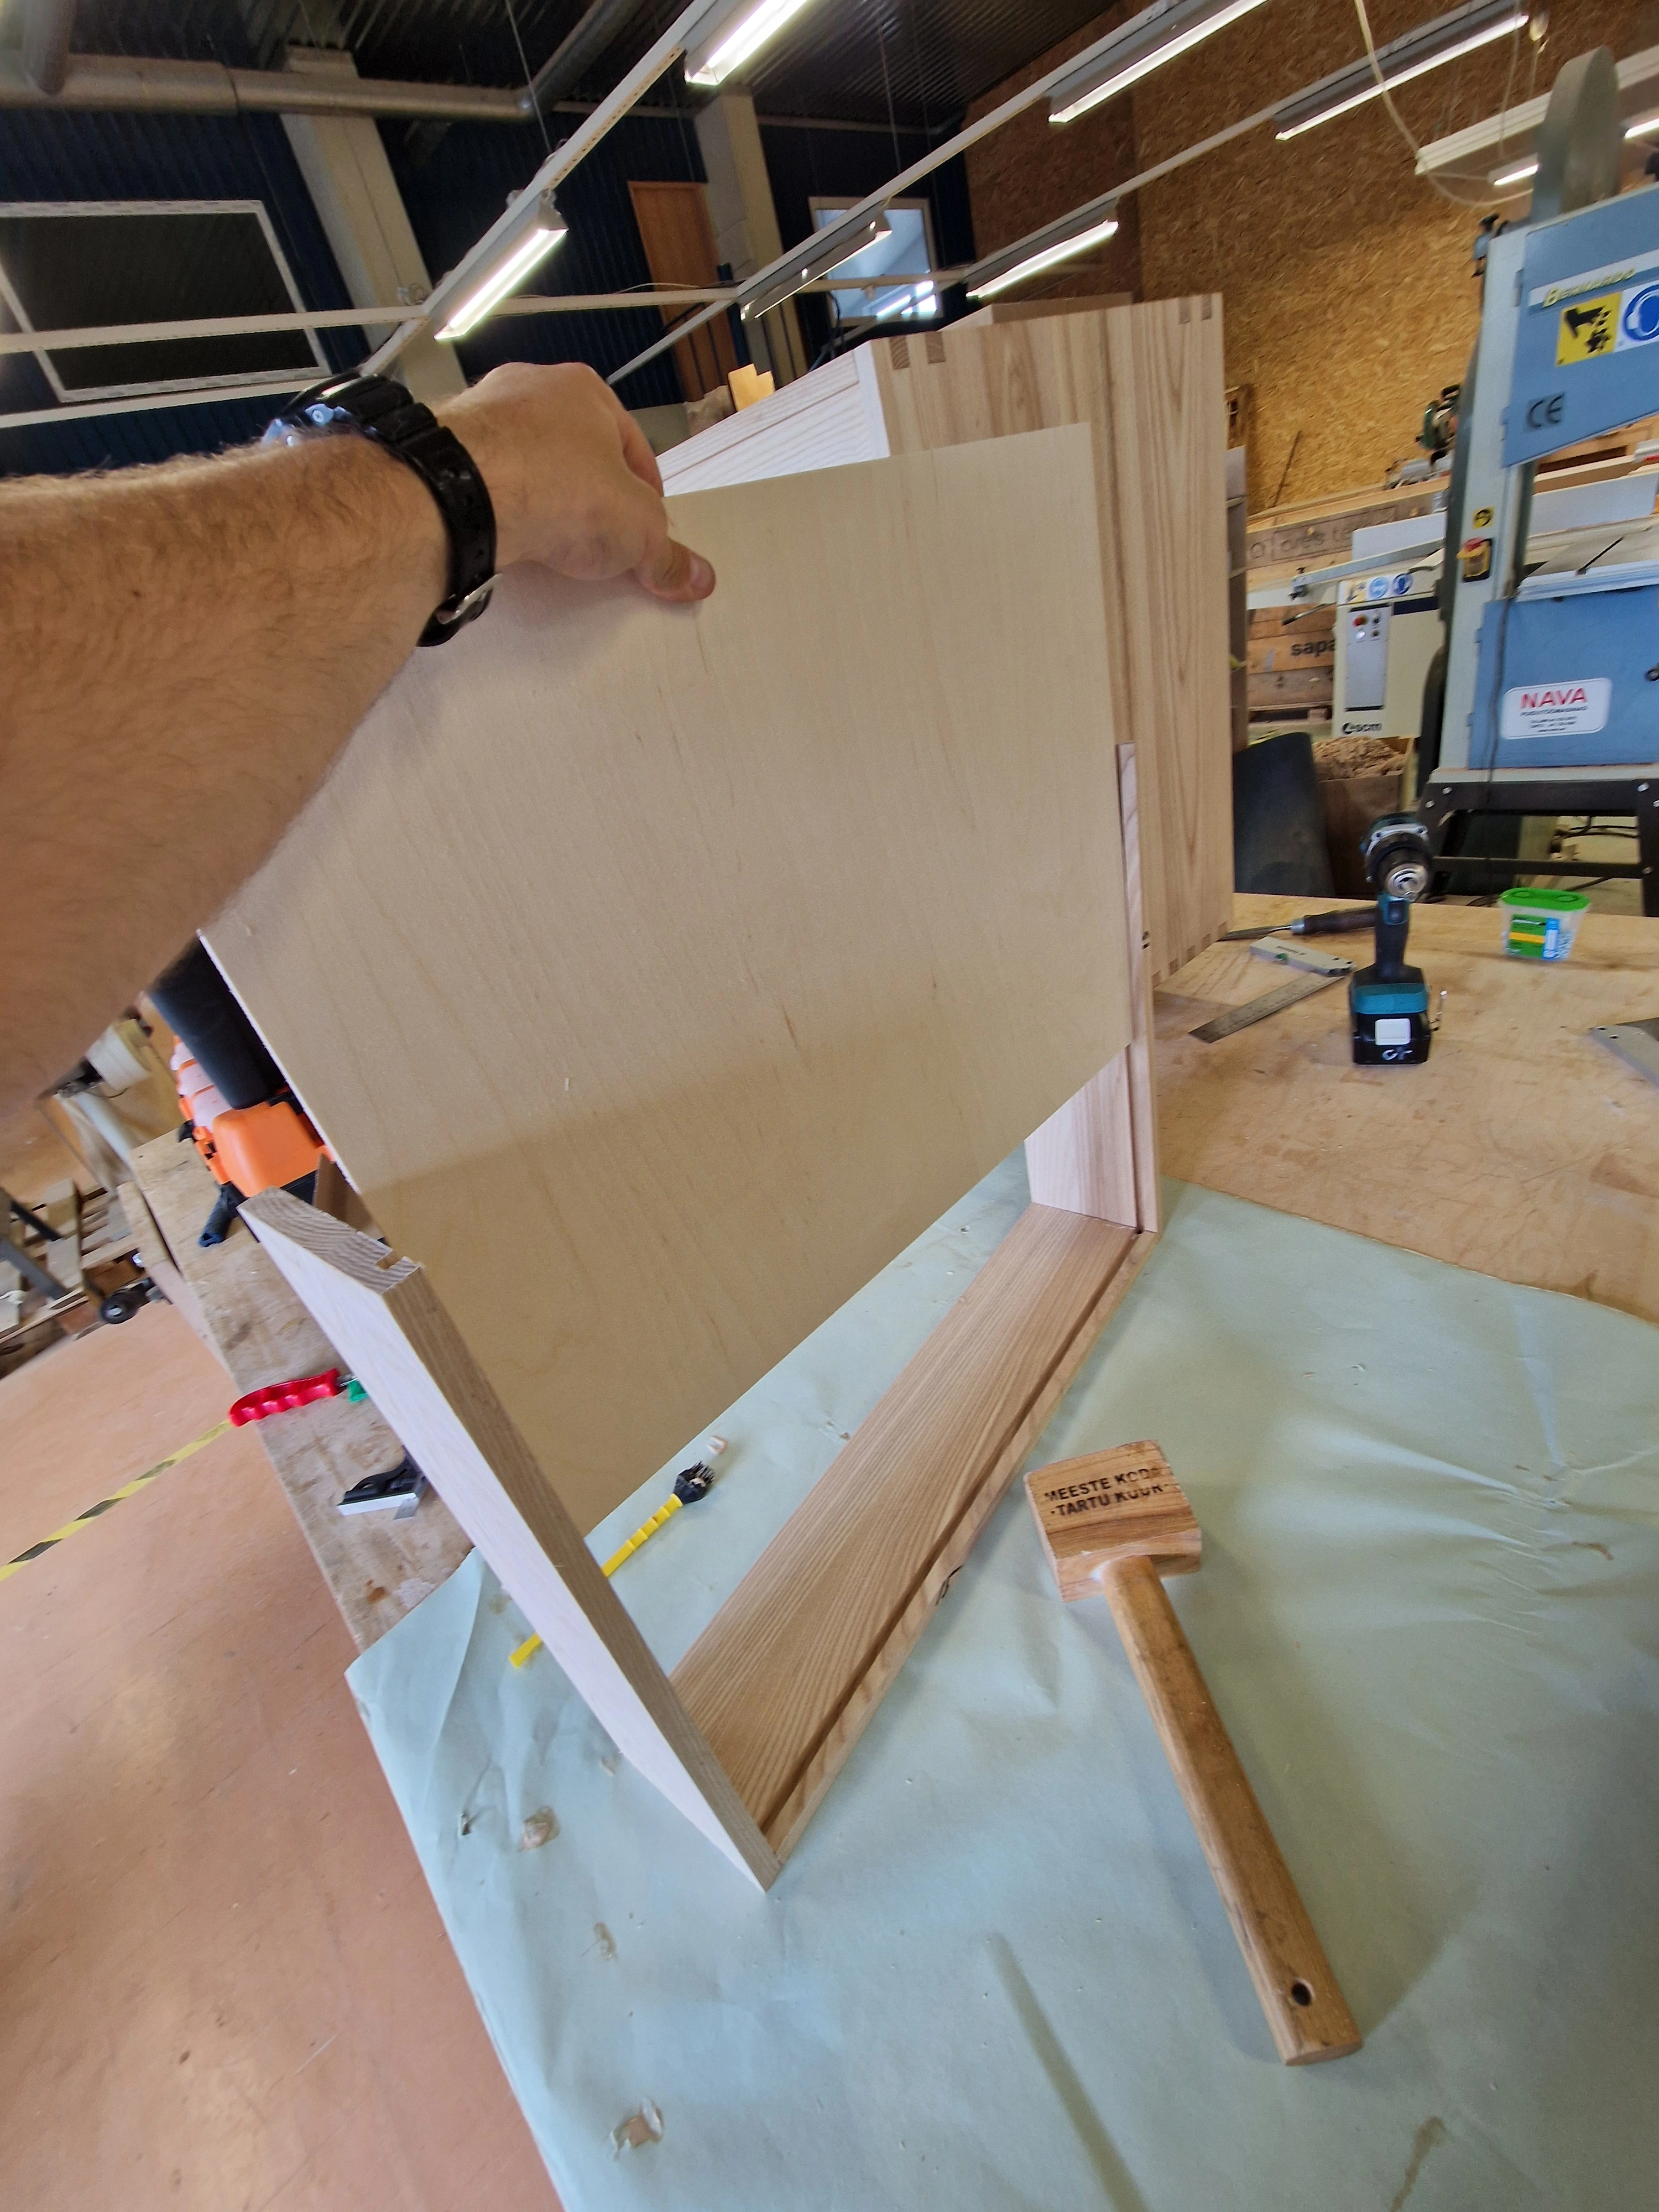
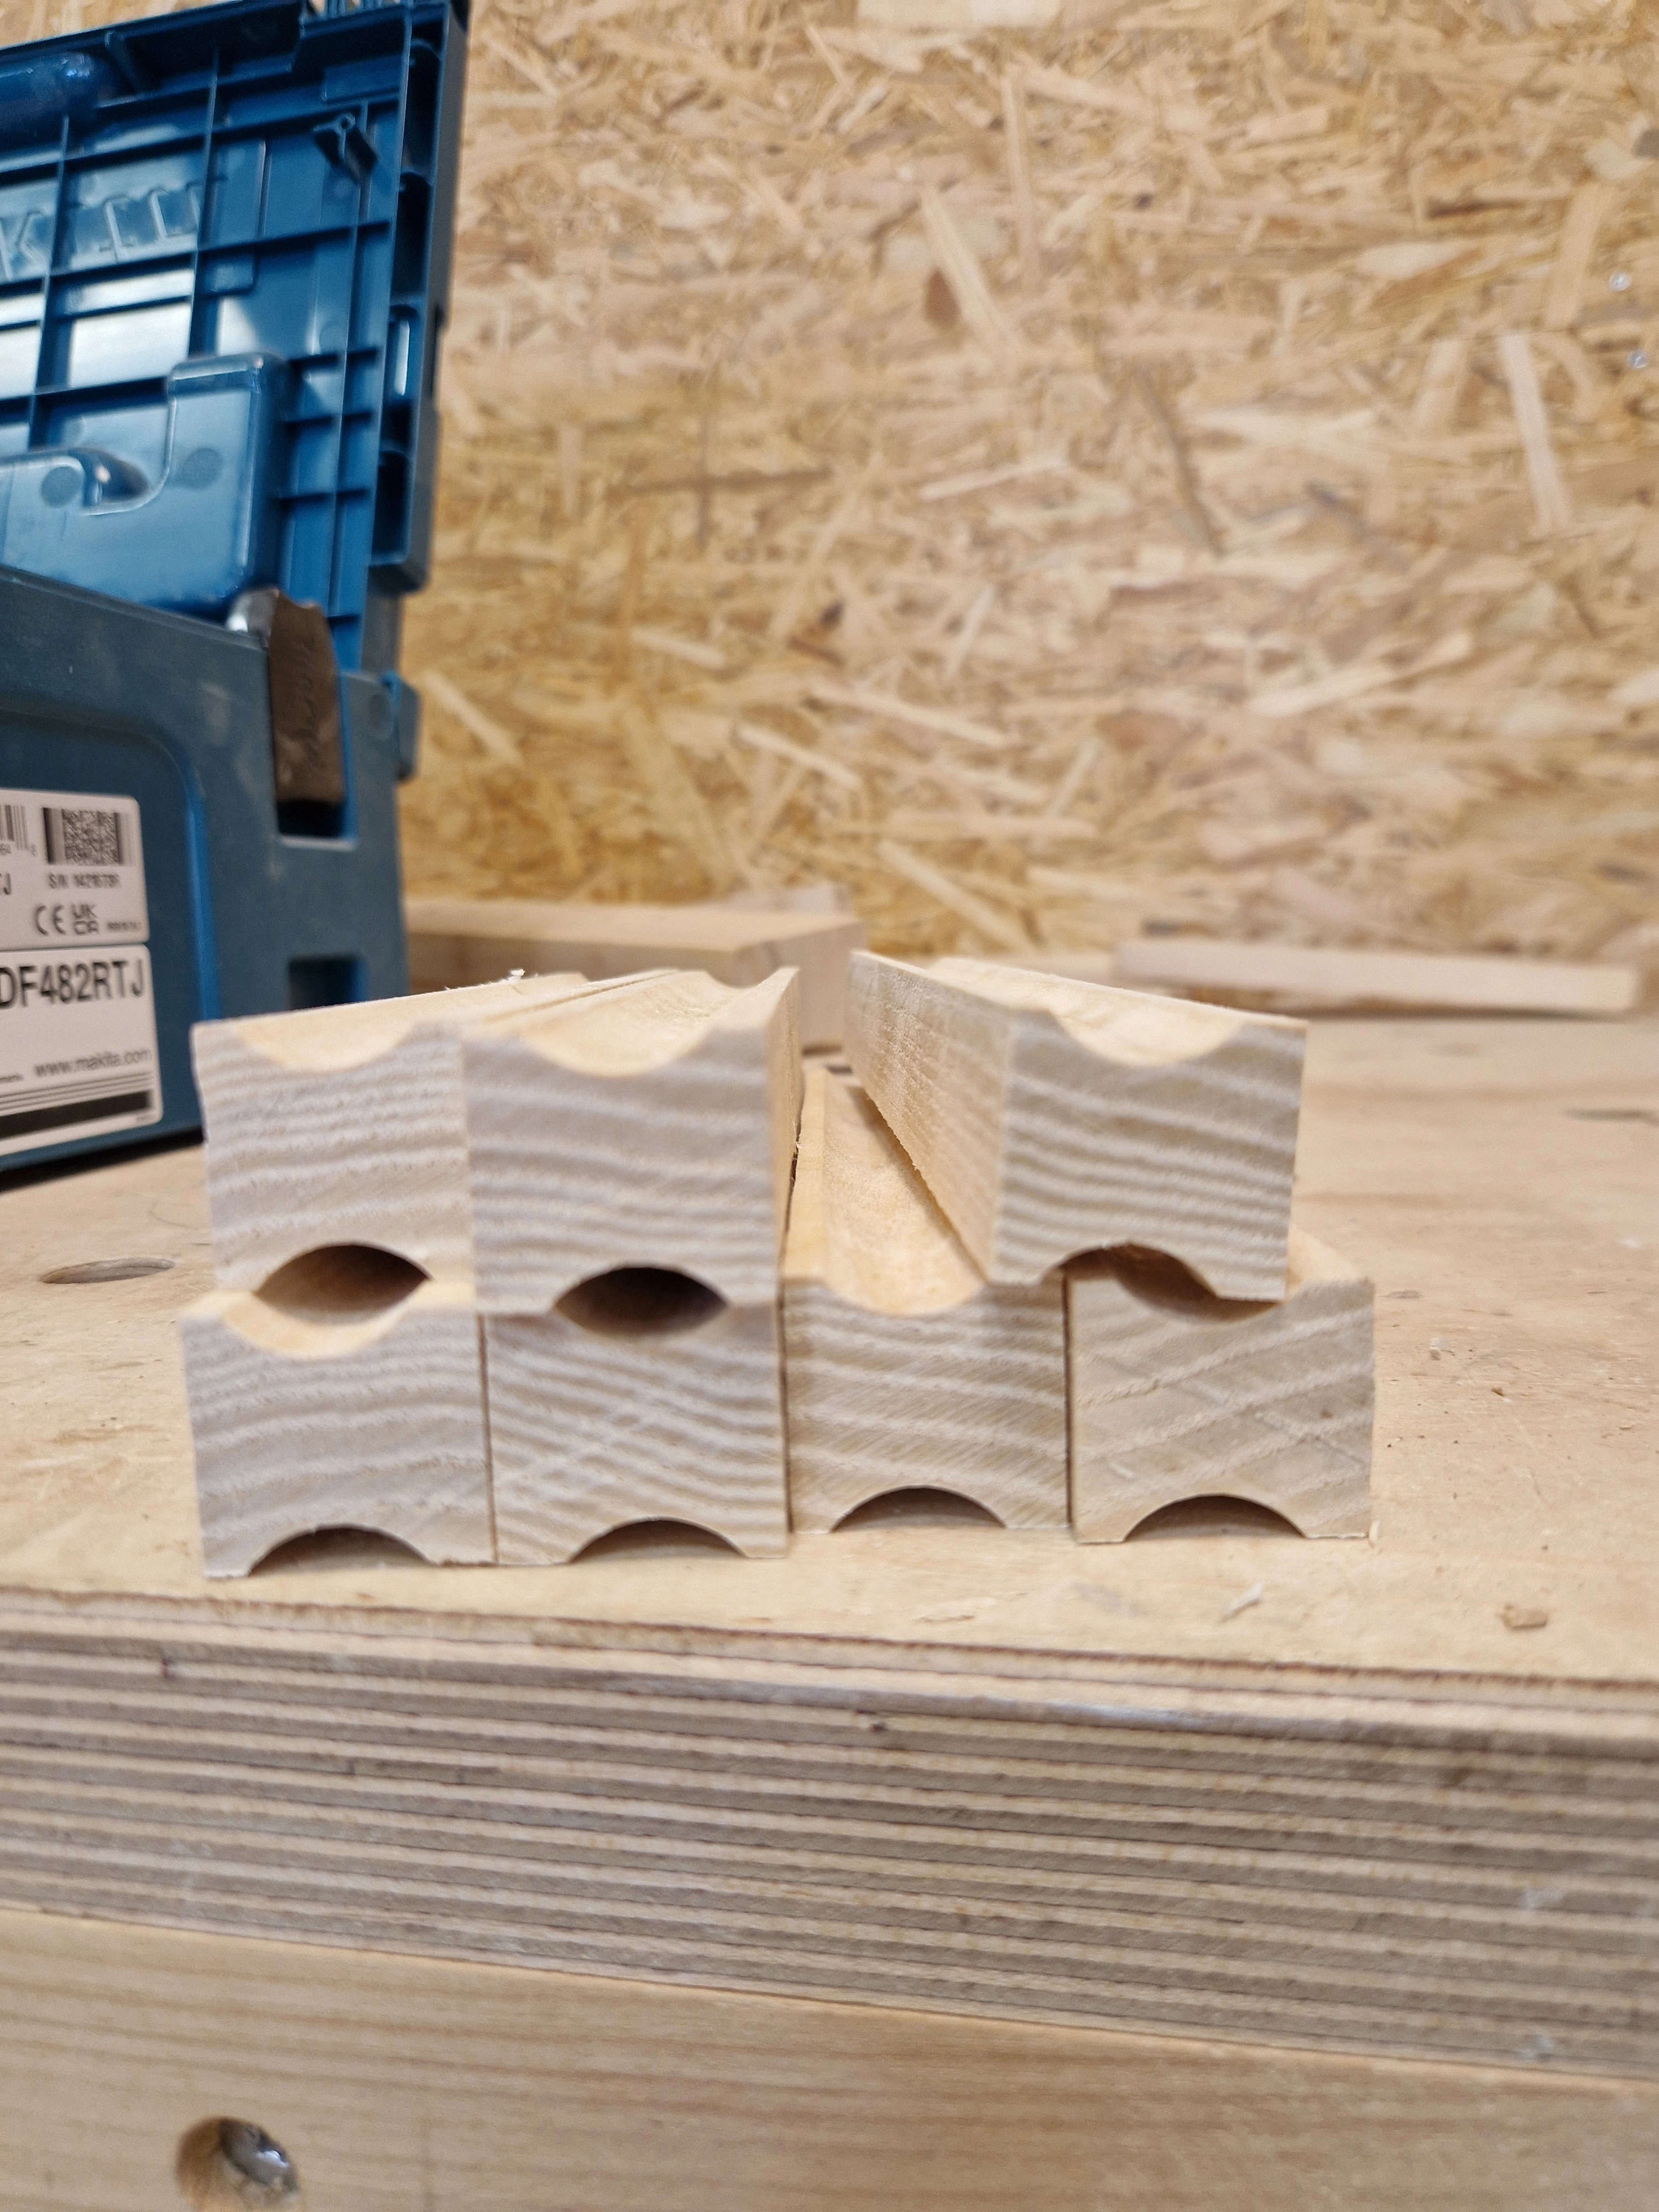
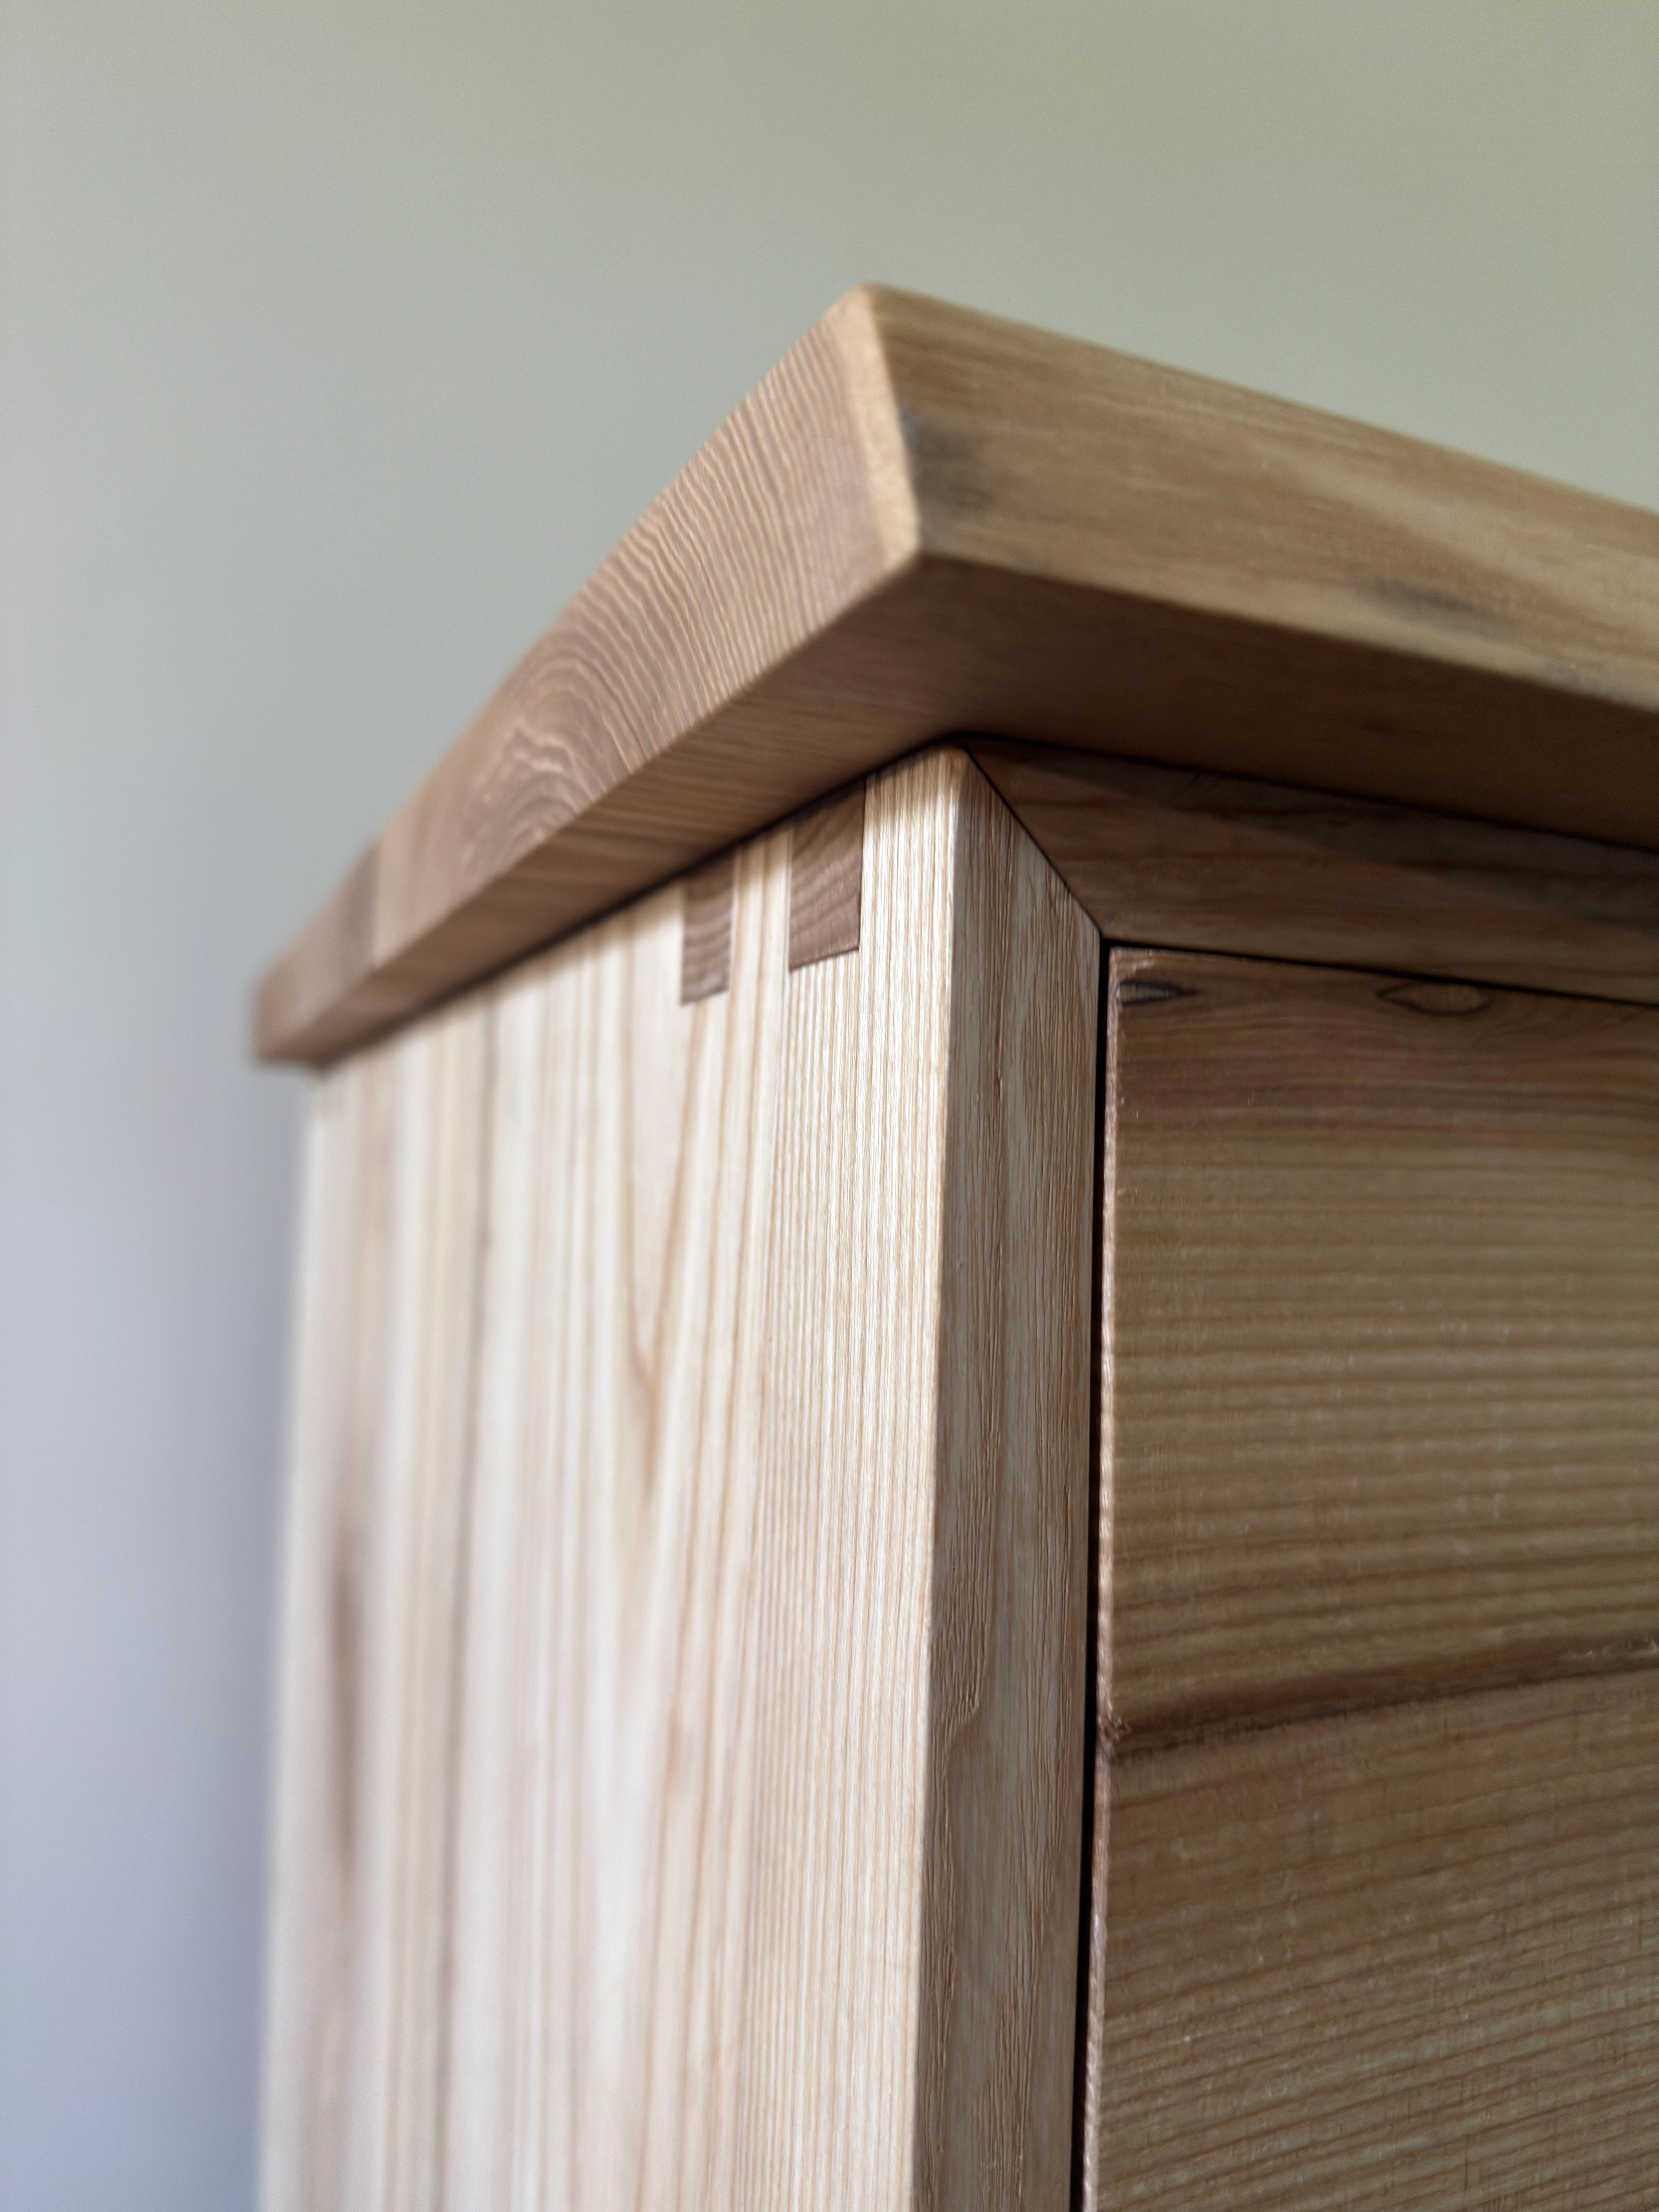
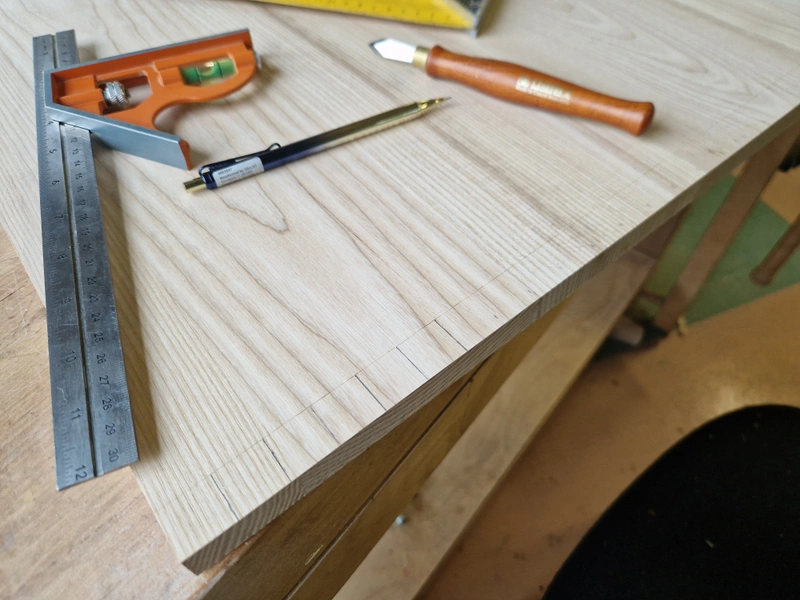
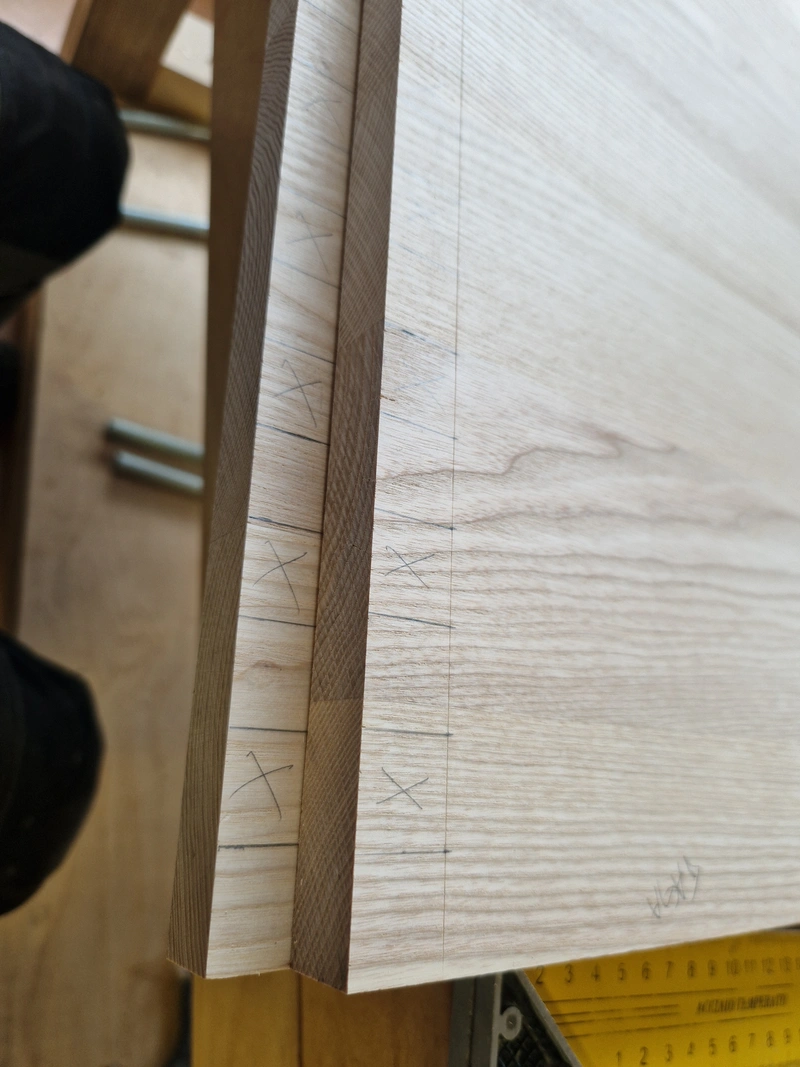
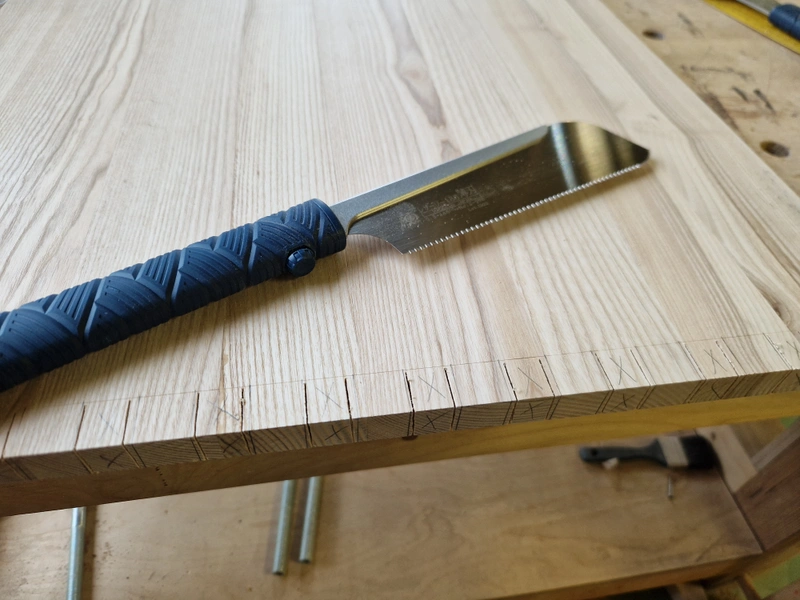
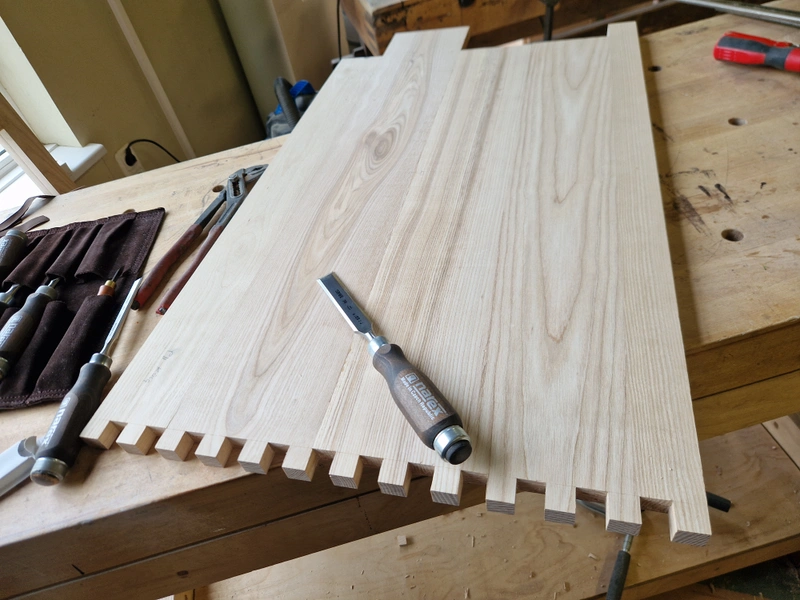
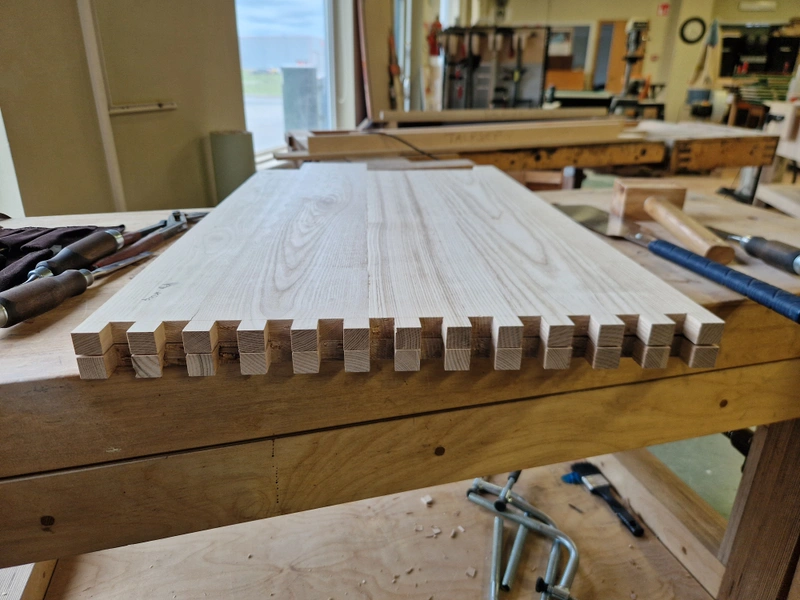
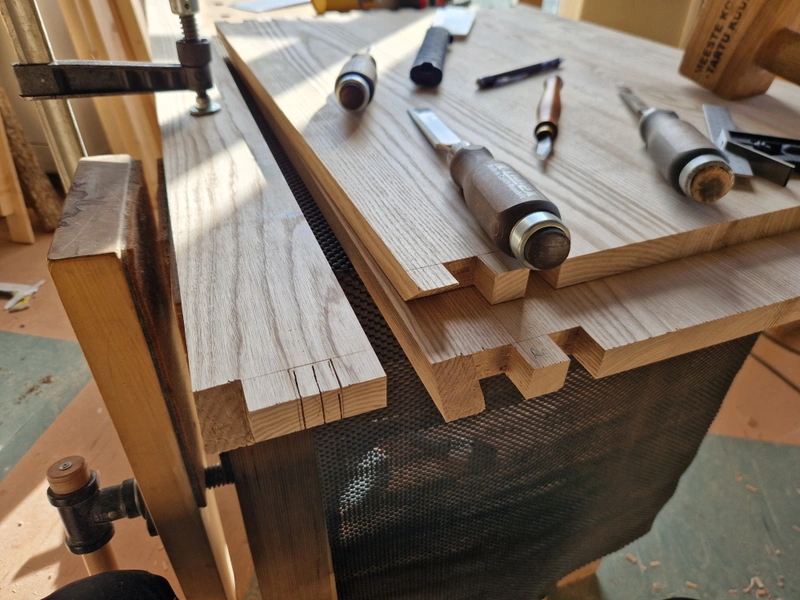
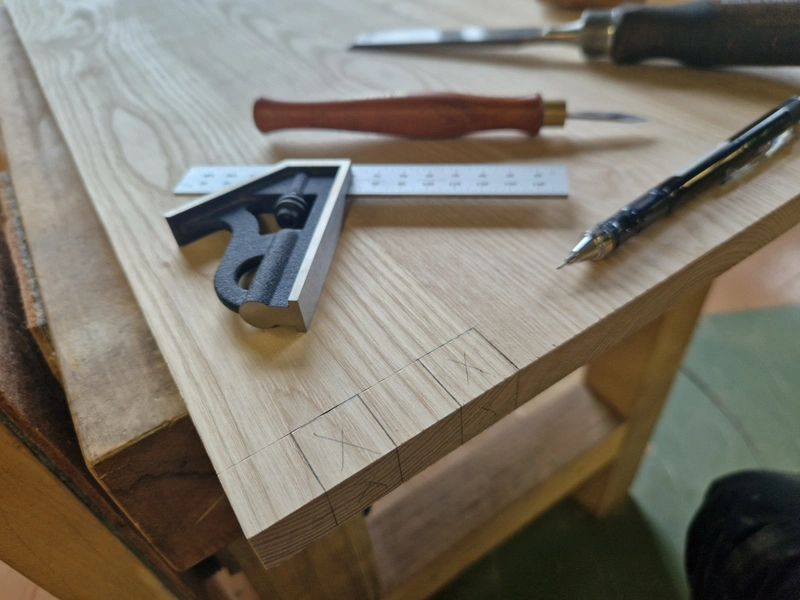
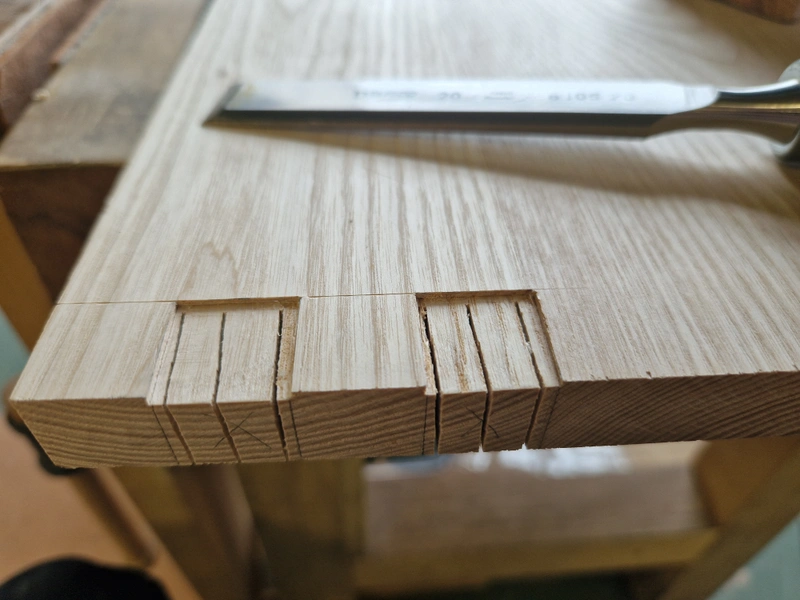
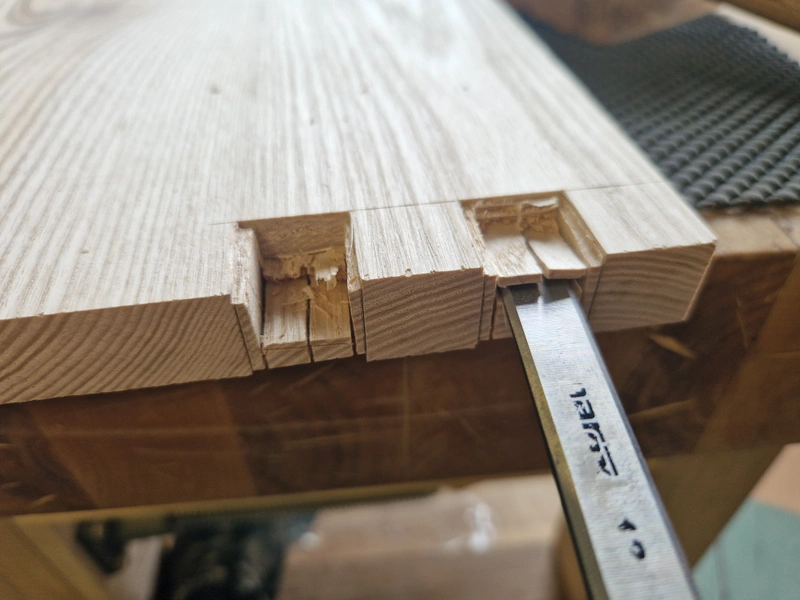
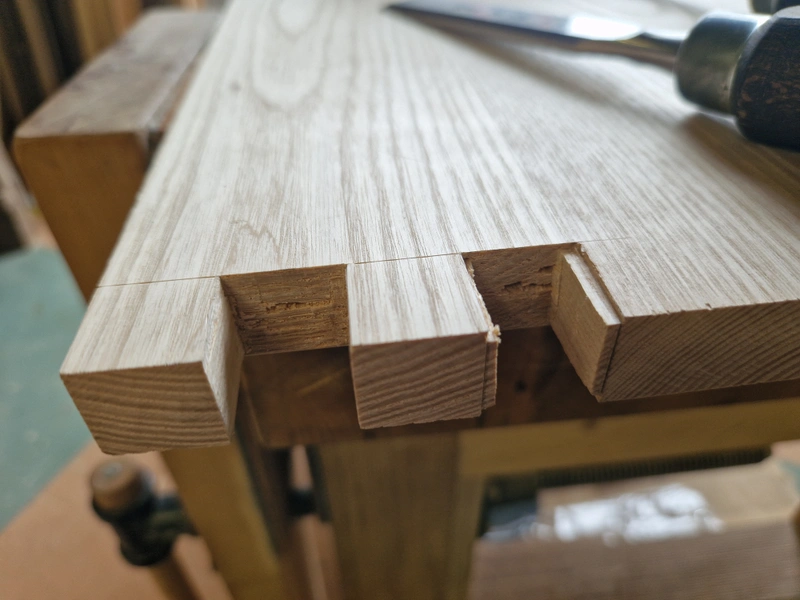
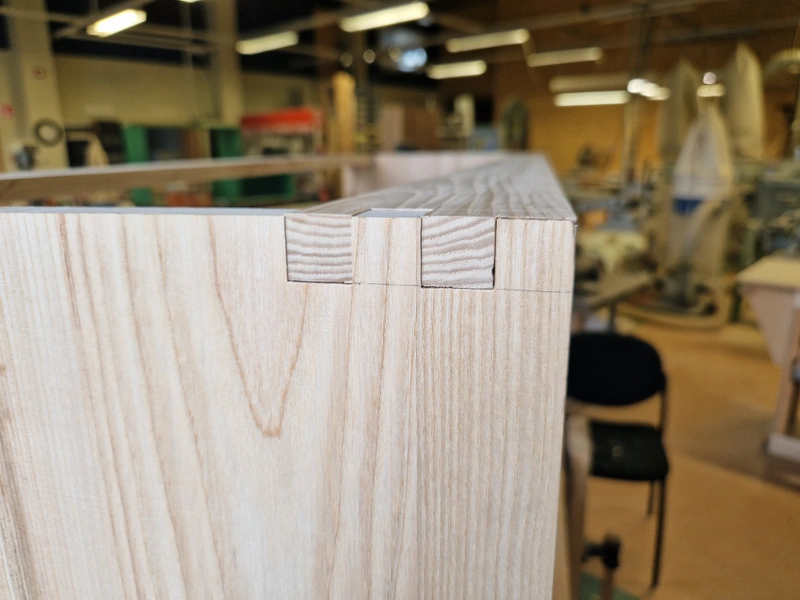
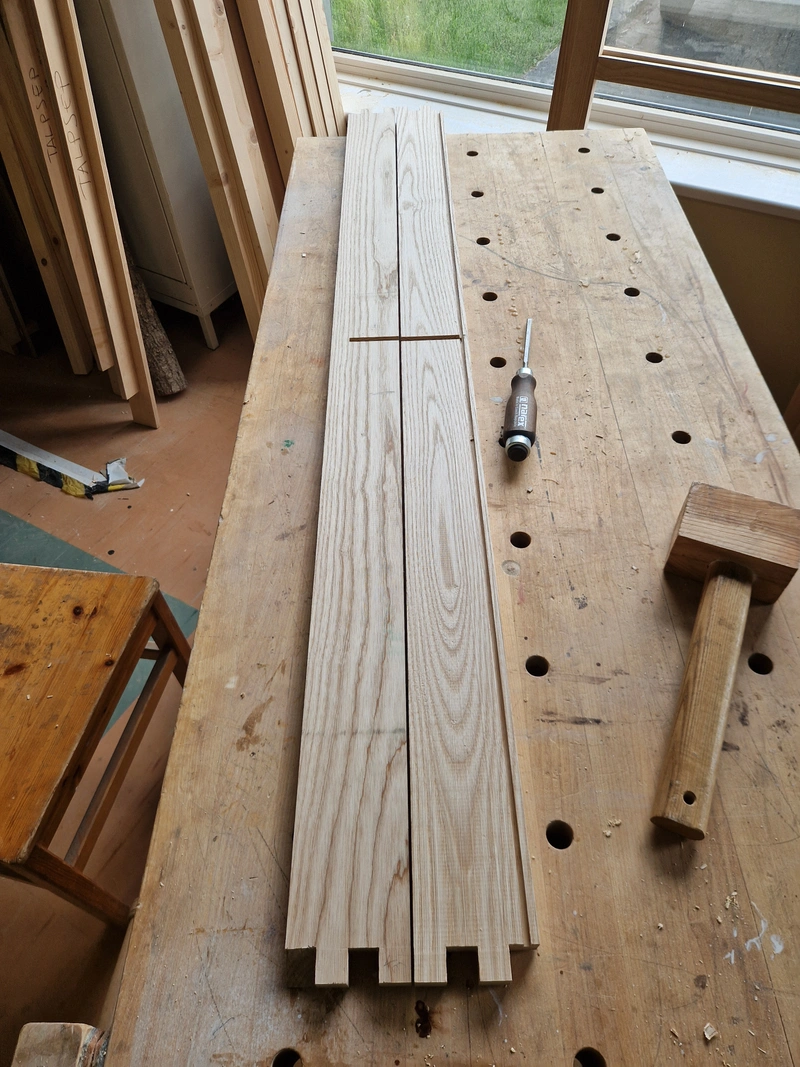
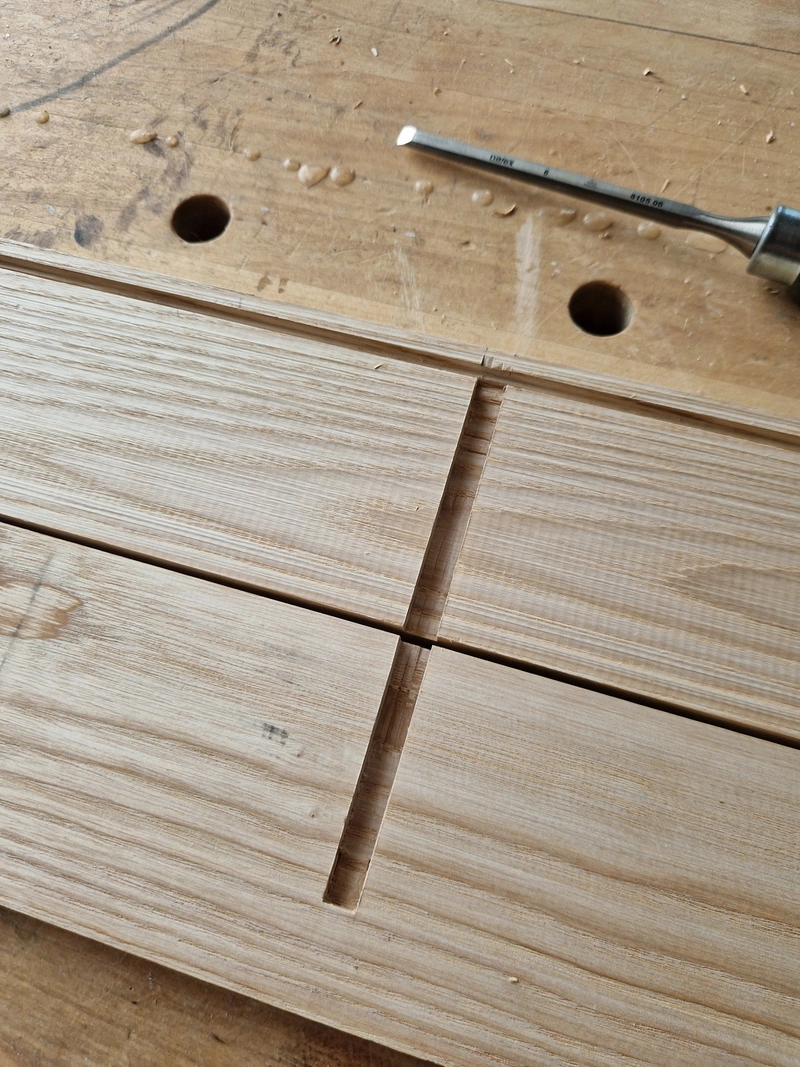
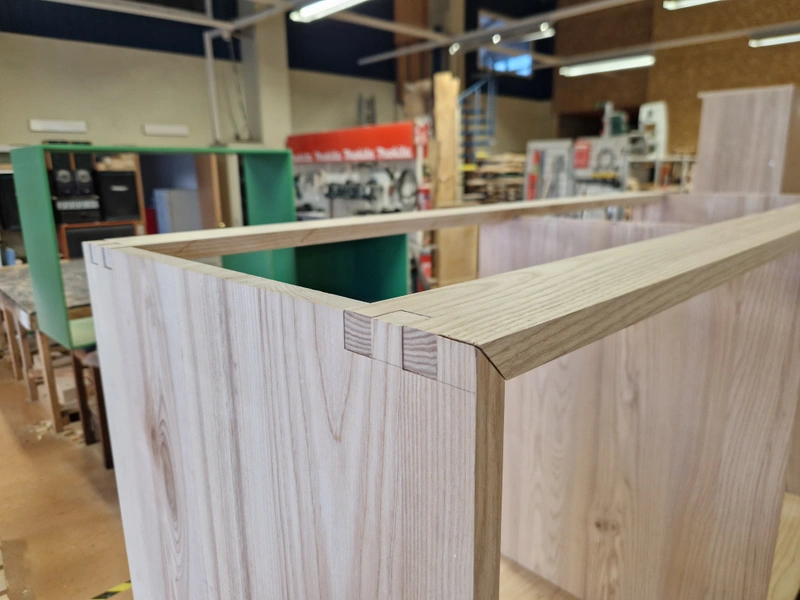
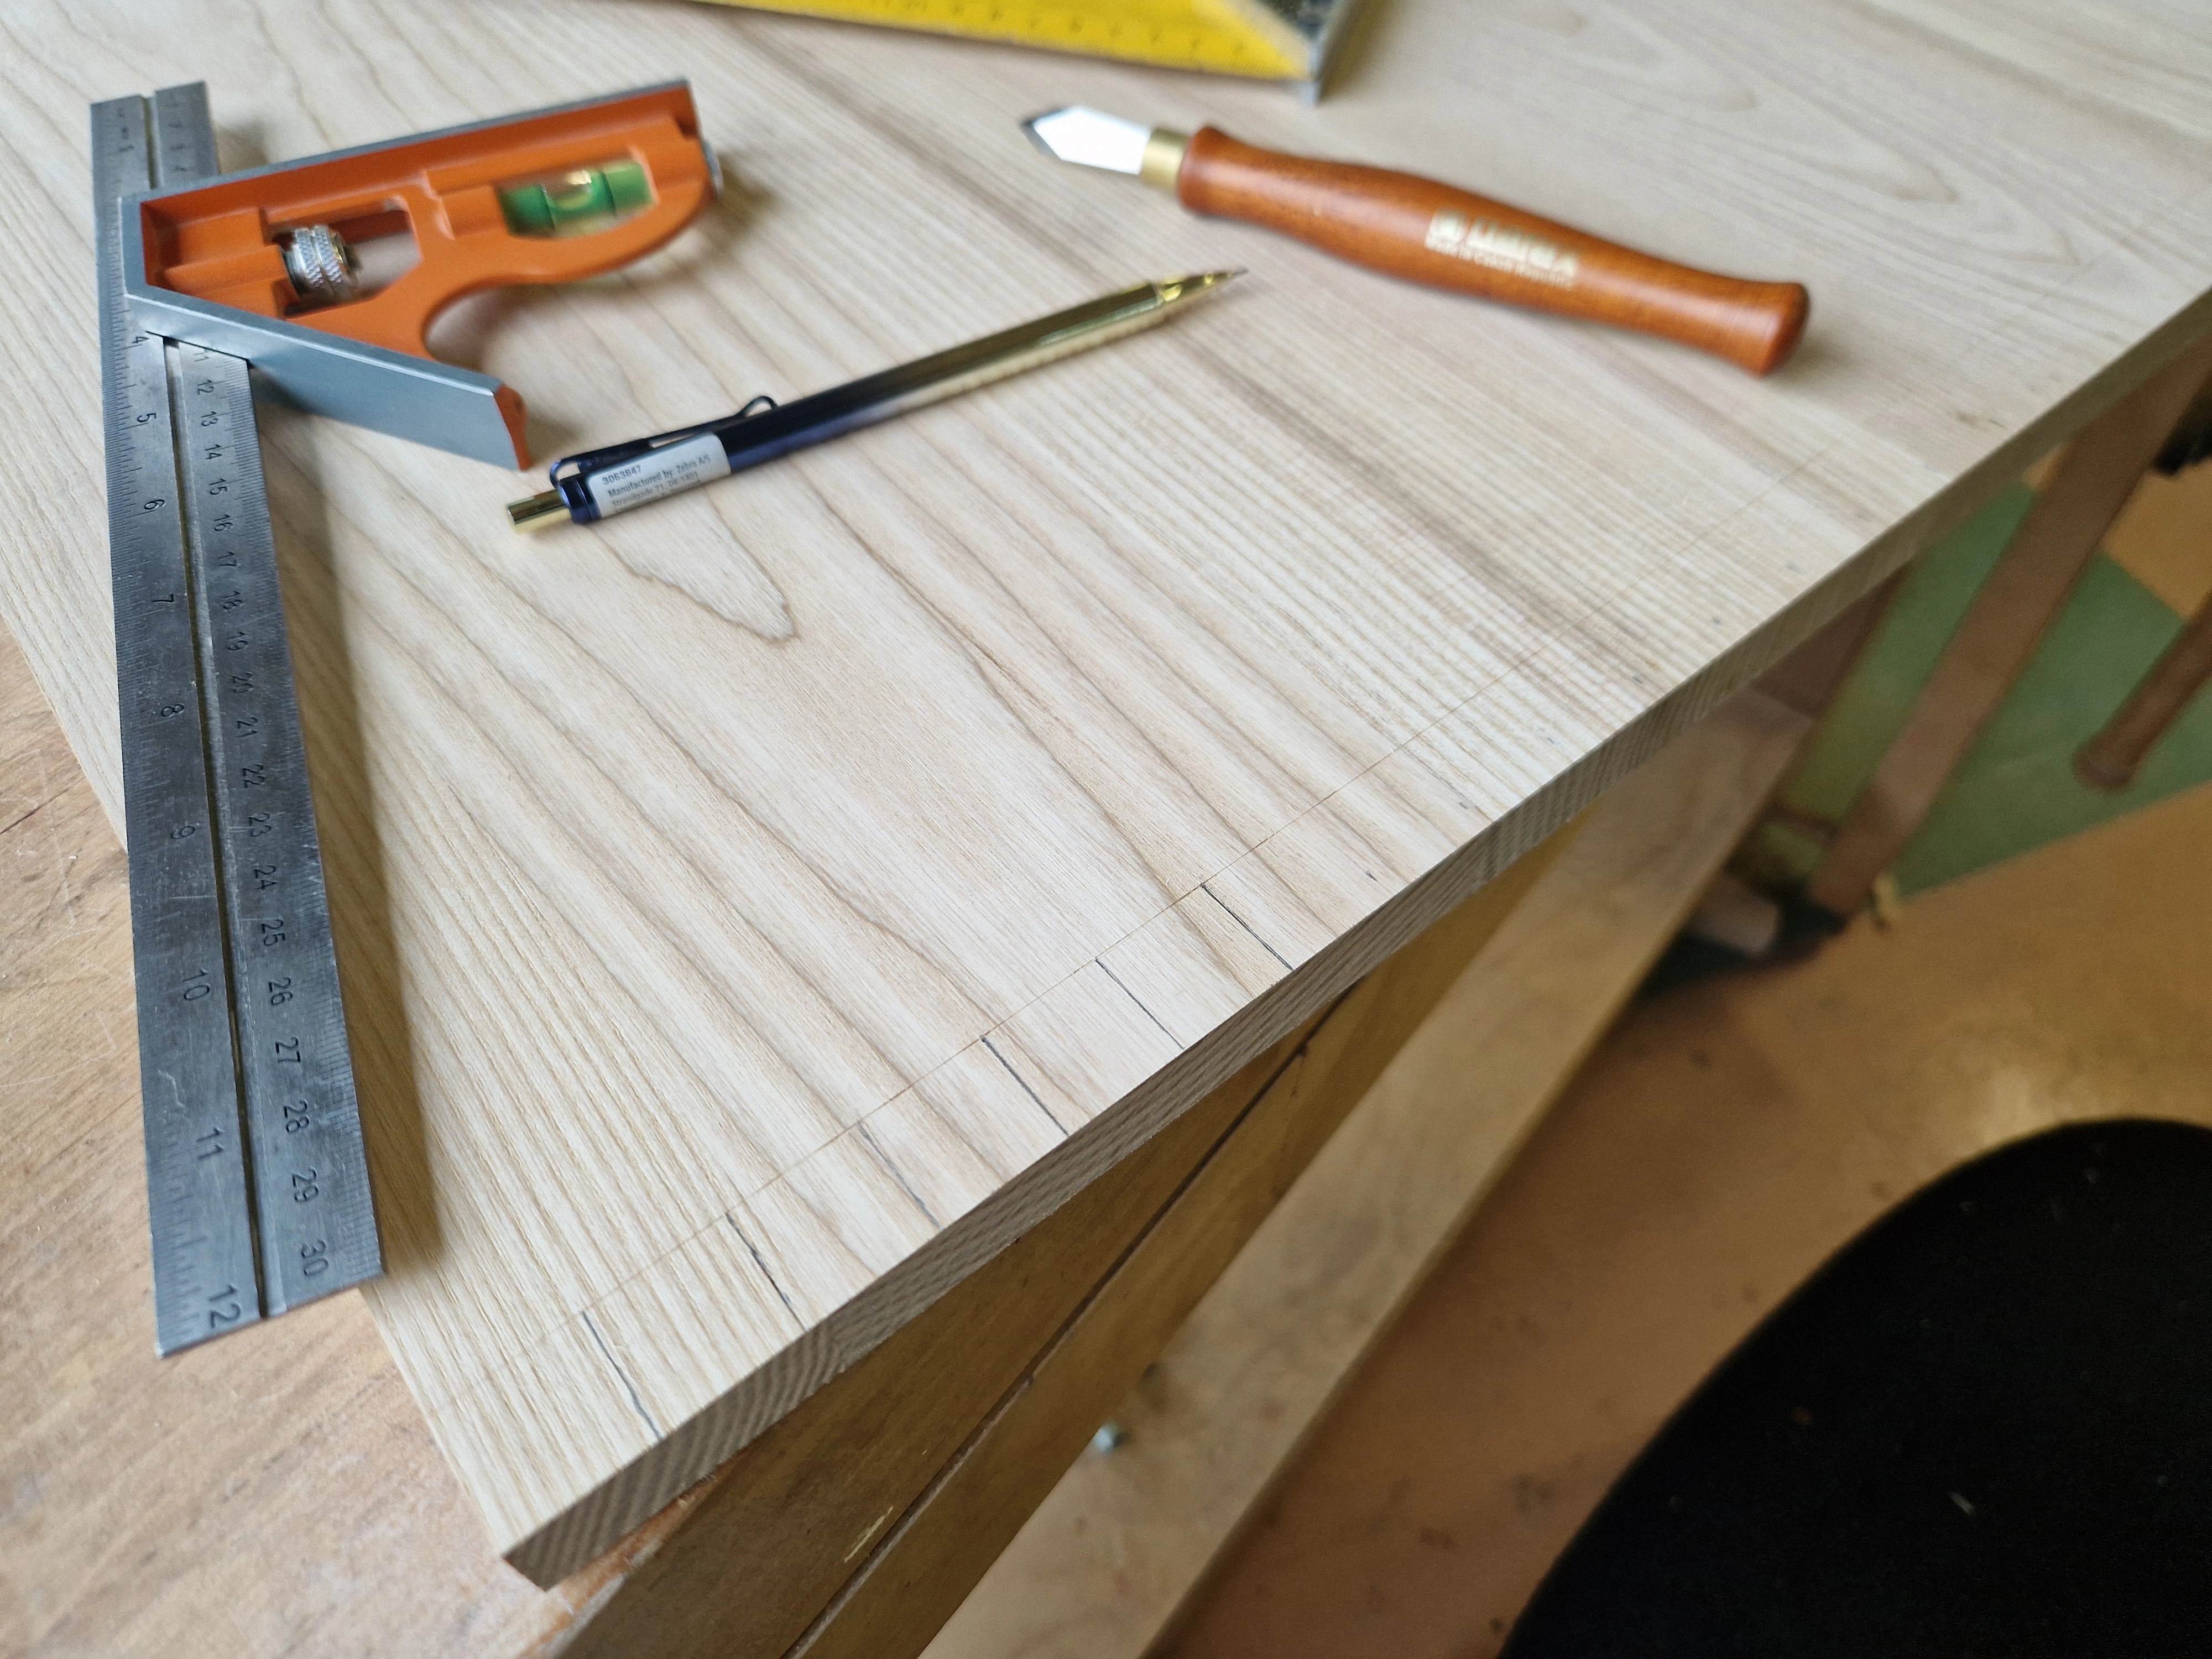
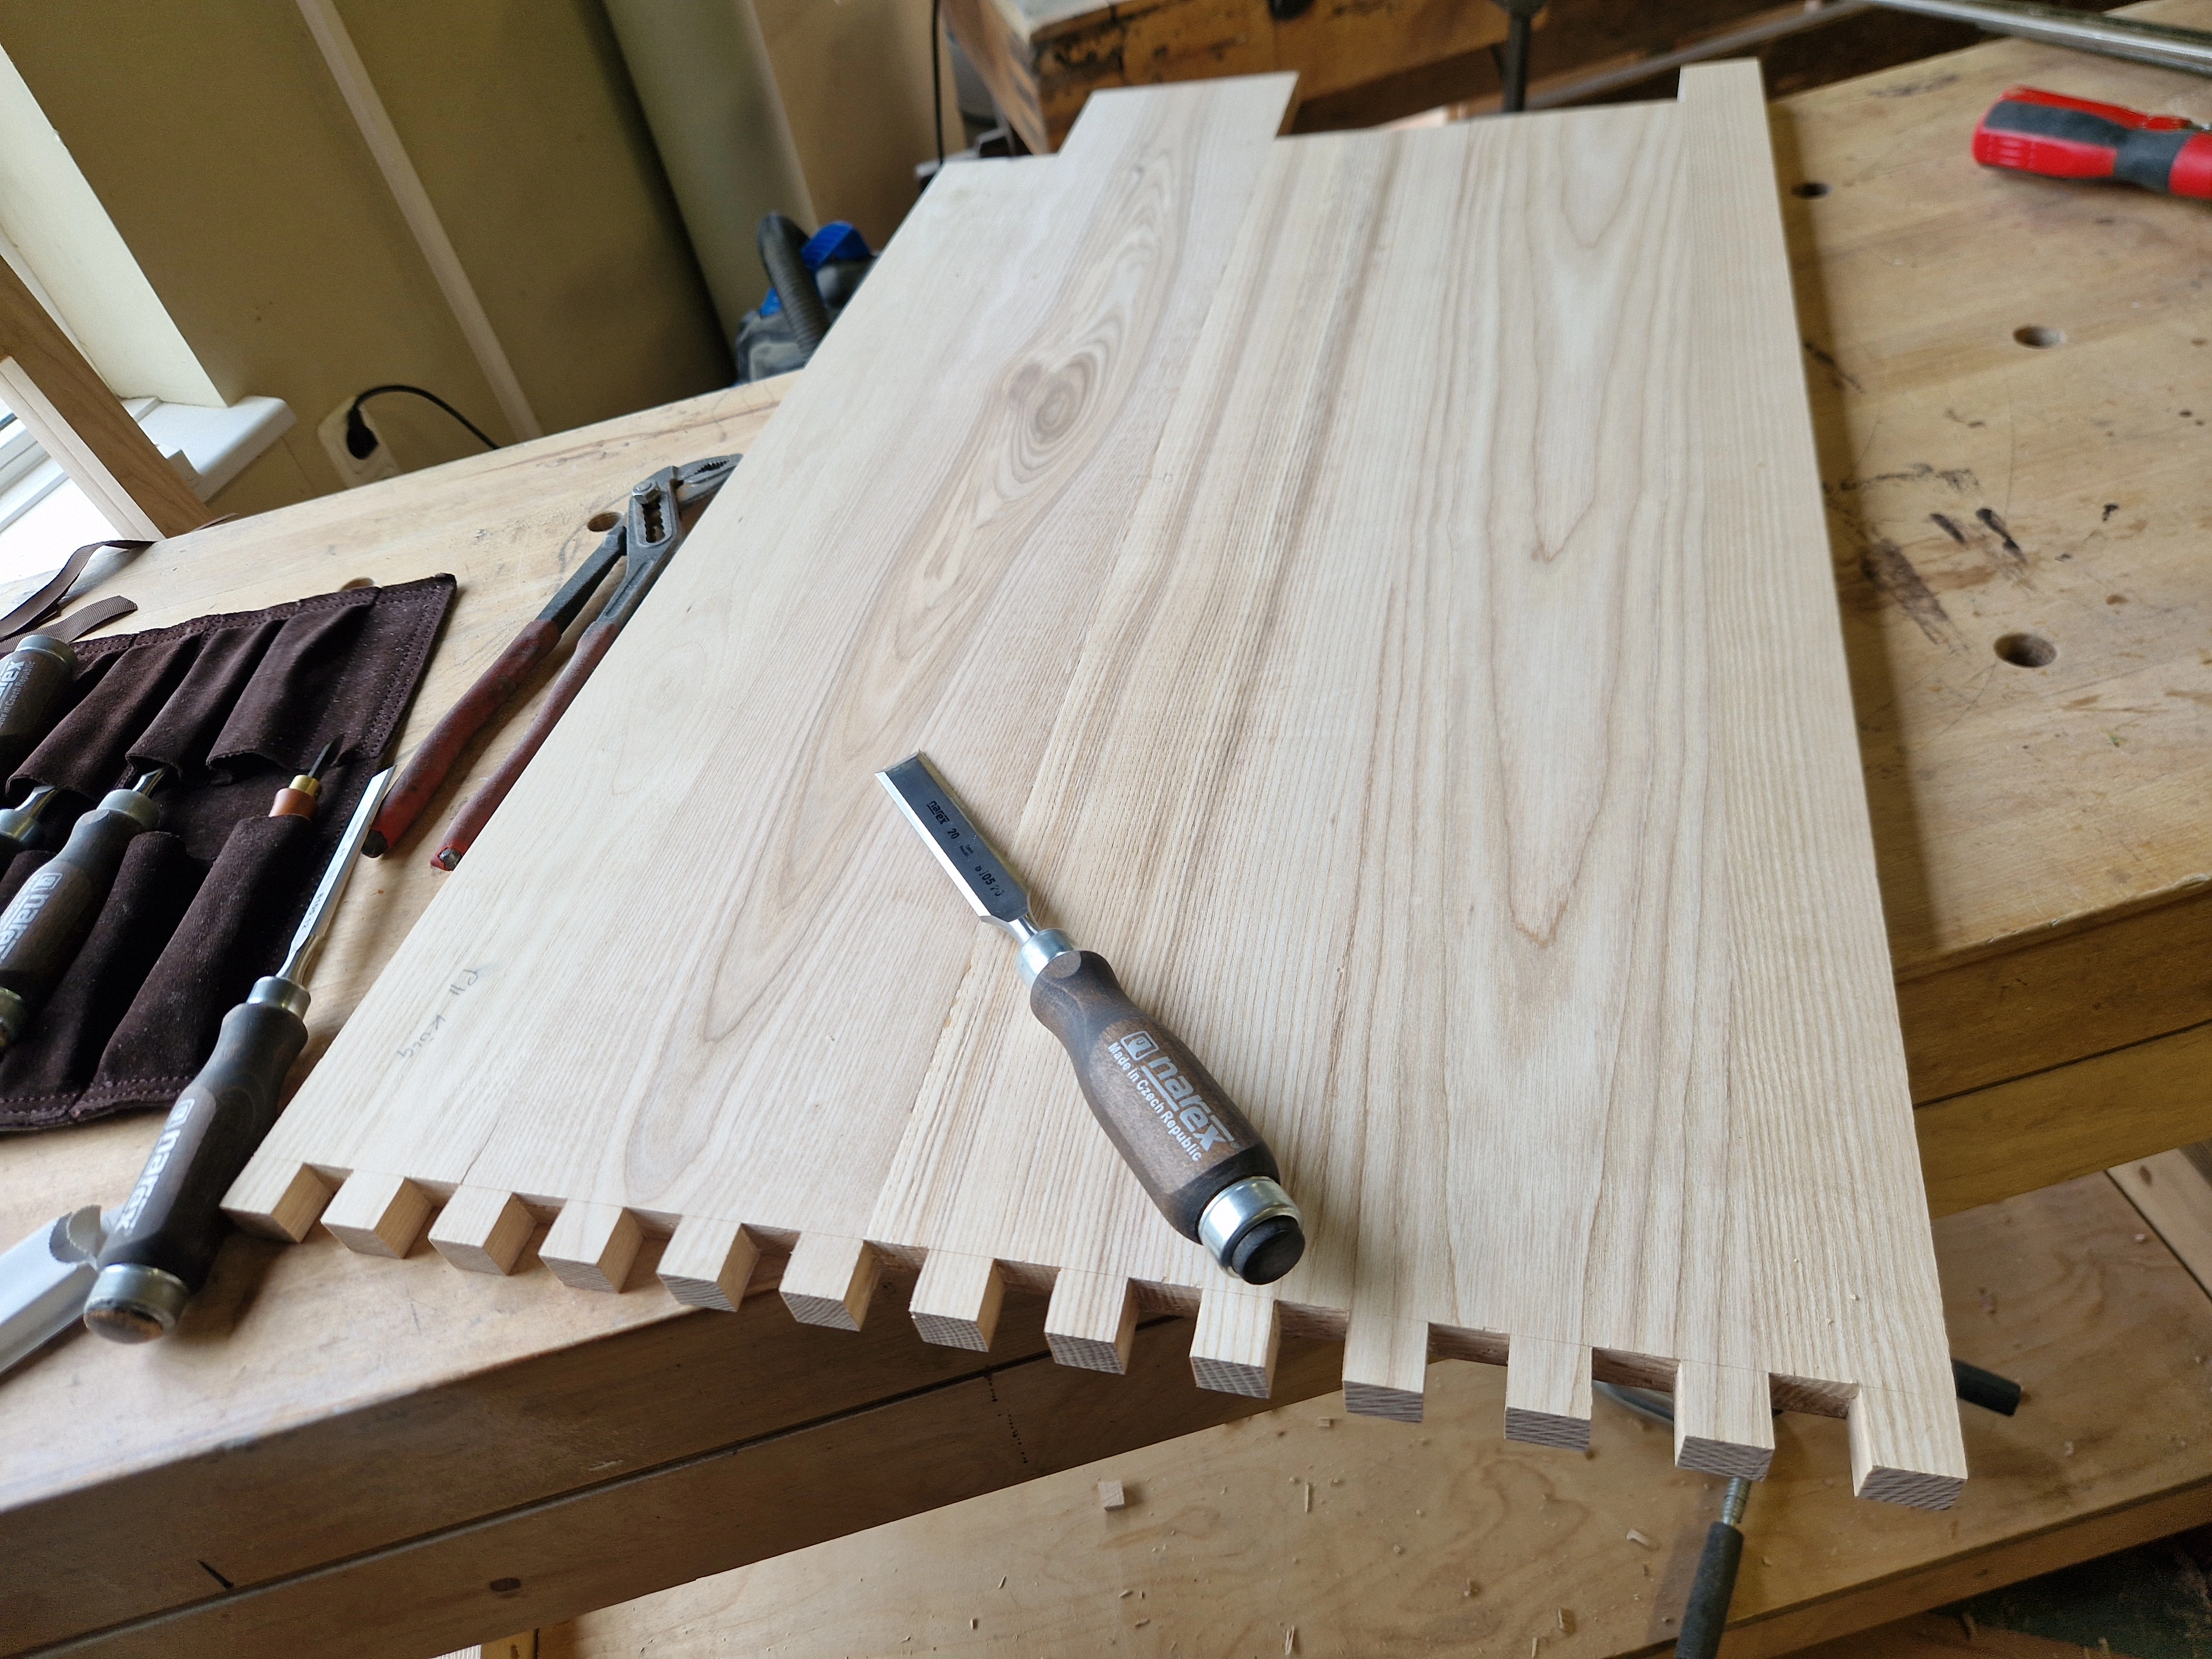
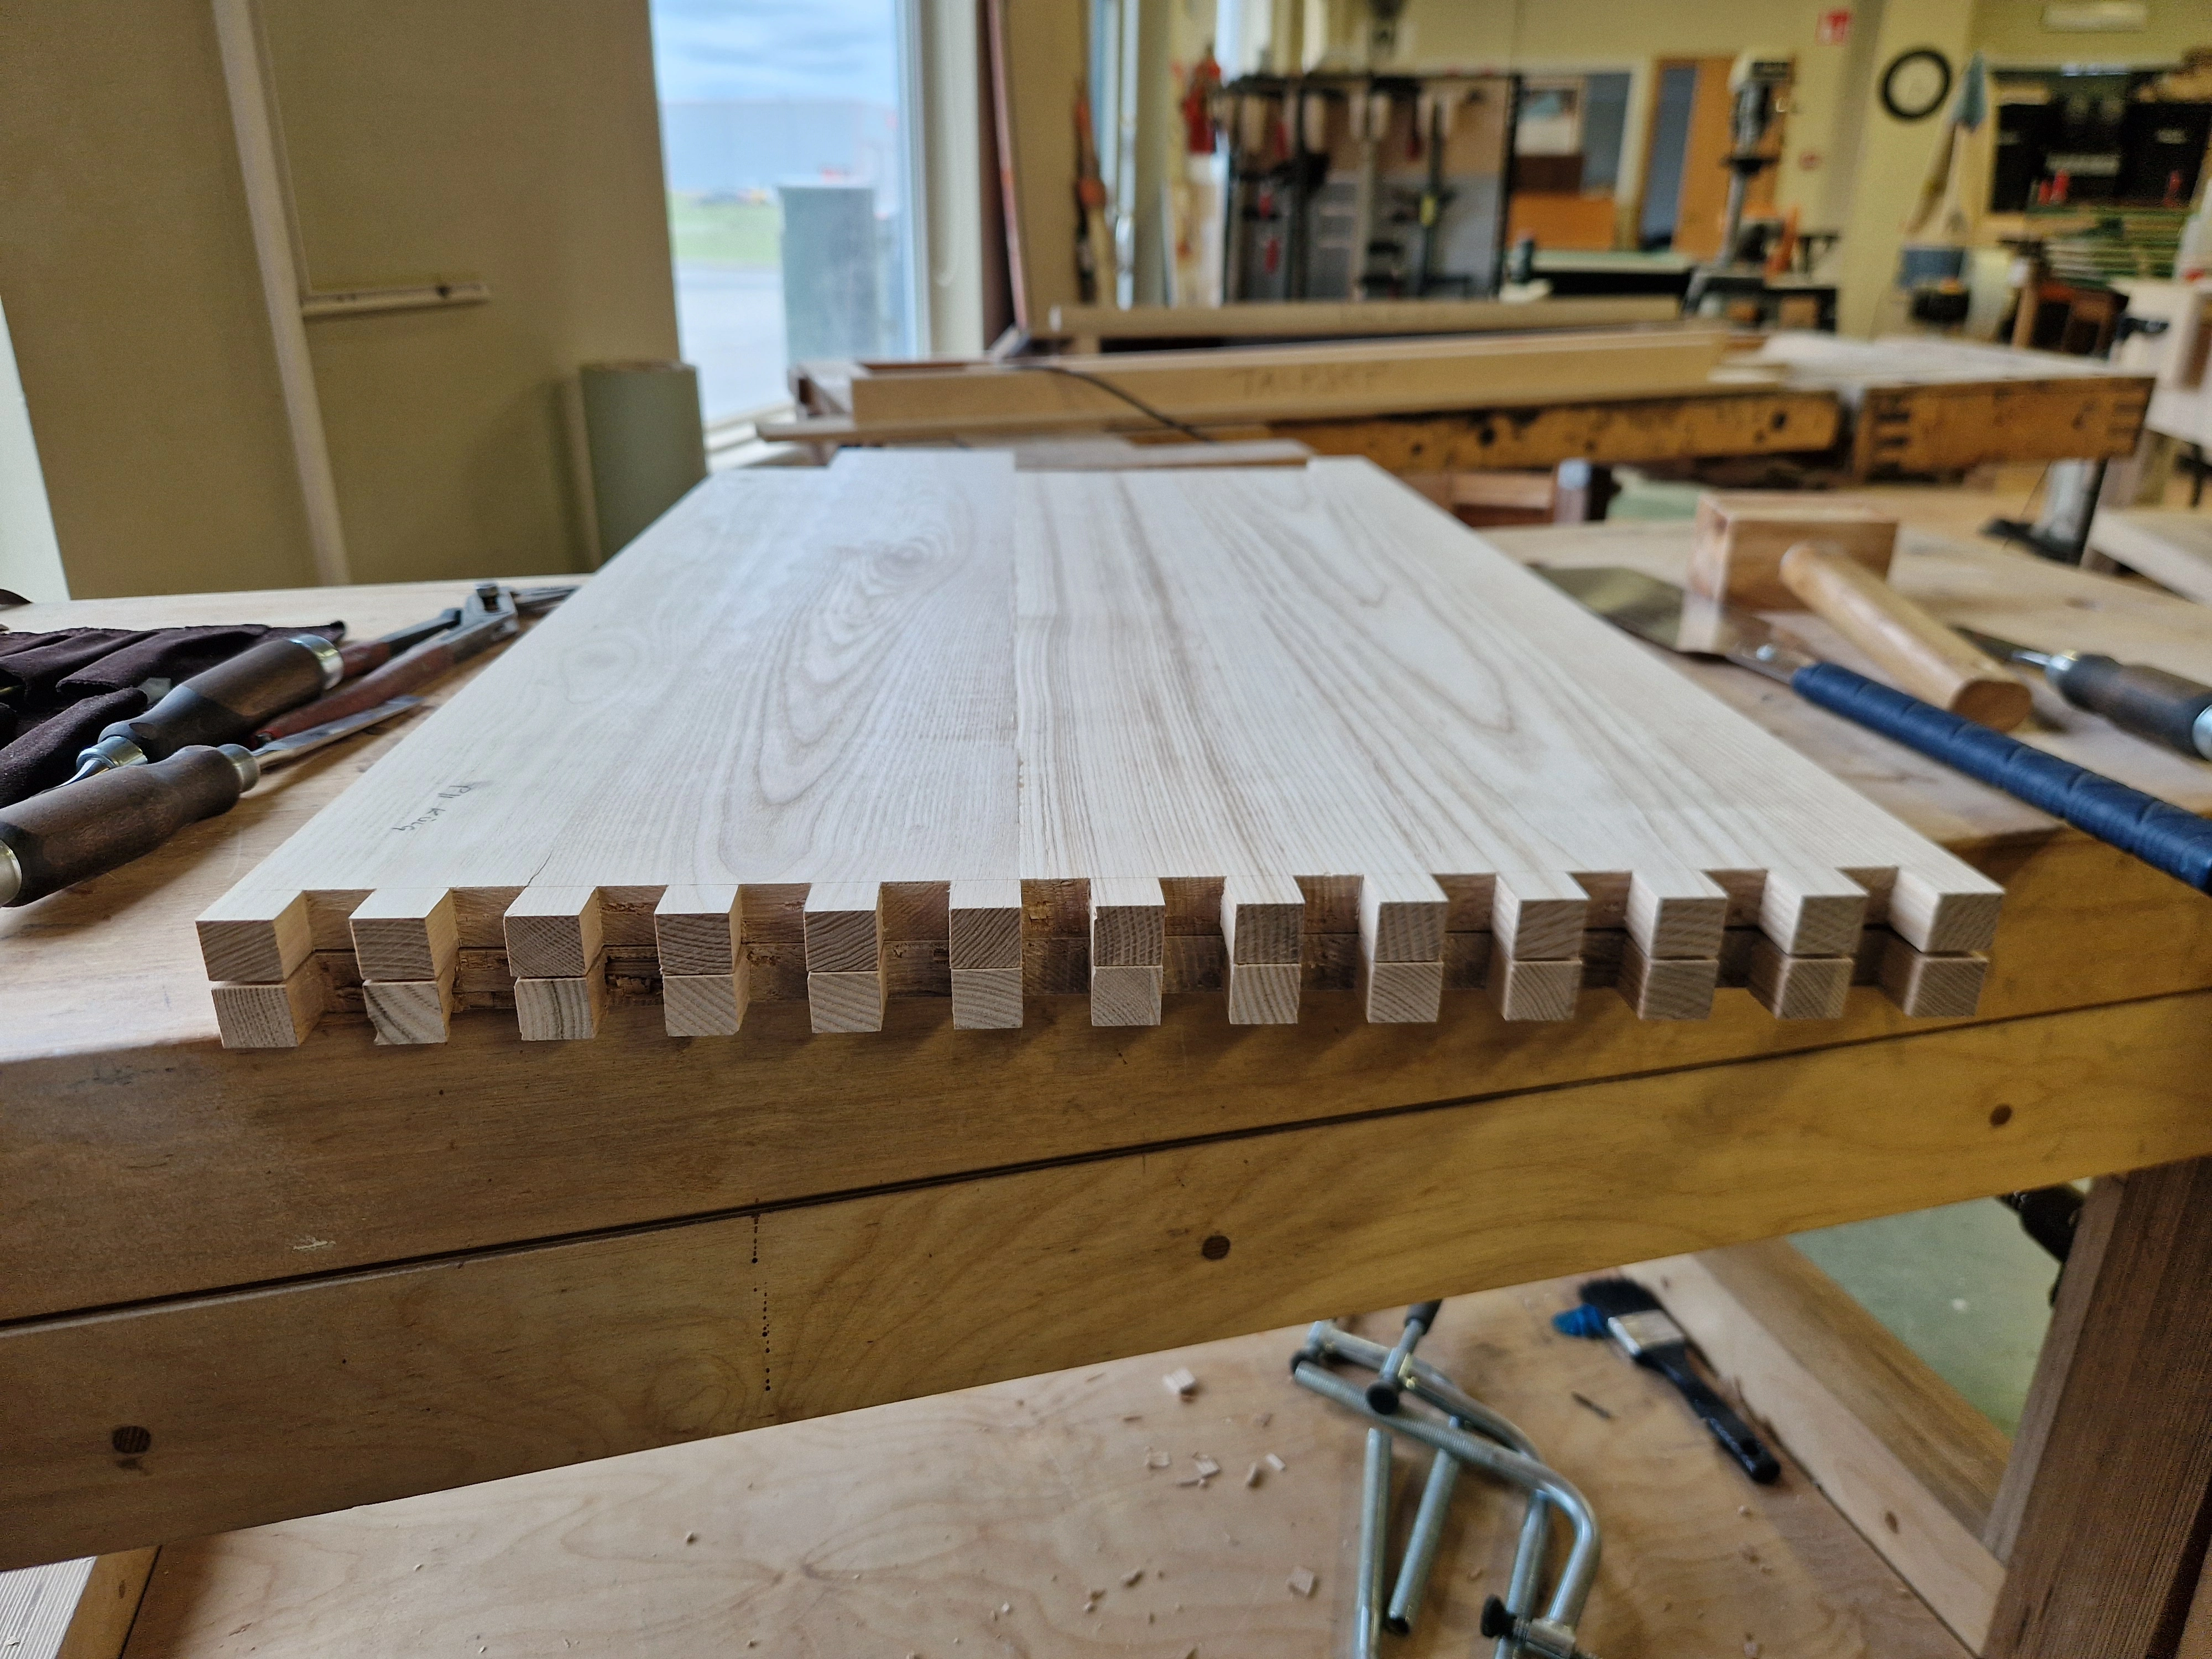
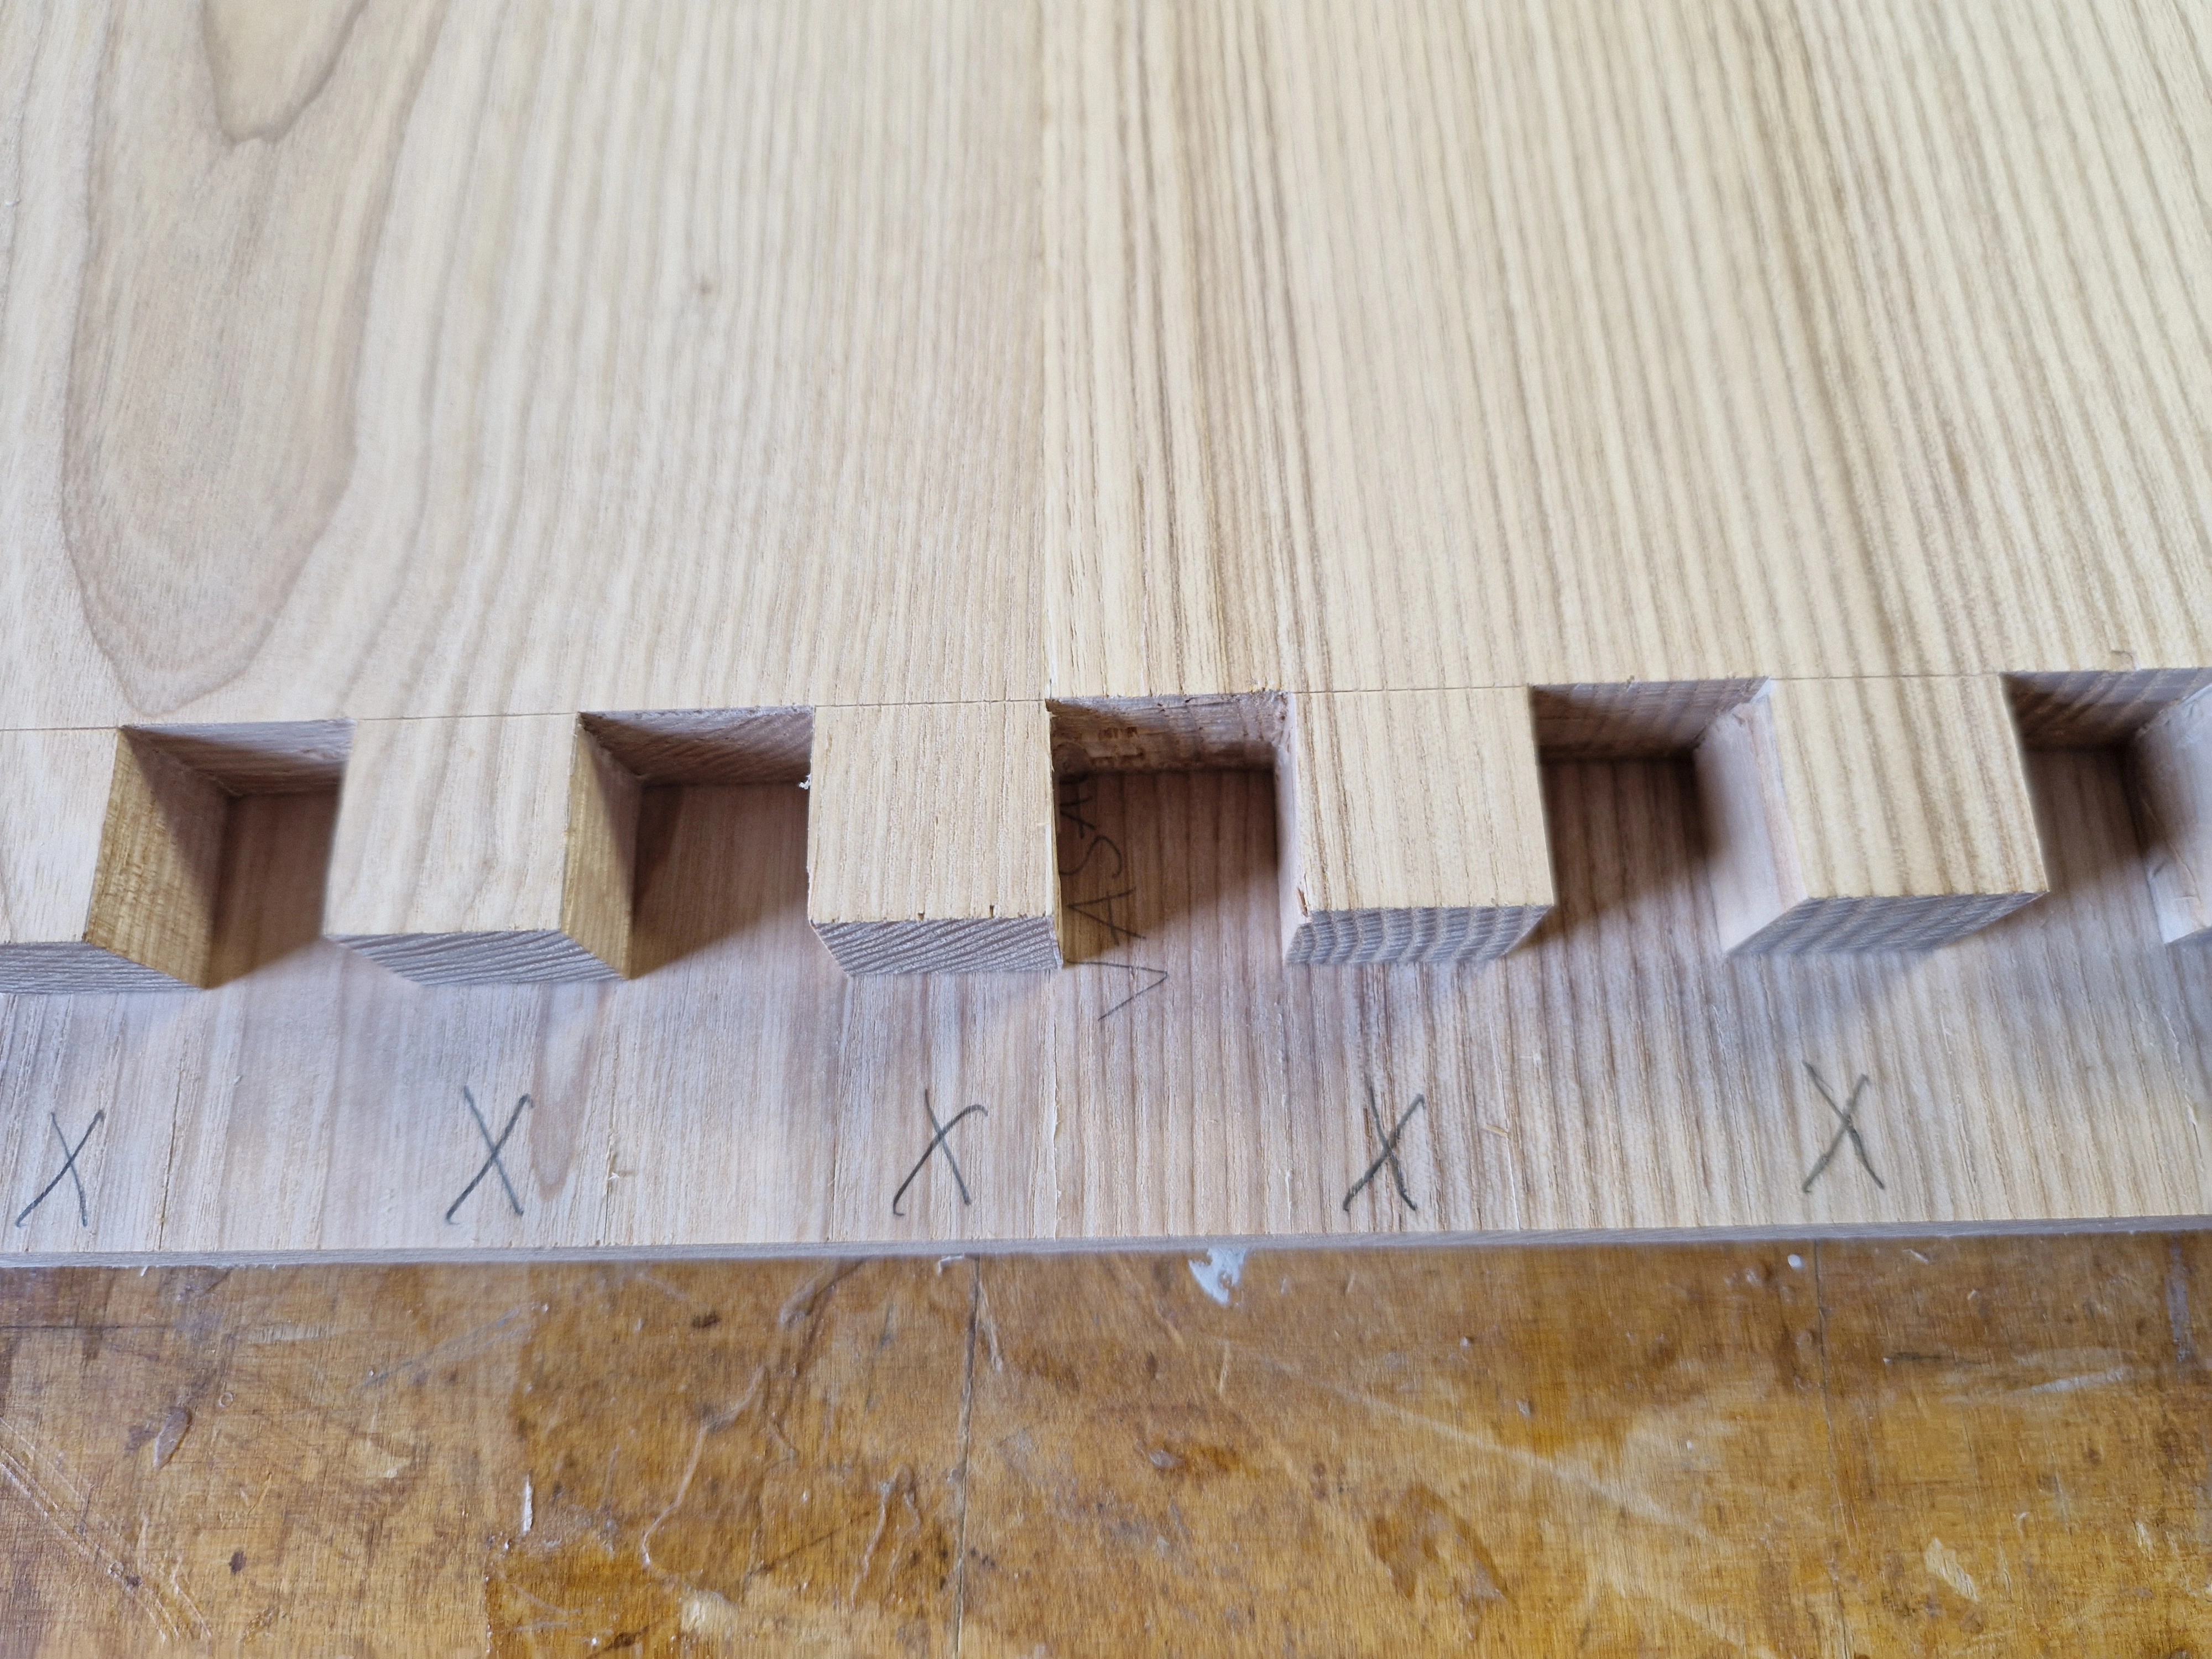
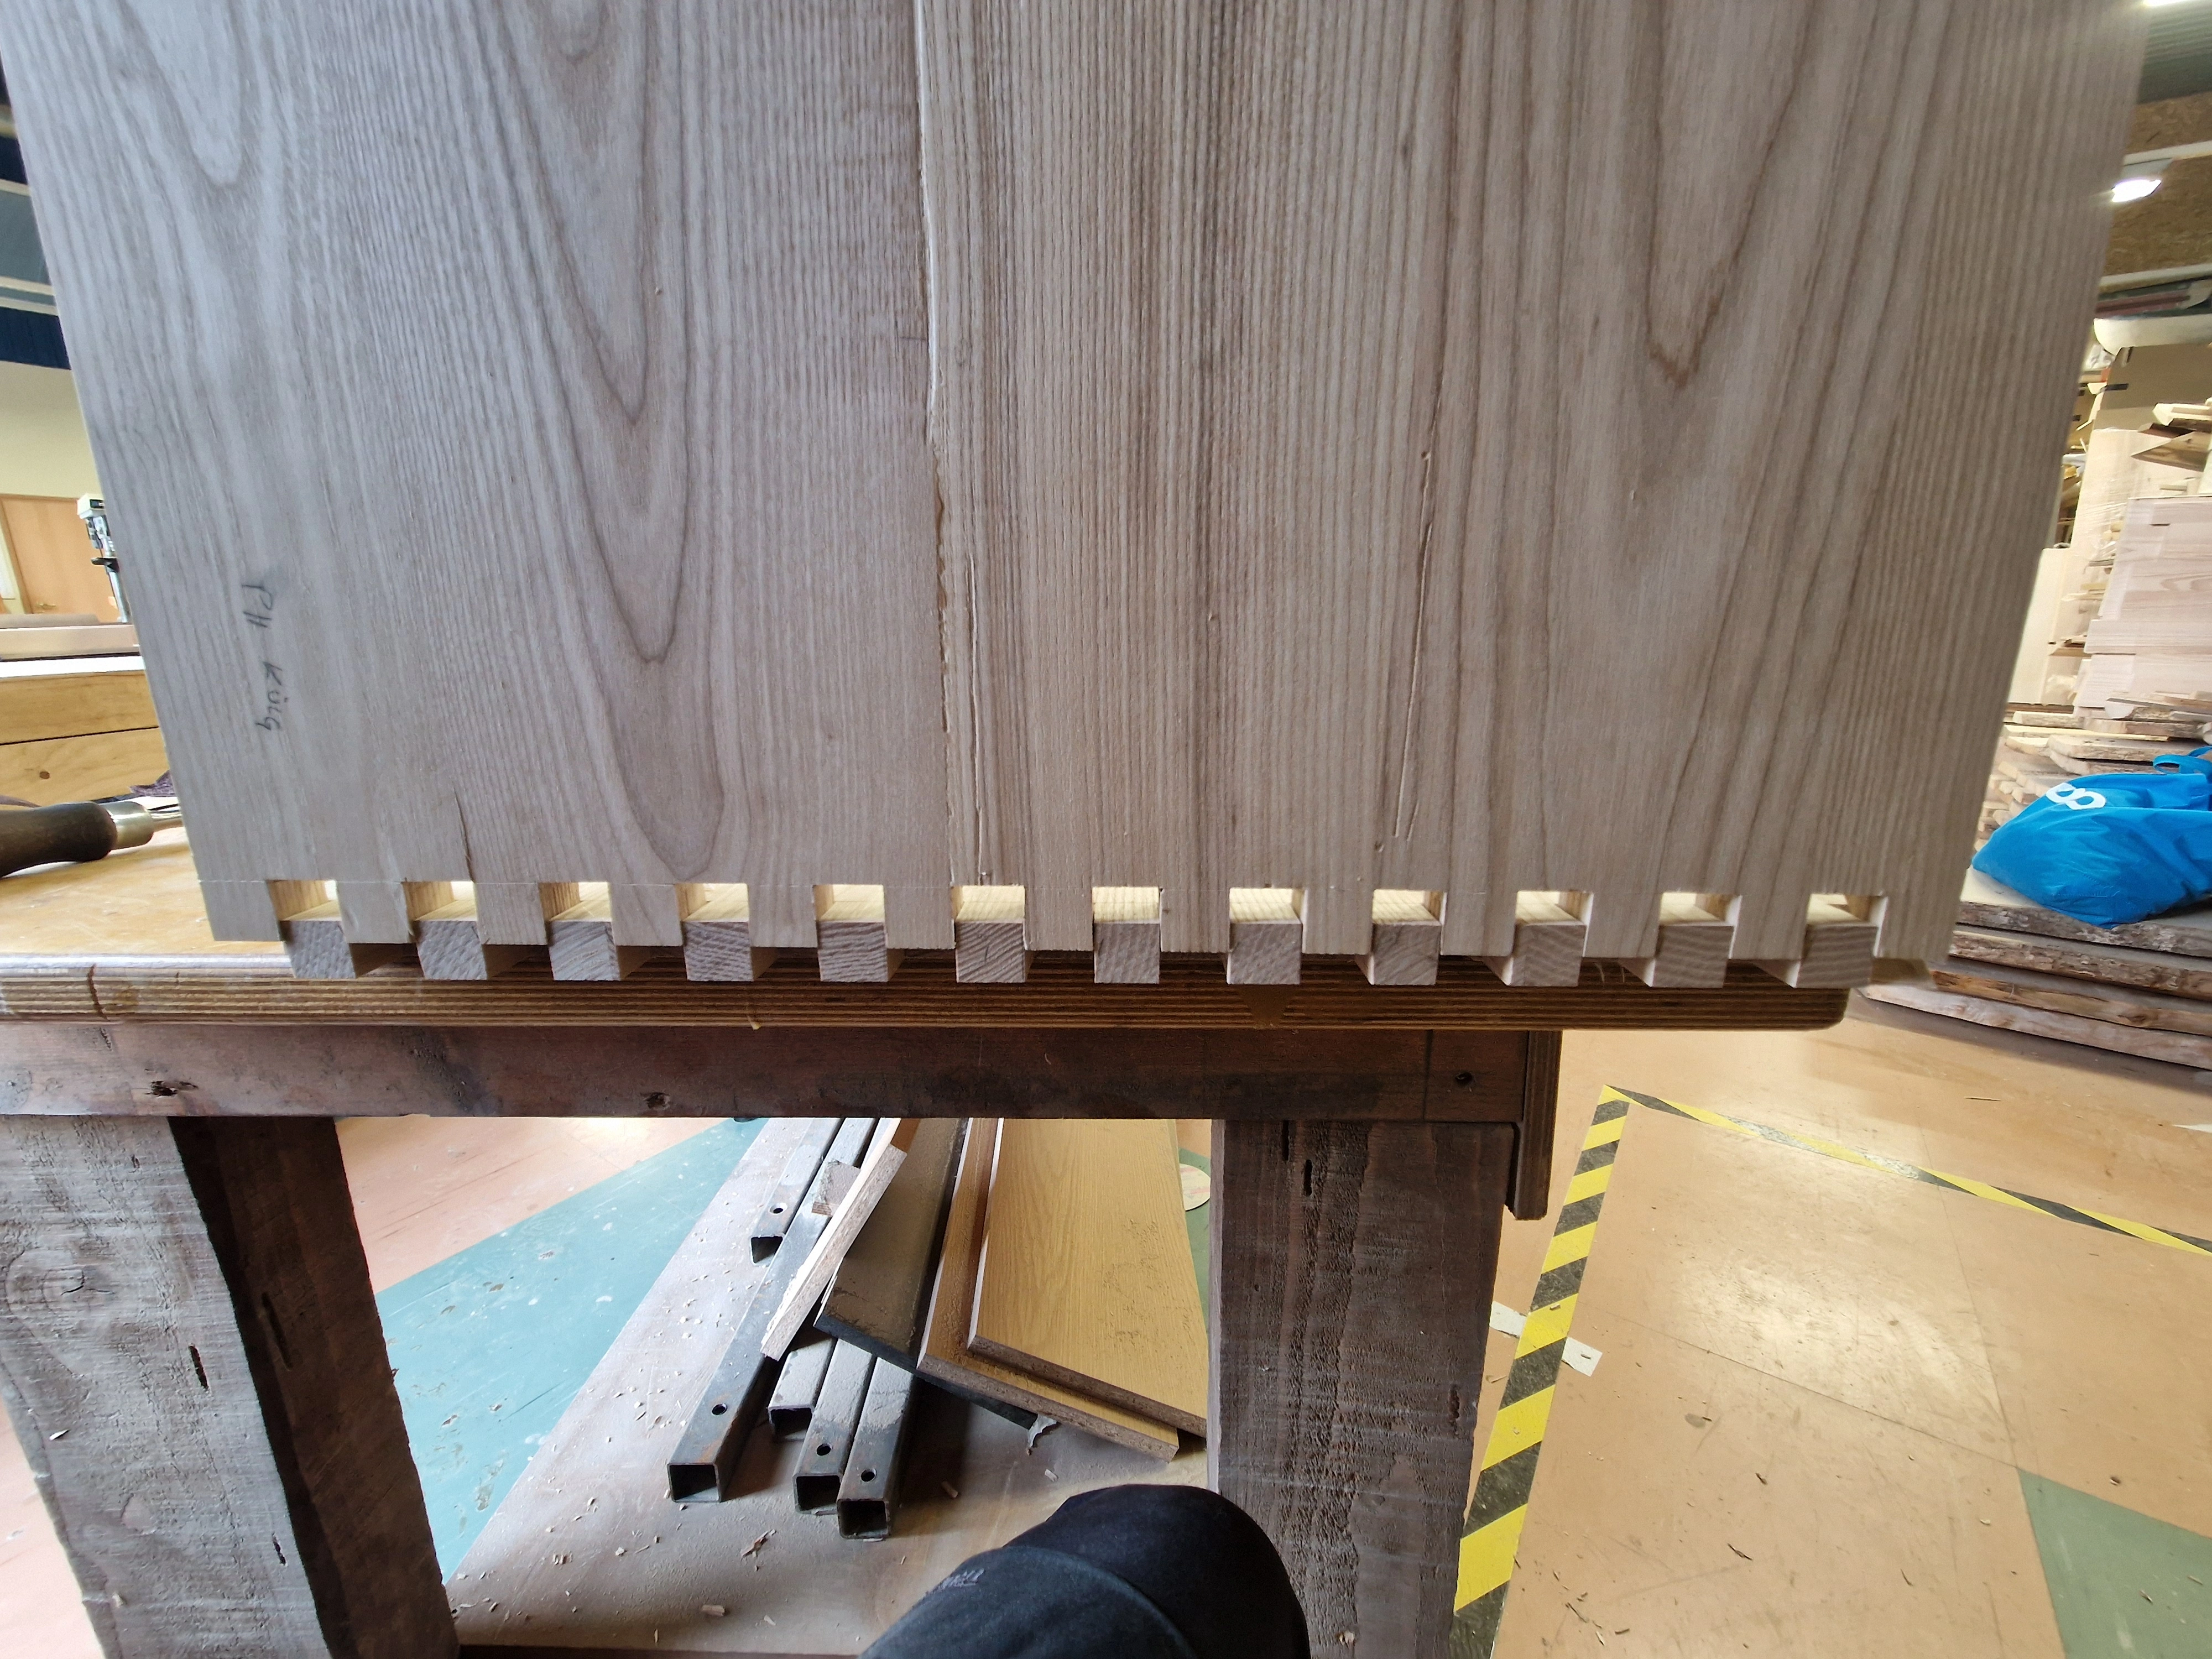
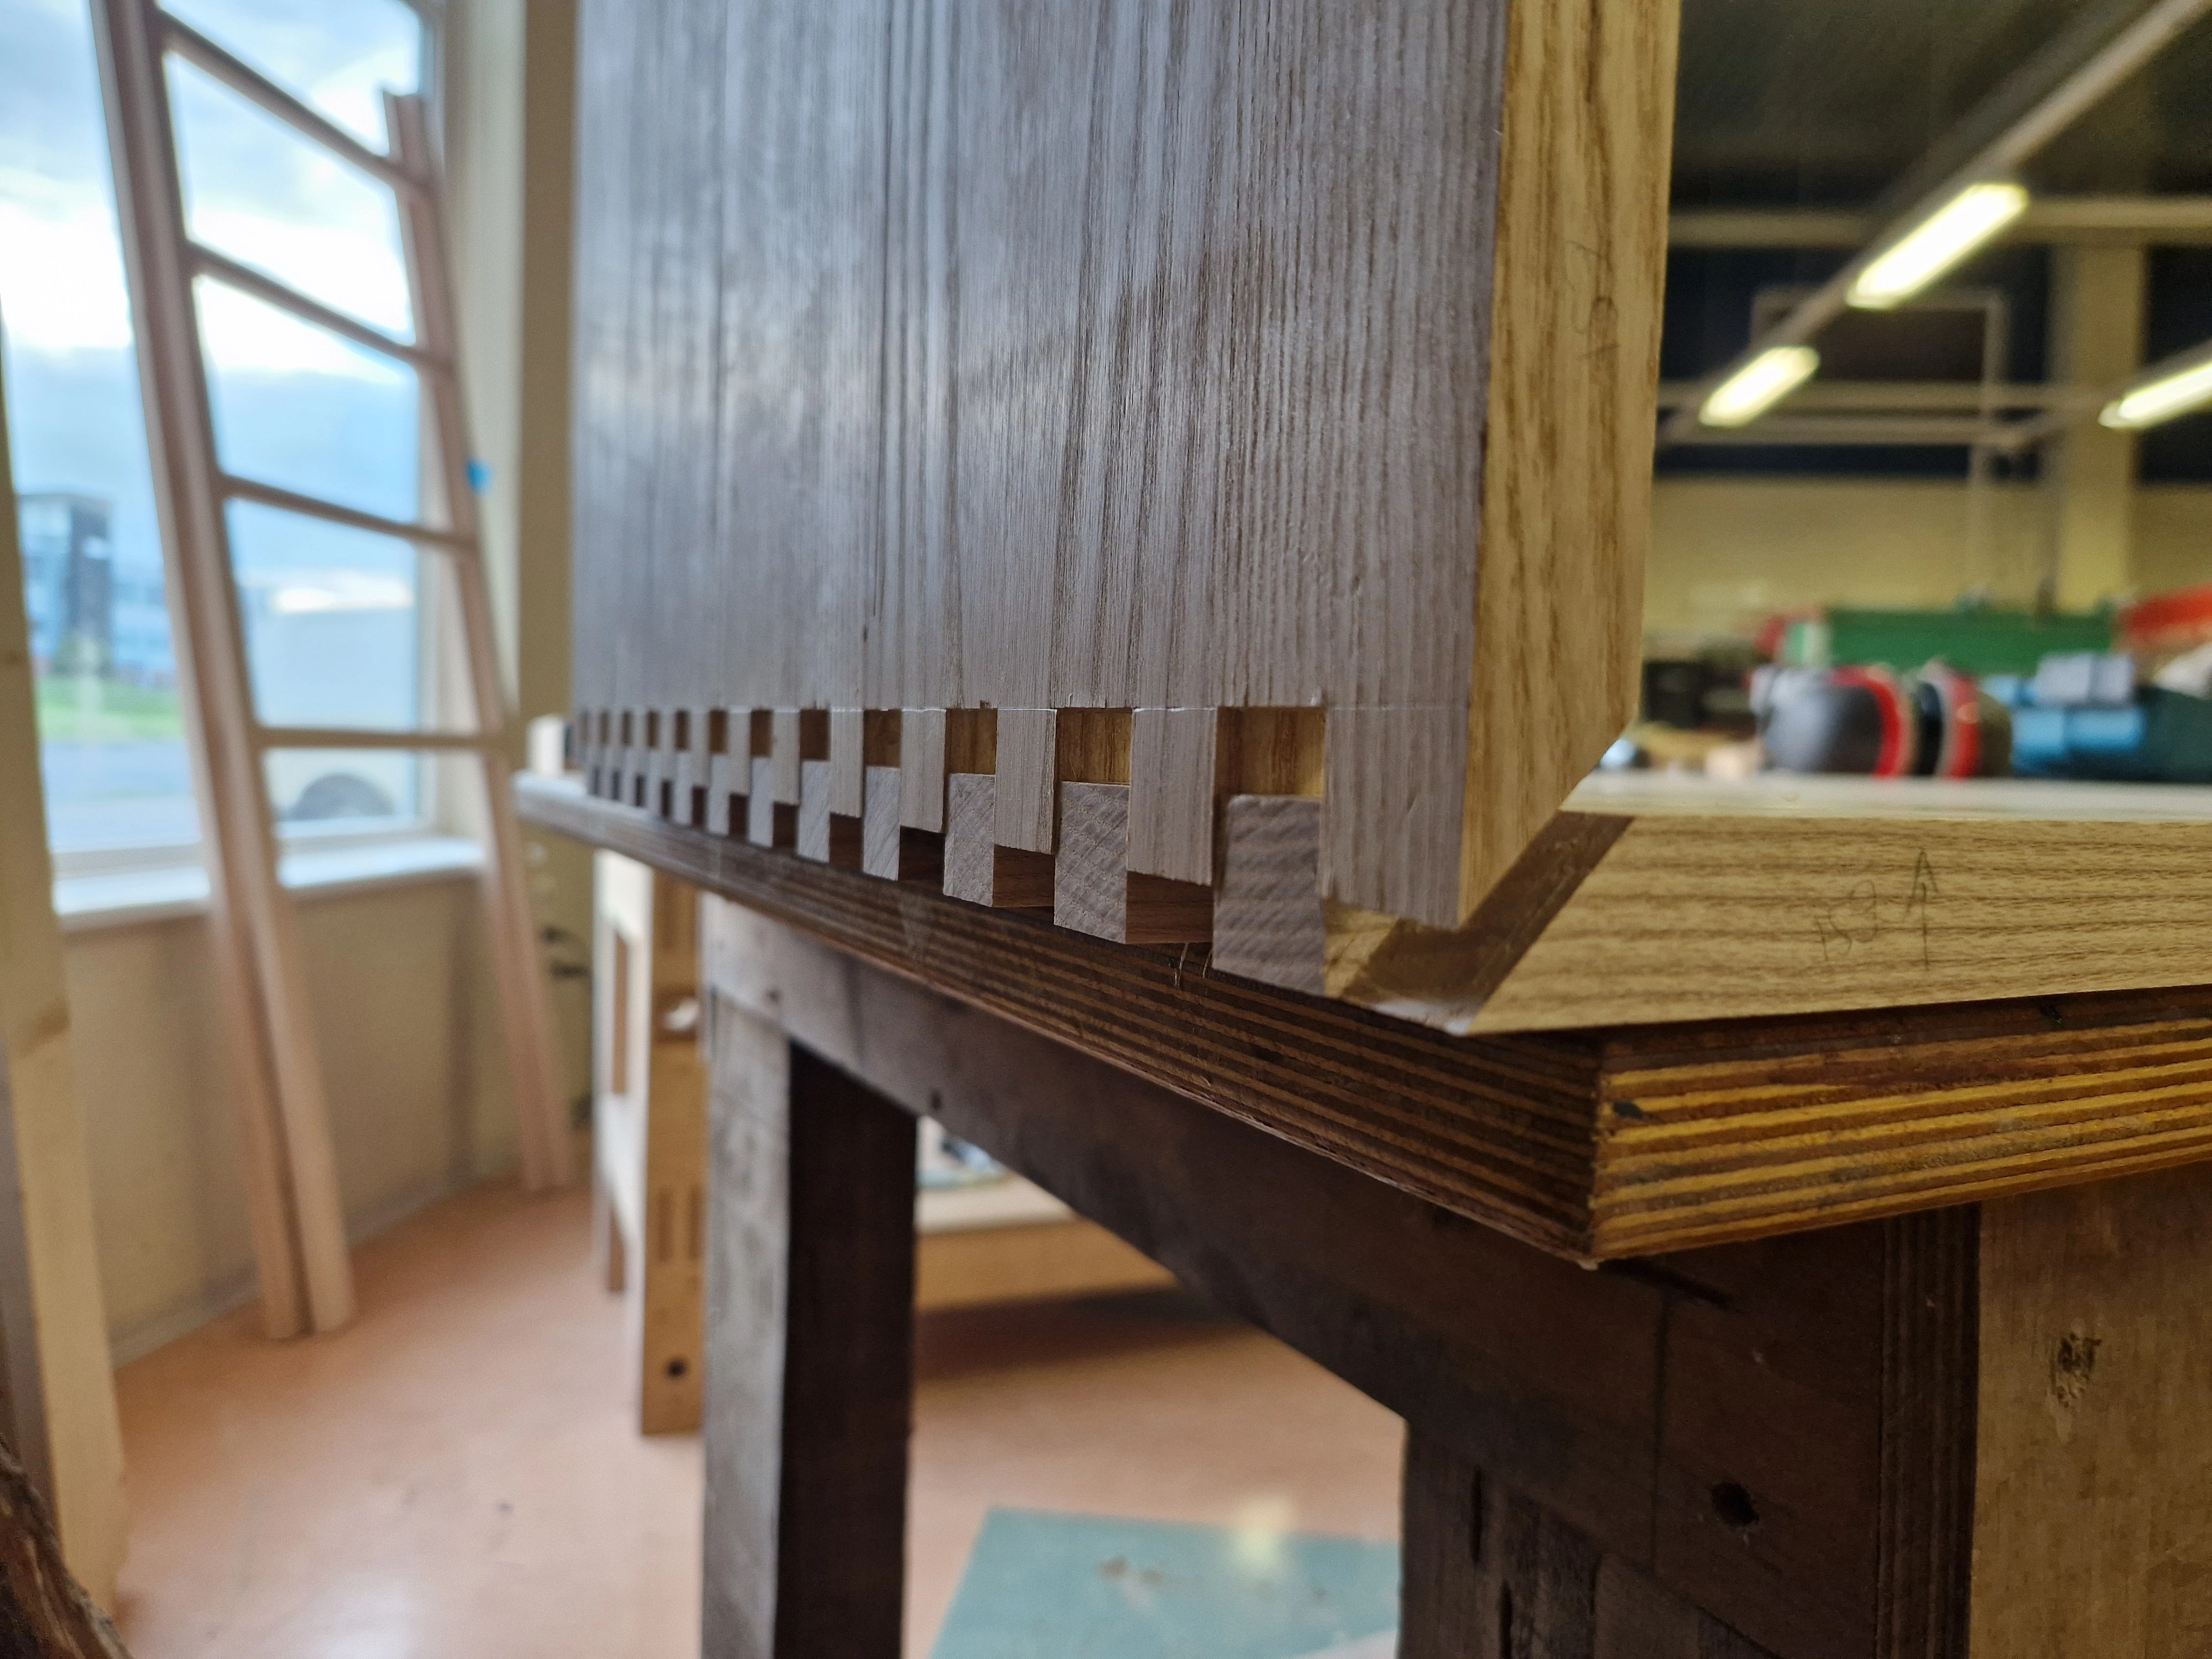
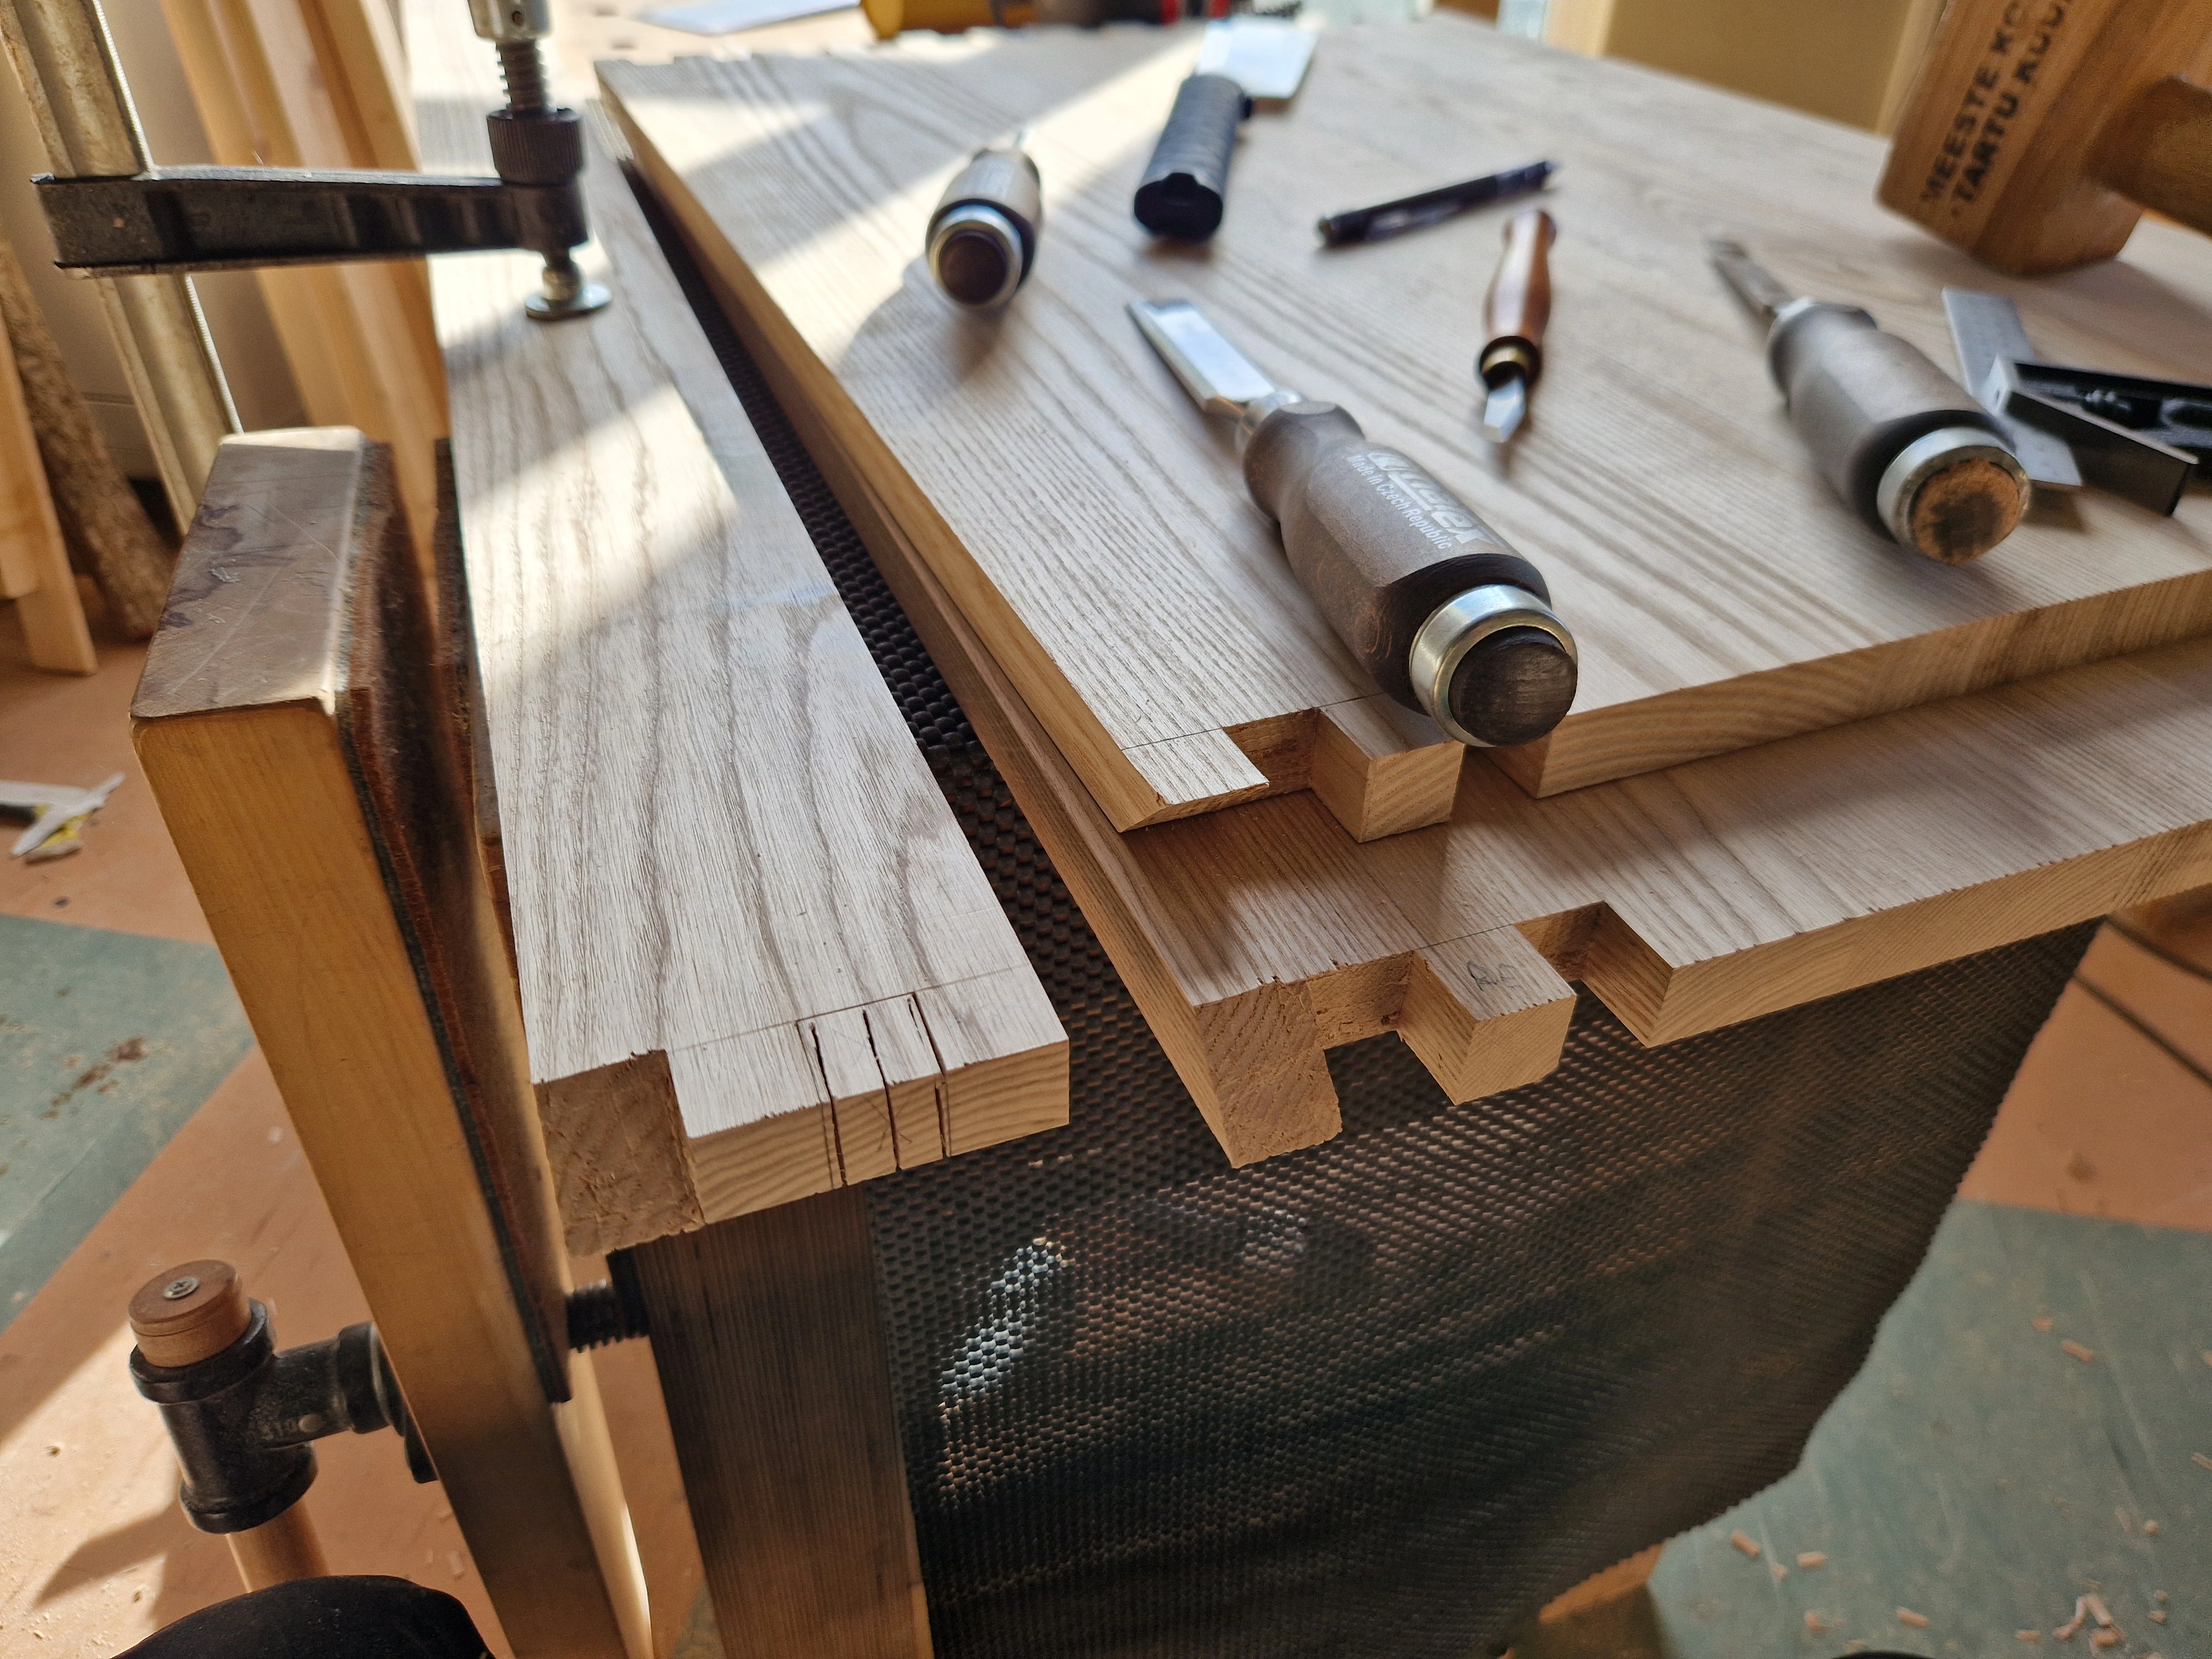
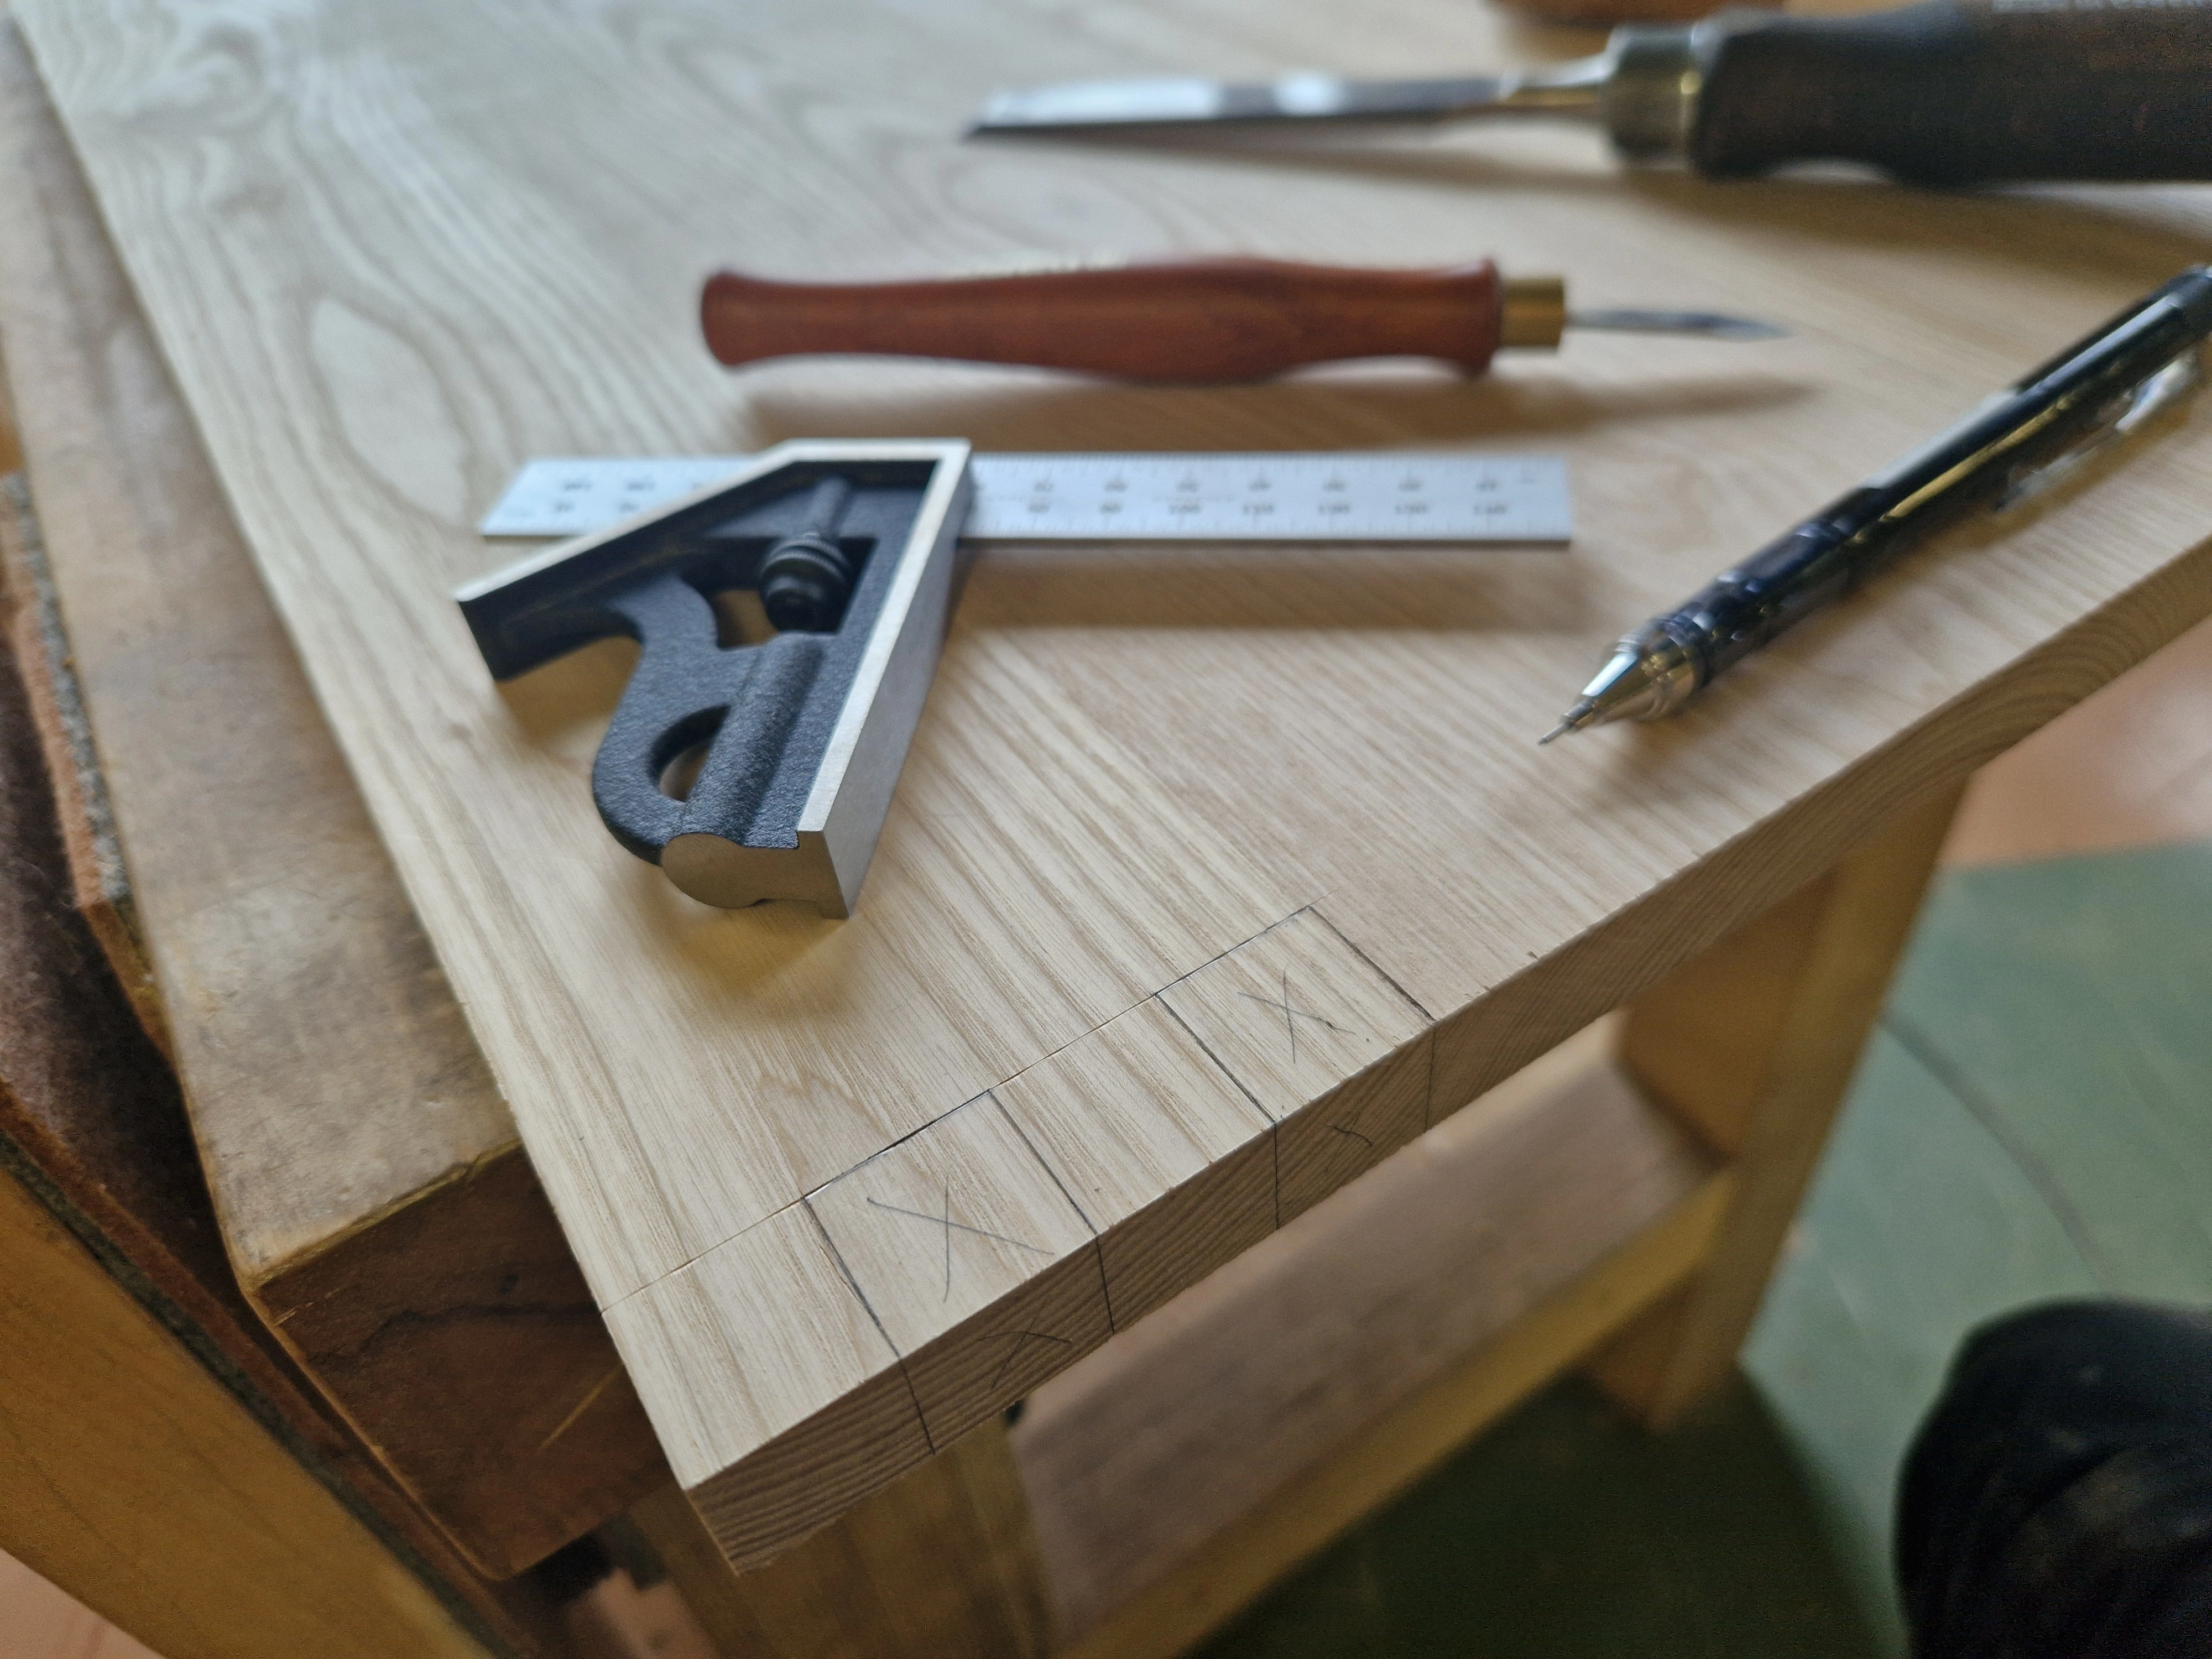
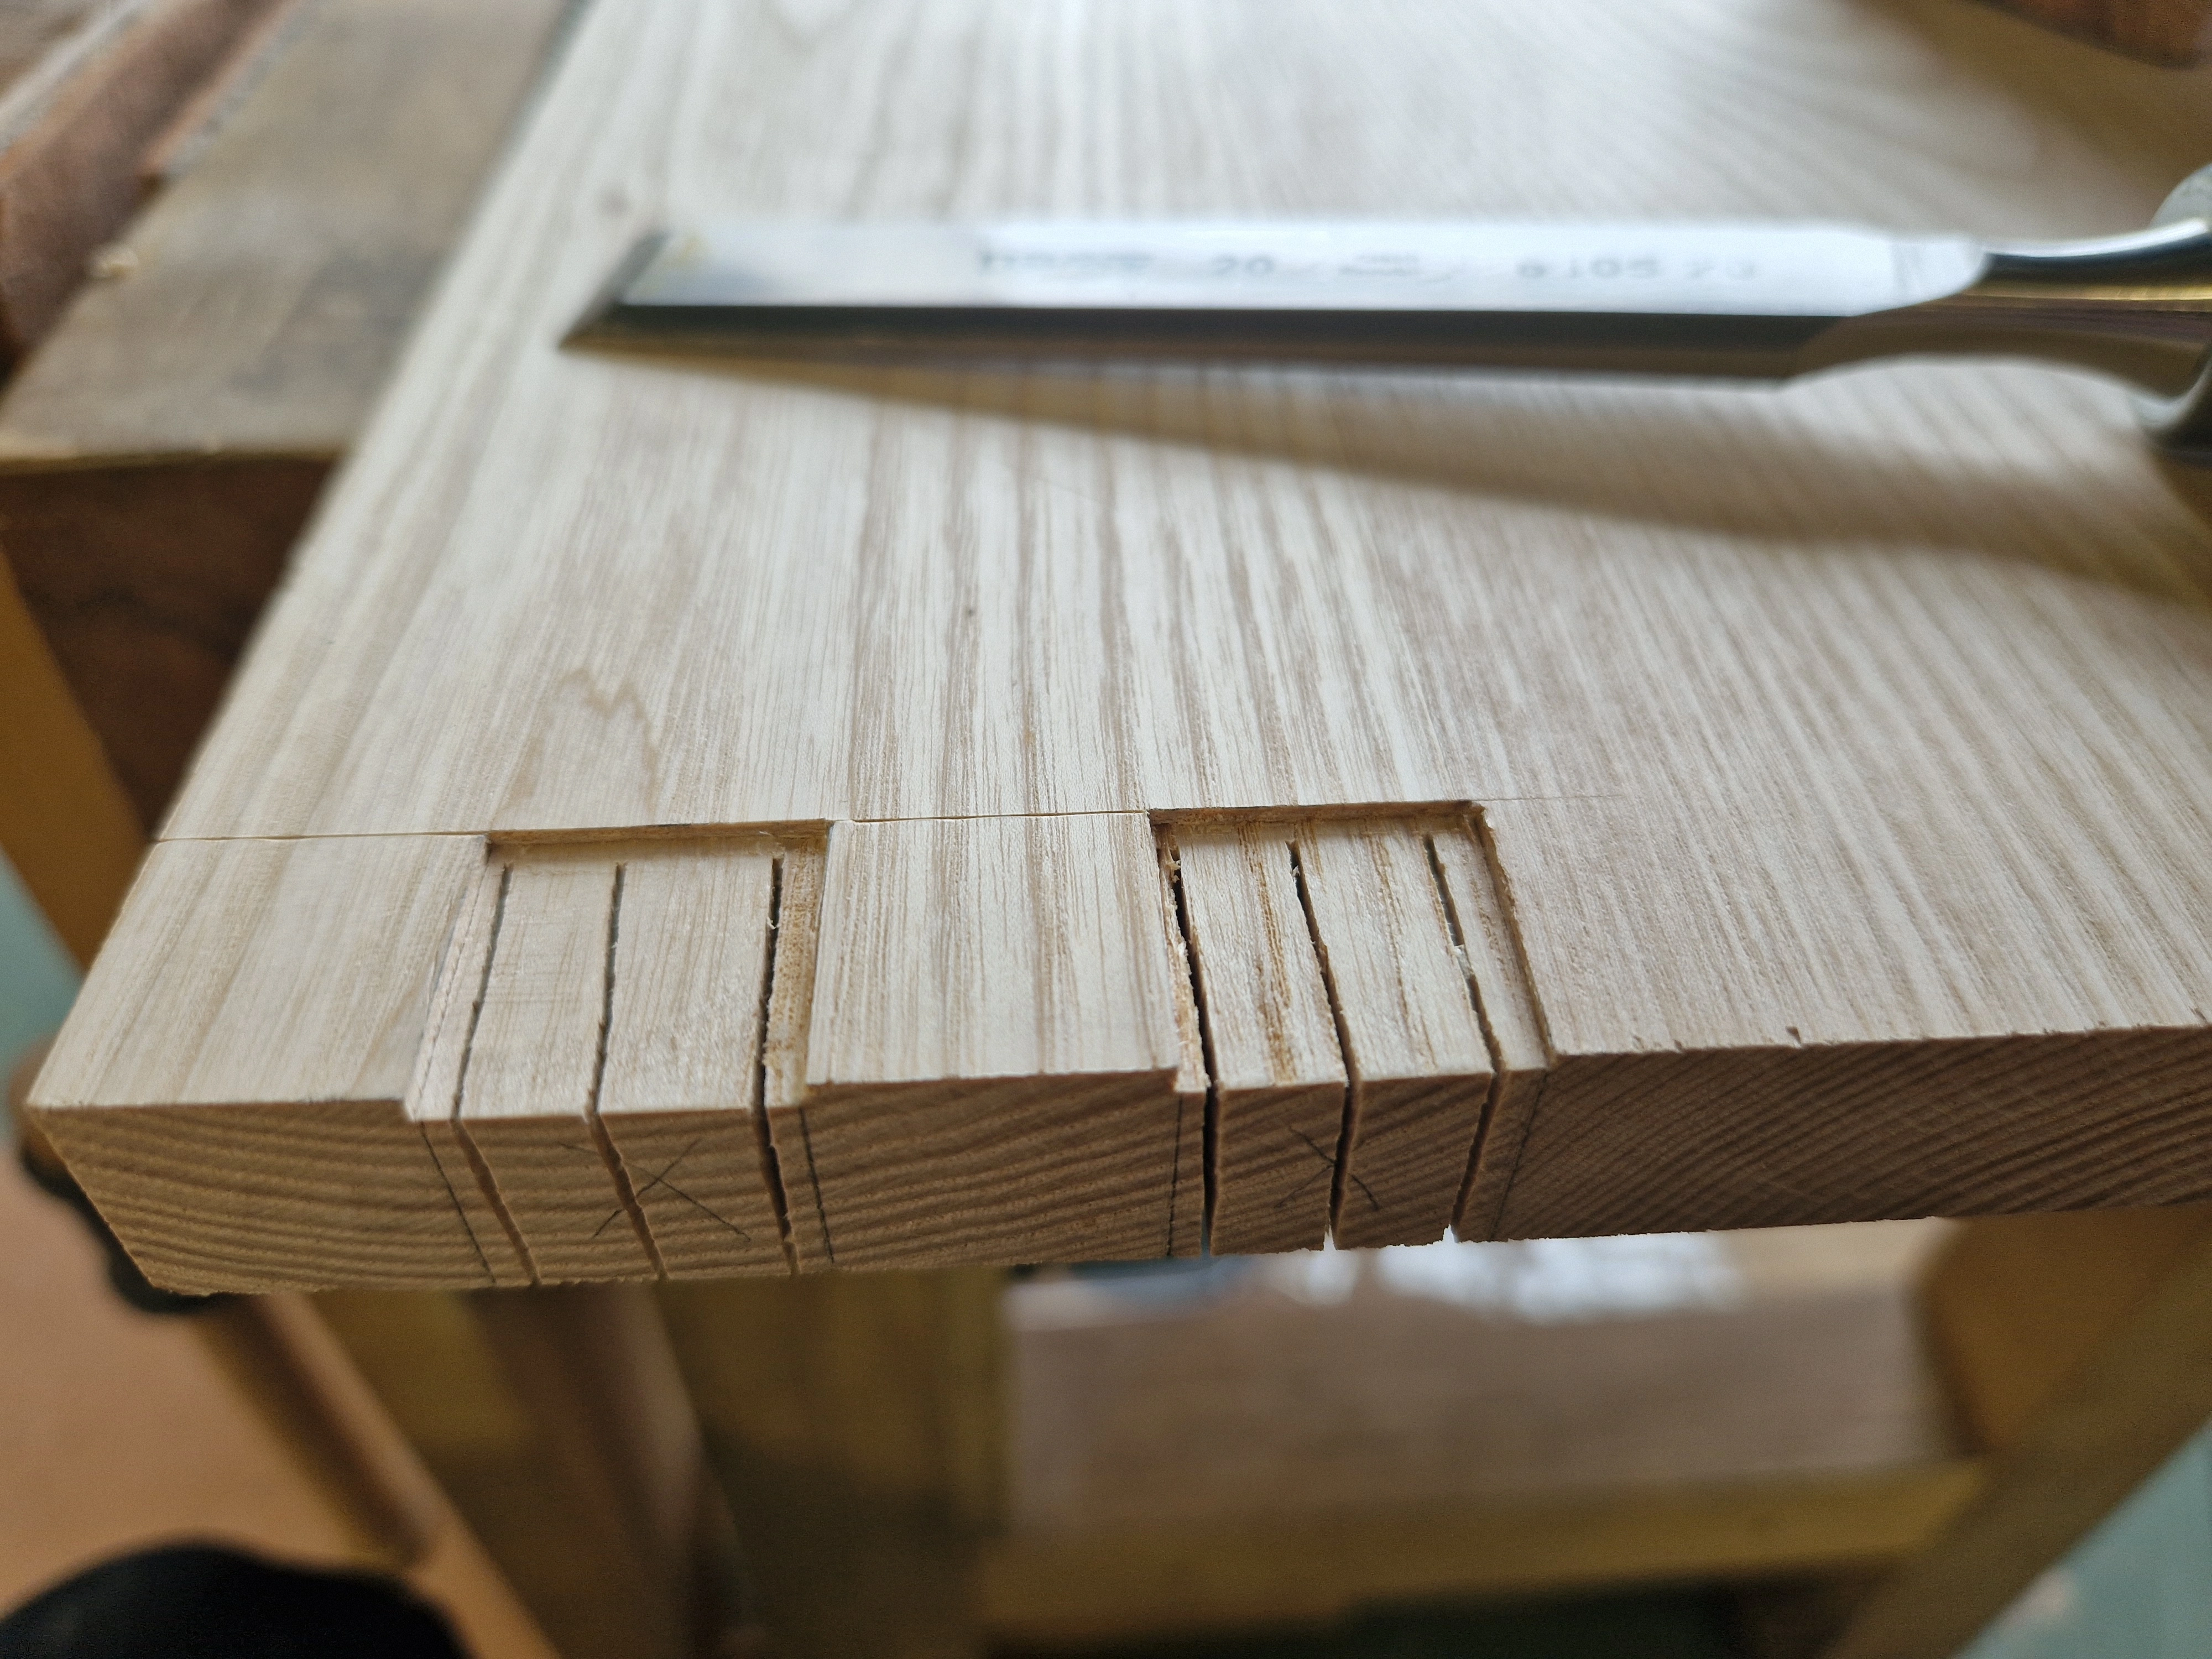
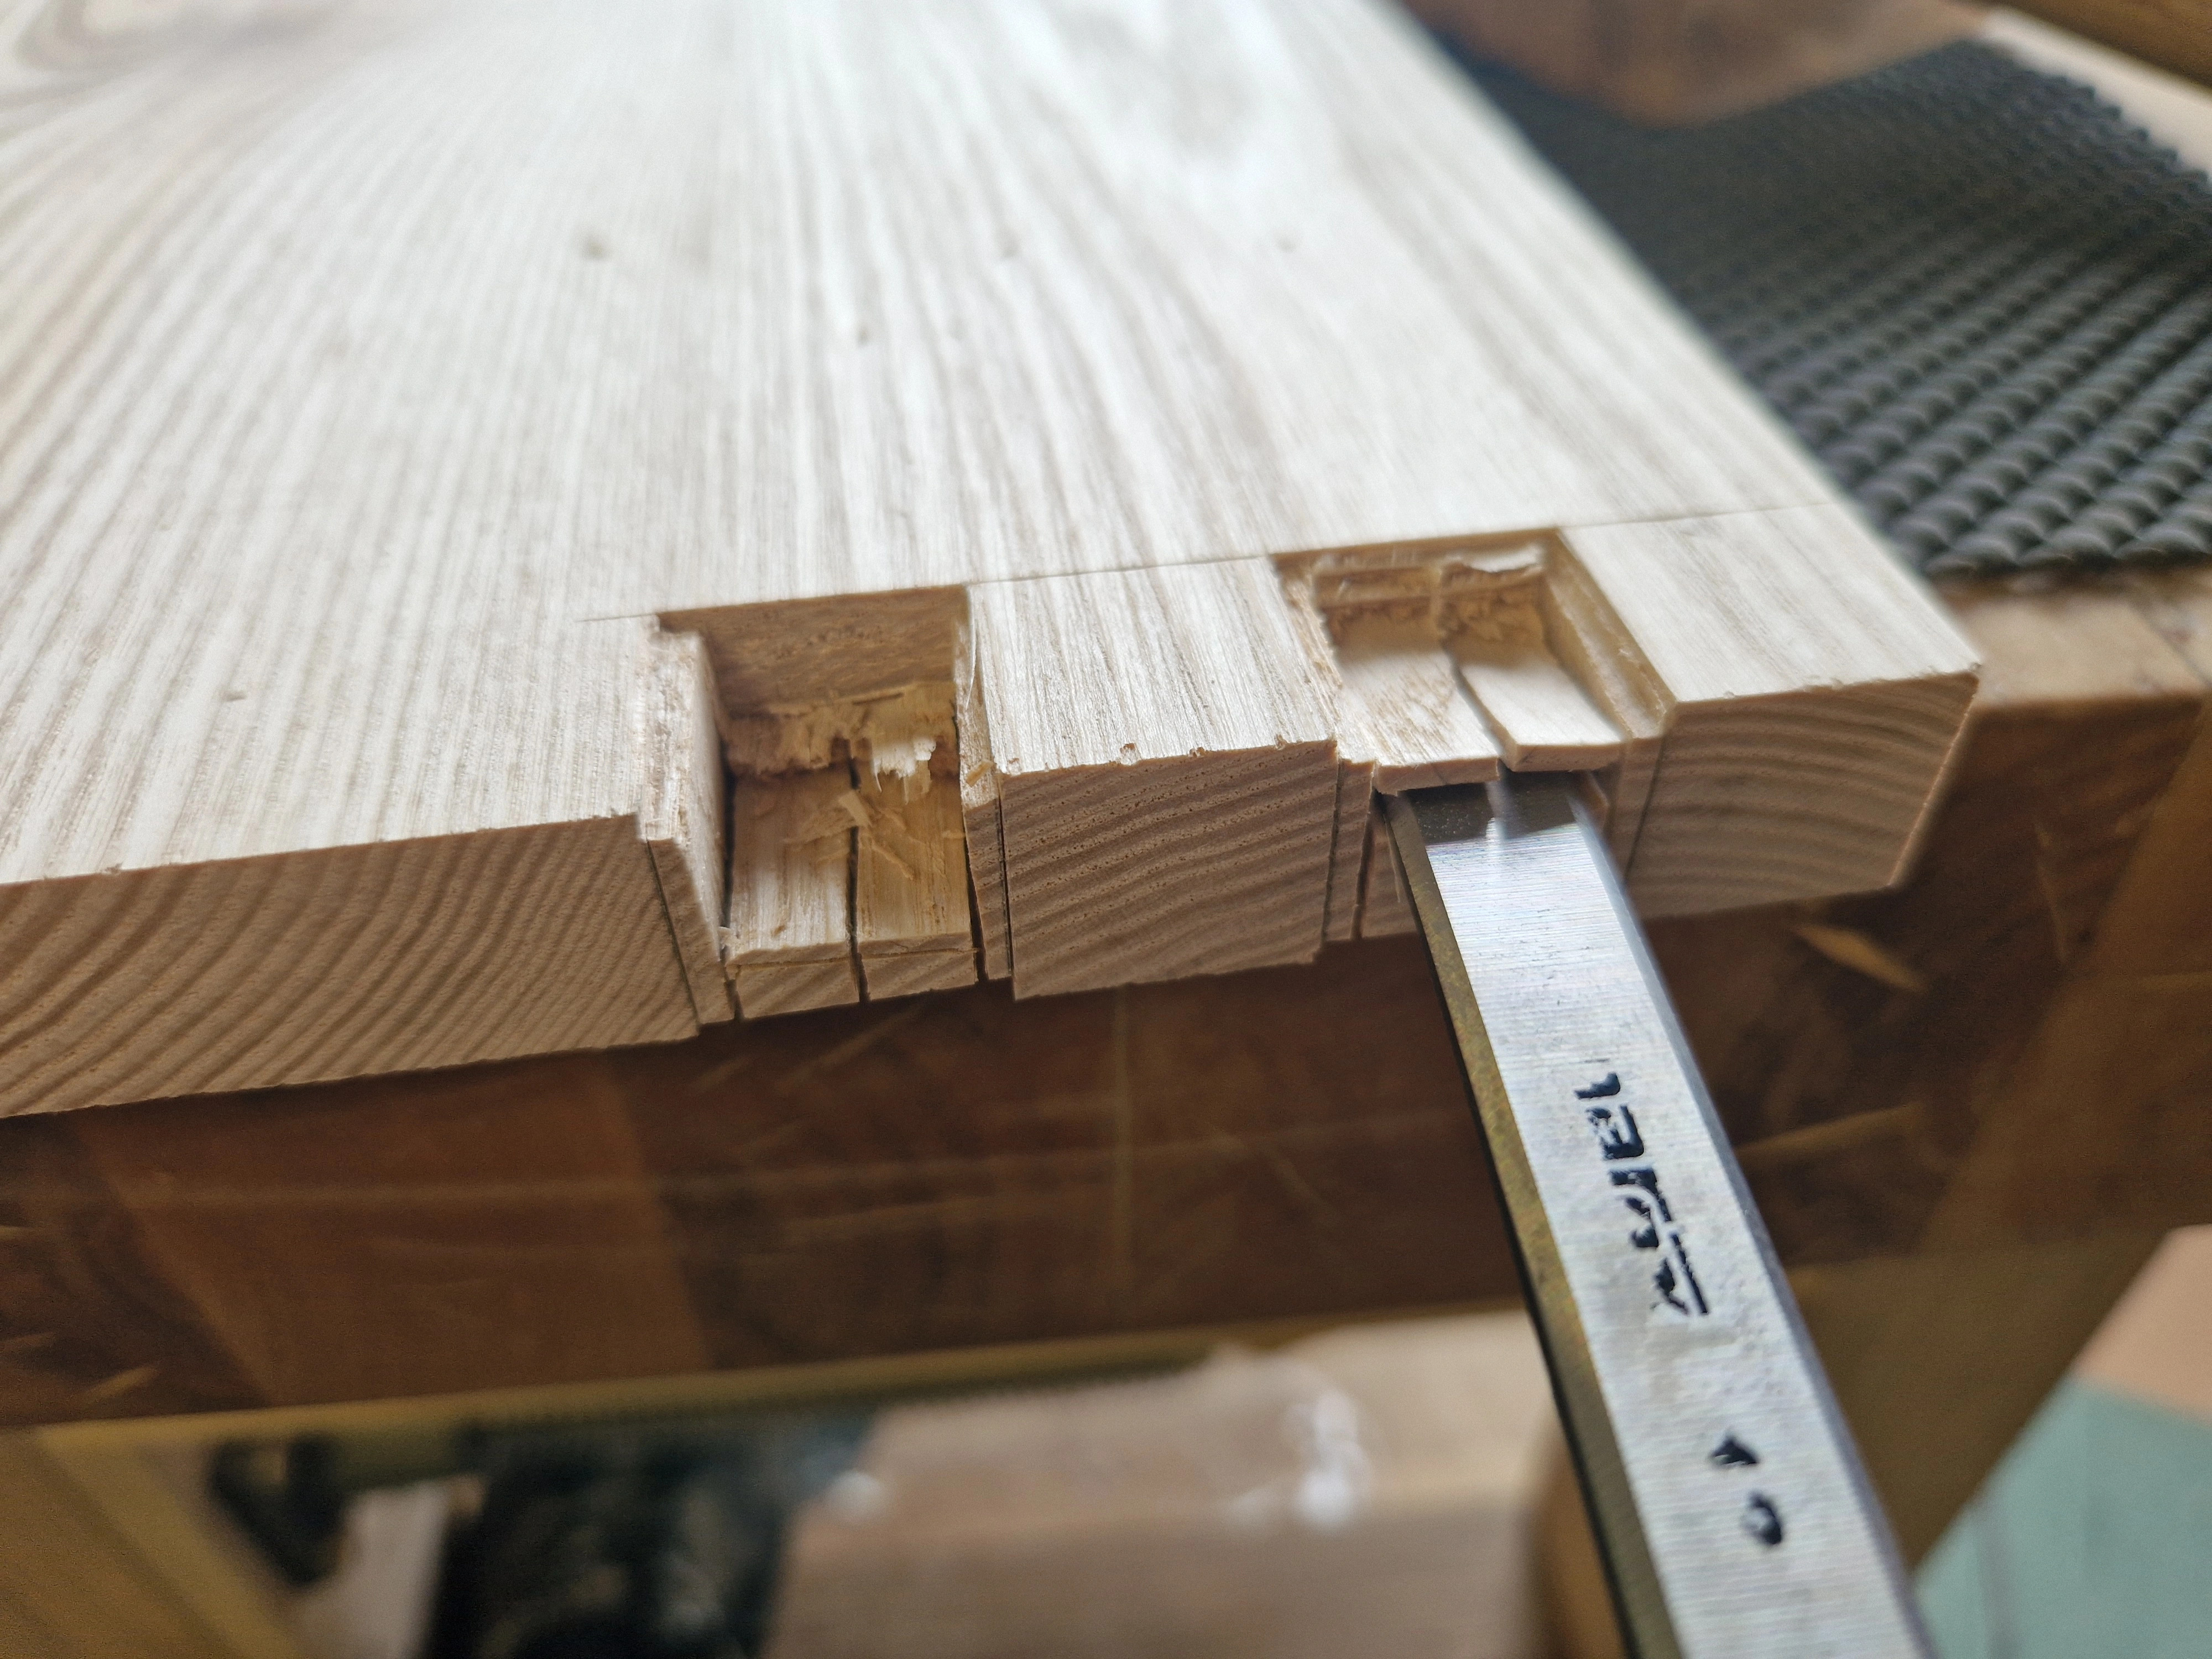
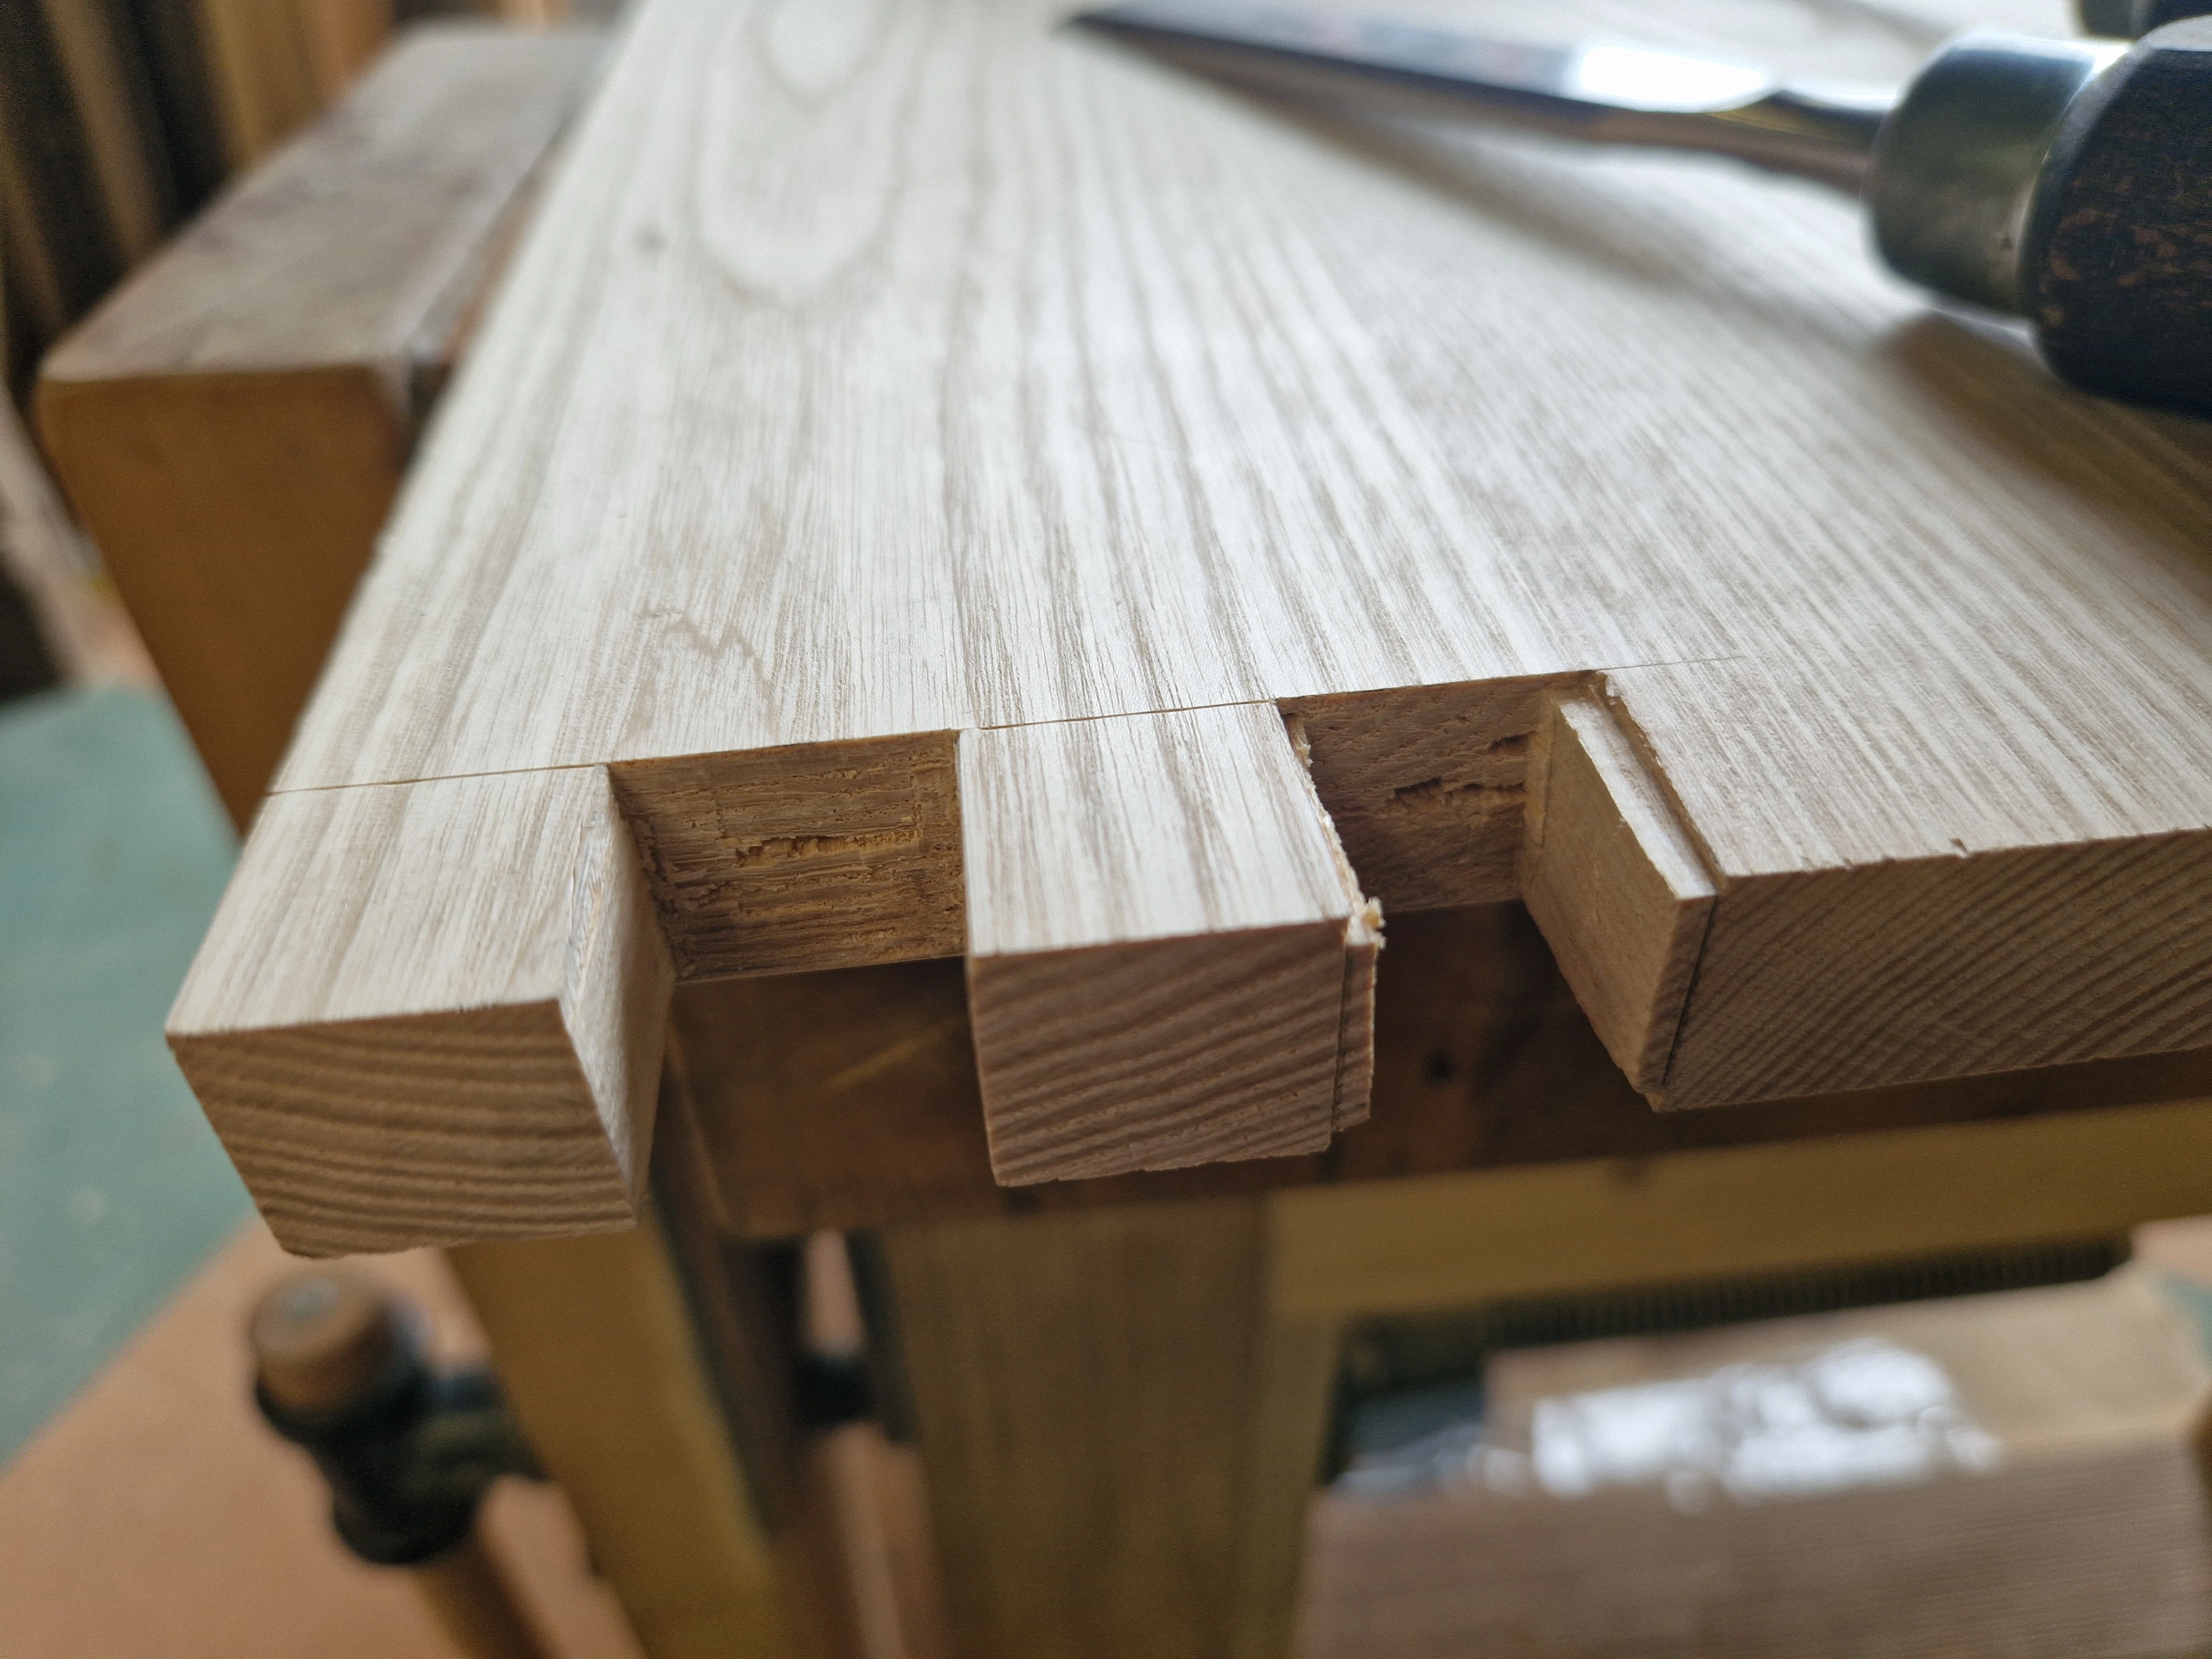
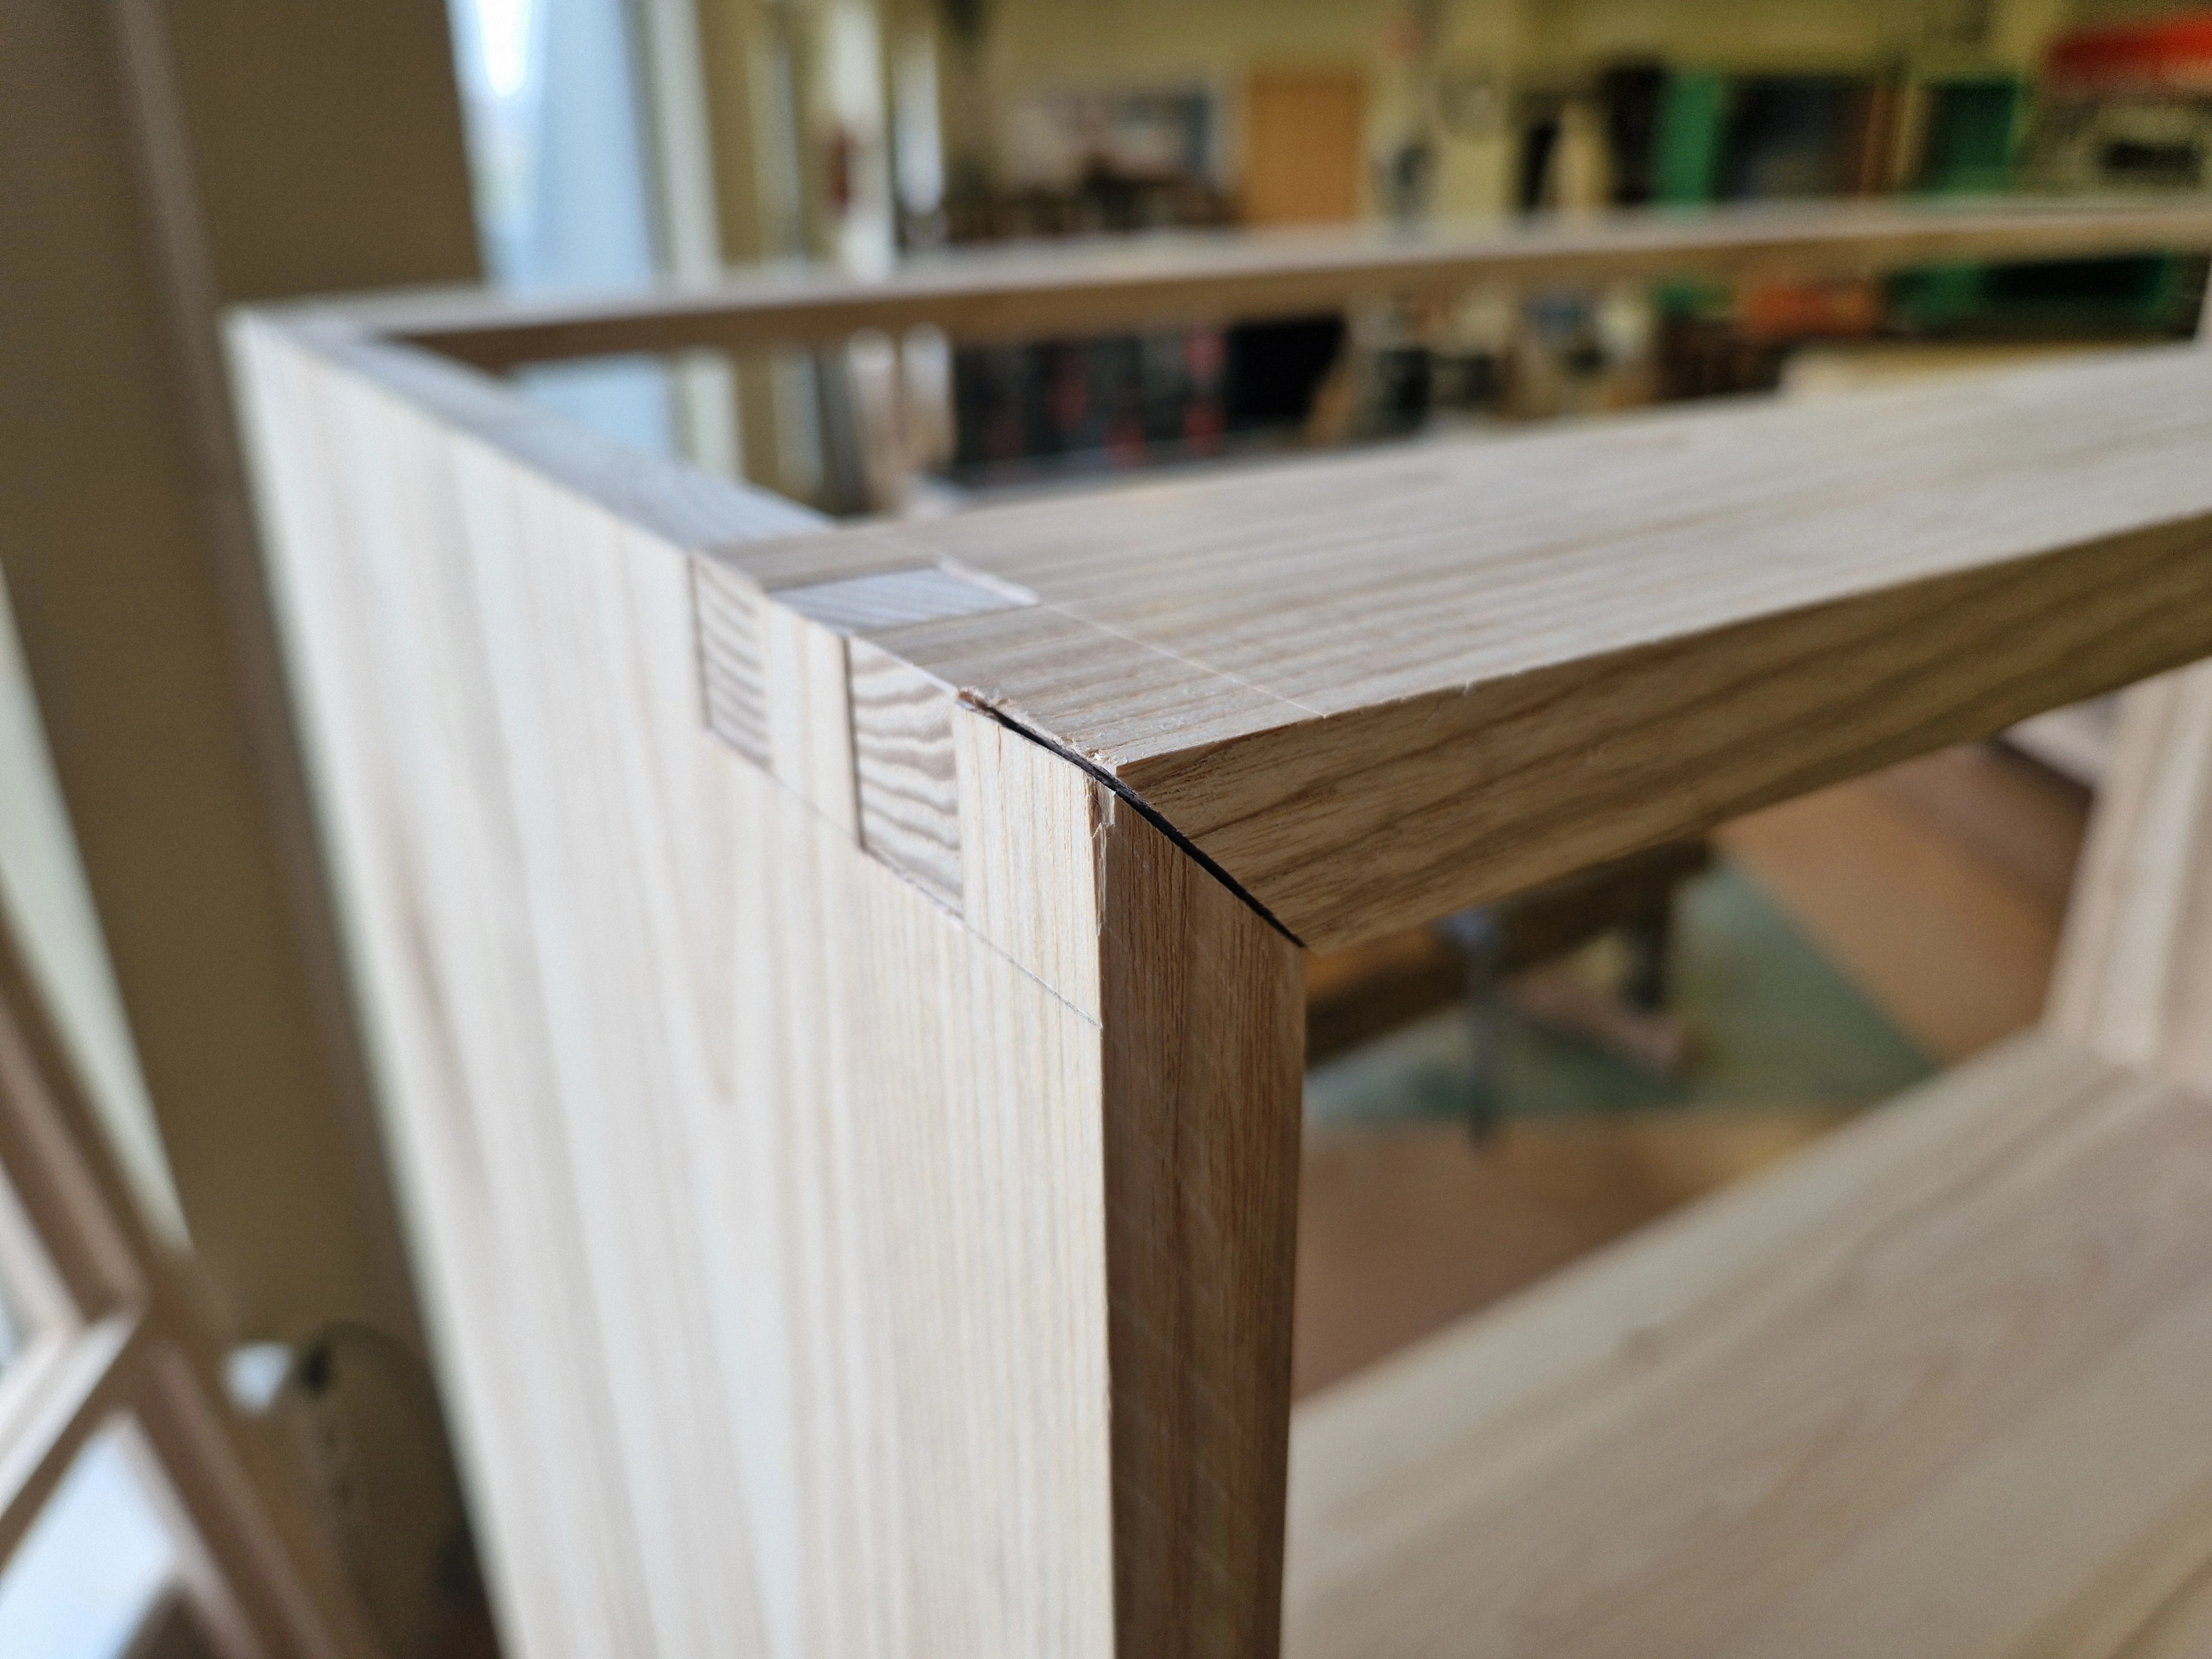
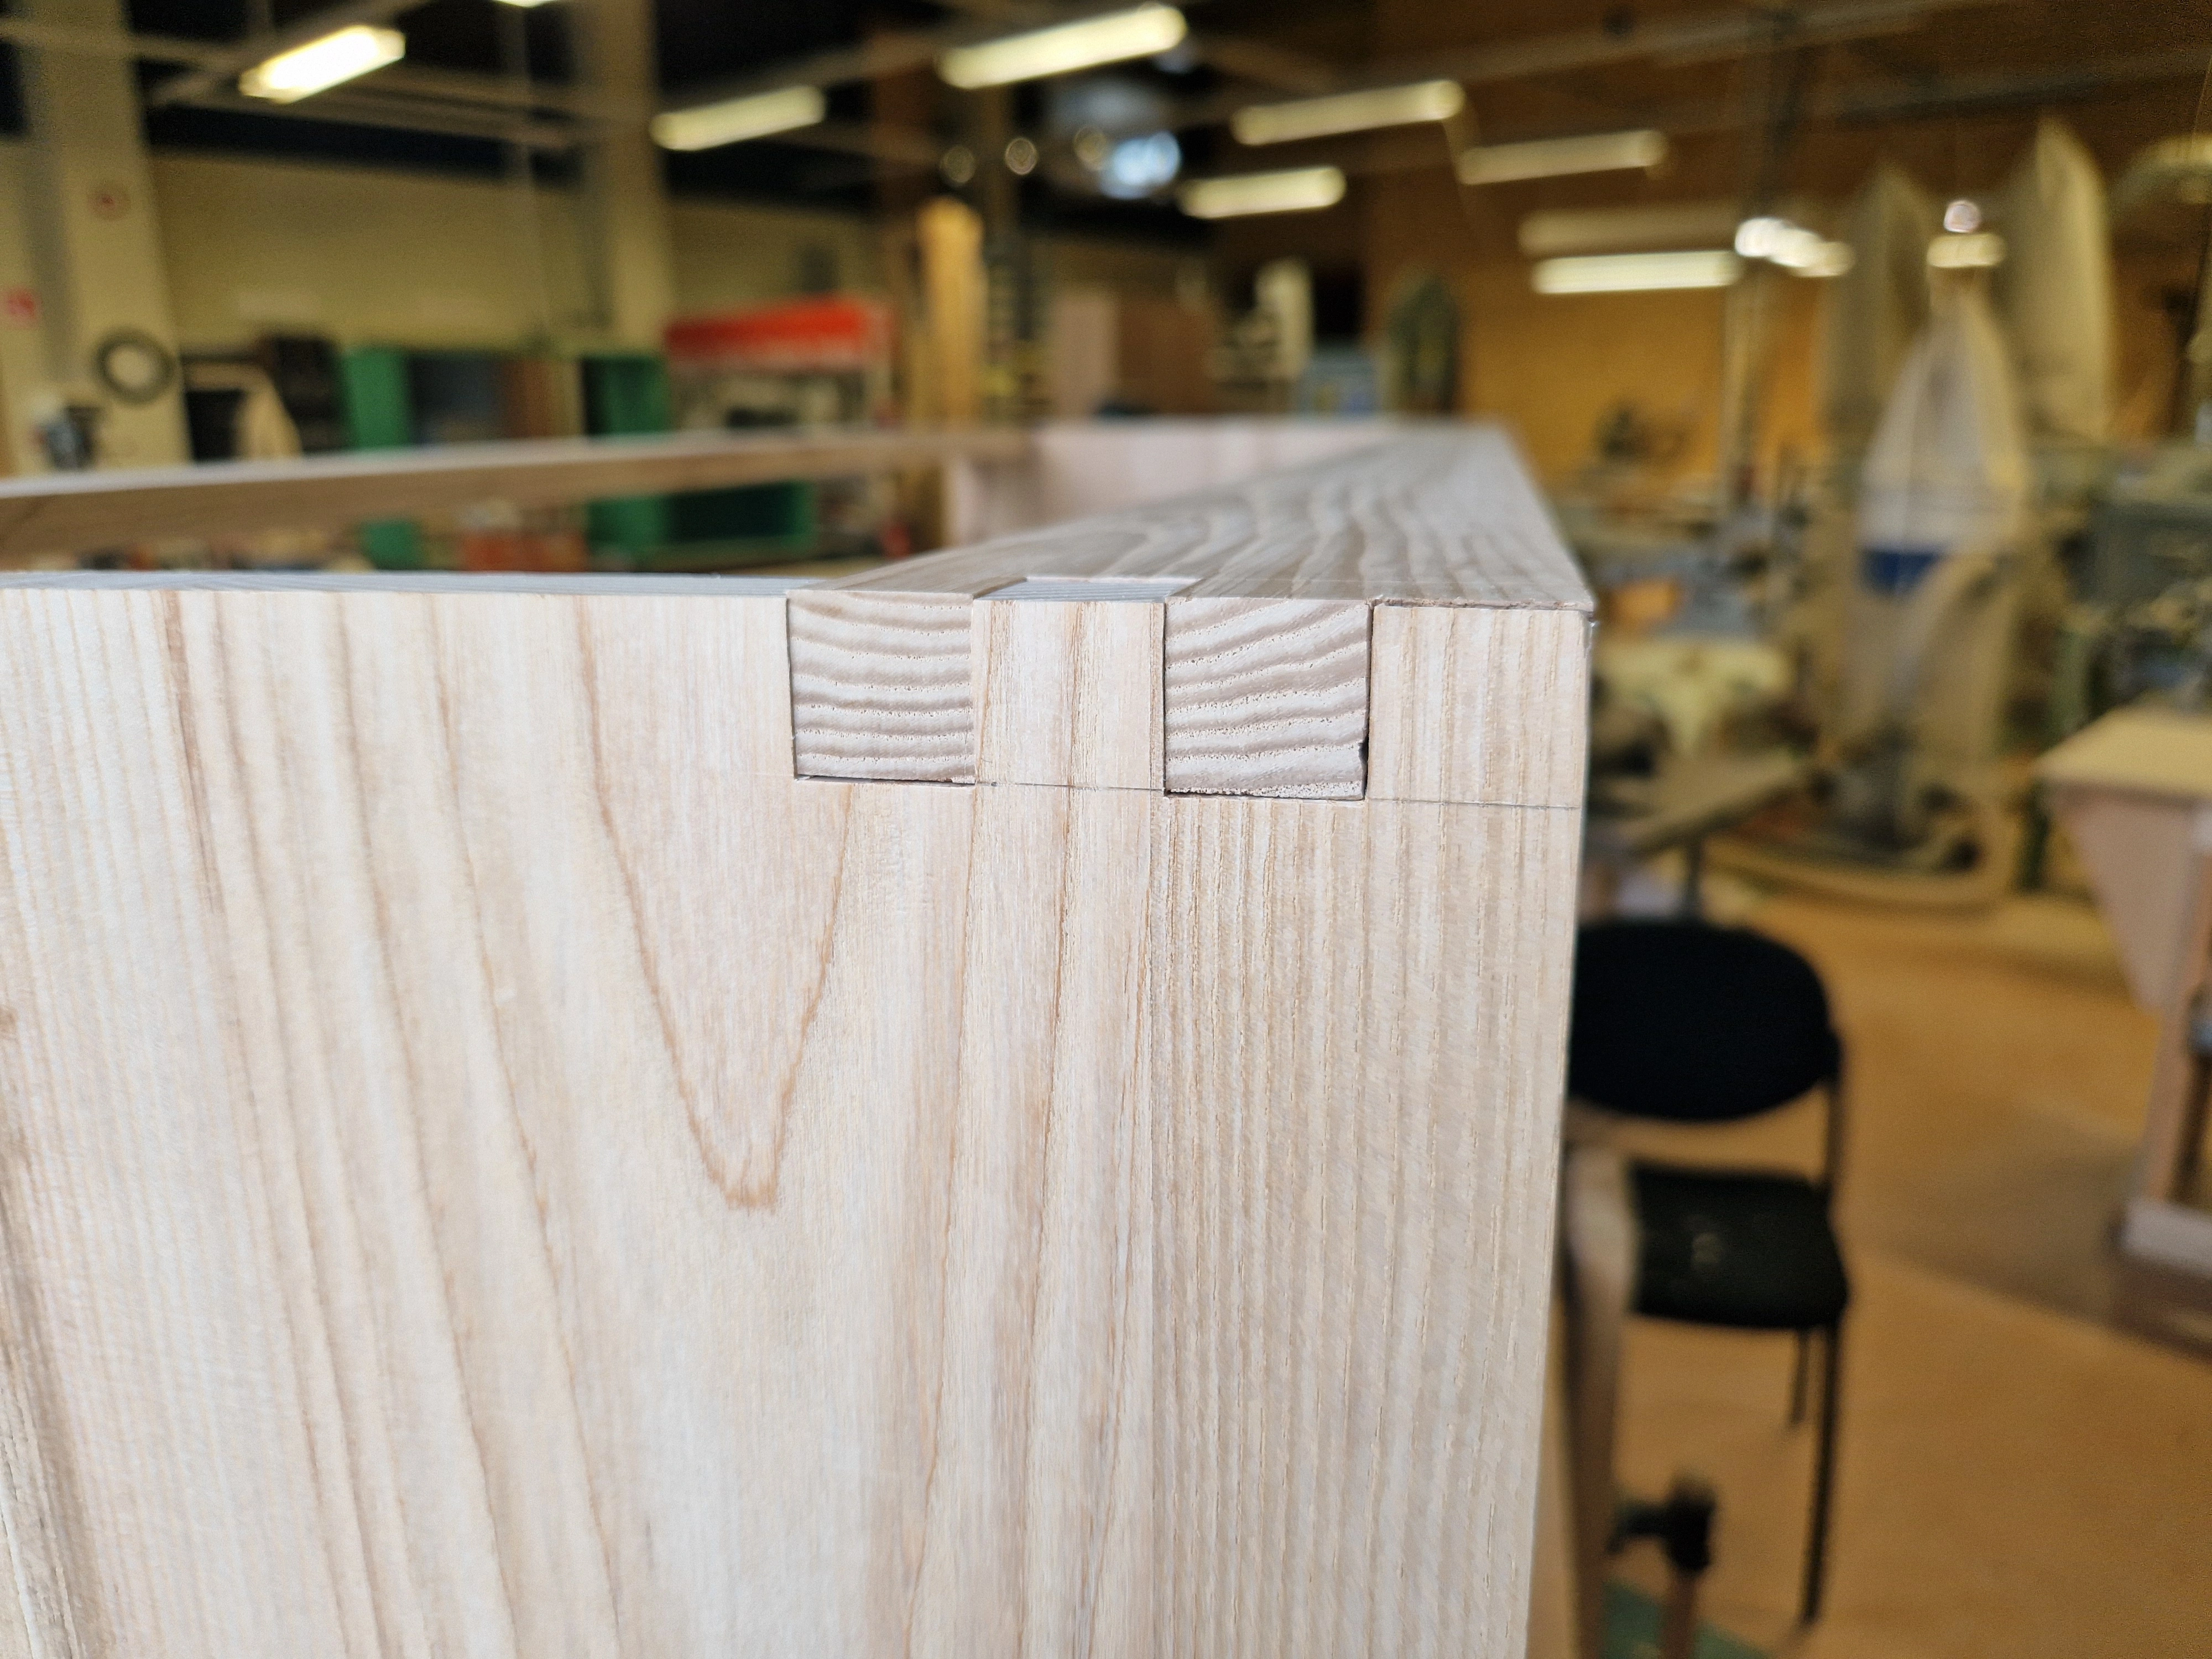
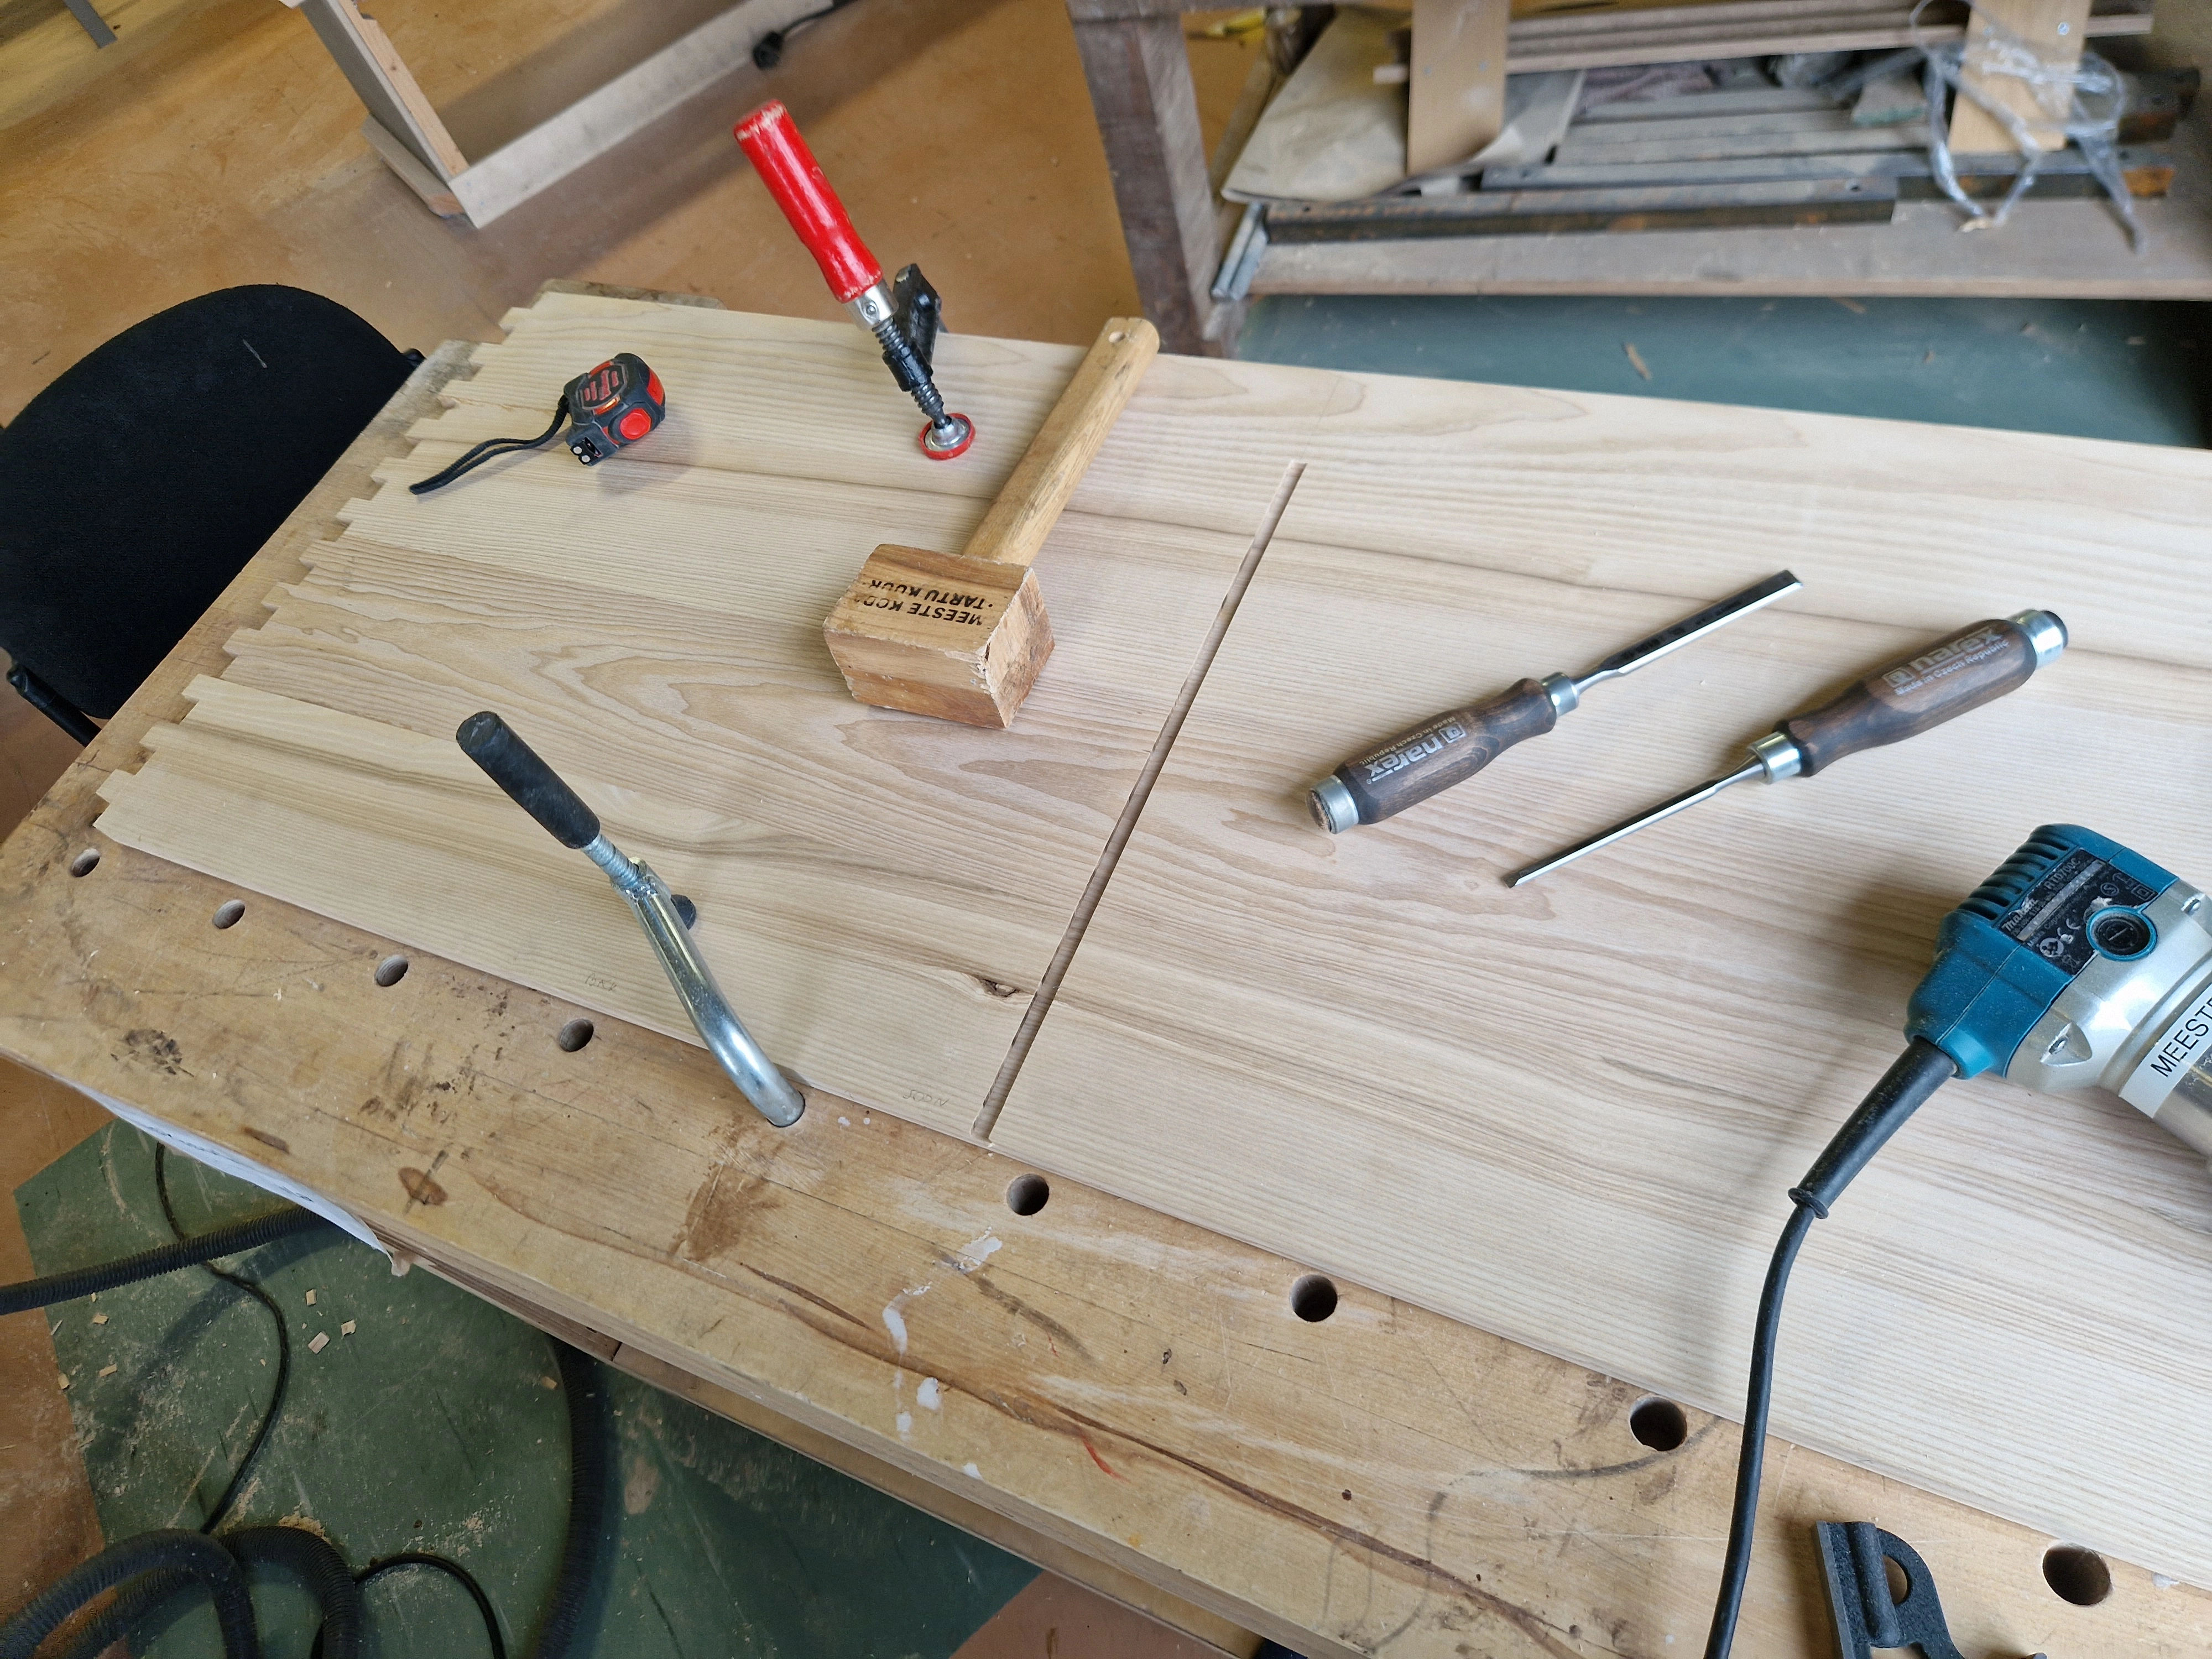
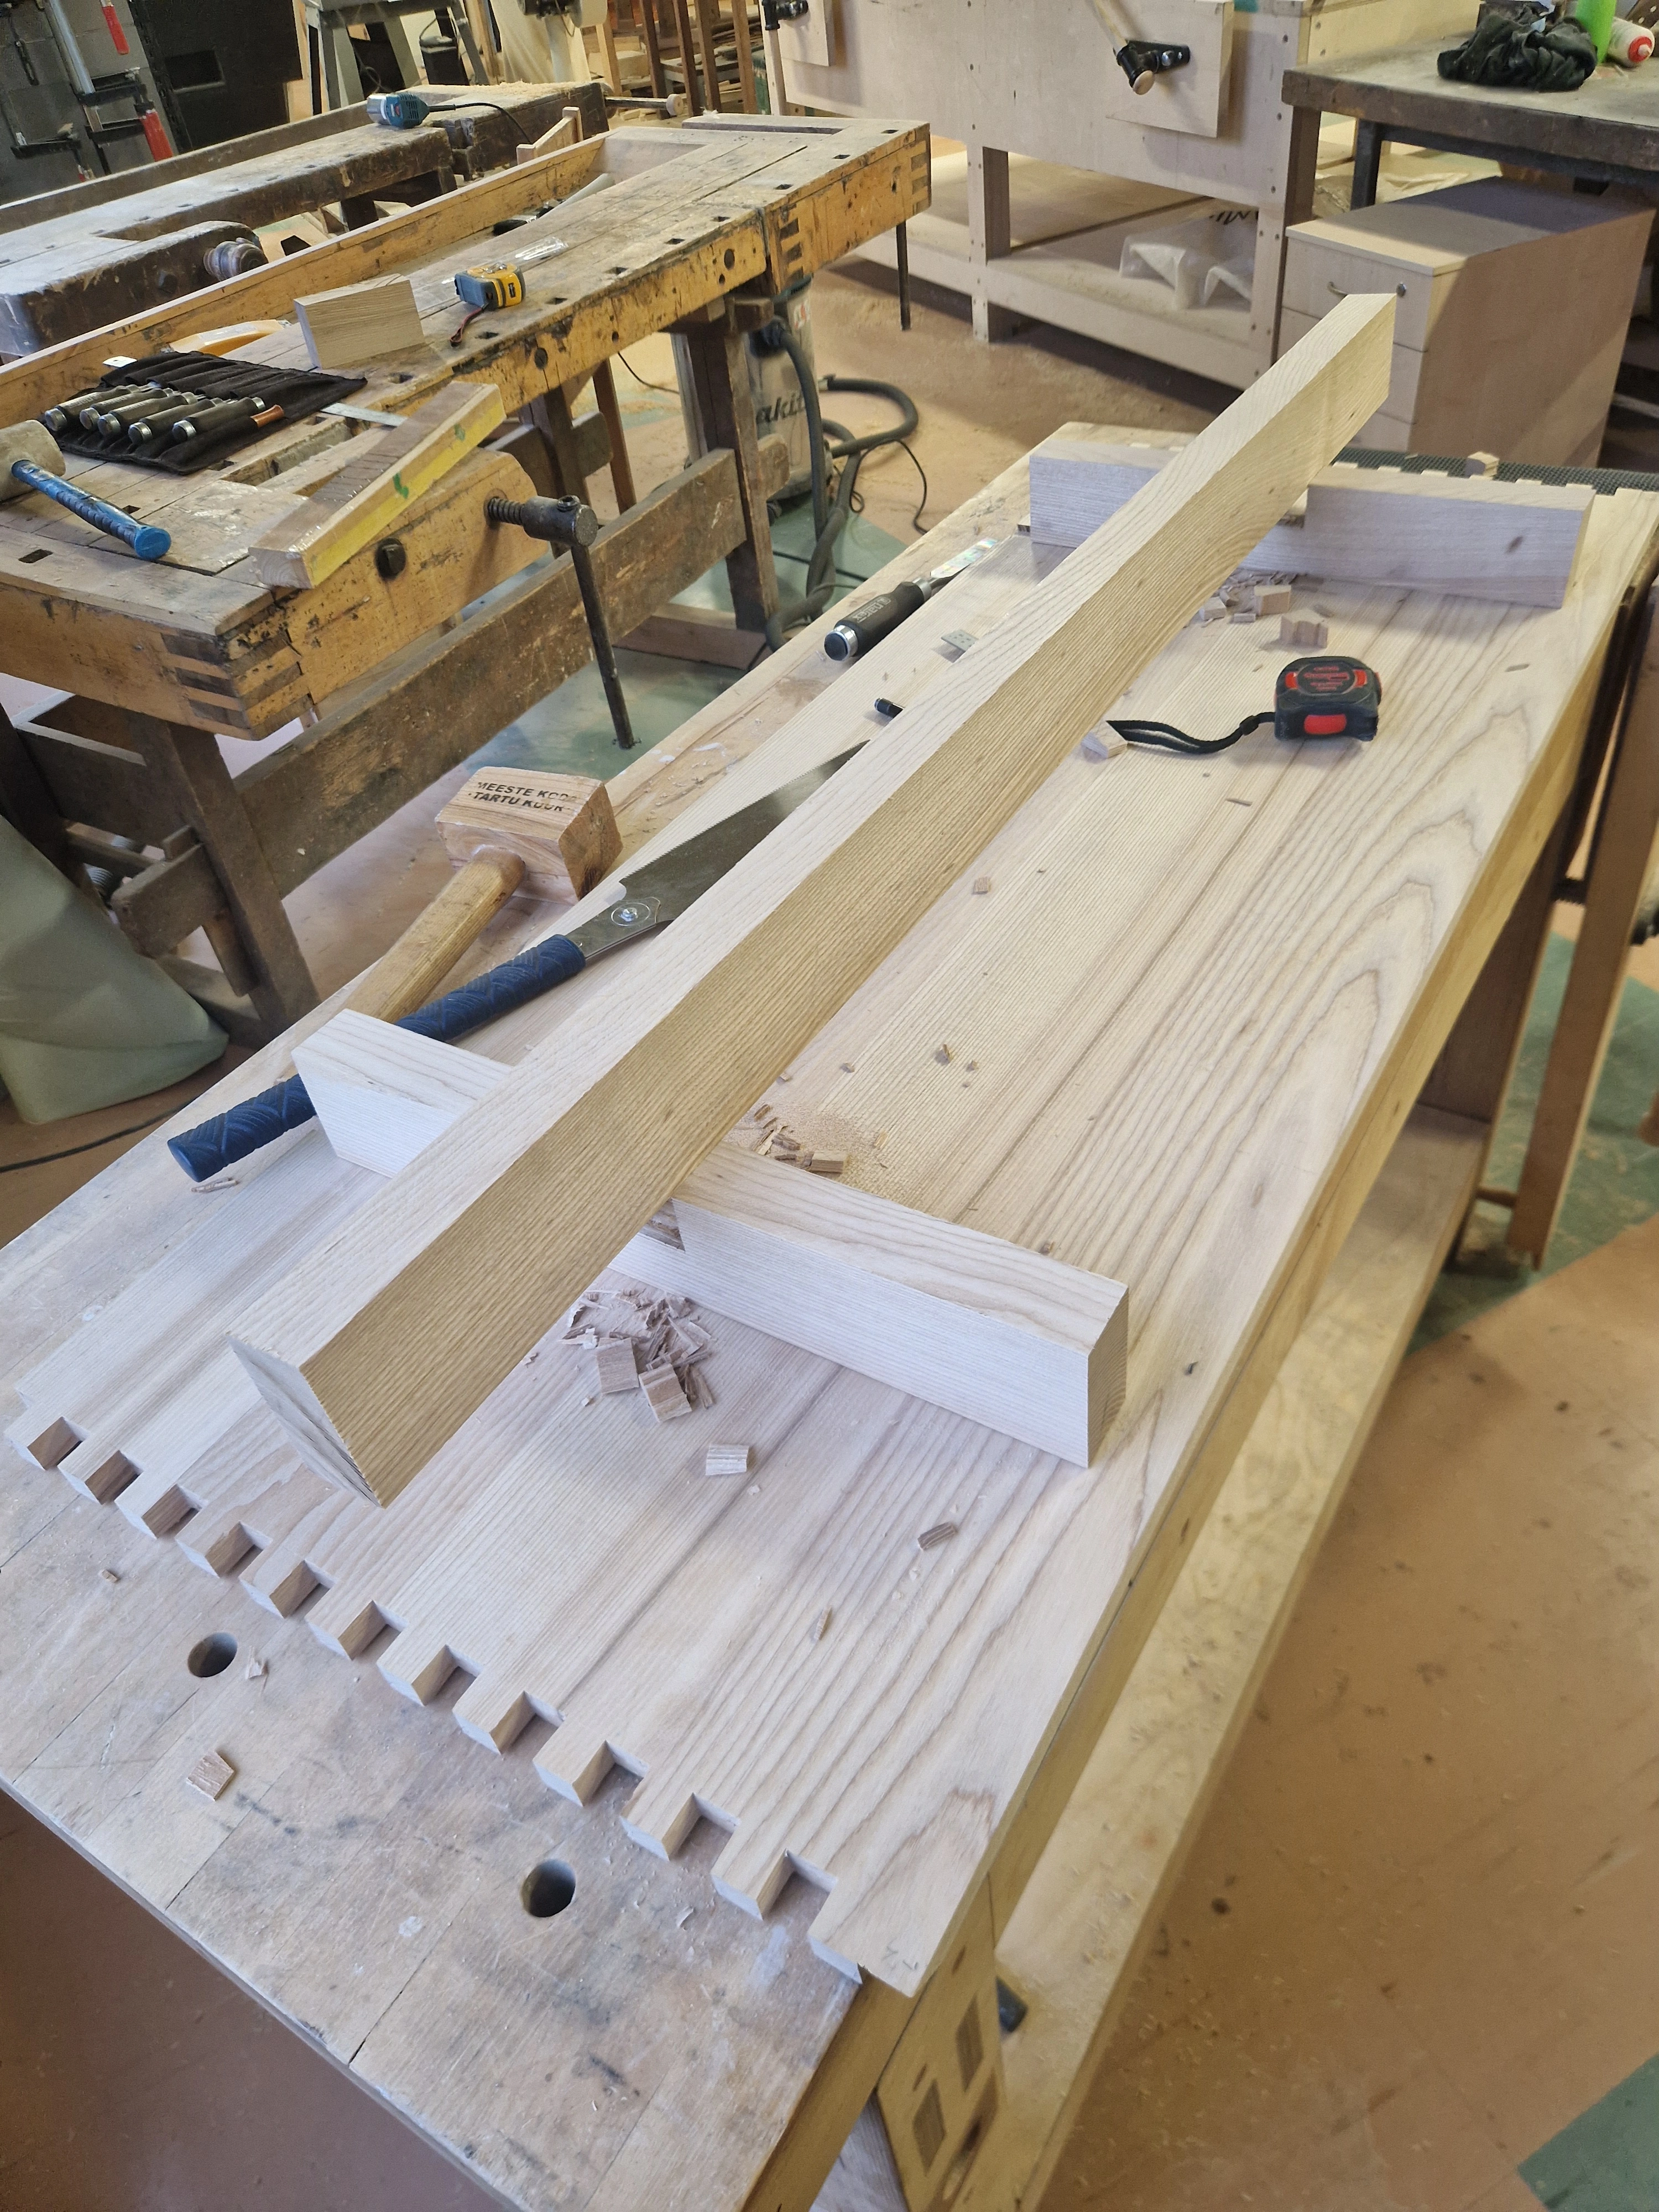
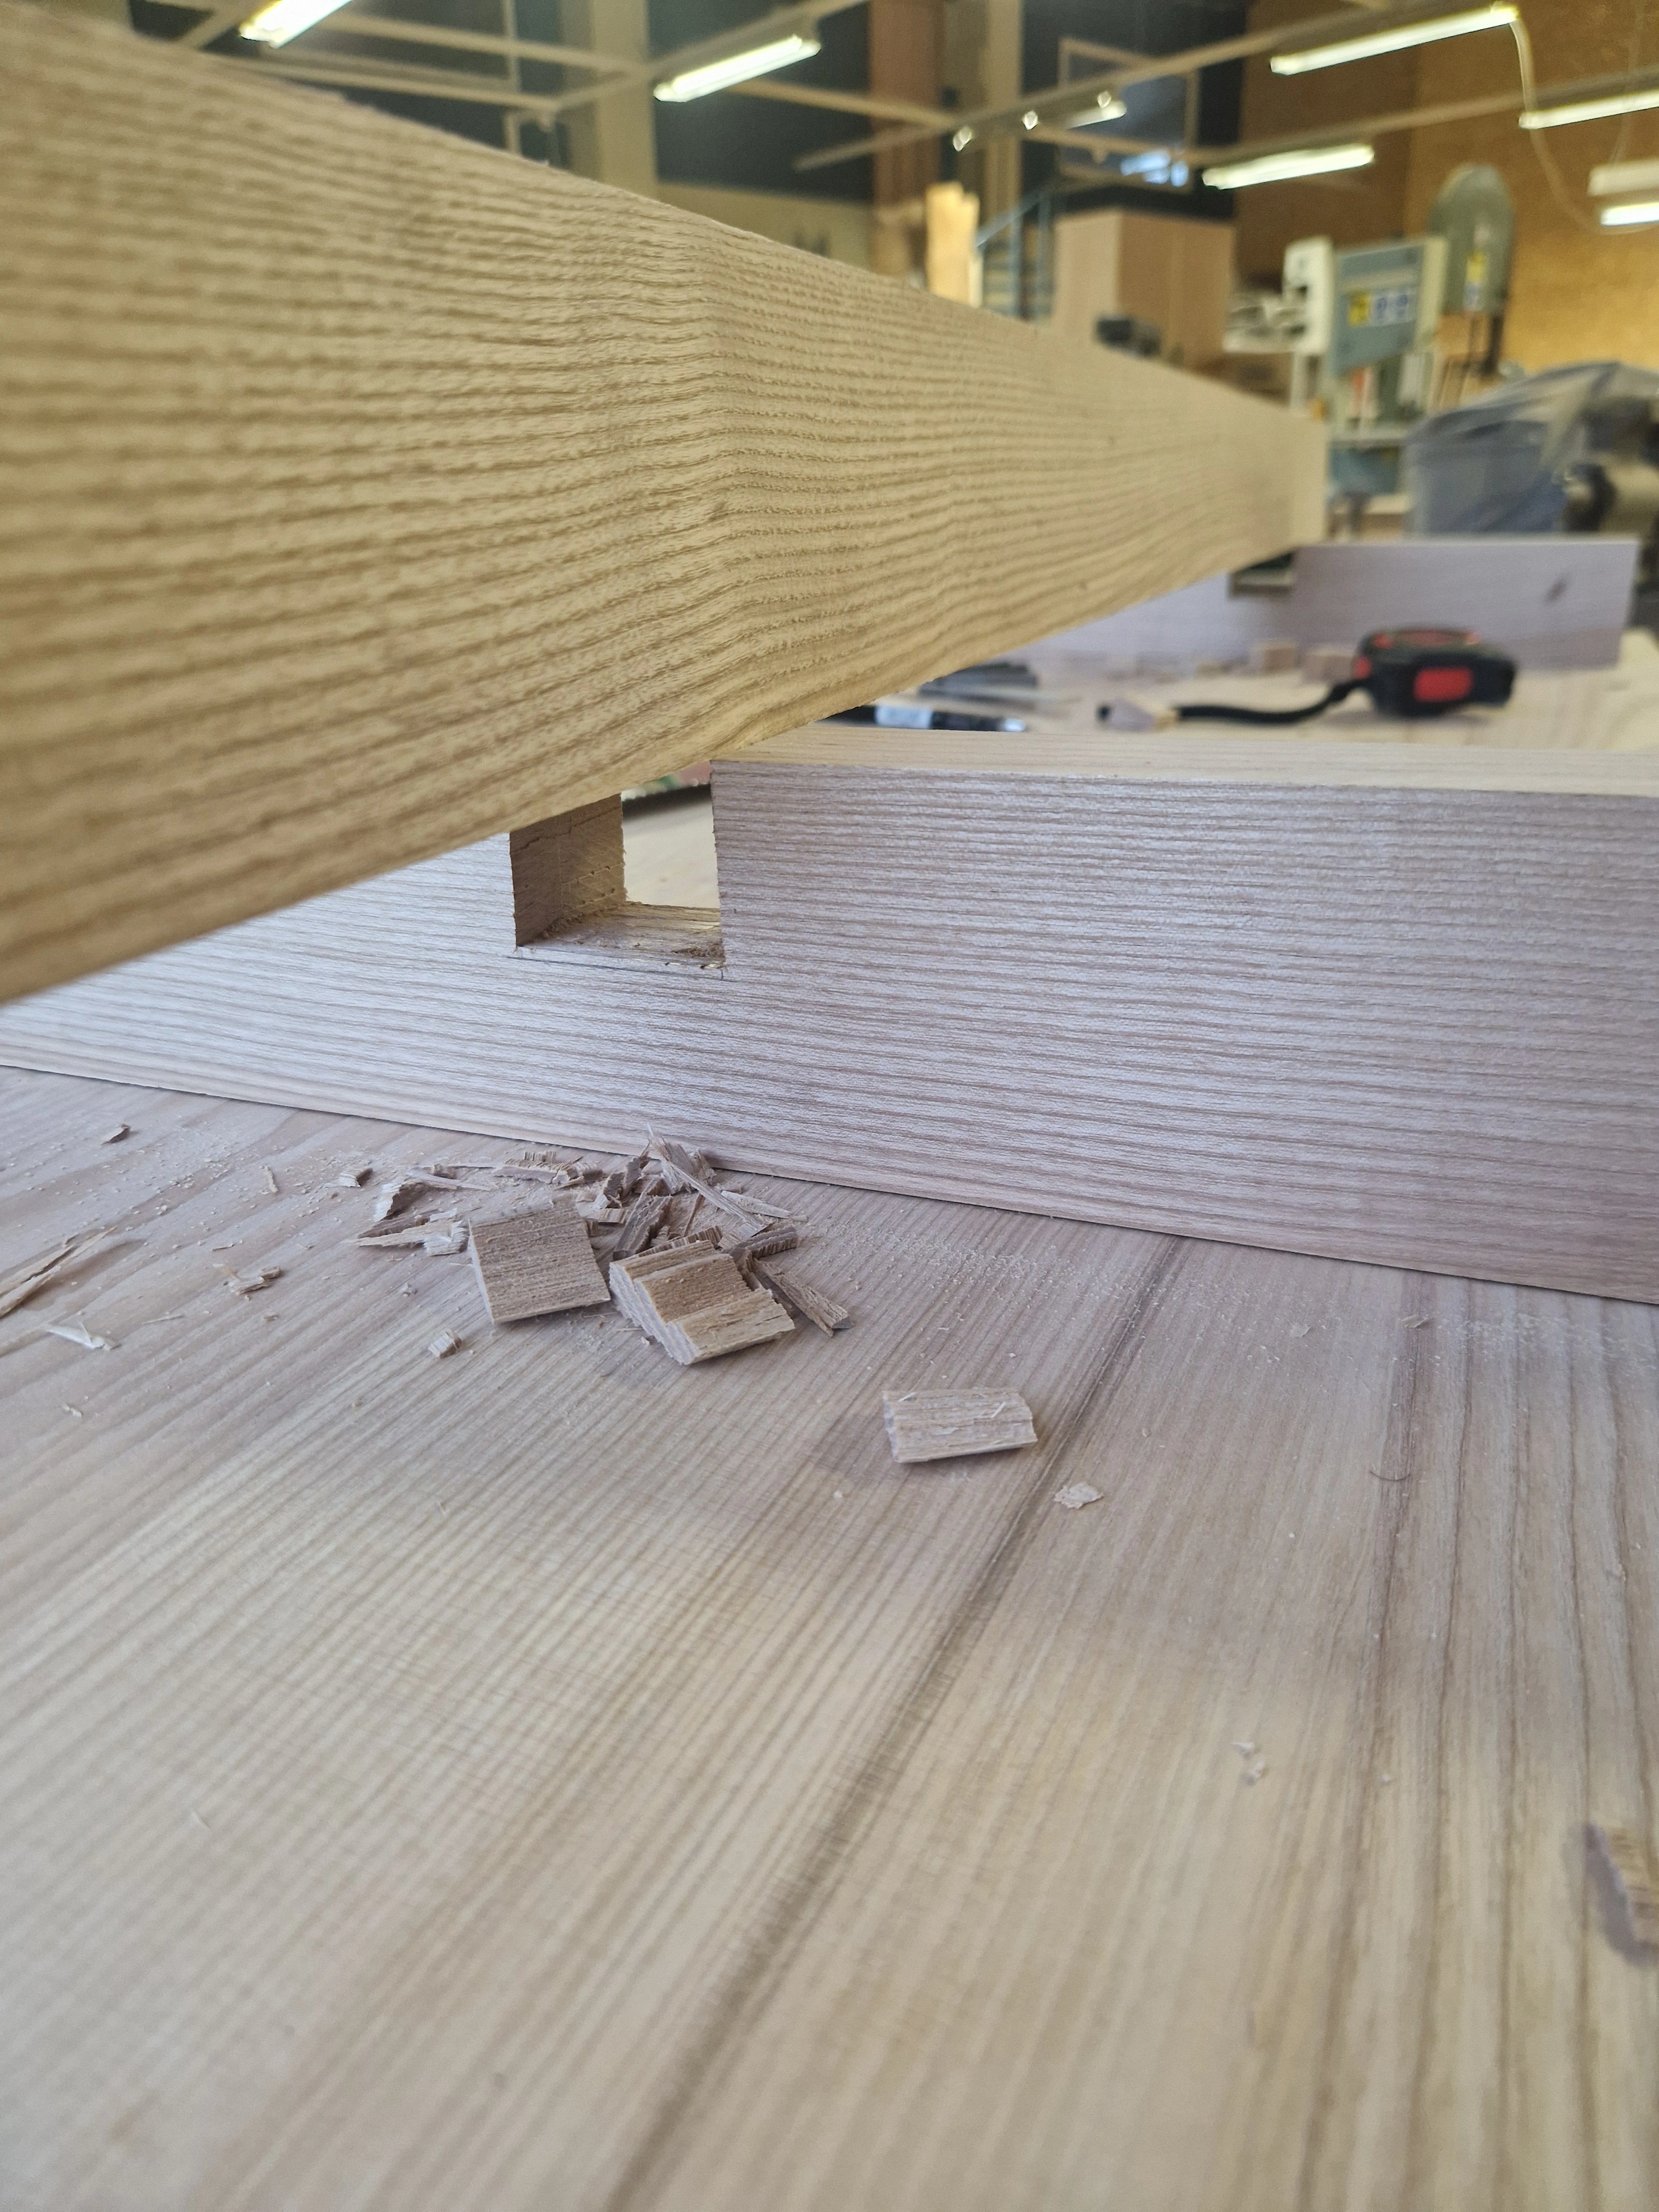
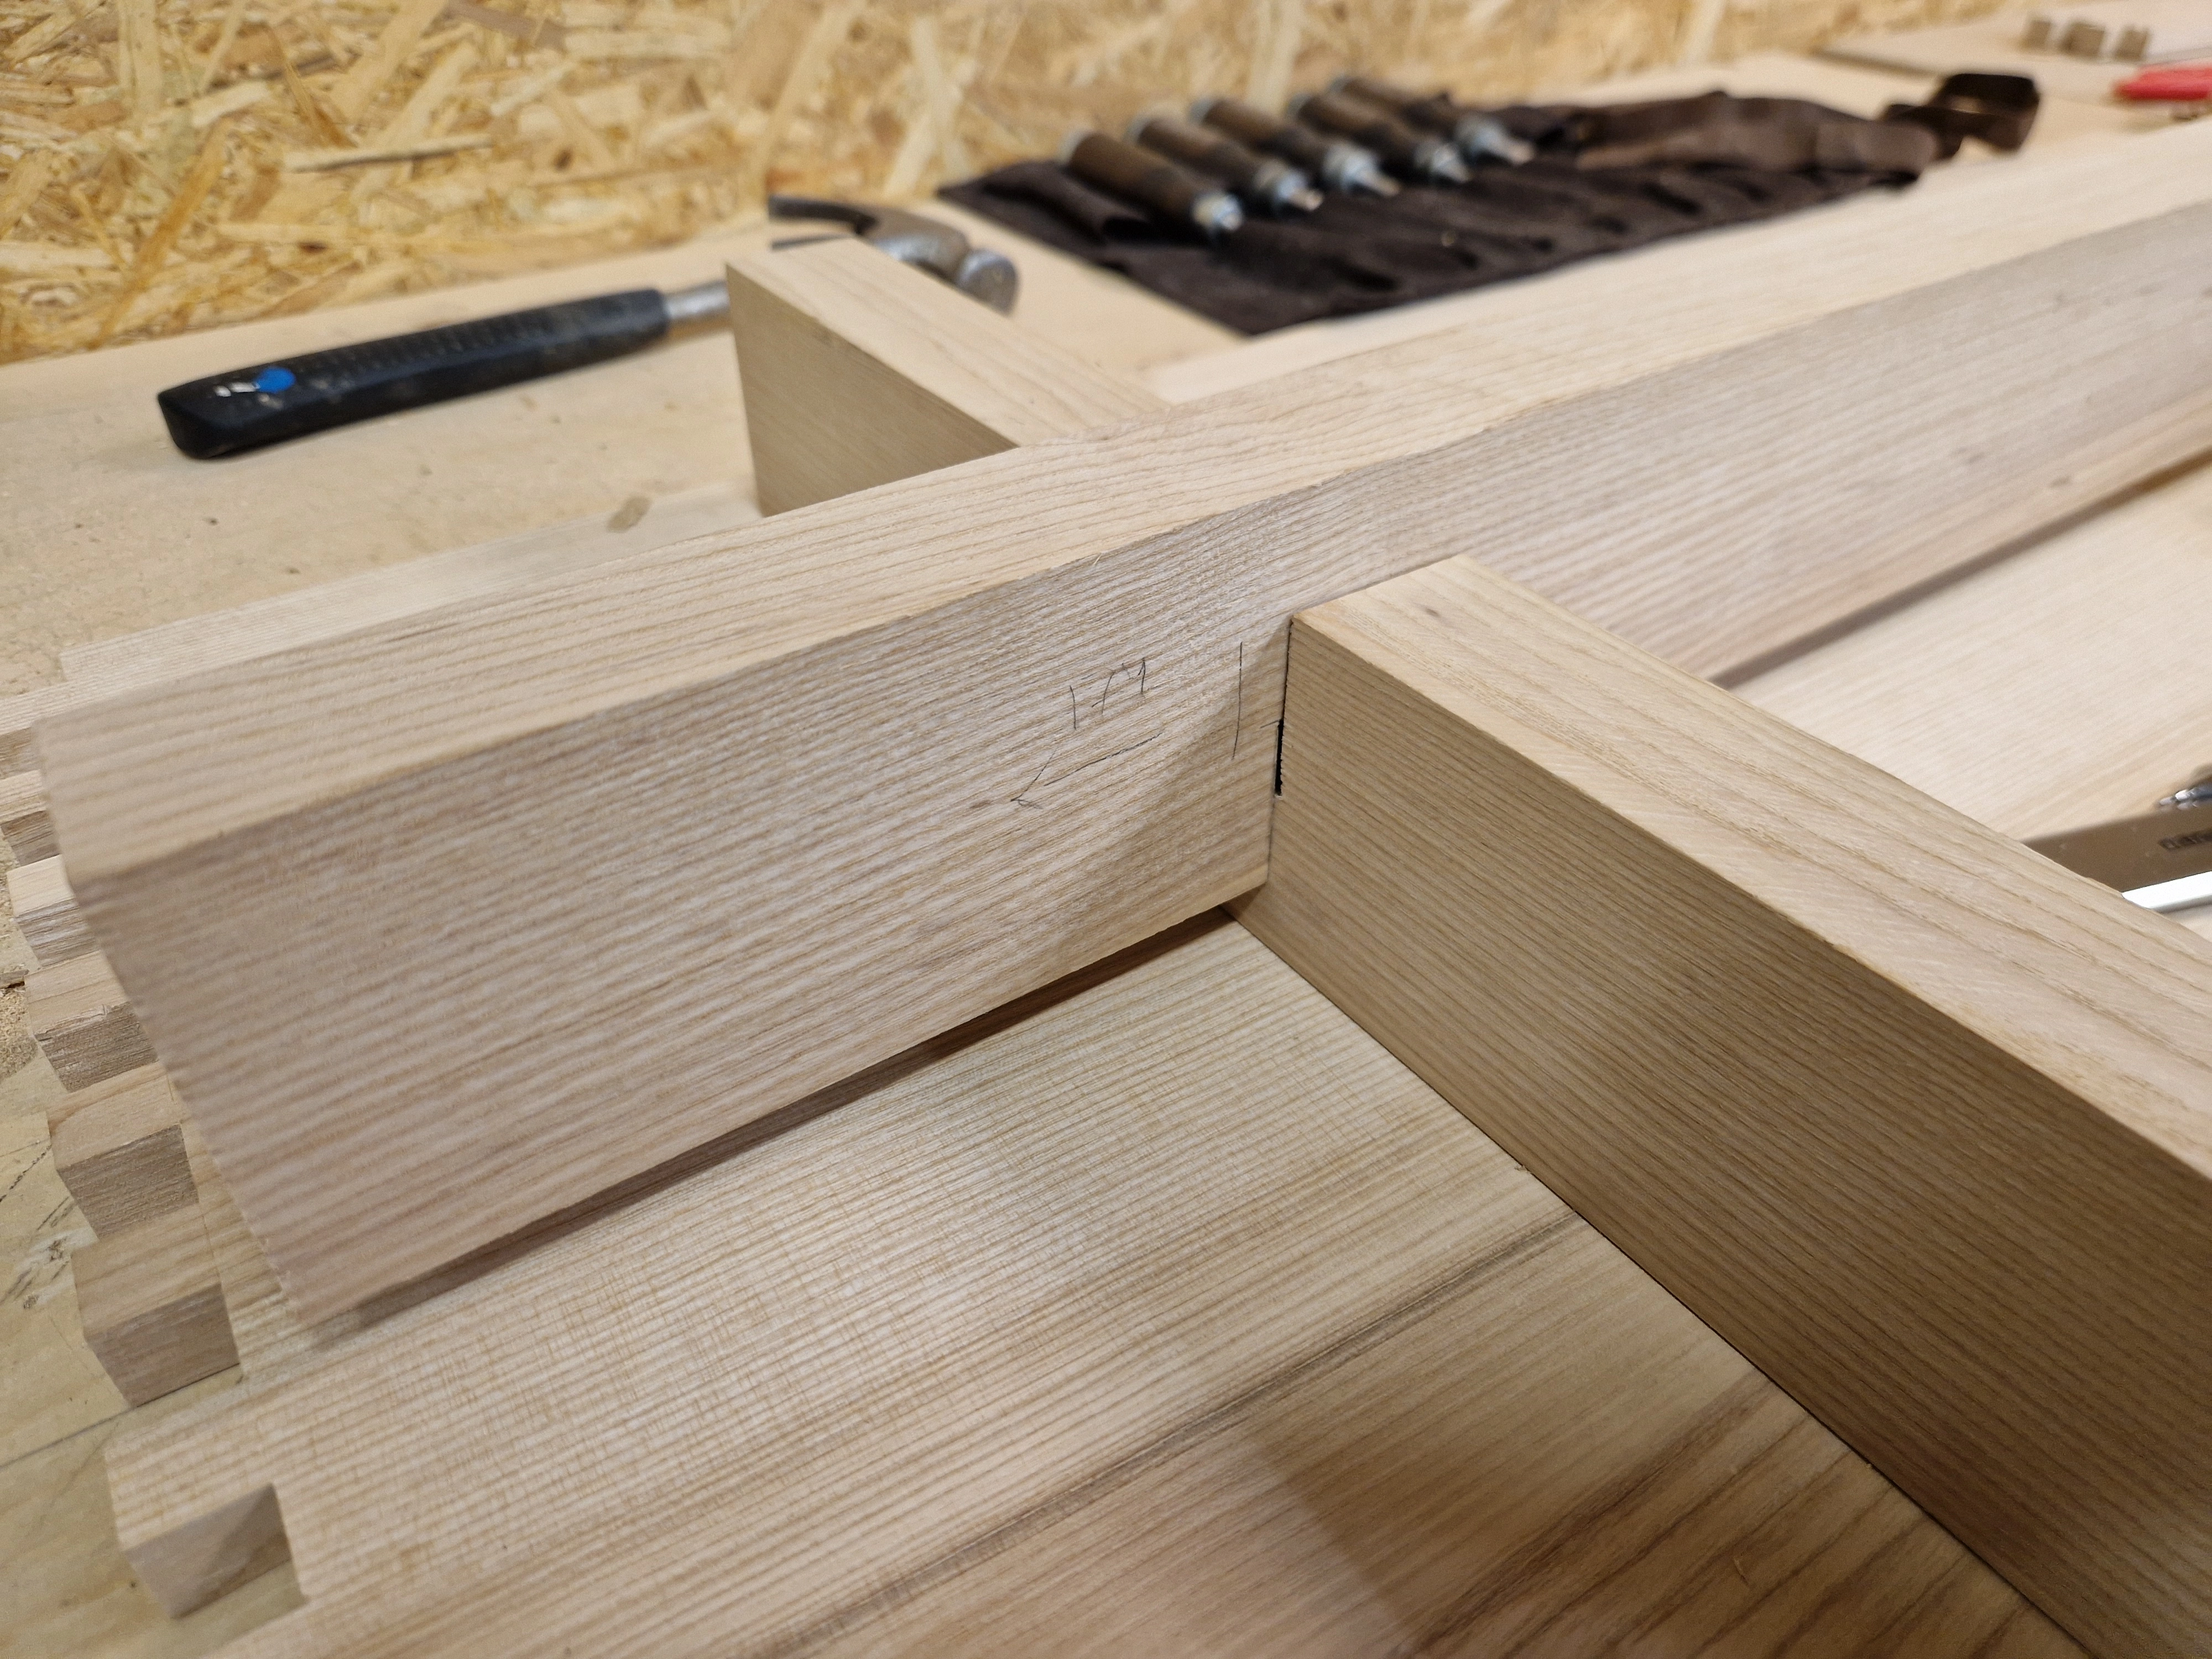
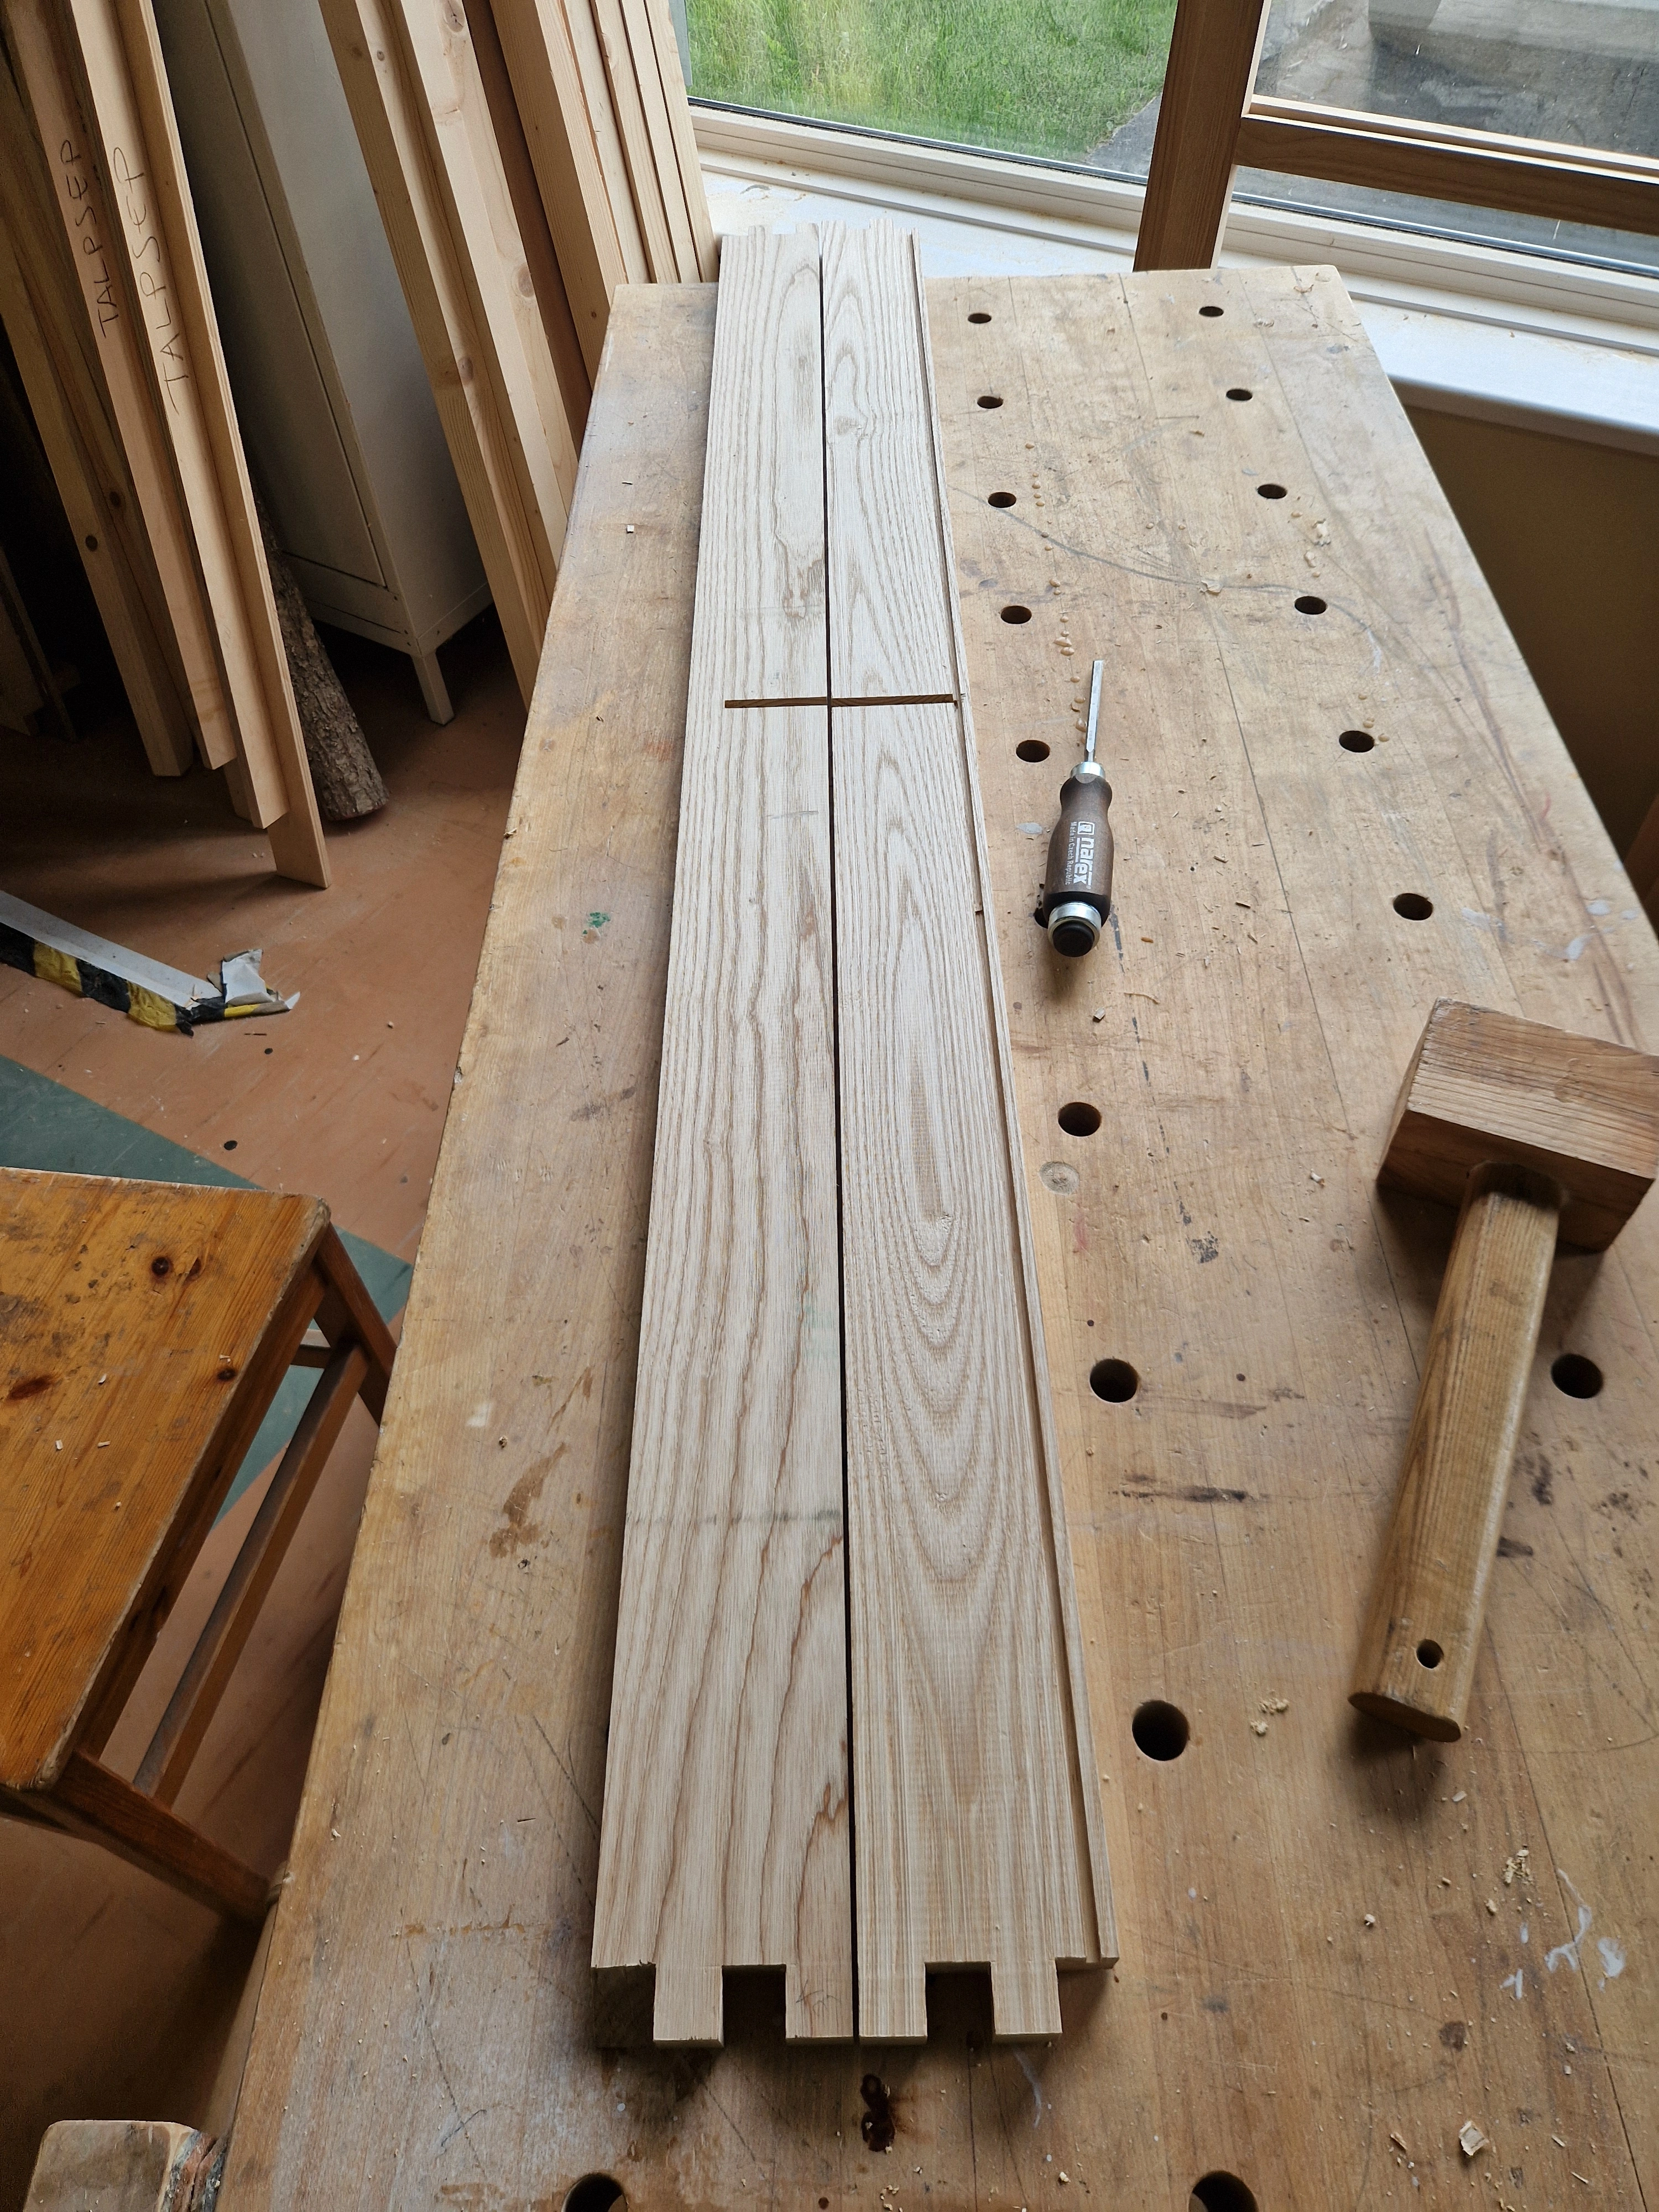
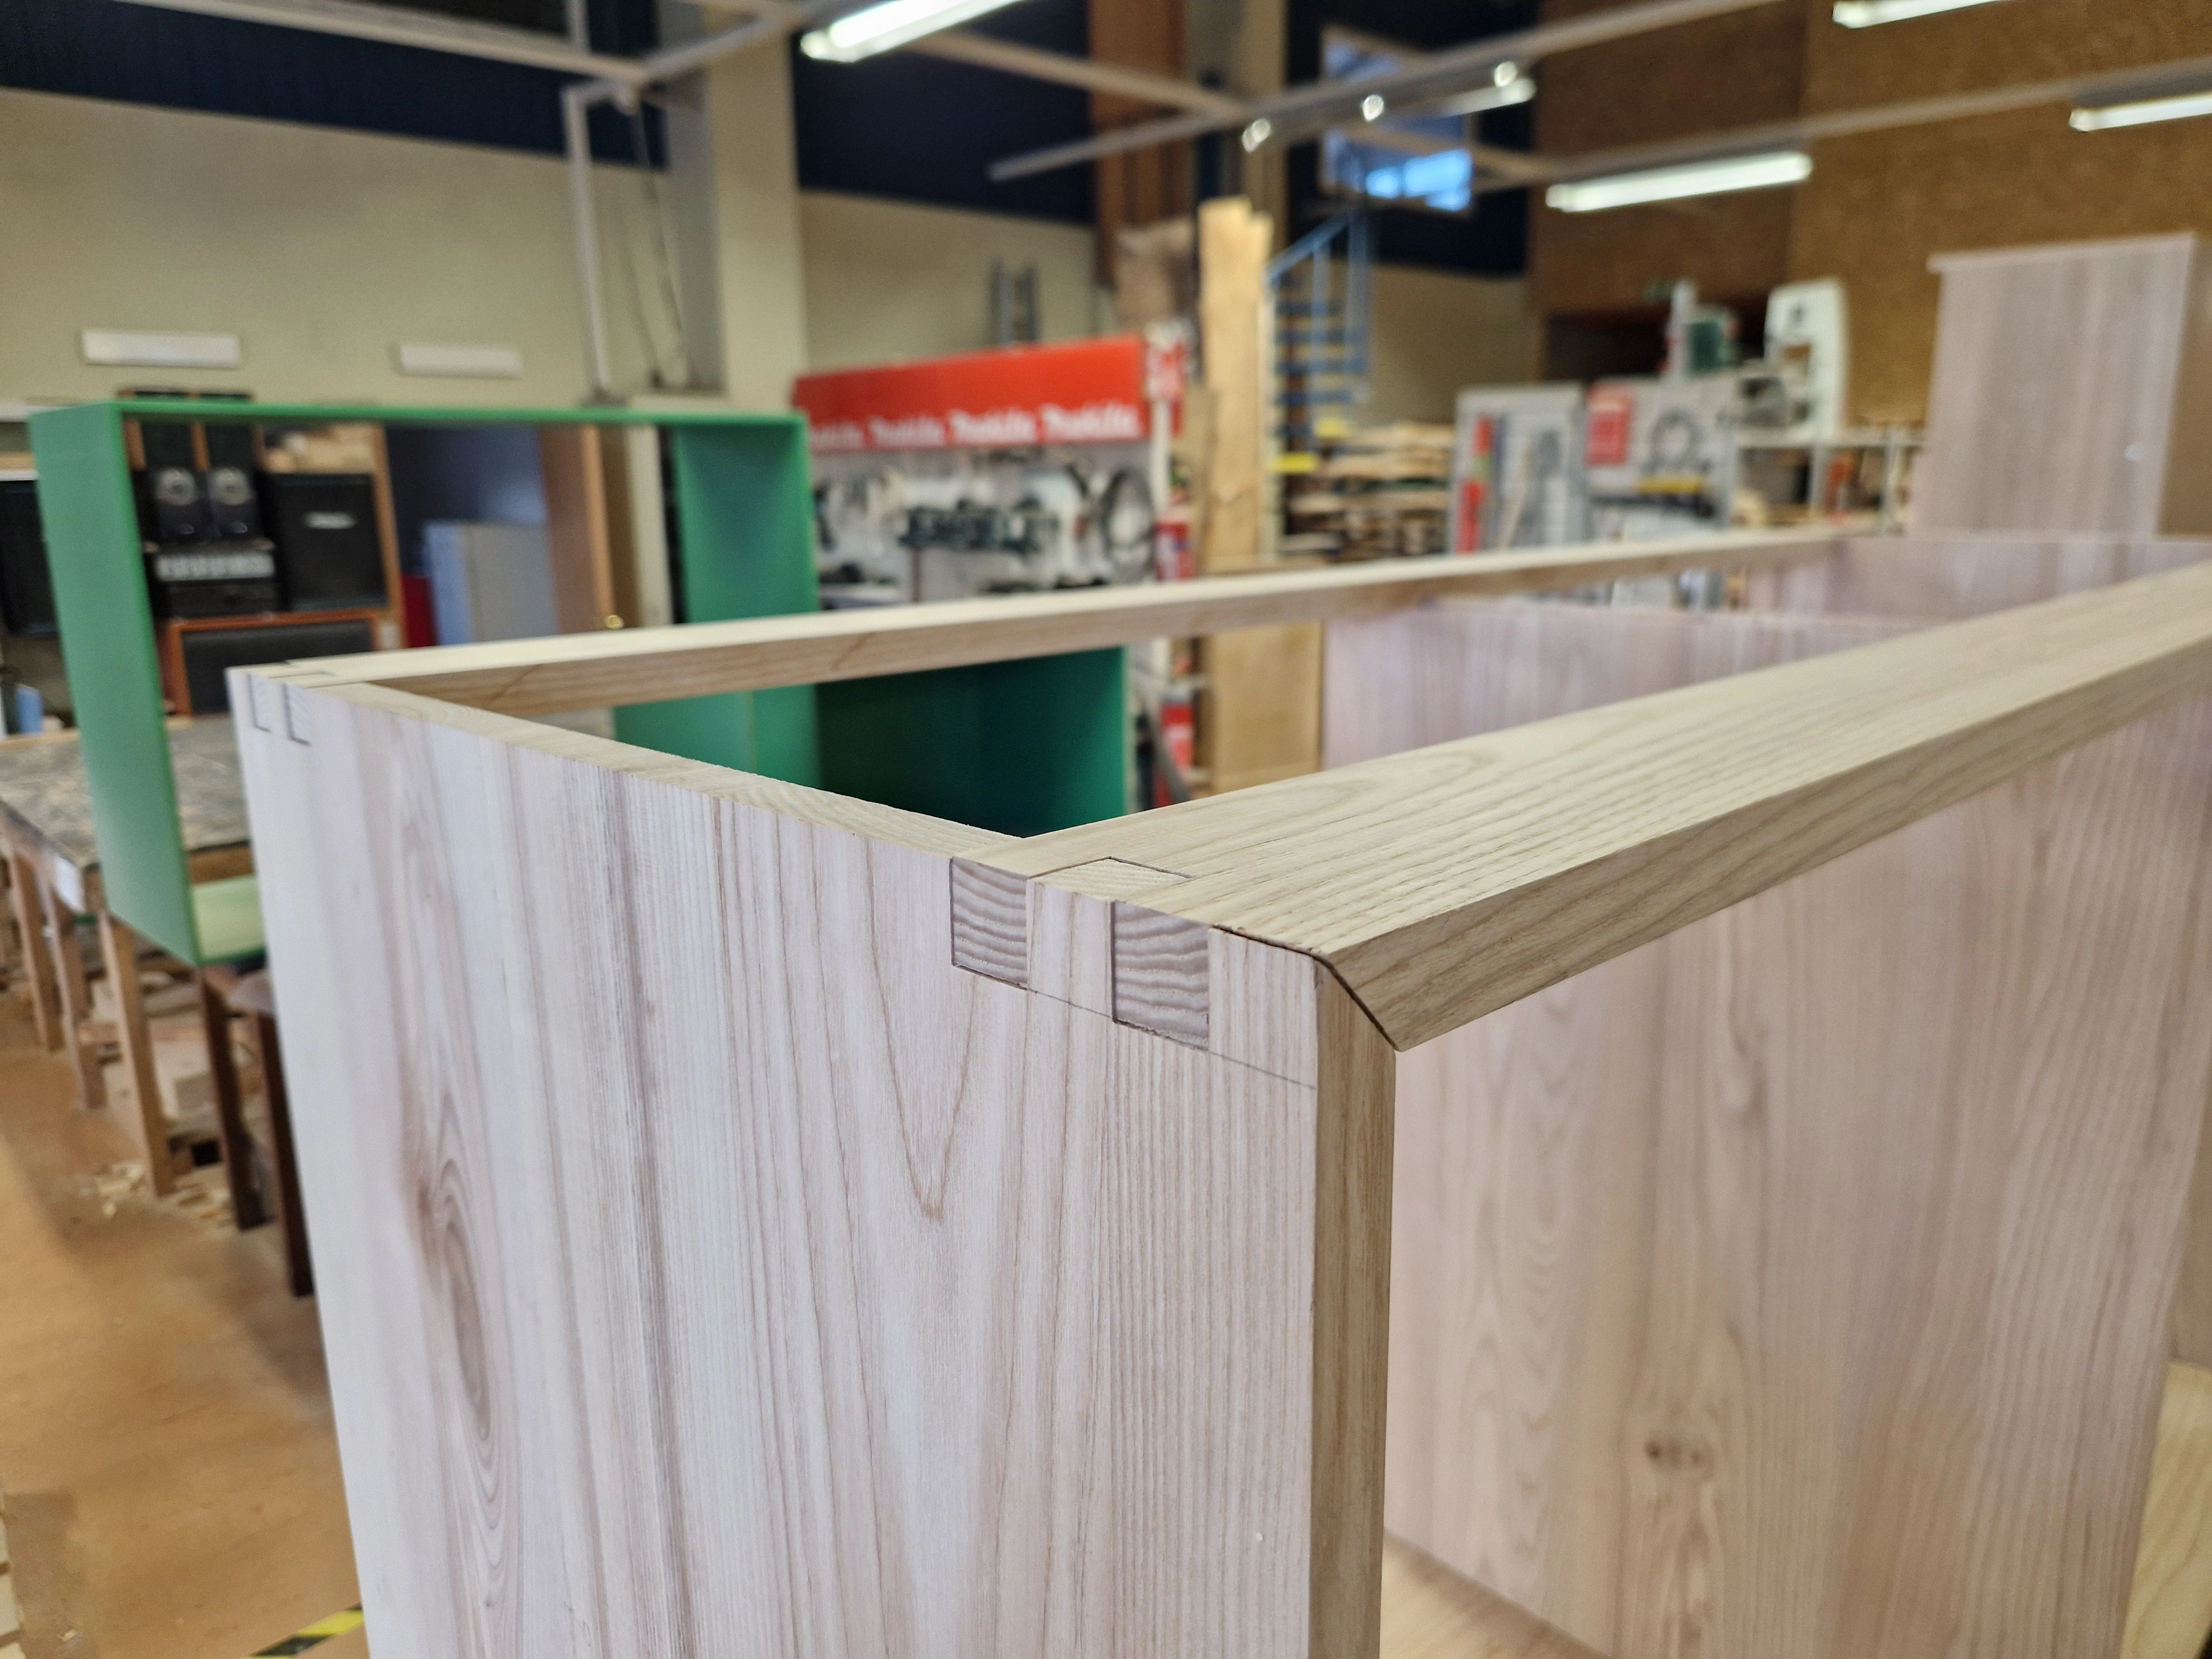
Decided to try chiseling box joints, which started off rough but eventually turned out quite nice. For me the heureka moment was realizing that since I planned the joints to be 20mm in width, I could use my 20mm chisel as a measuring tool. Having a physical object with a fixed width is much more reliable than relying on markers made using a ruler or combination square. The quality in the joints increased drastically after trying this out and it's definitely going to be my go-to approach for these things in the future as well, where I will do my best to design joints with the same widths as my chisels.
1 / 5
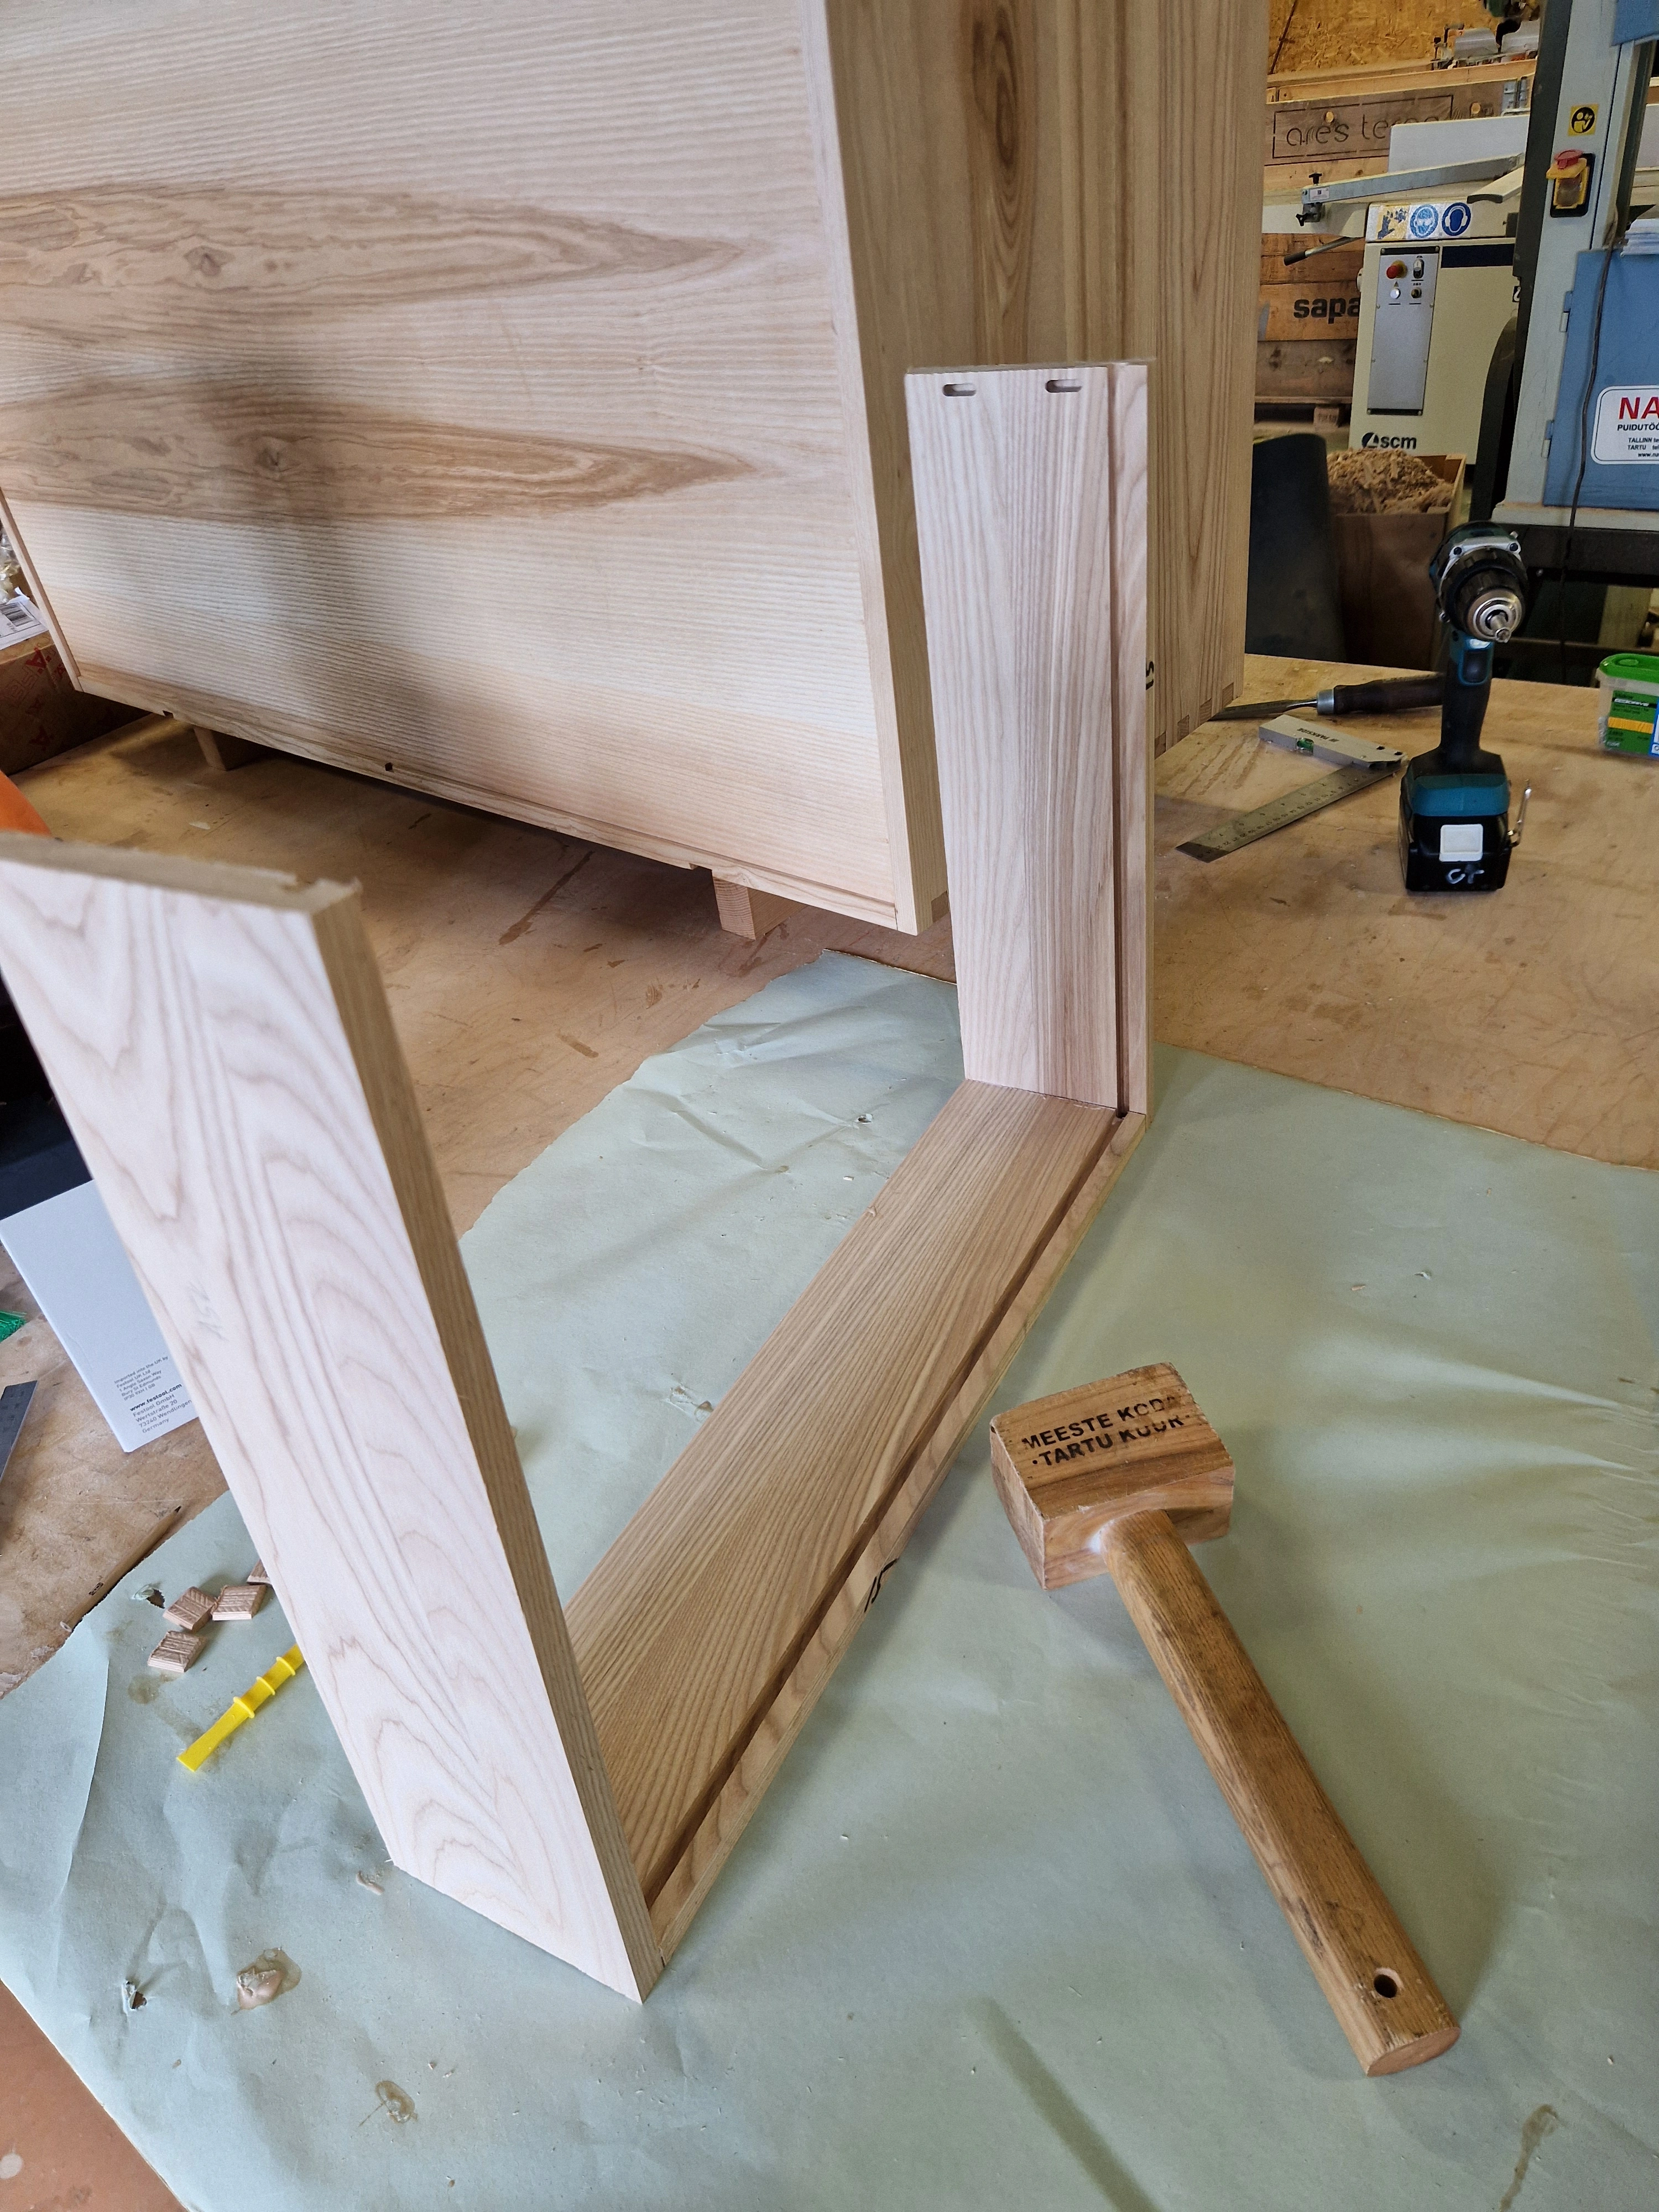
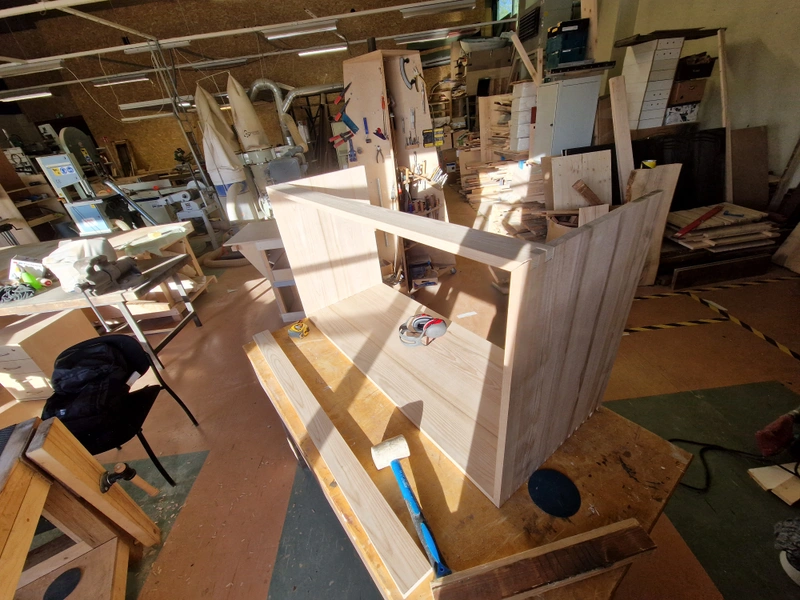
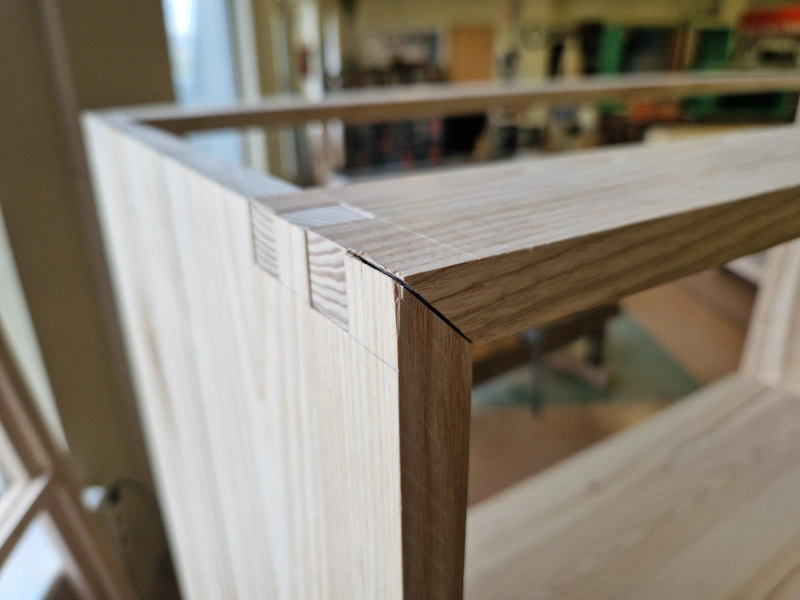
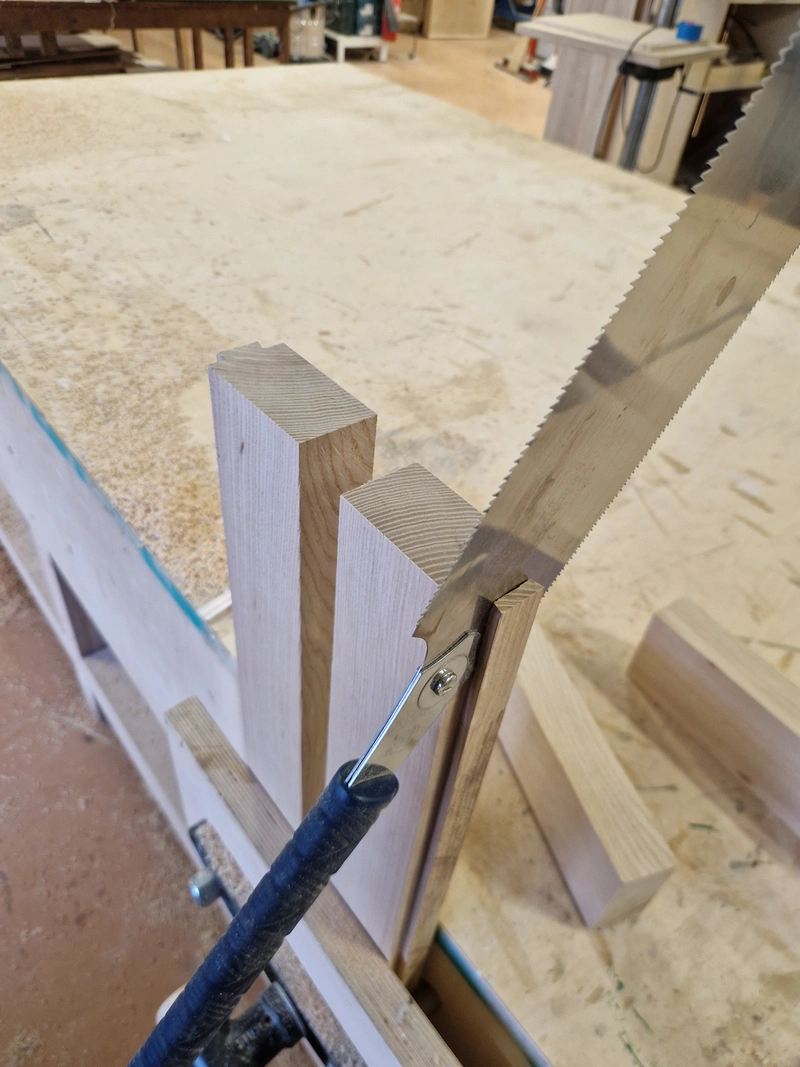
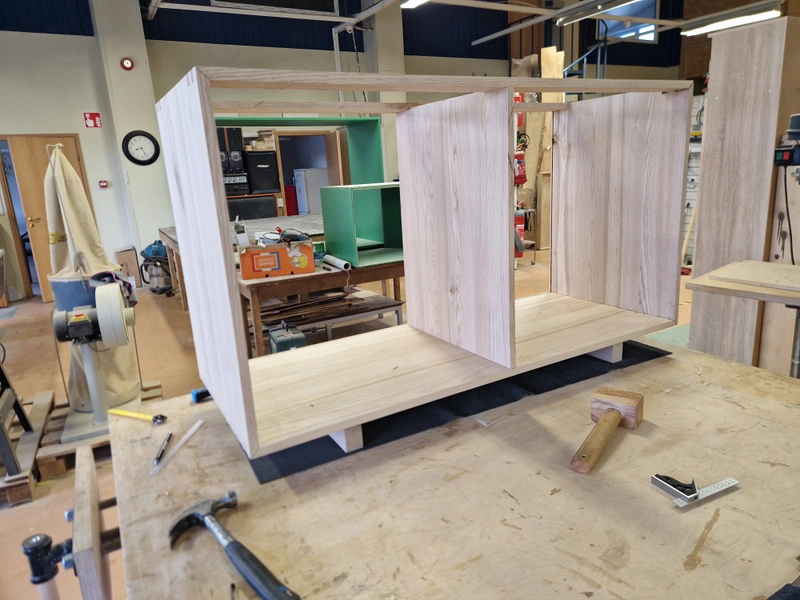
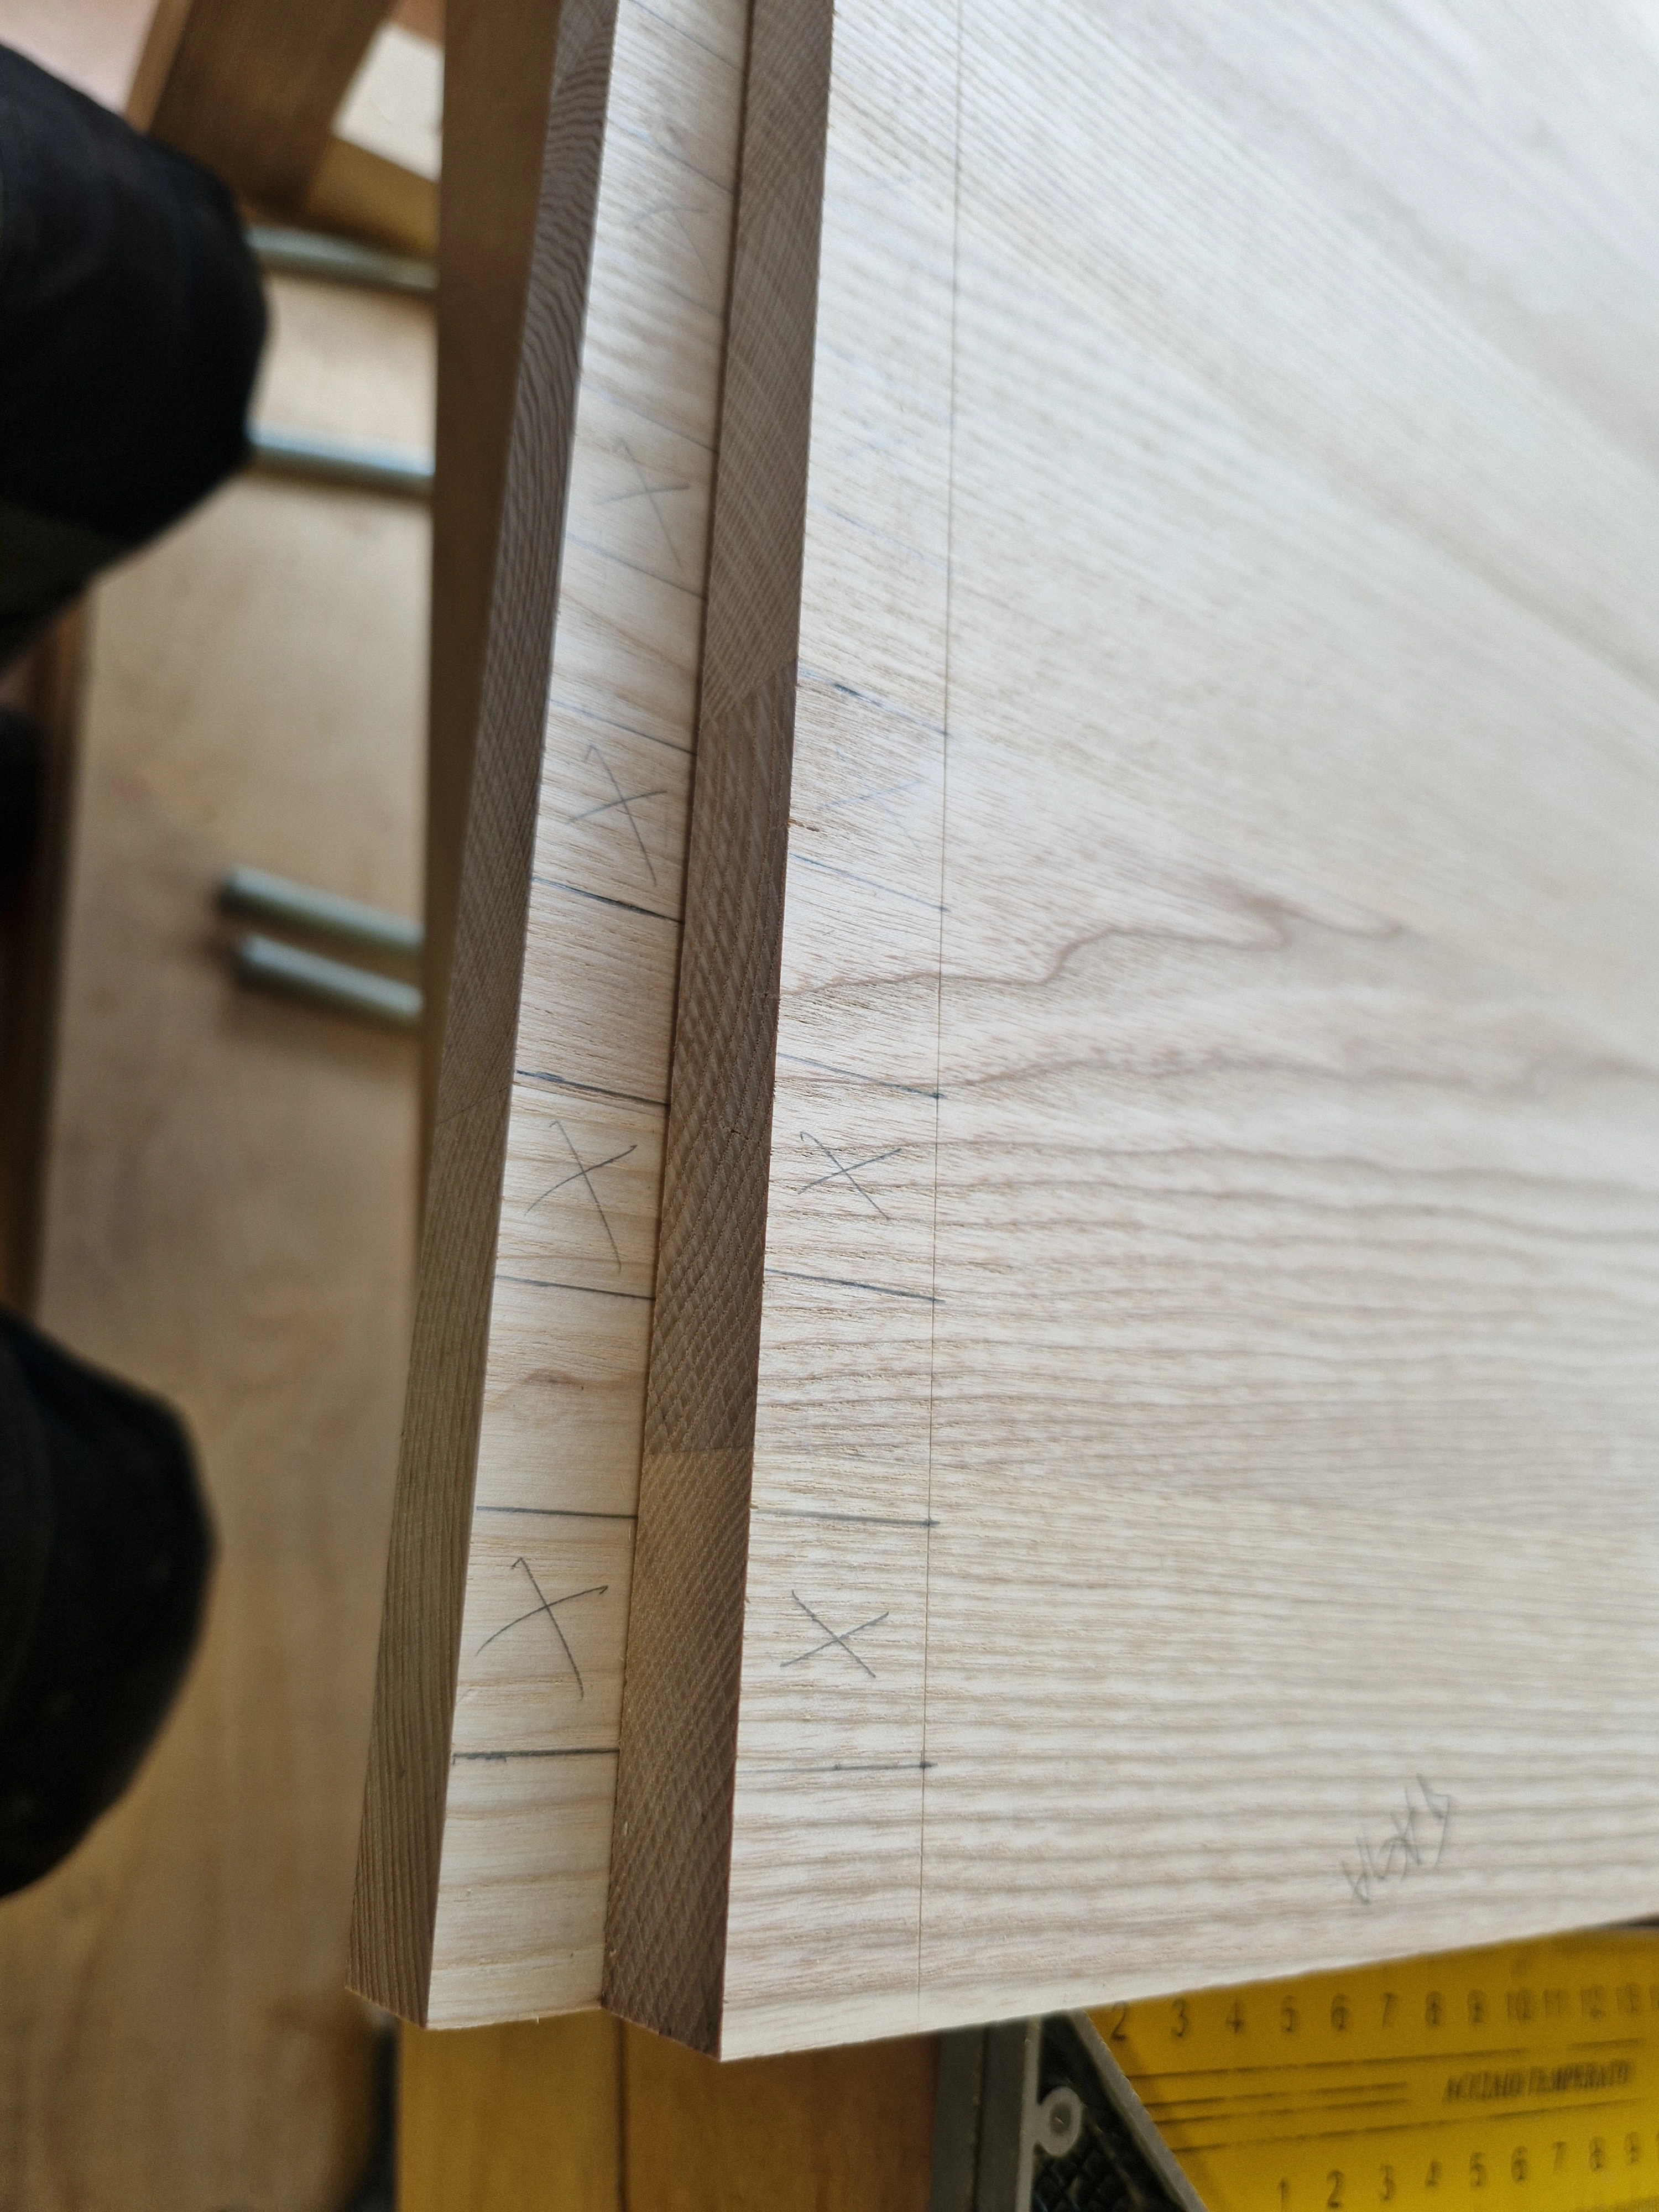
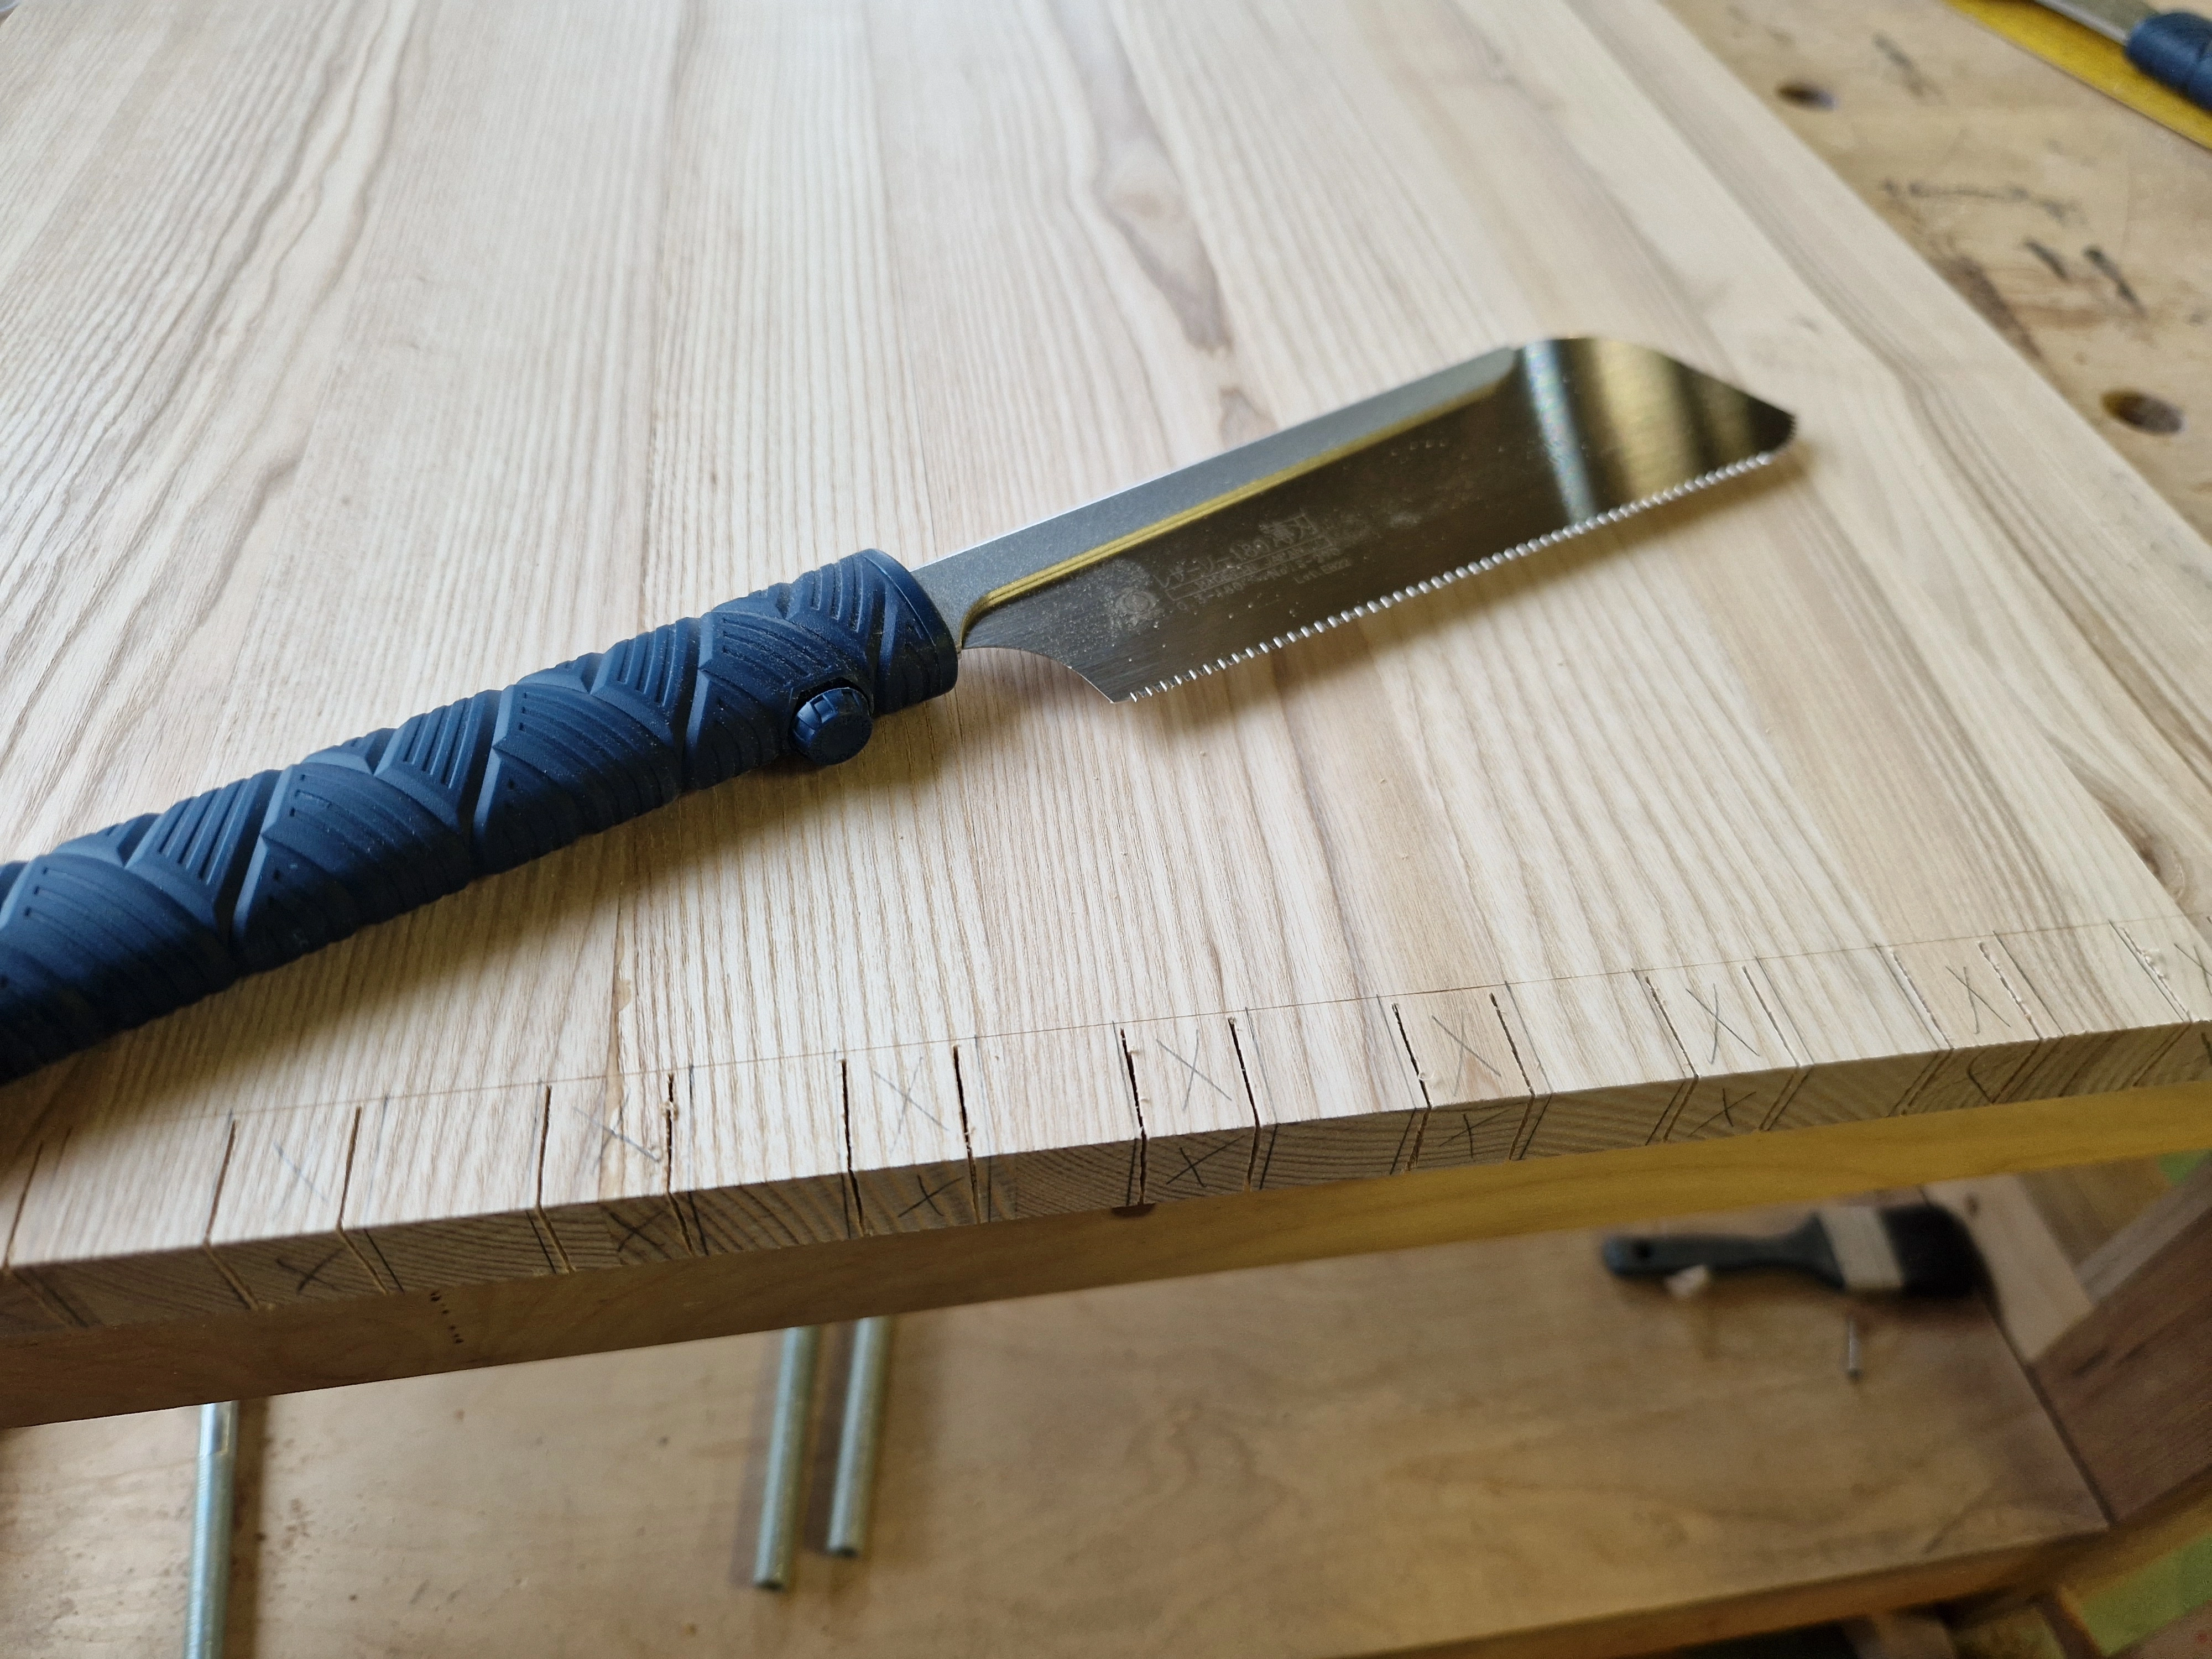
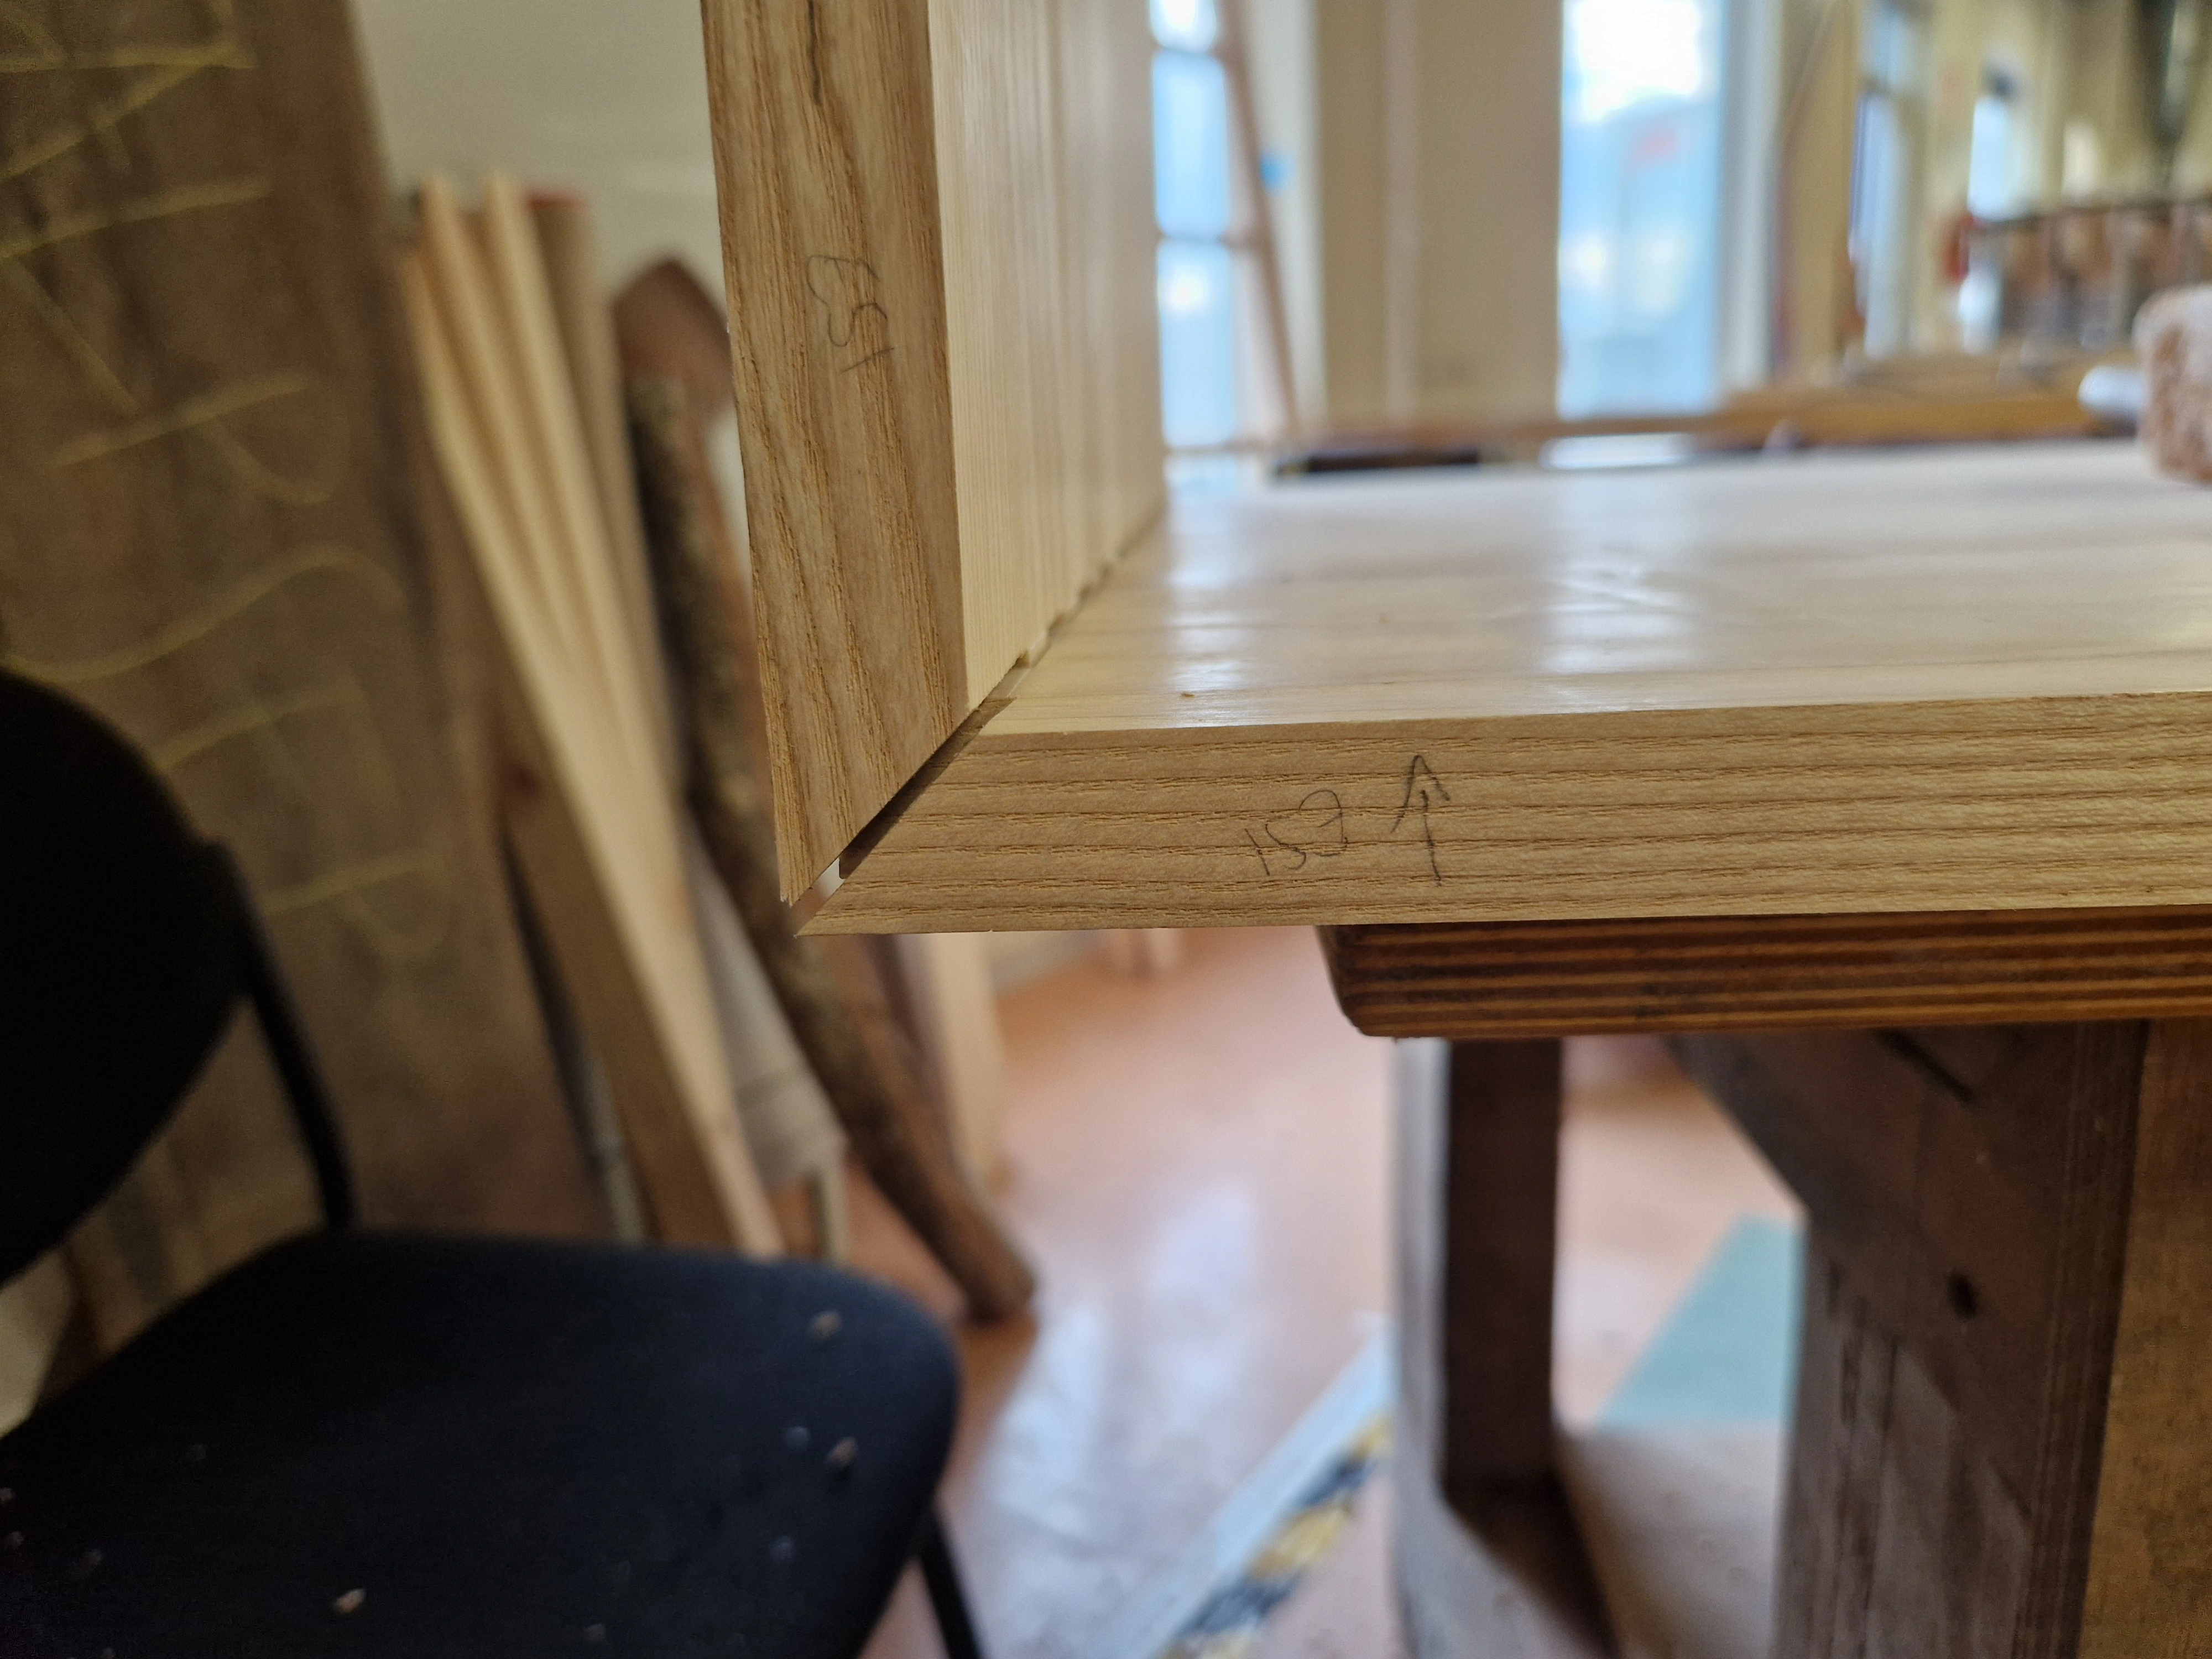
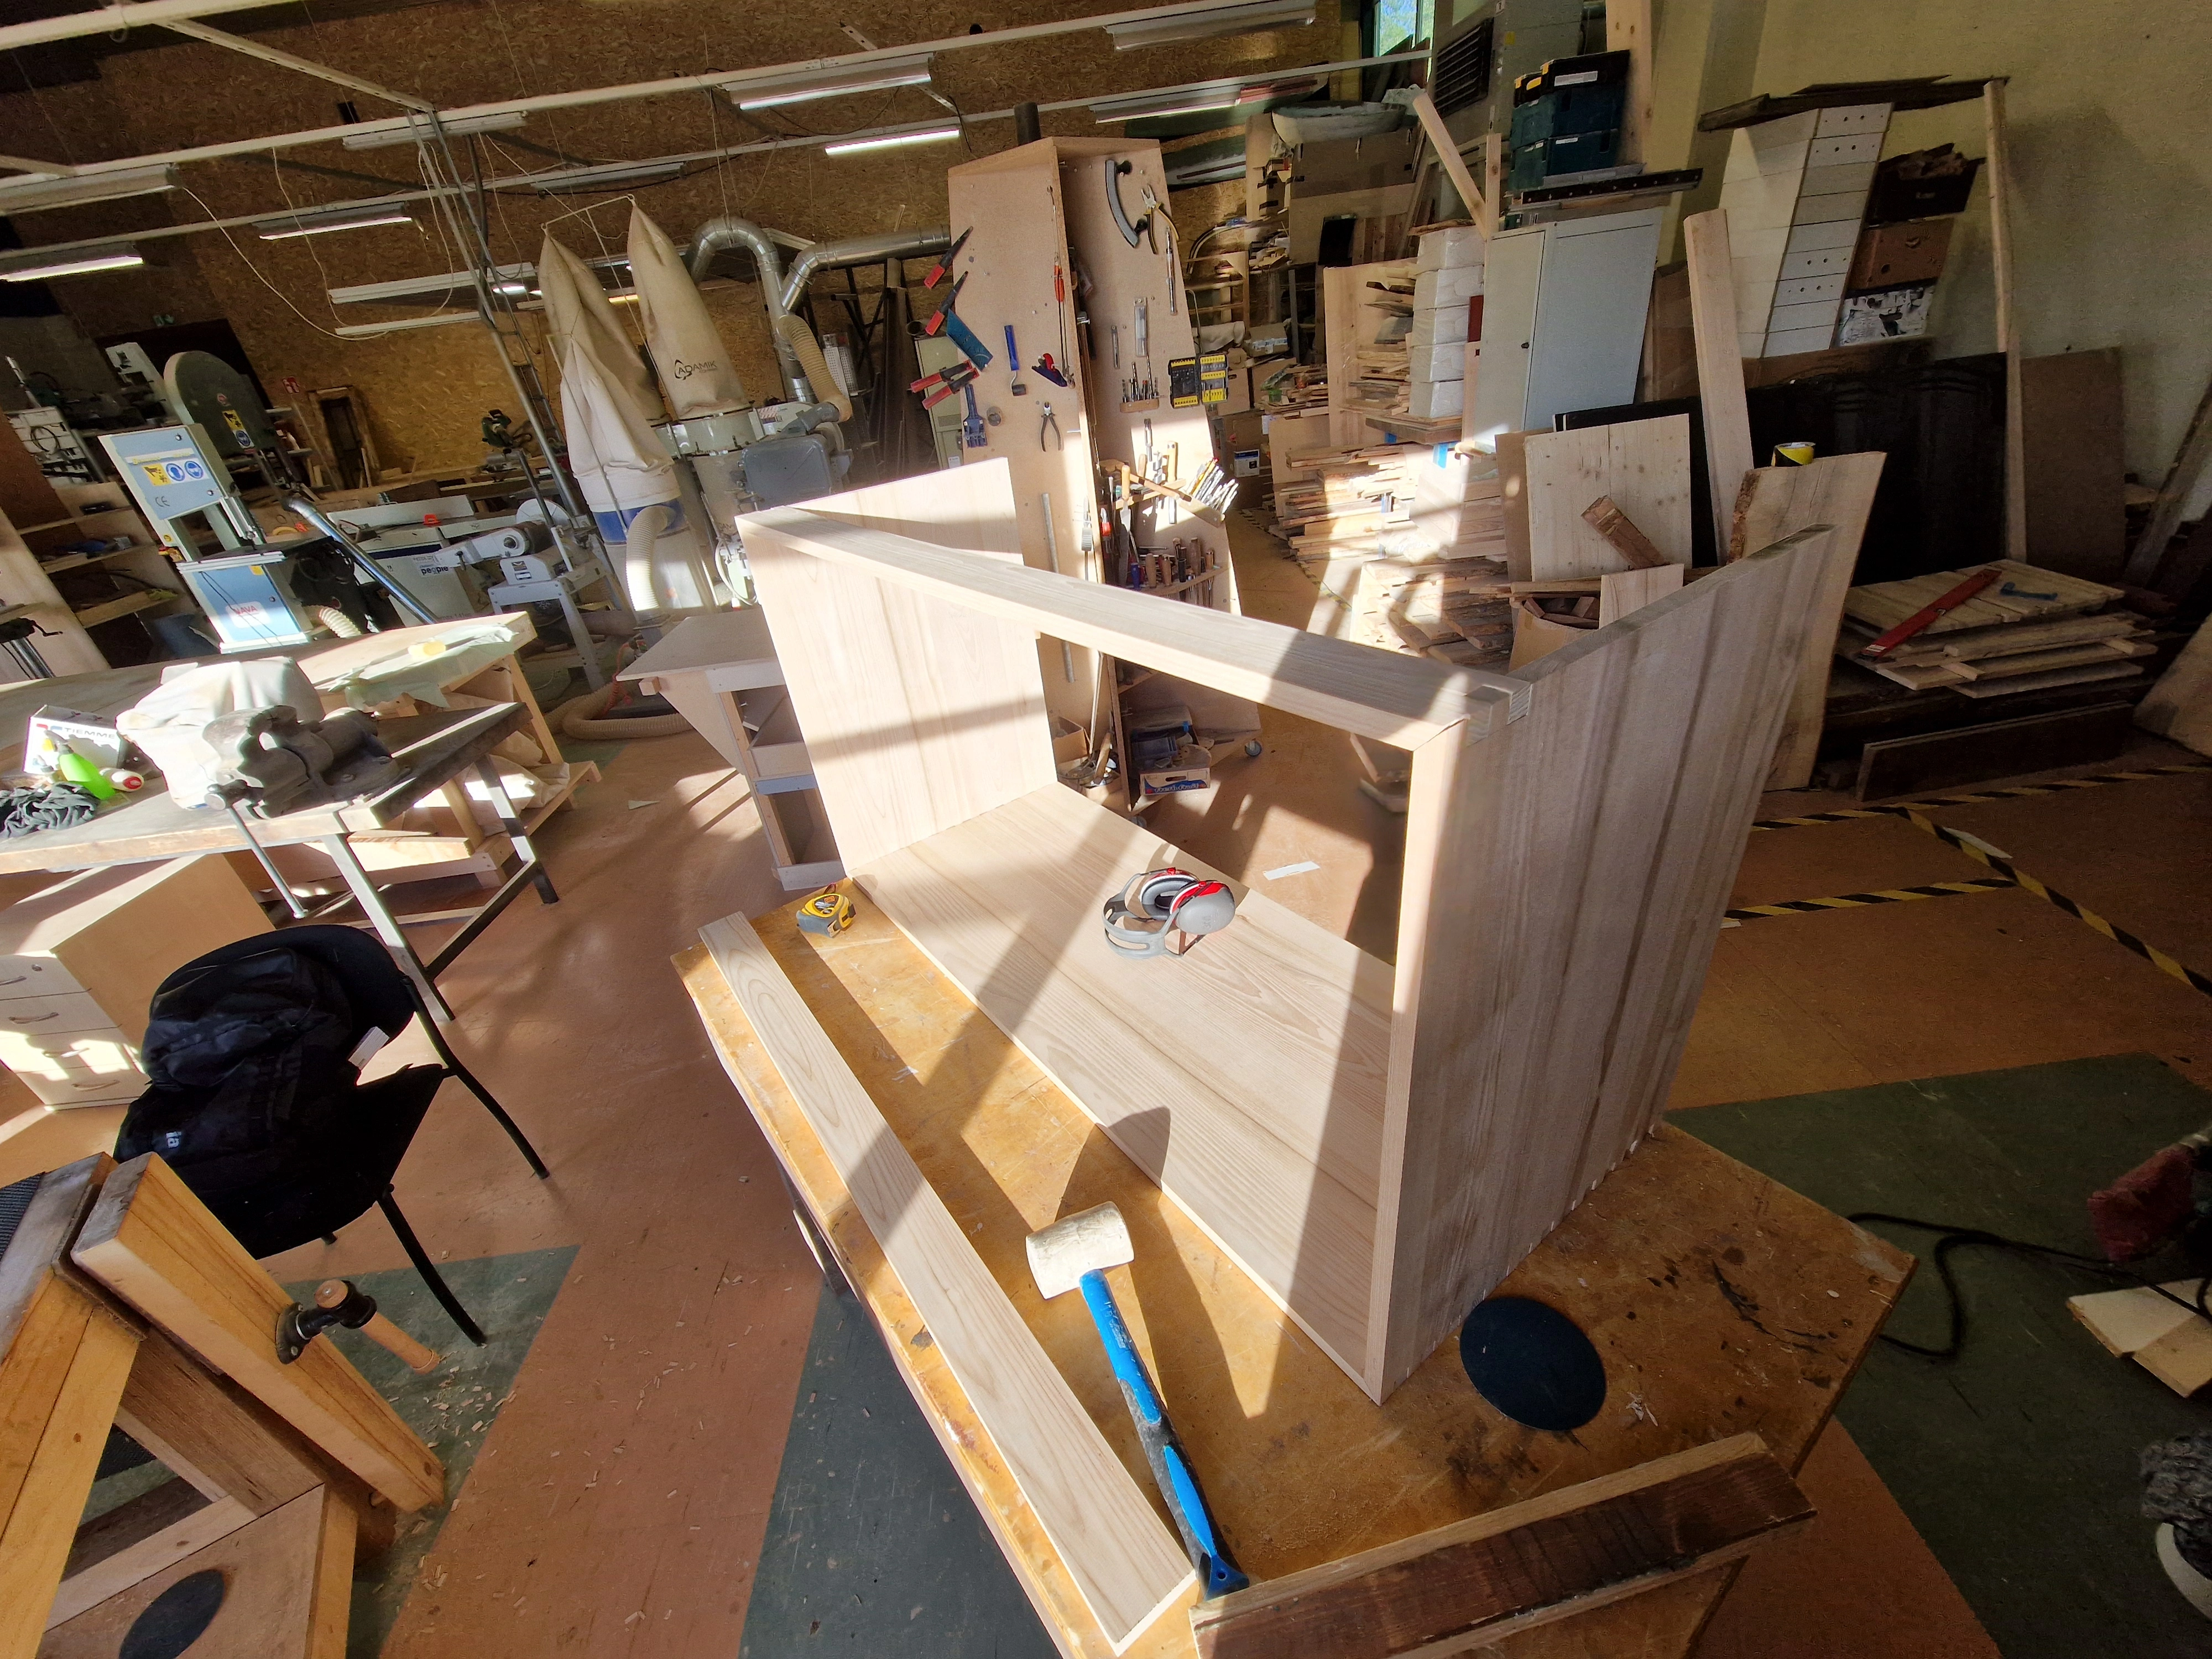
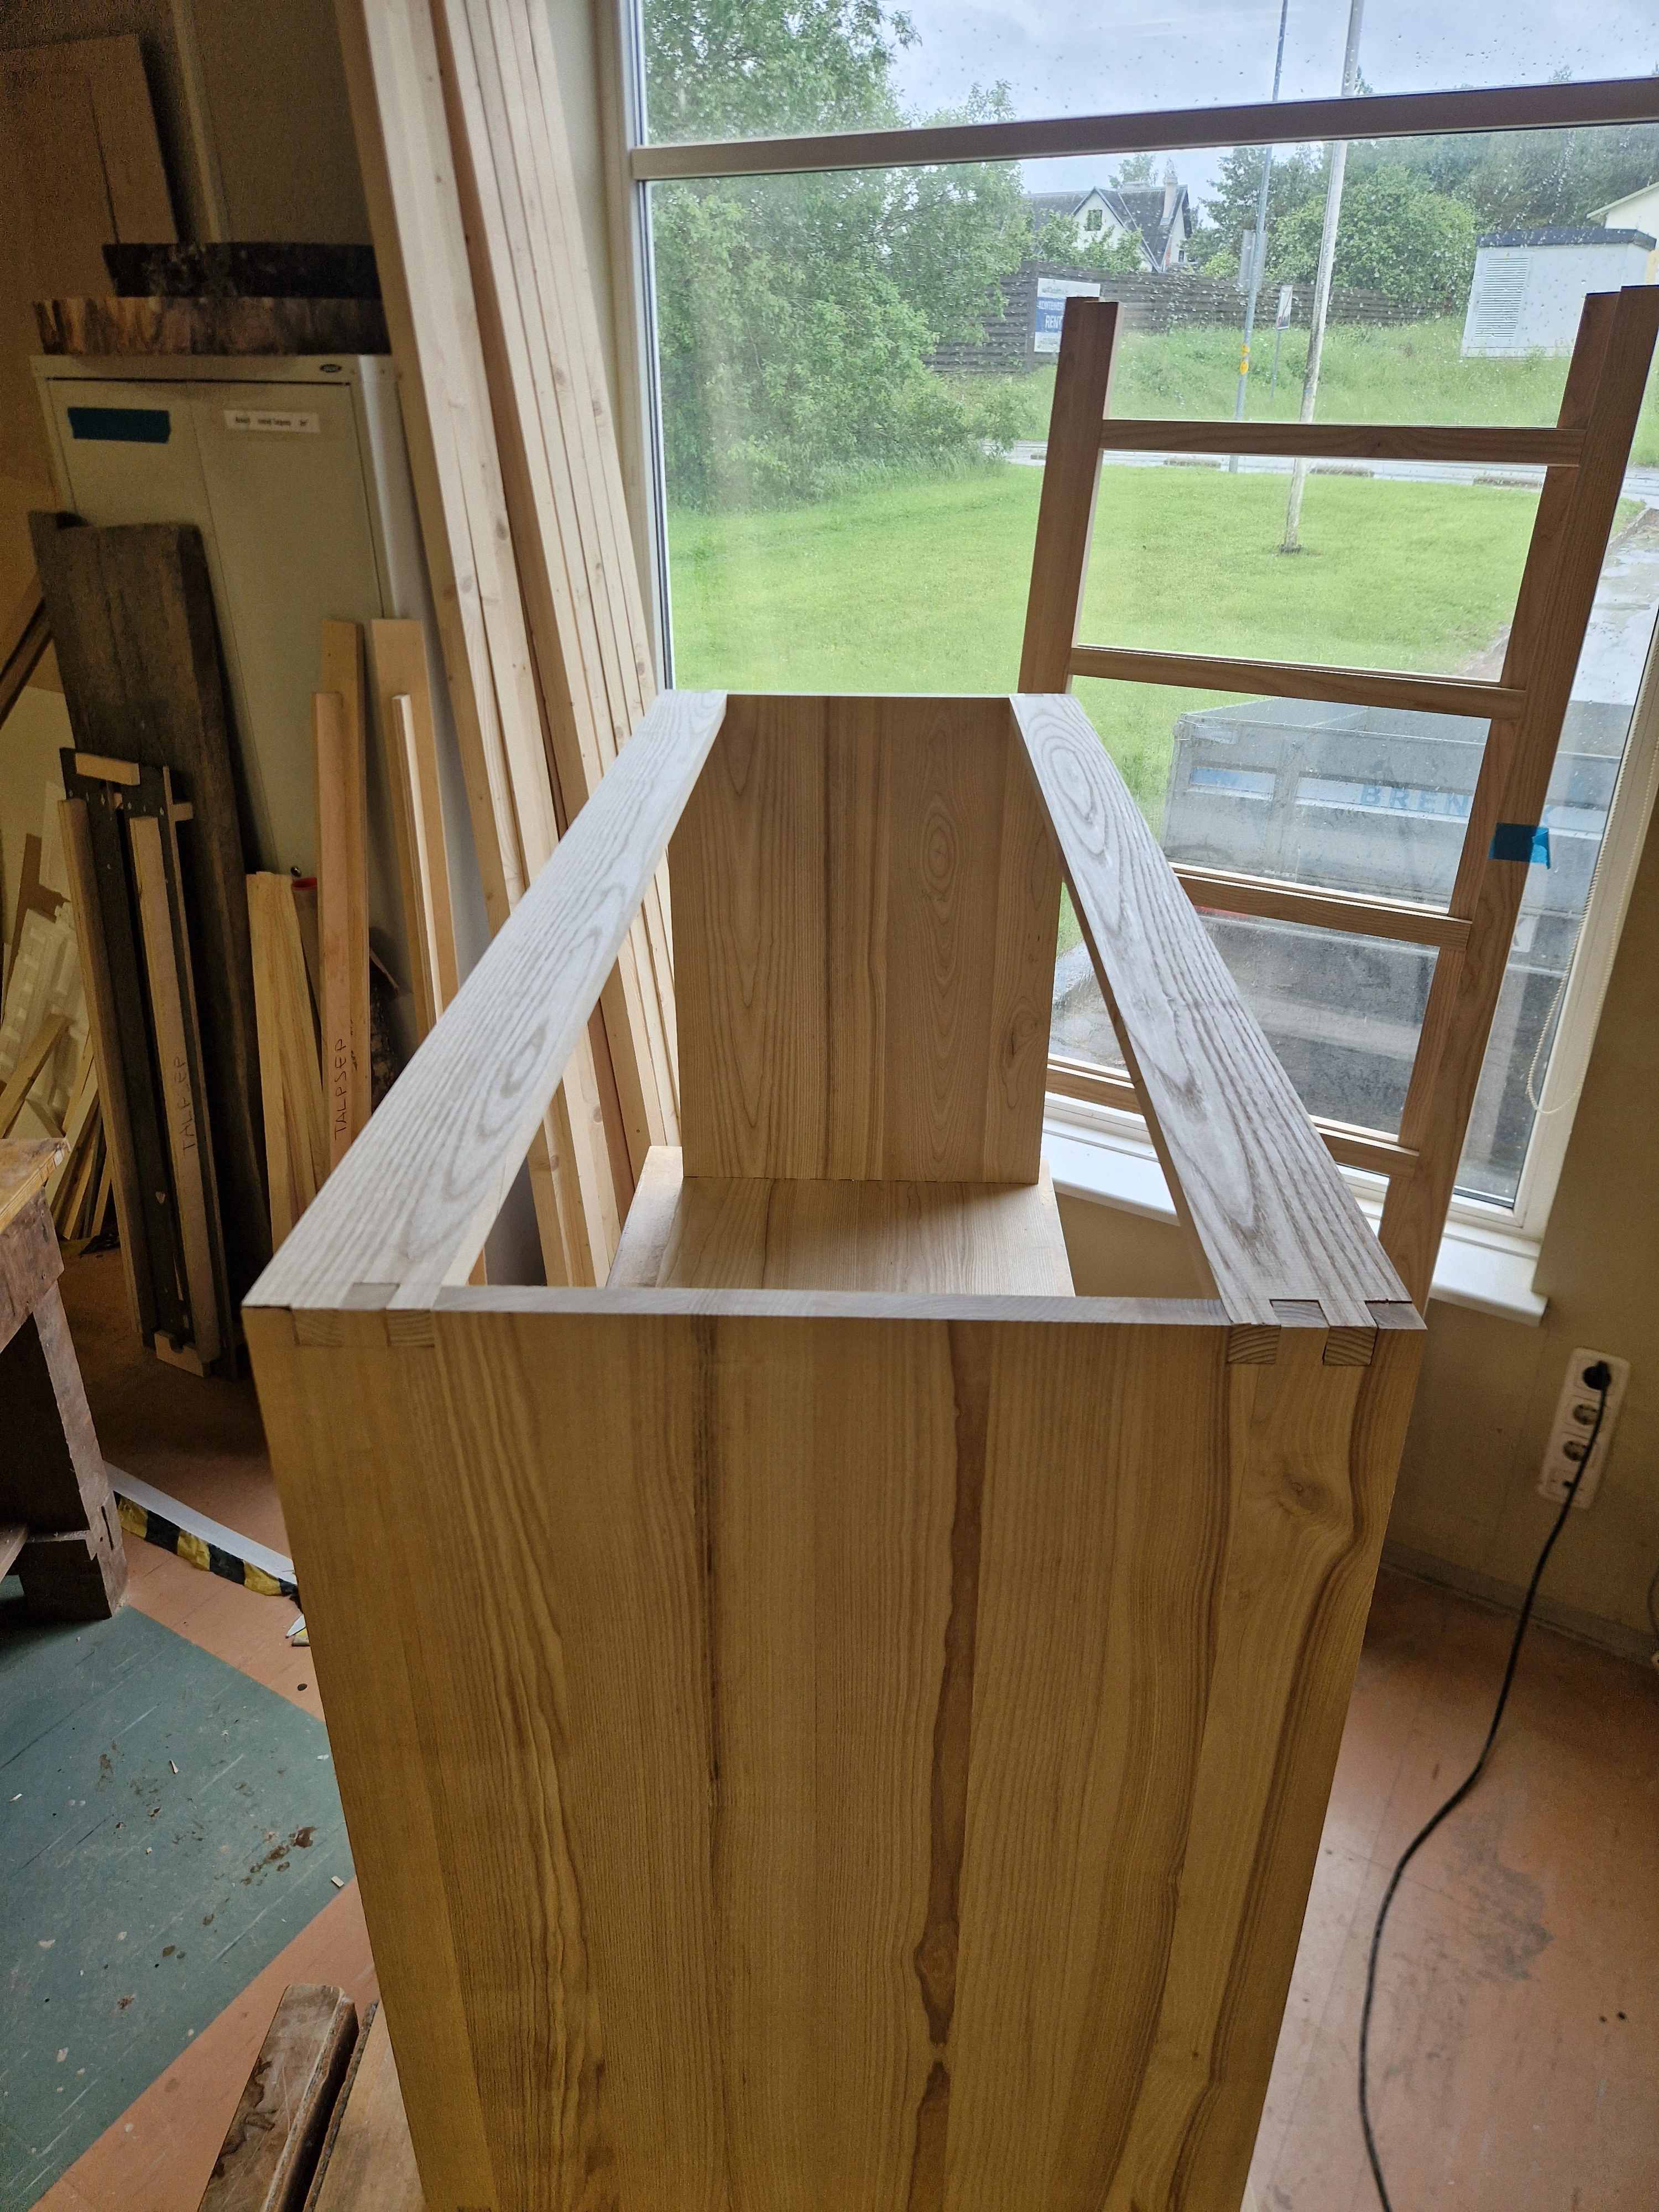
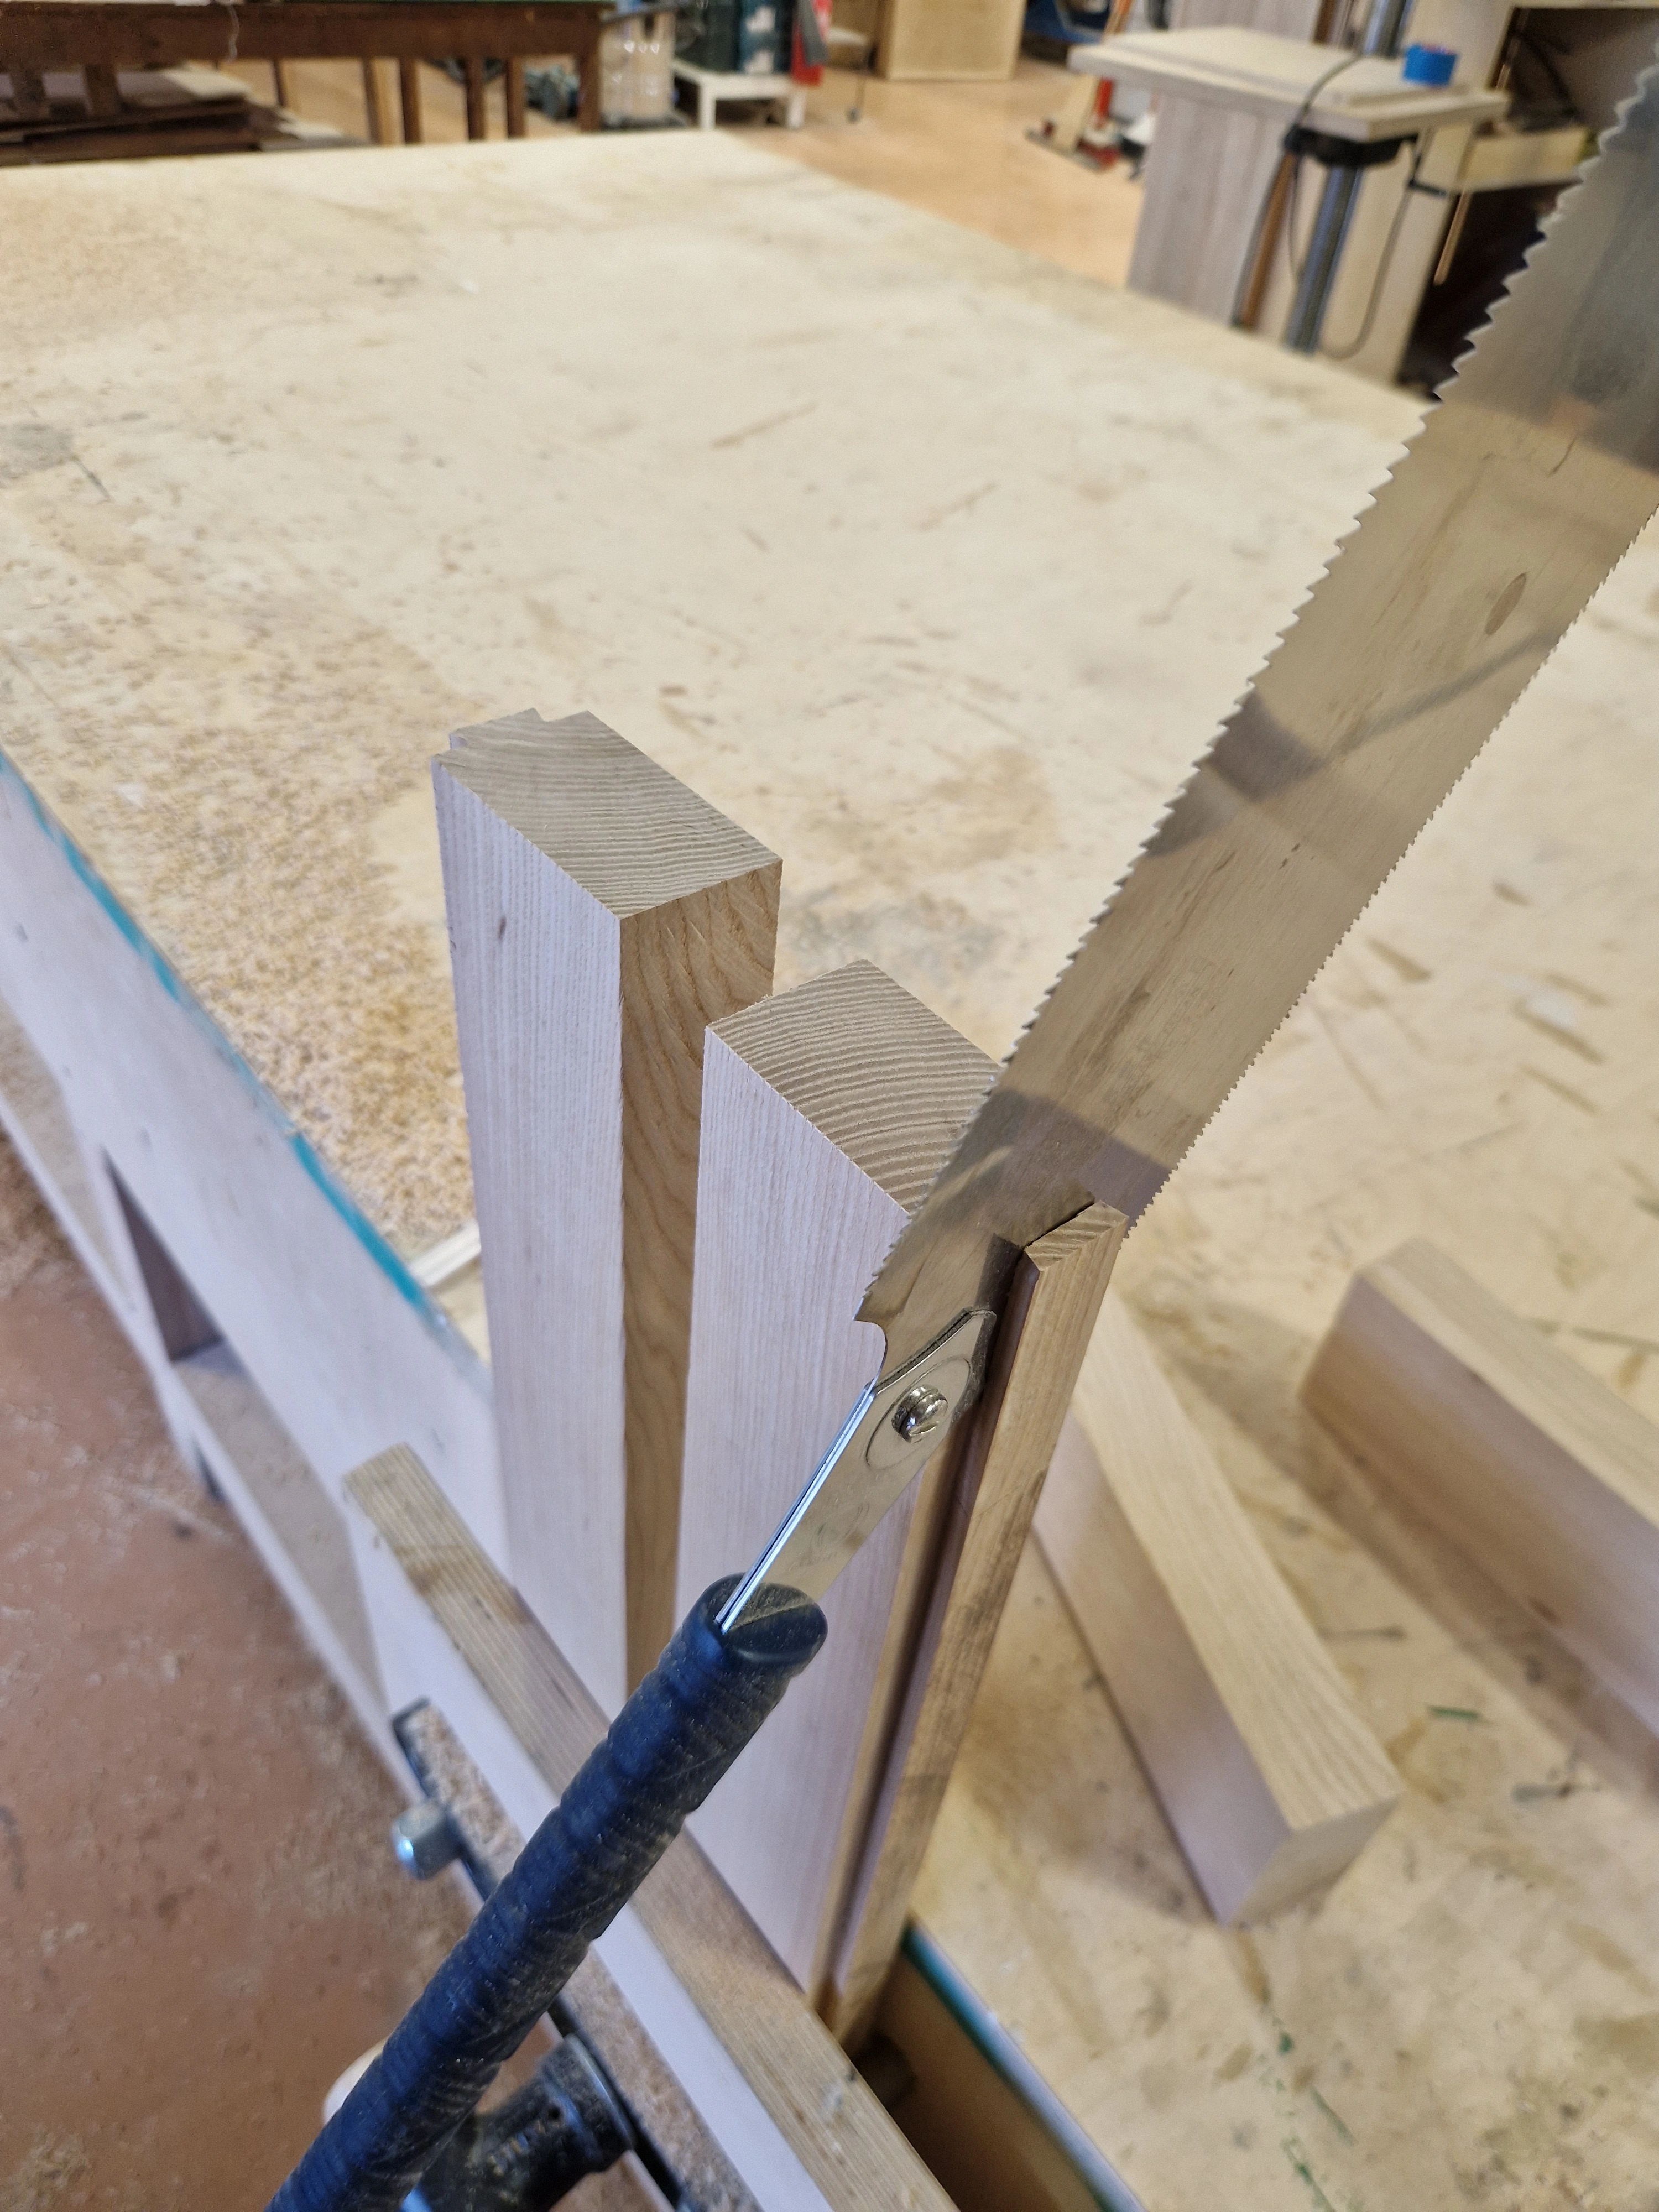
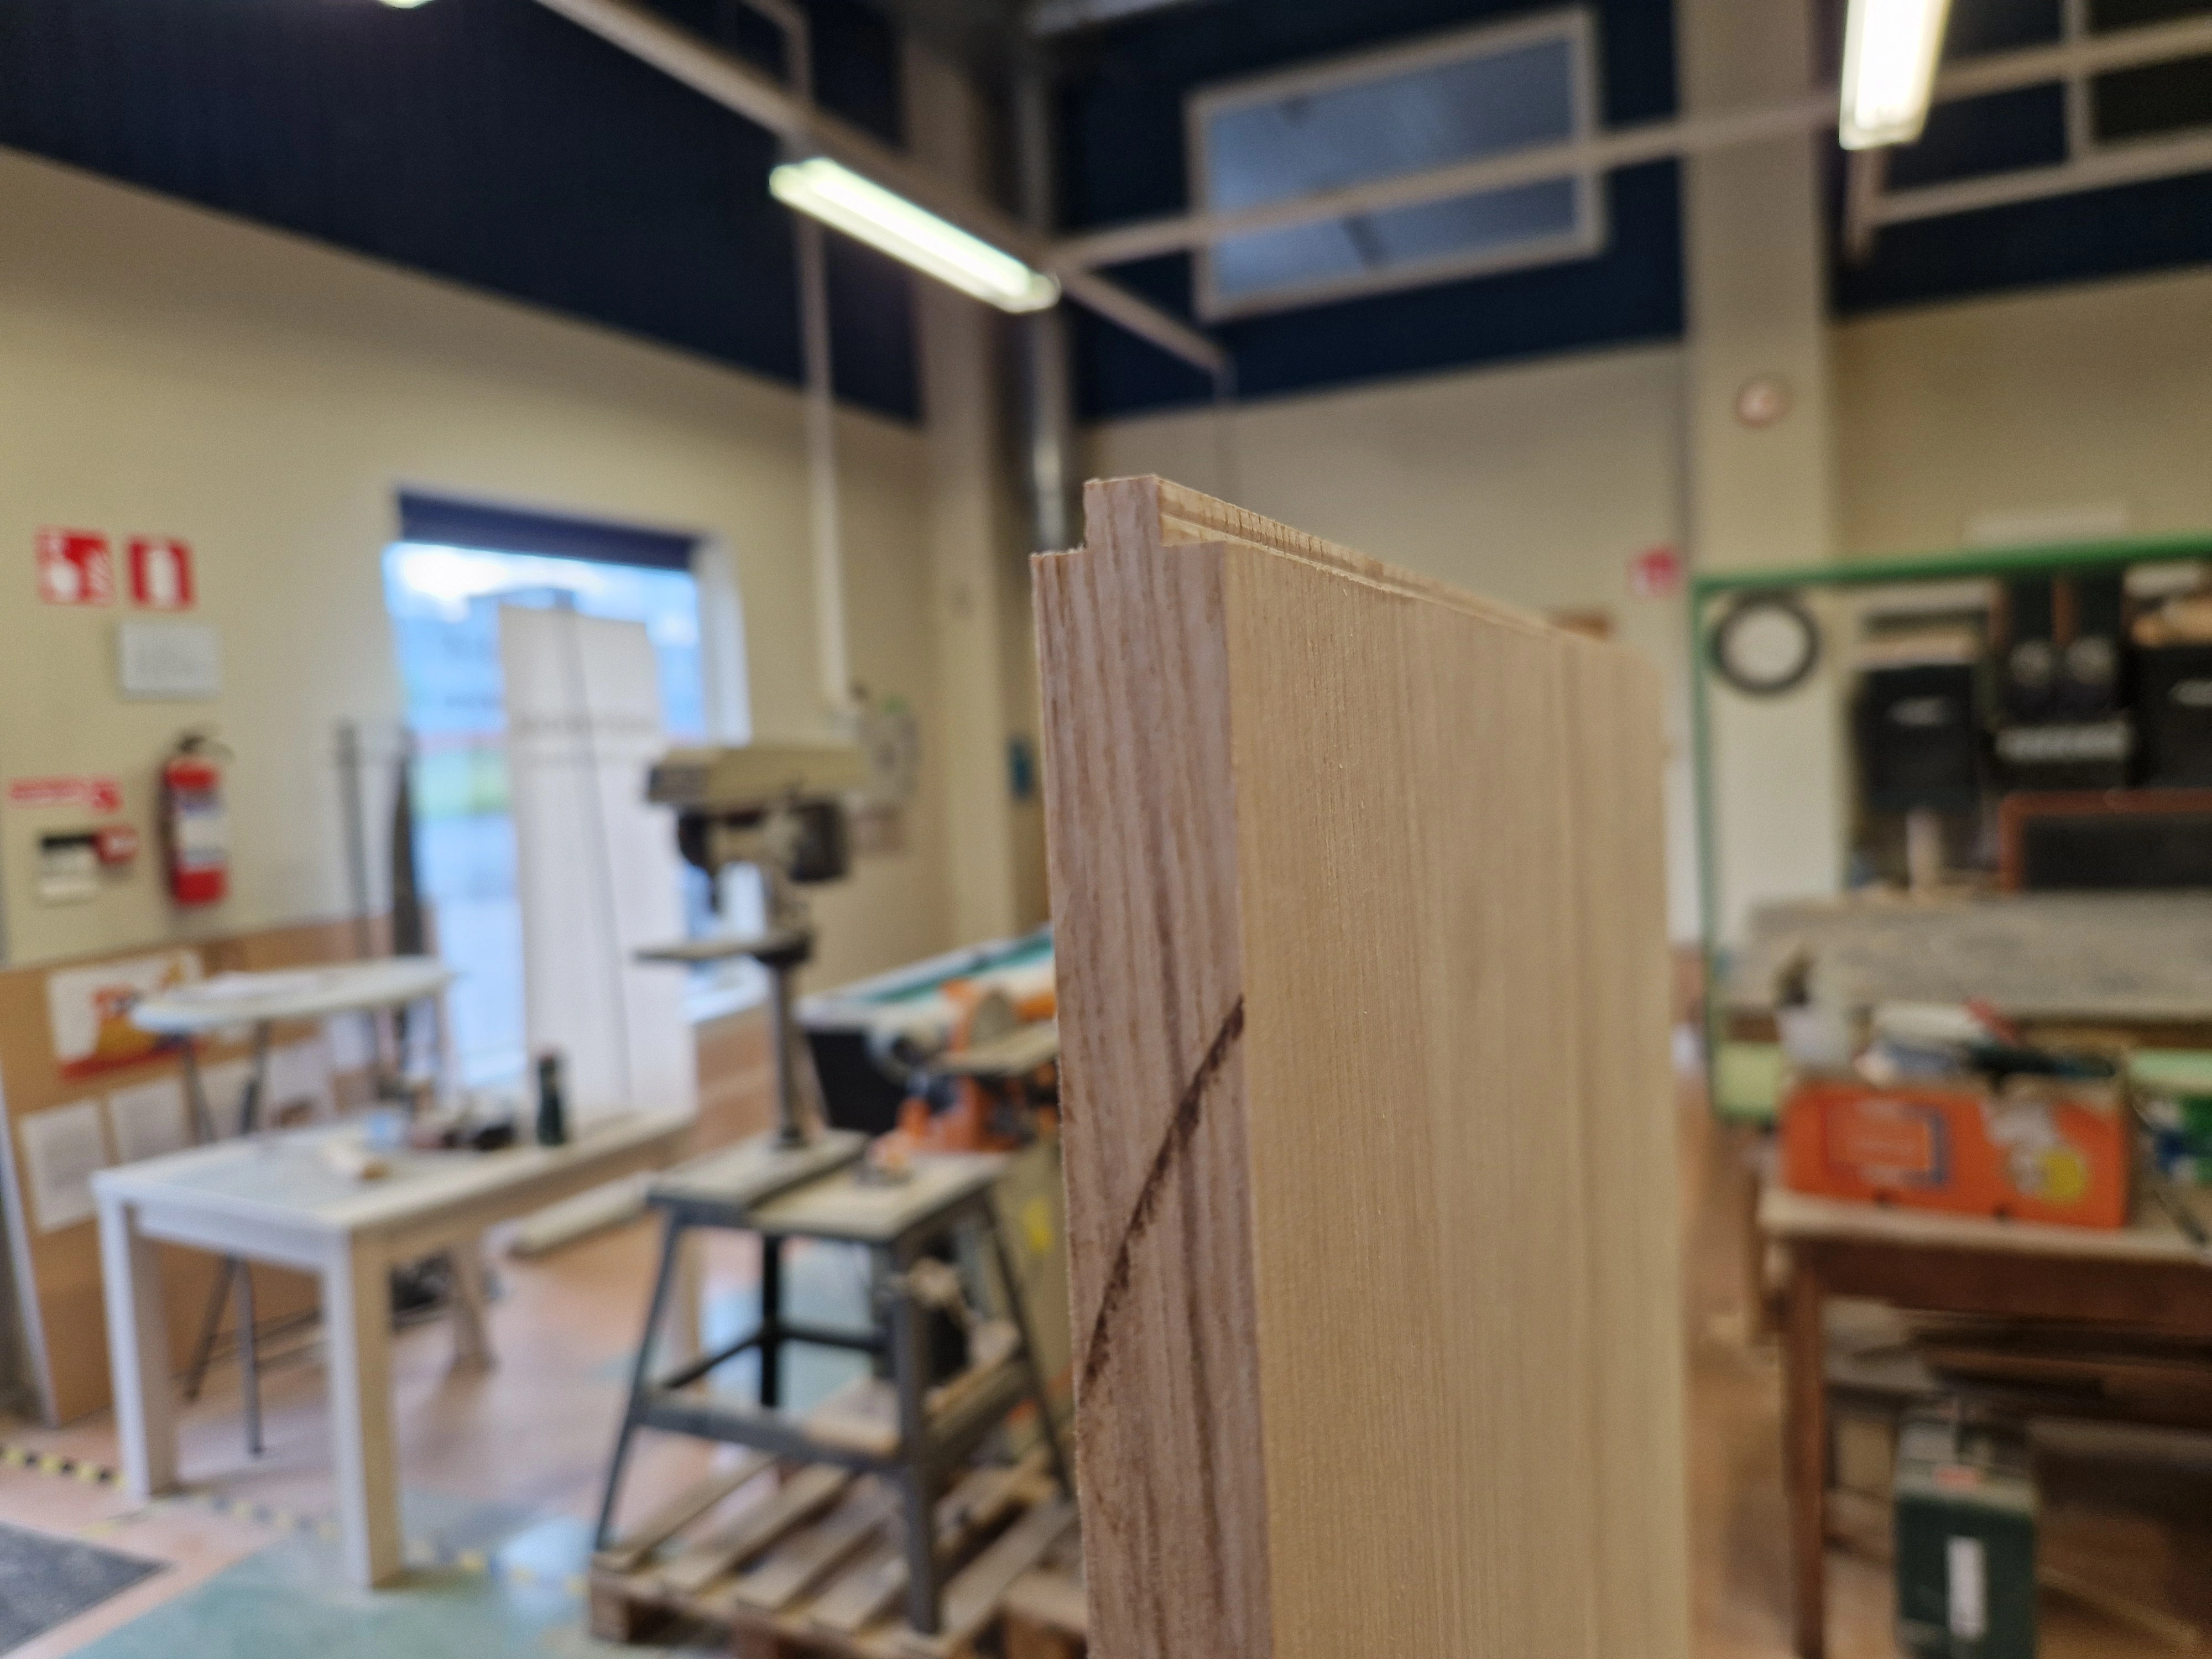
Laid the side-panel on the bottom panel in the alignment I wanted the final result to be in and used the existing joints on the side panel to mark cutting lines on the bottom panel. Repeated the same technique as described above. Used a japanese hand saw to cut the 45 degree joint on the front of the panel.
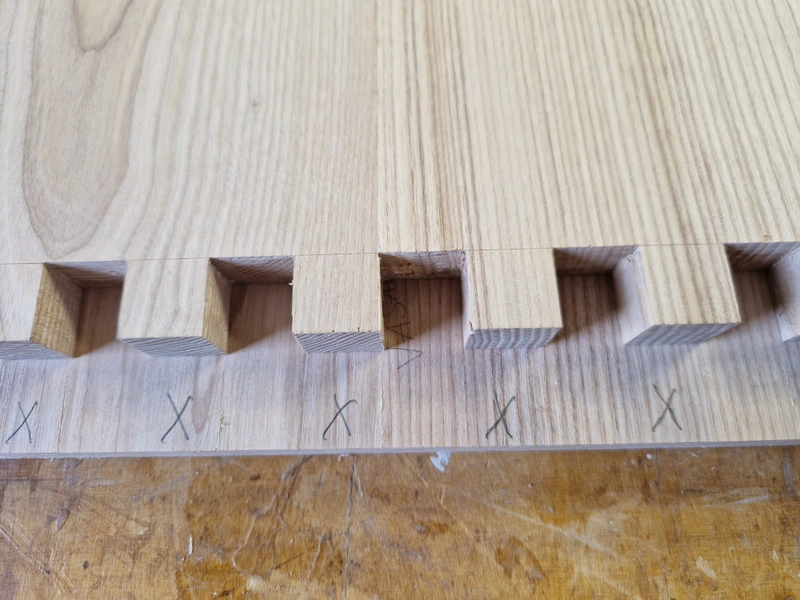
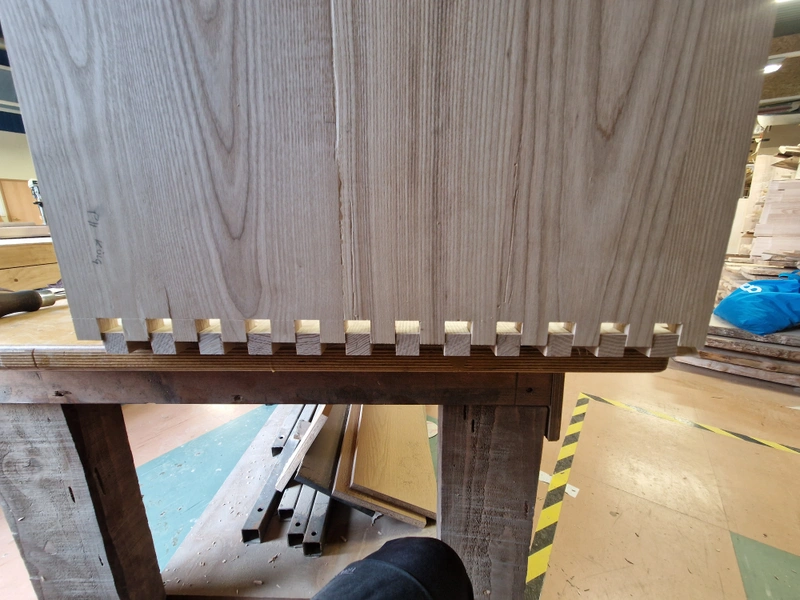
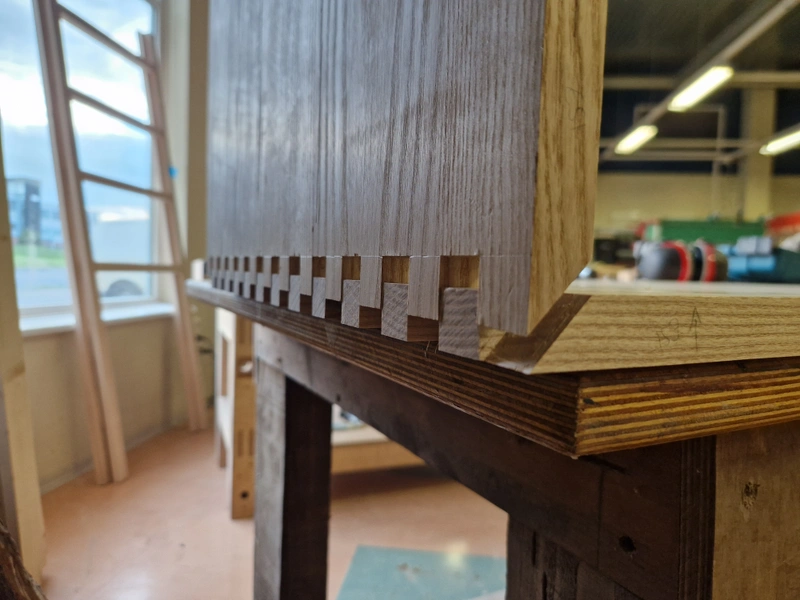
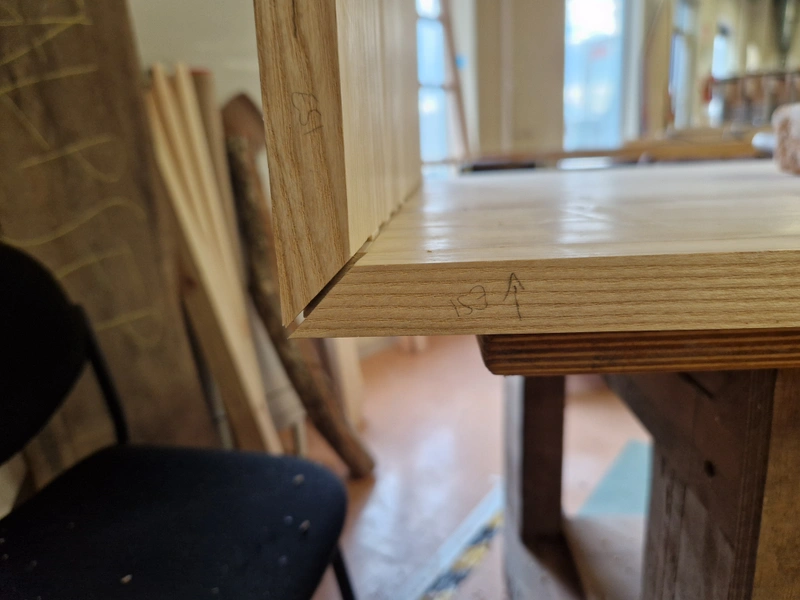
1 / 4
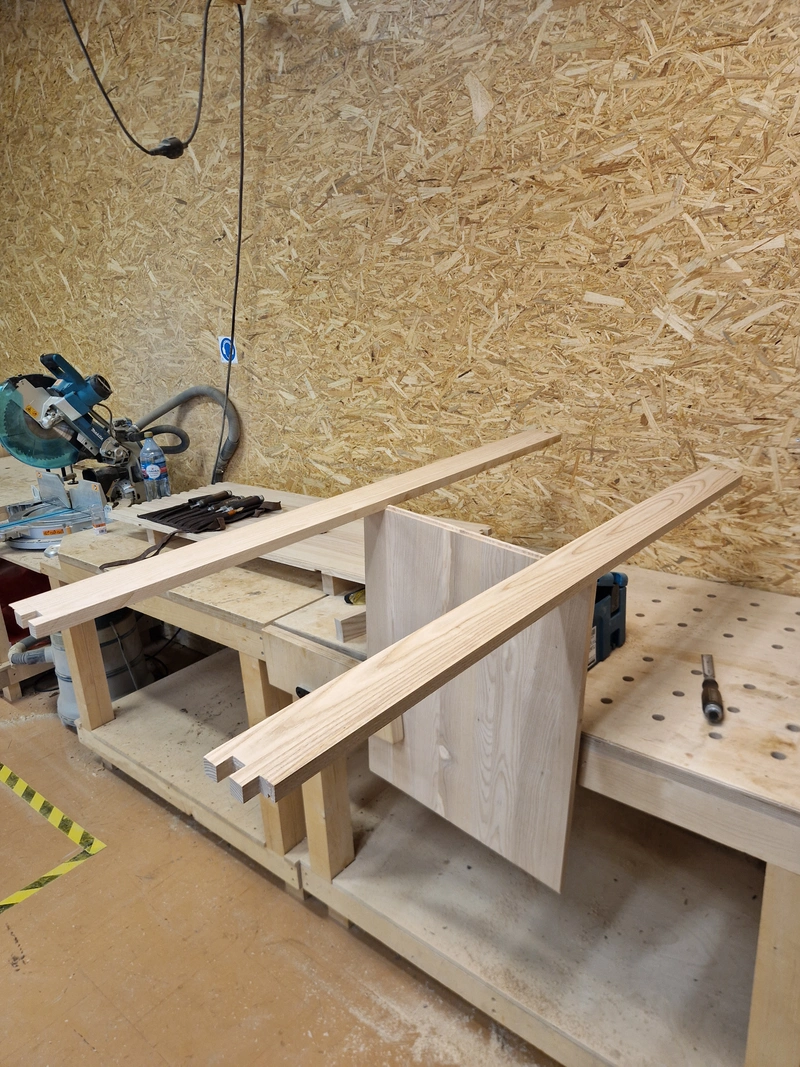
Attached stretchers to side panels using the same technique as described above.
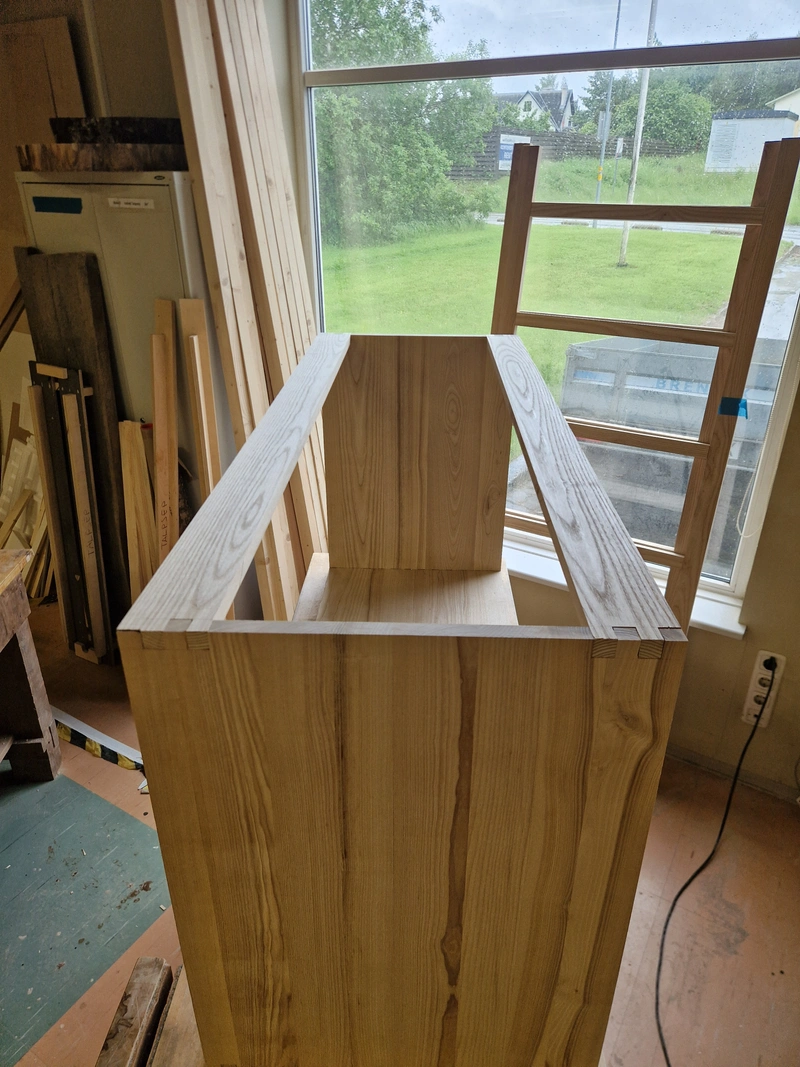
1 / 9
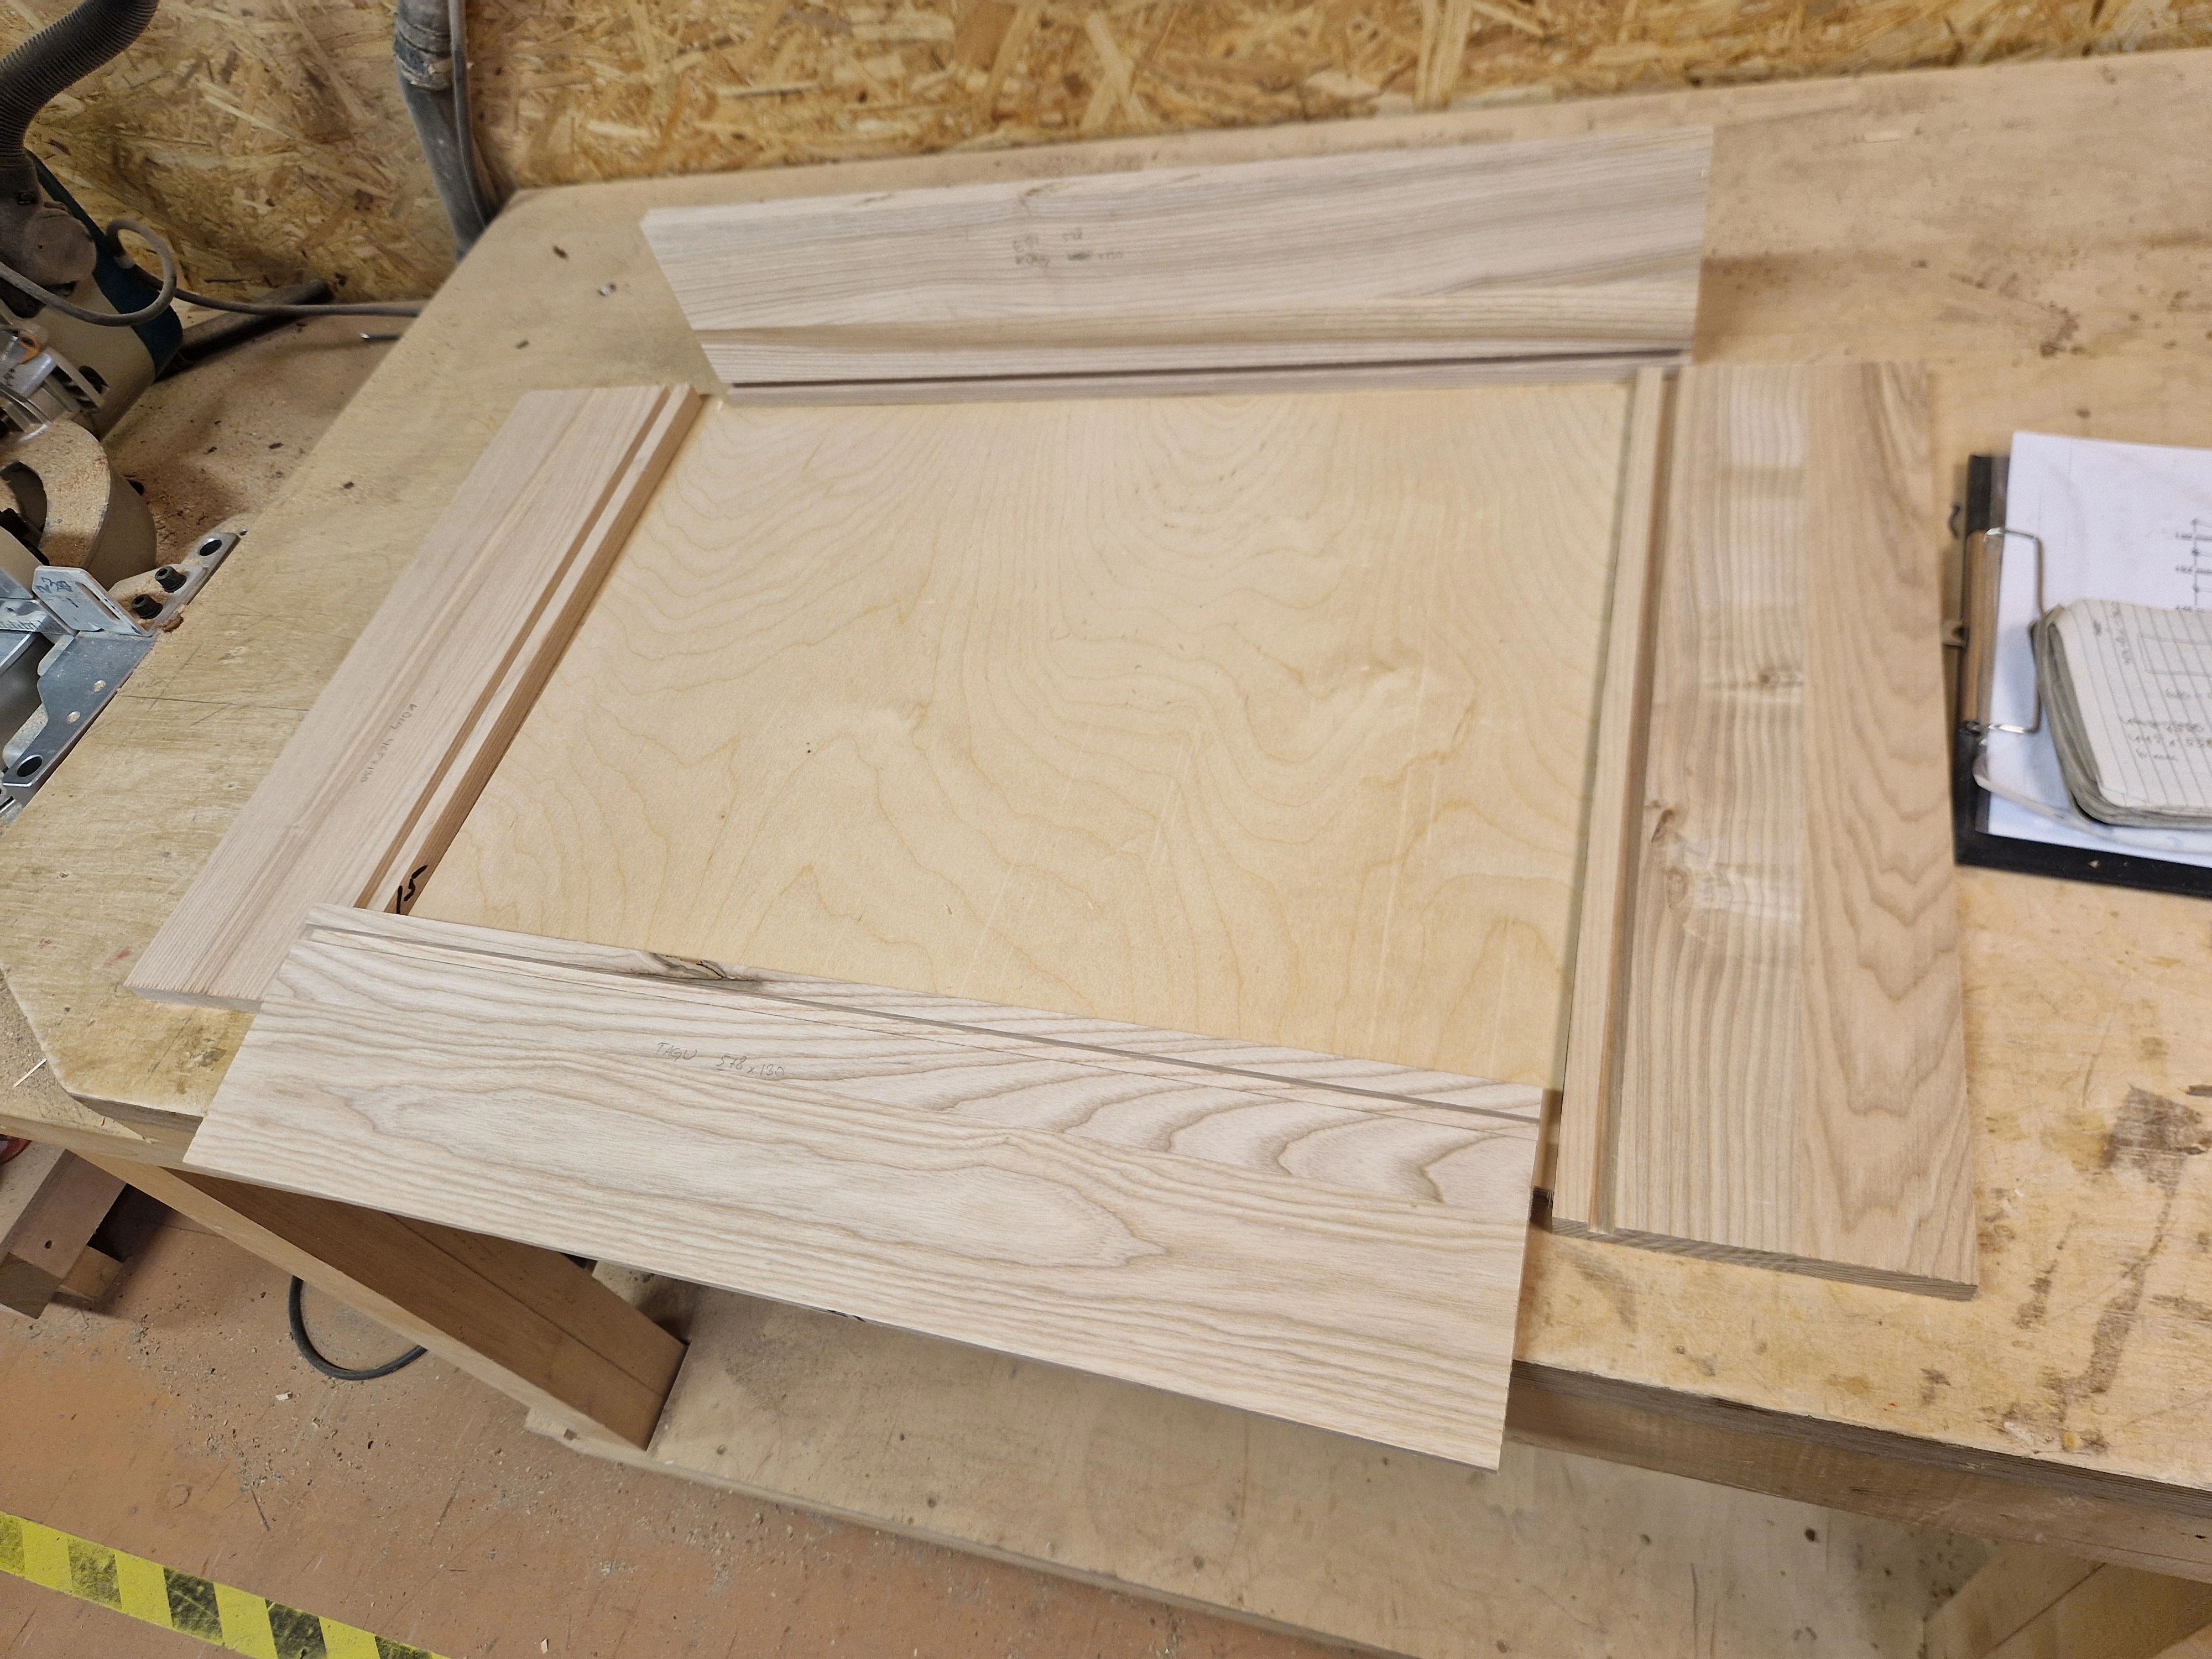
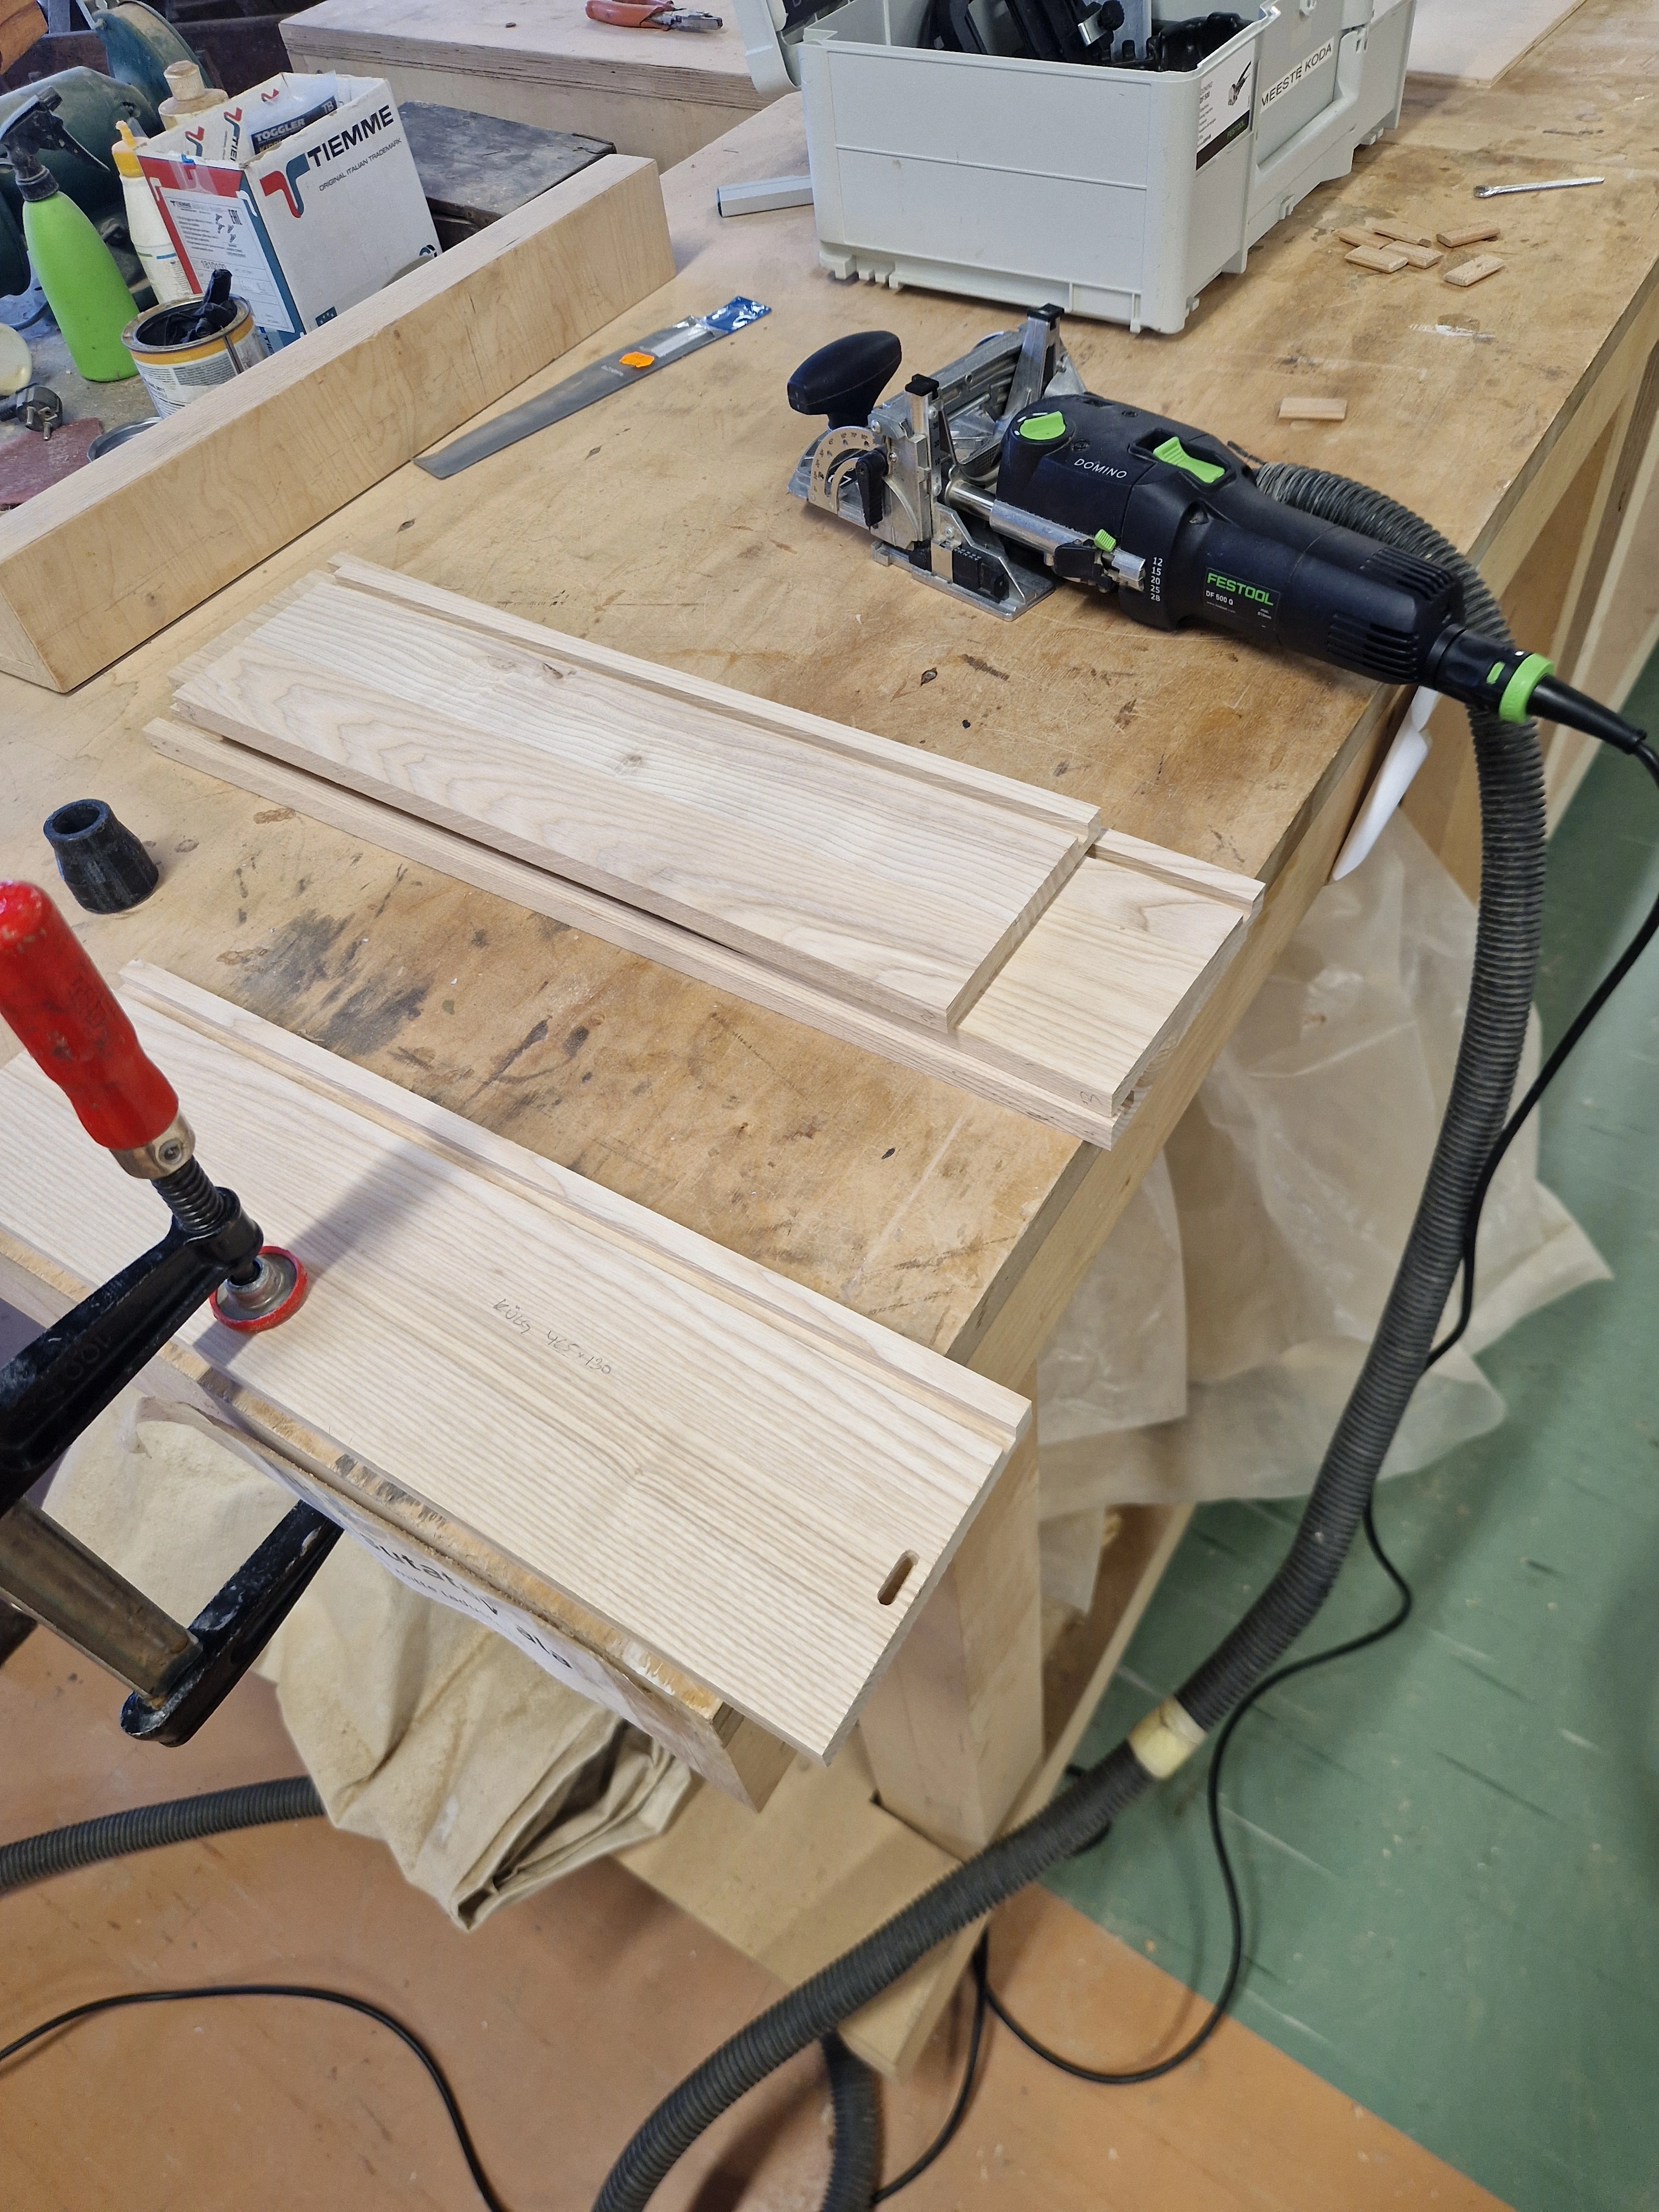
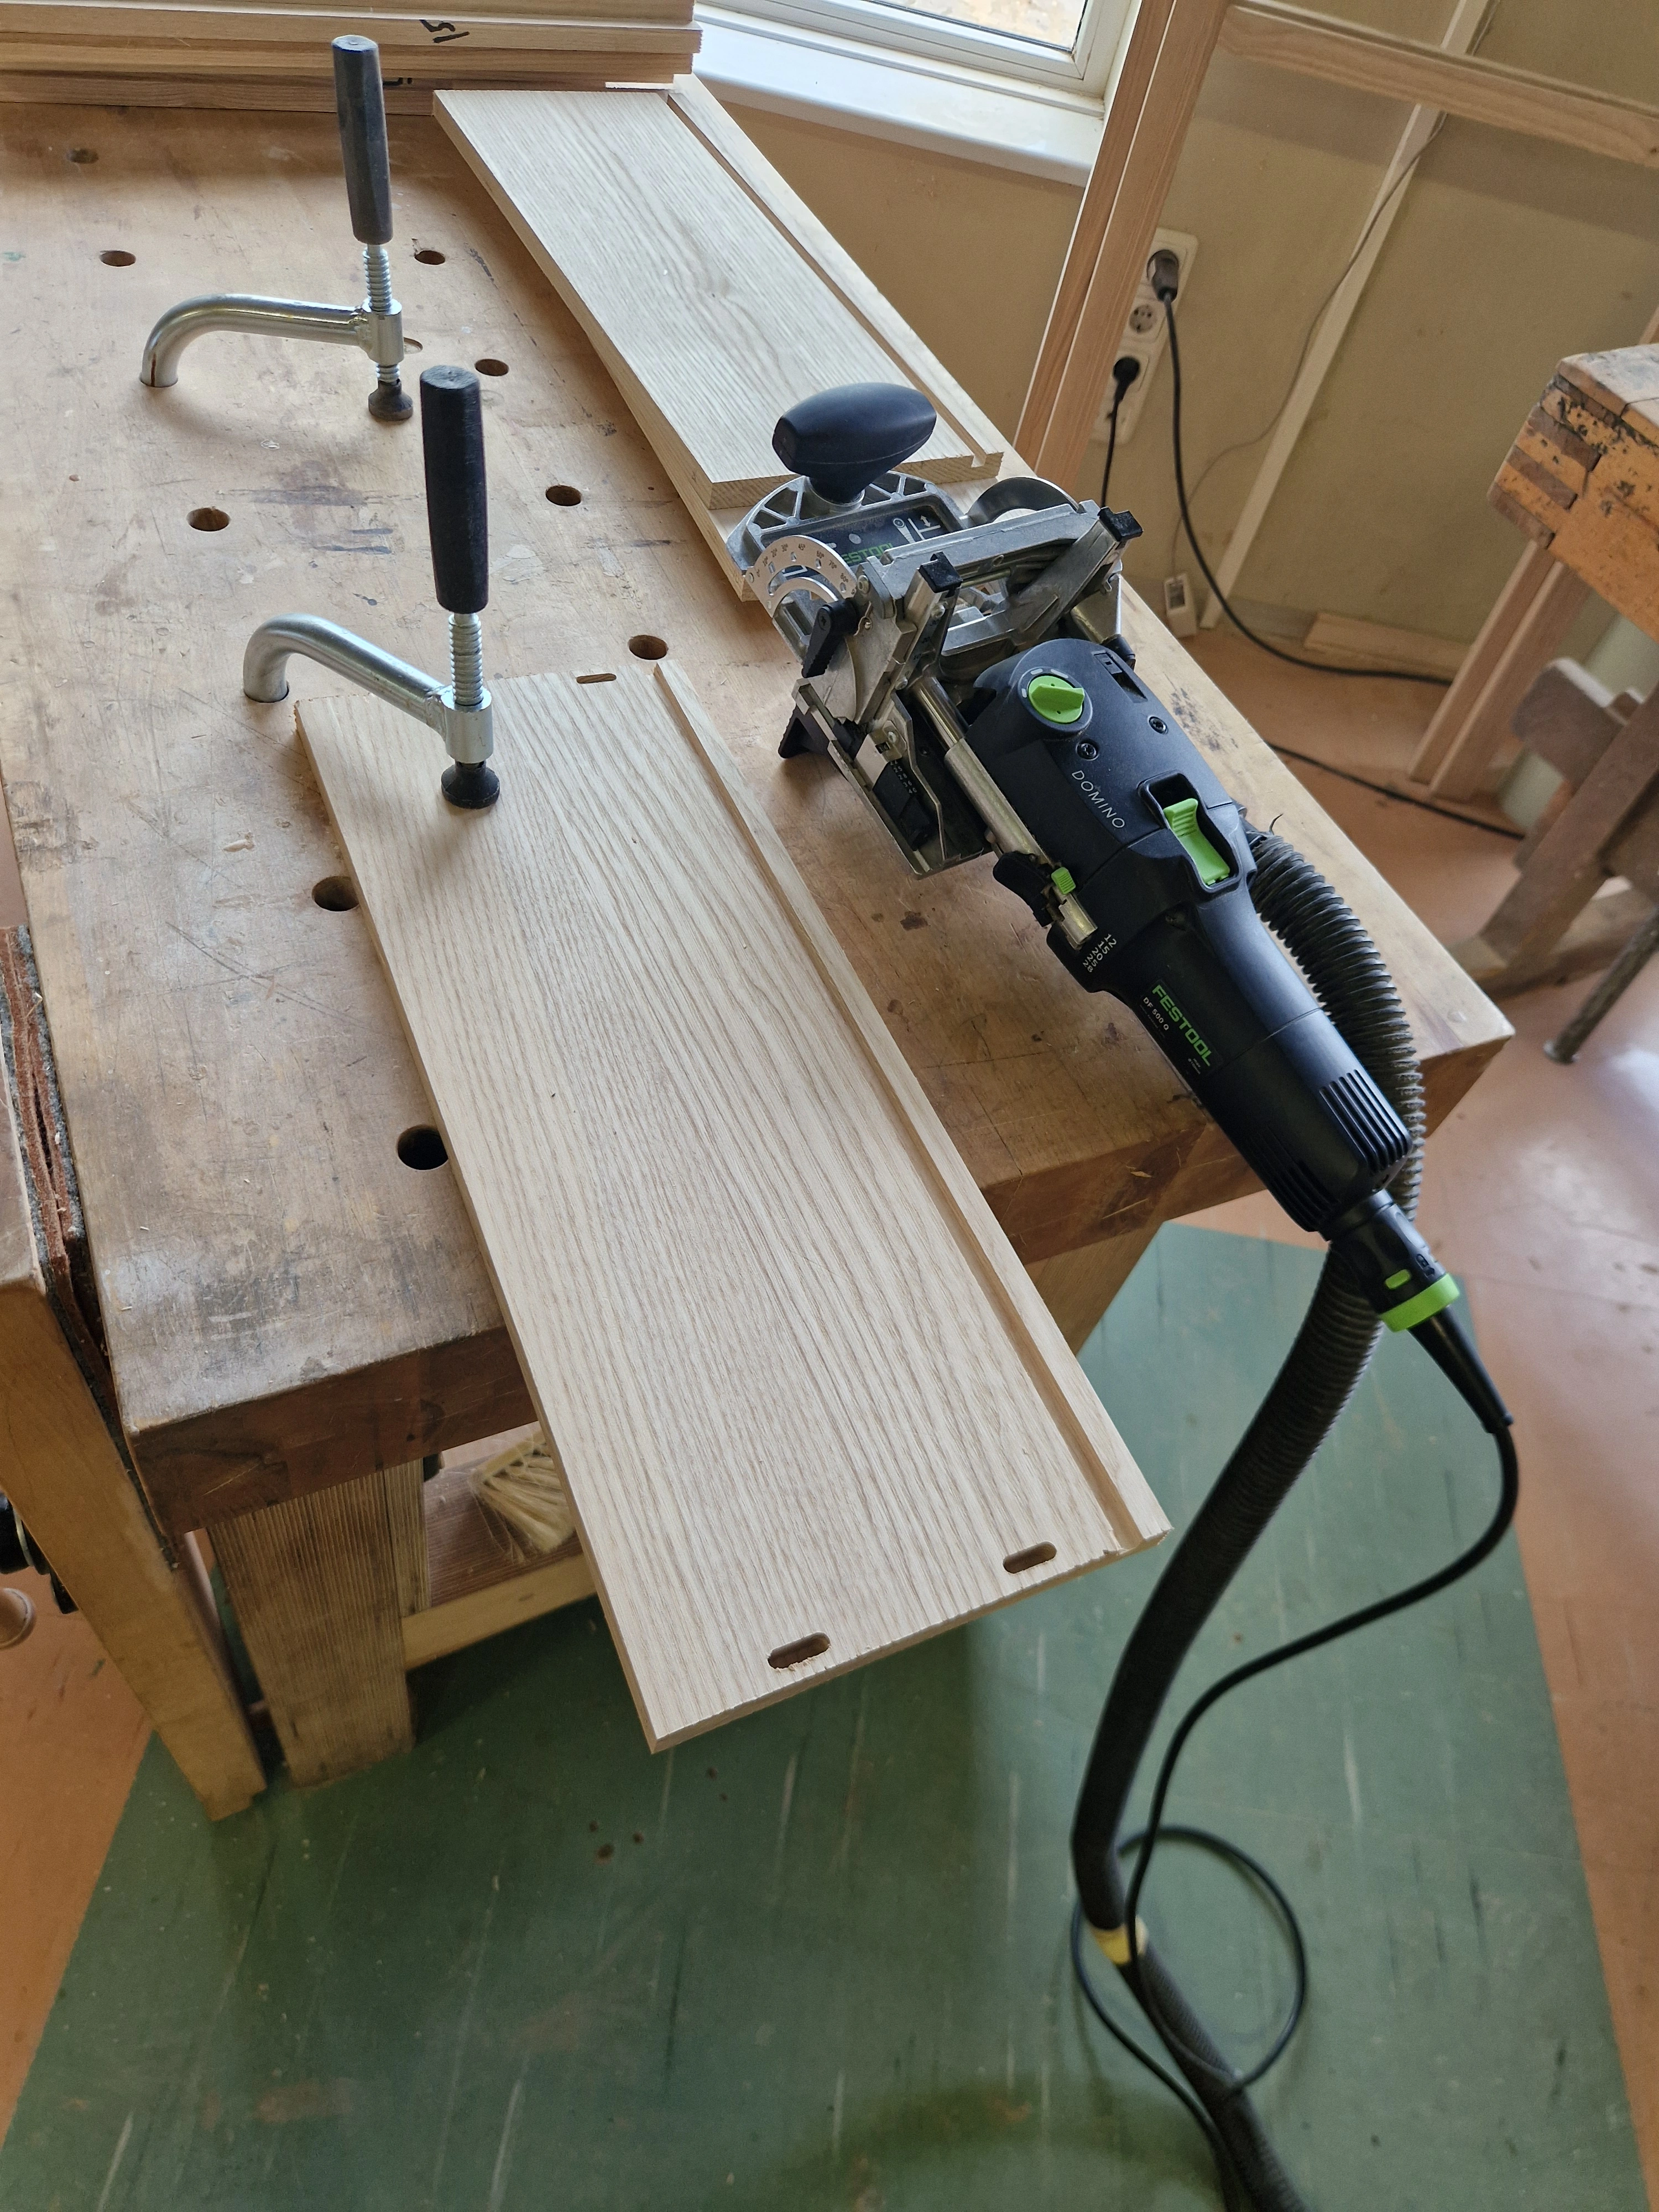
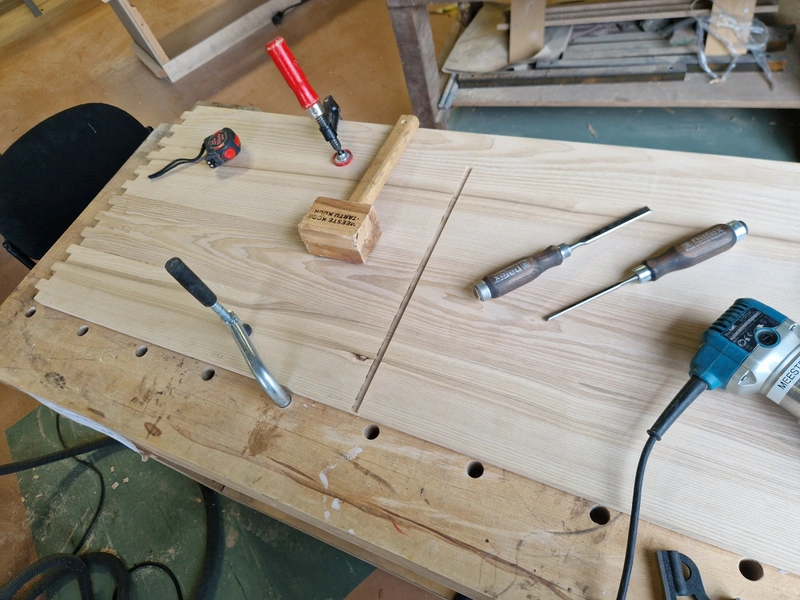
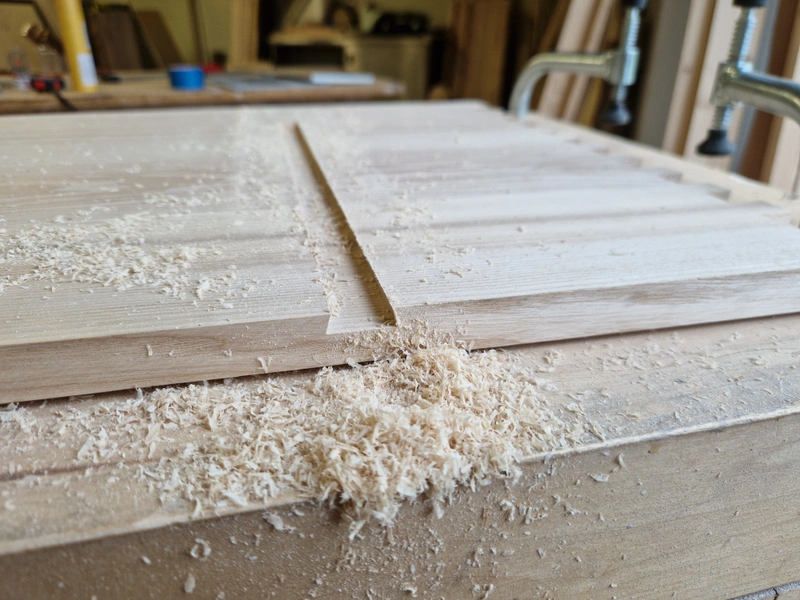
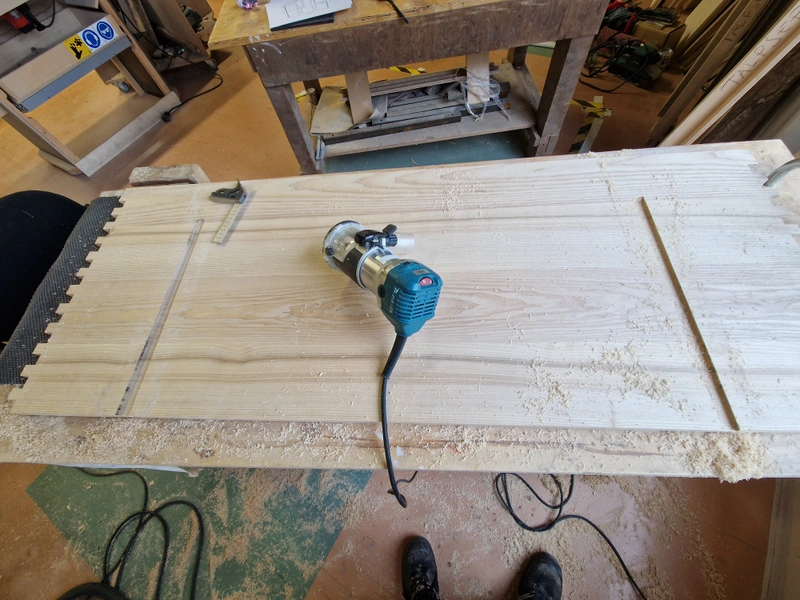
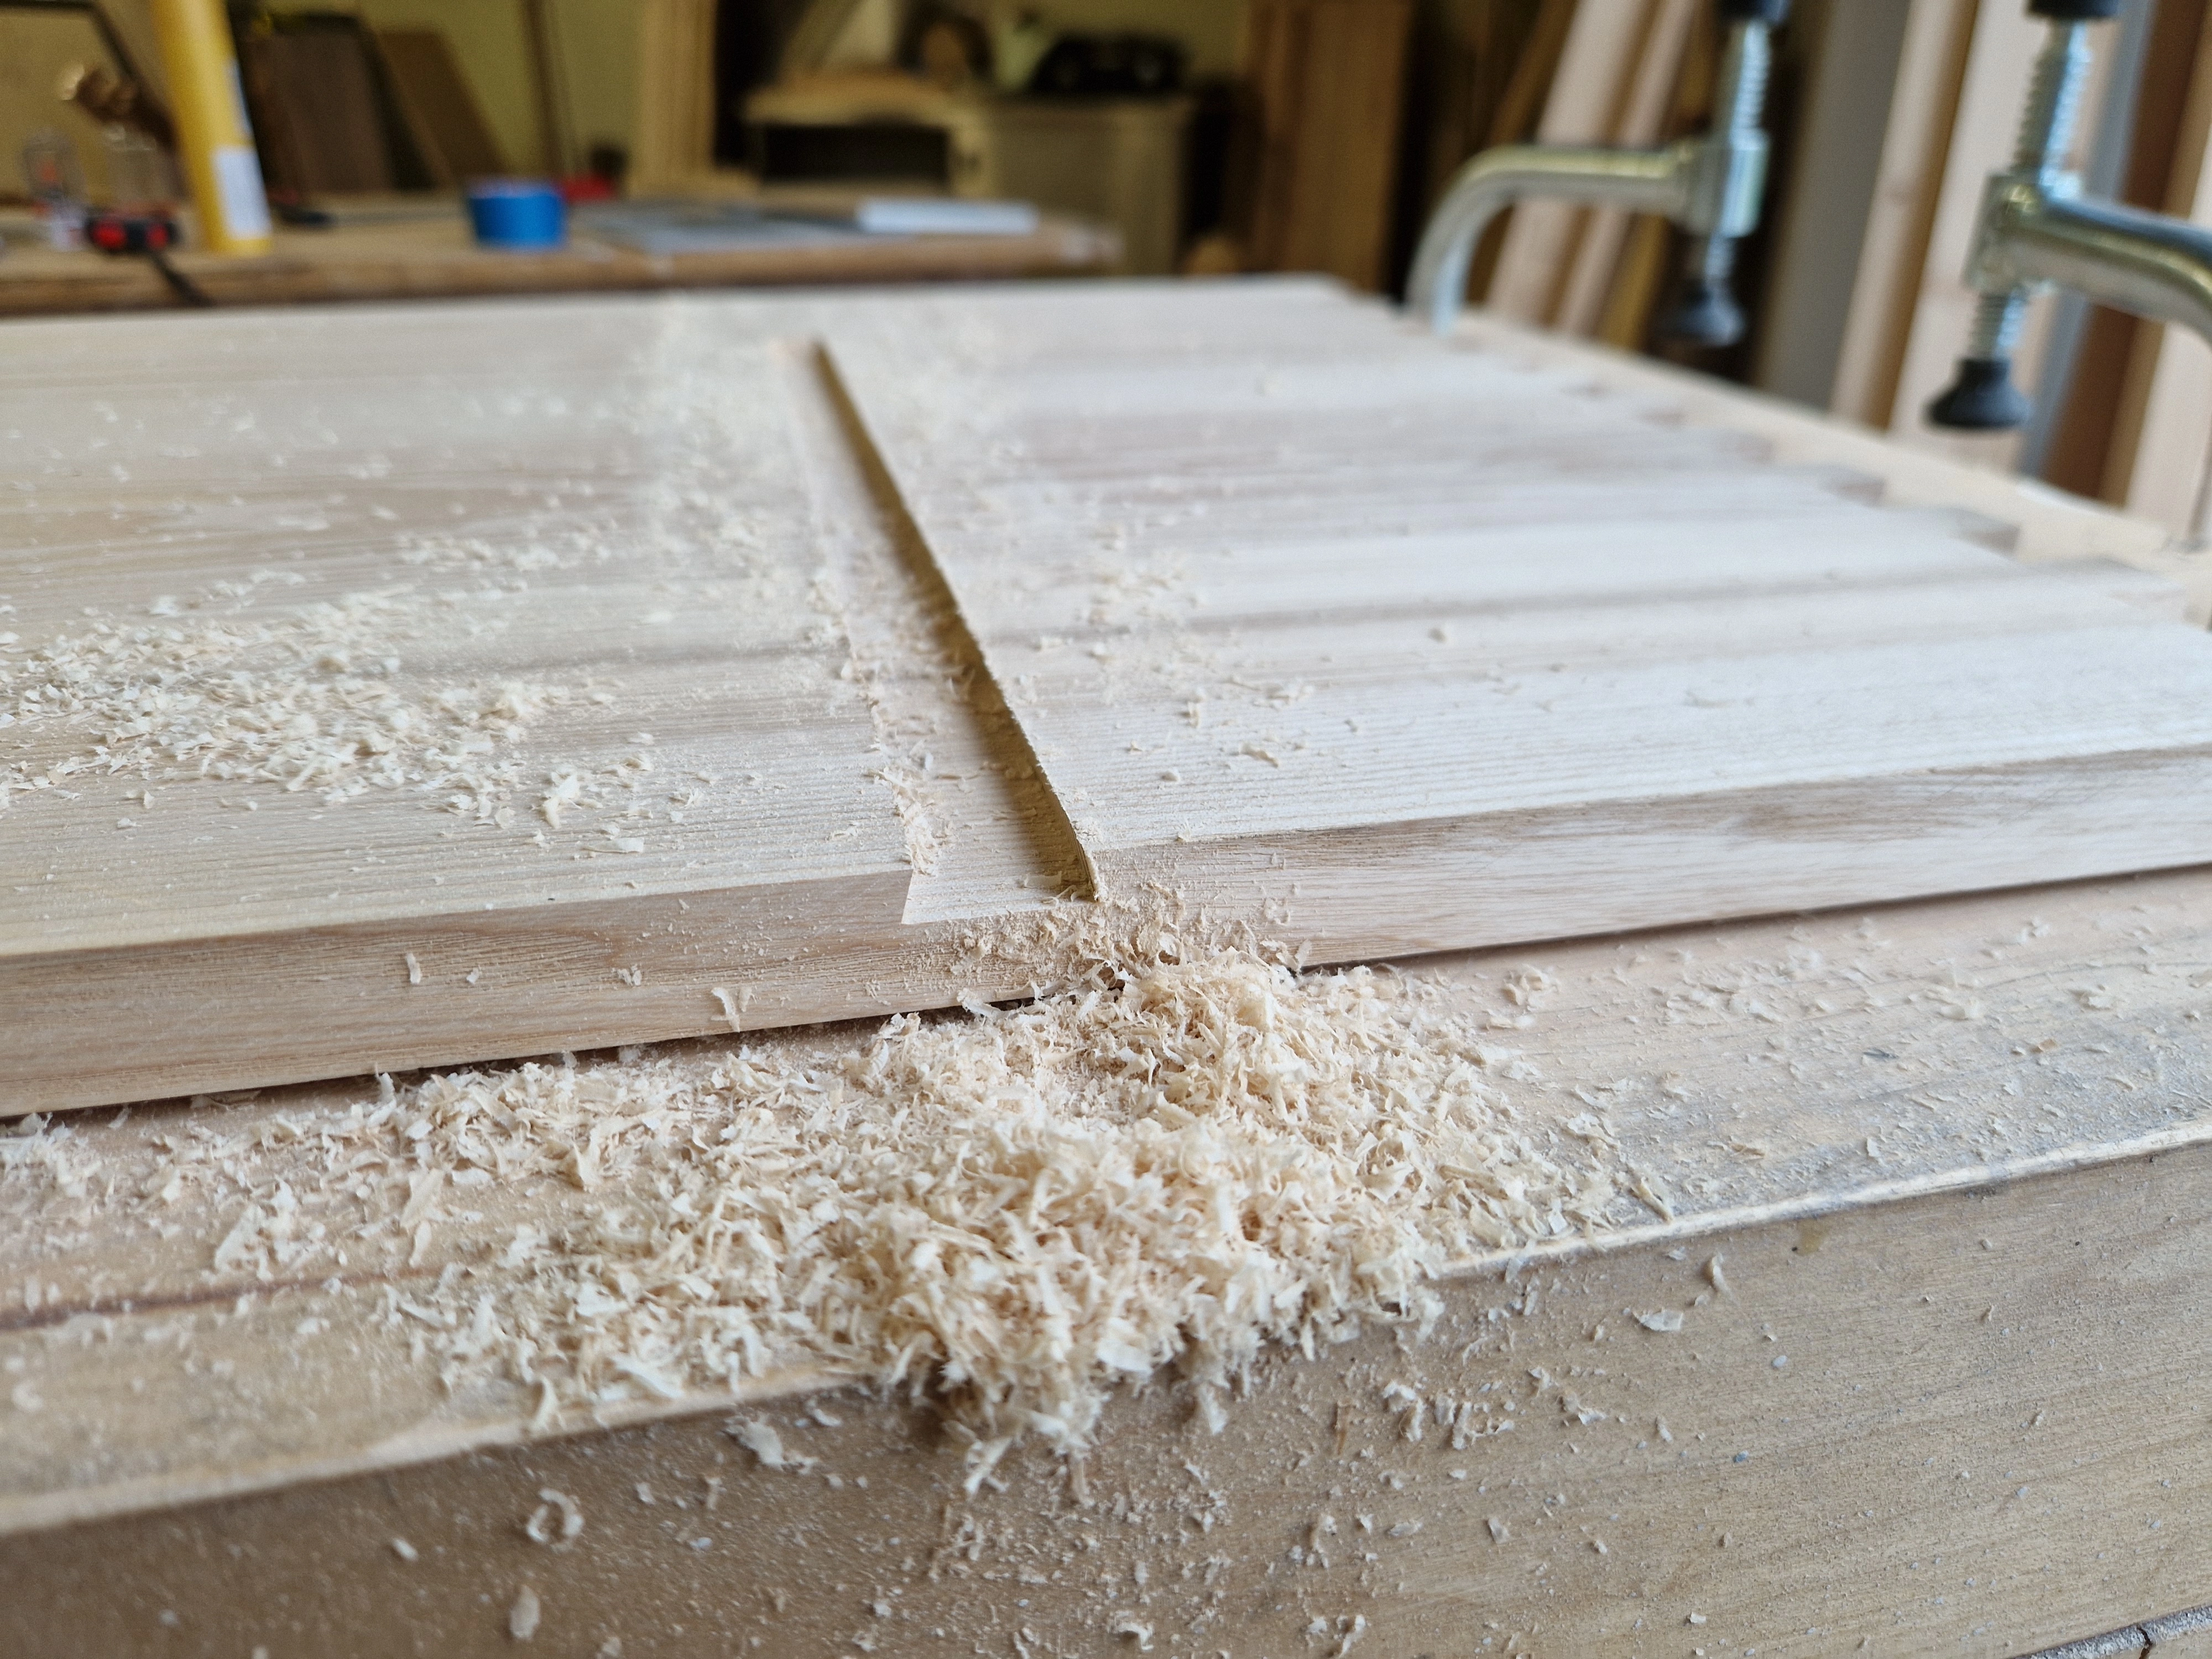
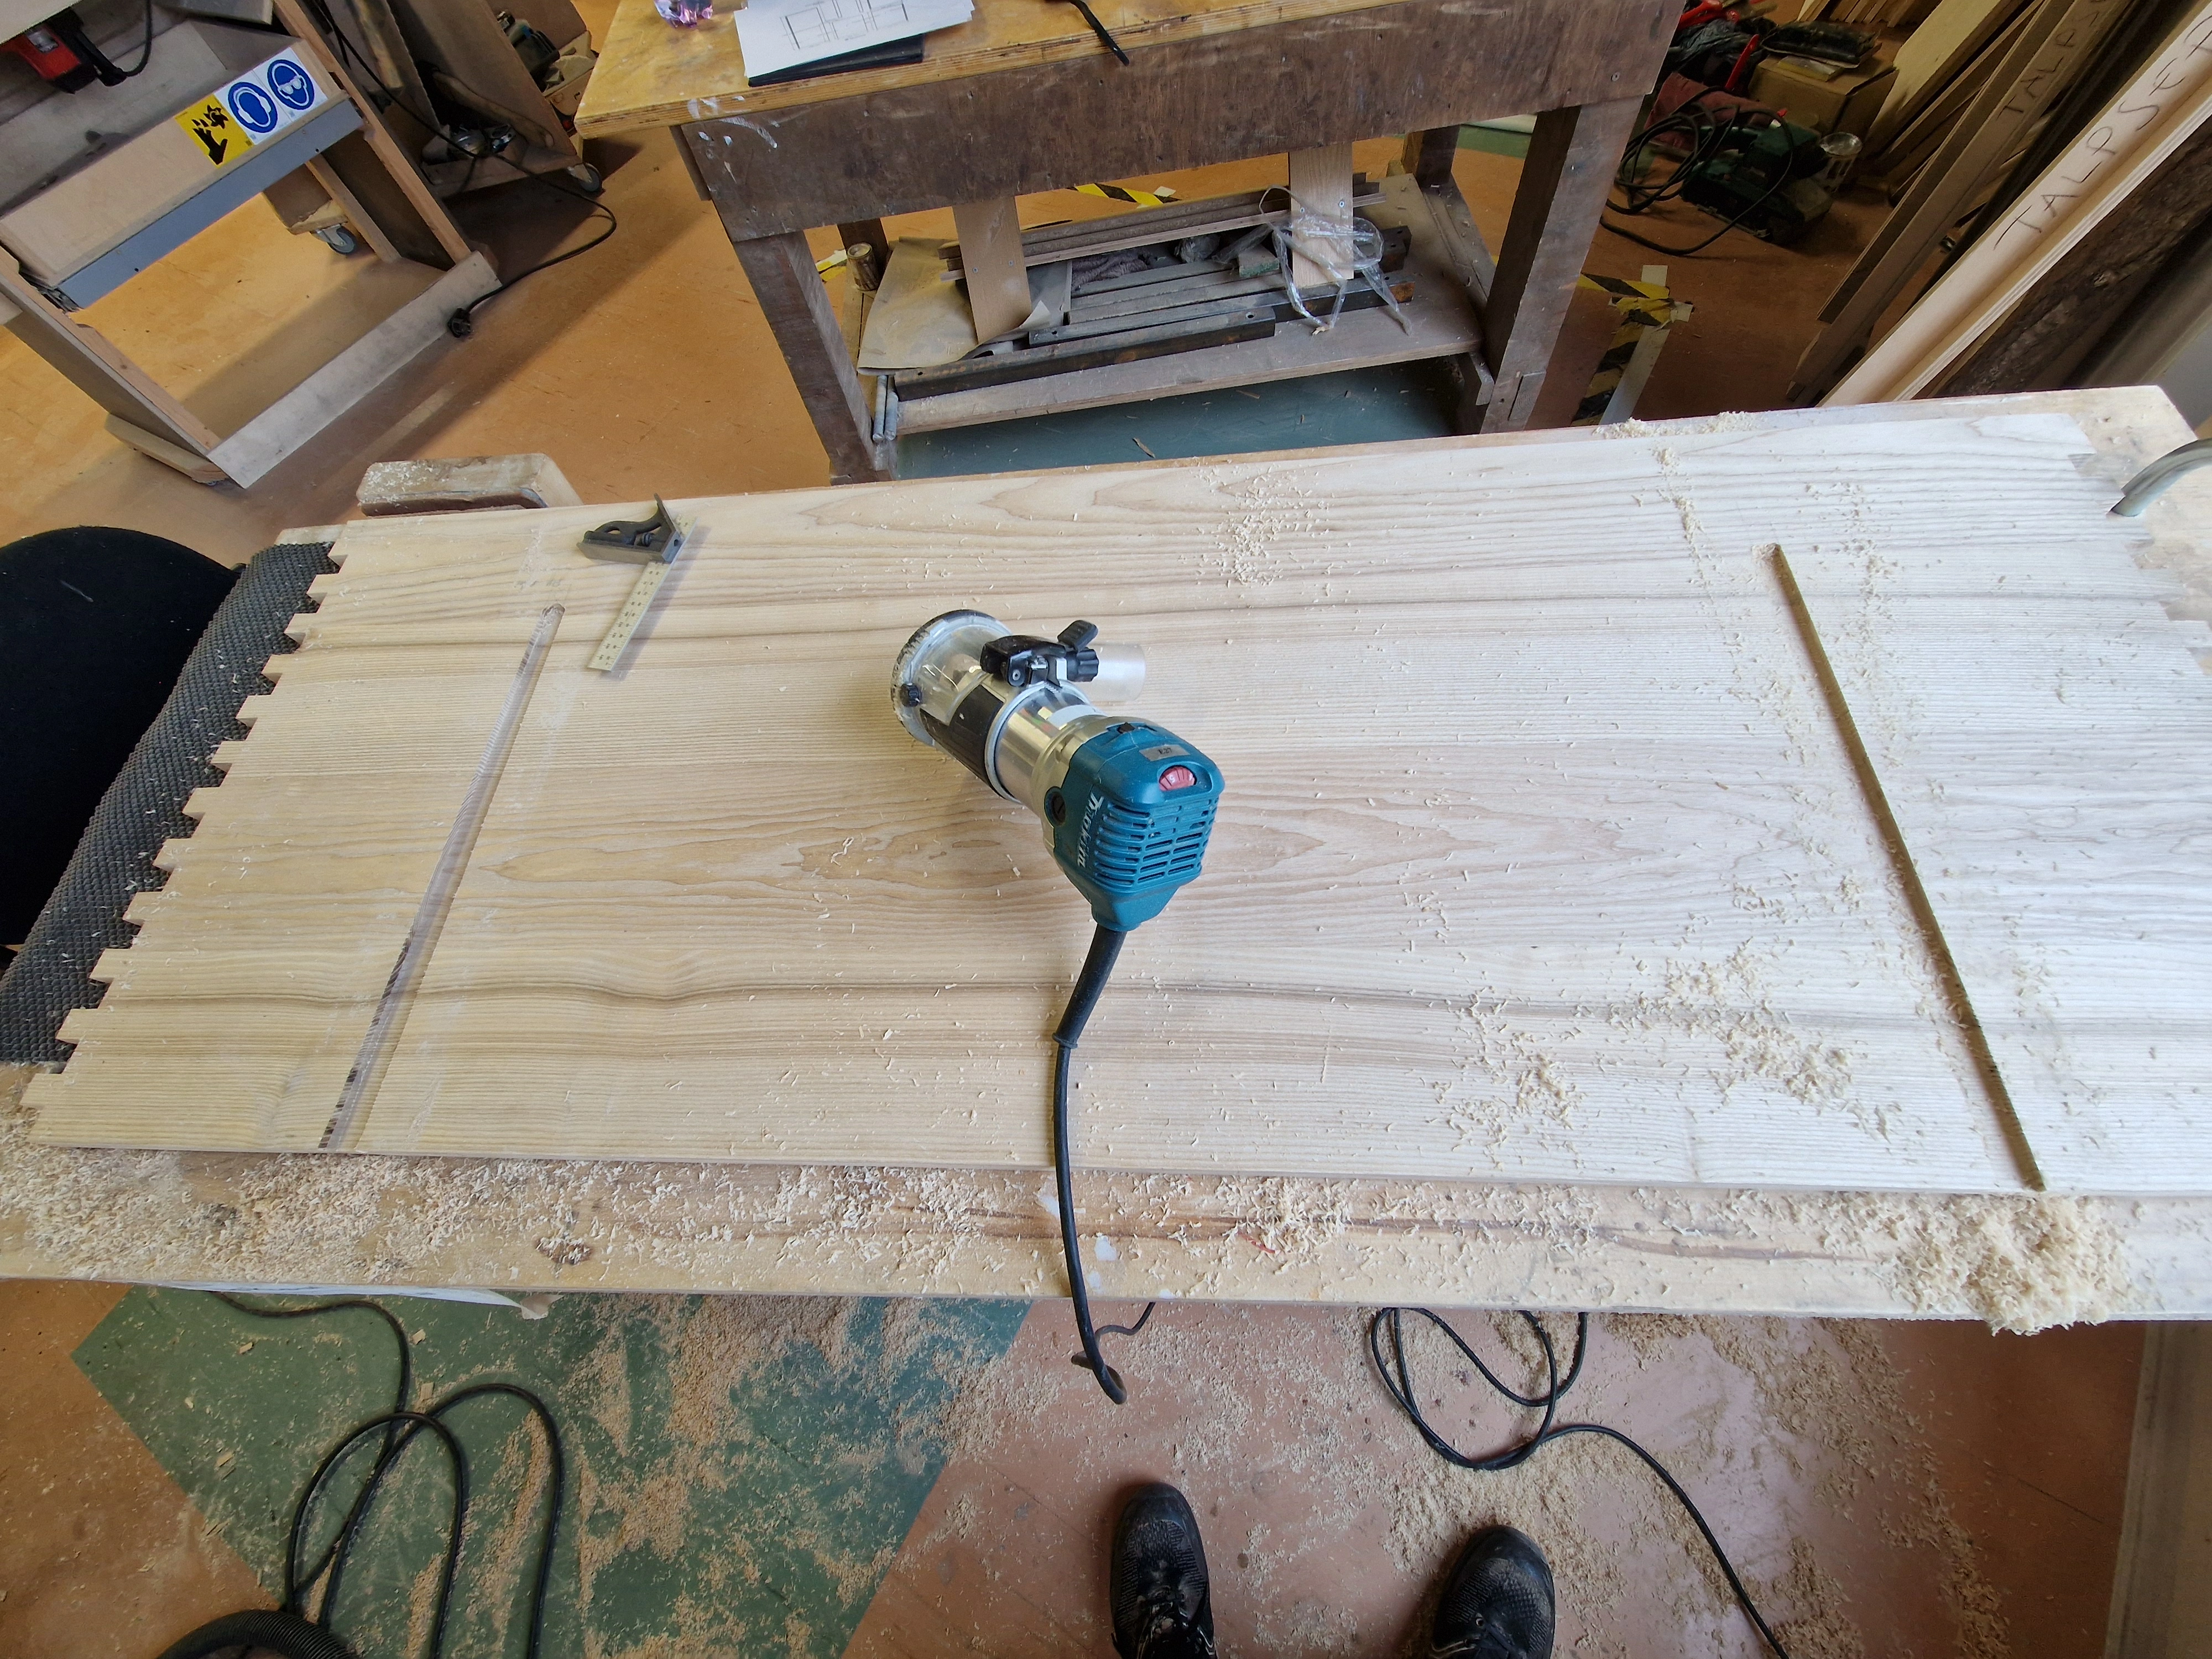
Cut sliding dovetail joints with a router and attached sliding battens which also function as simple legs. To me this is one of the best examples of a seemingly simple element, implemented in a complex way, achieving a complex result, yet maintaining simple beauty.
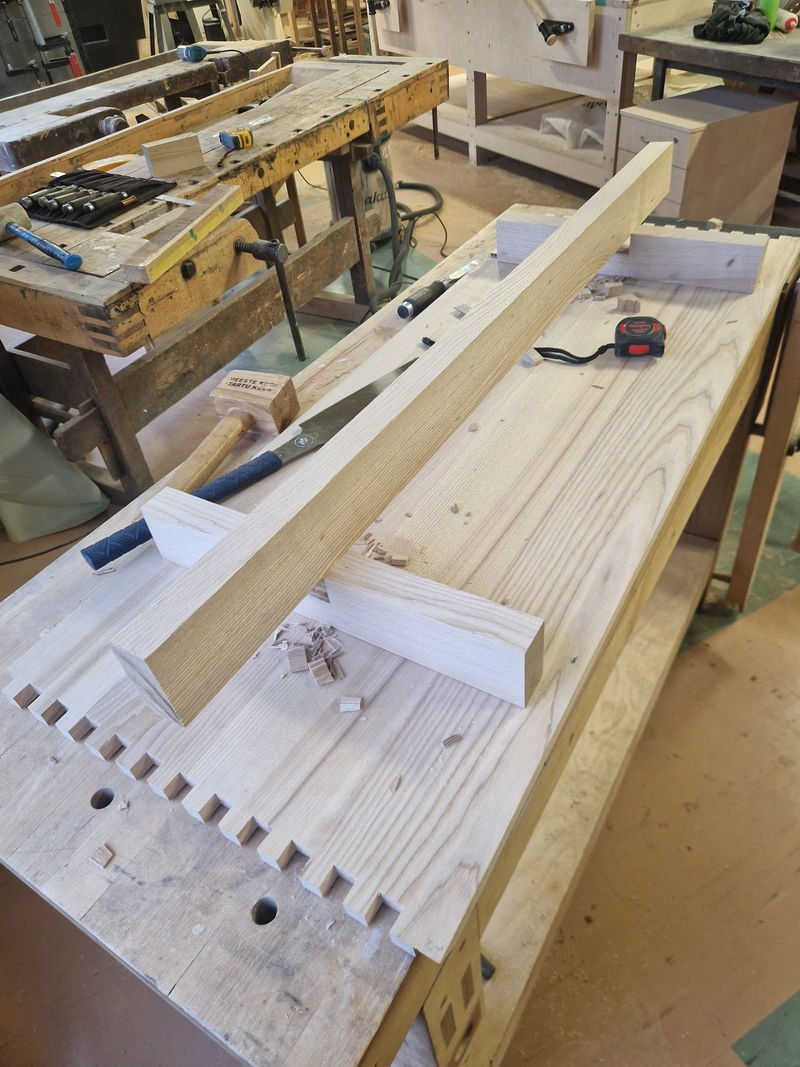
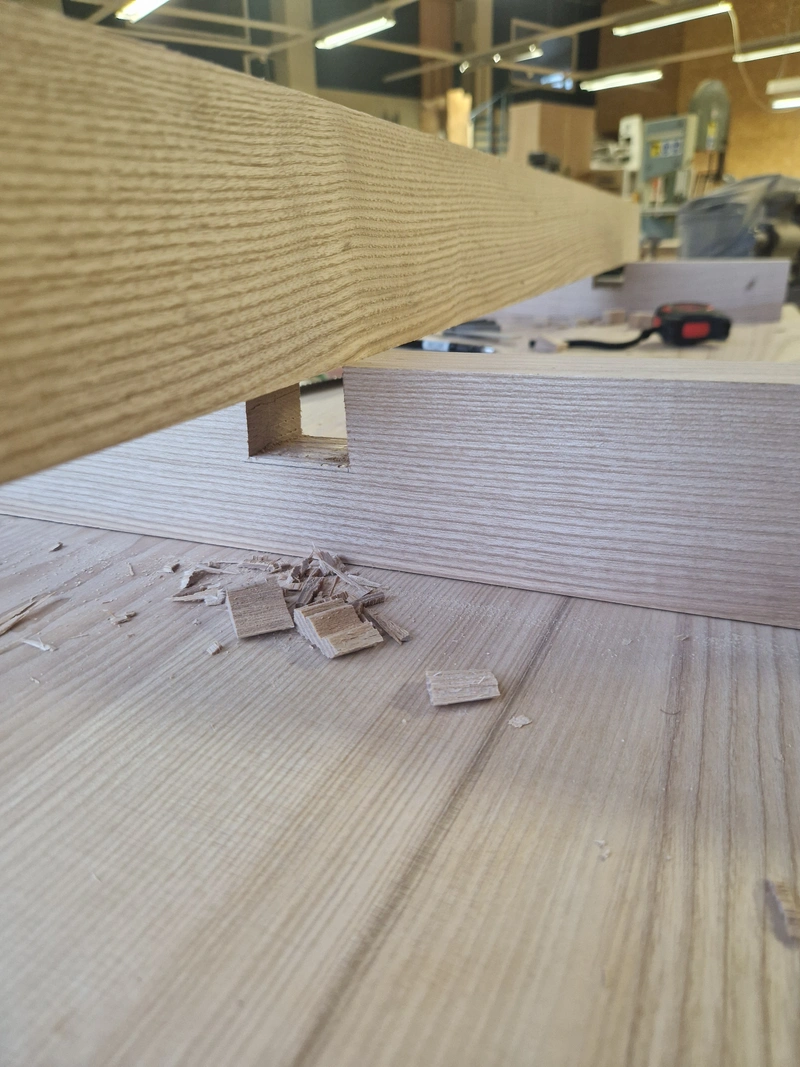
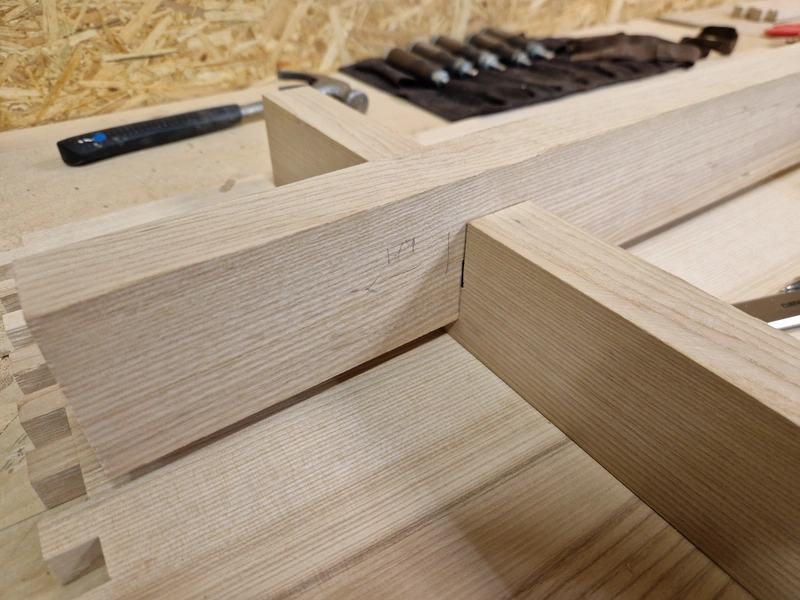
1 / 7
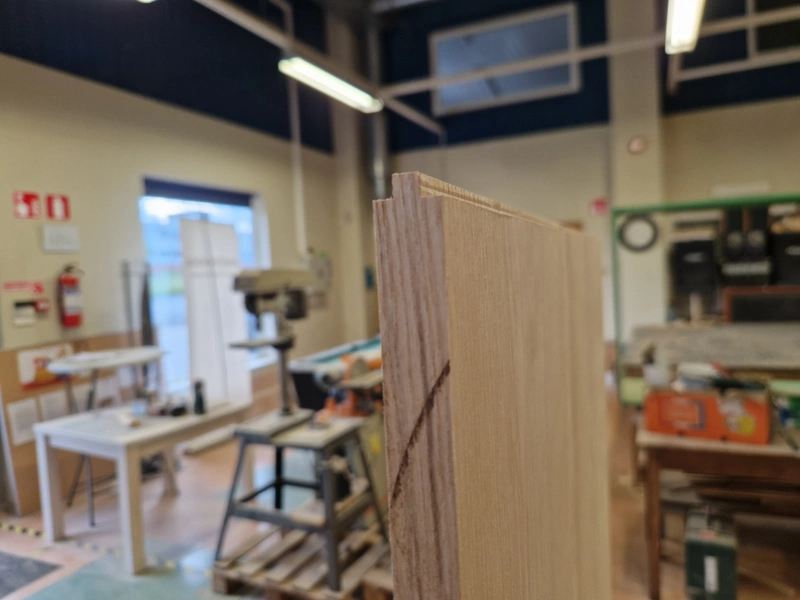
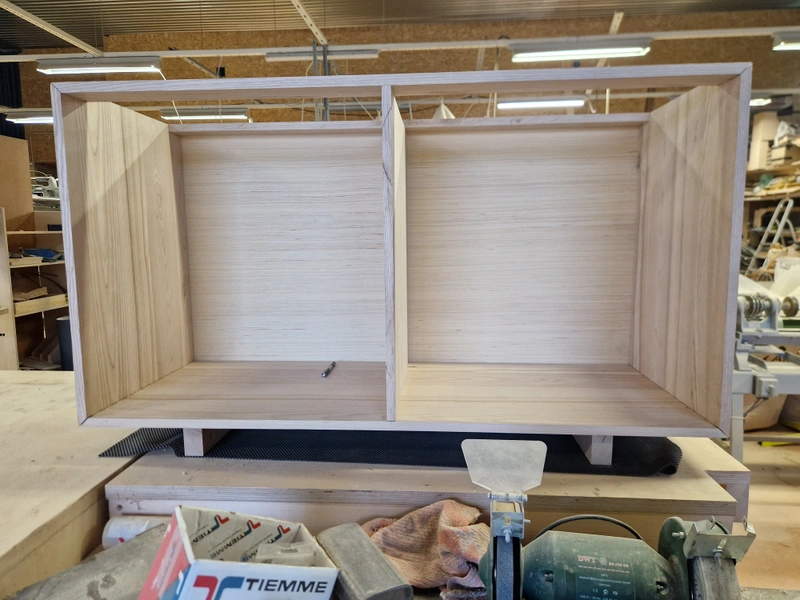
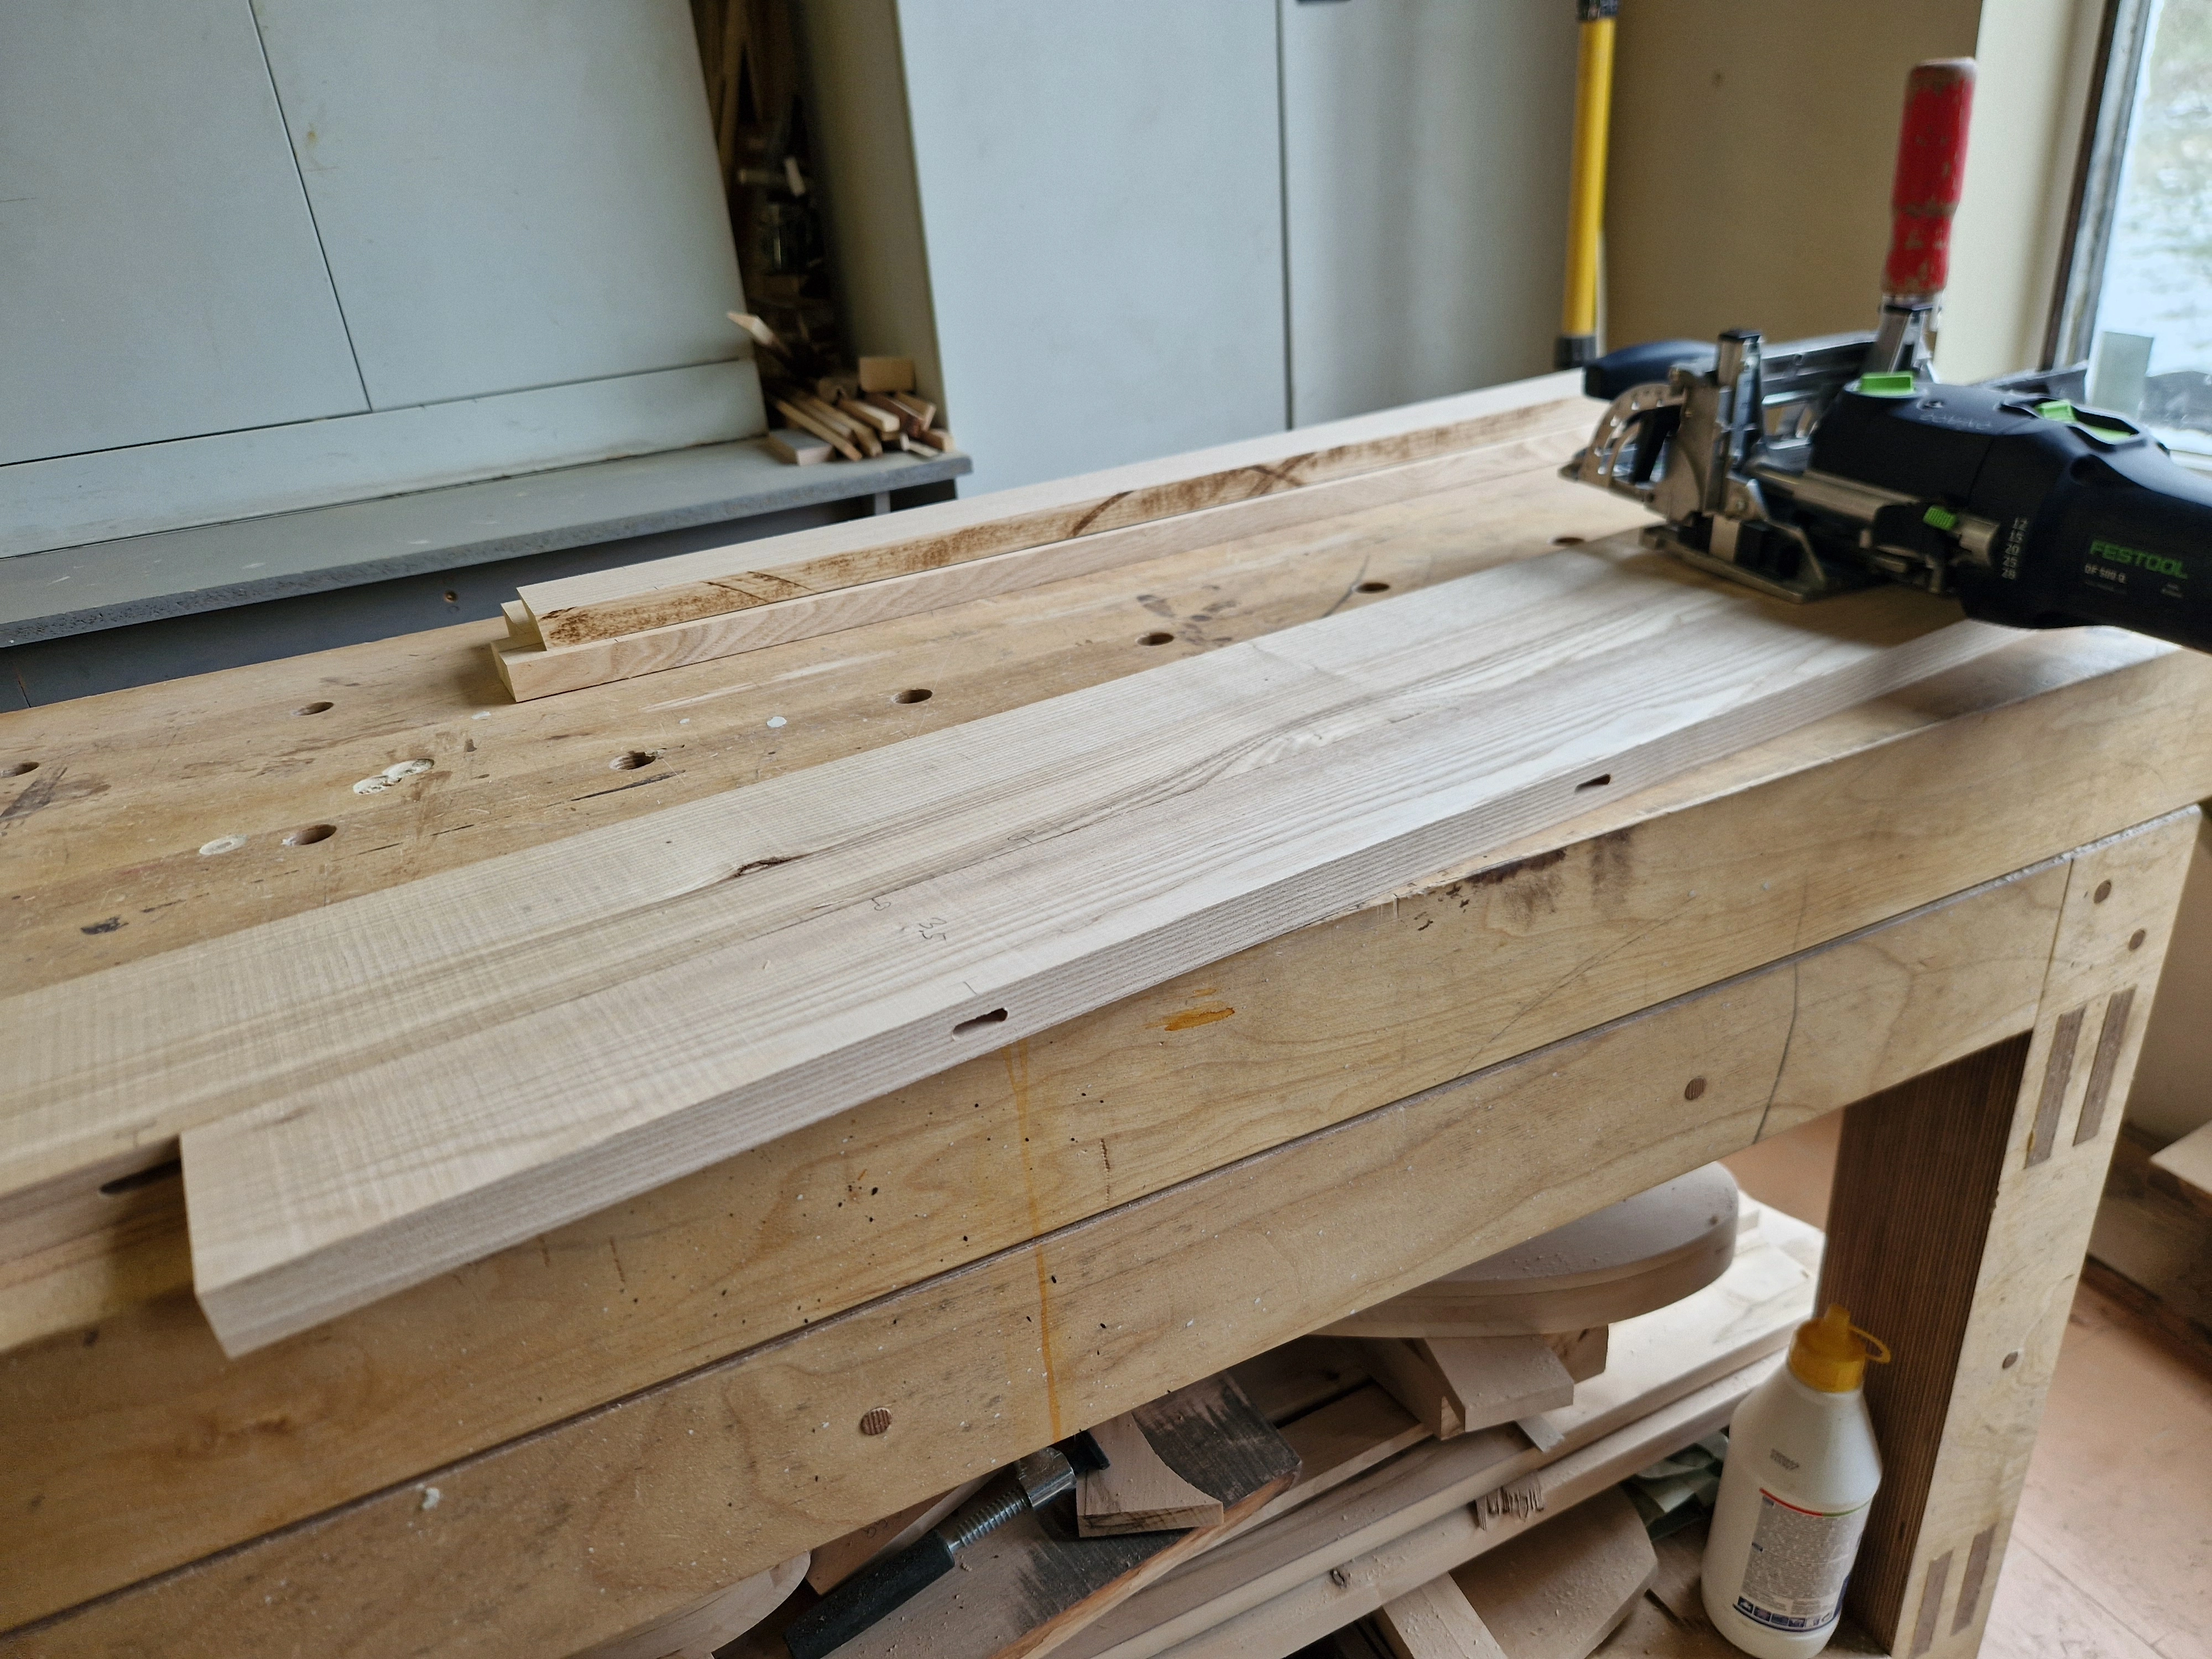
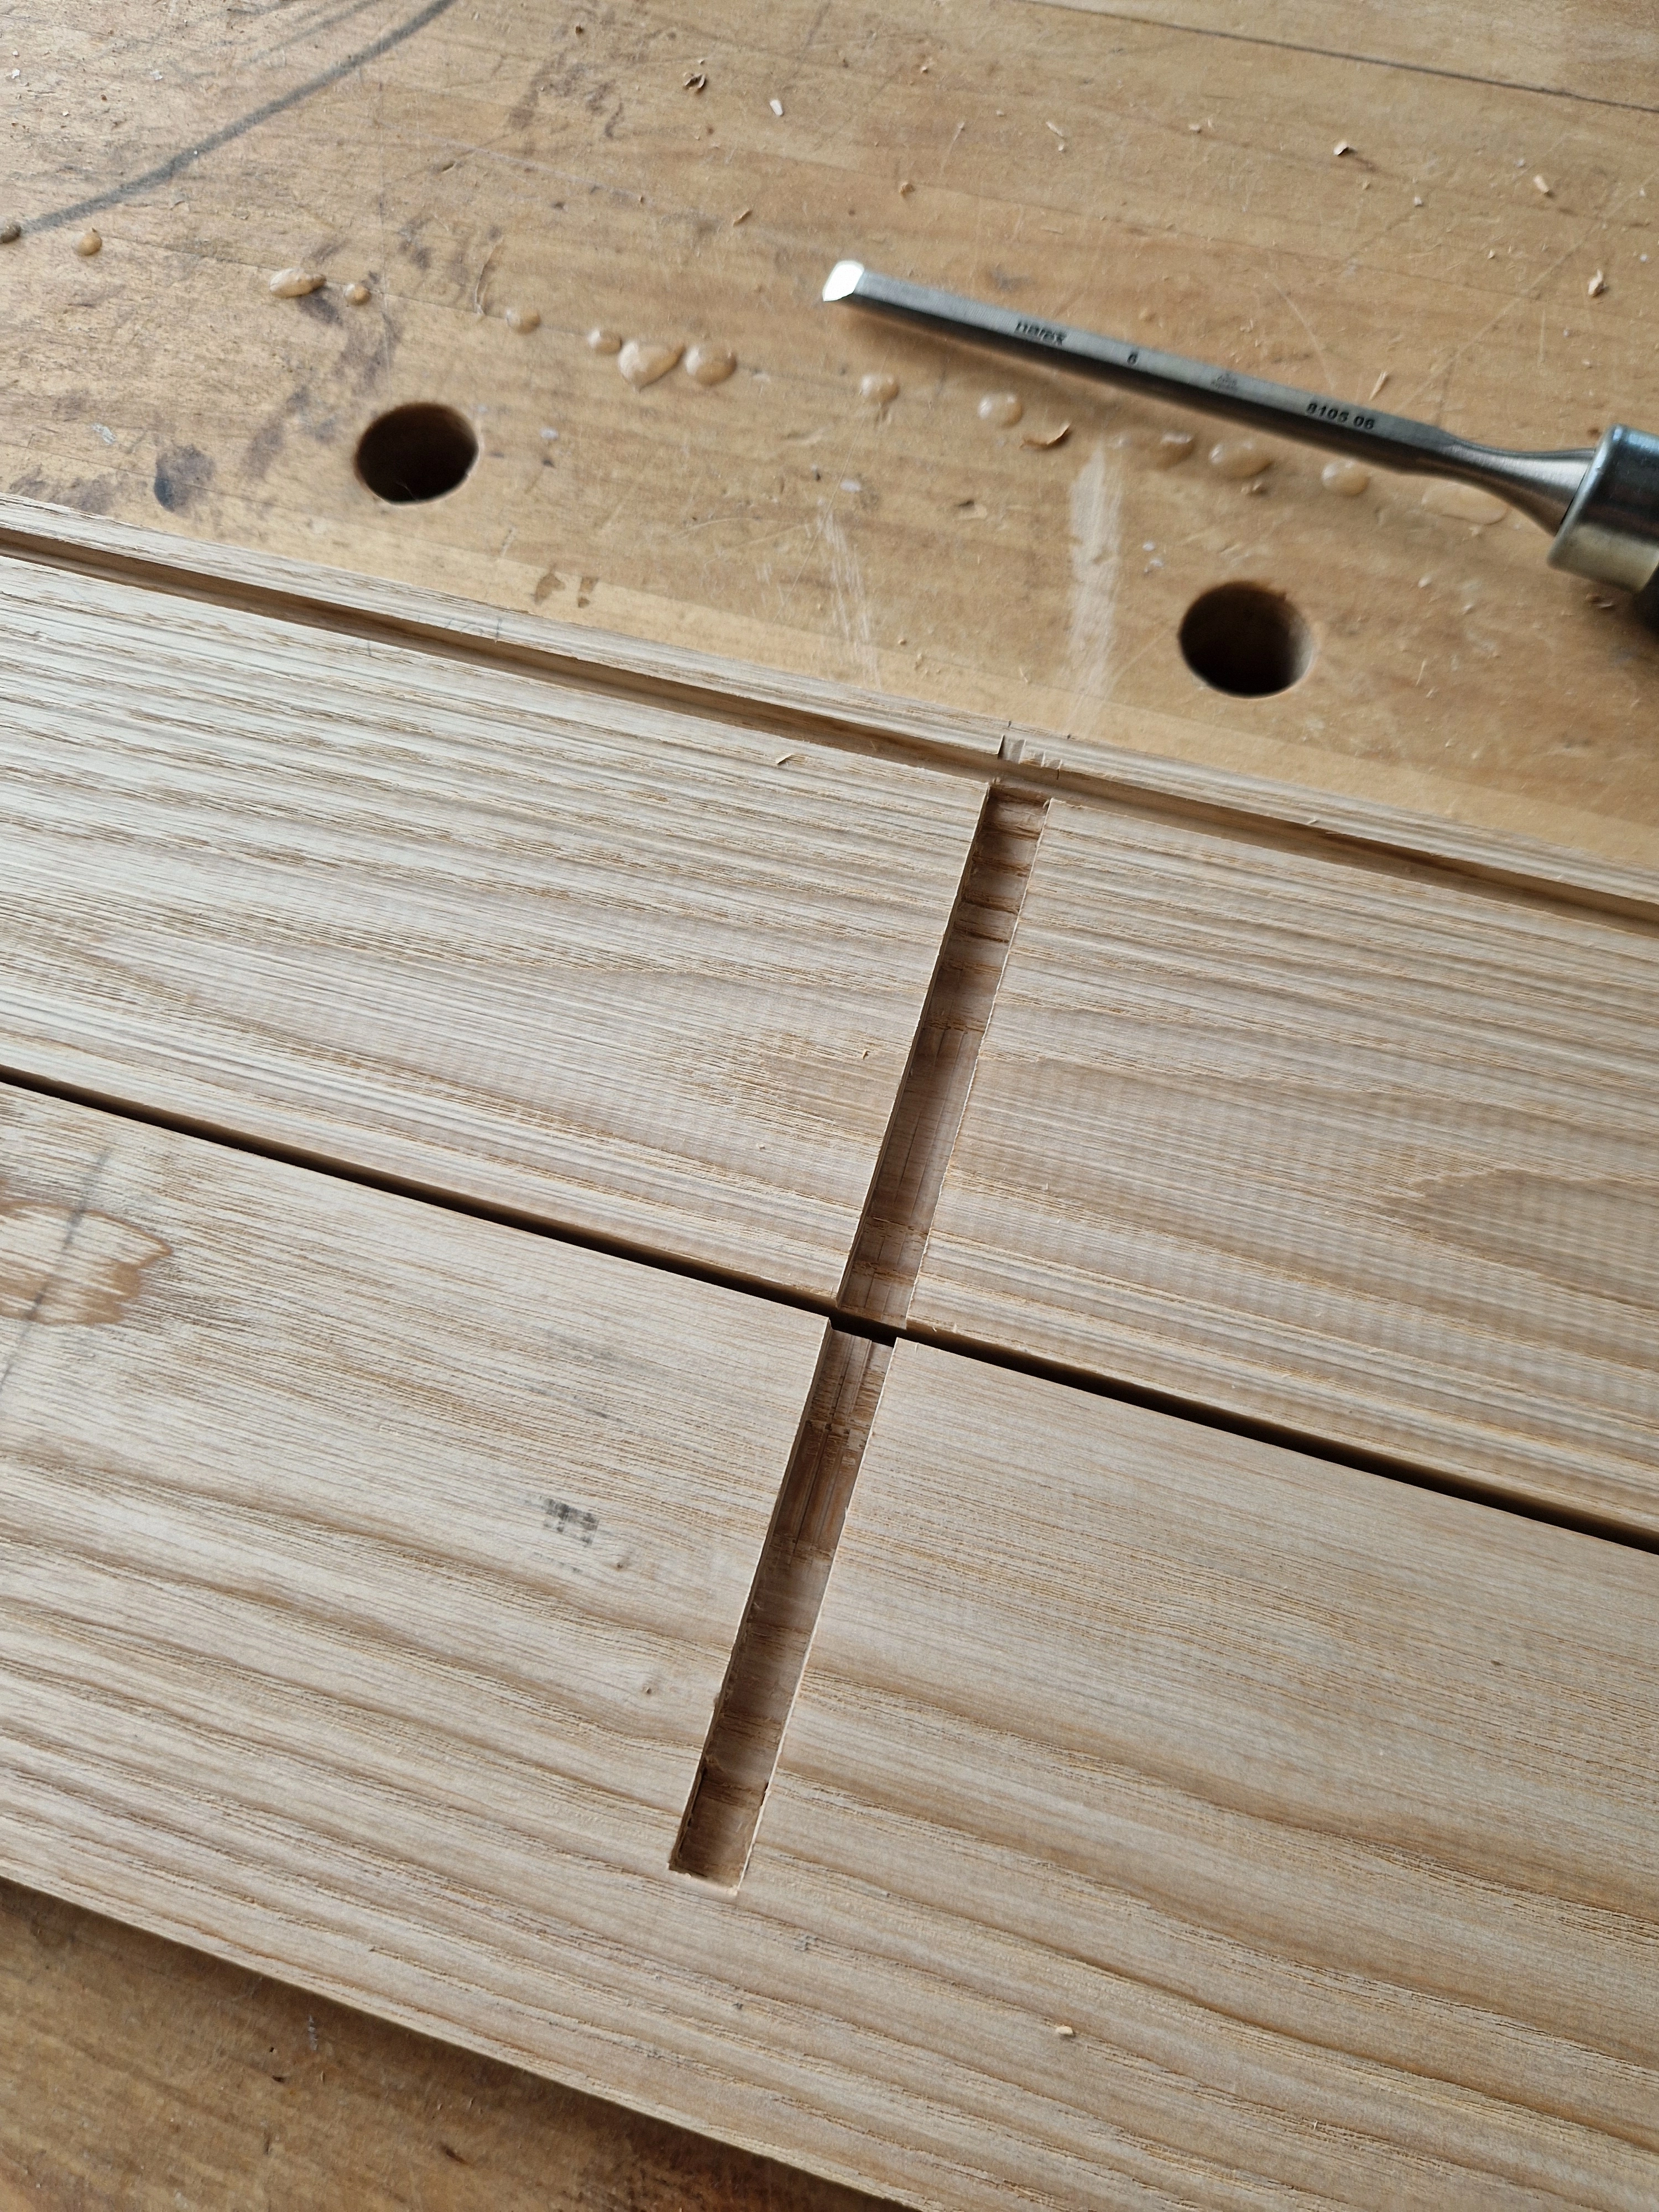
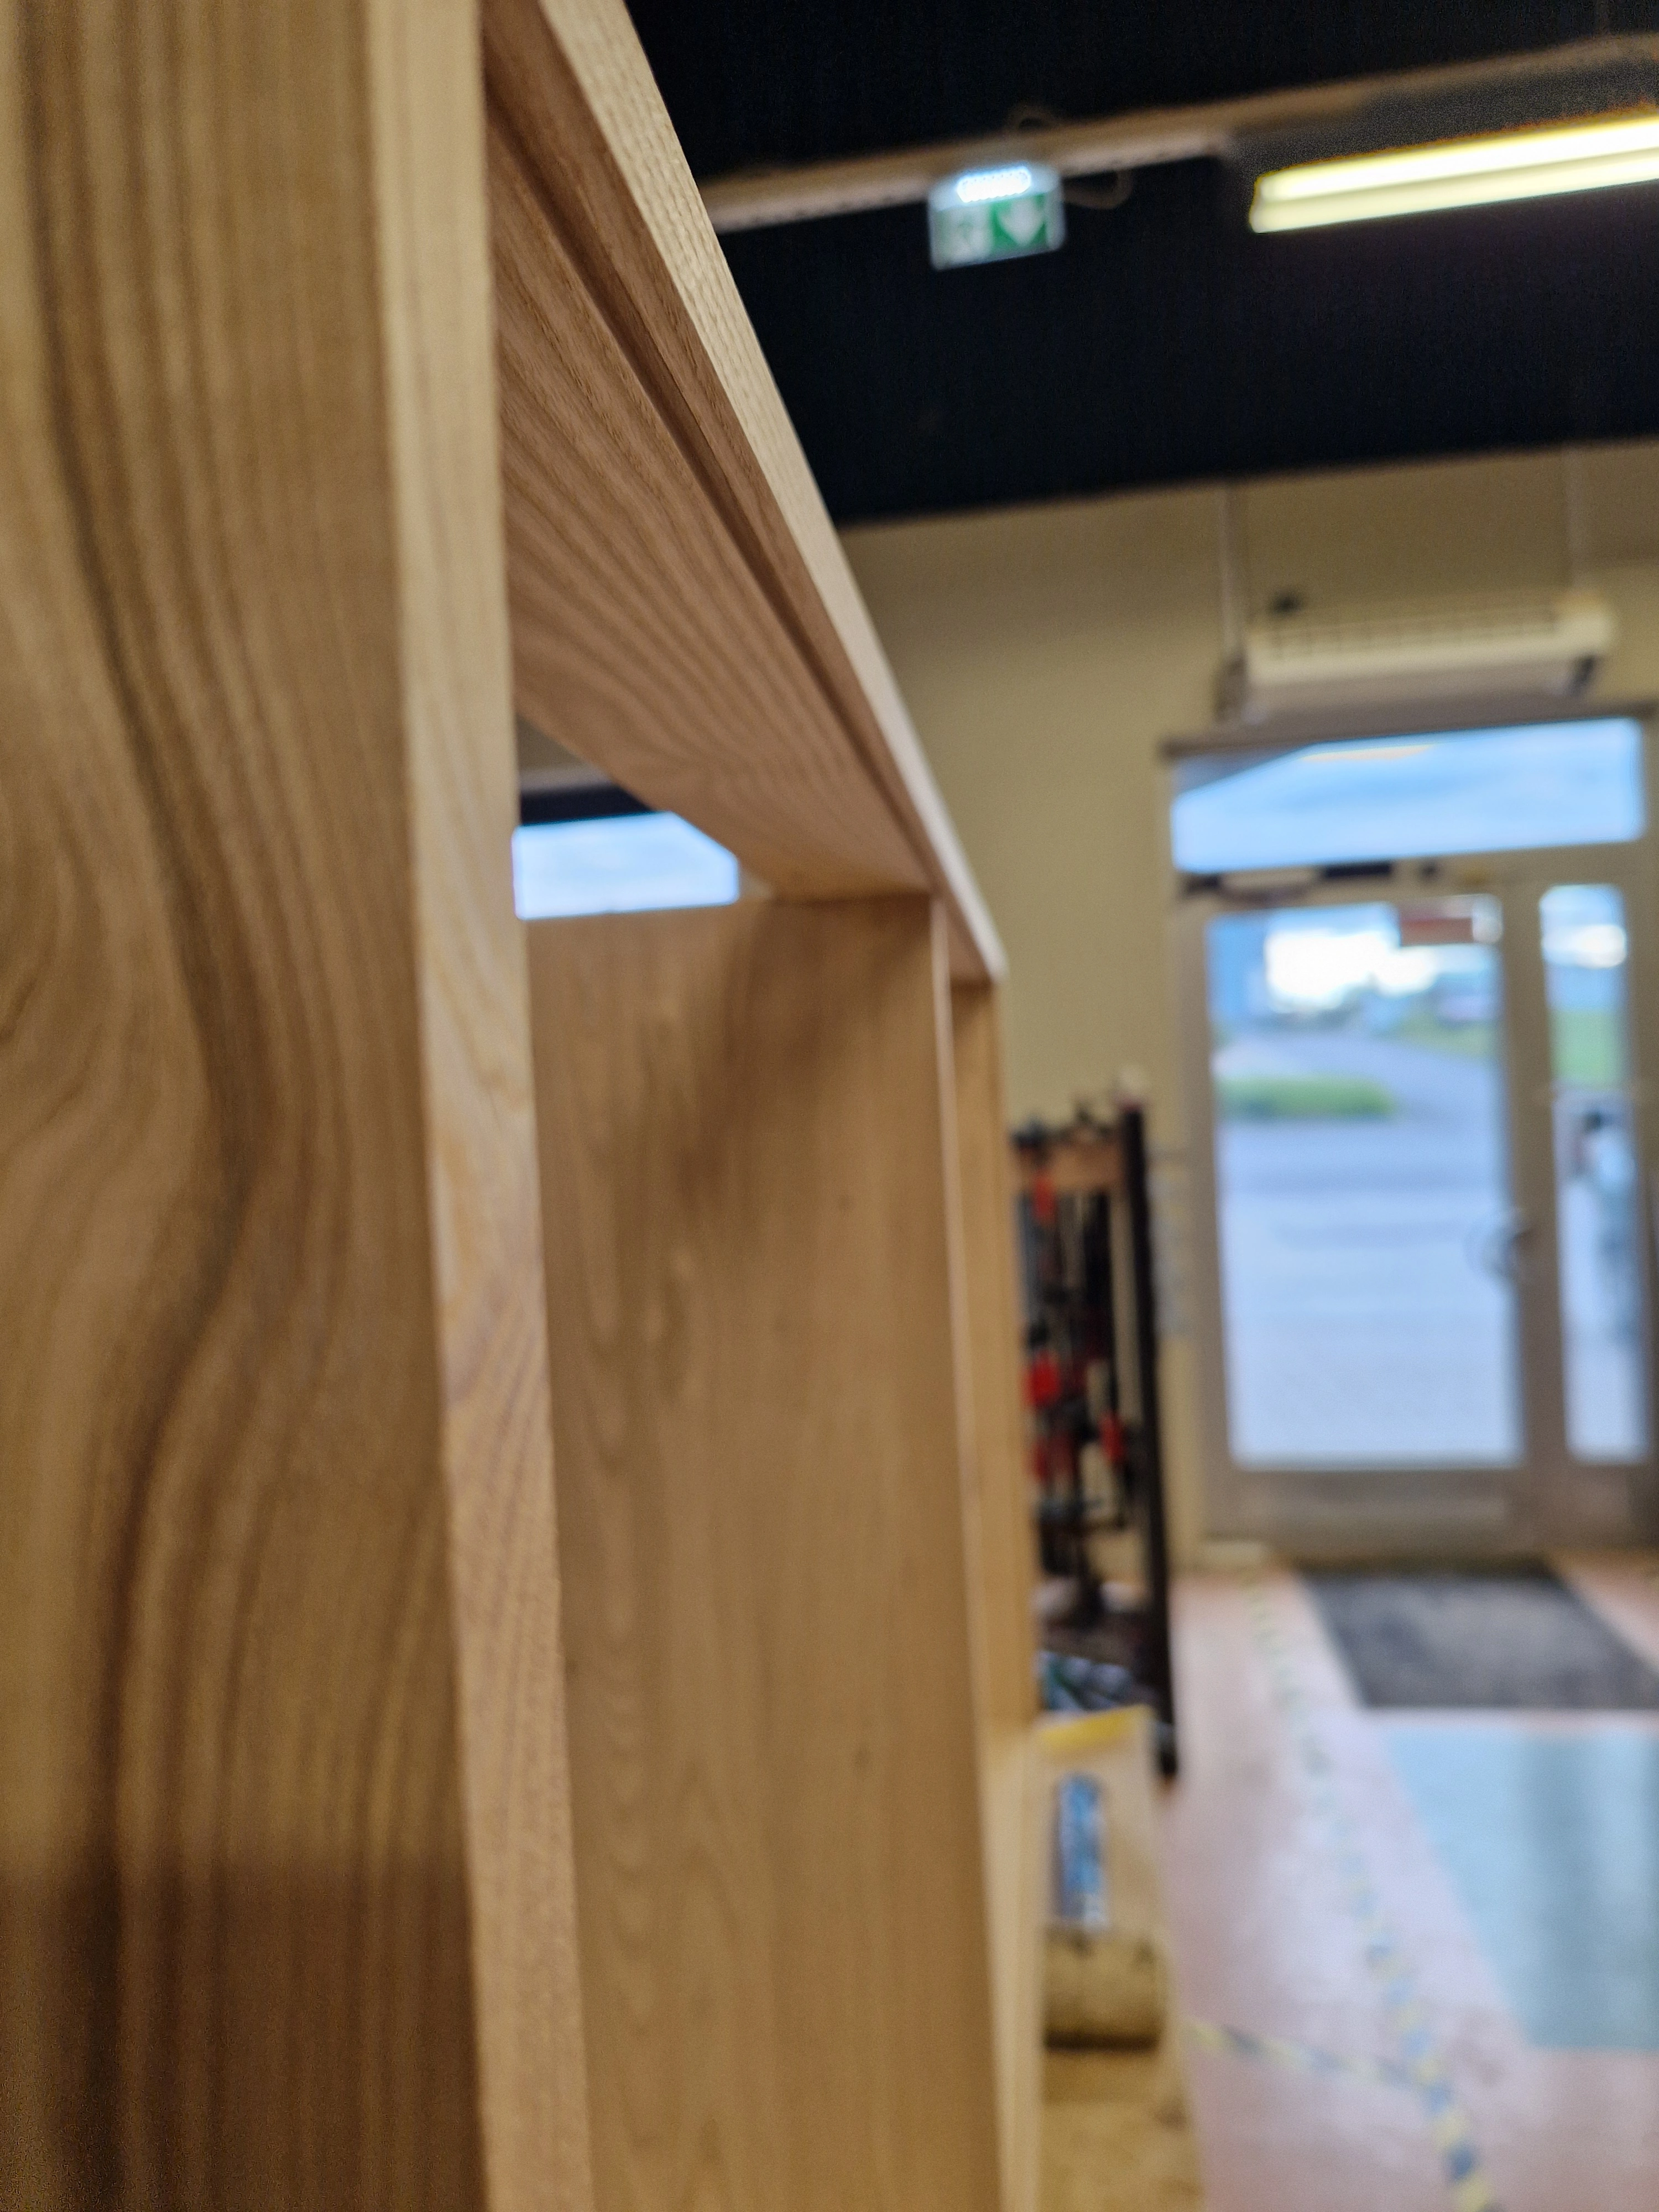
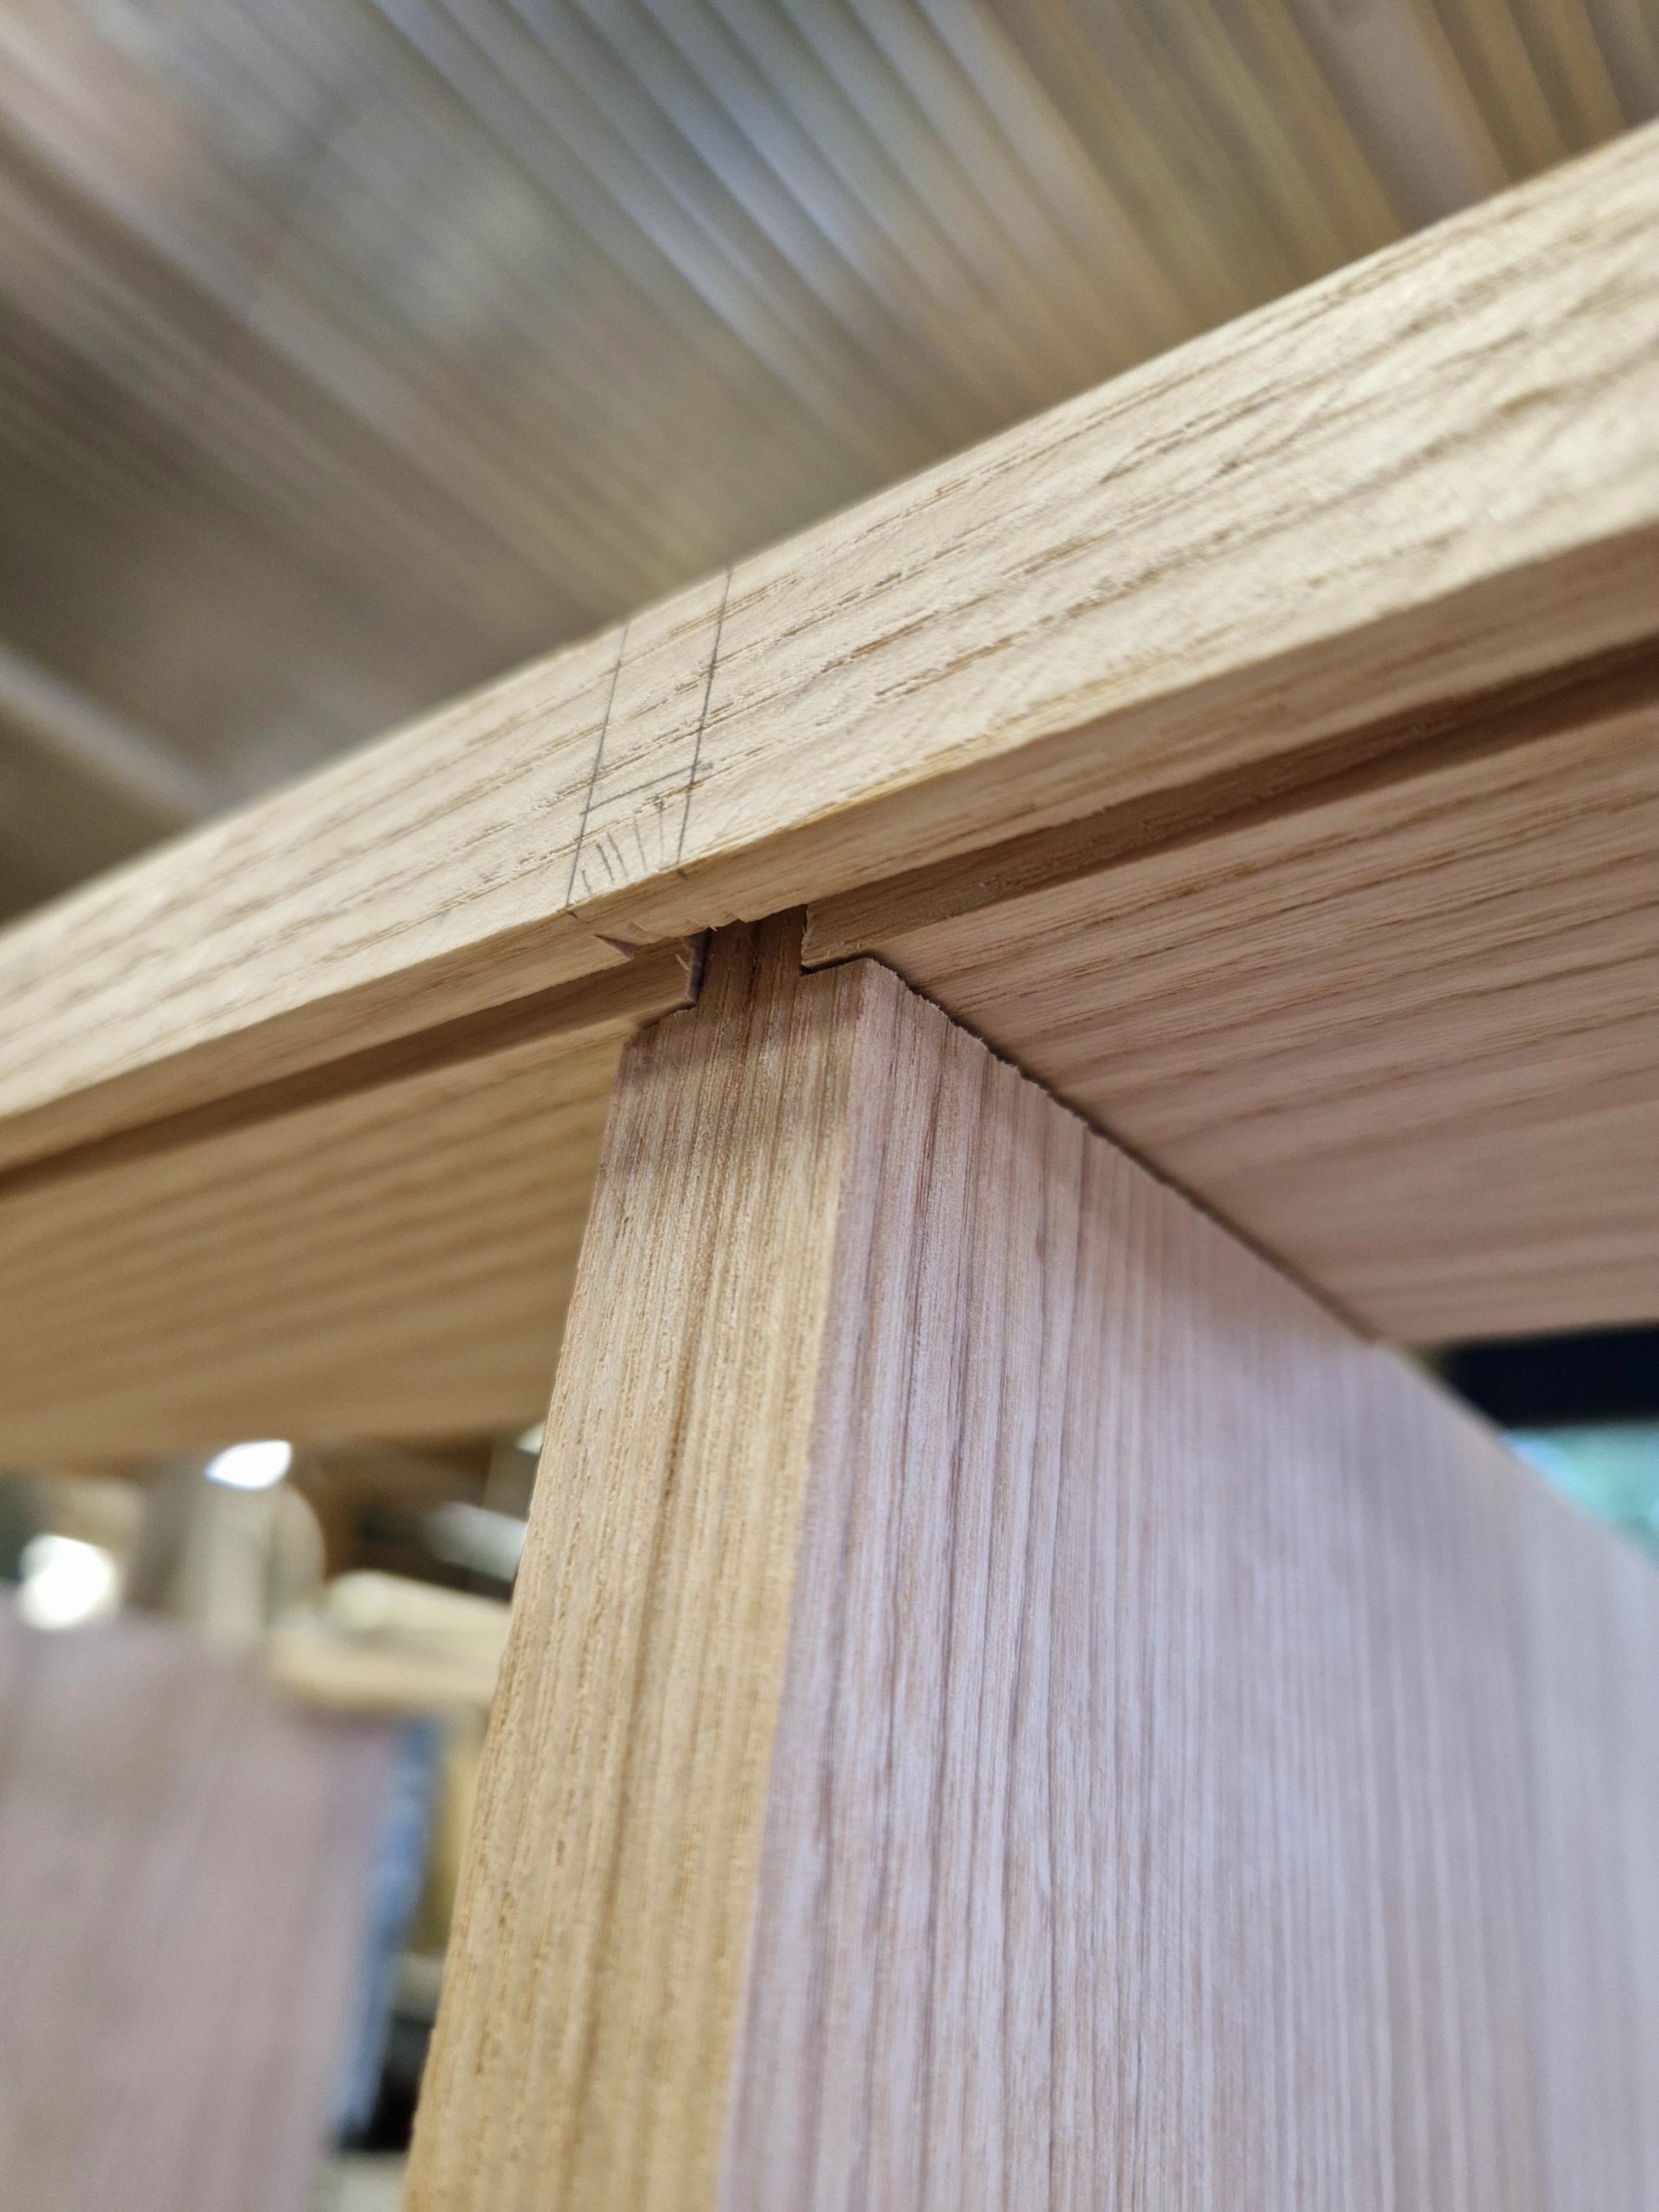
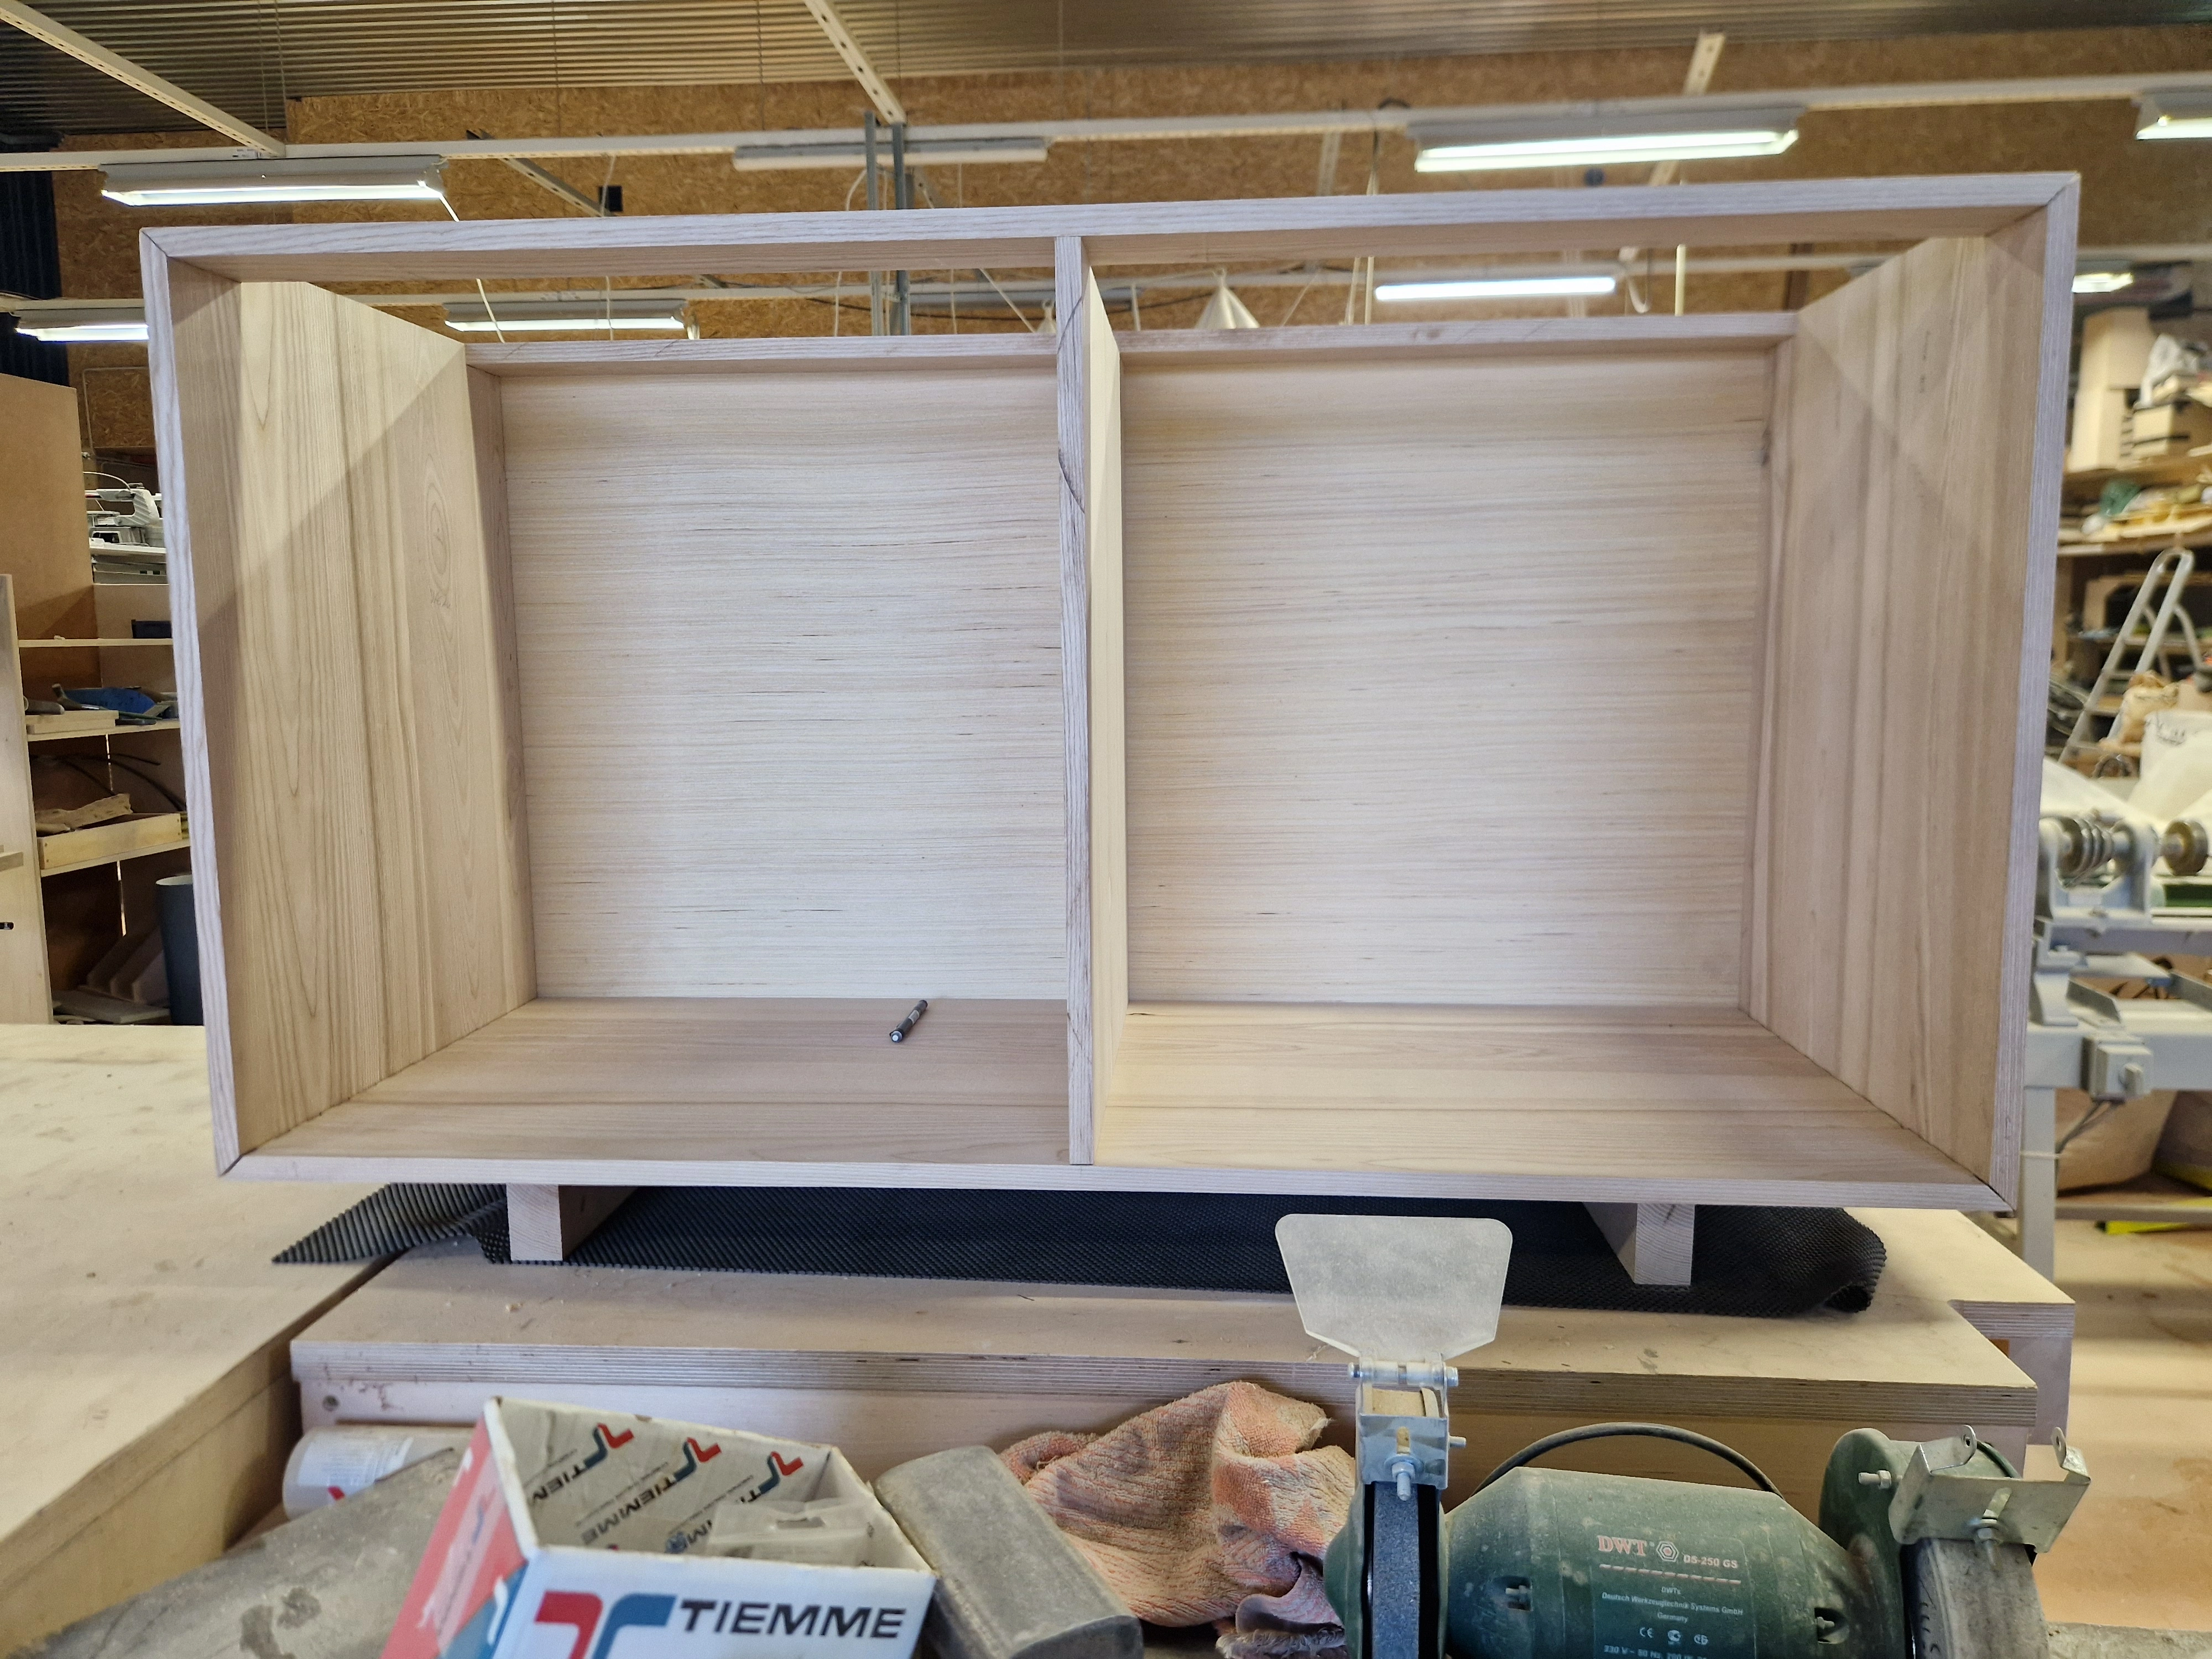
Added a sliding dovetail joint in the middle of the bottom panel for the center panel to slide into, which fixes the bottom of the panel. For fixing the top side of the panel, I decided to make a rectangular groove in the top stretchers and a matching rectangular joint in the panel. Thanks to an accurate fit these don't need to be glued.
1 / 6
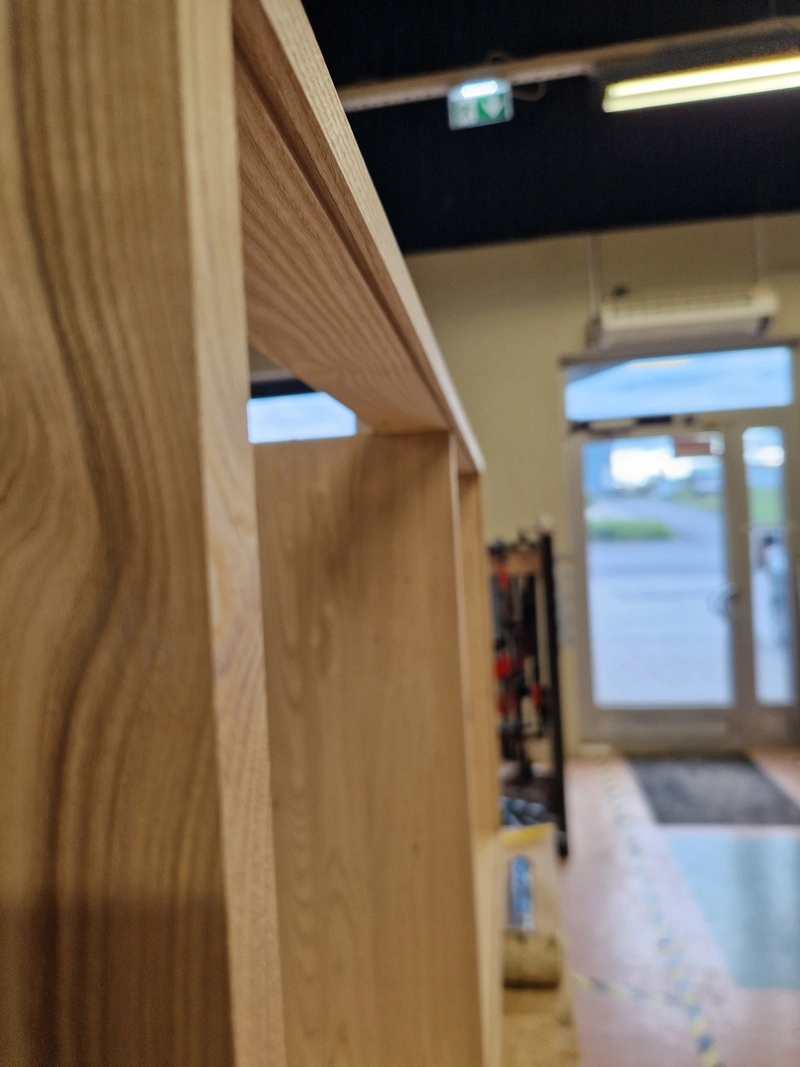
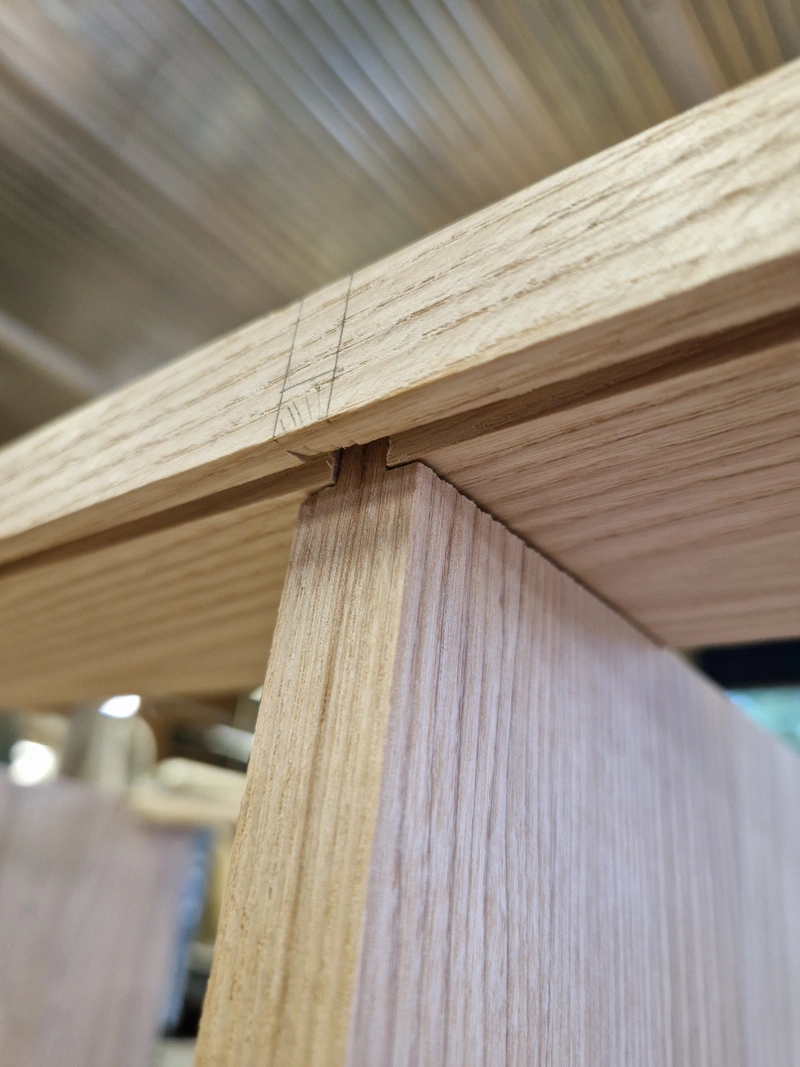
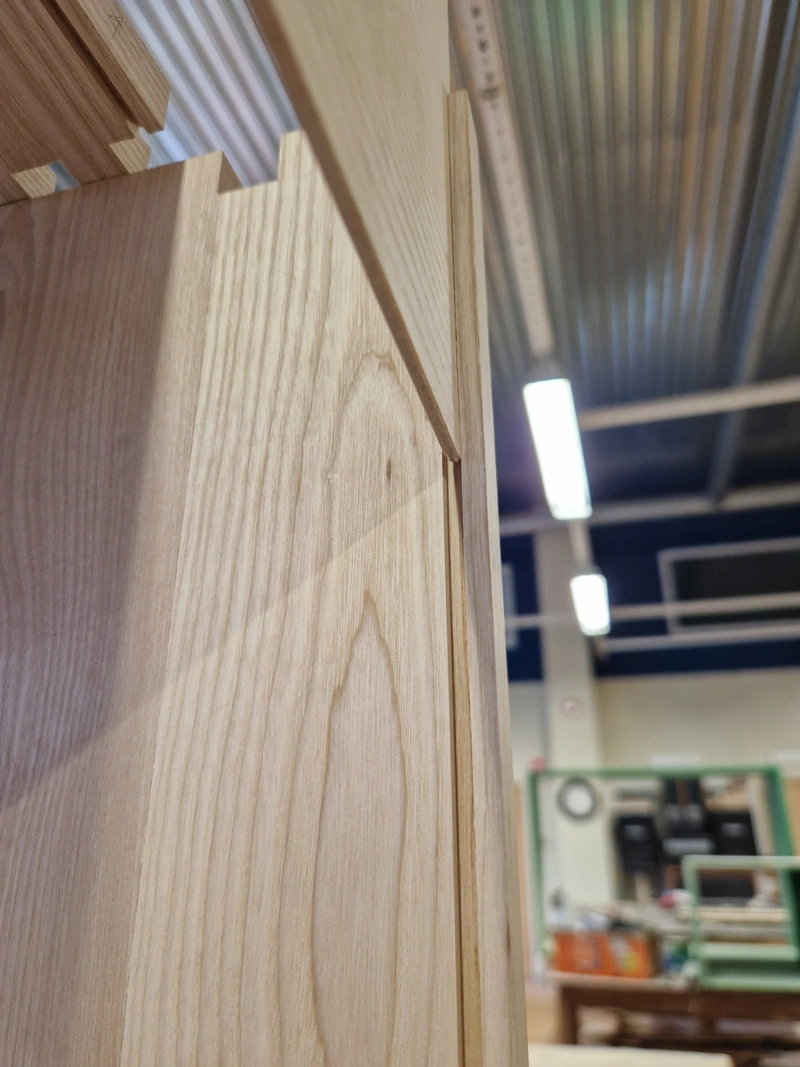
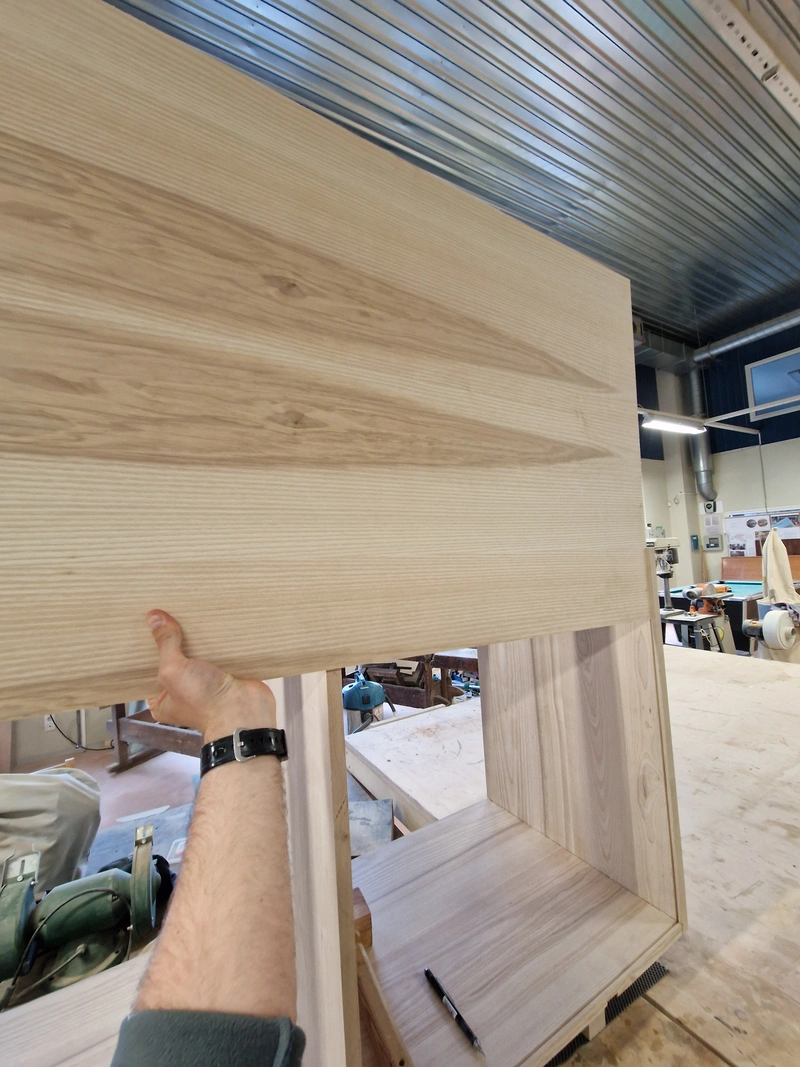
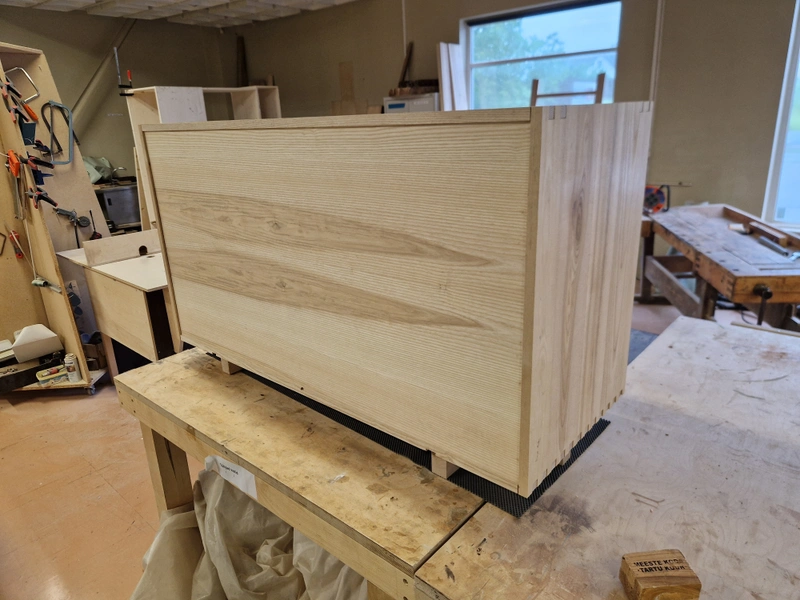
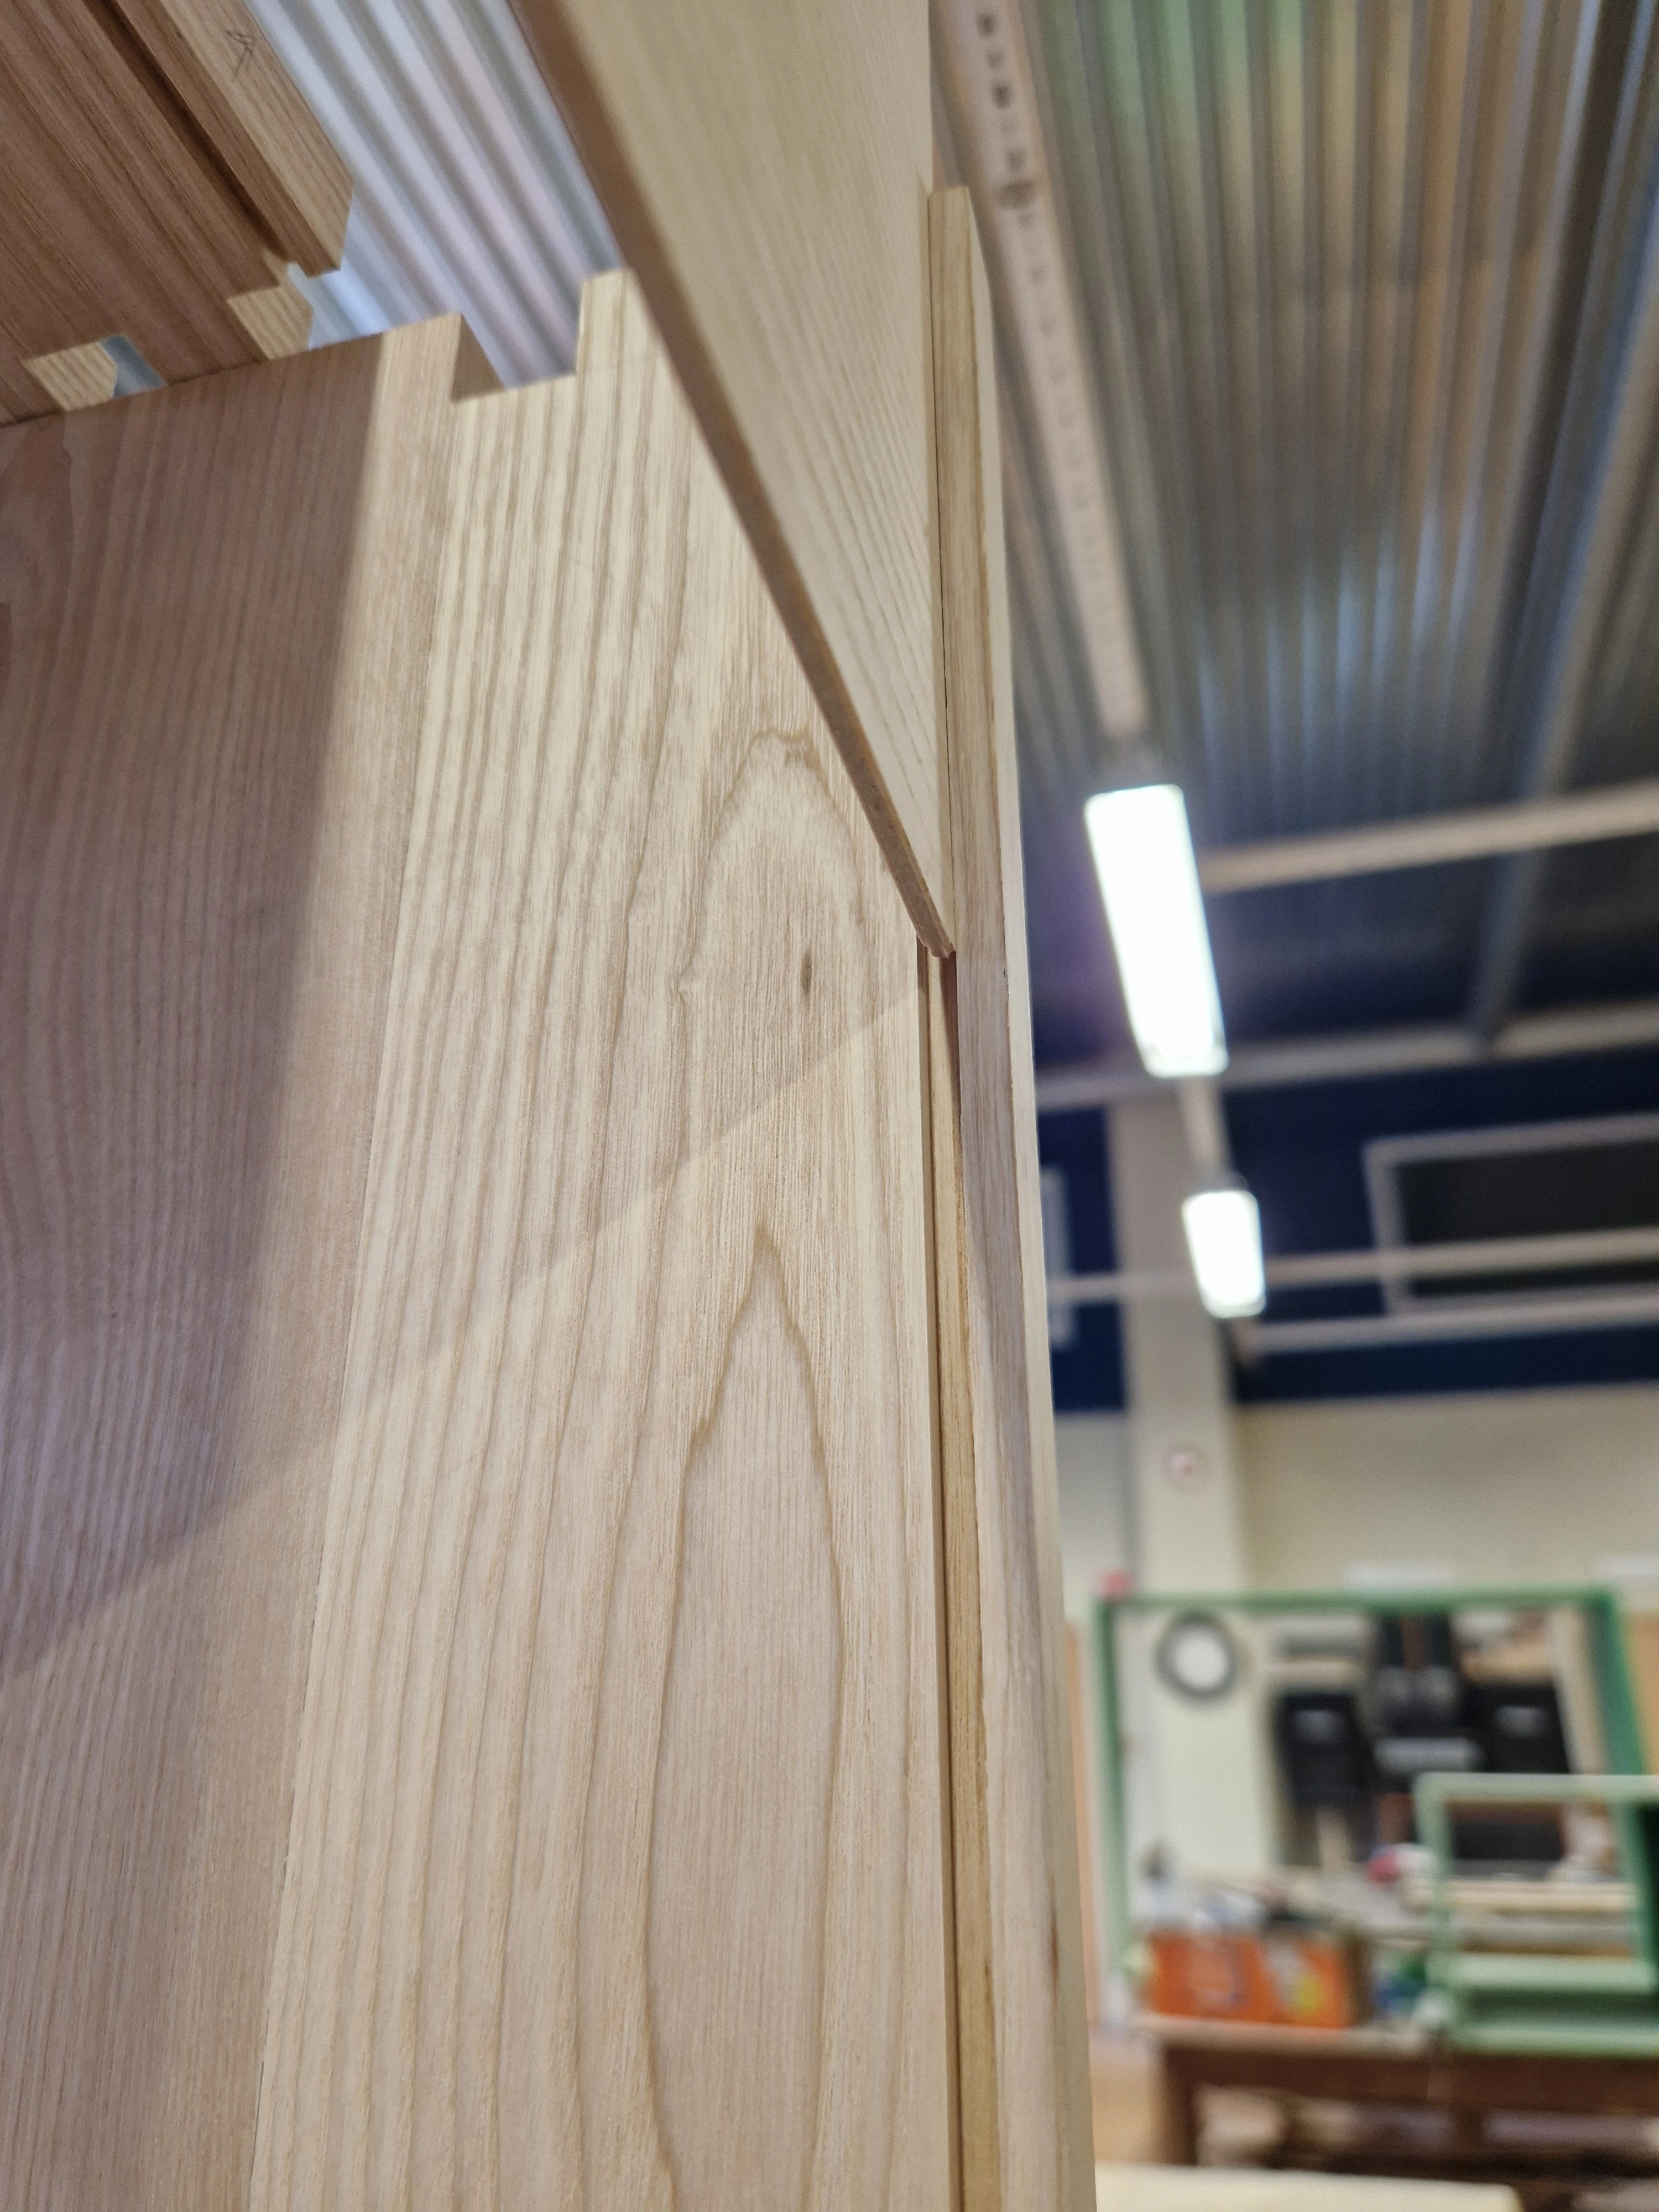
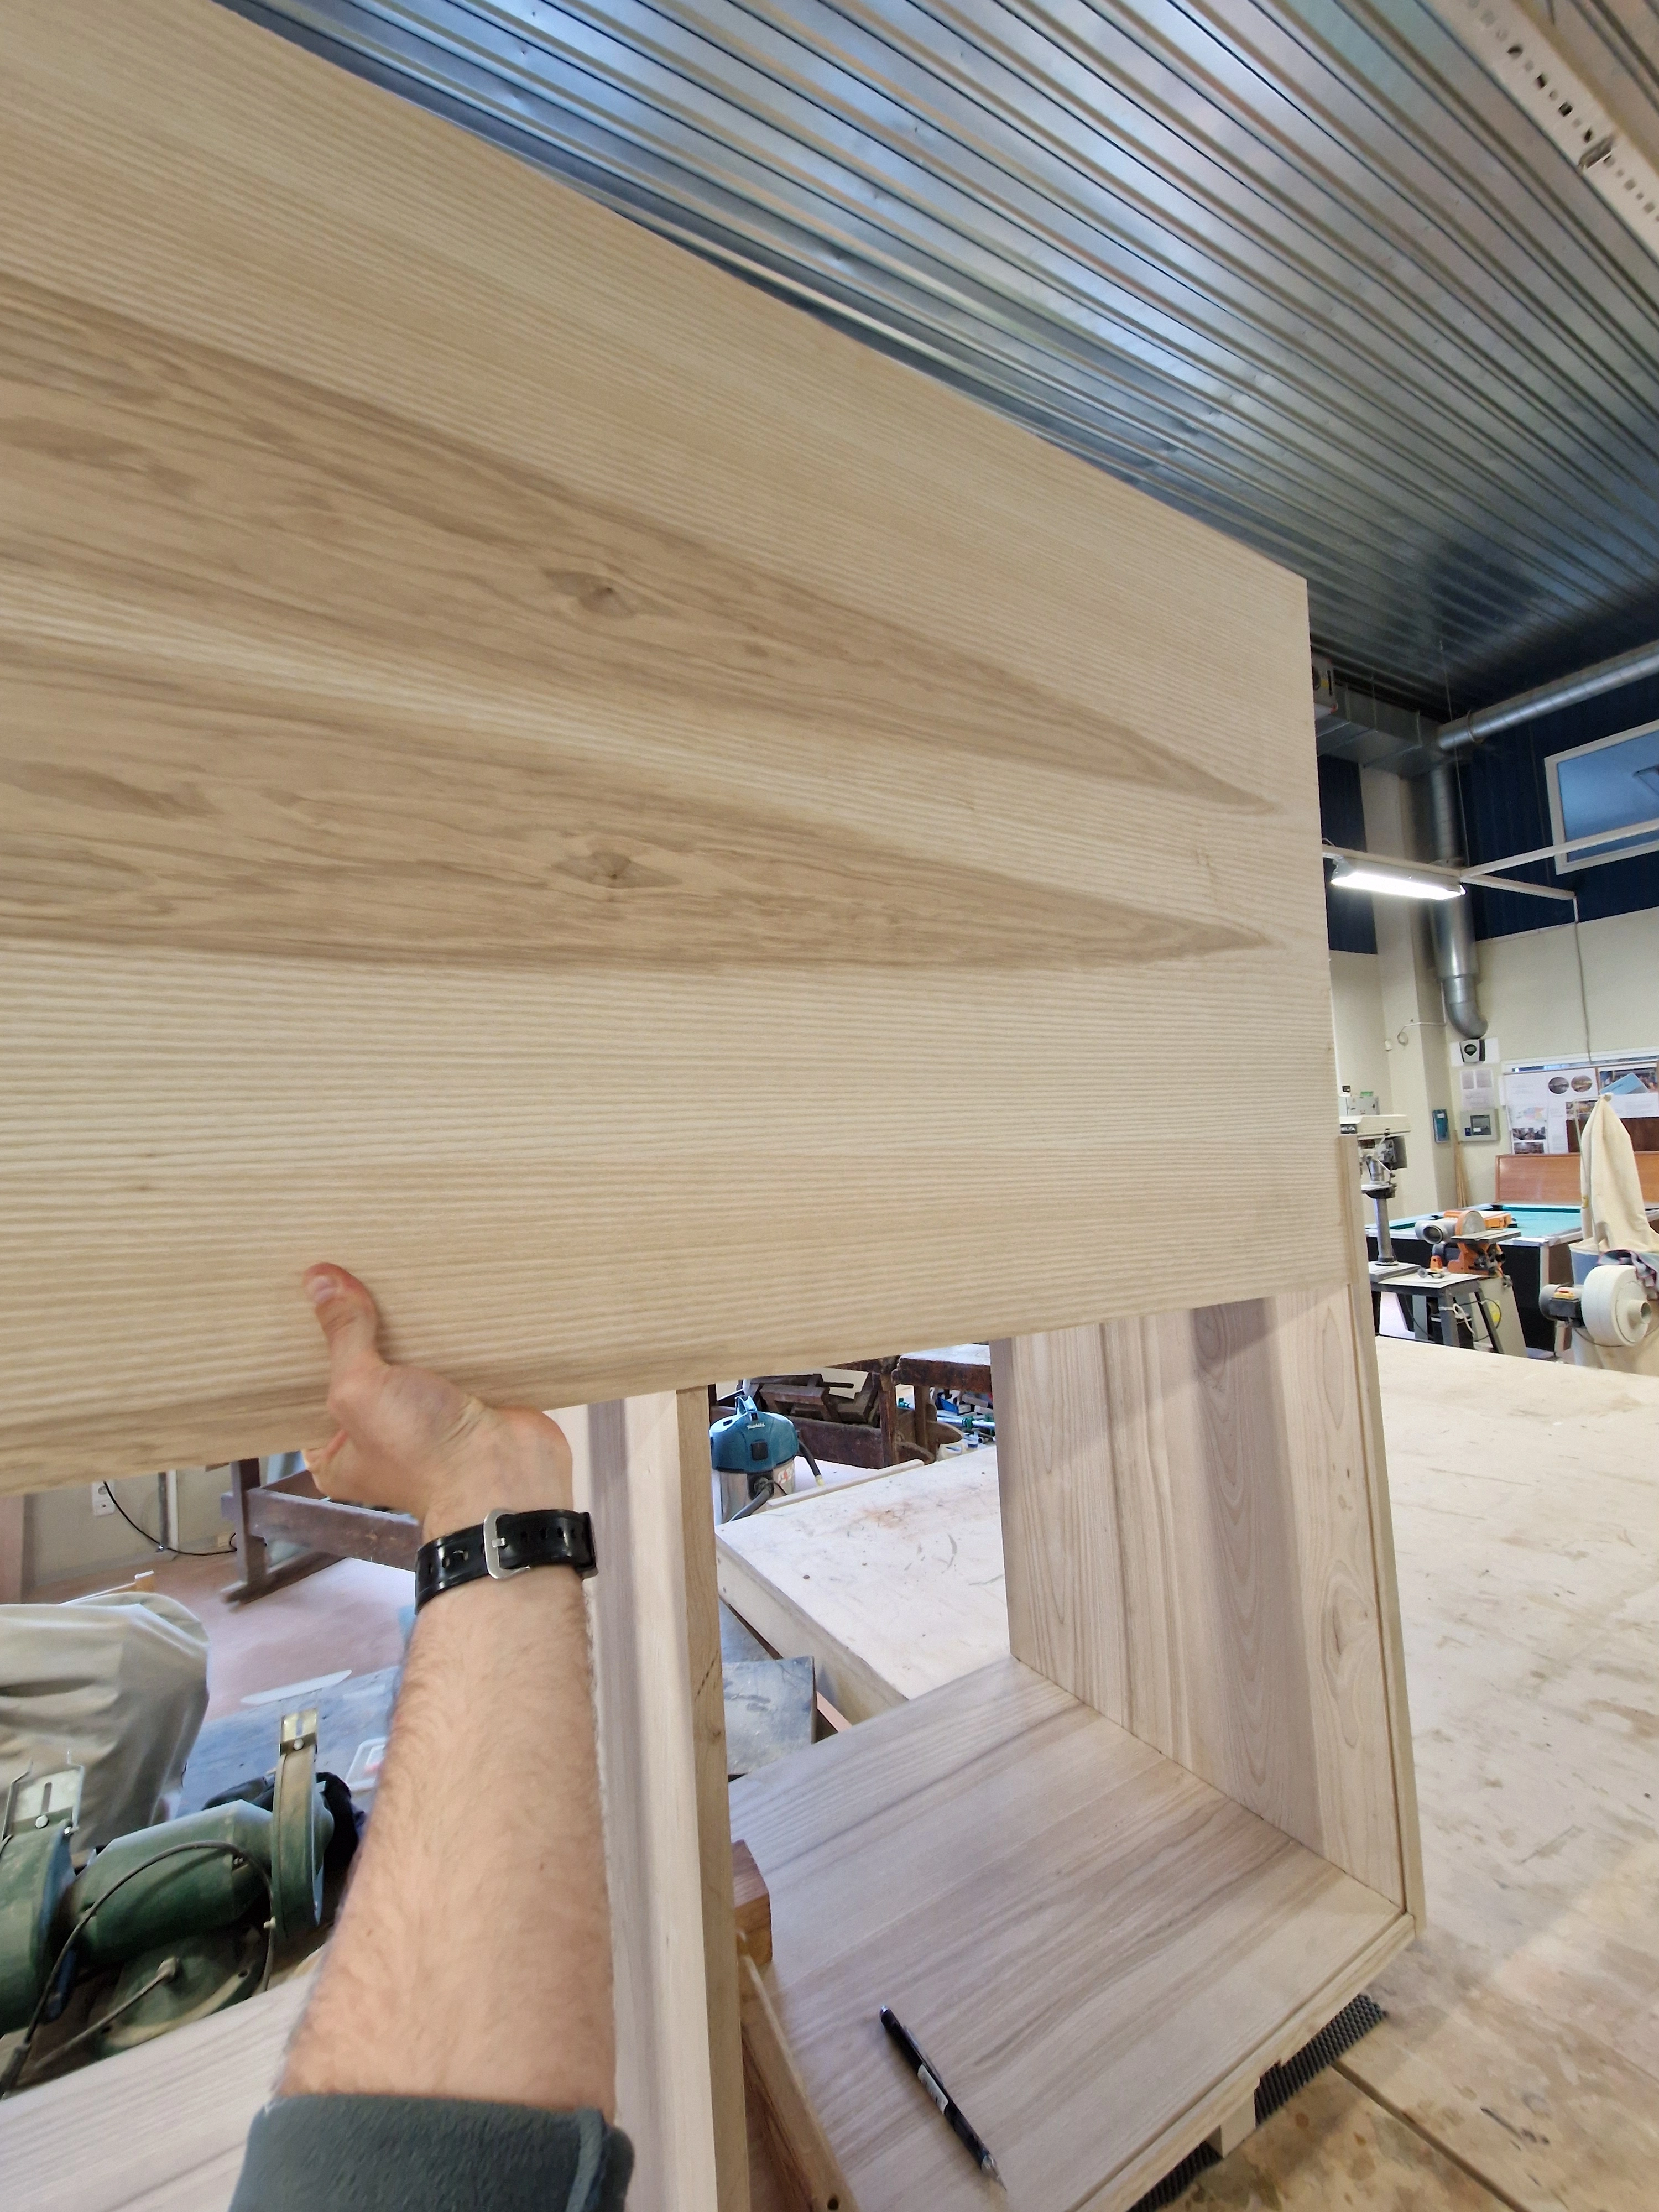
Used 3.2mm thick ash-veneered plywood for the back panel. This keeps the aesthetic consistent but drastically reduces the dresser weight compared to making the back panel myself. Cut 5mm deep grooves in the elements surrounding the back panel, slid the back panel in and let it float there.
1 / 6
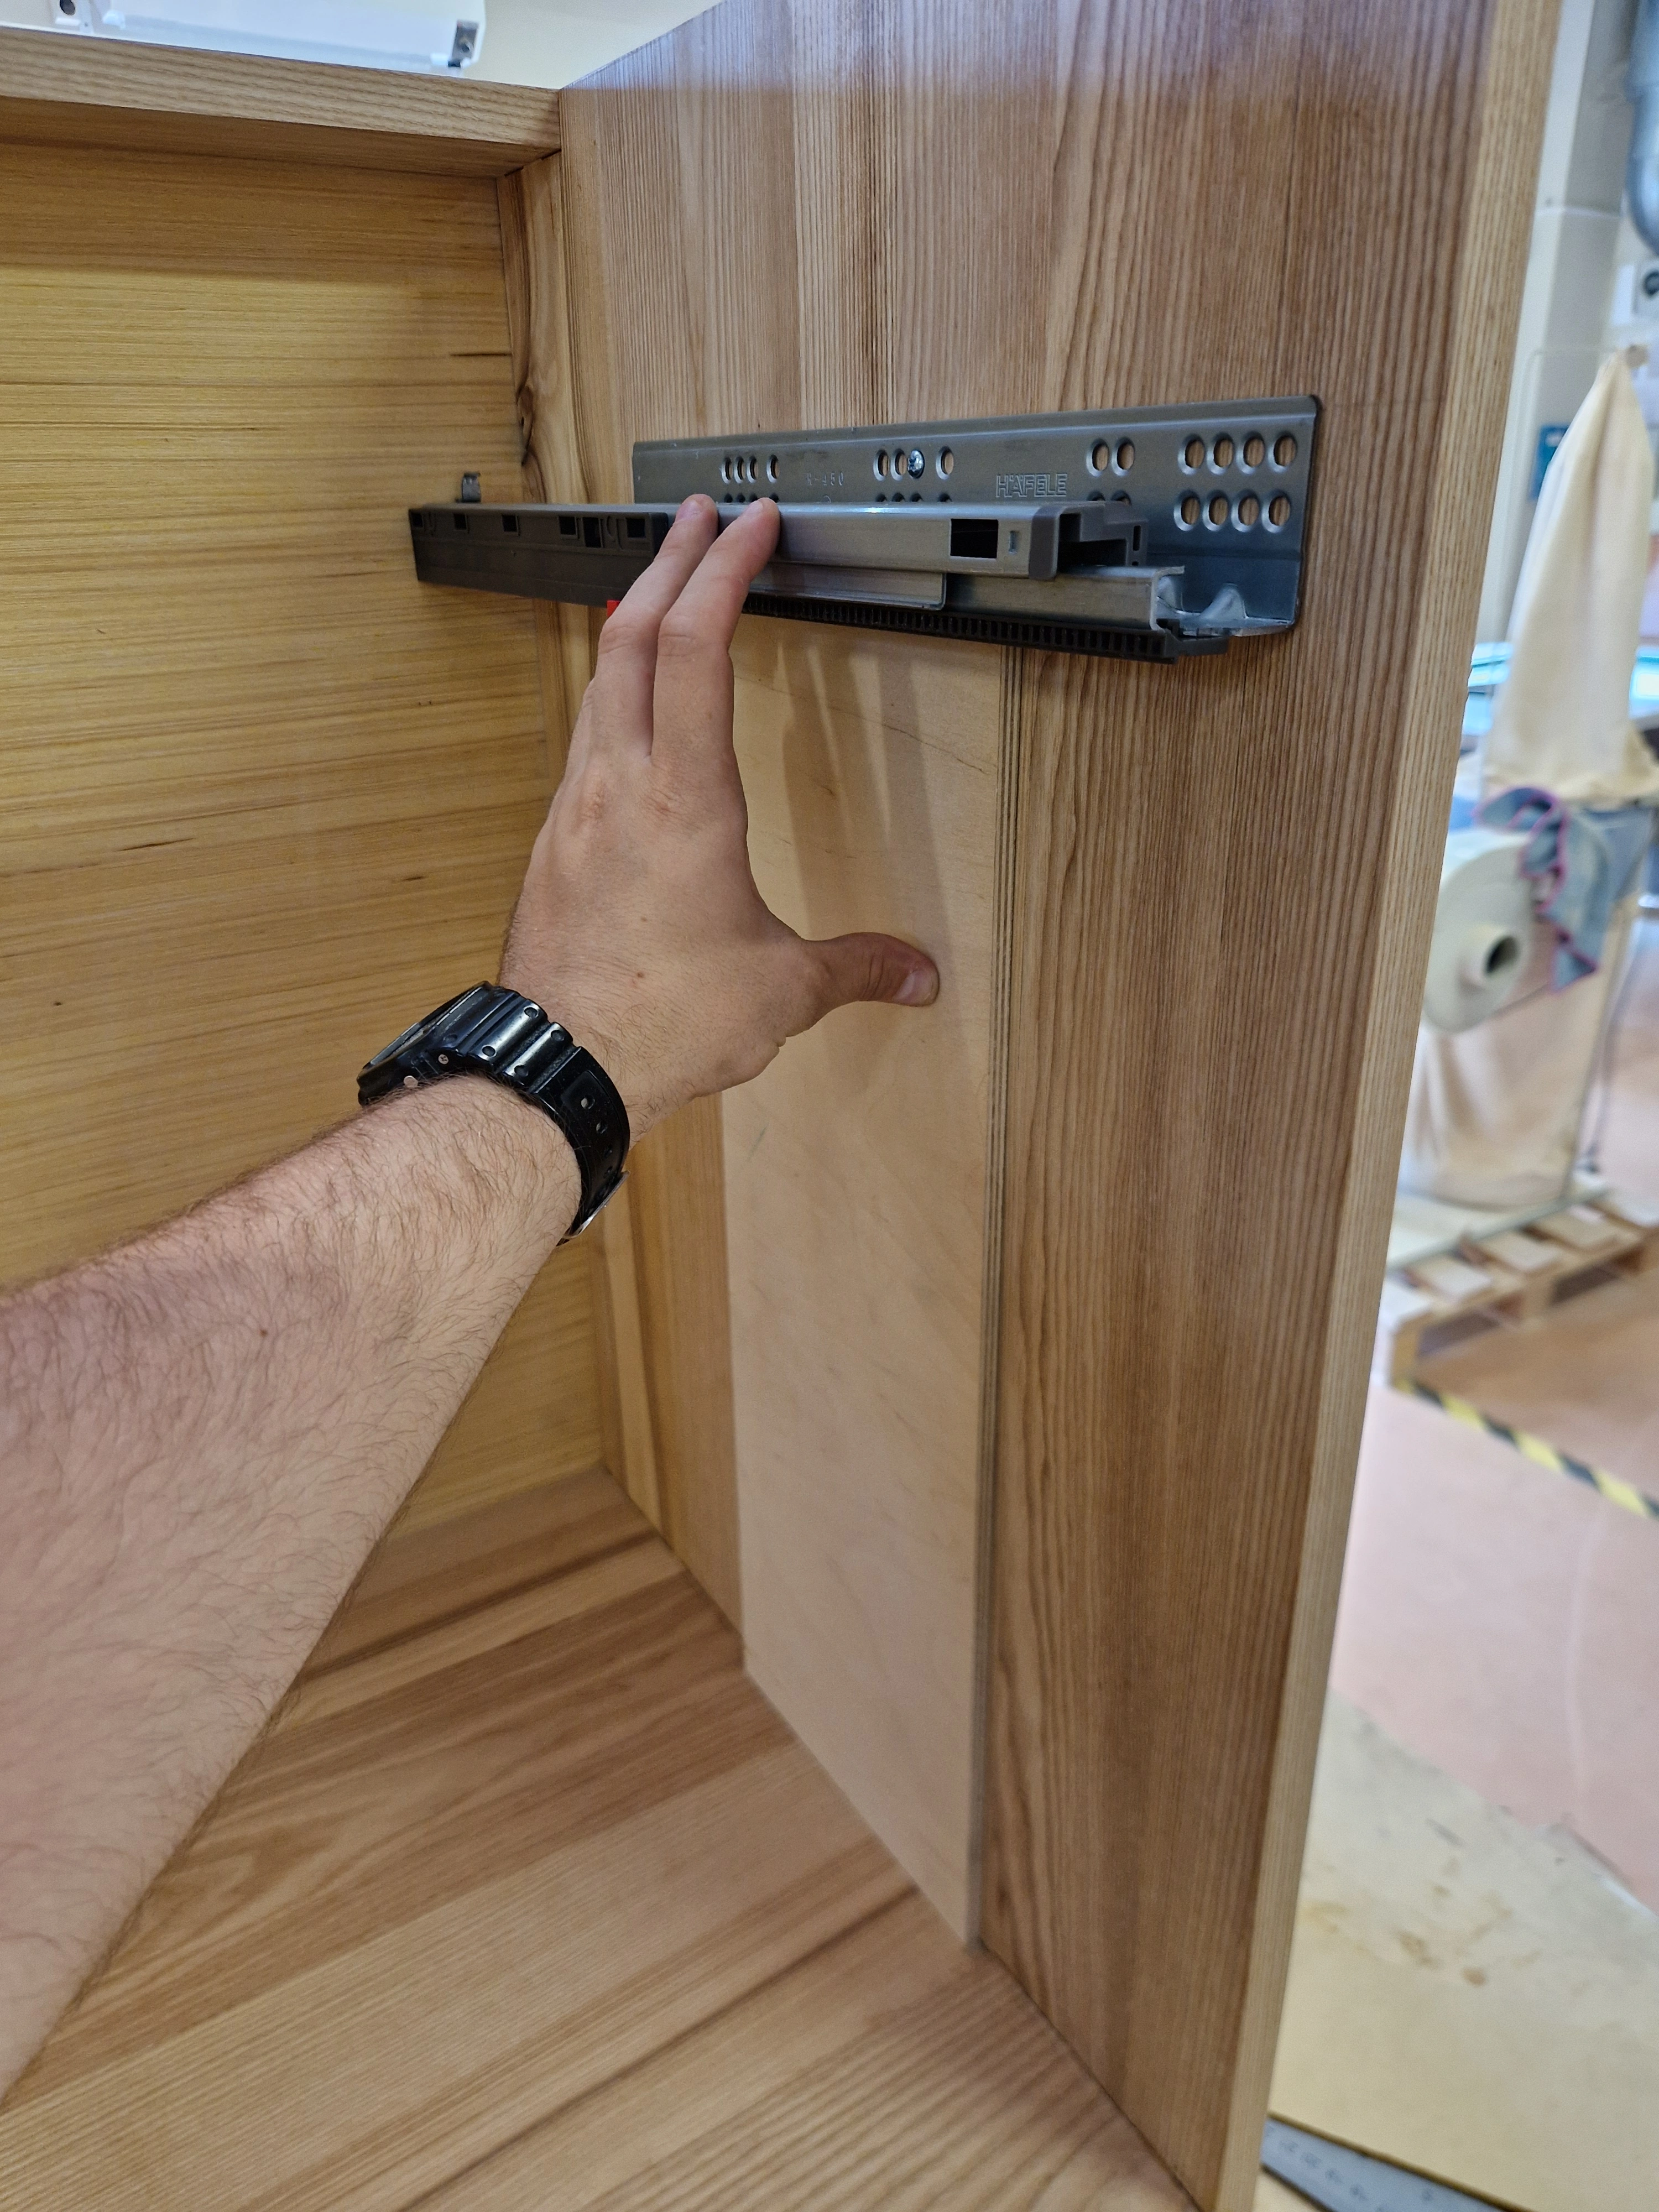
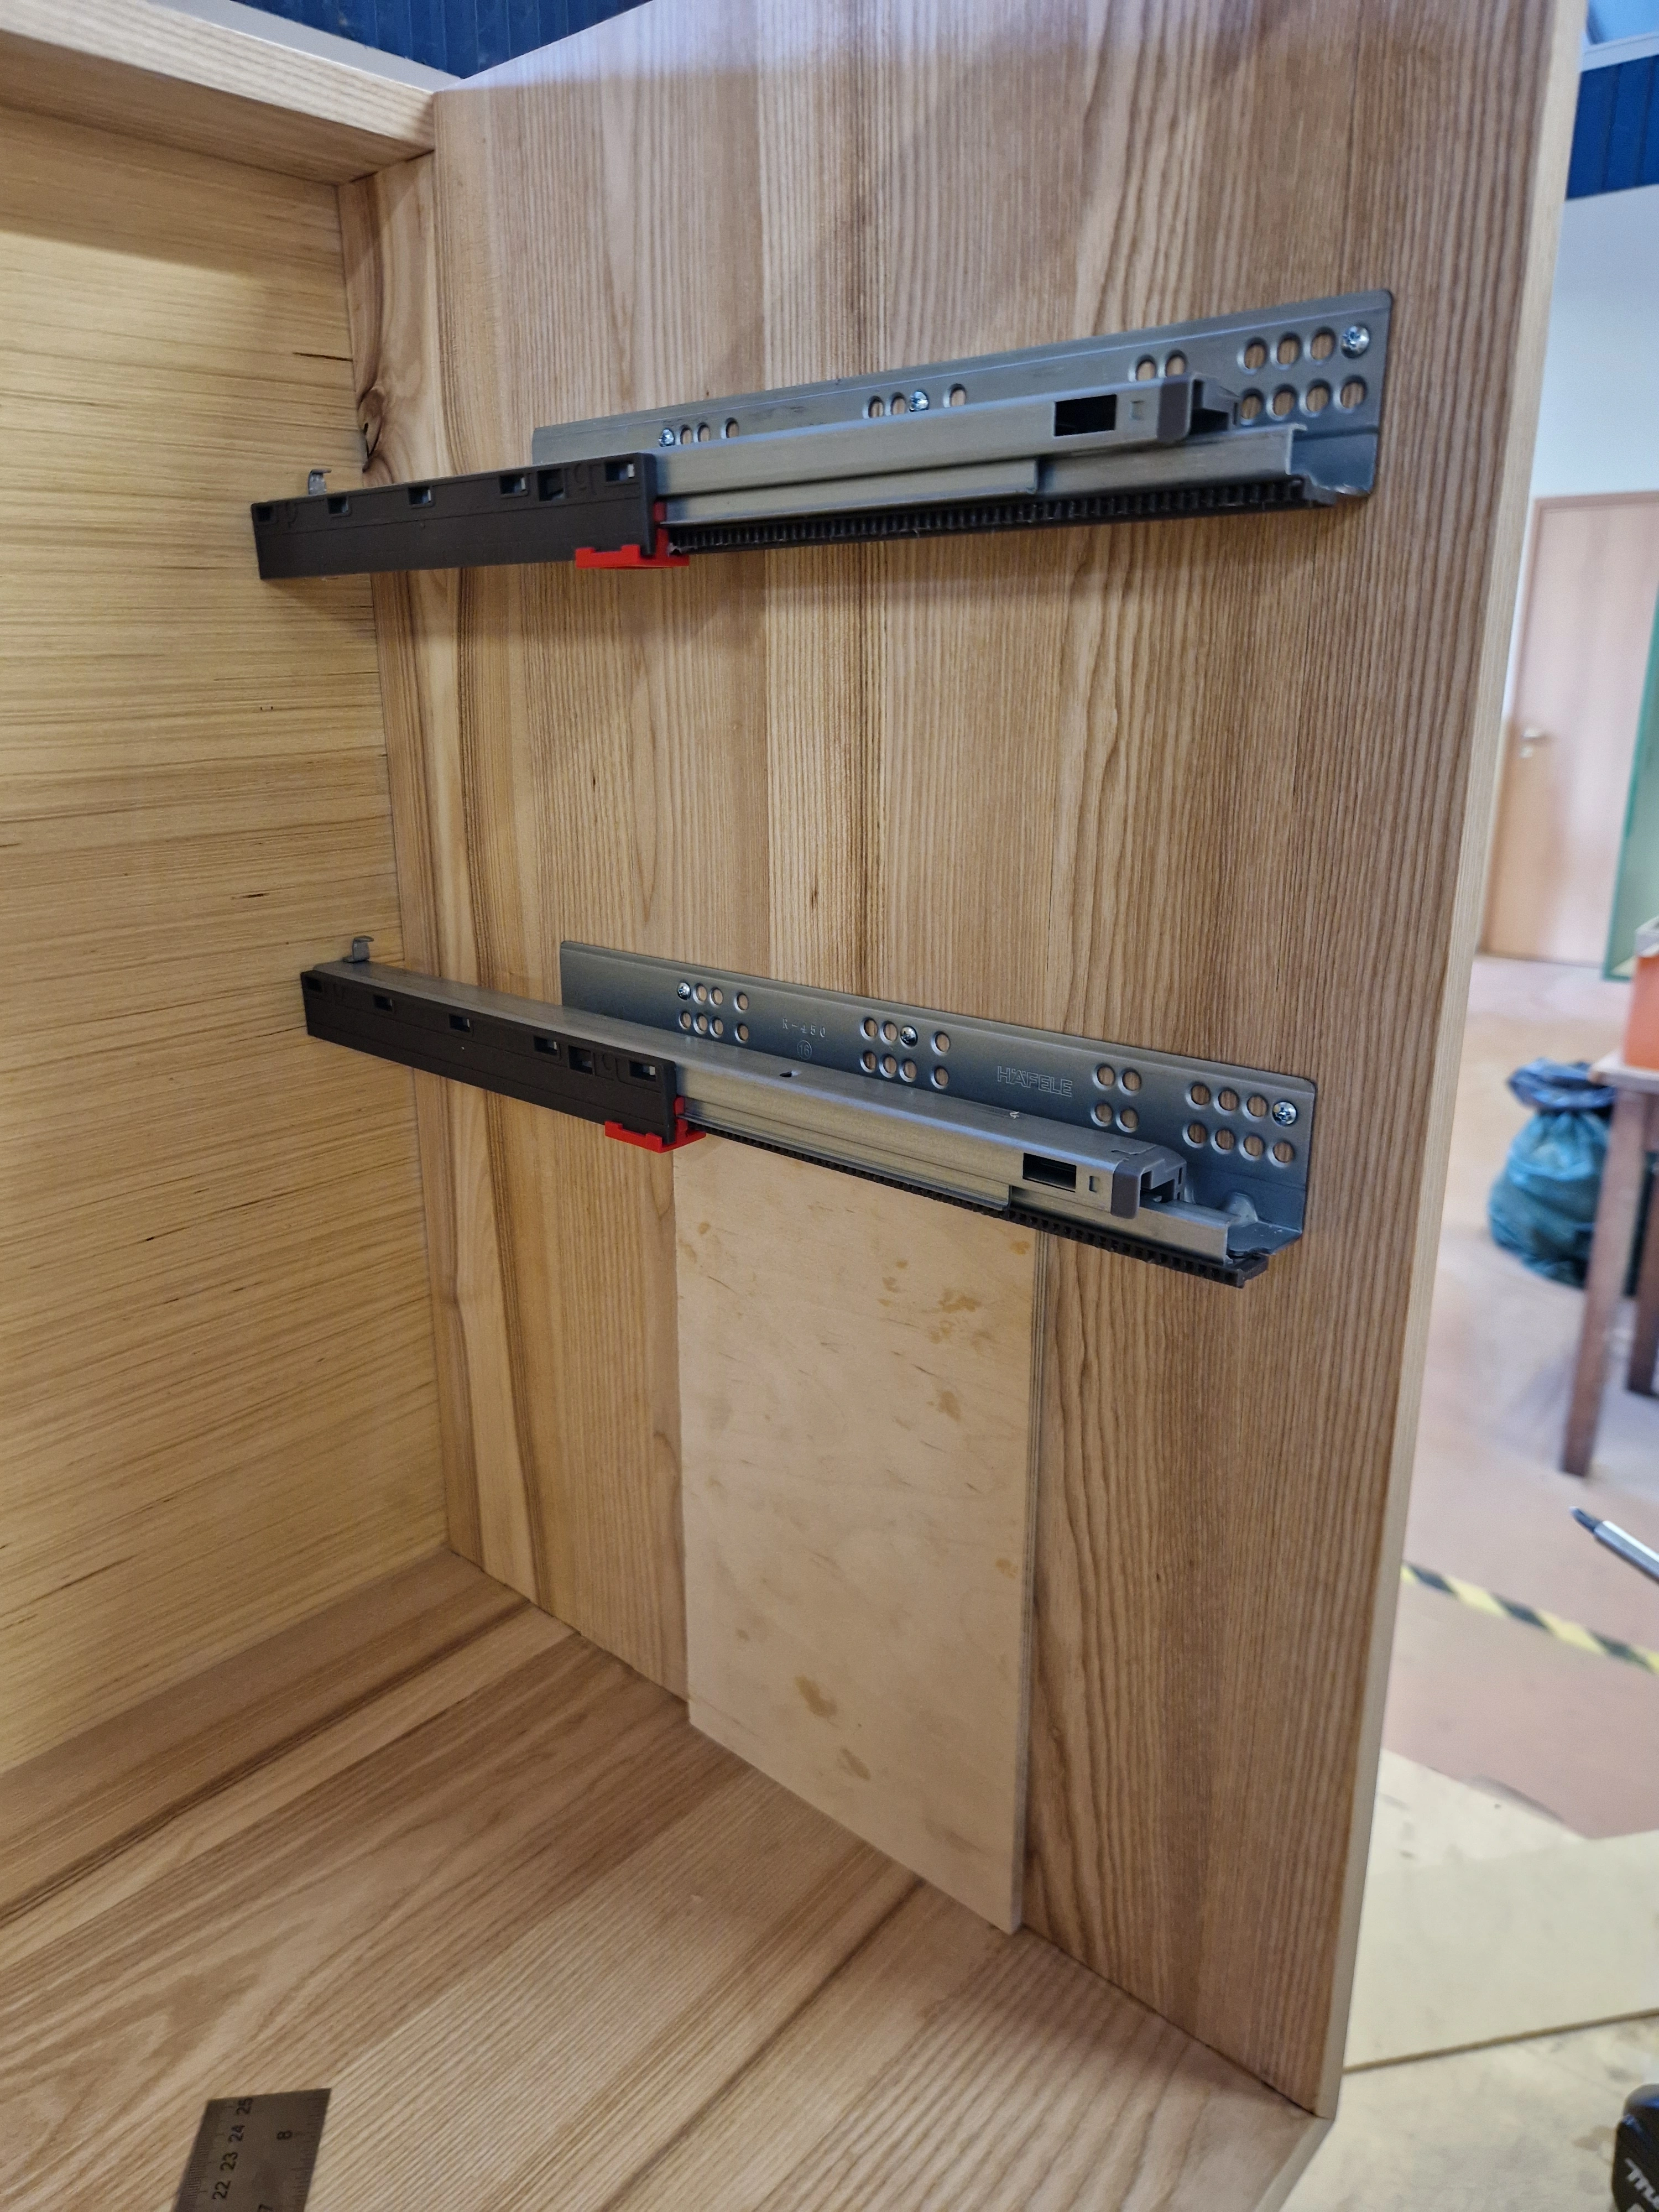
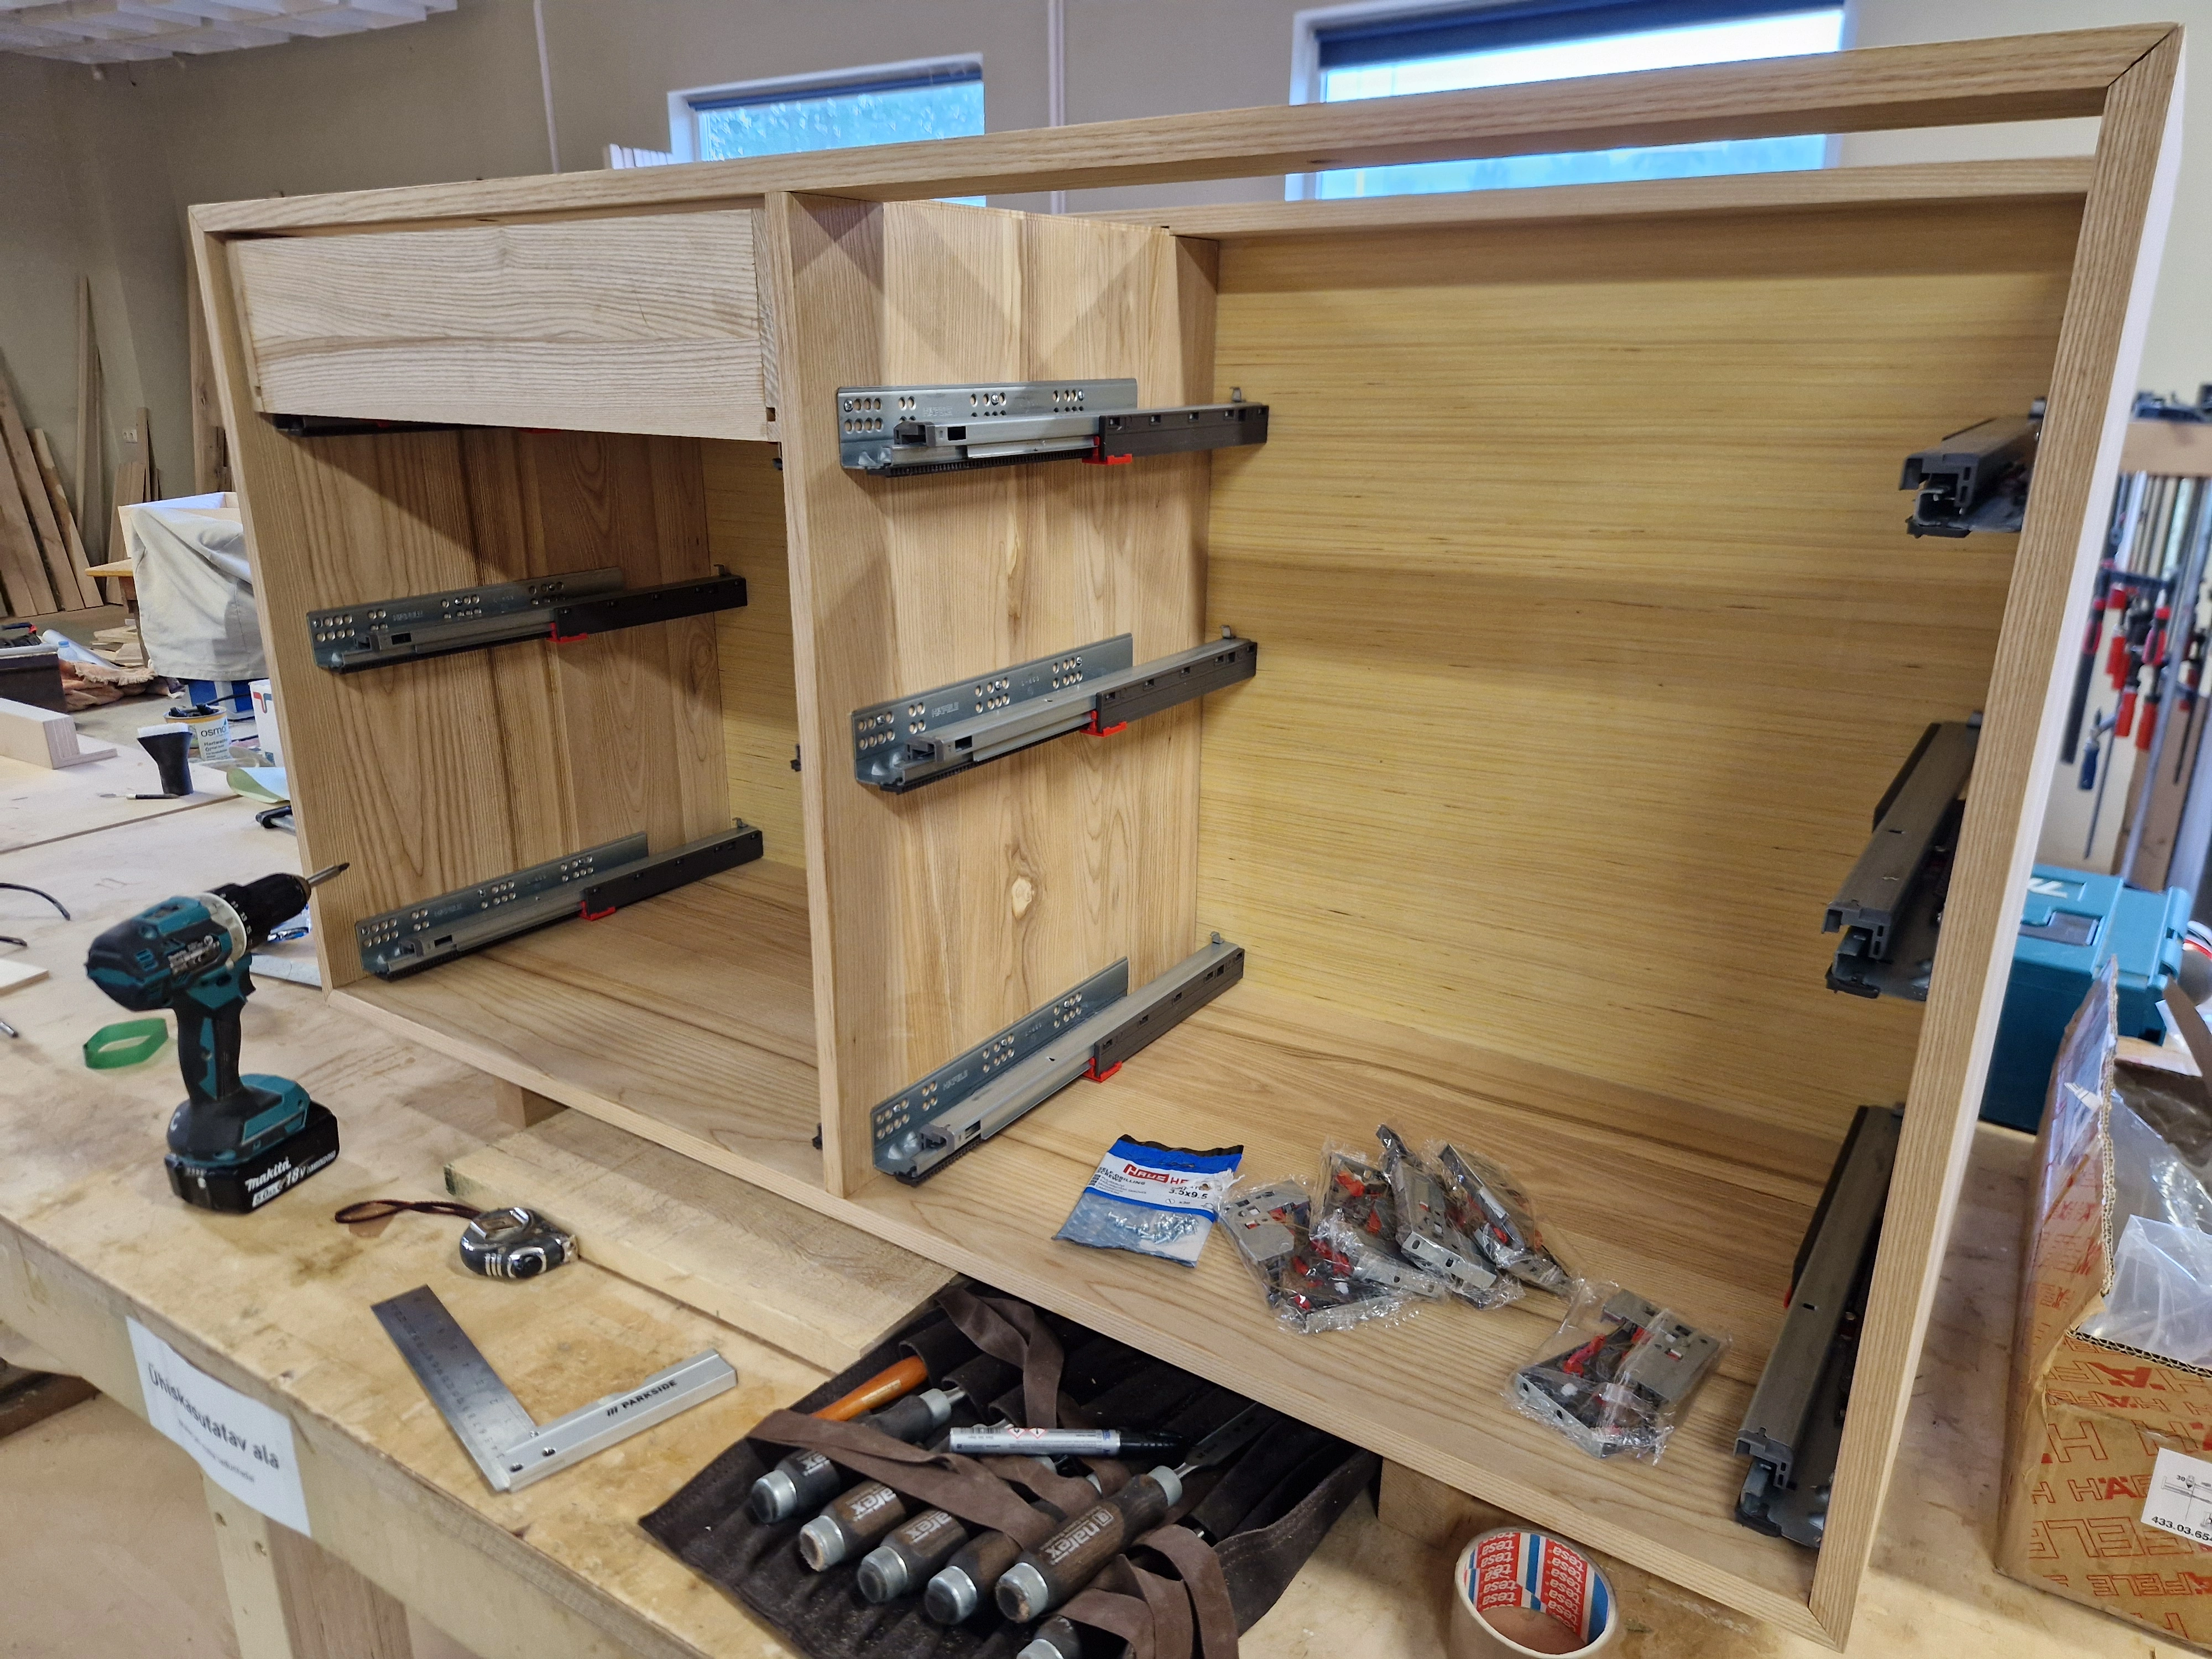
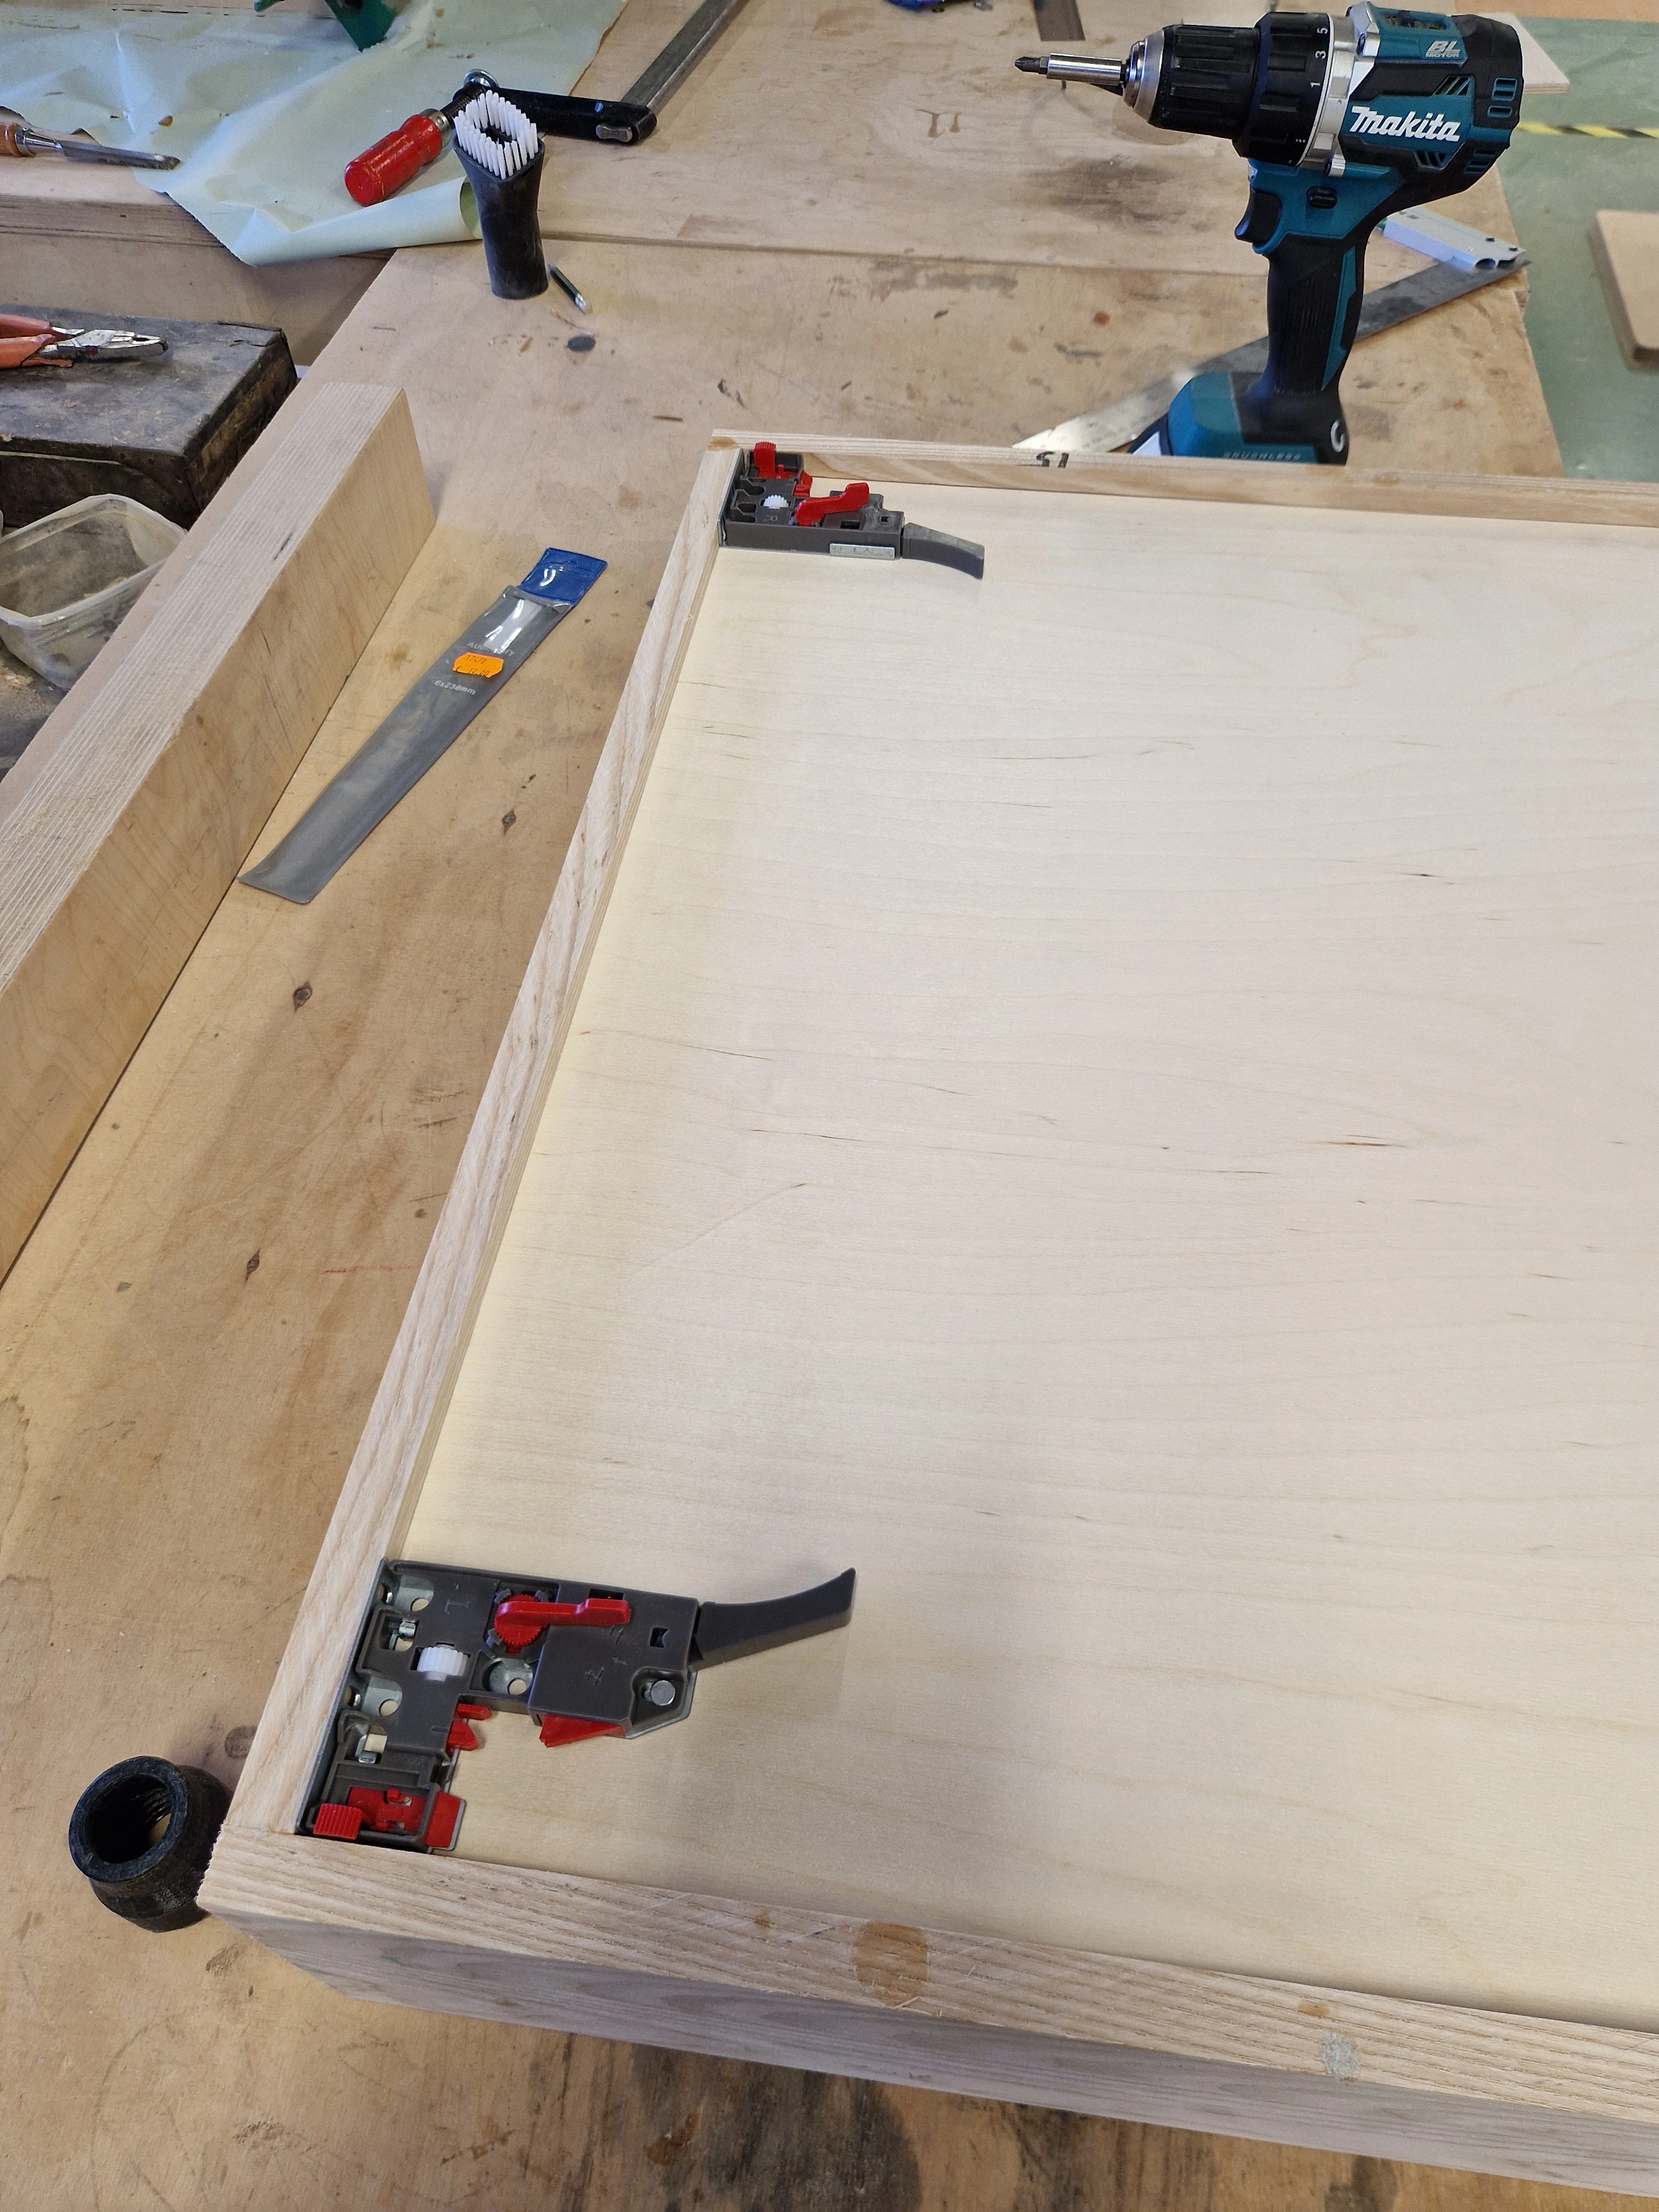
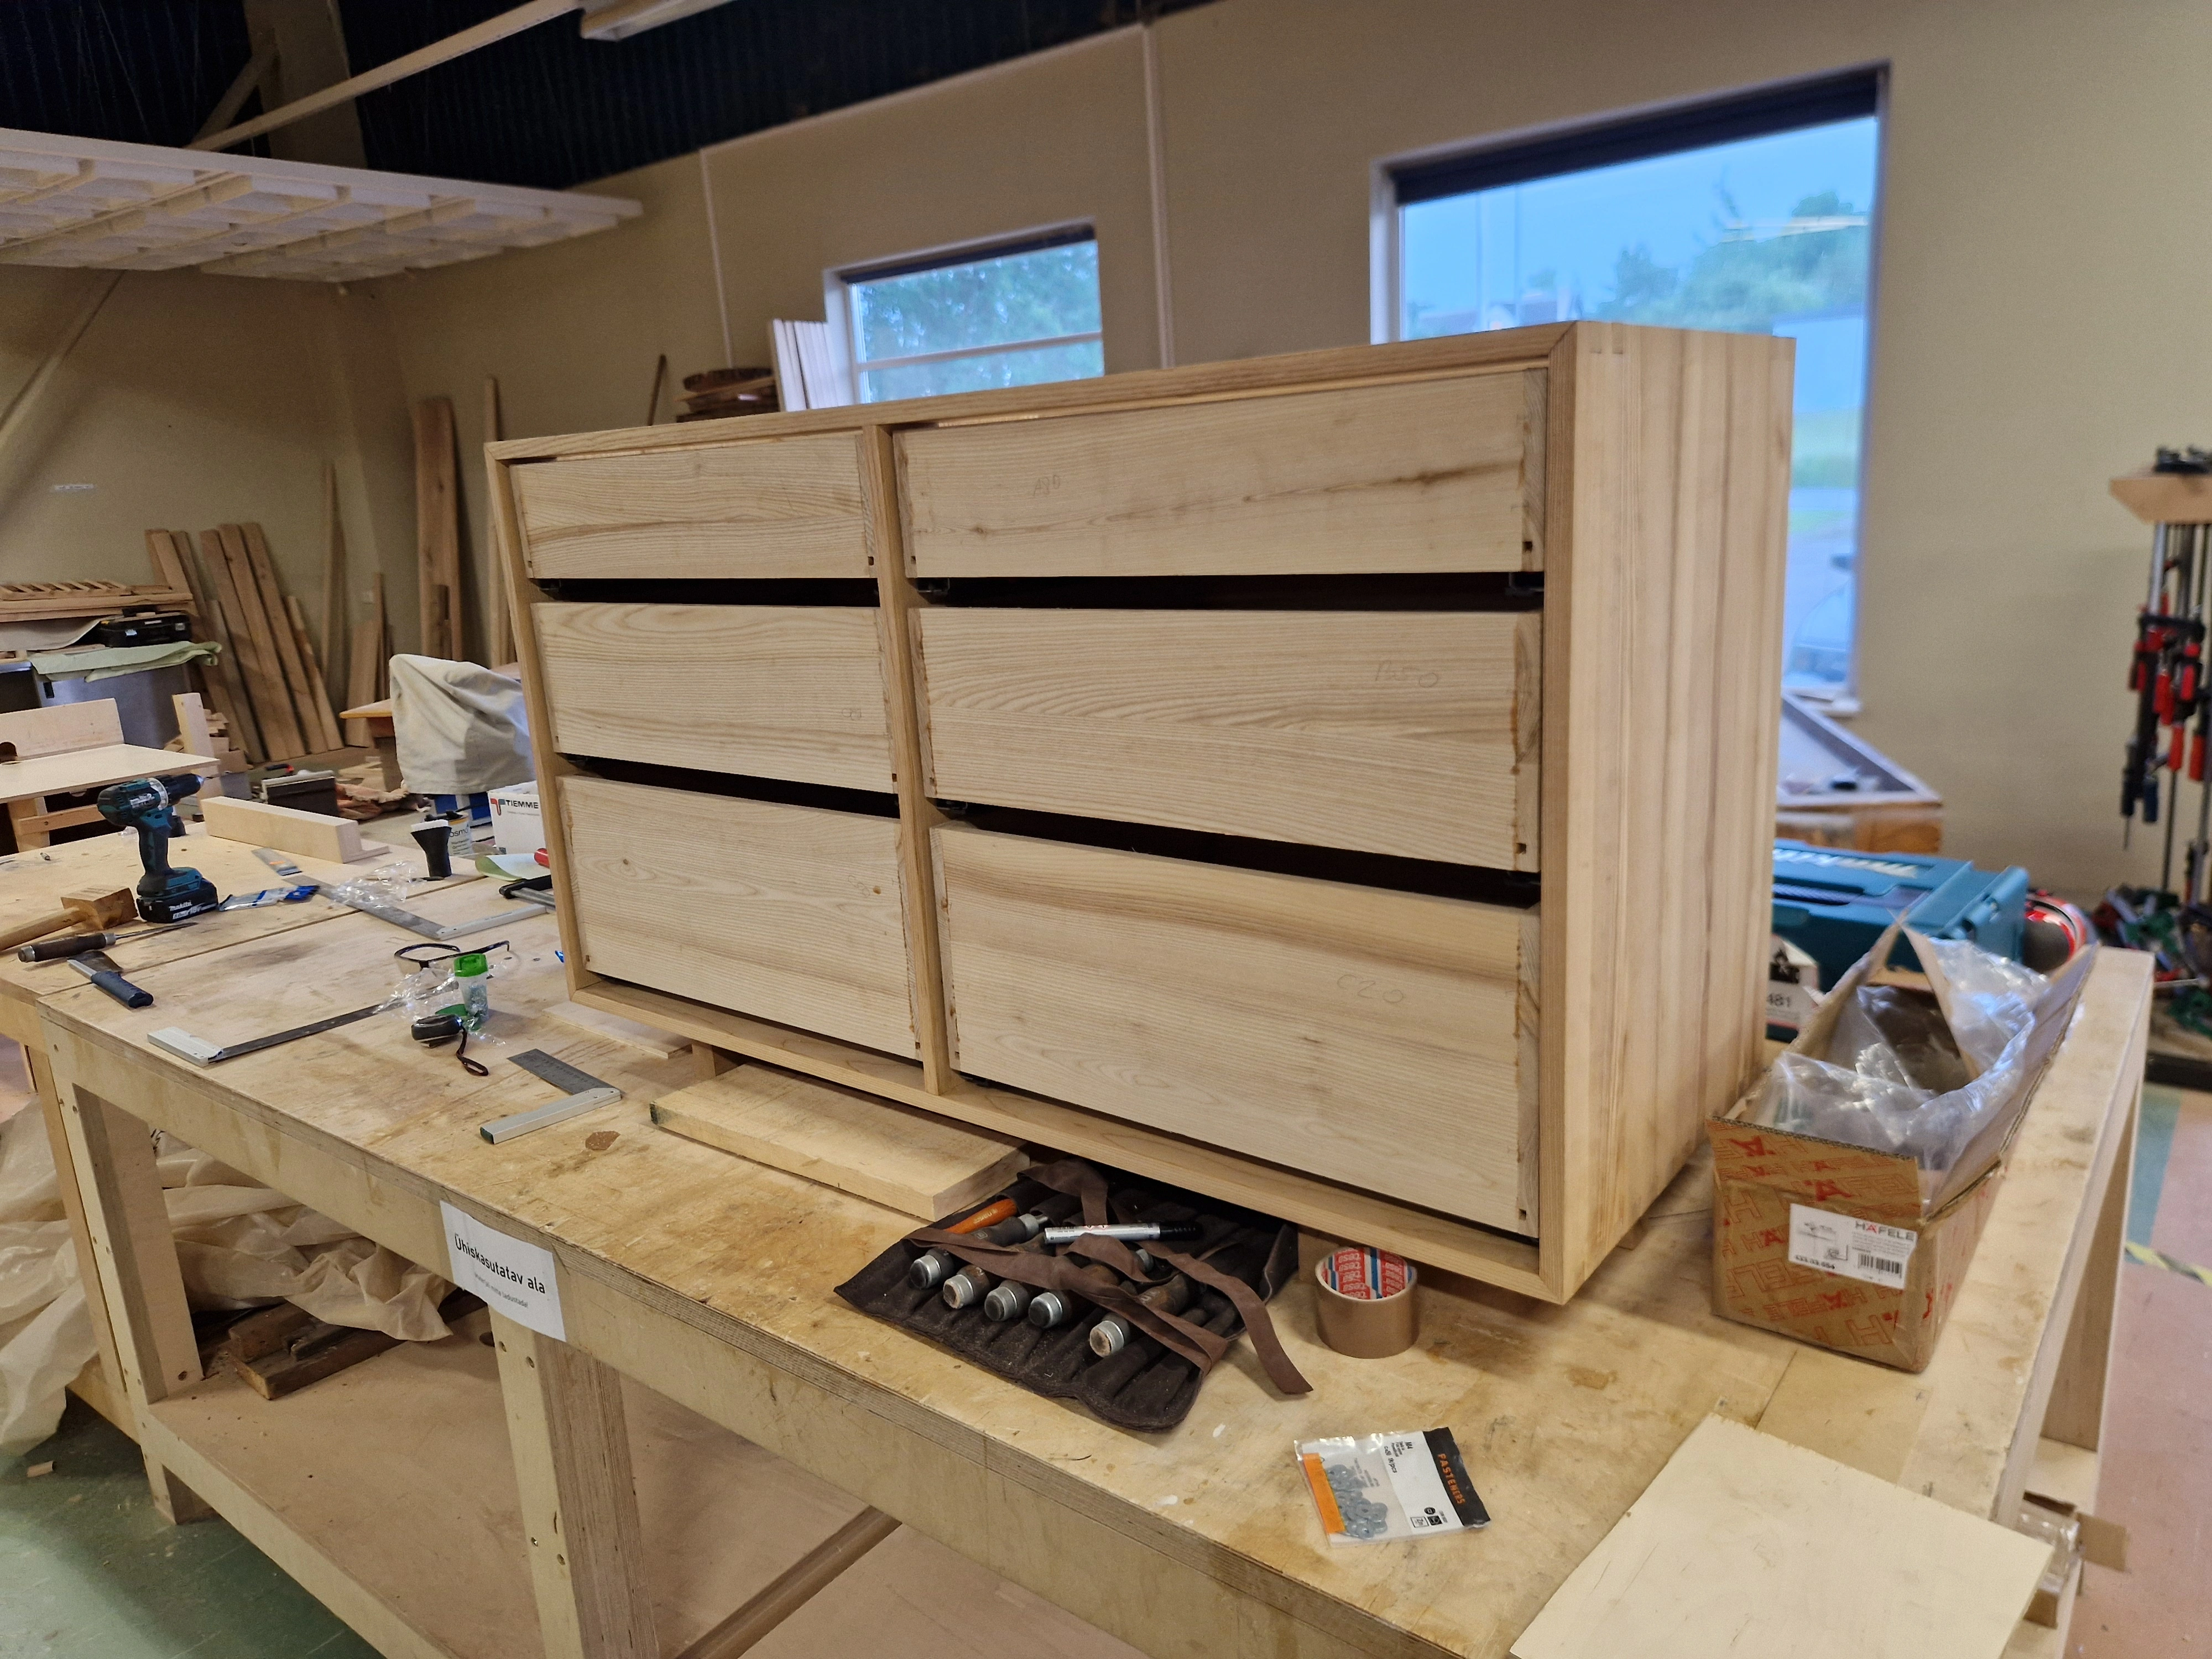
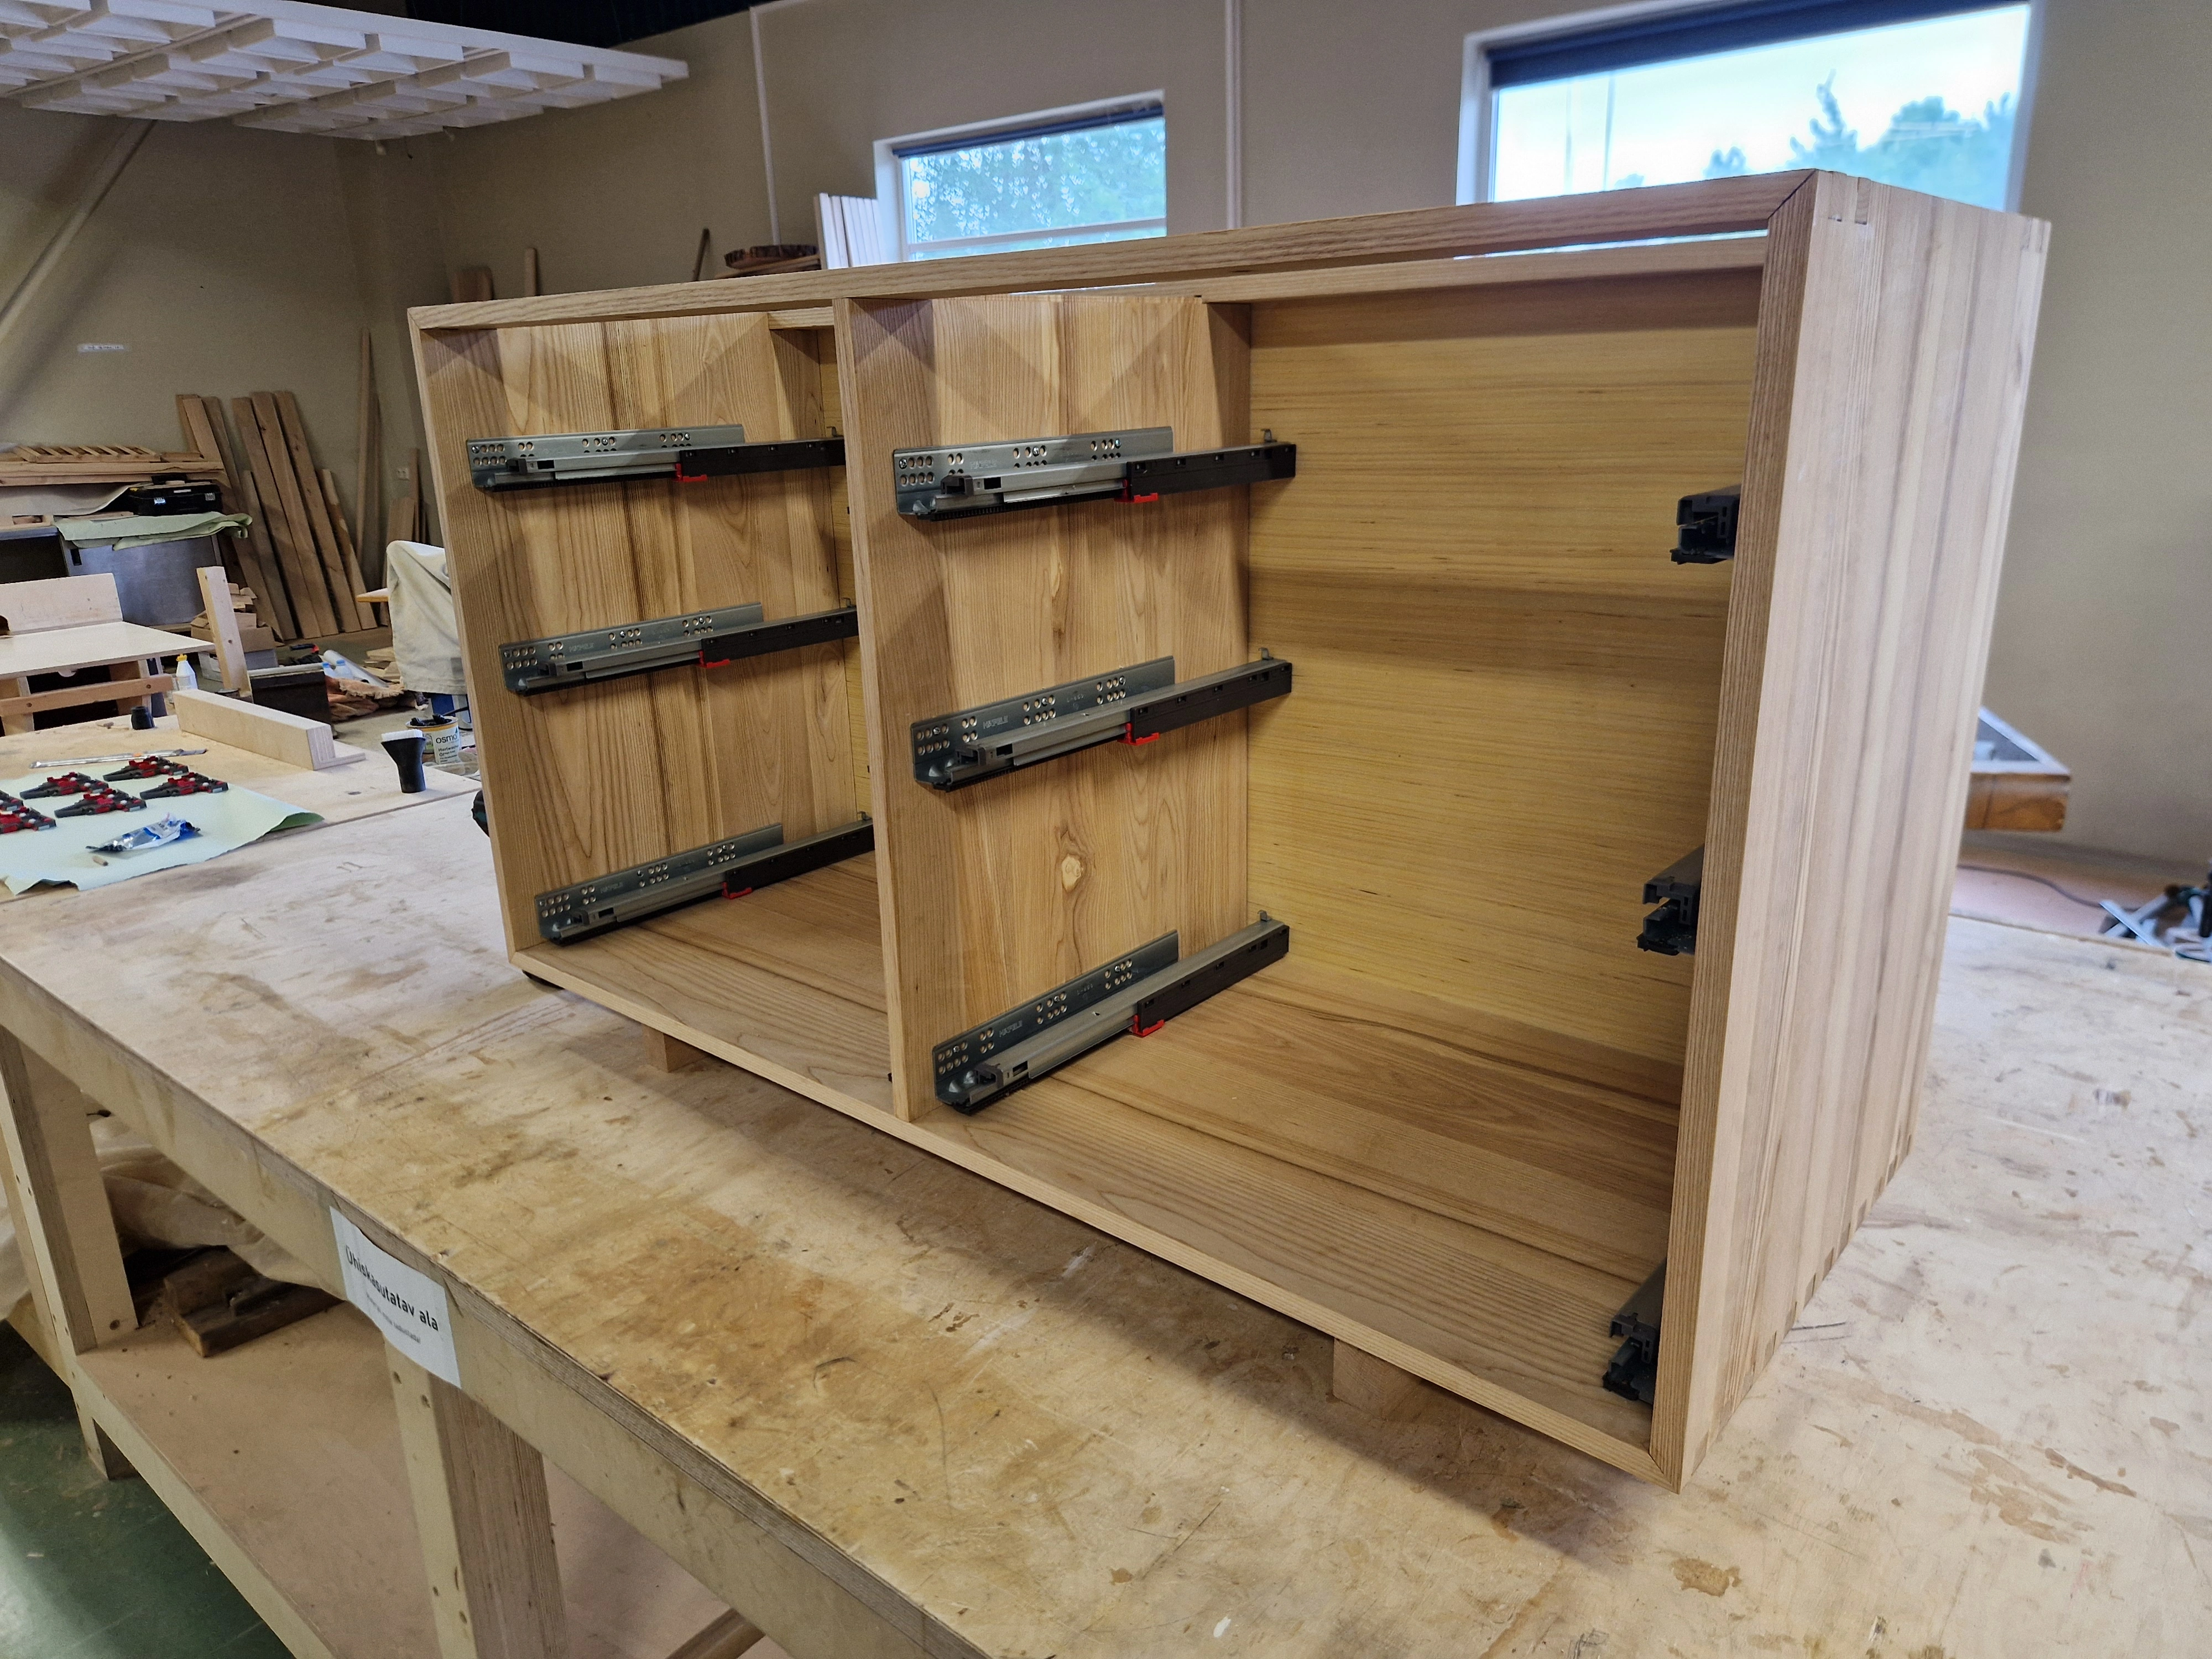
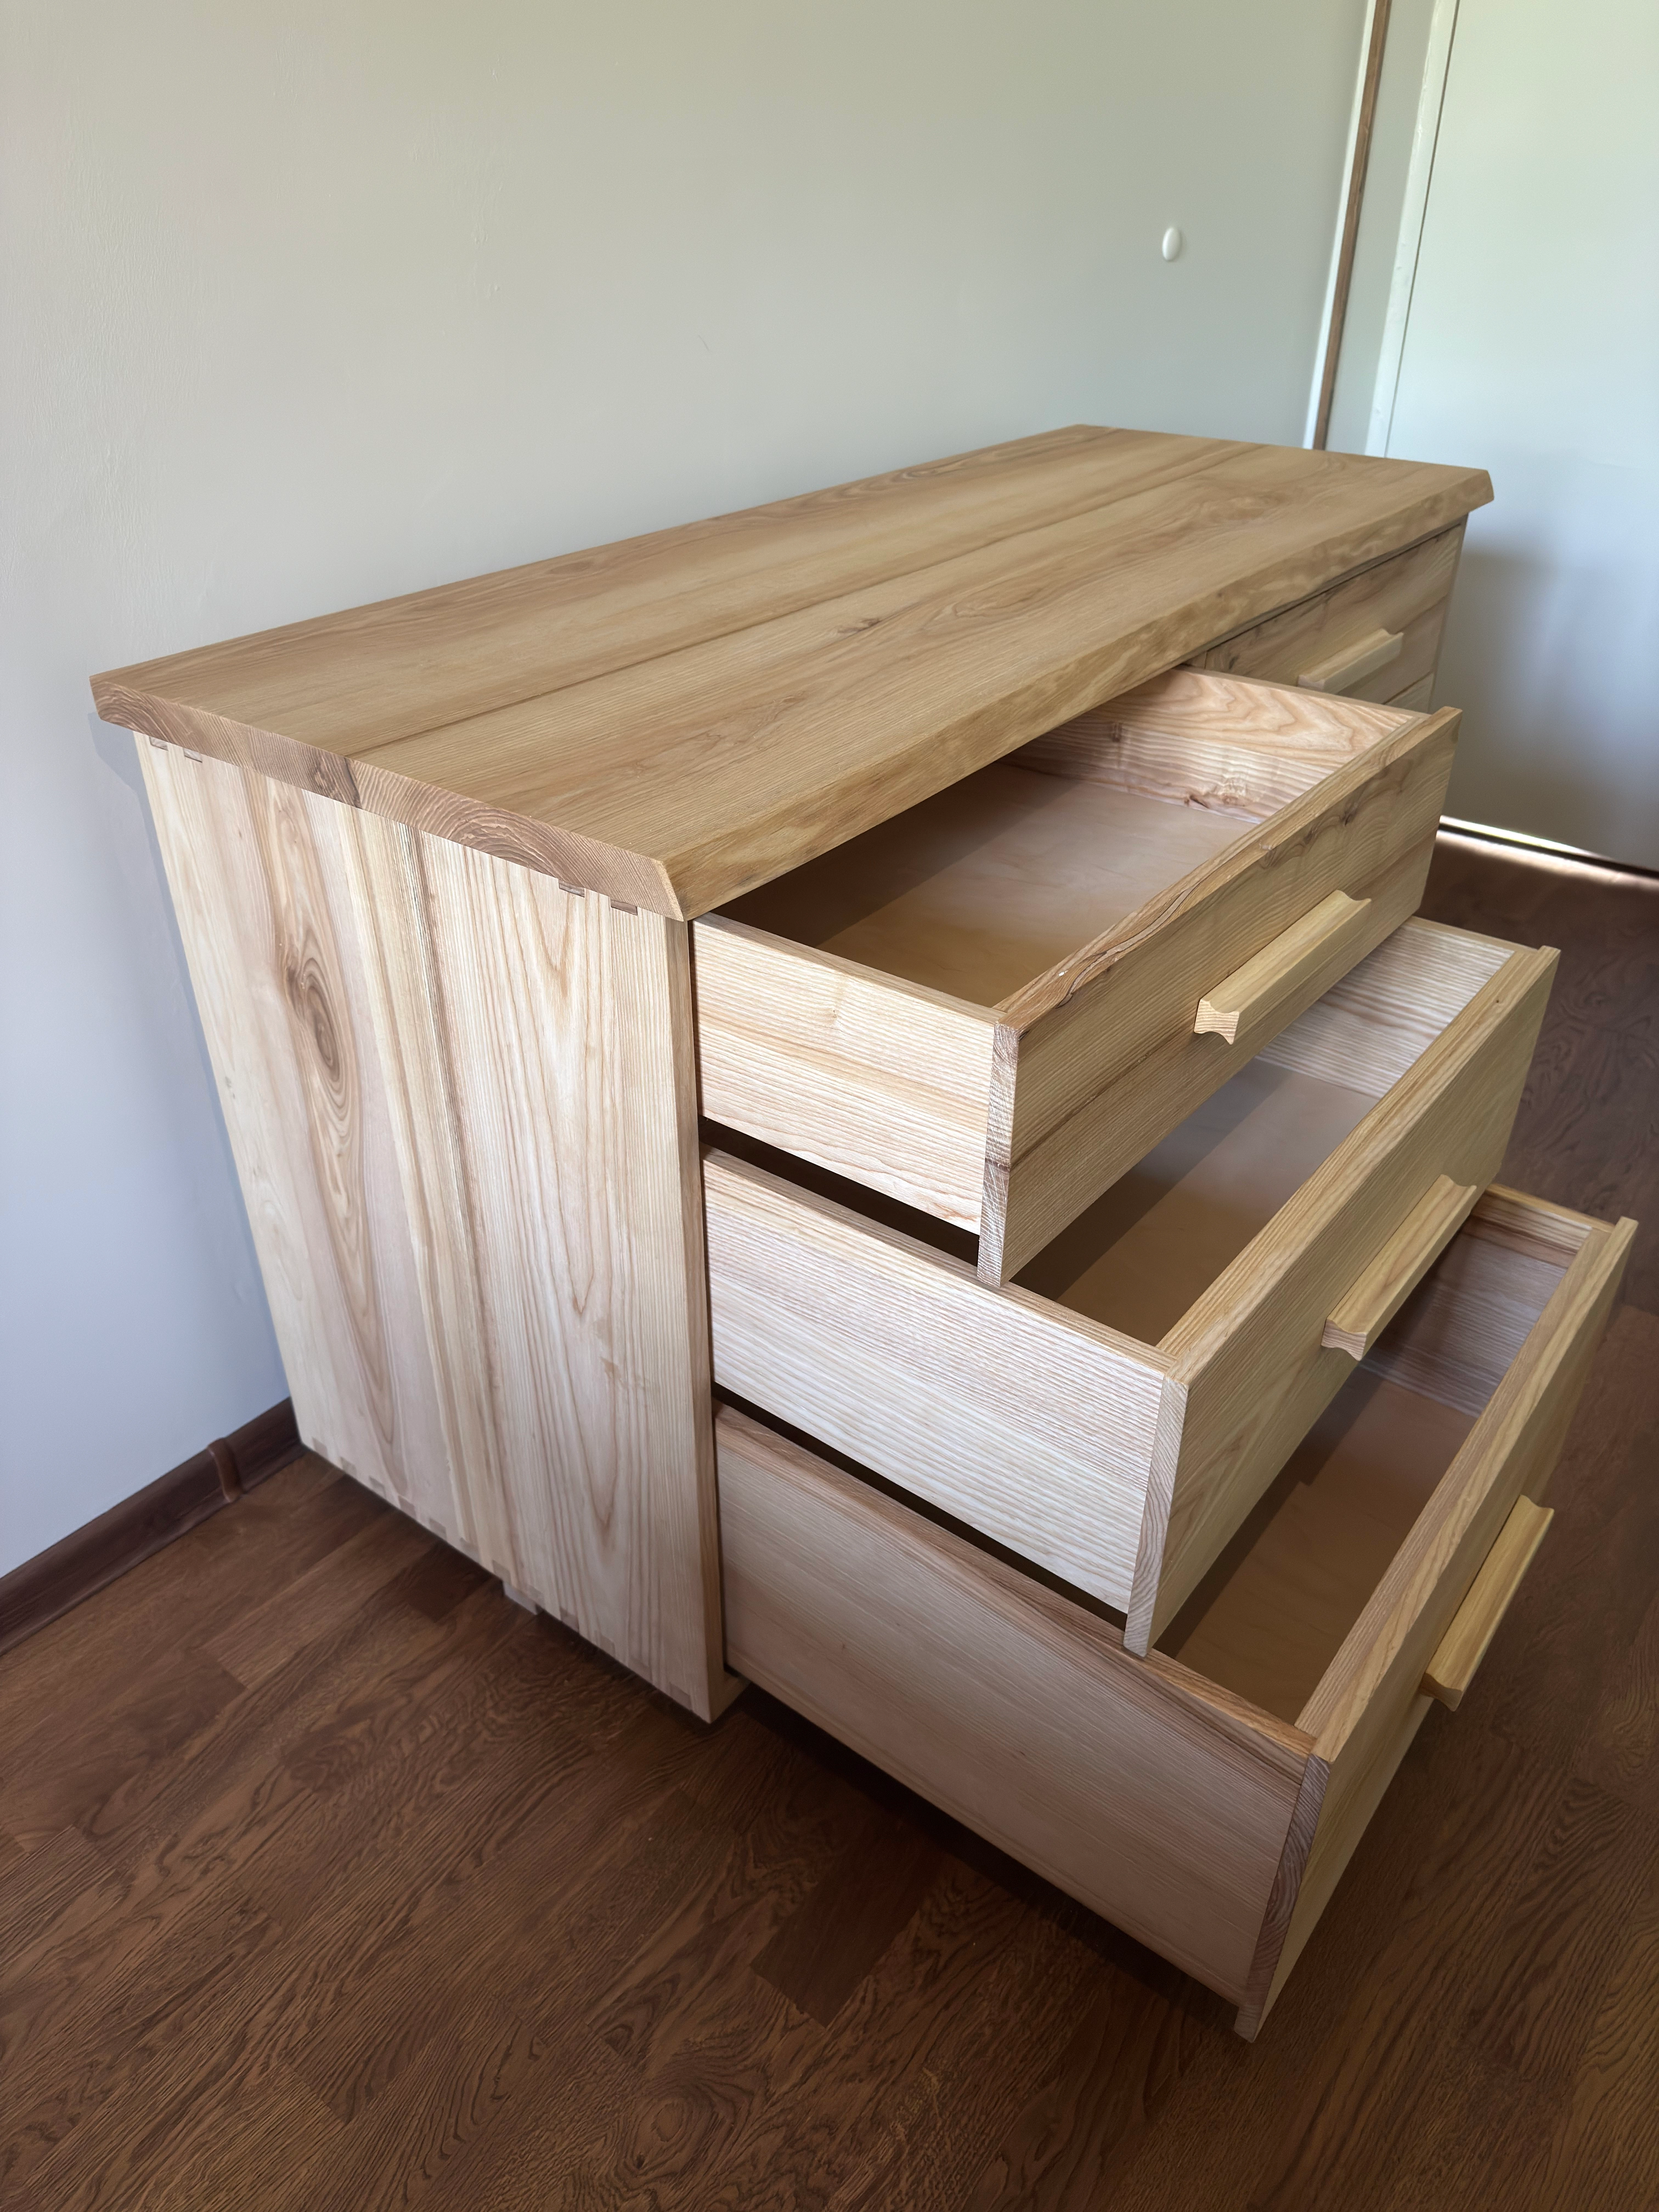
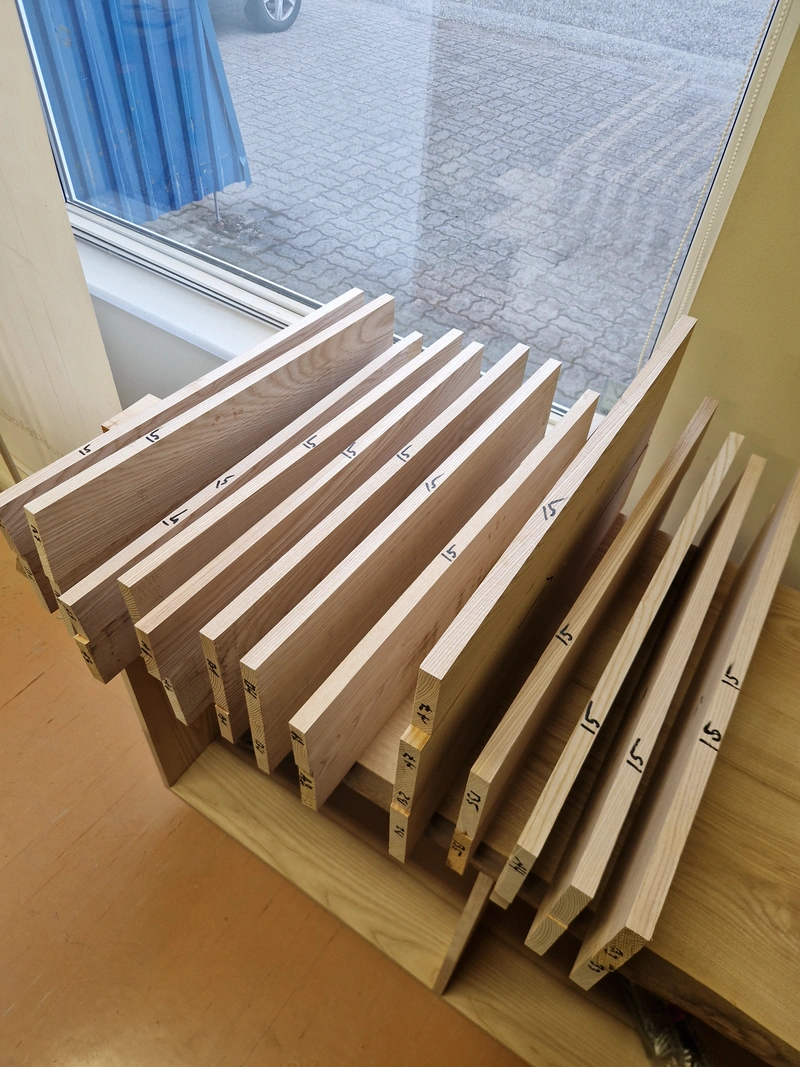
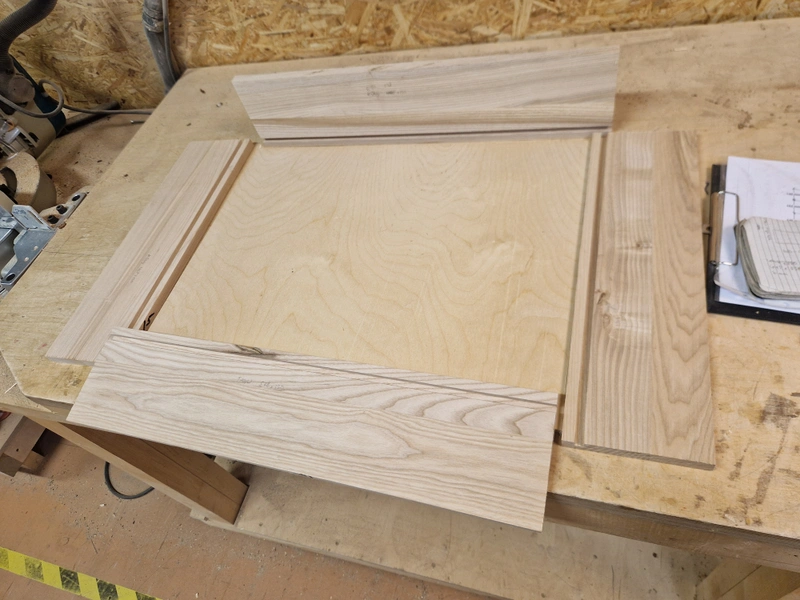
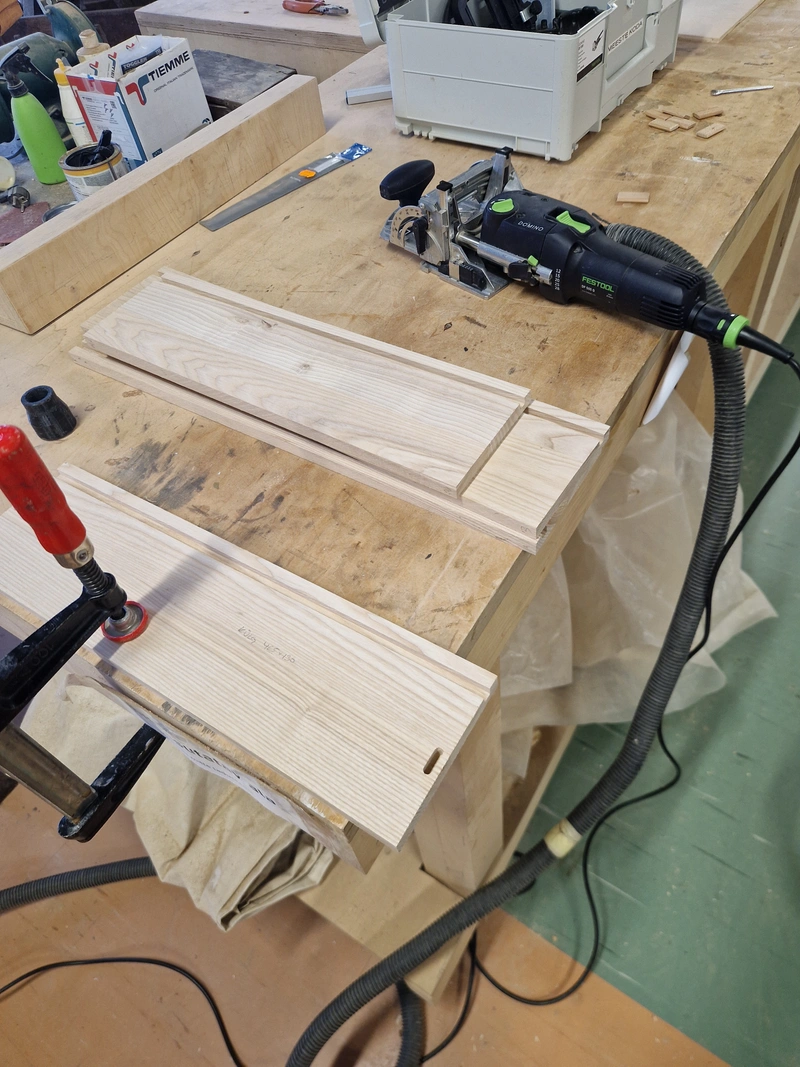
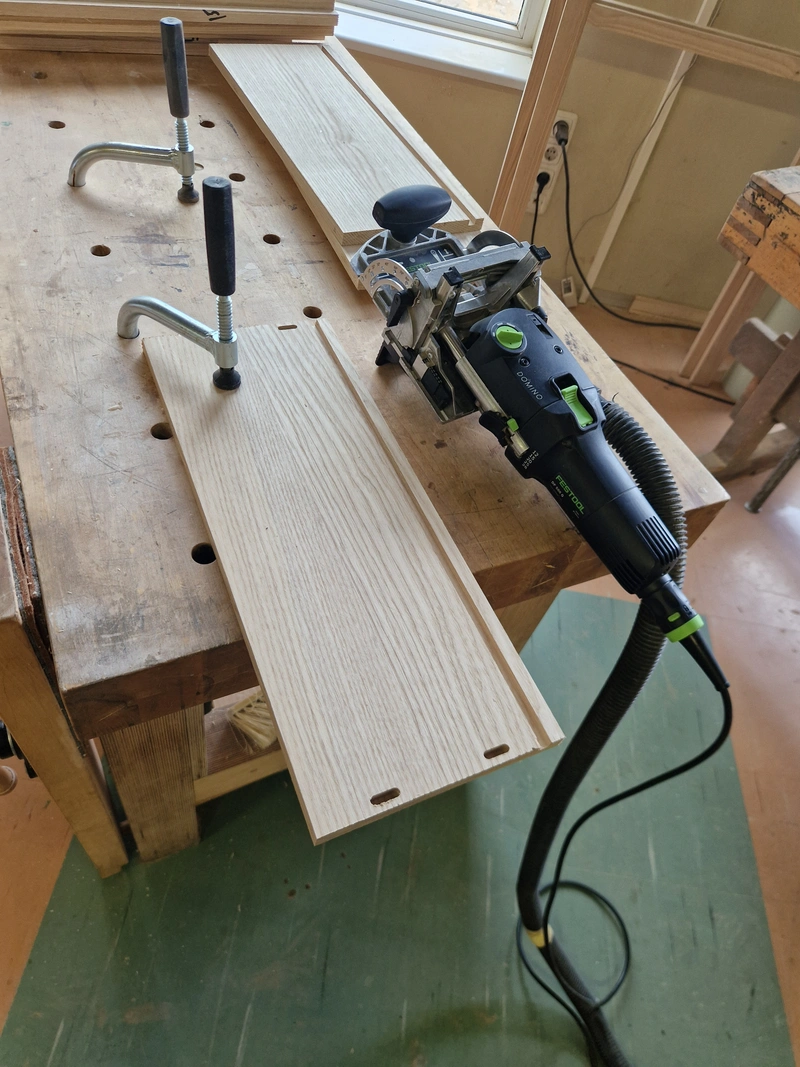
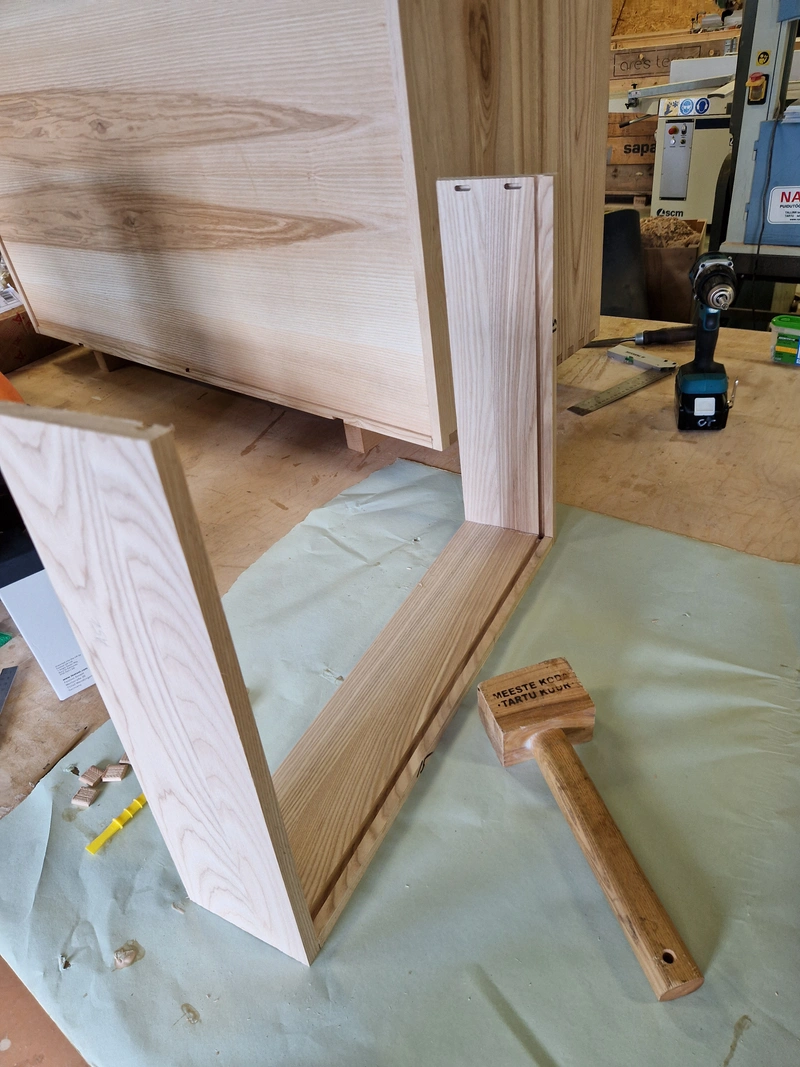
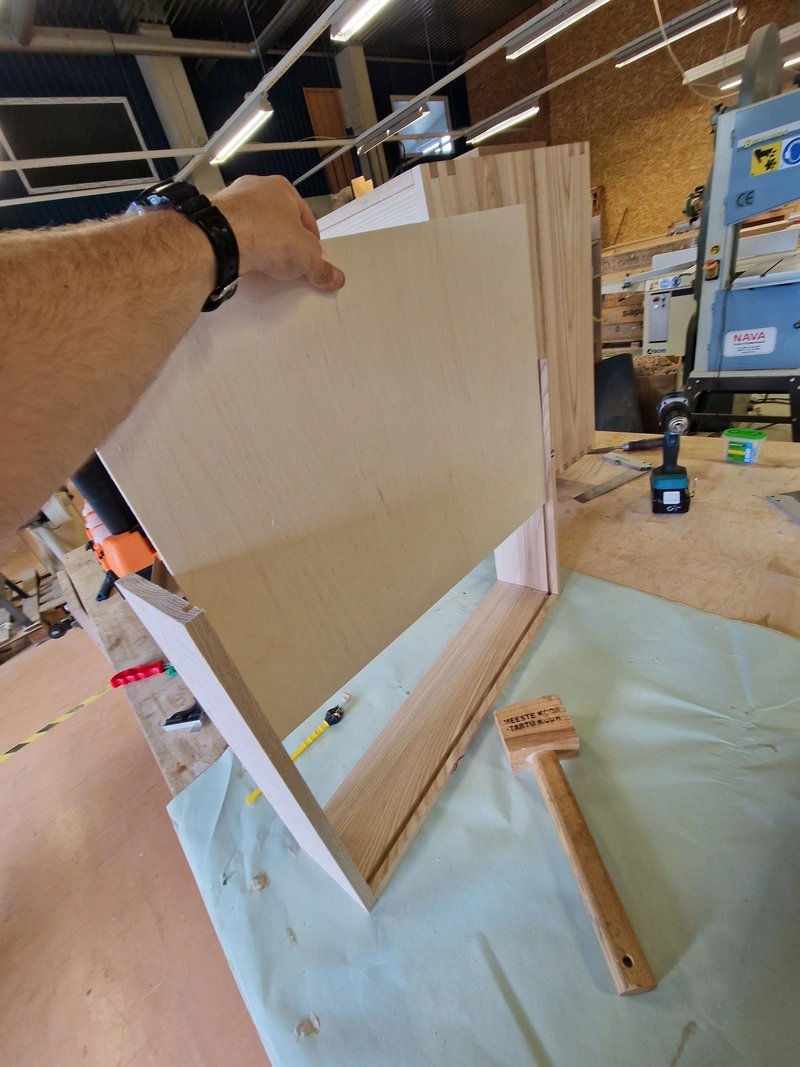
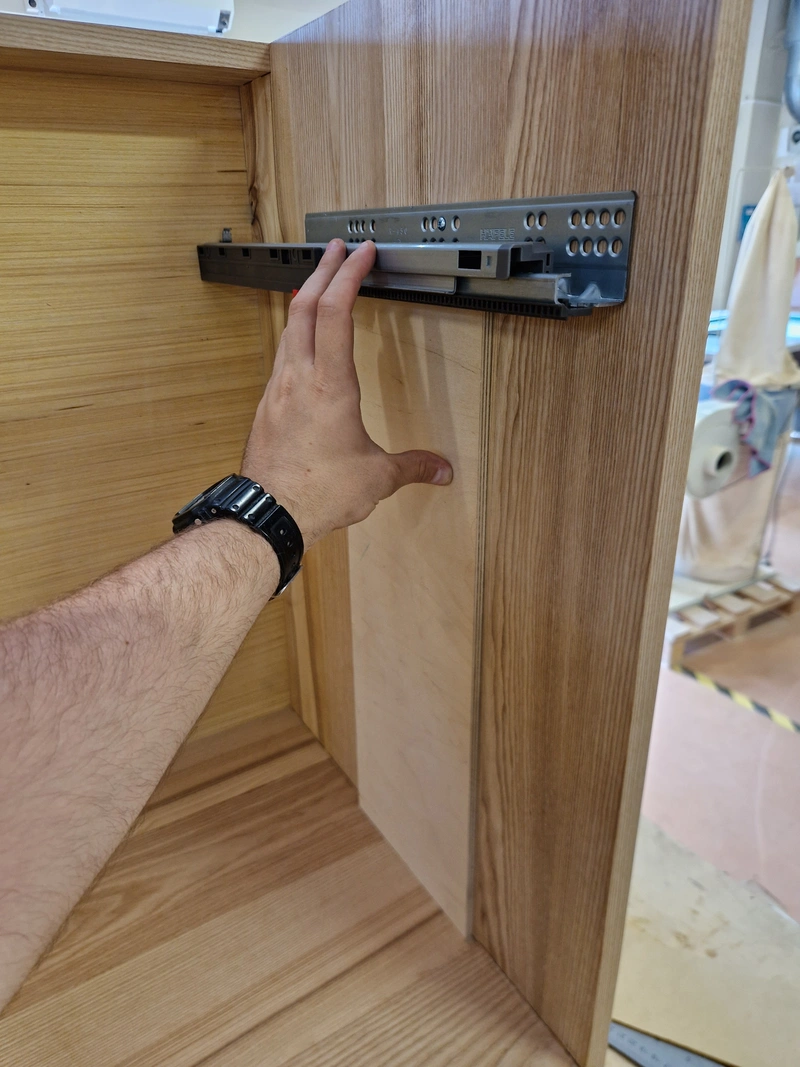
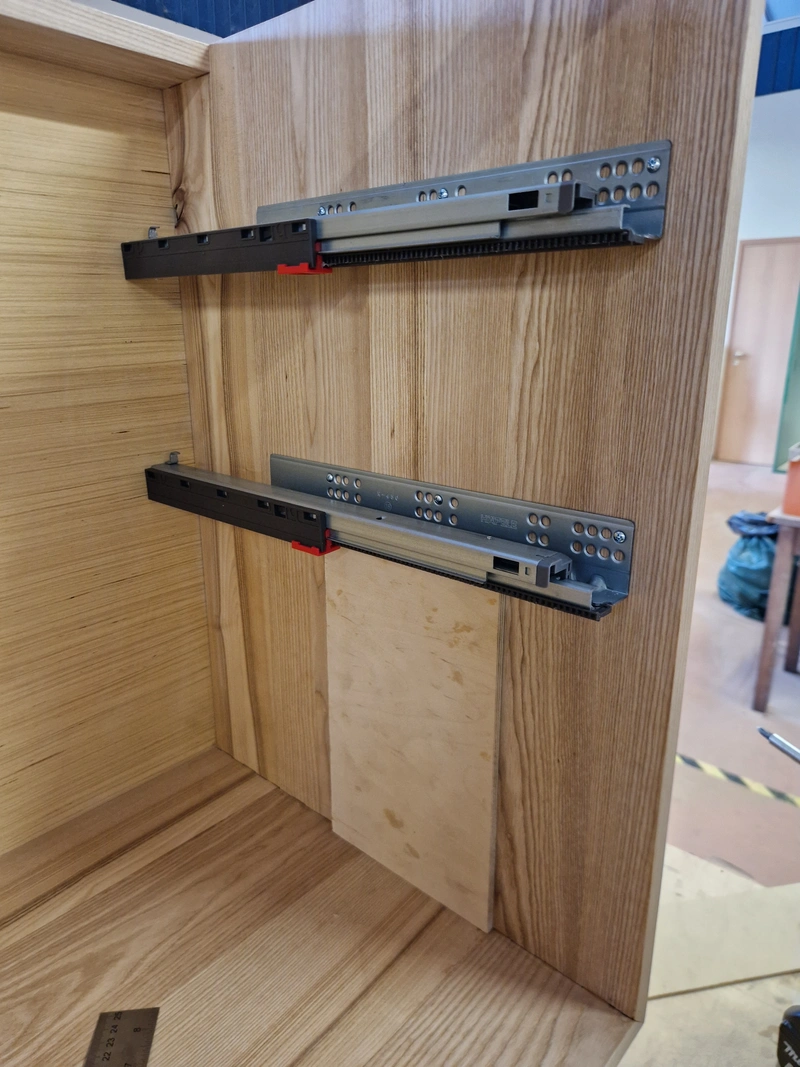
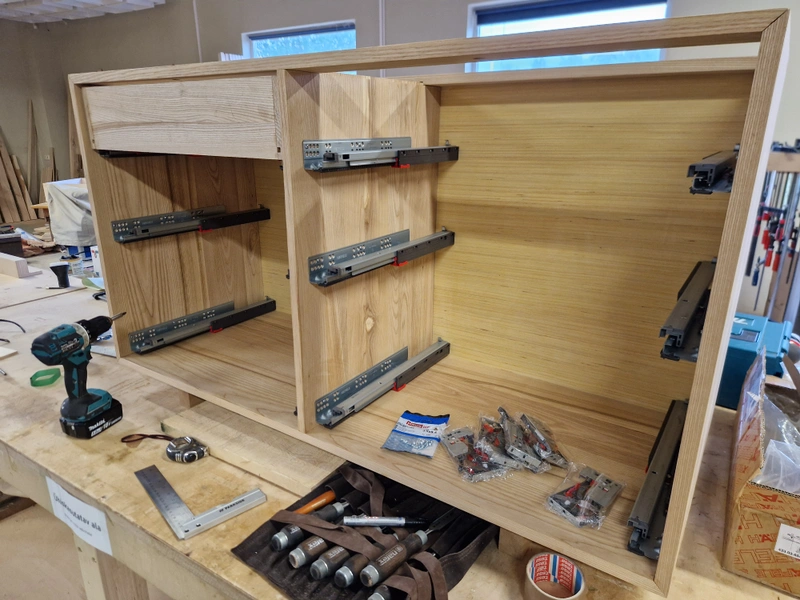
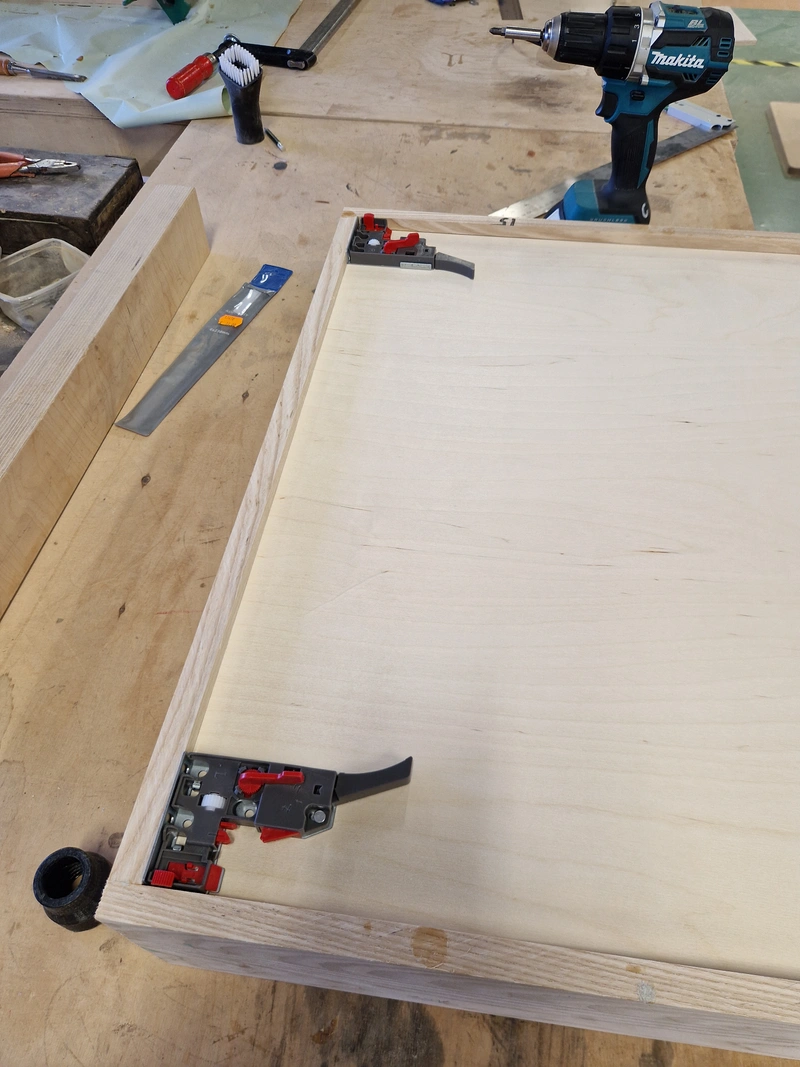
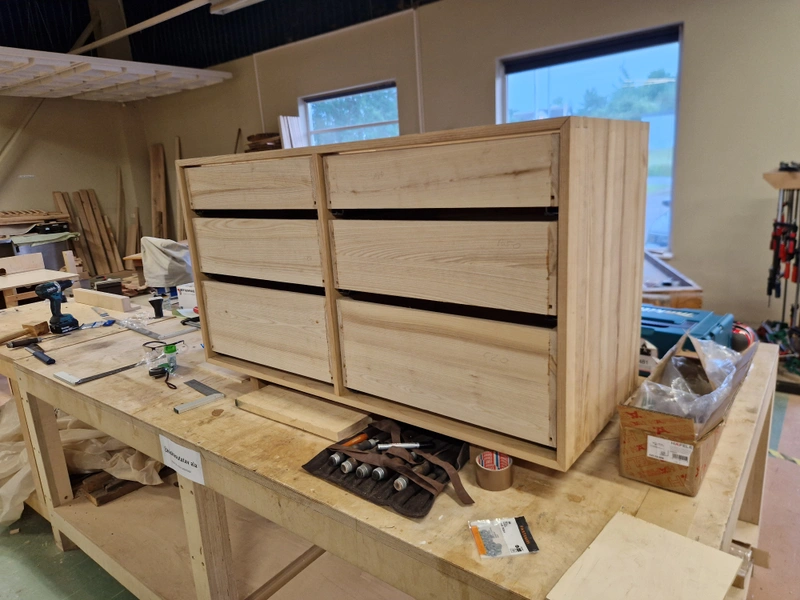
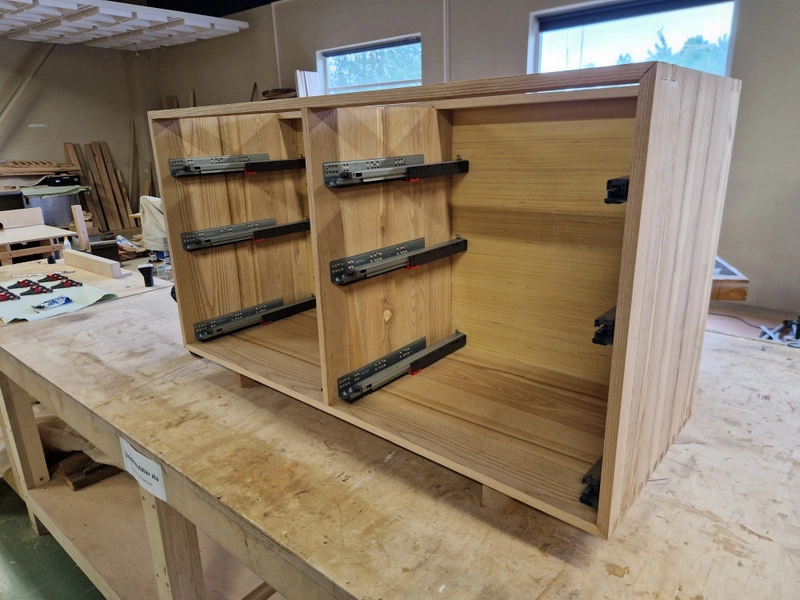
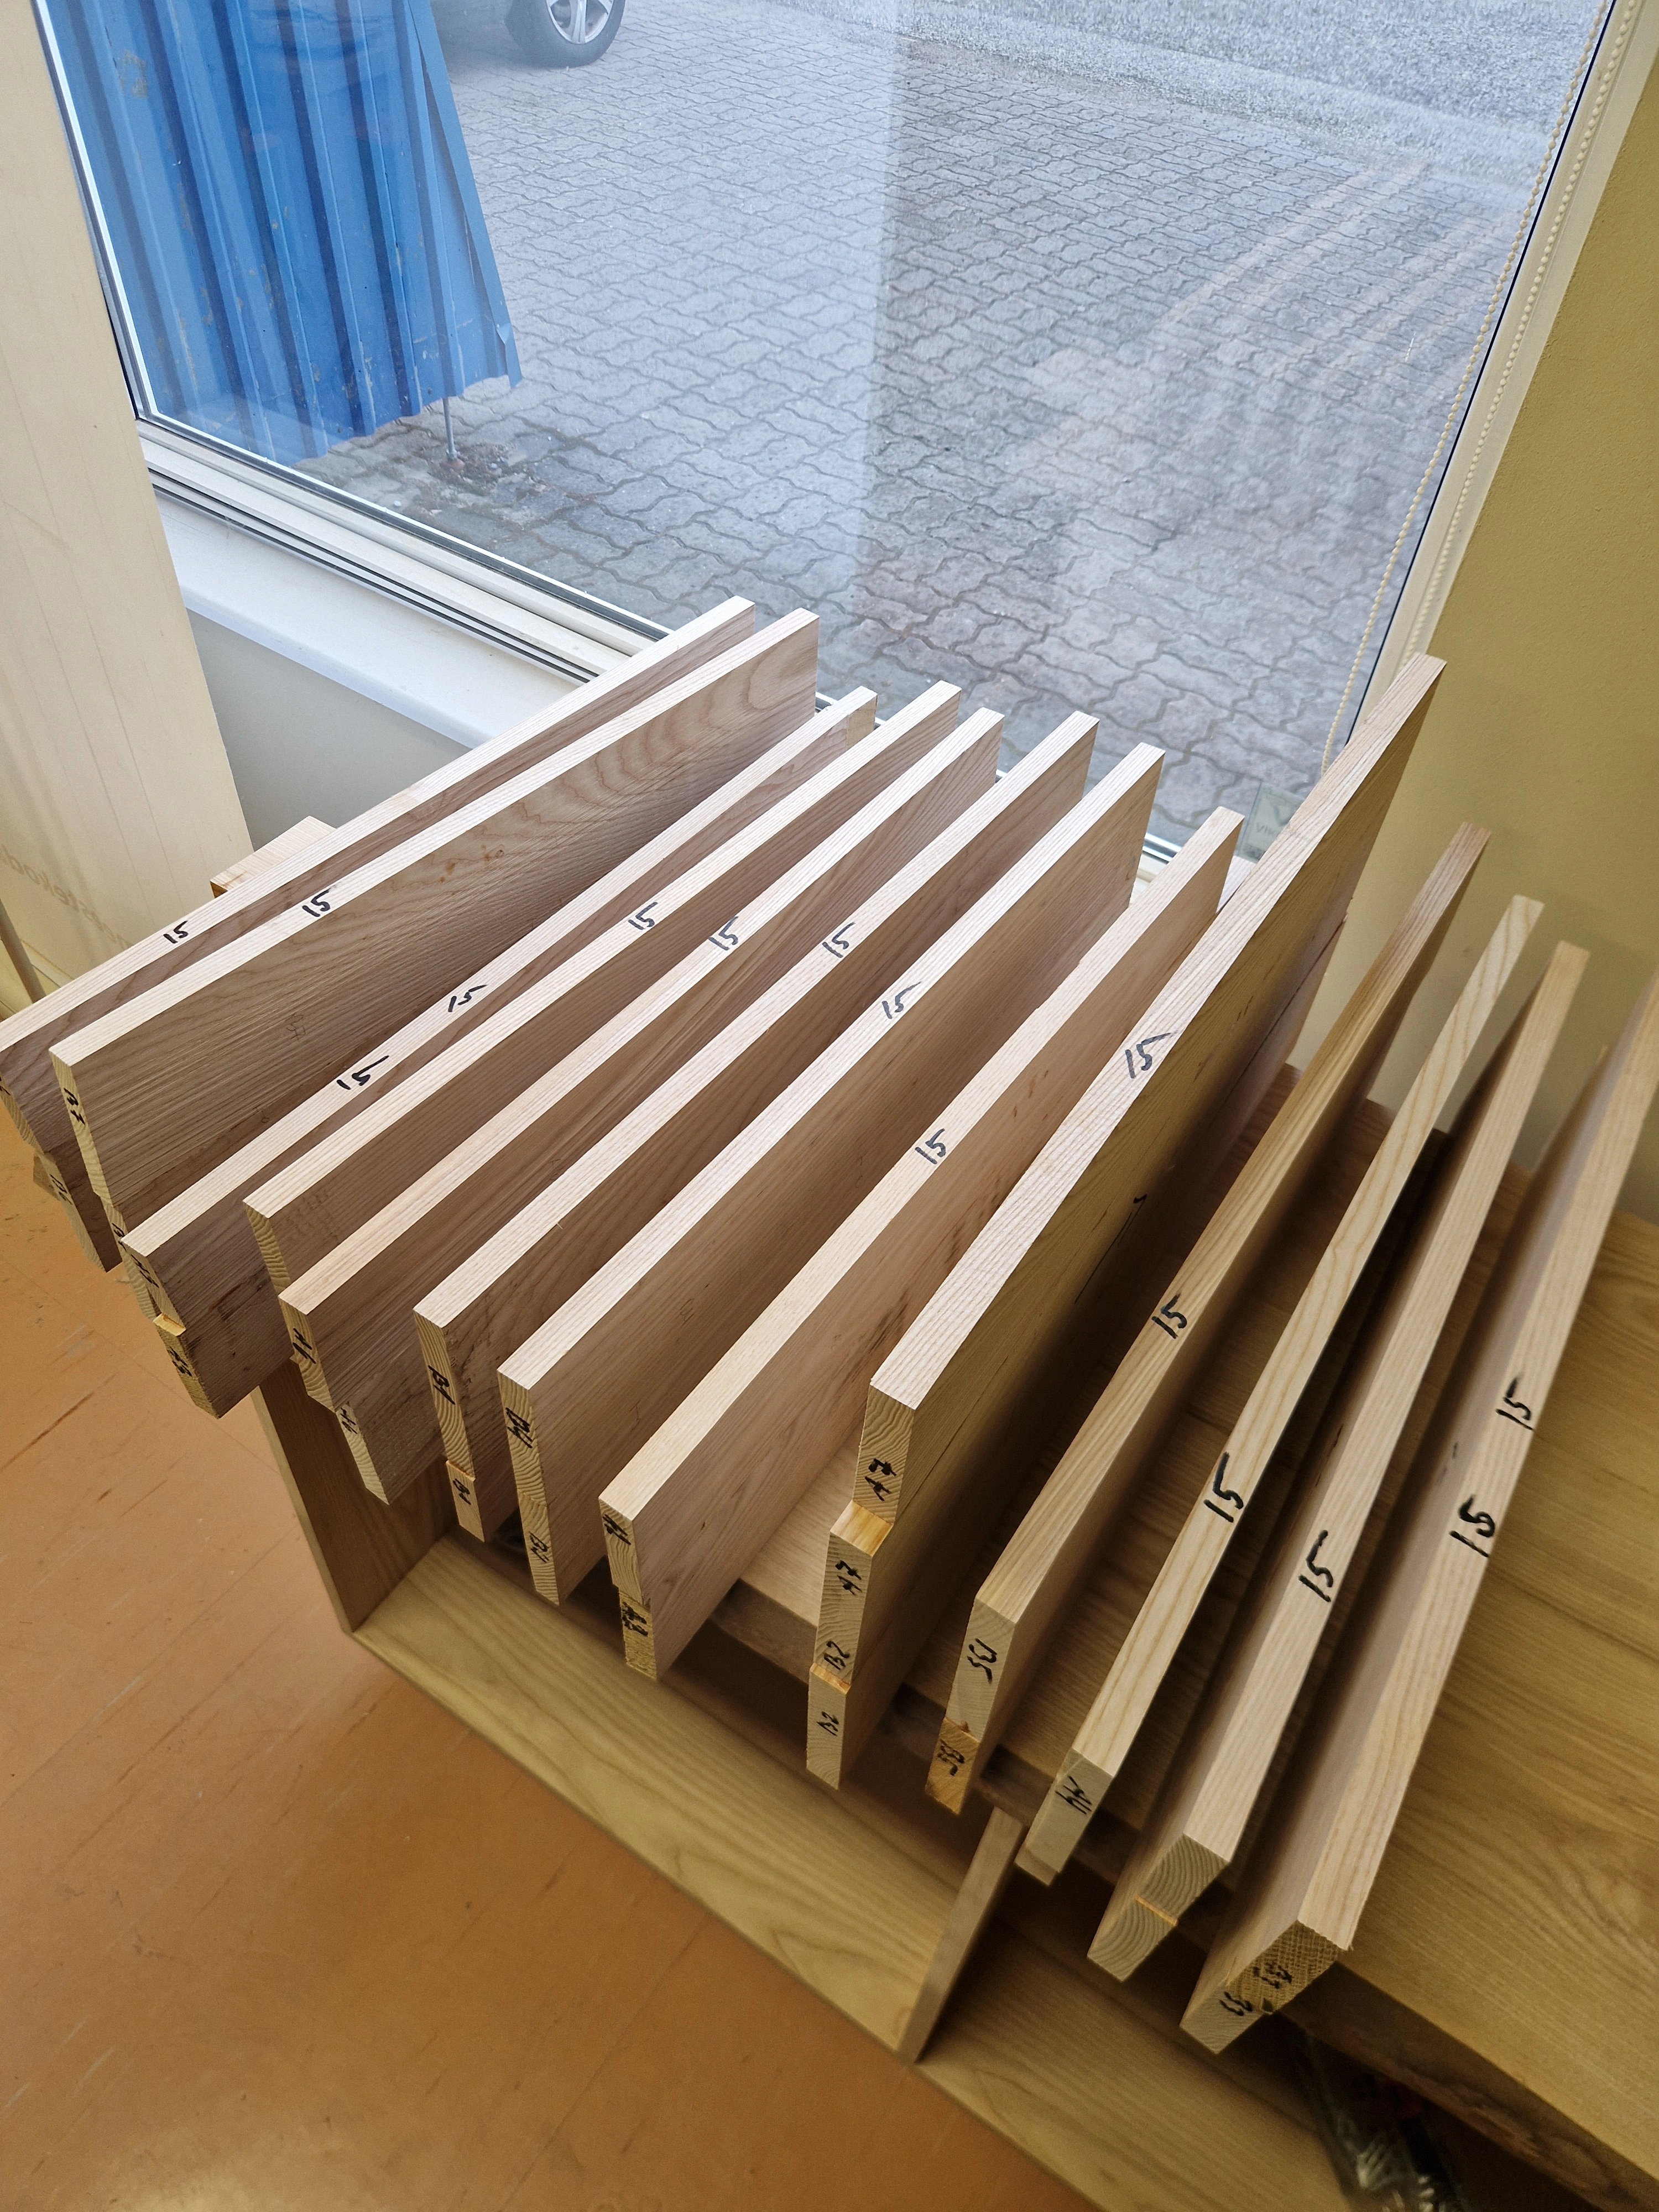
Drawerboxes are 15mm ash with a 8mm veneer bottom. Used Häfele soft-close hardware which was a dream to work with. For the slider installation a good method is to calculate the height you need the sliders to be at and use that dimension to cut a piece of veneer, which can be used to consistently hold the sliders on a fixed height, allowing for a quick, easy, consistent installation. Once the top ones are installed, the veneer can be cut to the next height and whole process repeated.
.CT7PlsEI_1UHFsA.webp)
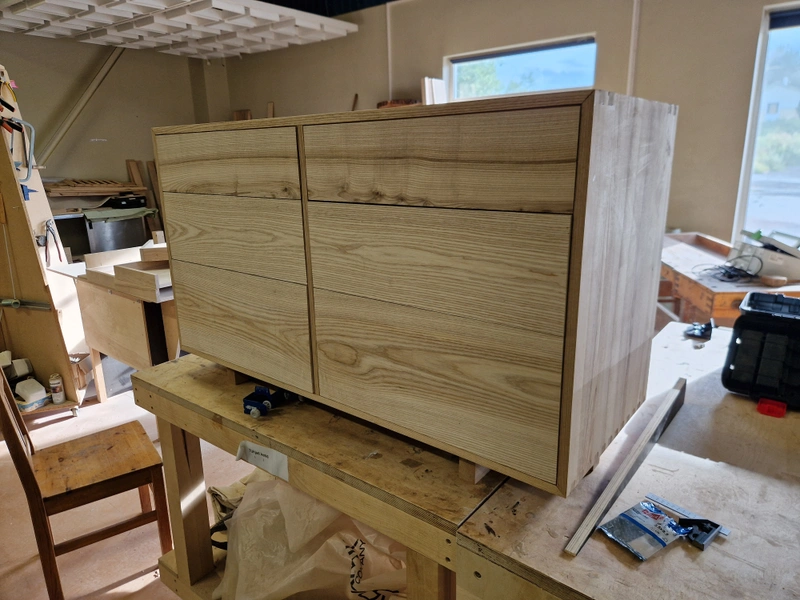
1 / 14
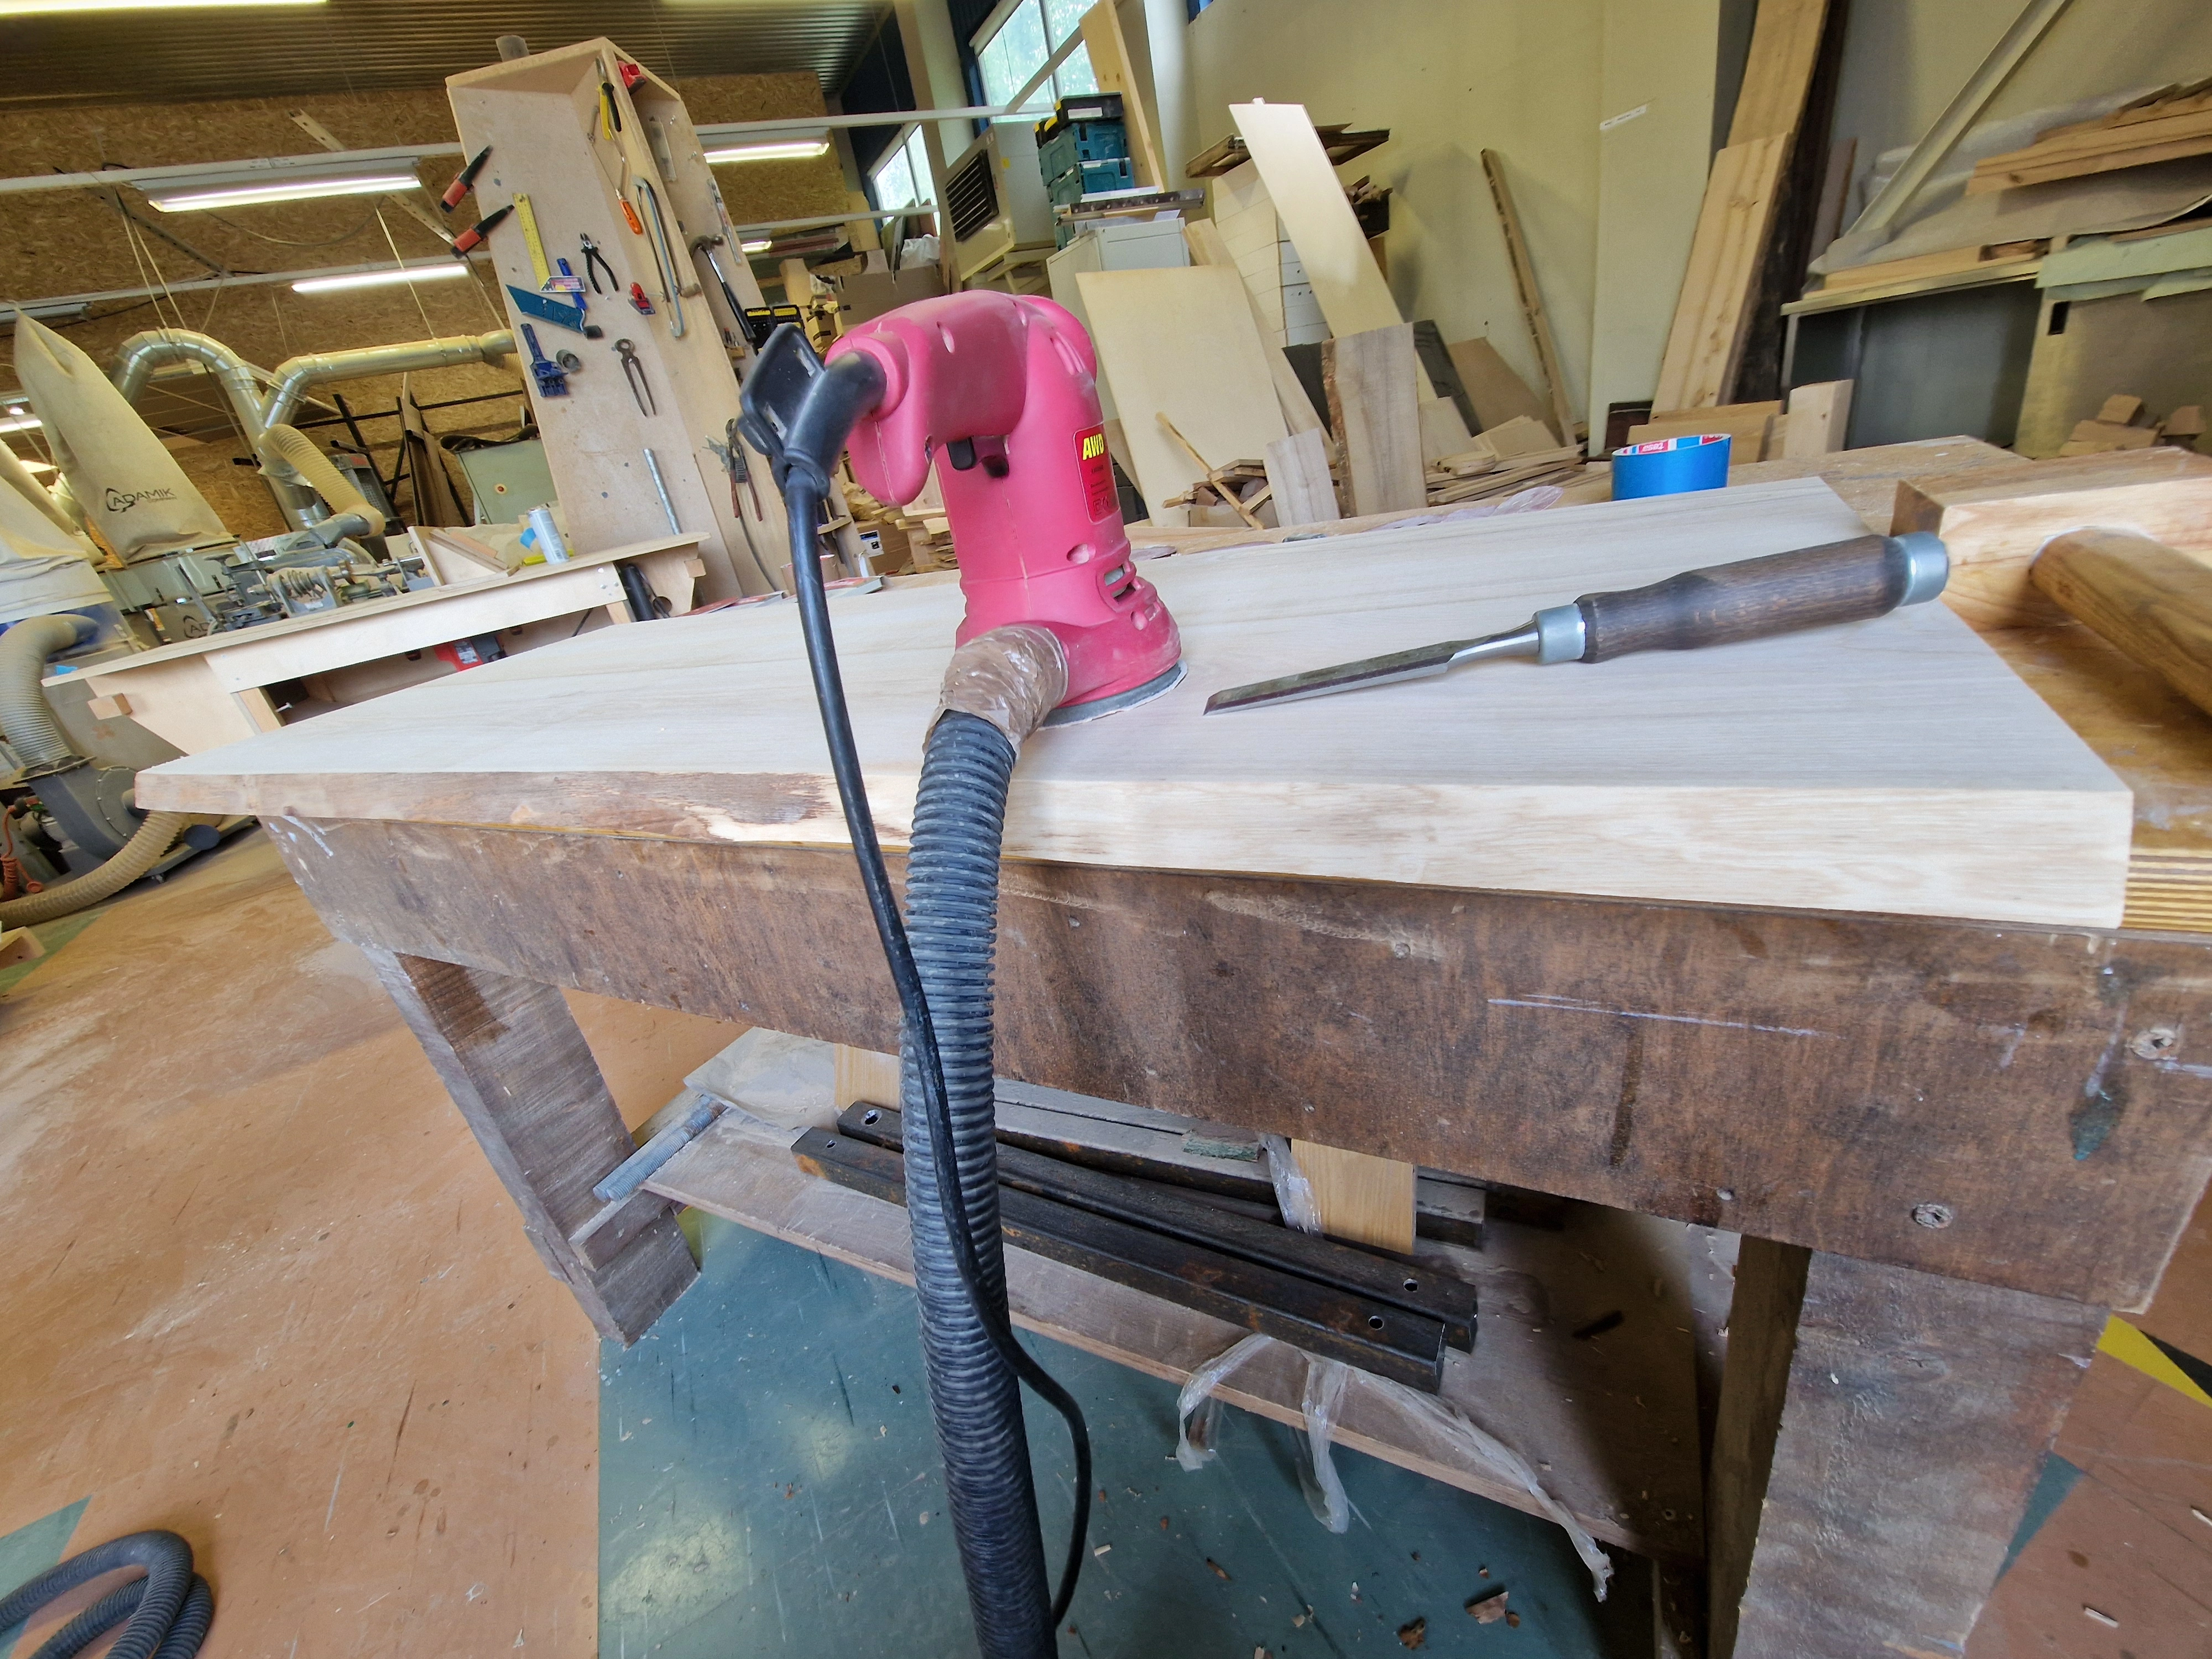
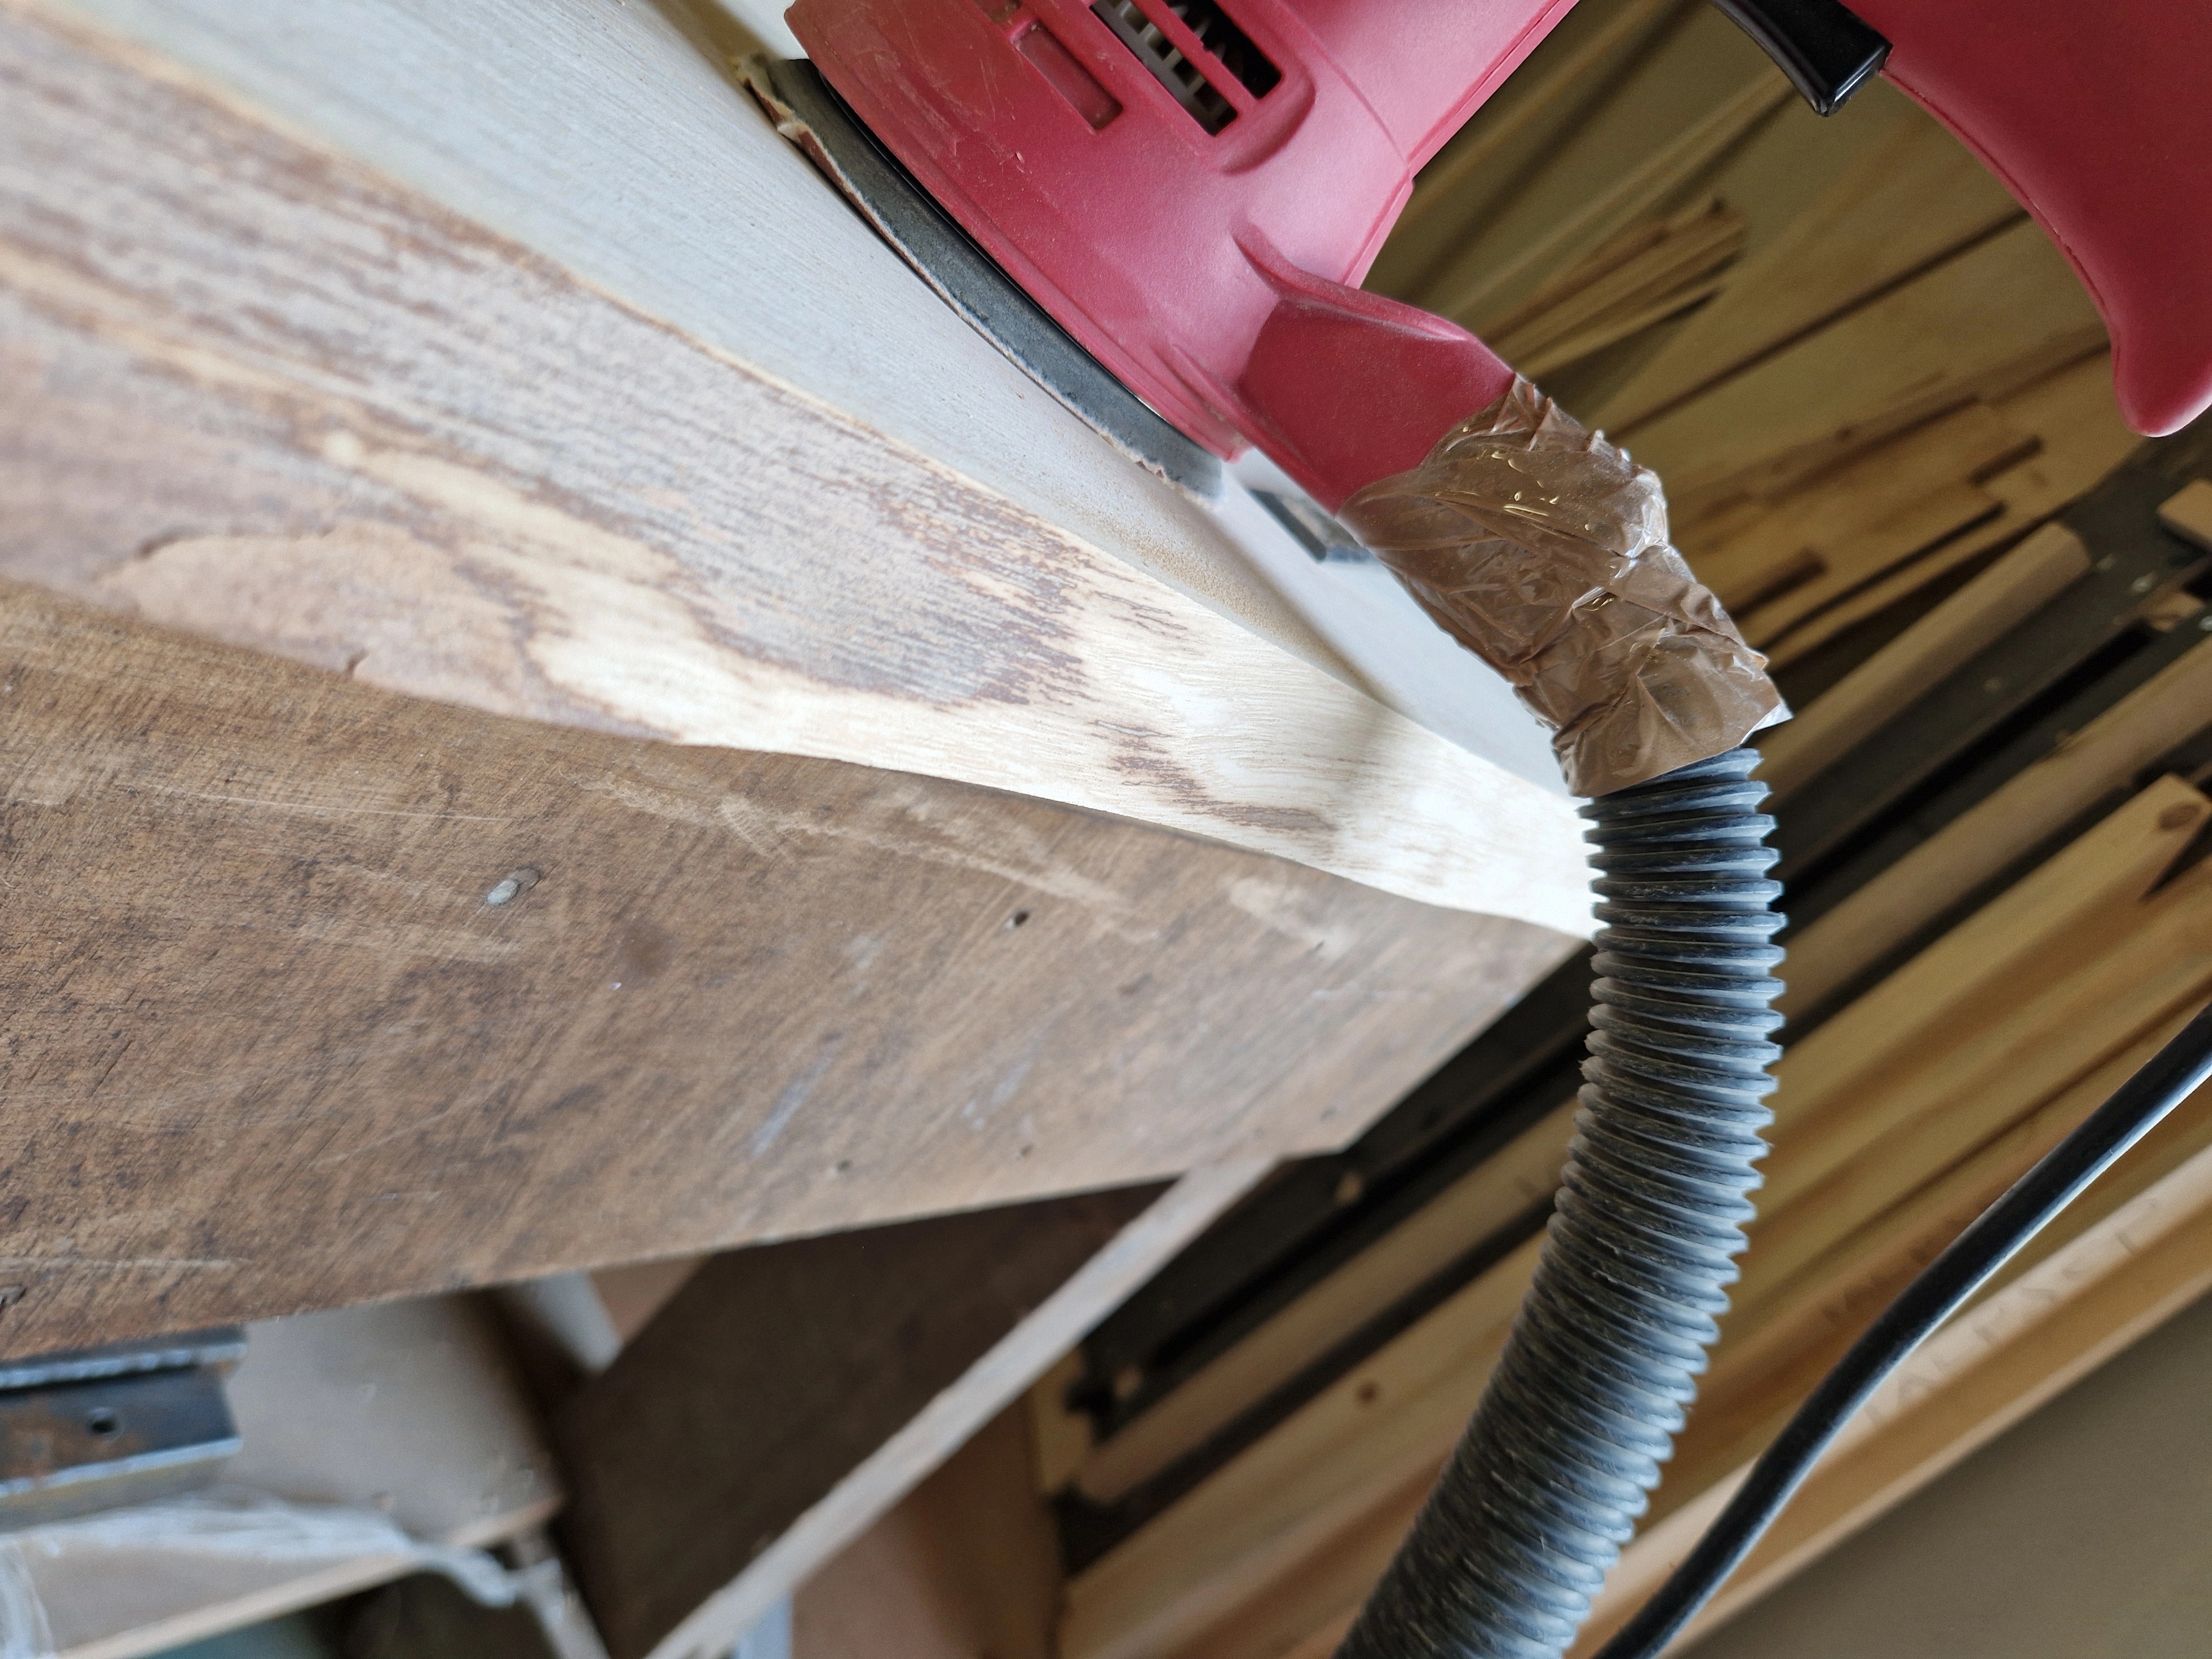
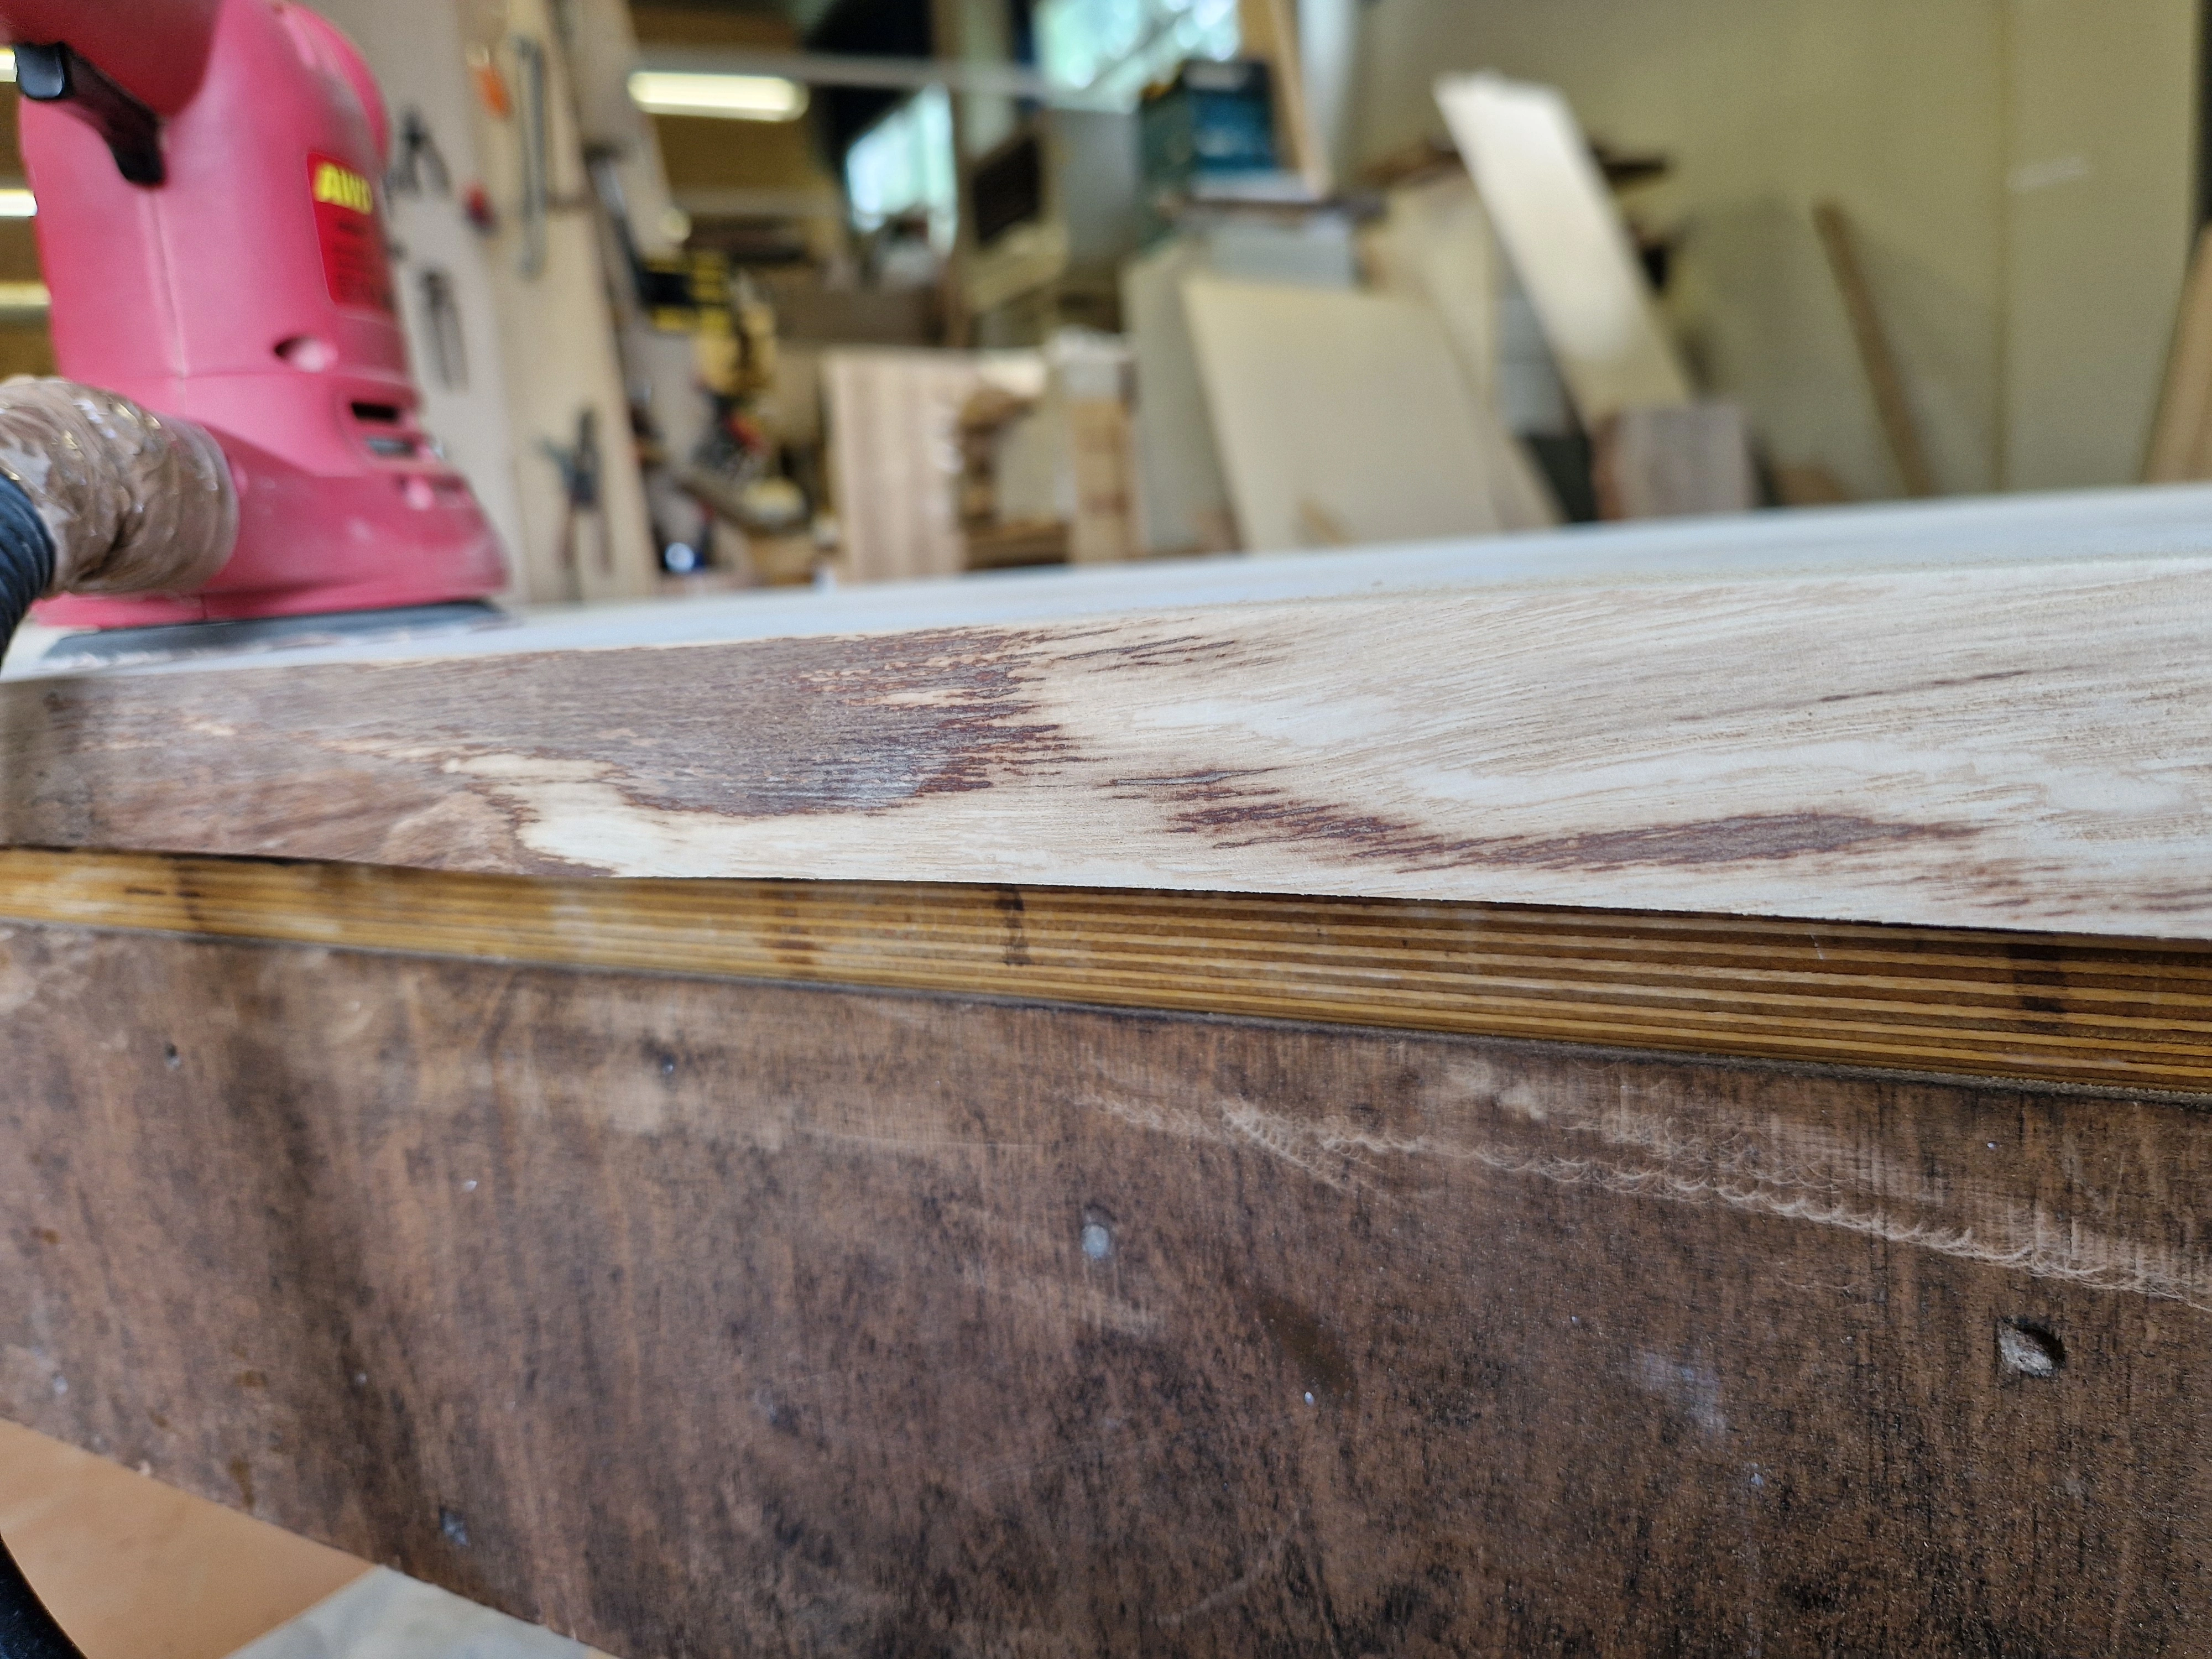
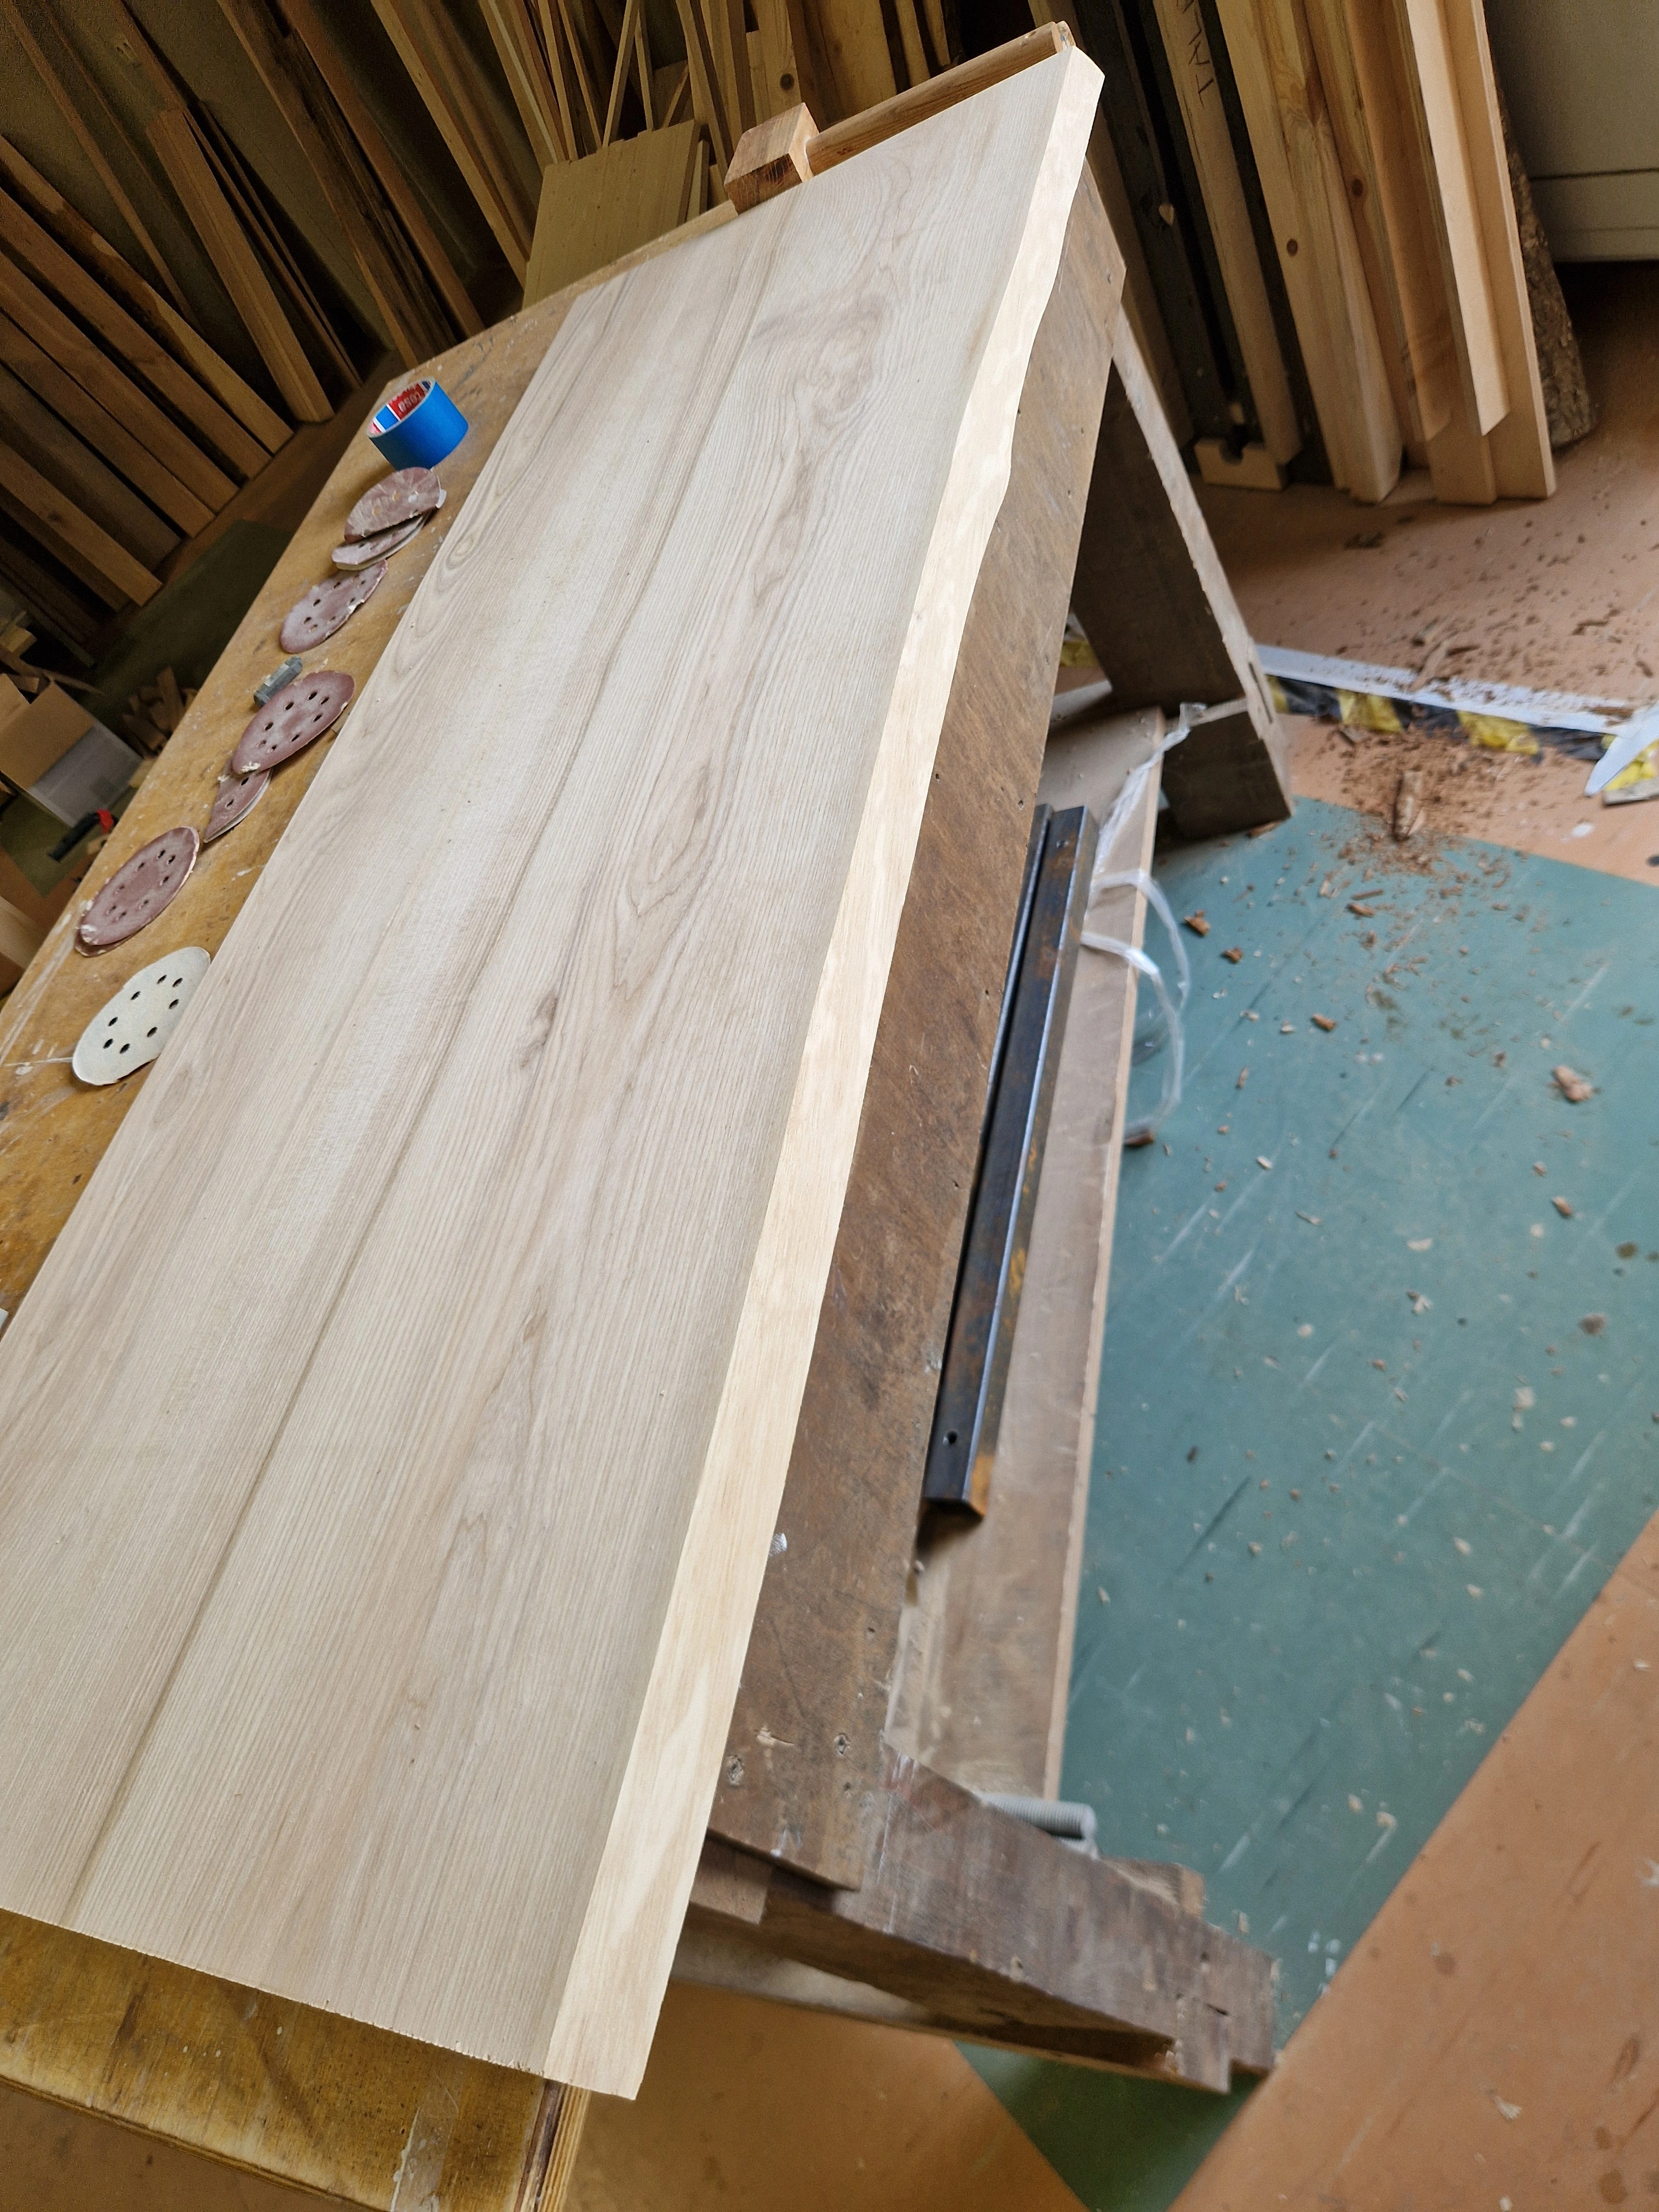
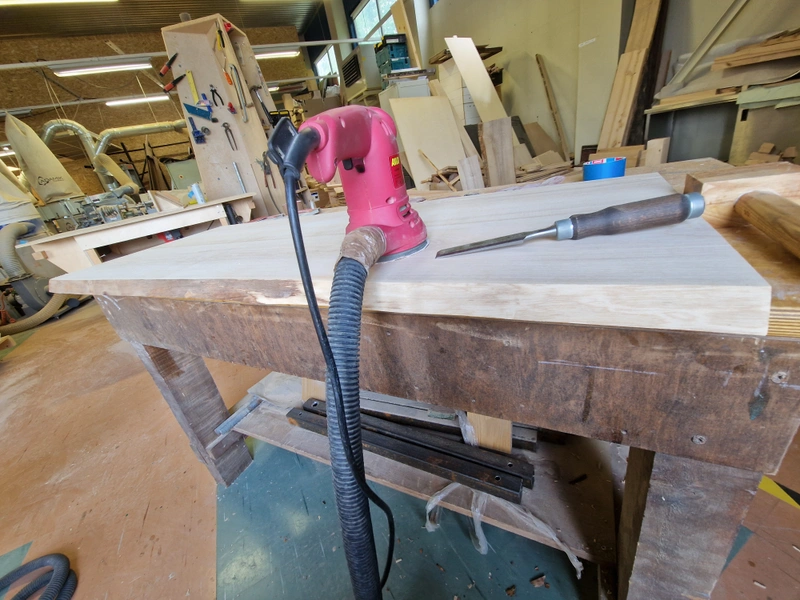
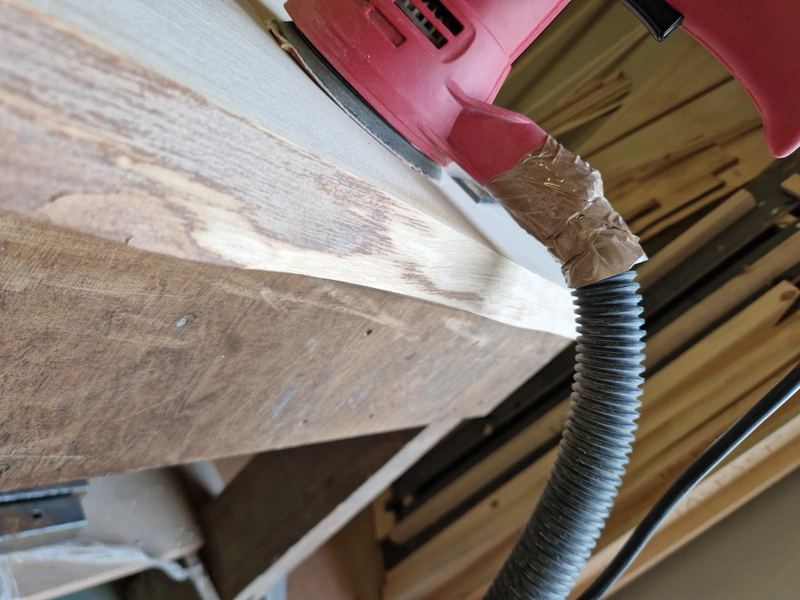
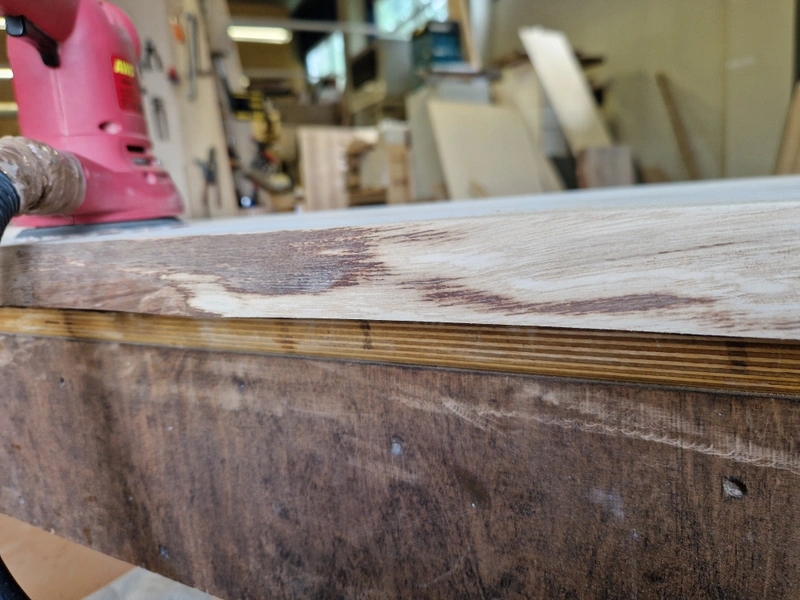
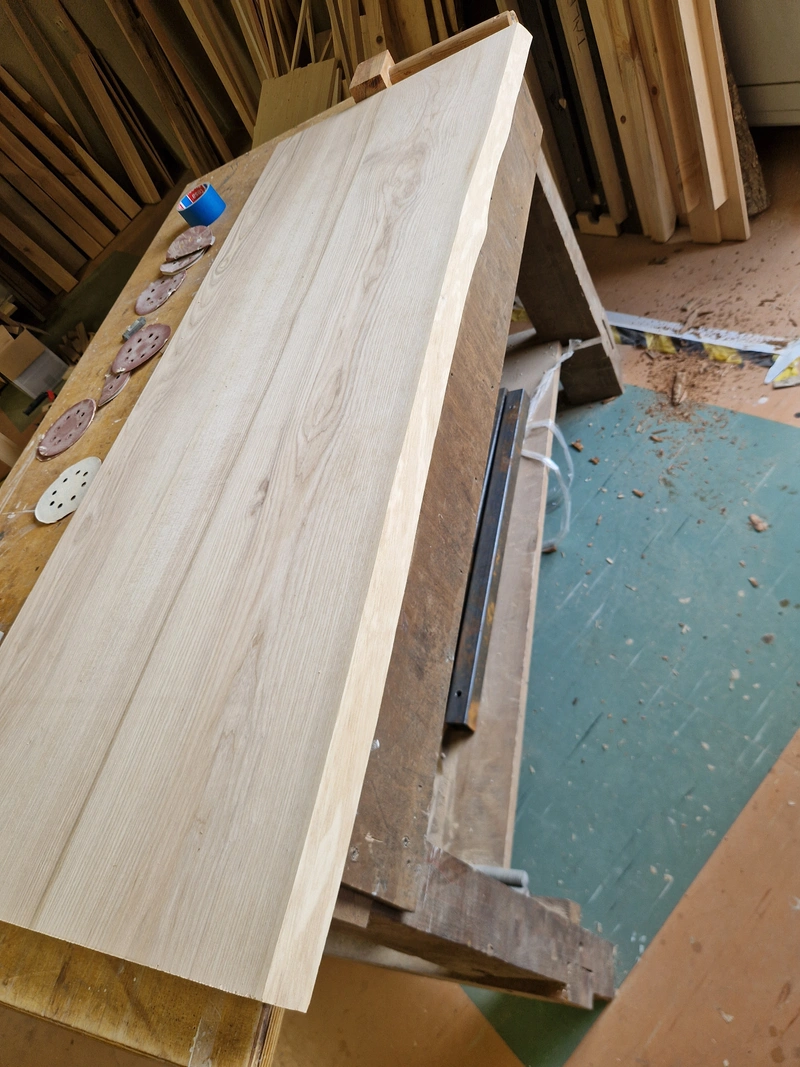
Glued the tabletop together, cut it to dimension and left one side as a live edge side. Used a widebelt sander to get it flat and an orbital sander to sander to clean up the live edge section. The tabletop overflows the carcass by 2cm on each side except the back, which is flush with the carcass.
1 / 4
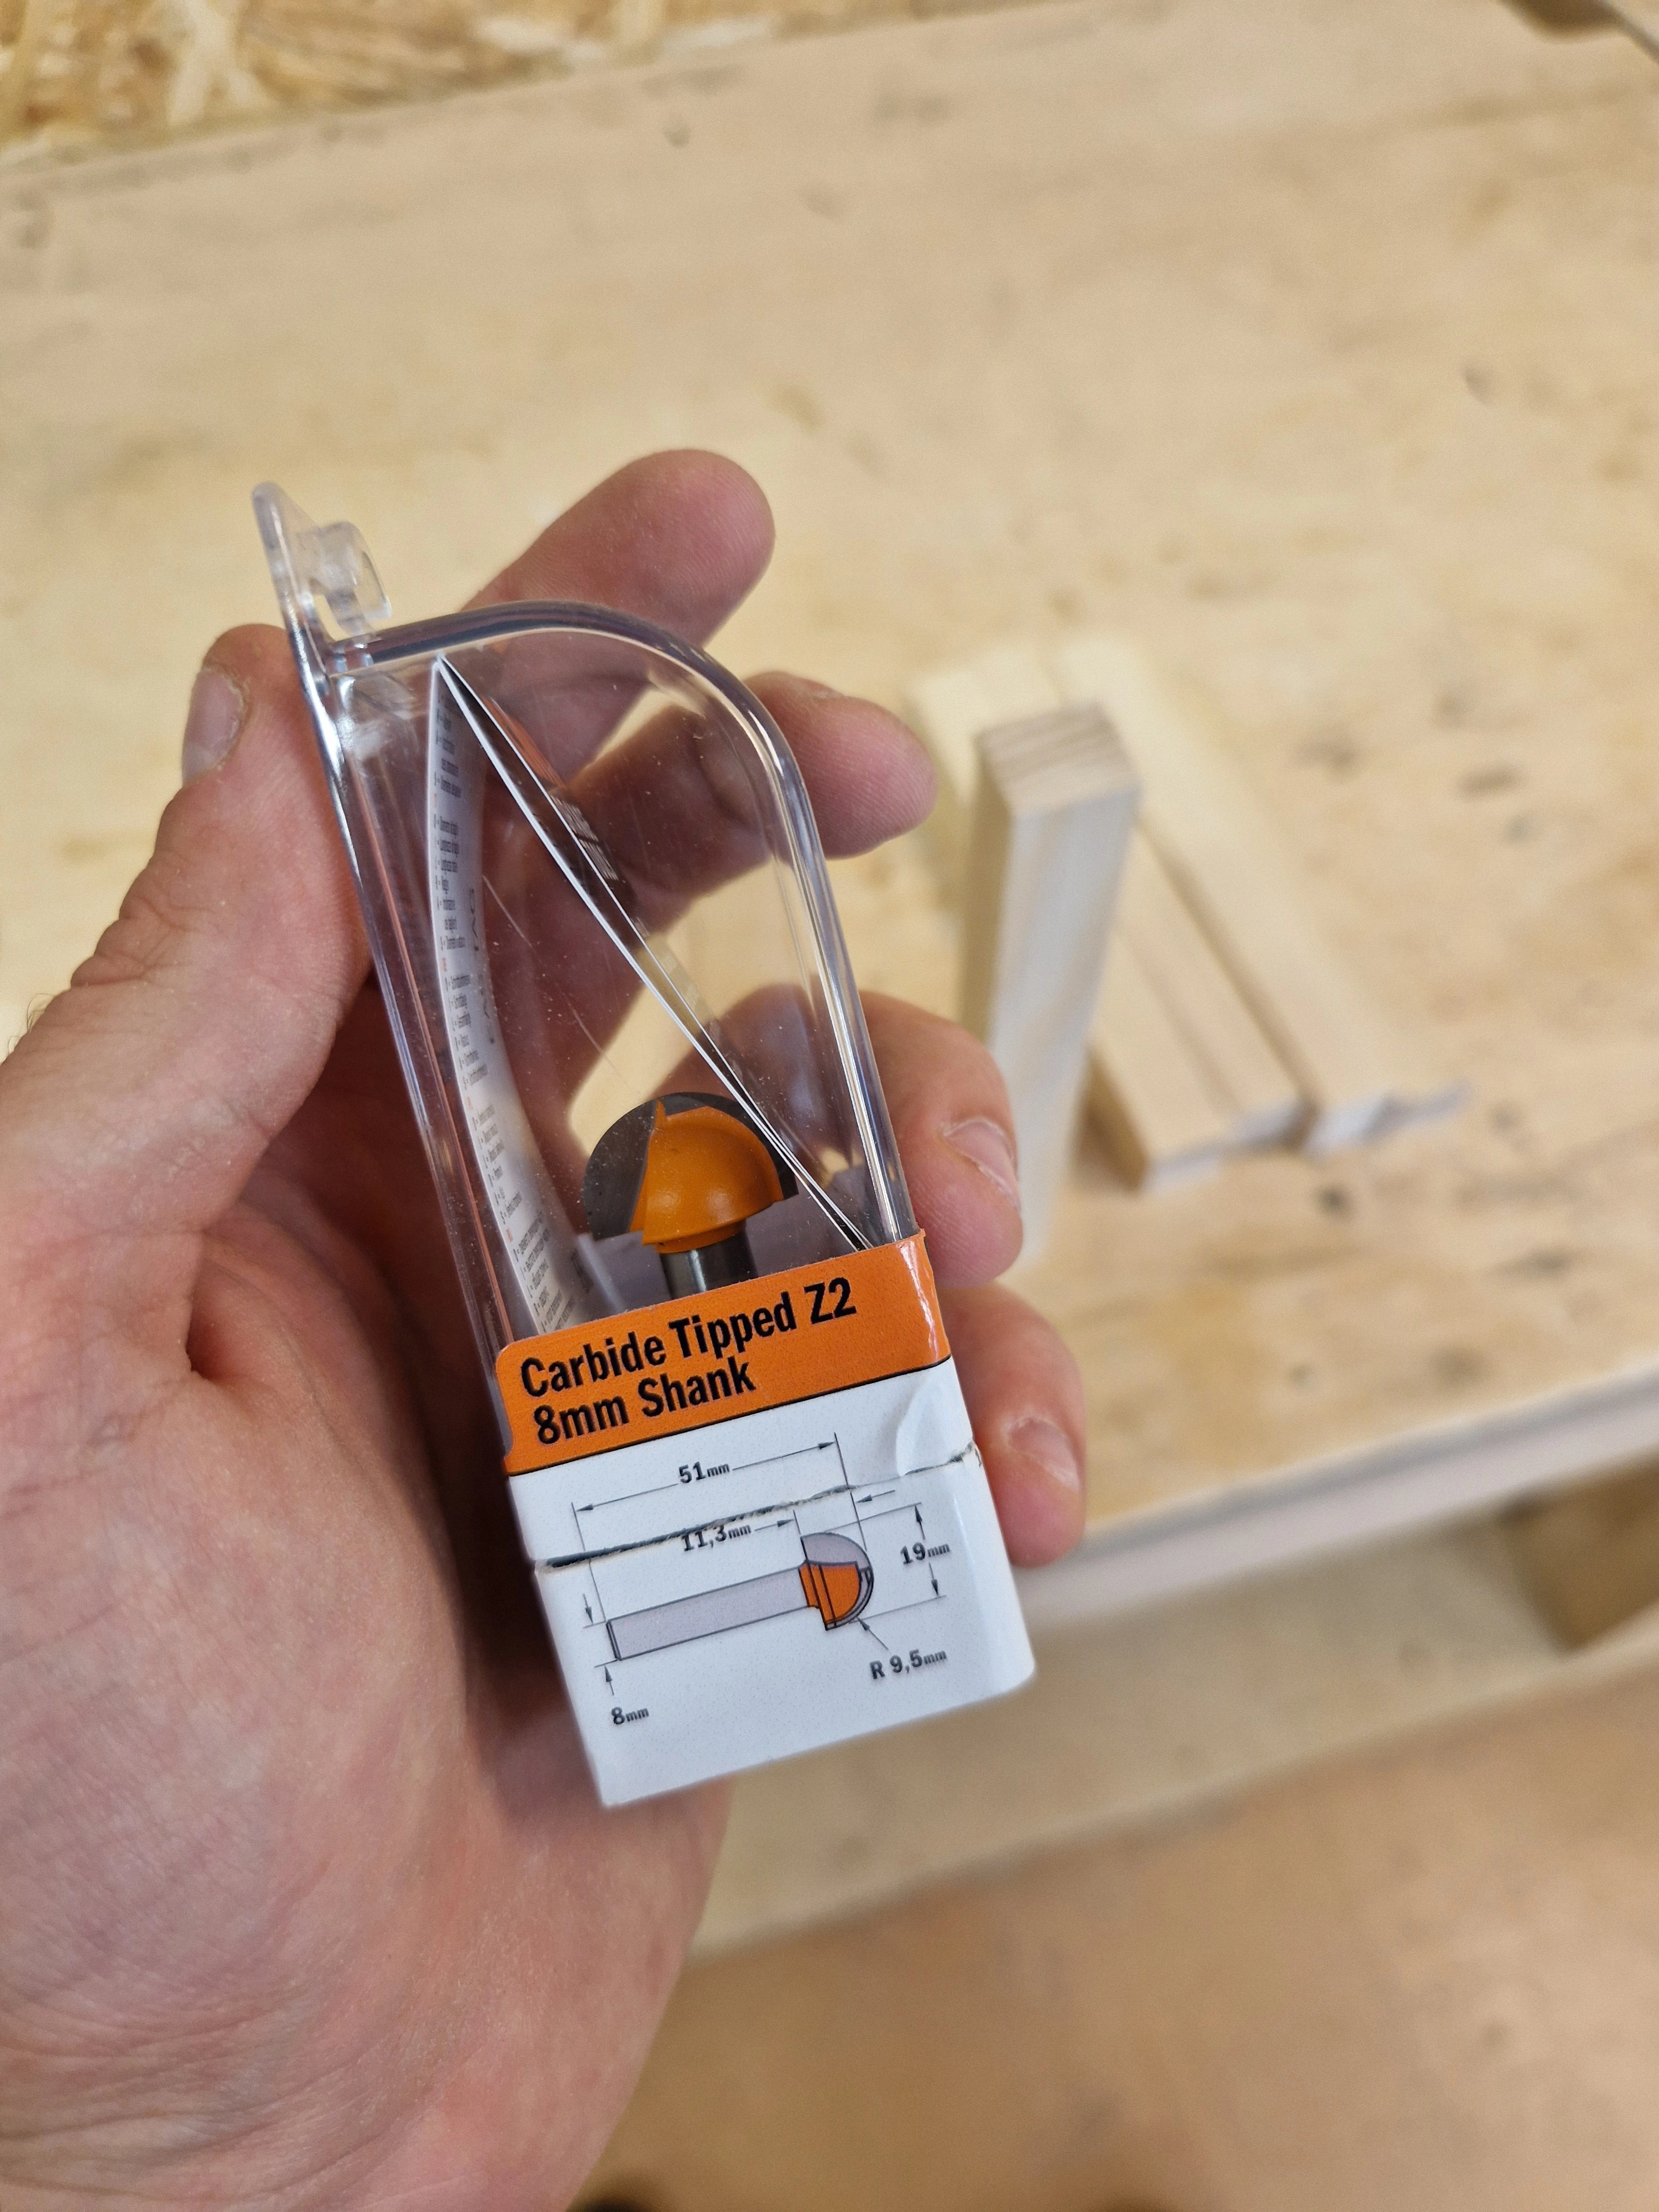
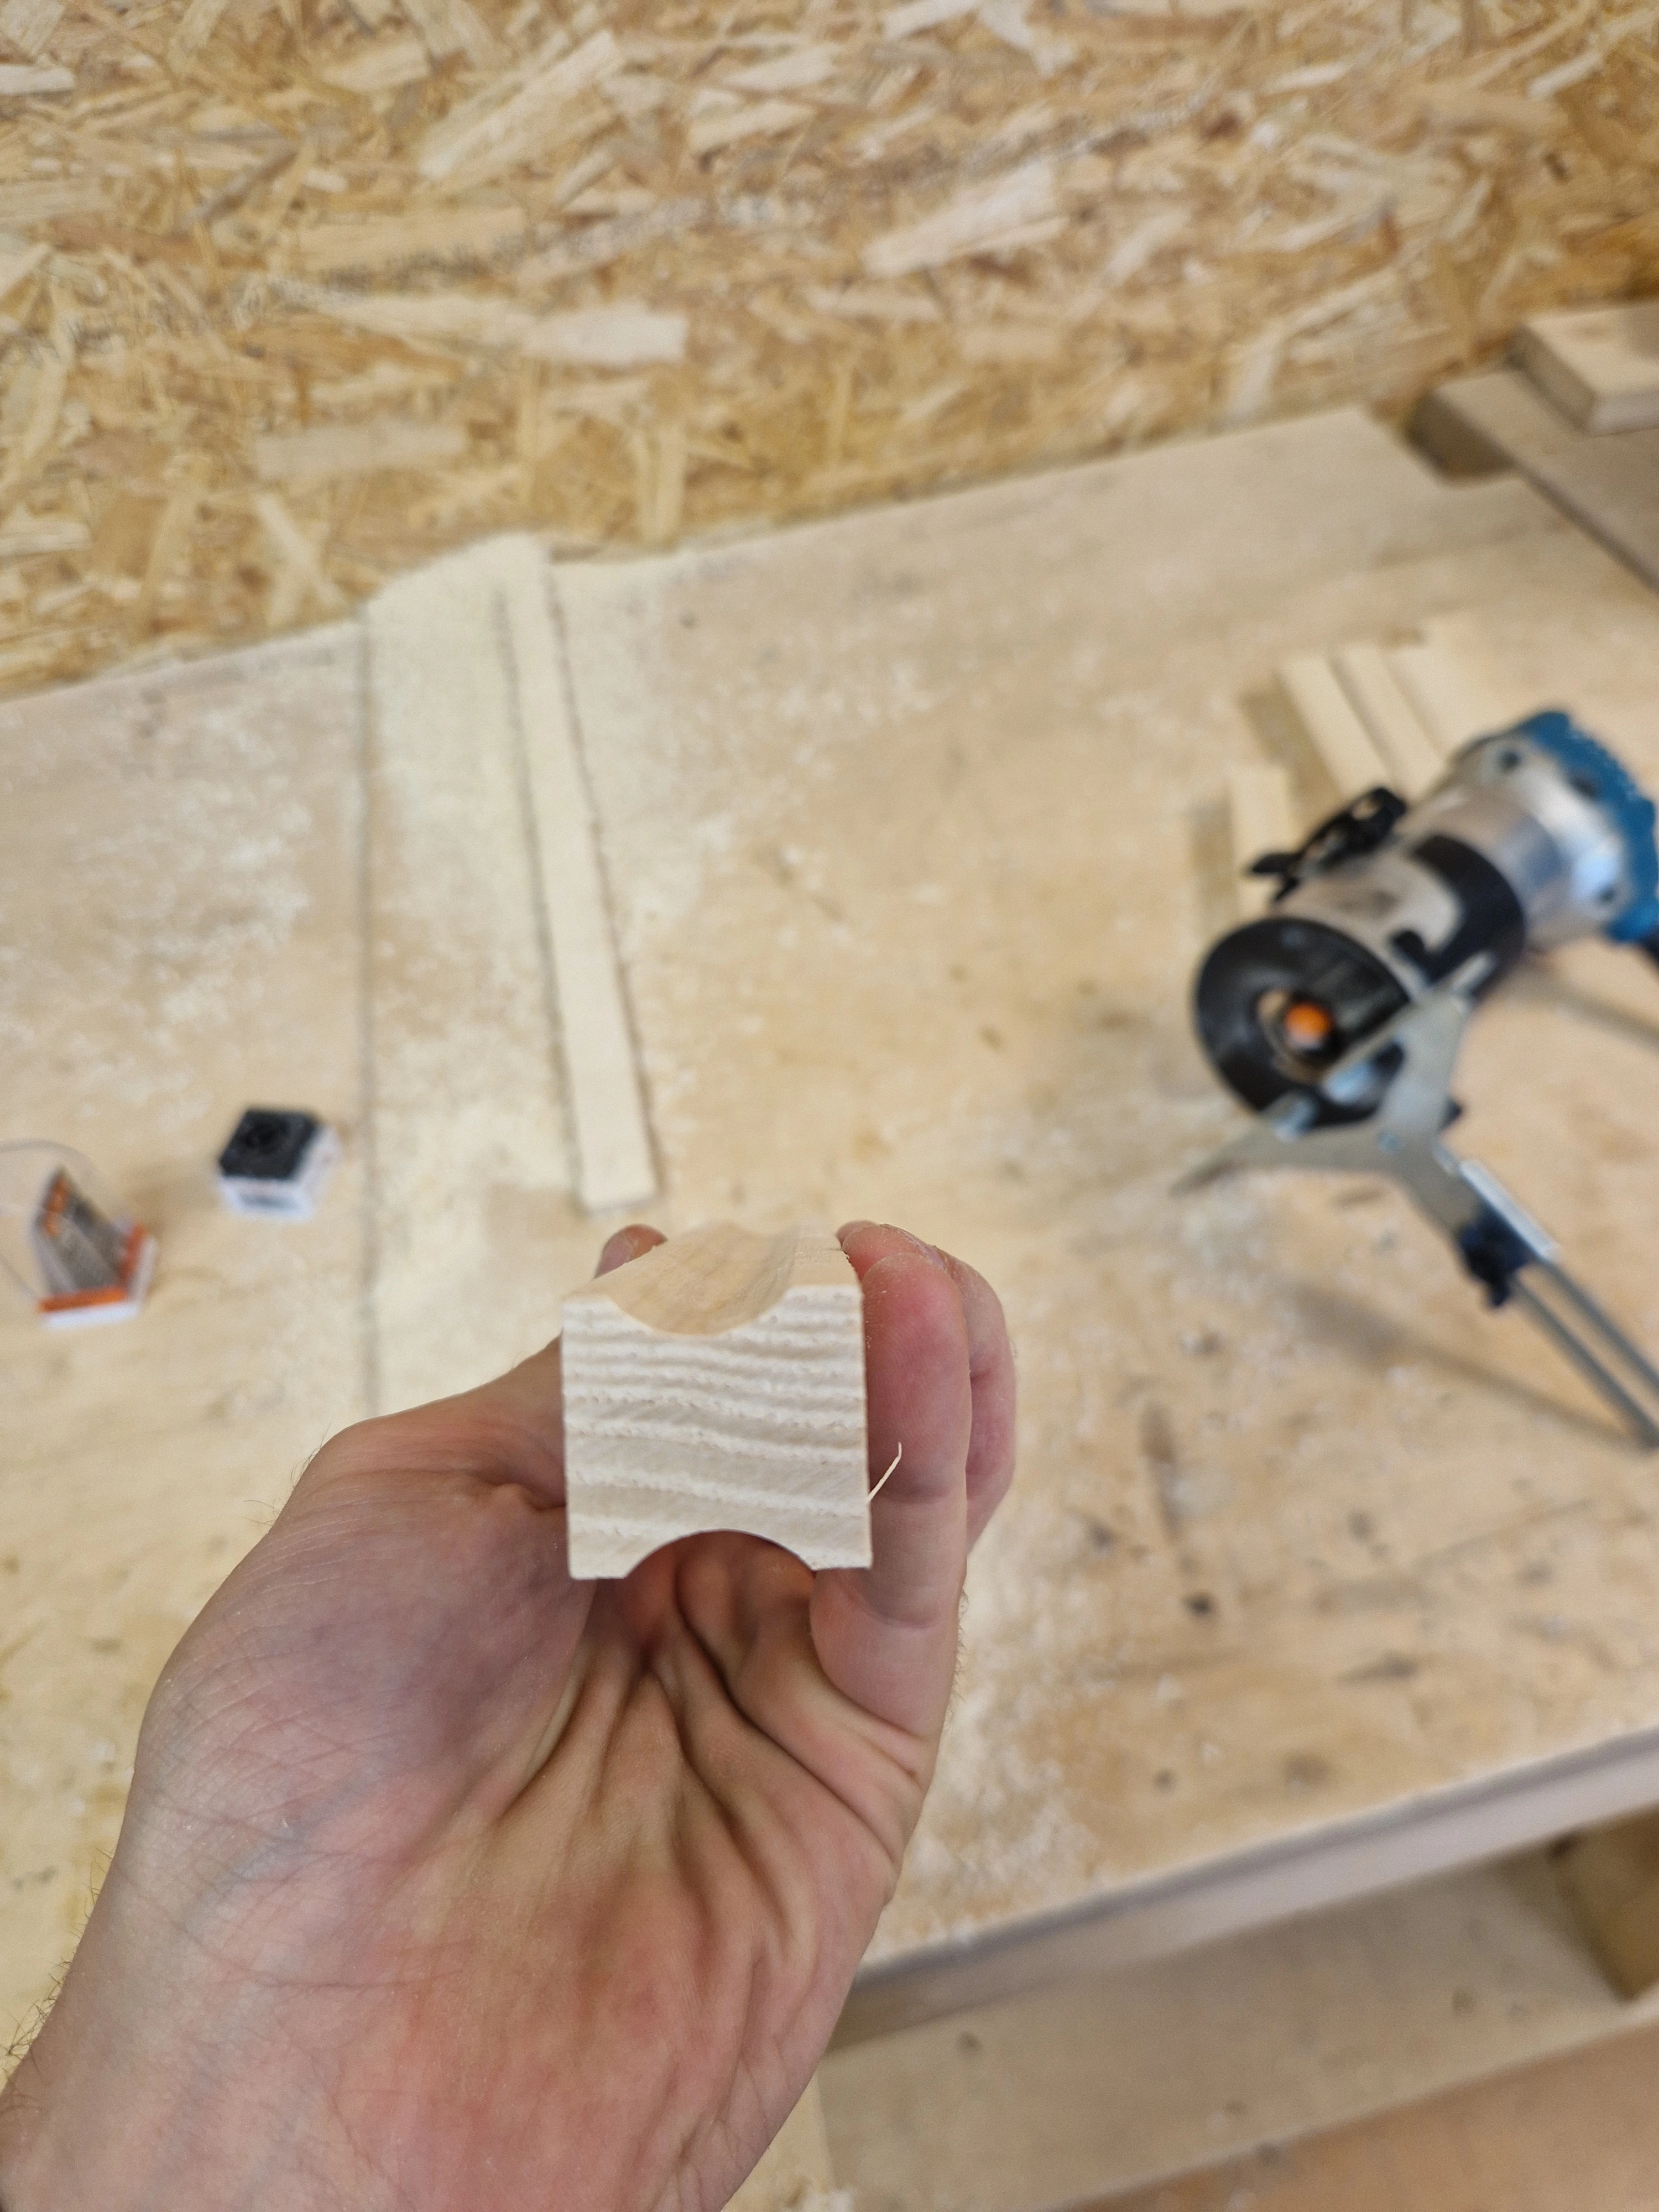
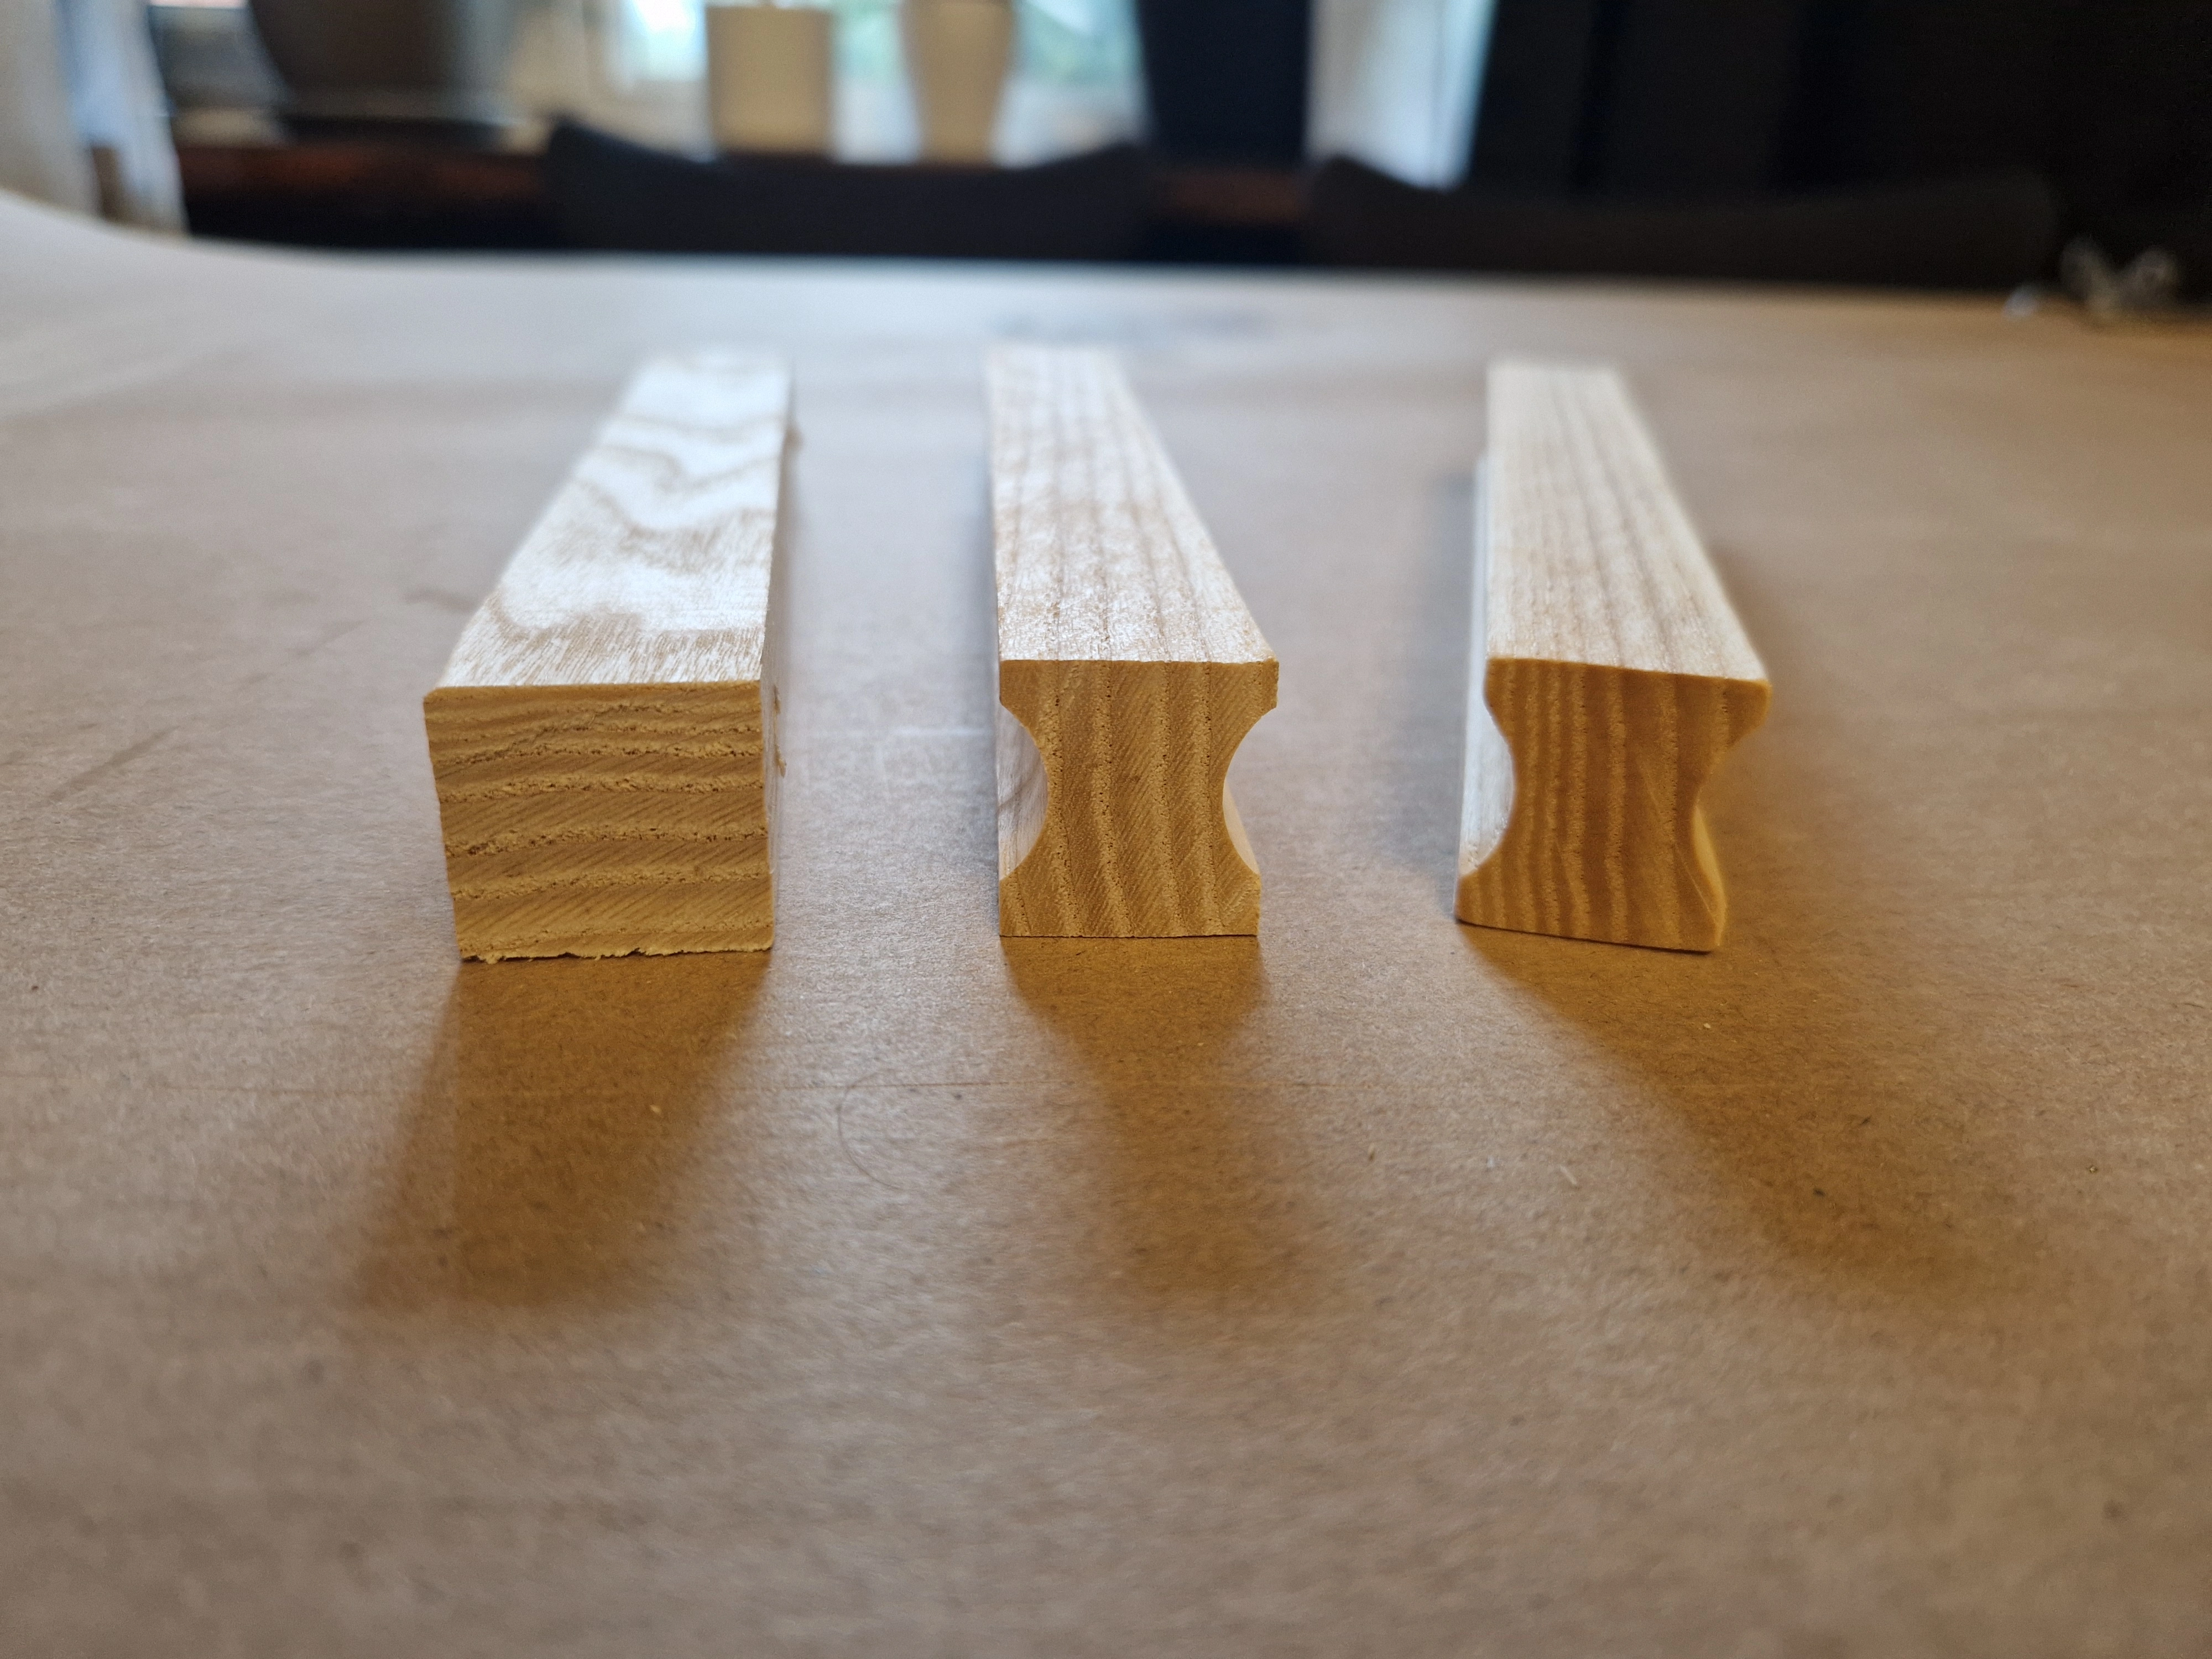
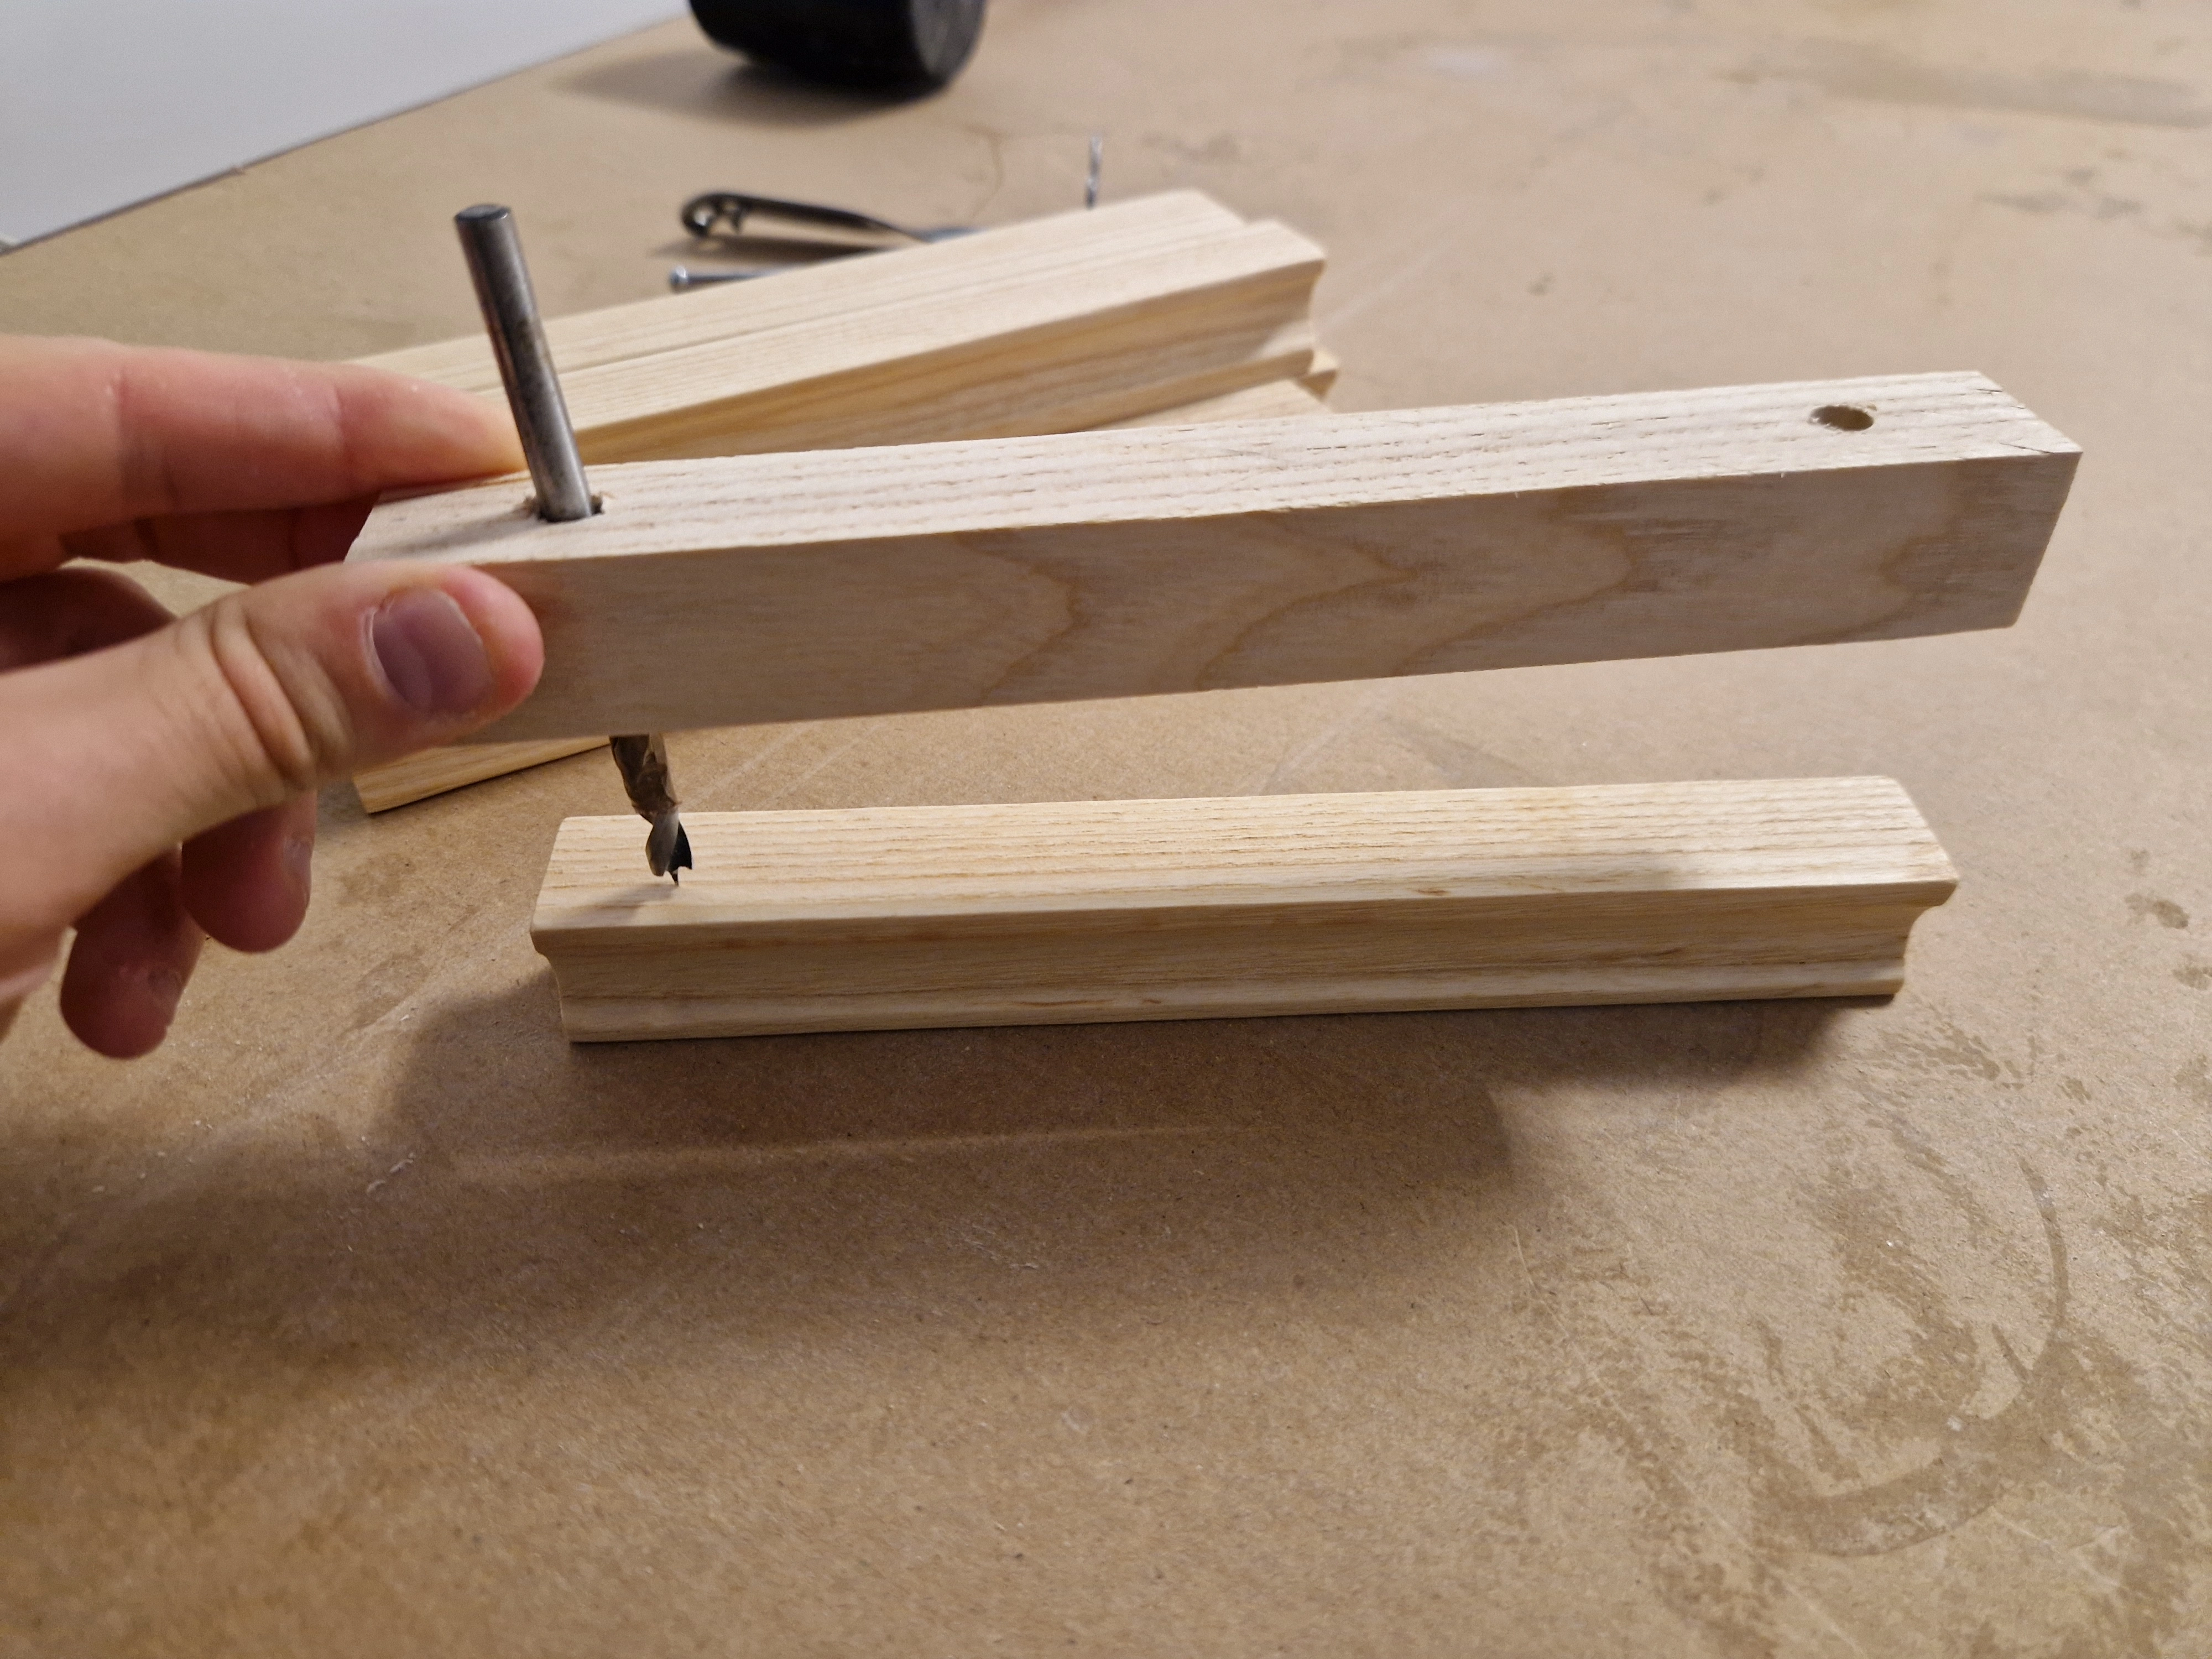
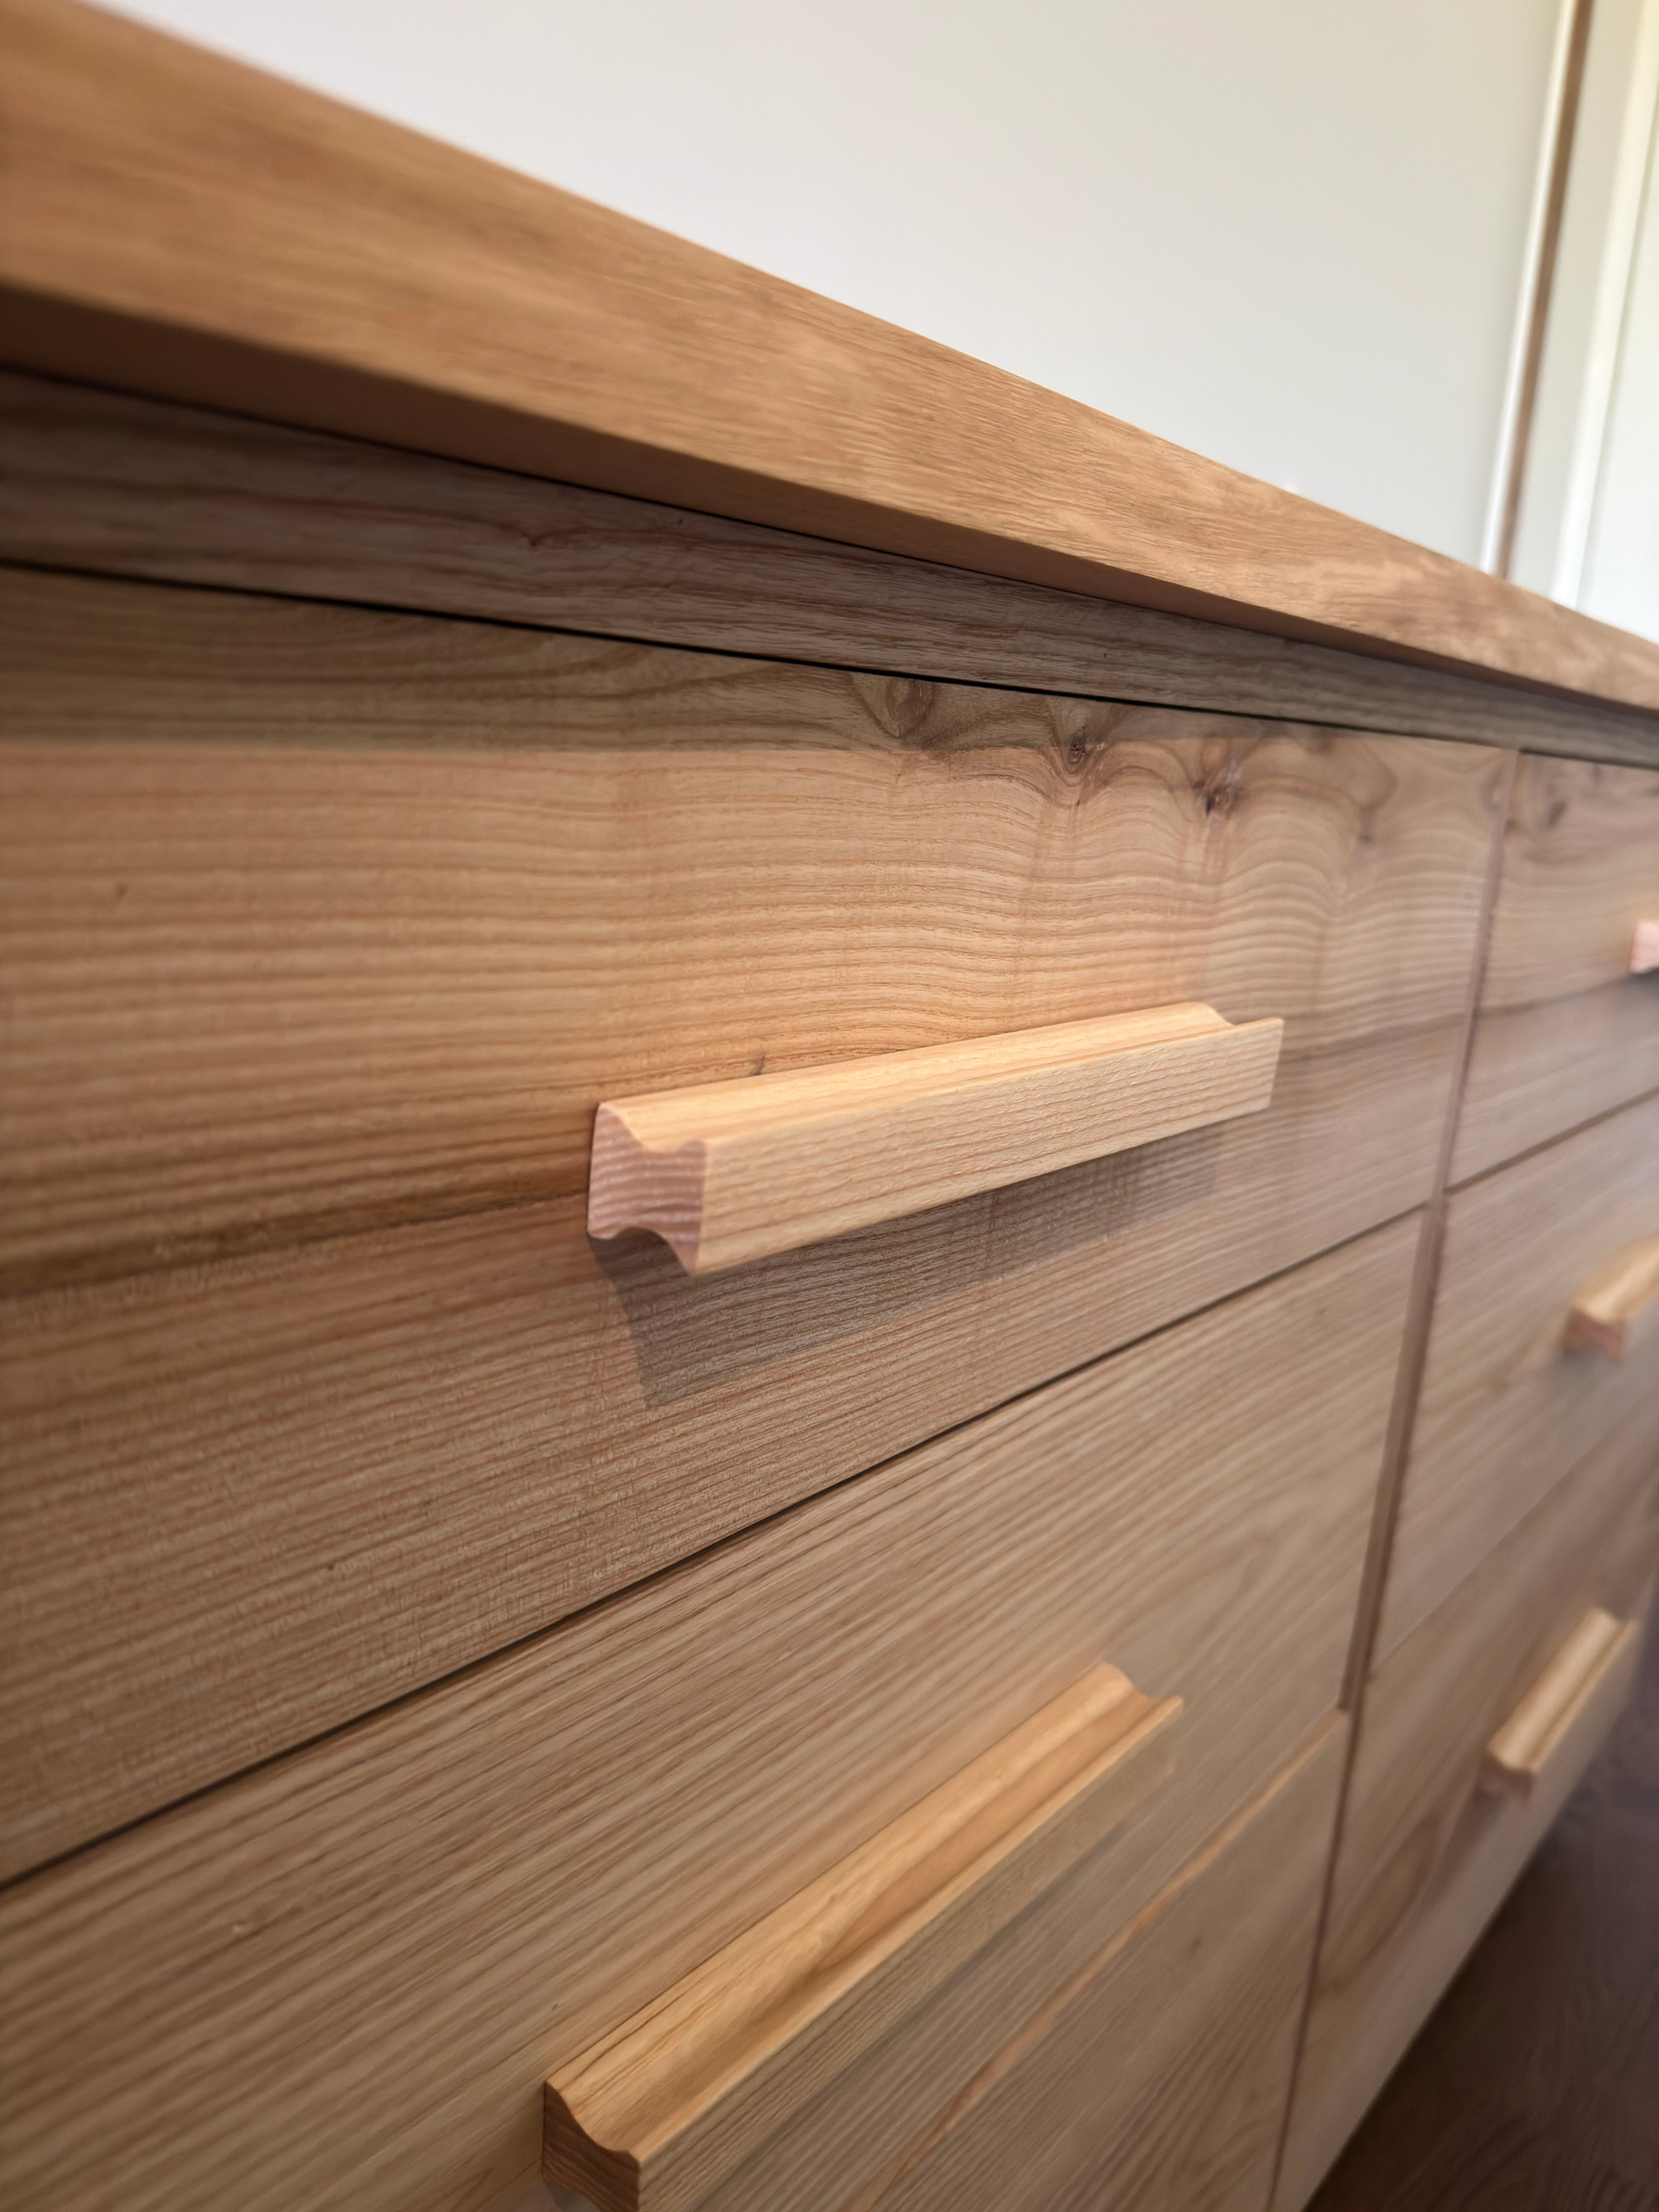
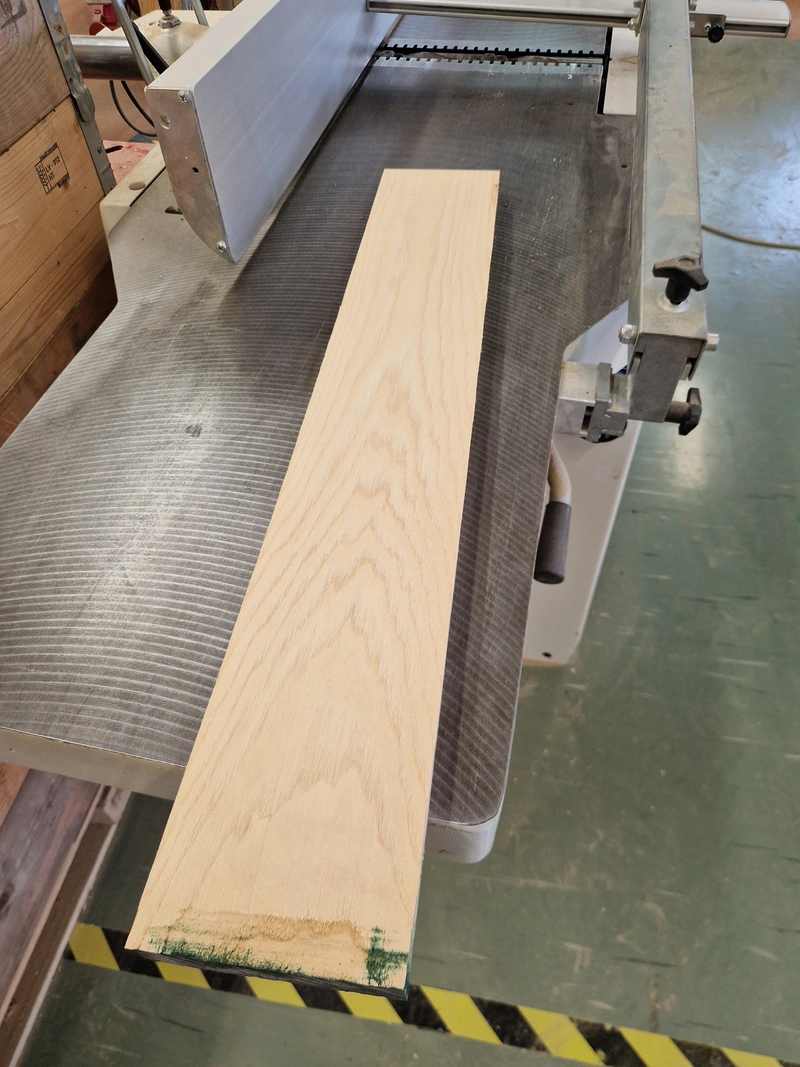
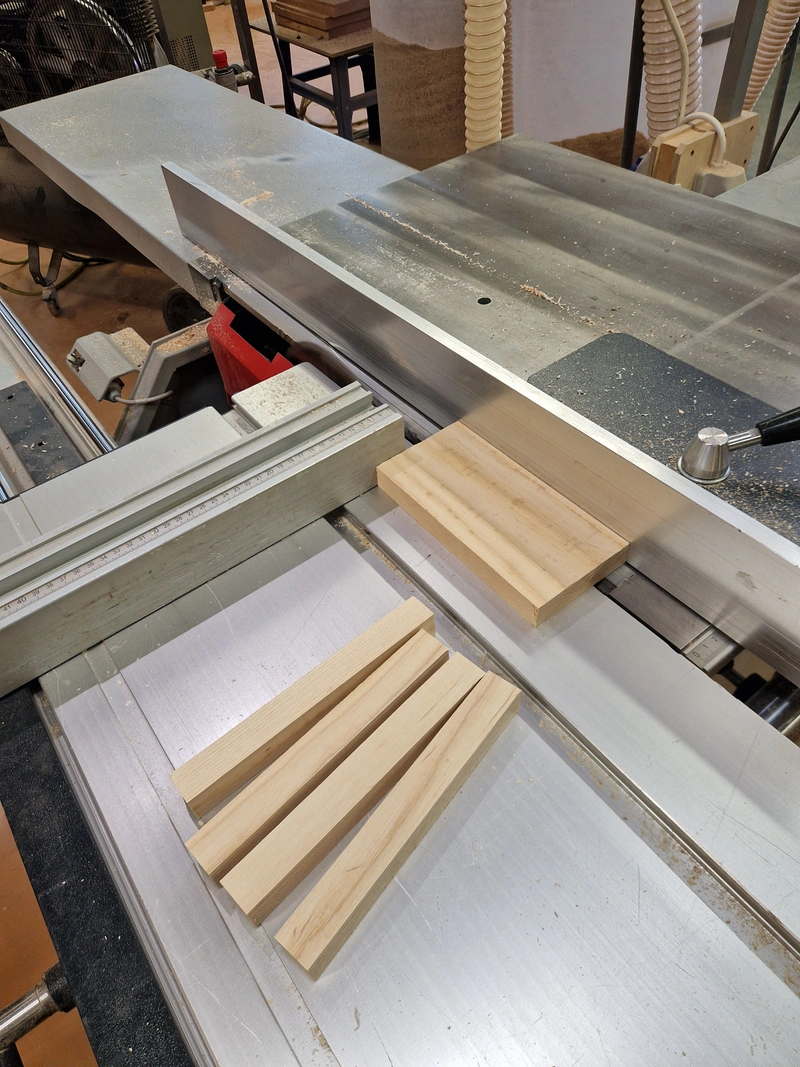
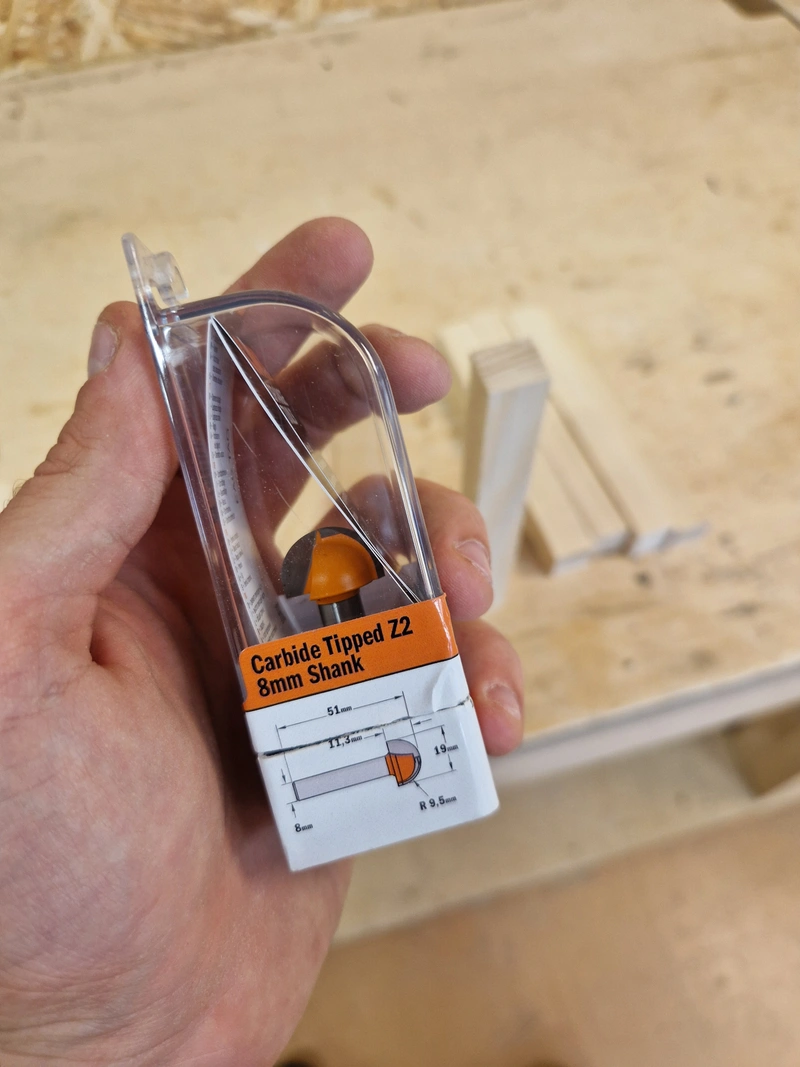
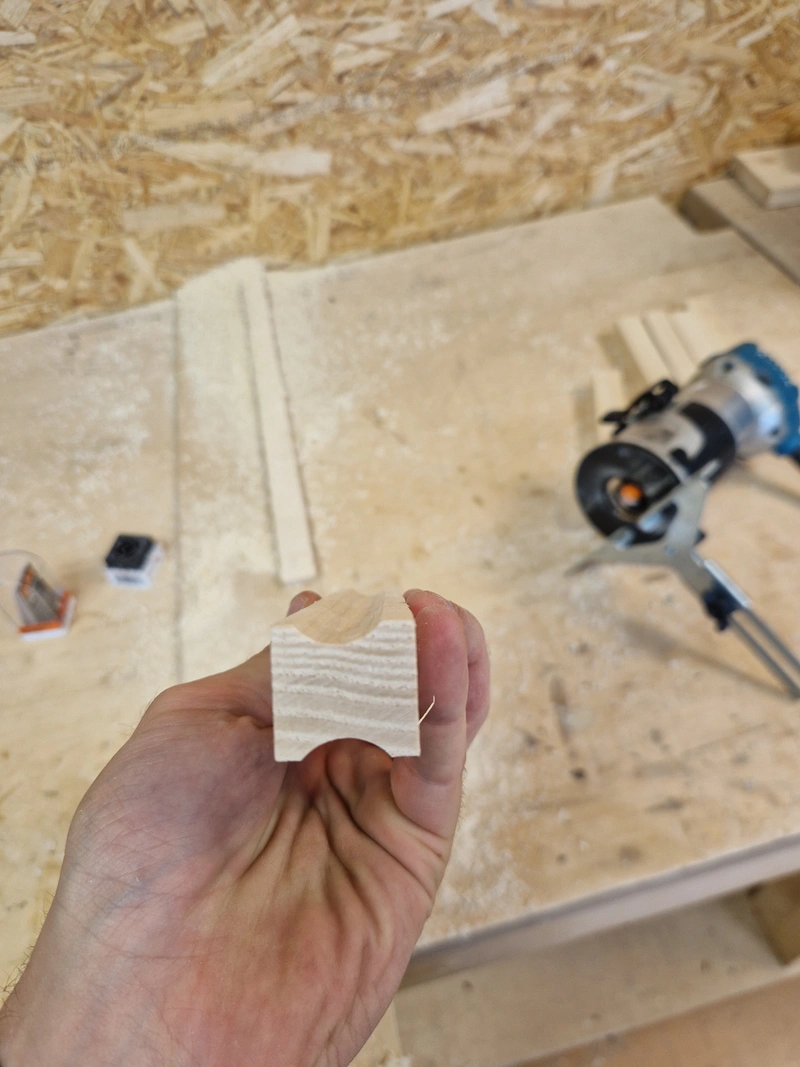
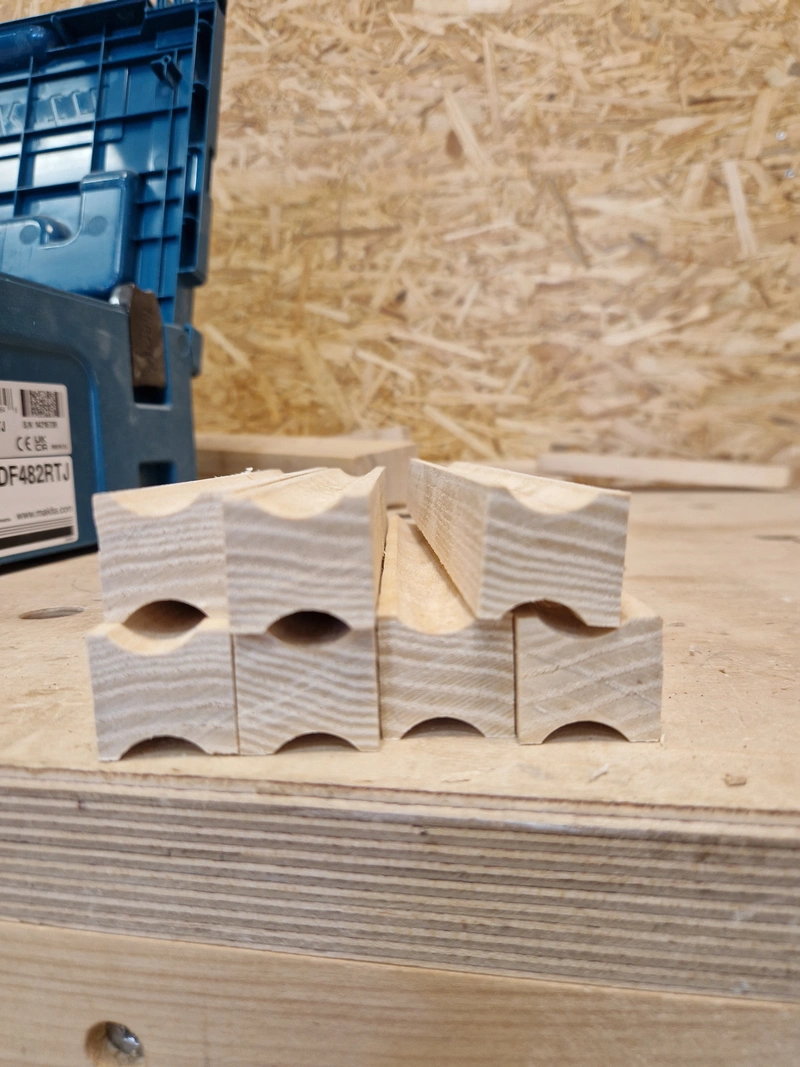
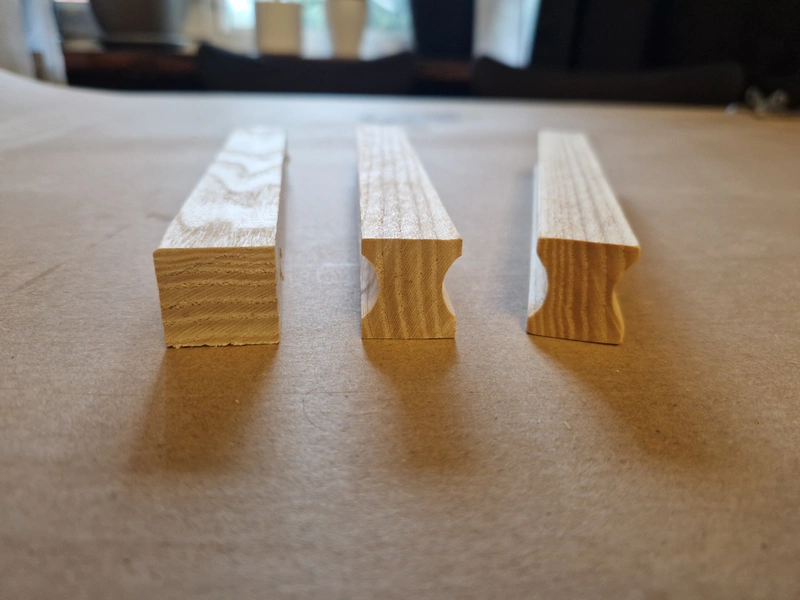
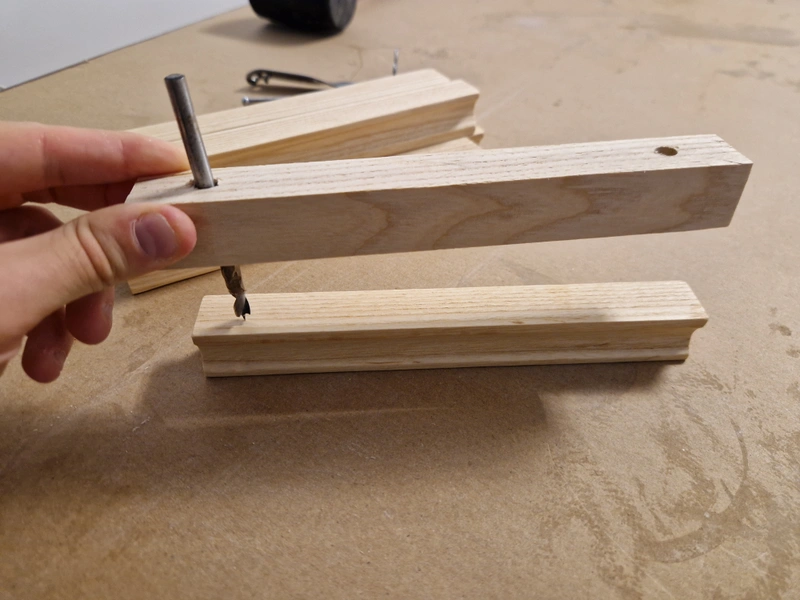
Made some very simple drawer pulls out of American ash, which is much more consistently lighter colored than european ash, to add some subtle contrast between the carcass and drawer pulls. Cut out 25mm x 20mm x 200mm rectangles, smoothed both sides asymmetrically with a router and glued in threaded inserts. The drawer boxes and pulls attach via a classic threaded insert & bolt-and-washer setup which I like a lot because it means you dont have to be very accurate to get a perfectly level result.
1 / 7
.CT7PlsEI_sYDAn.webp)