Credenza
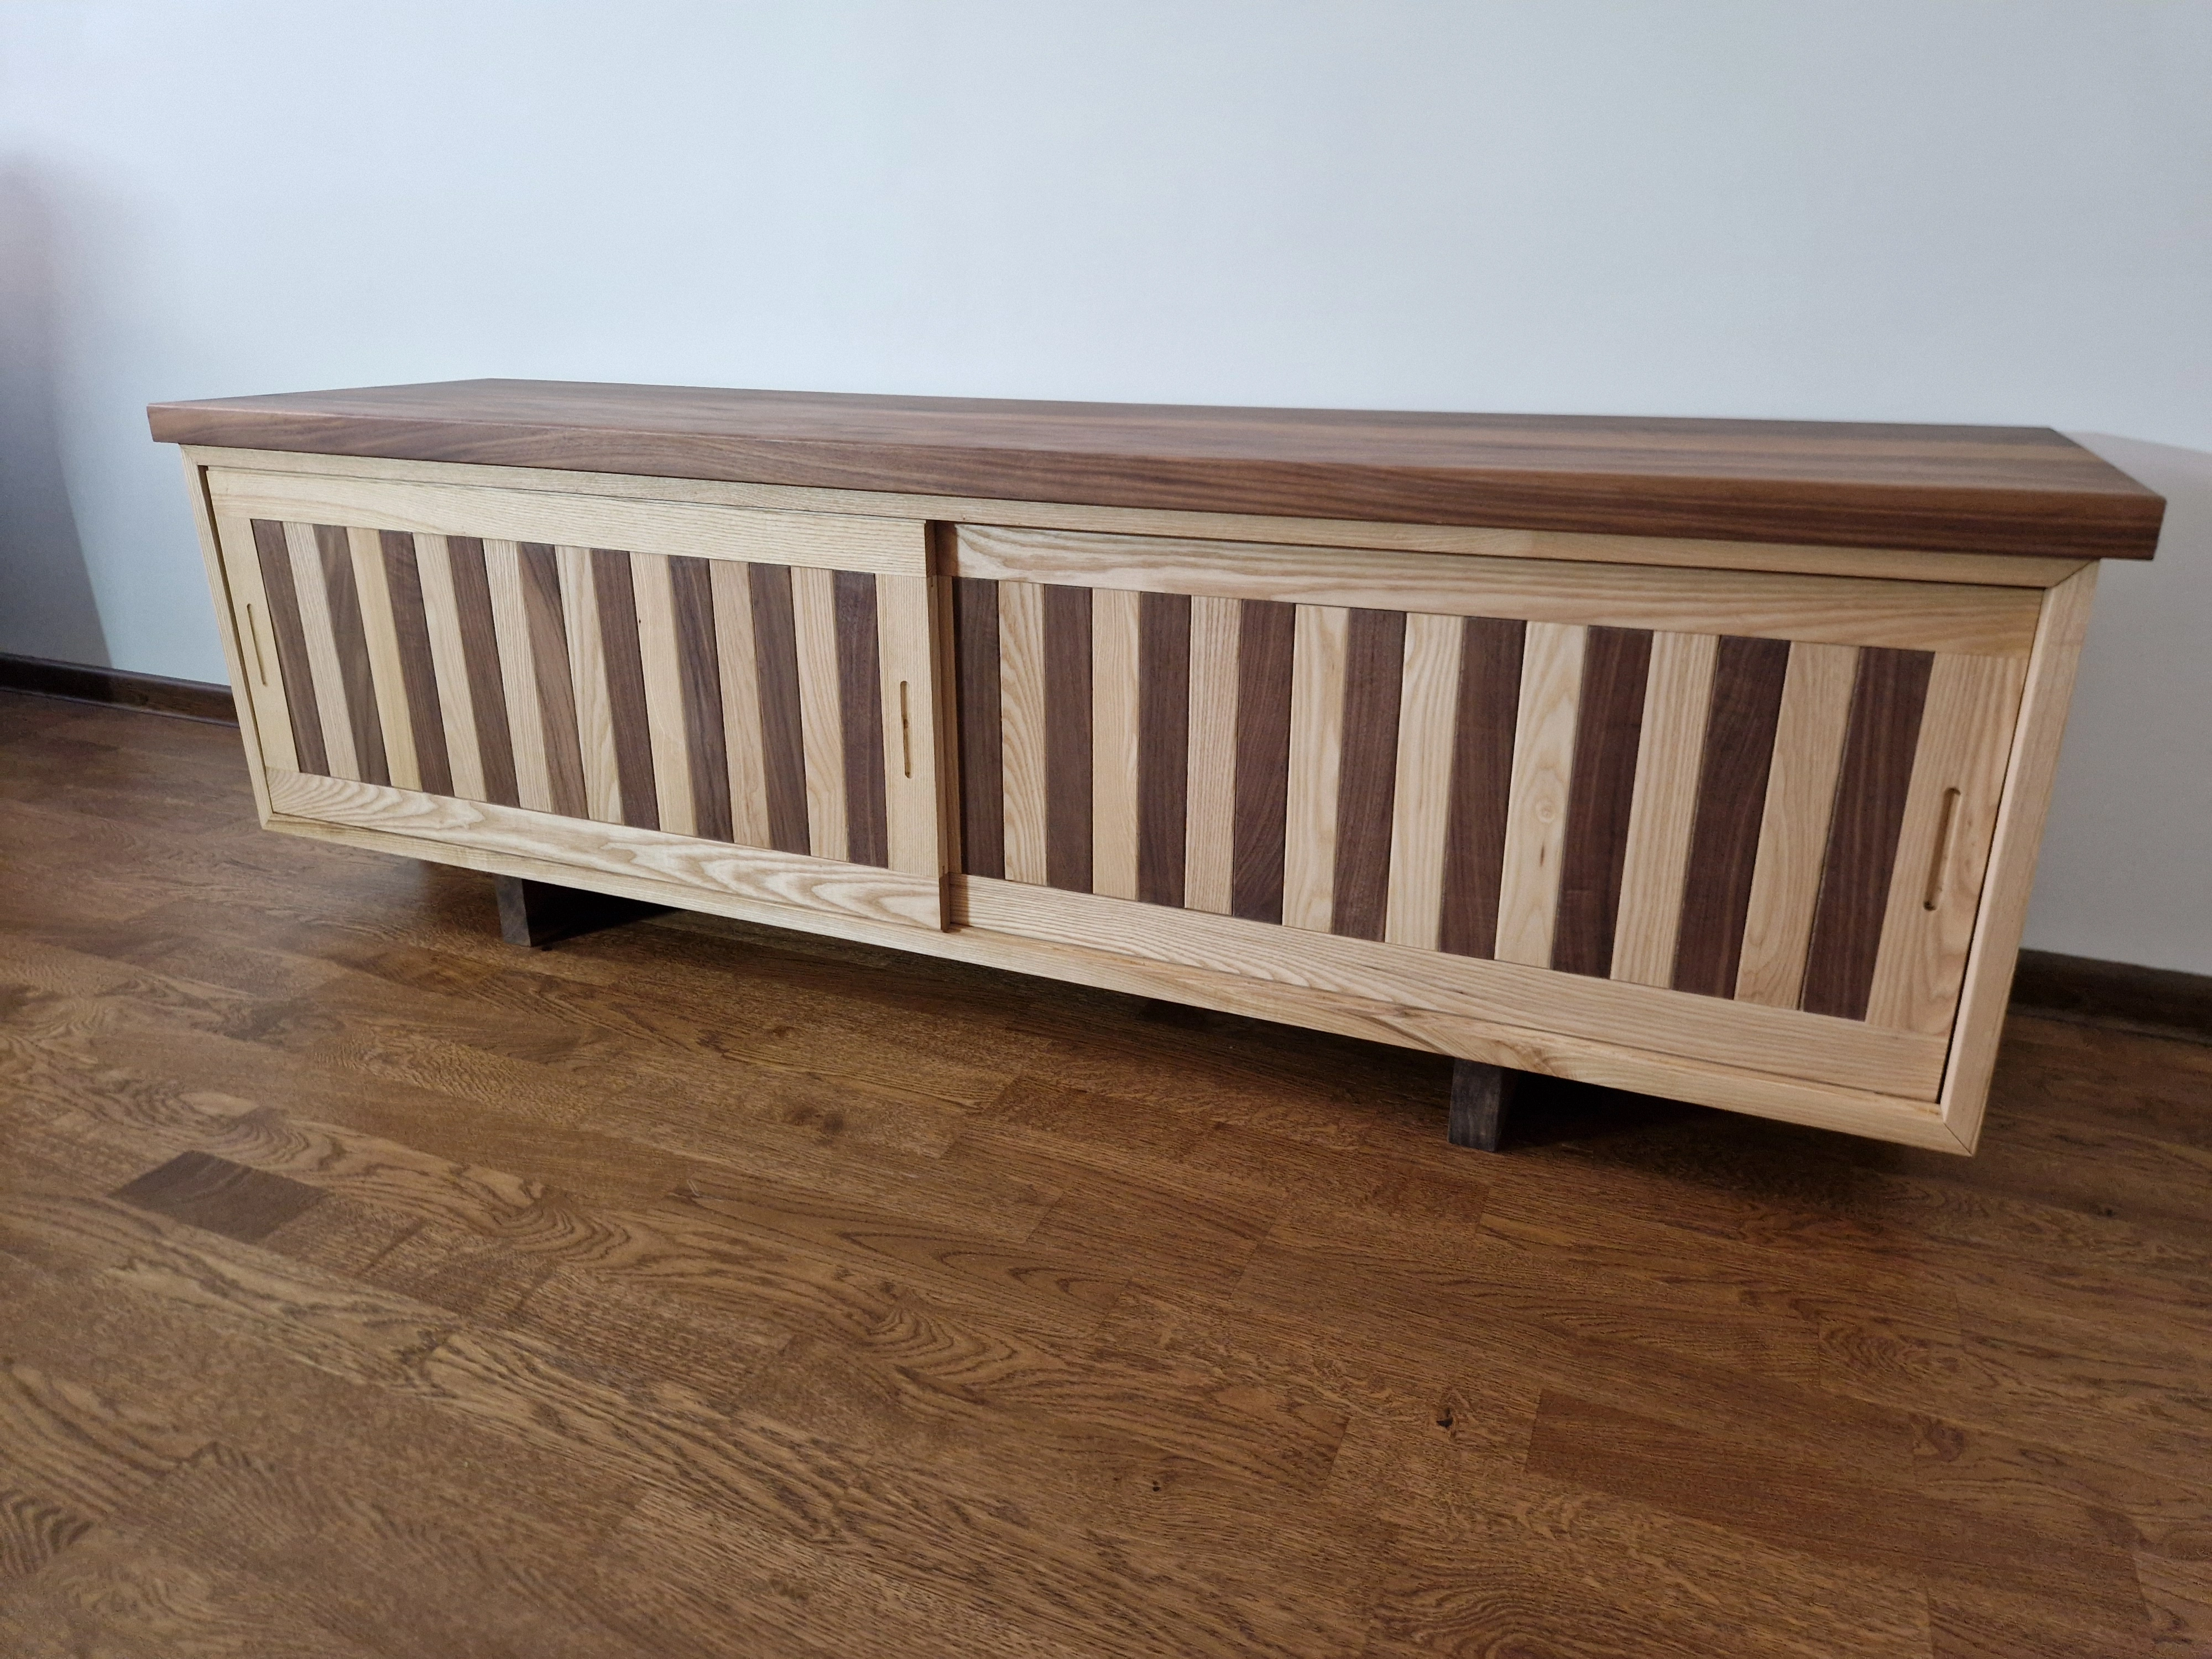
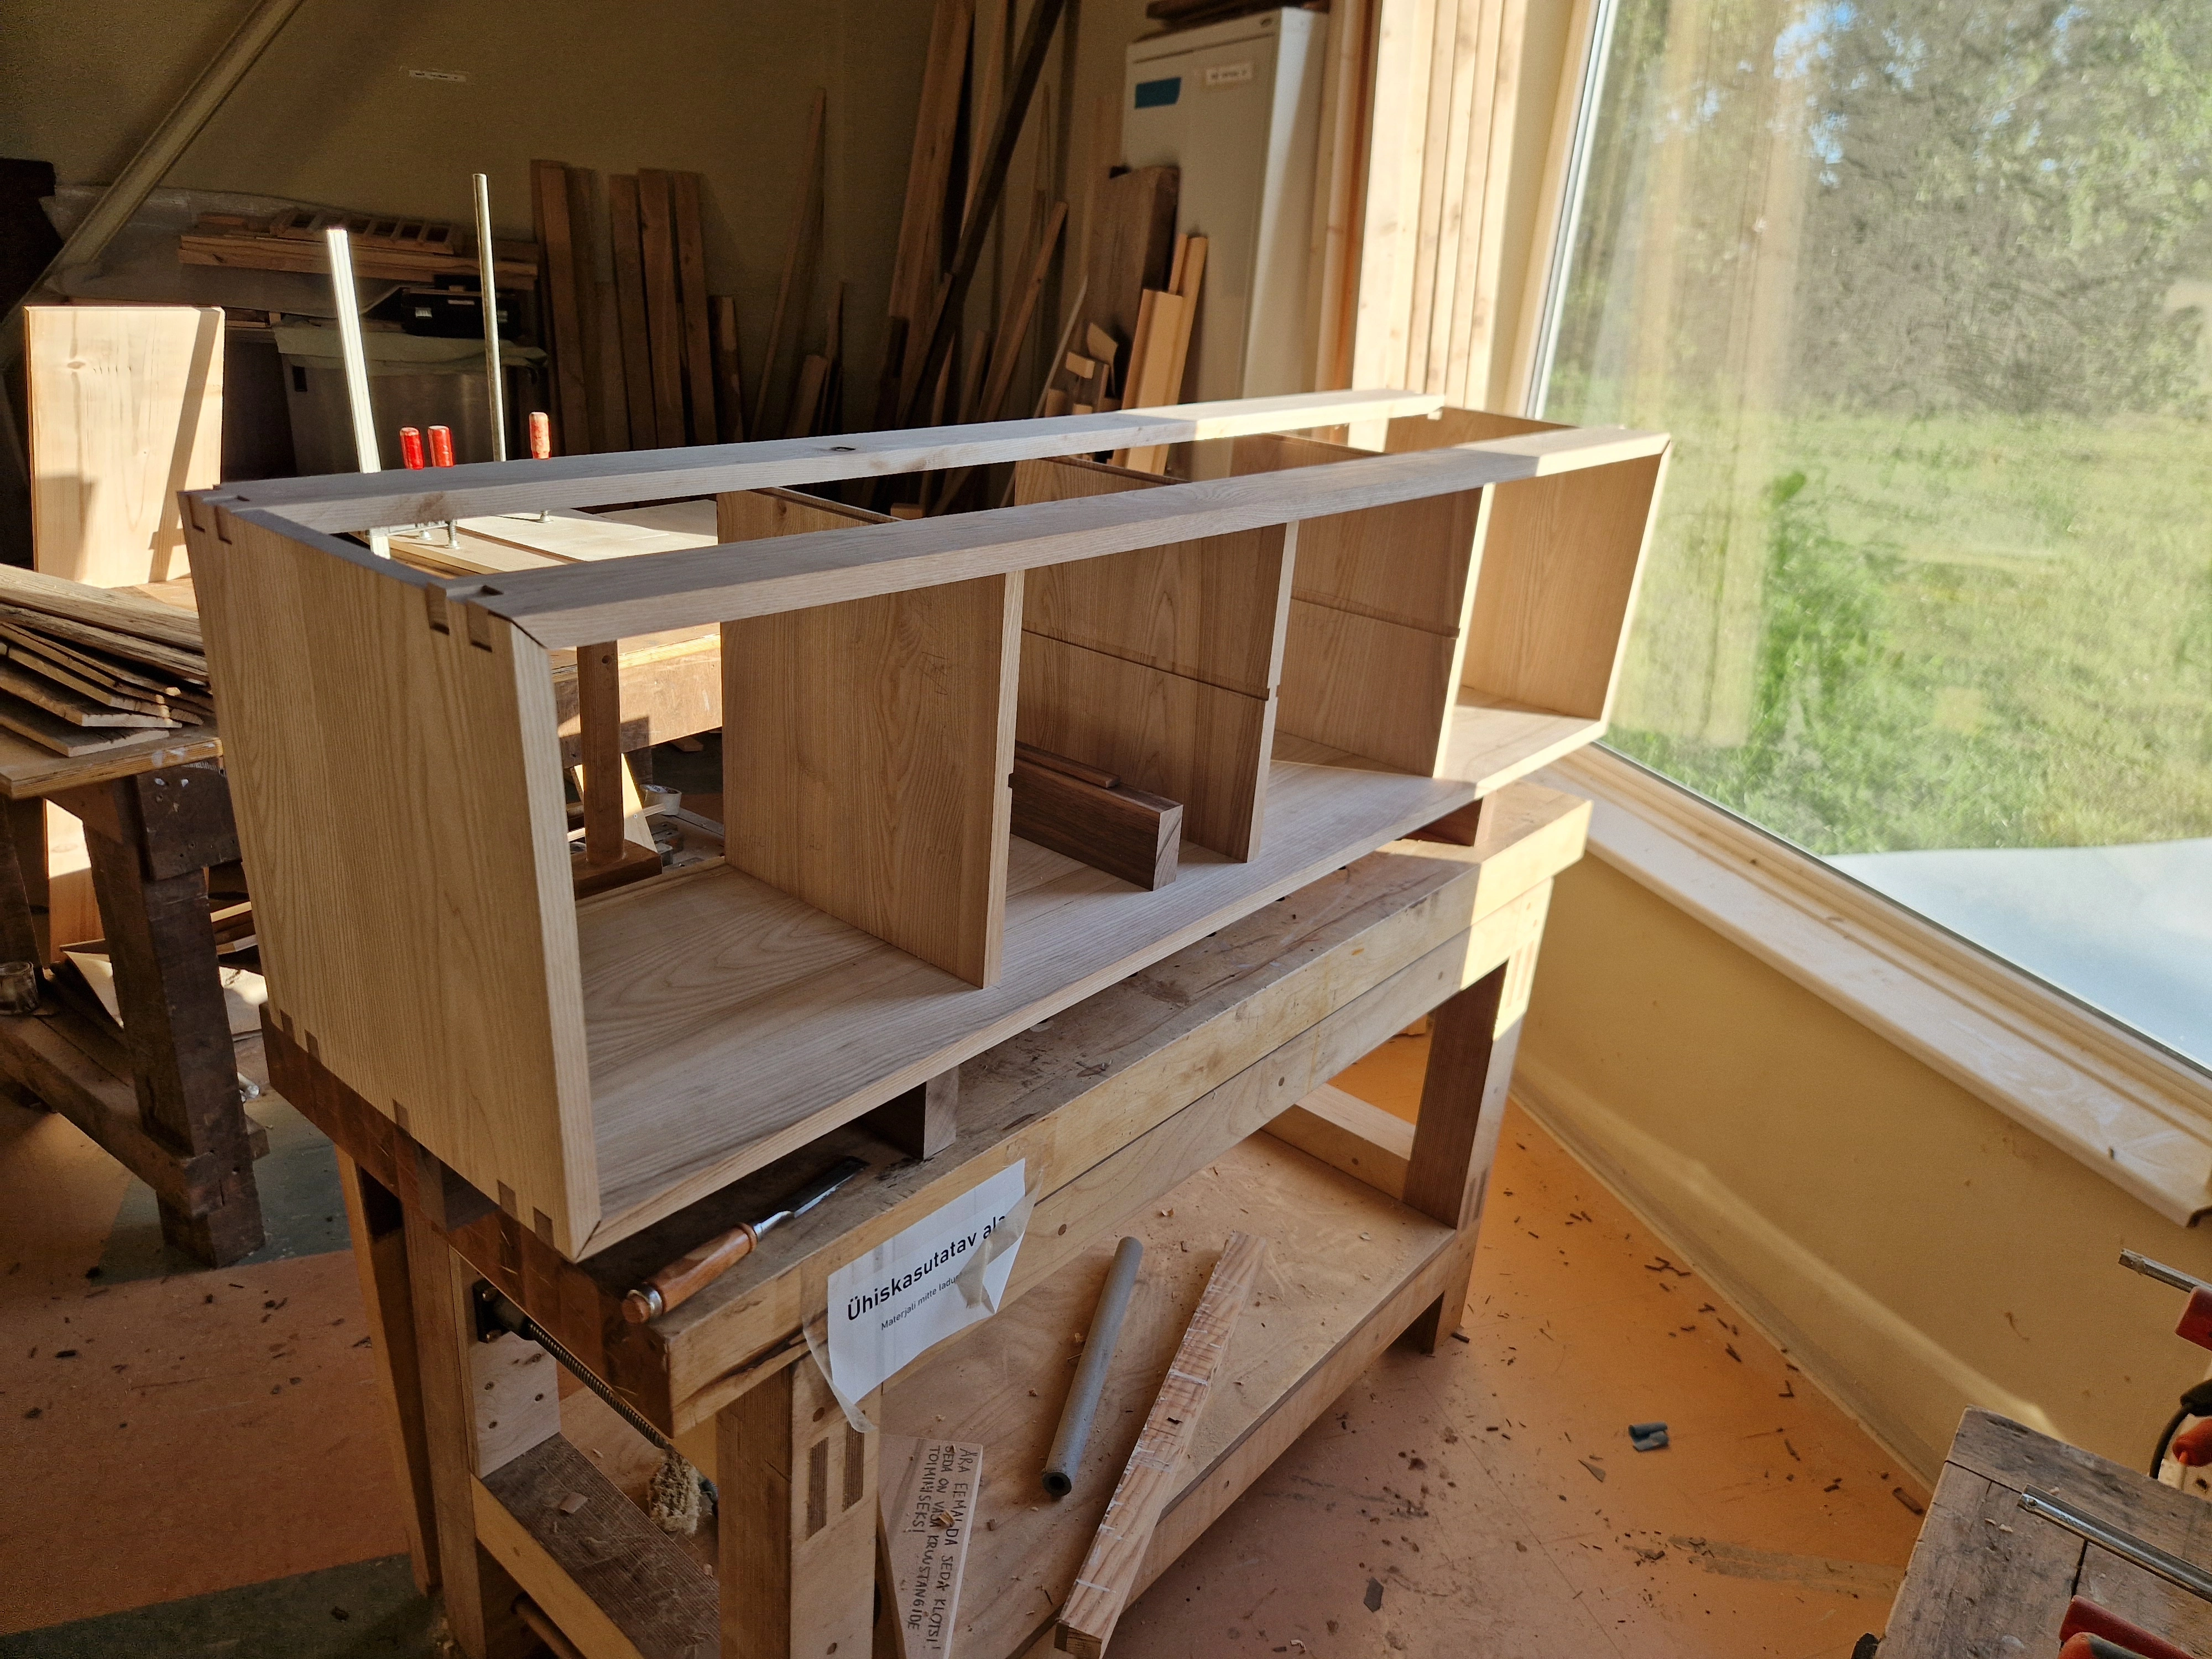
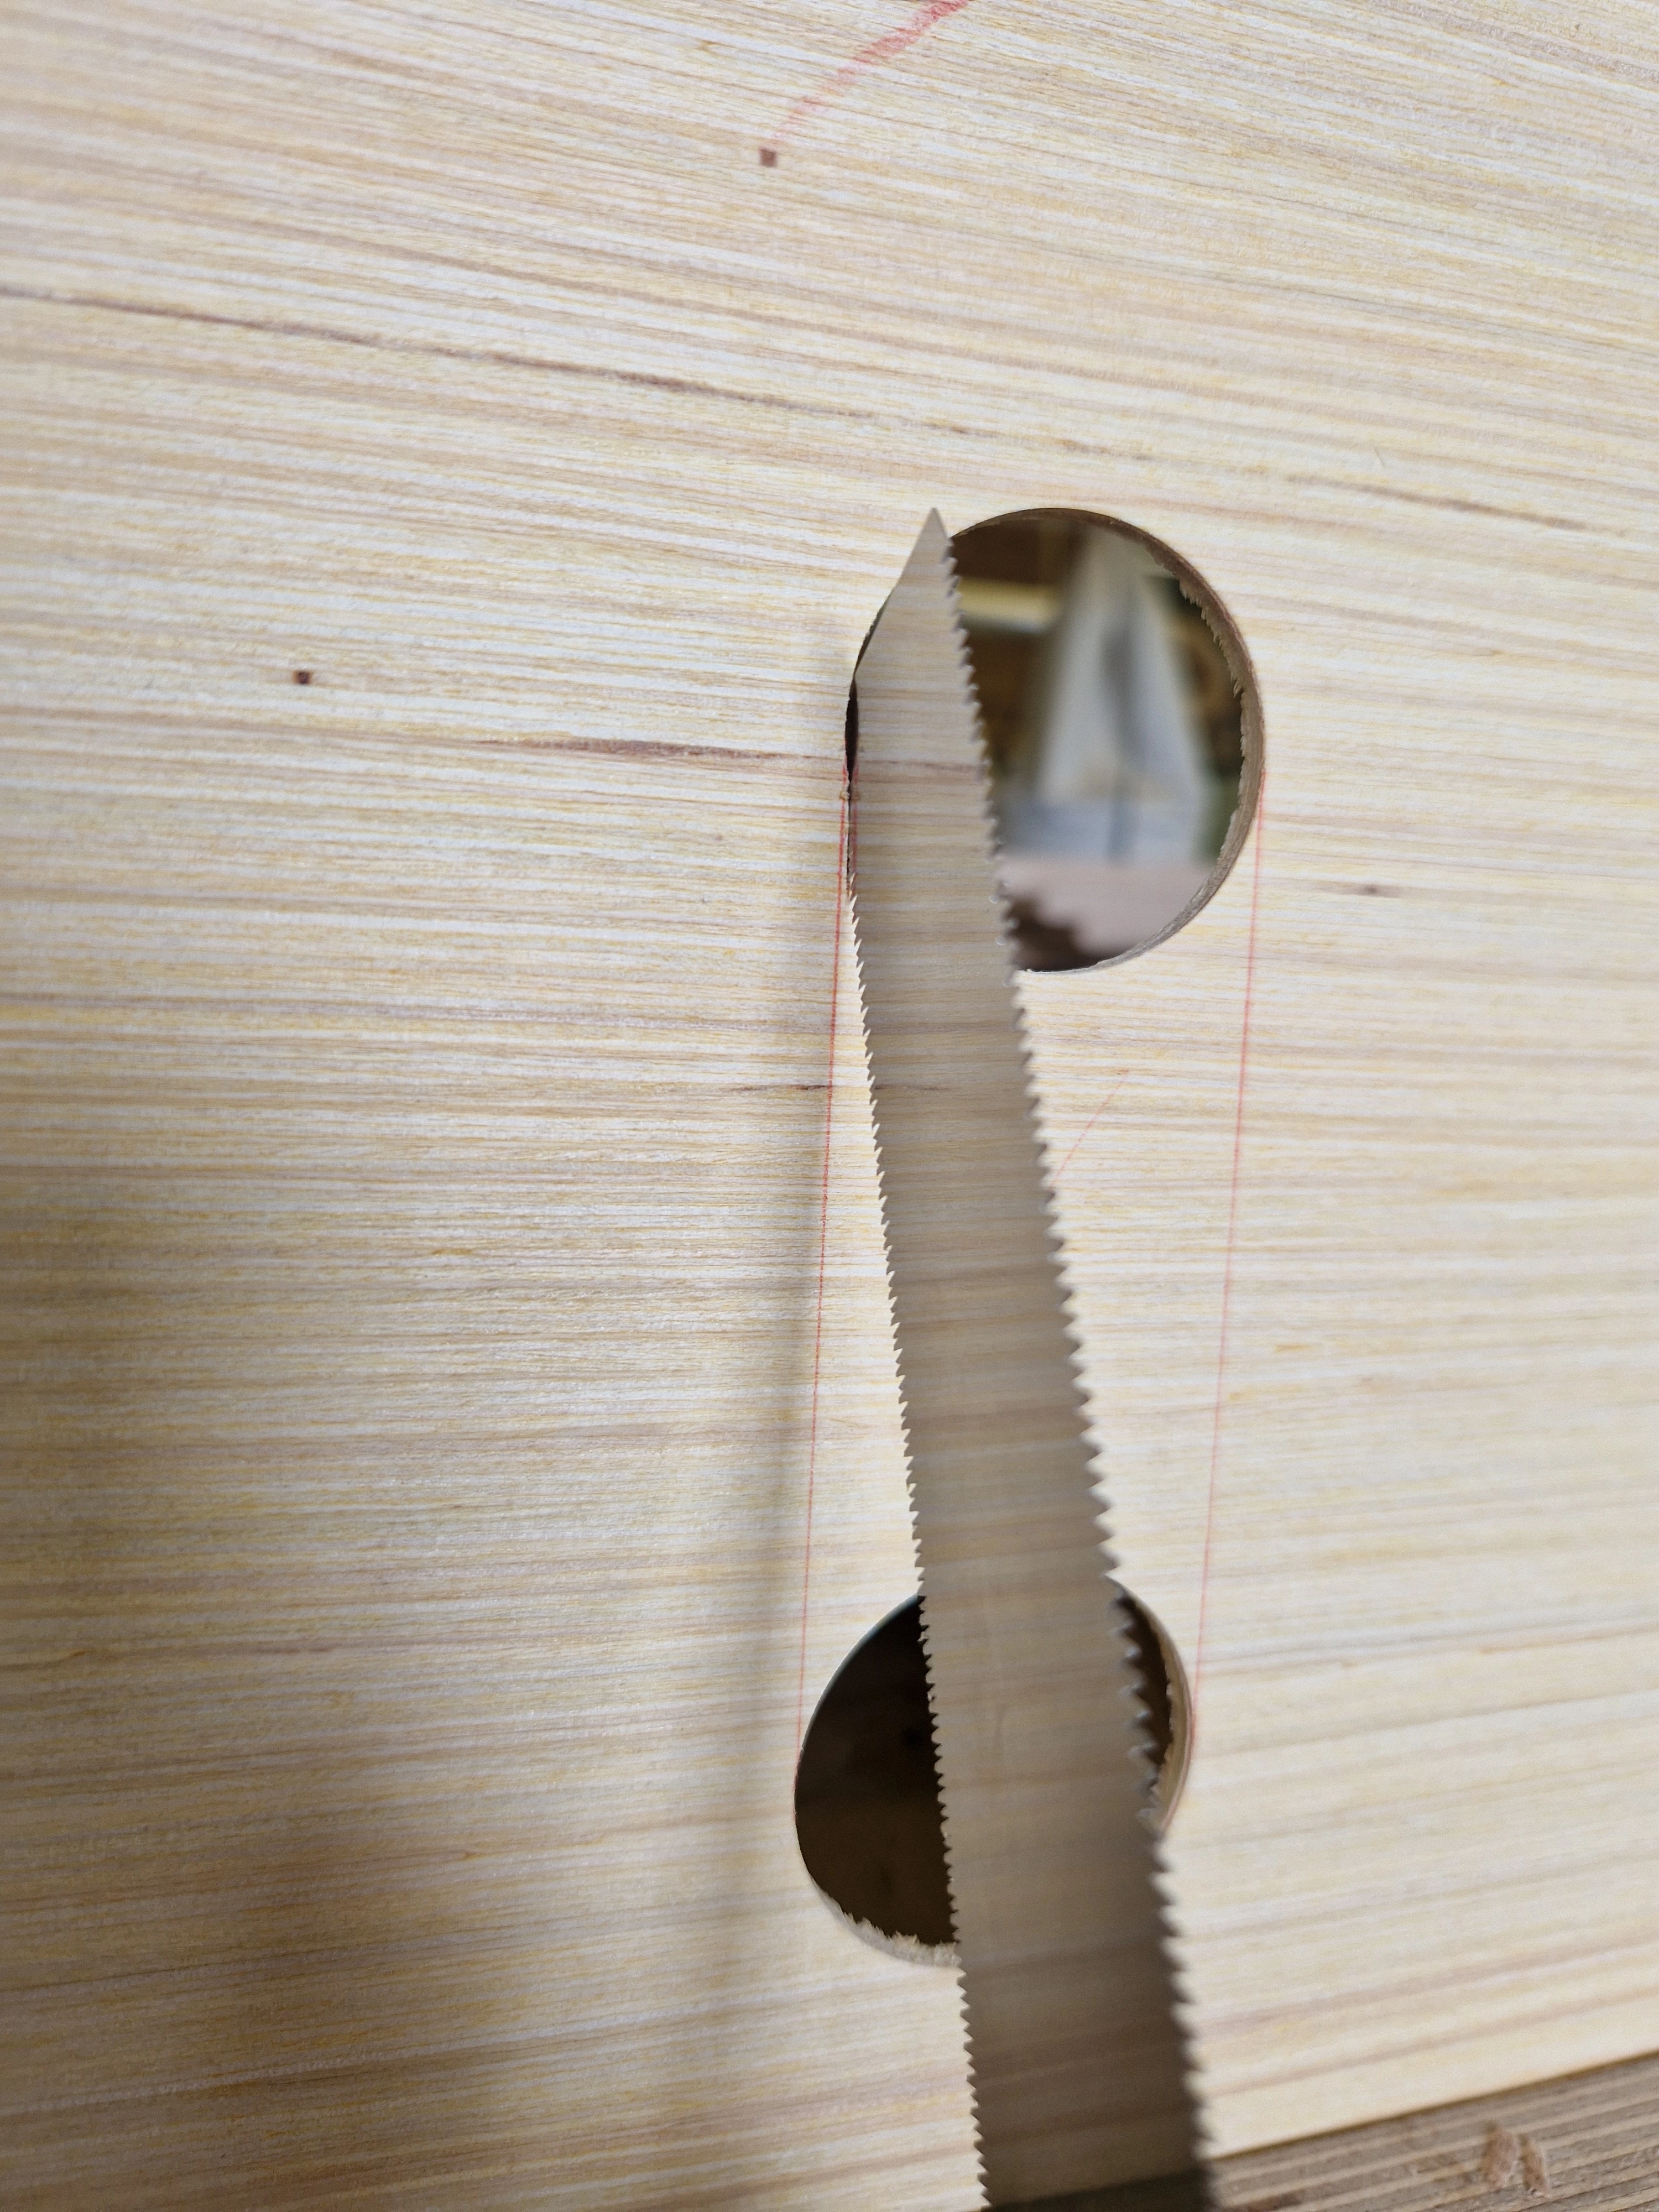
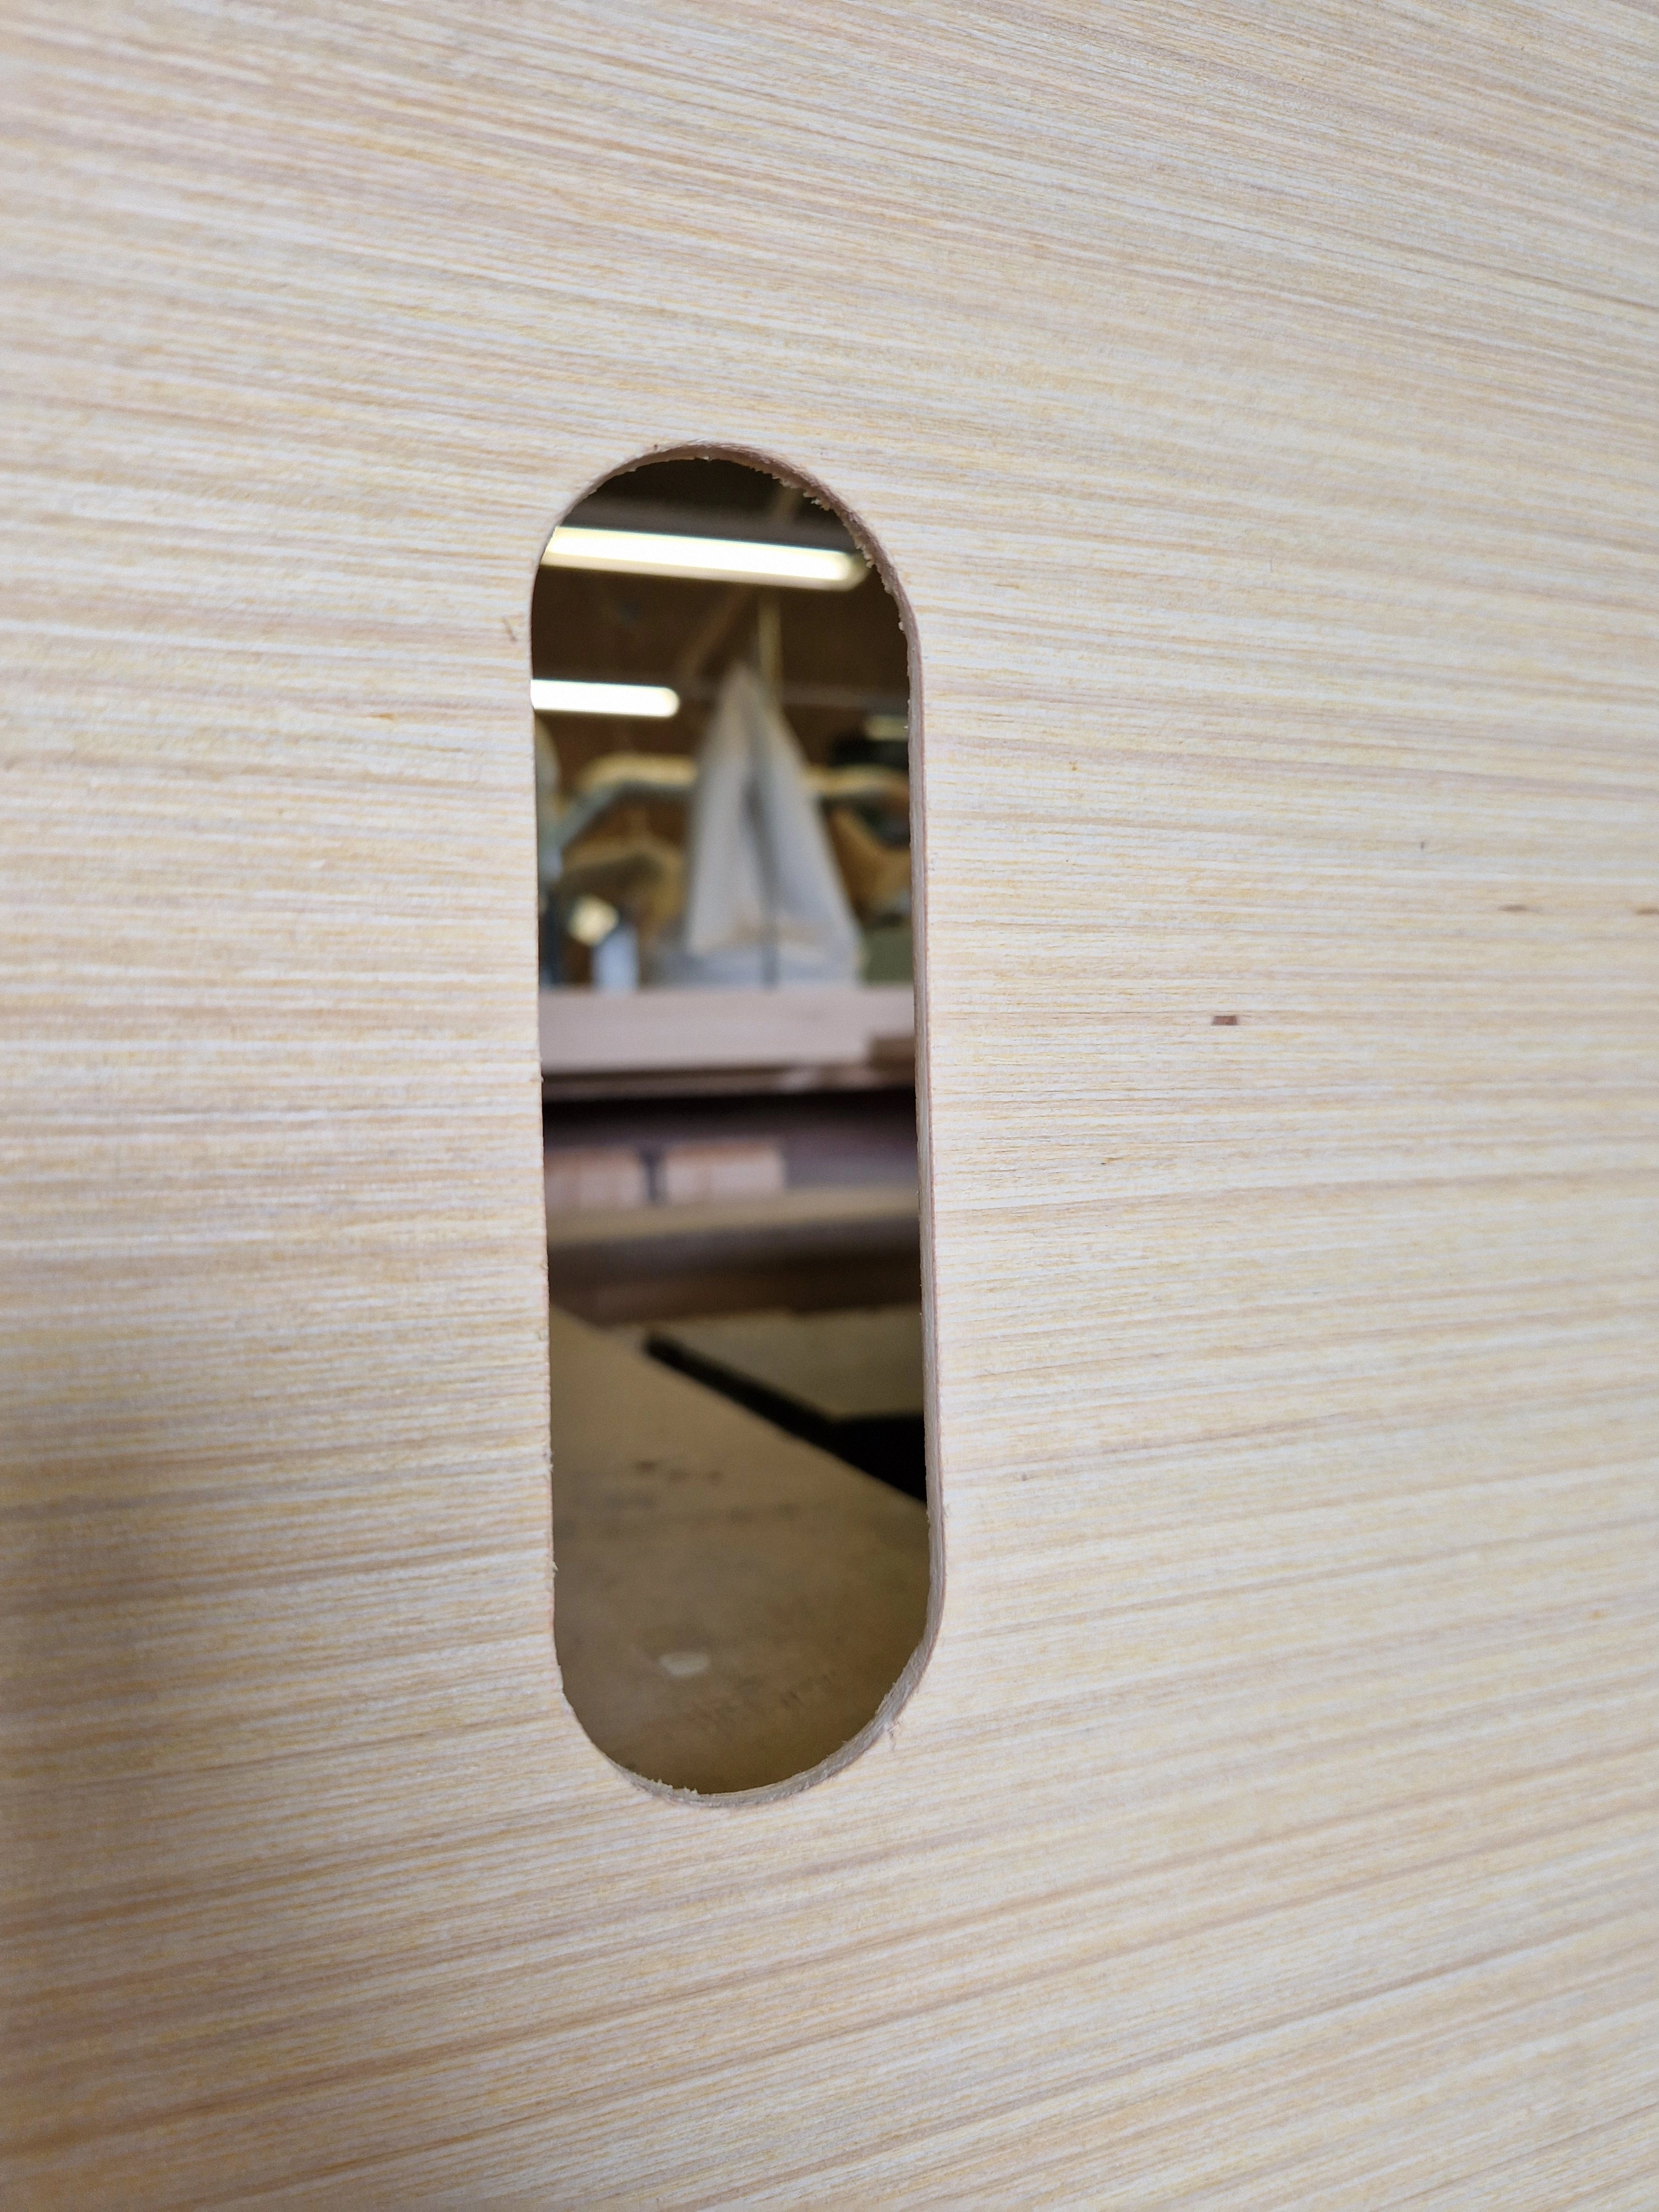
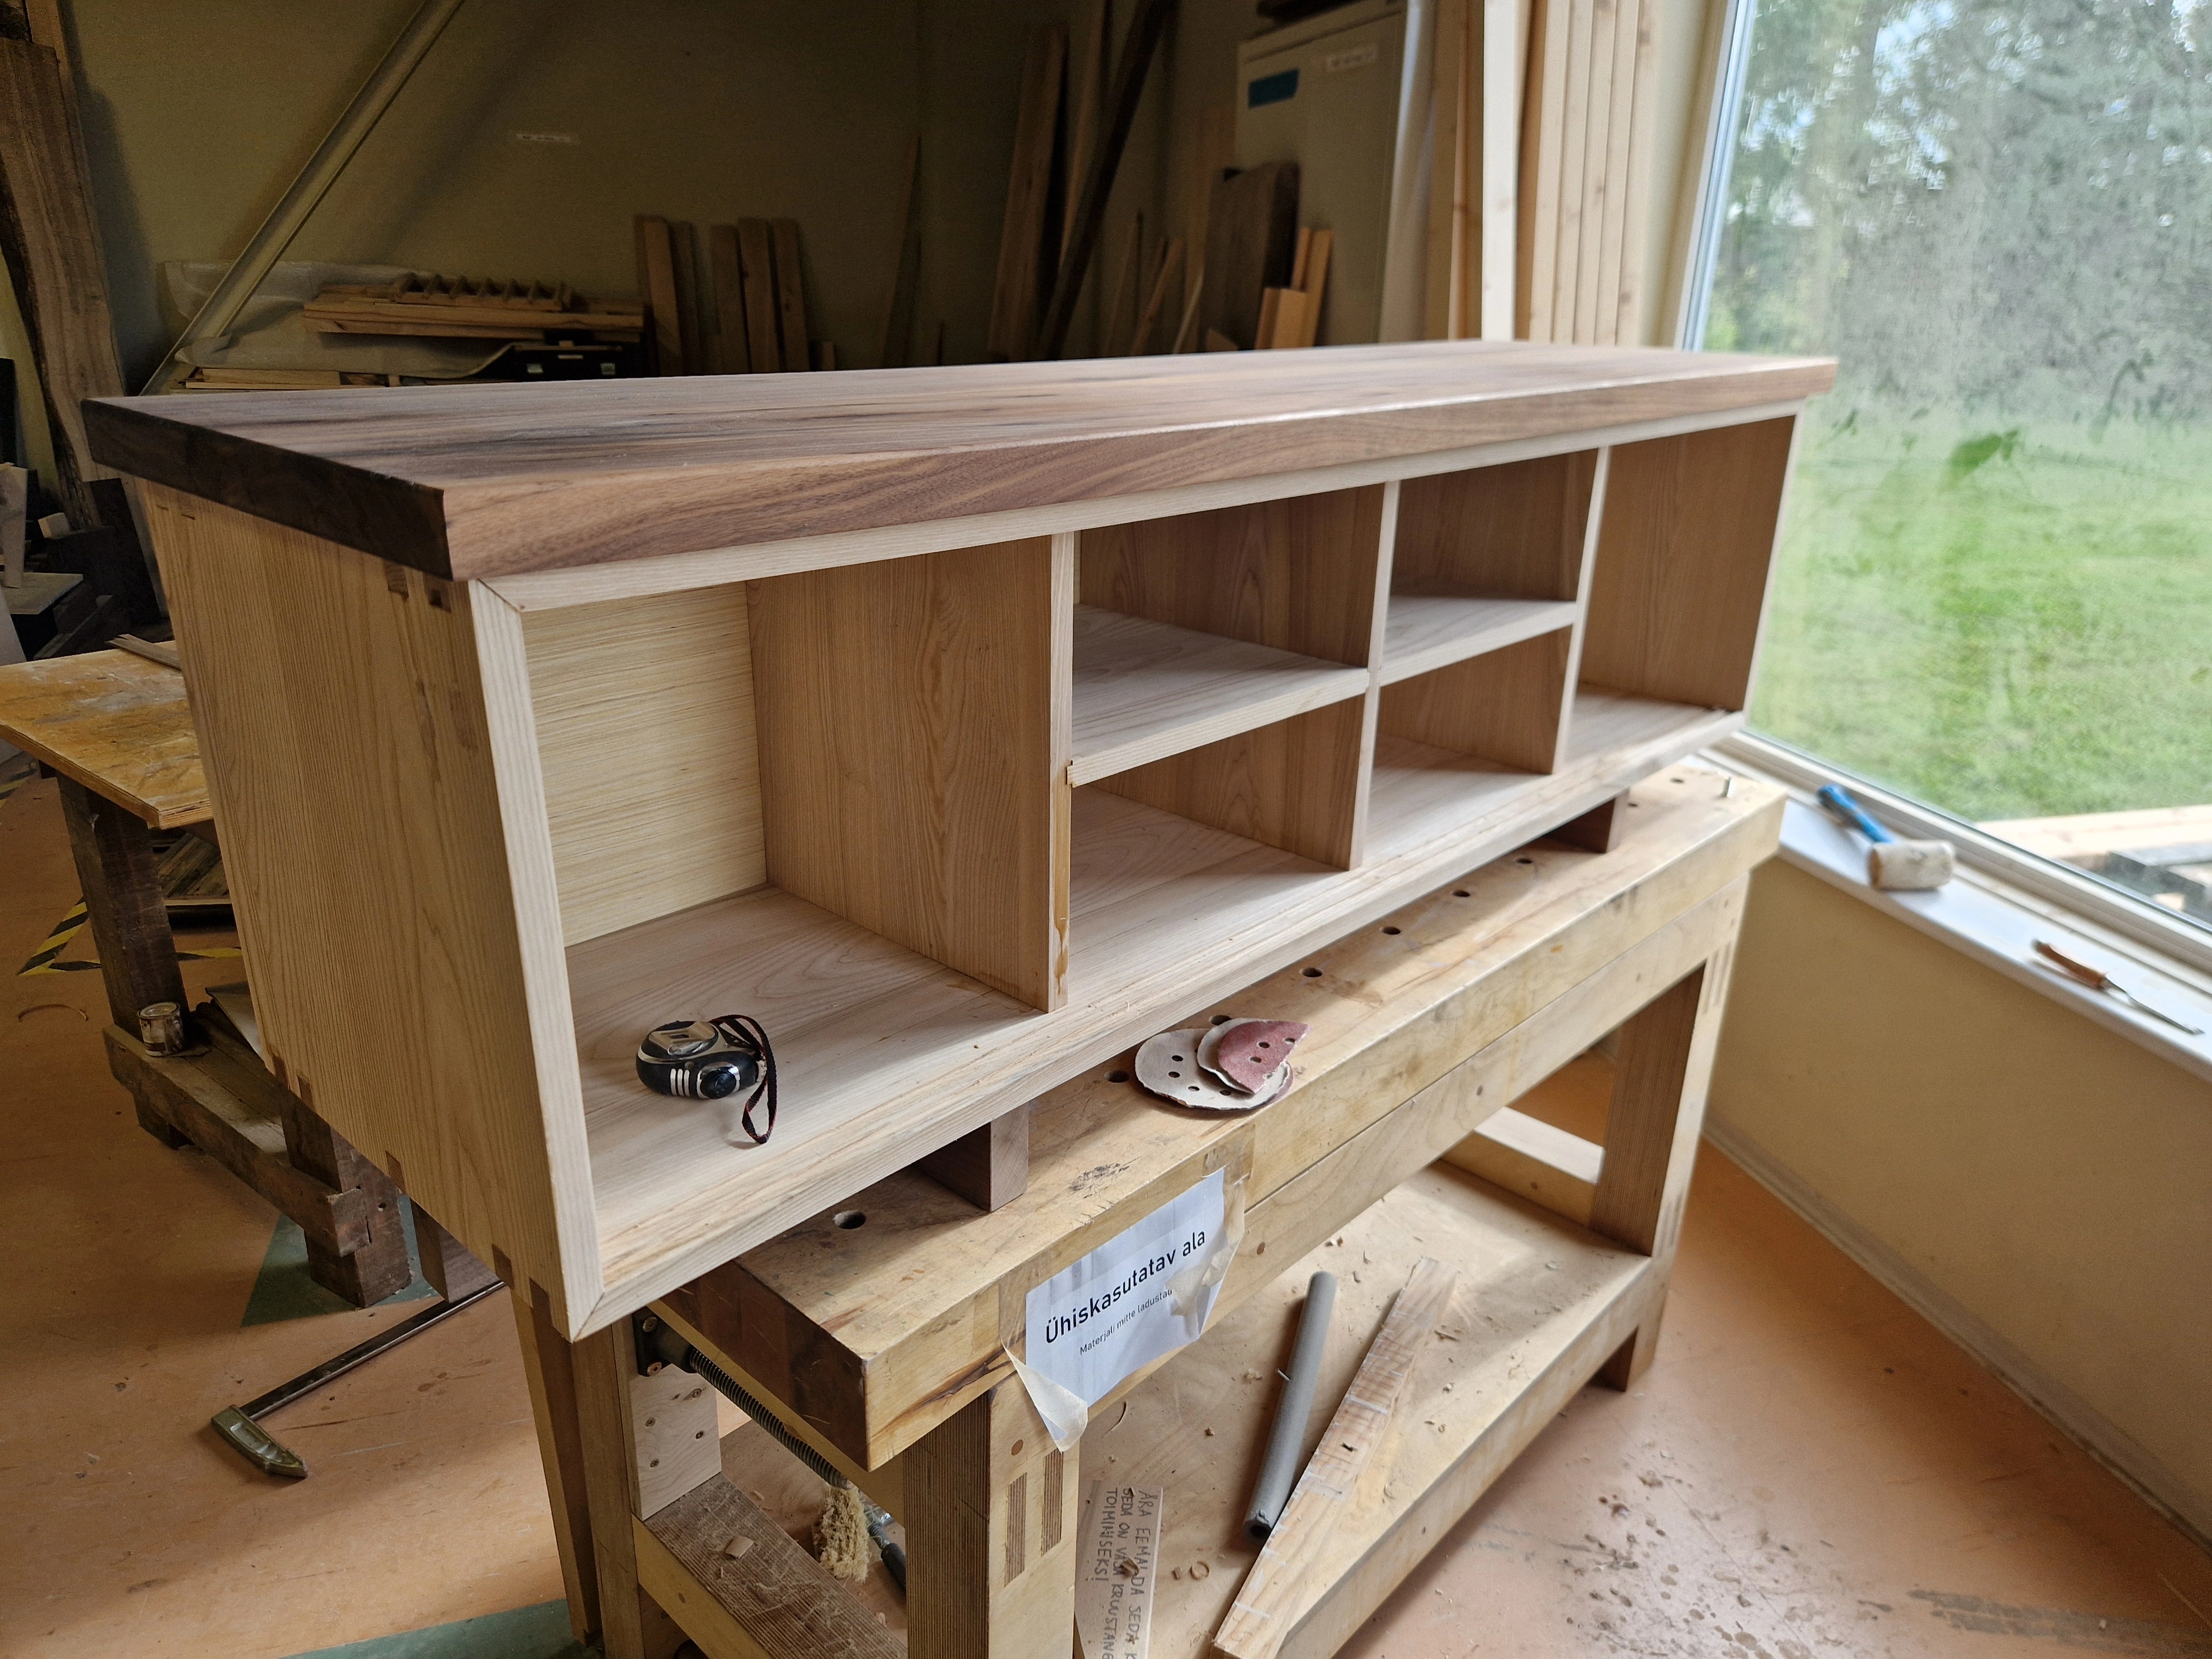
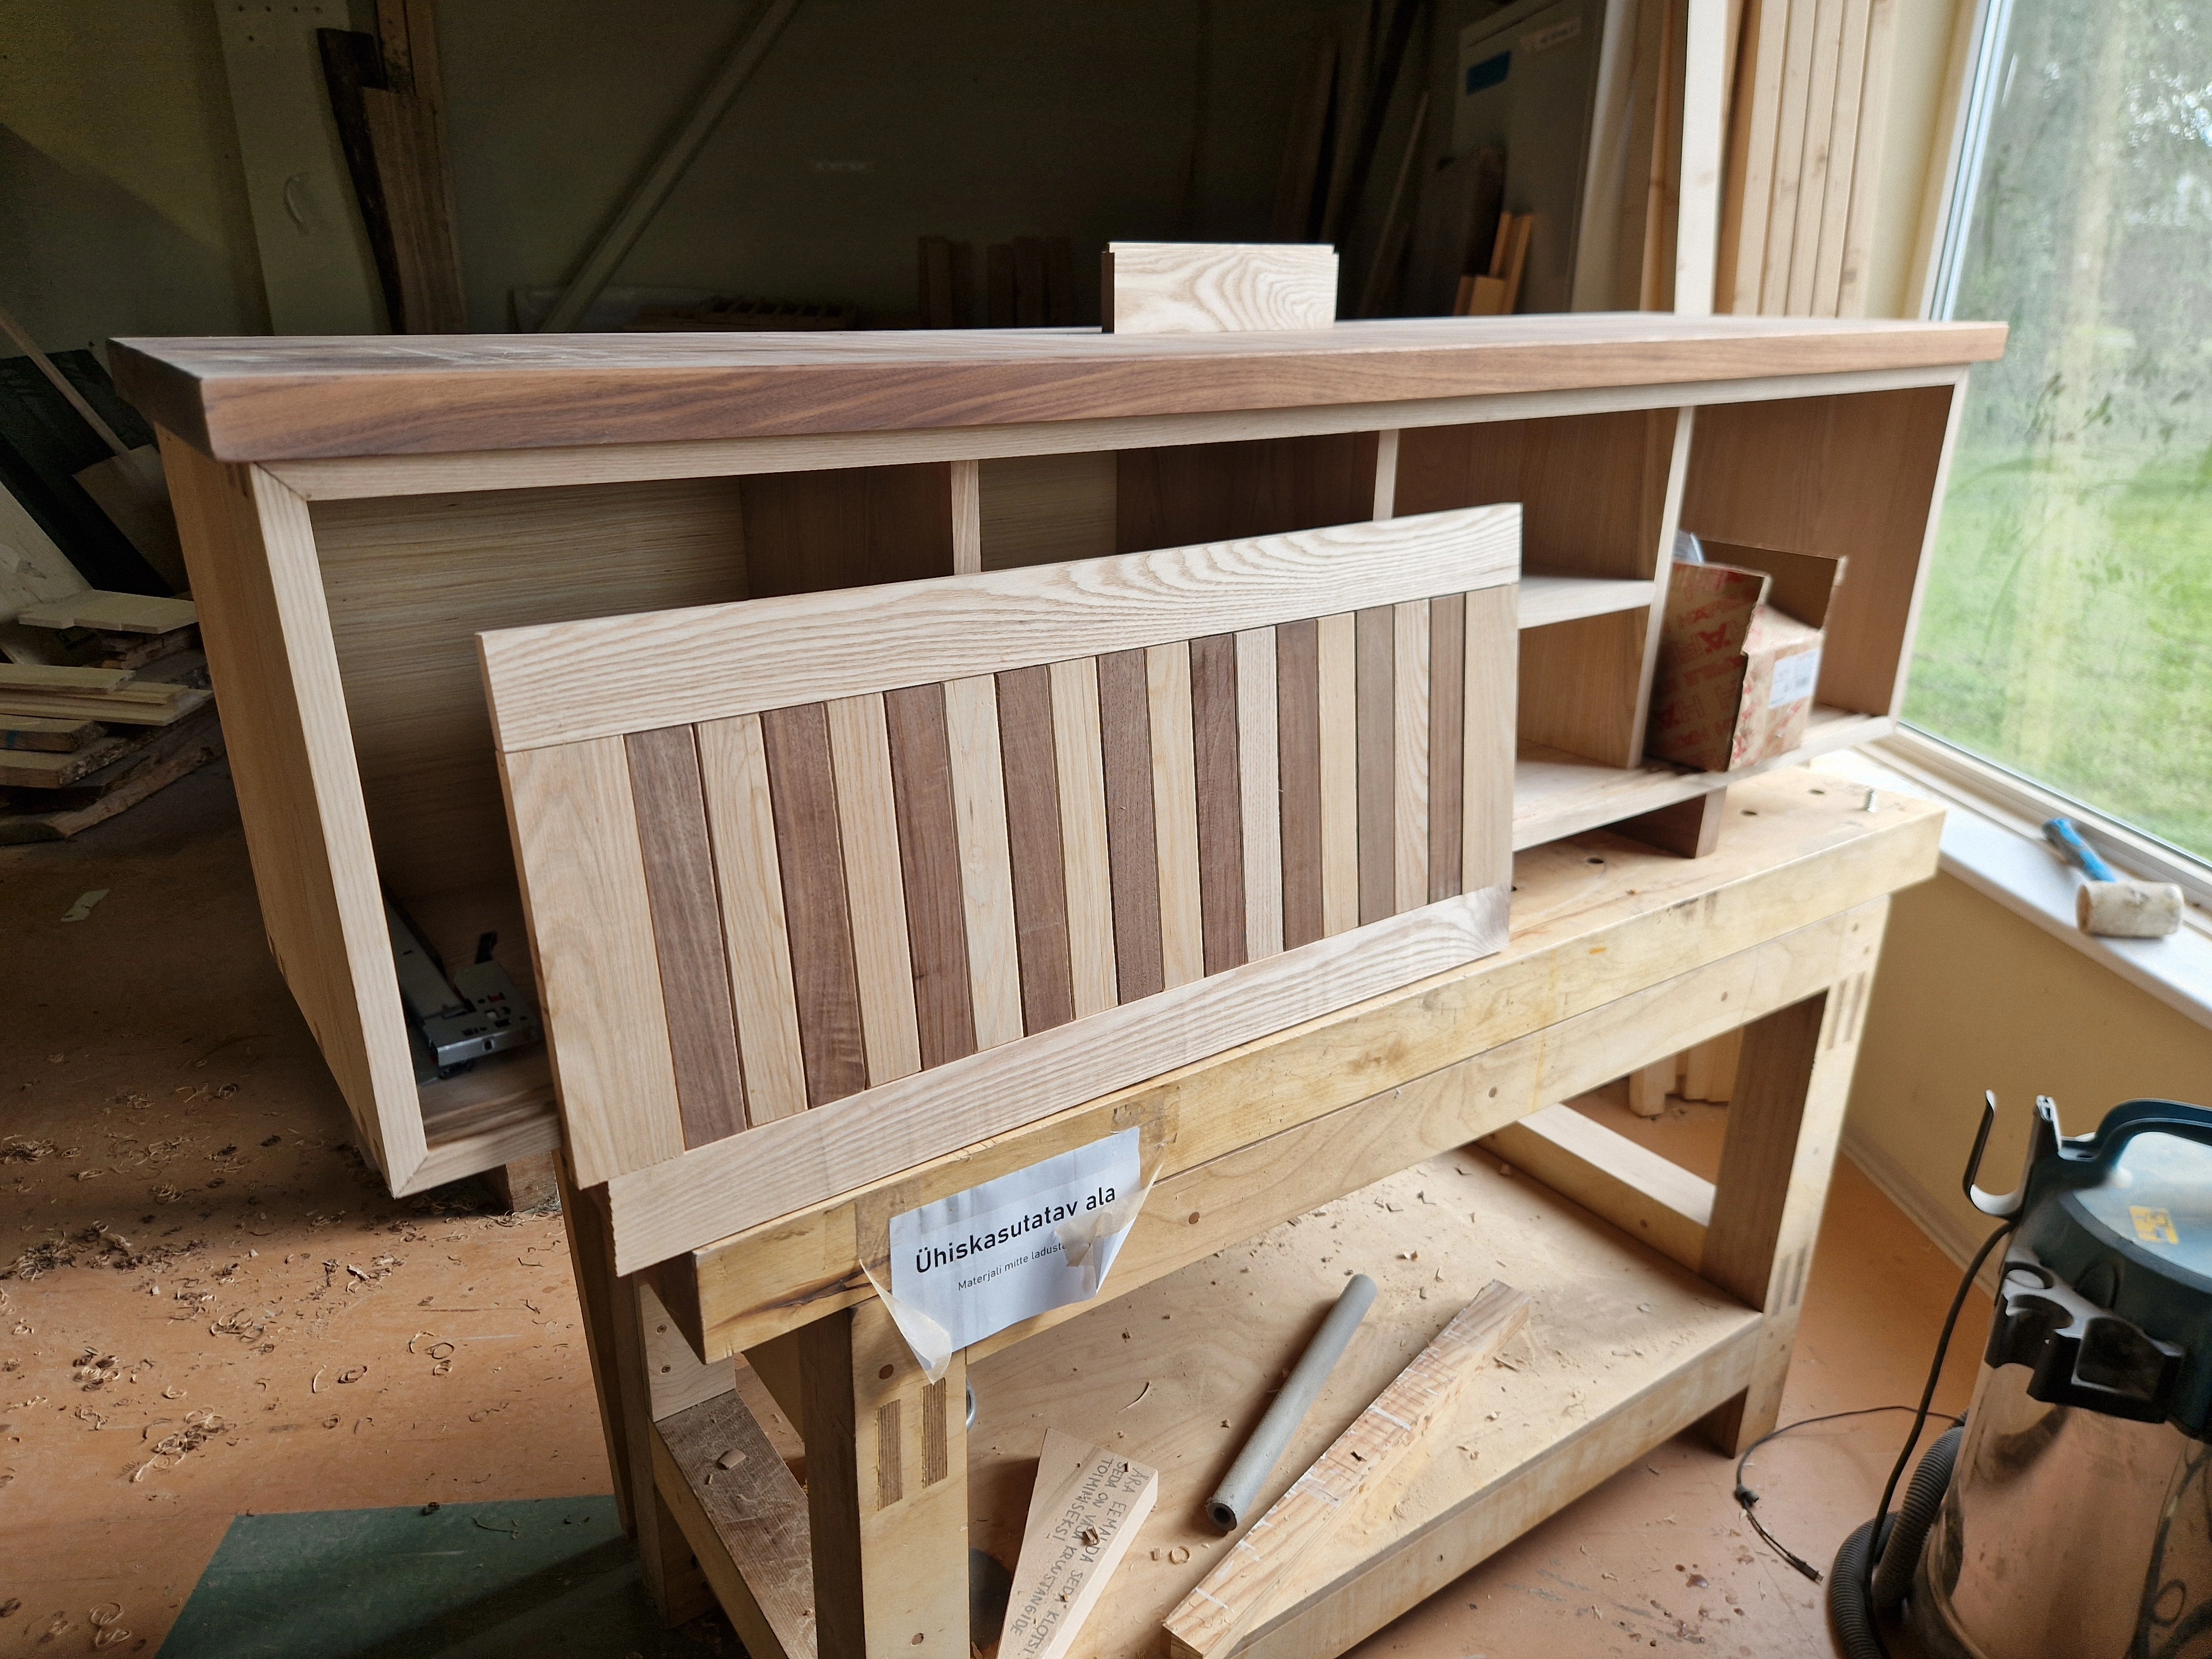
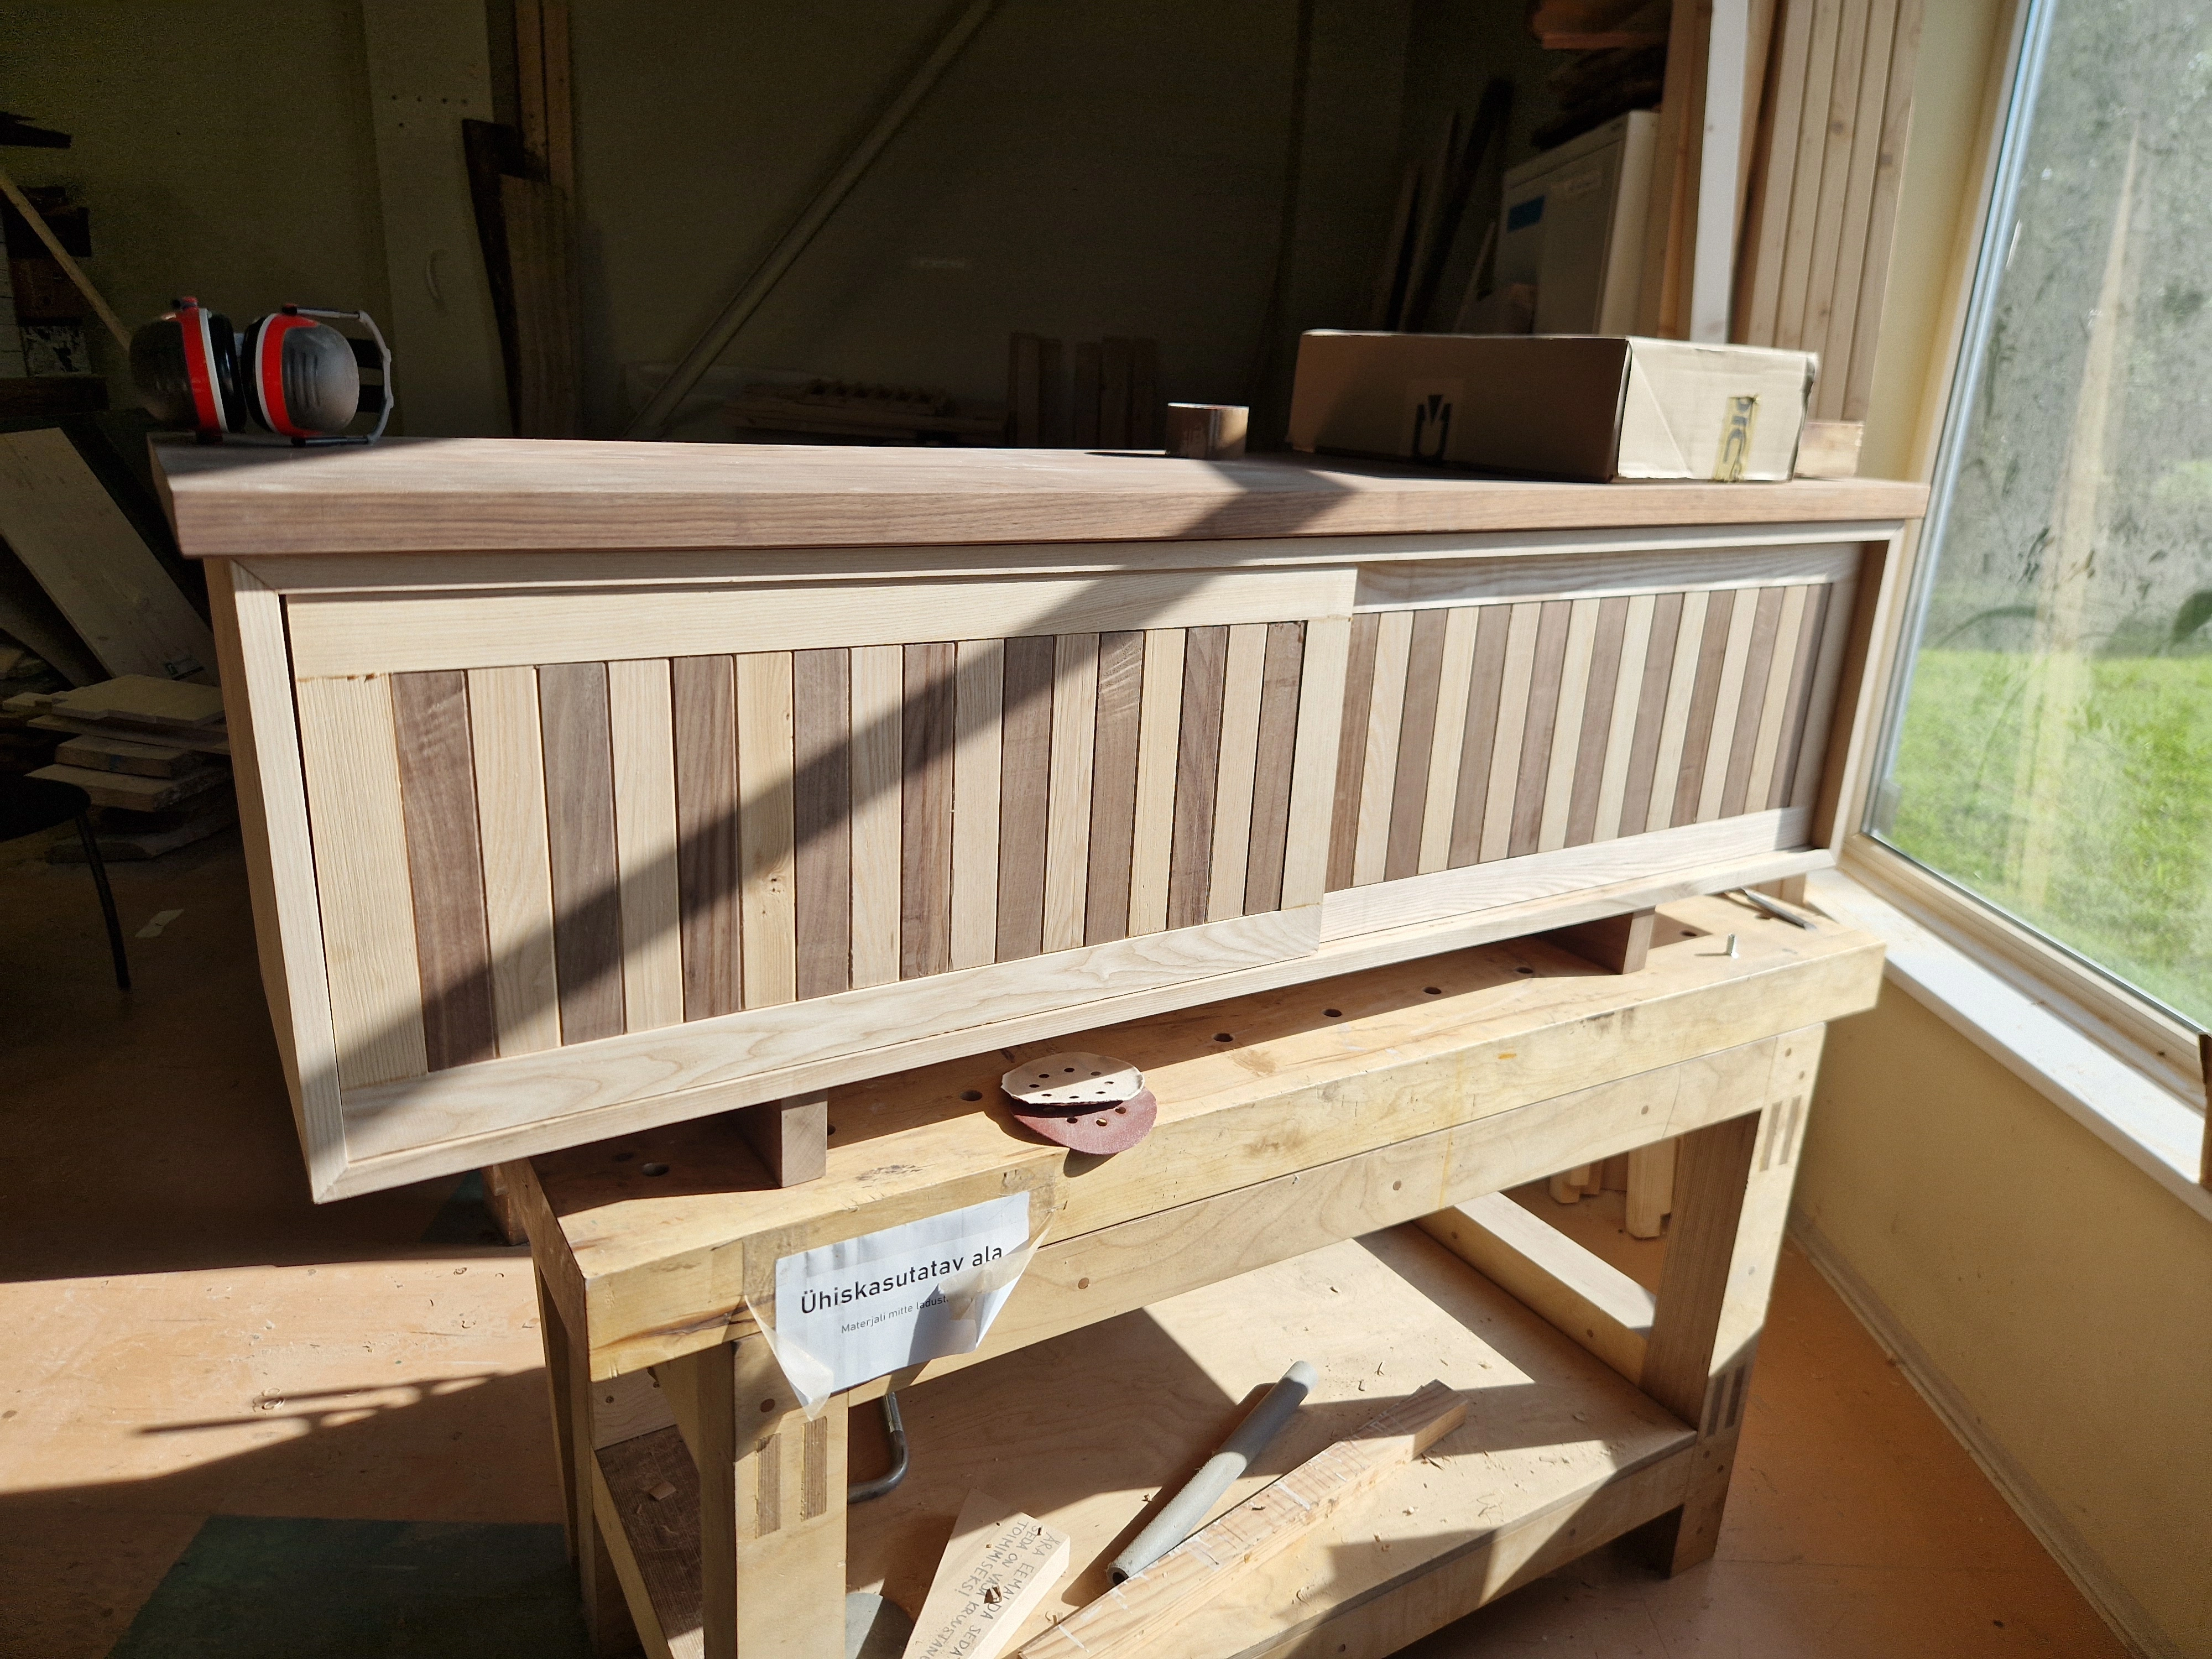
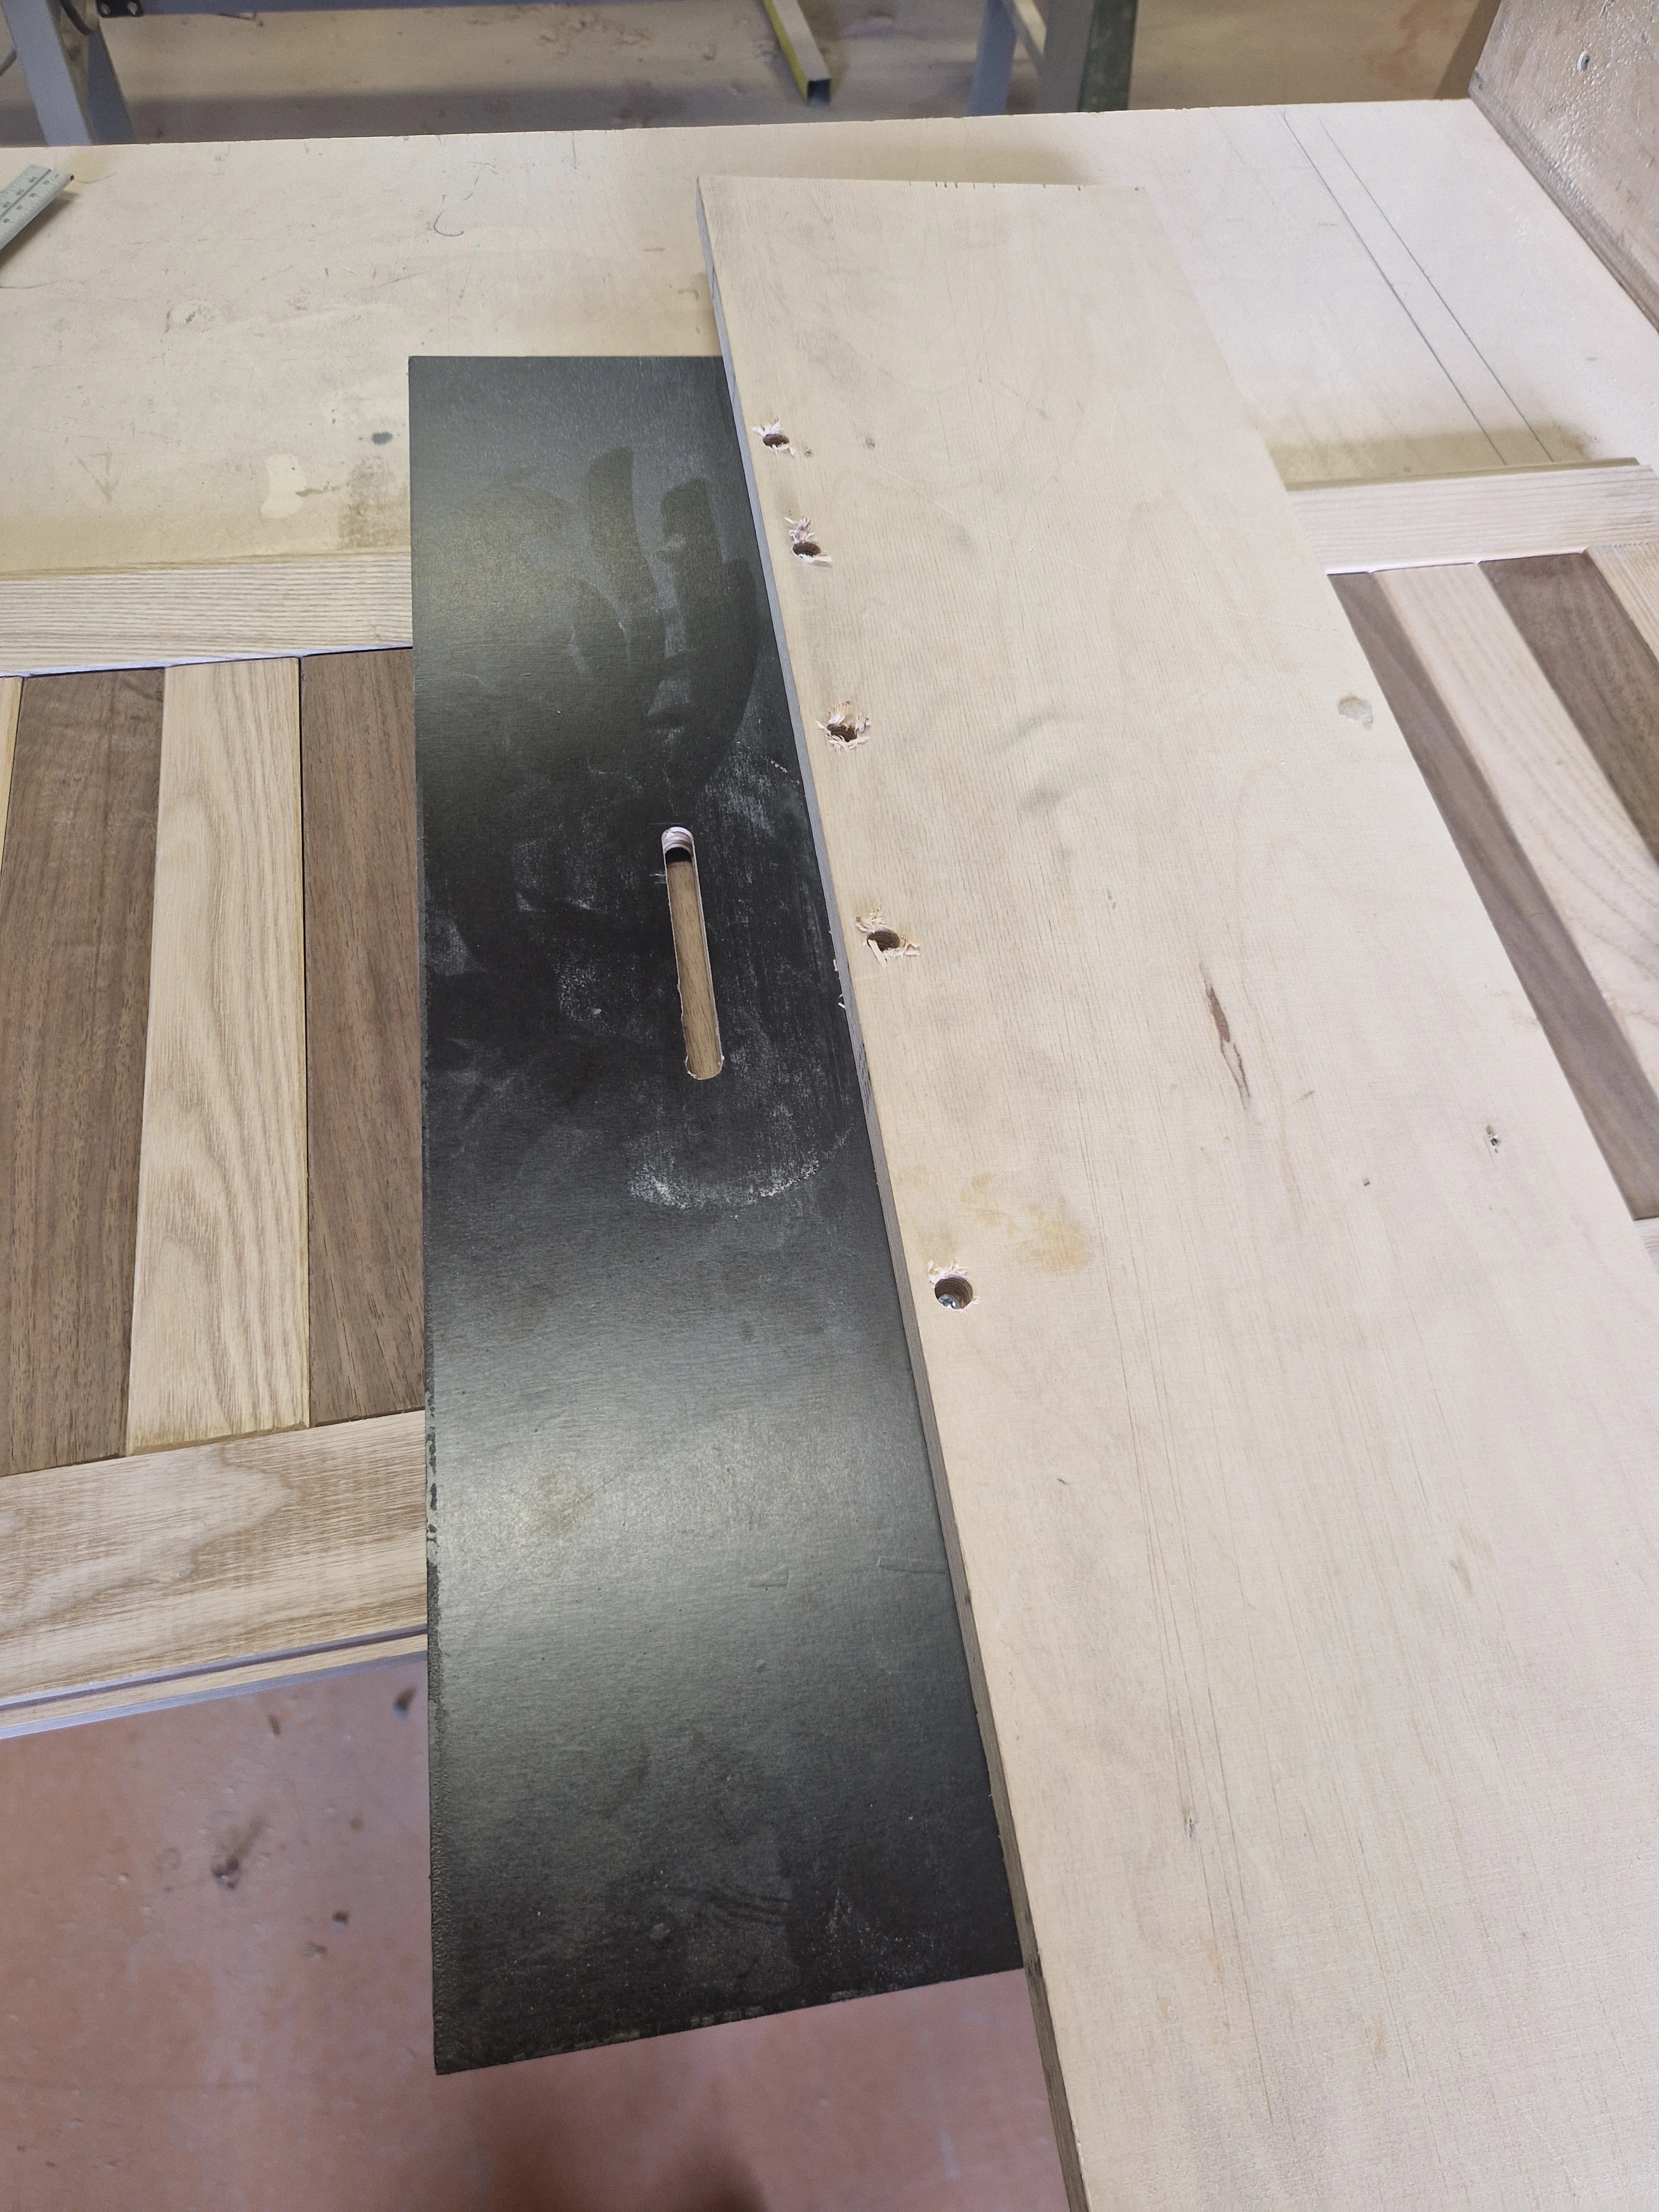
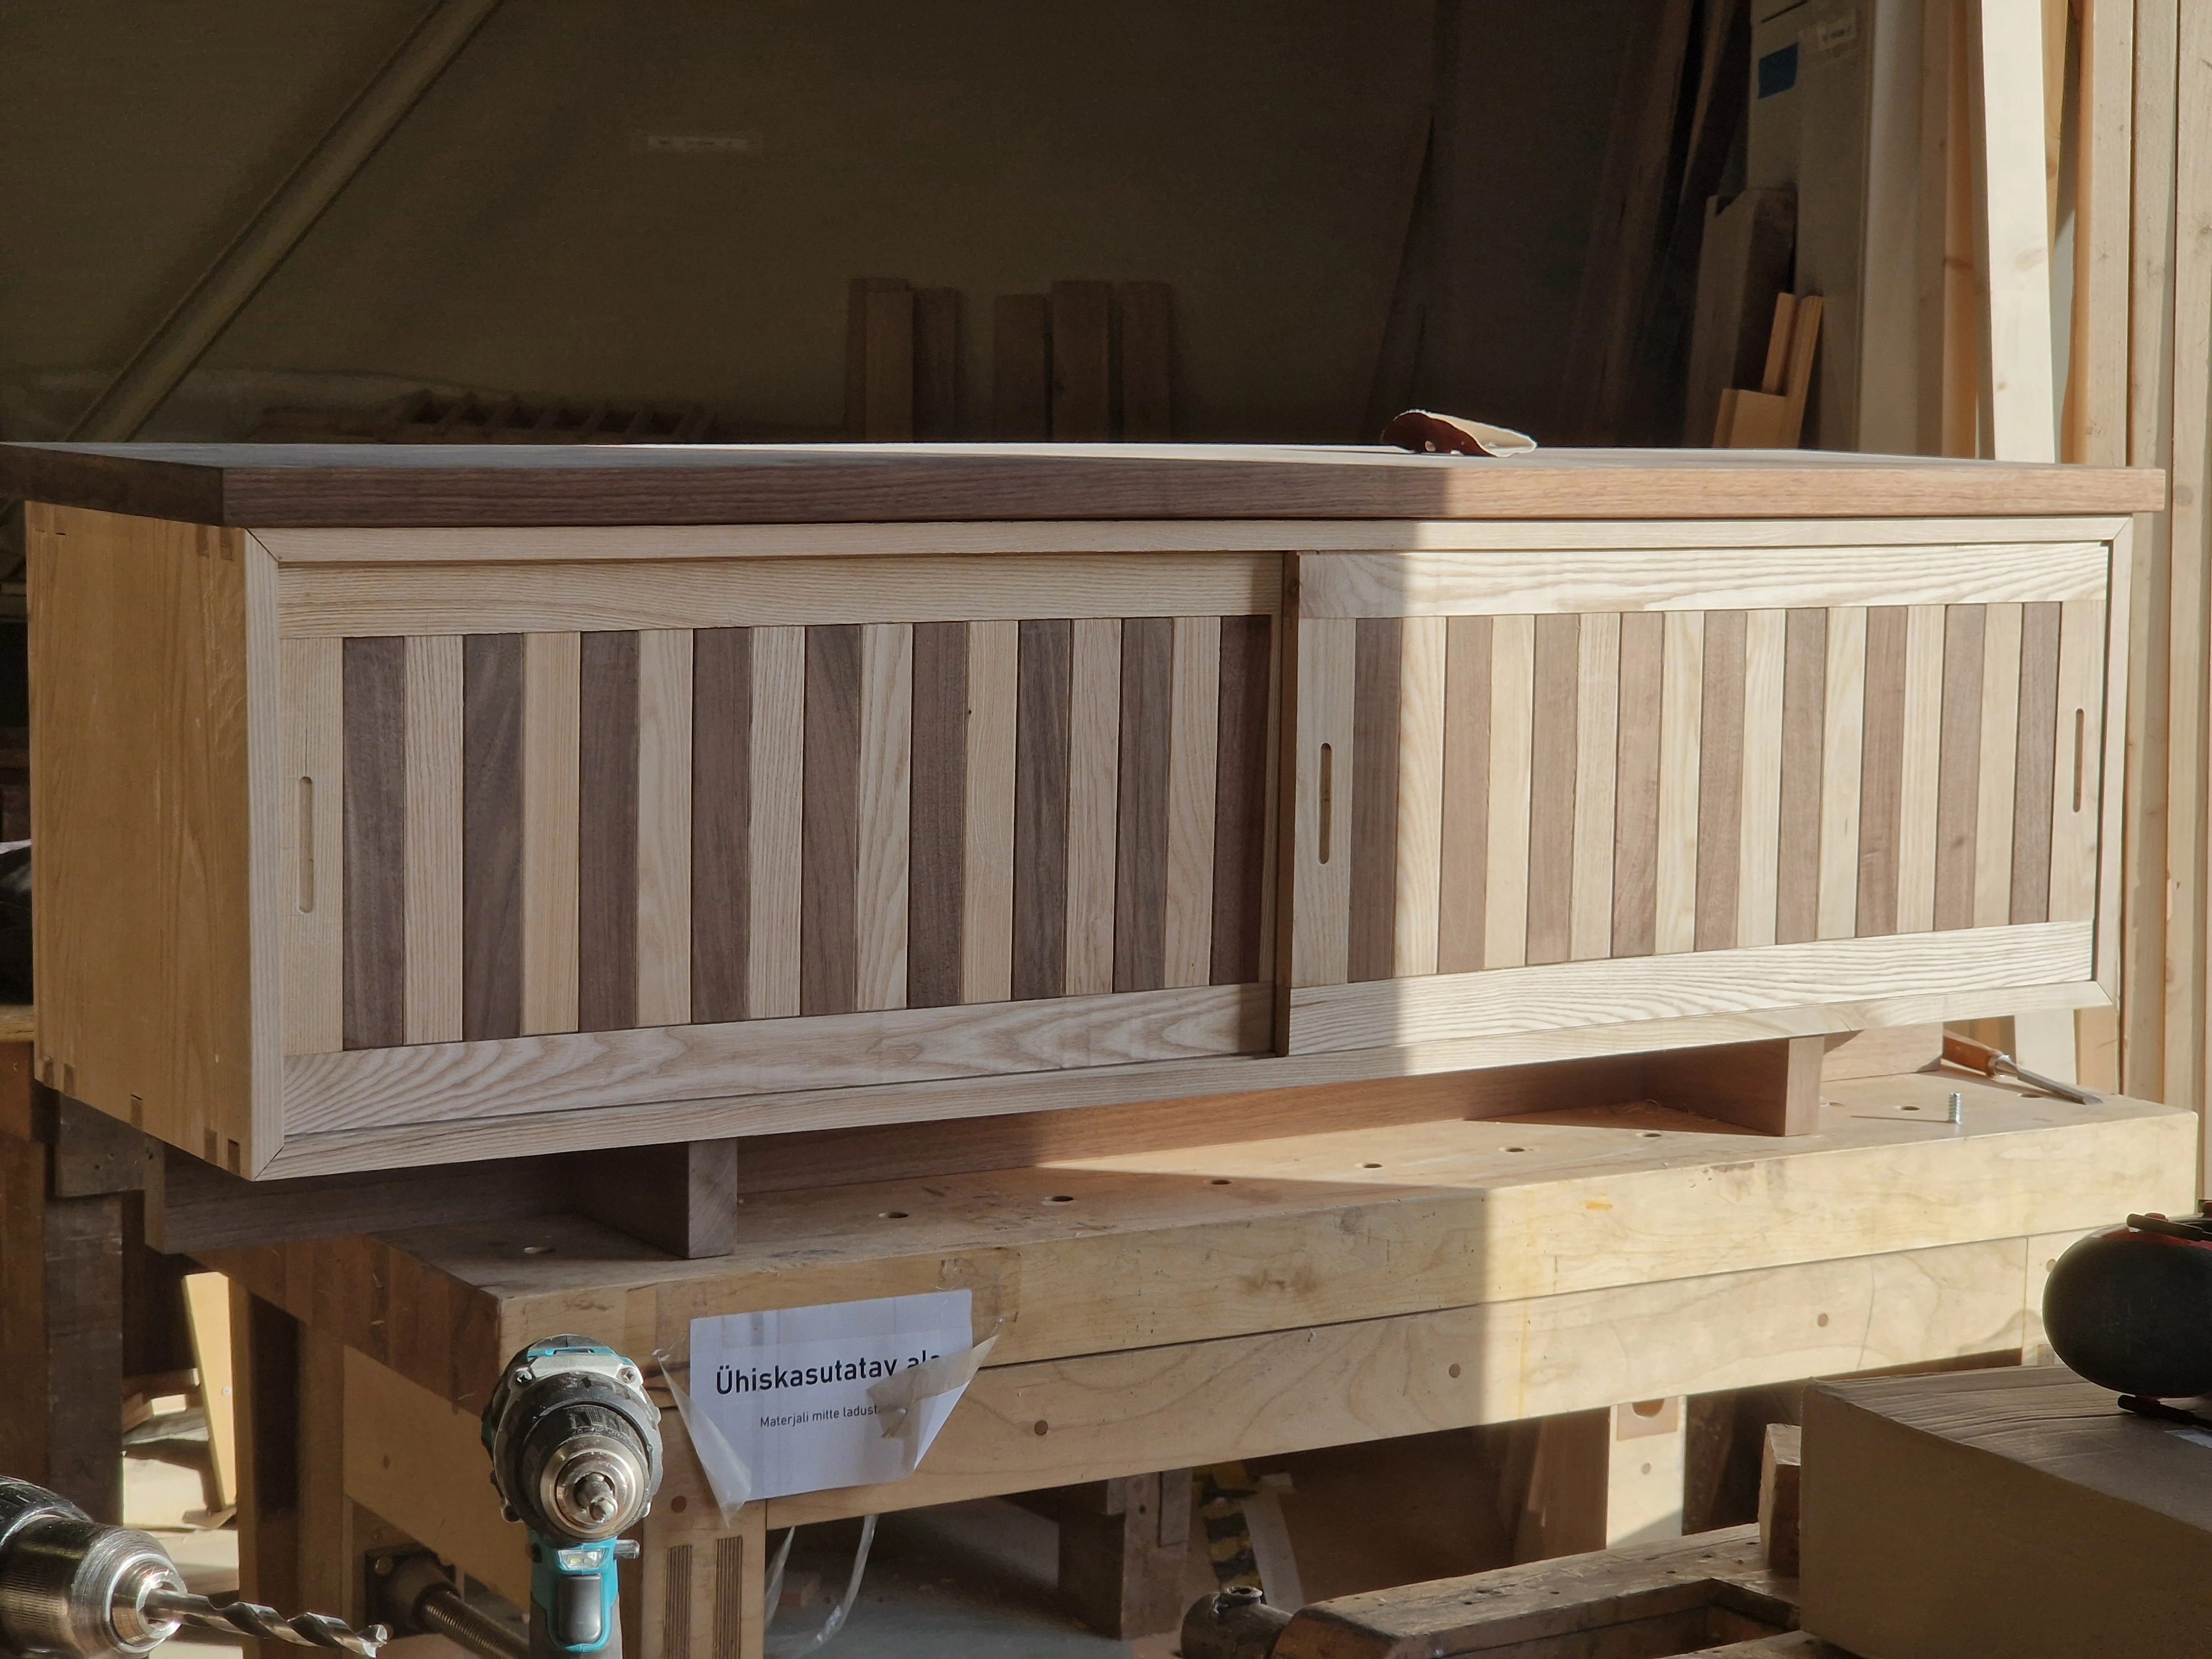
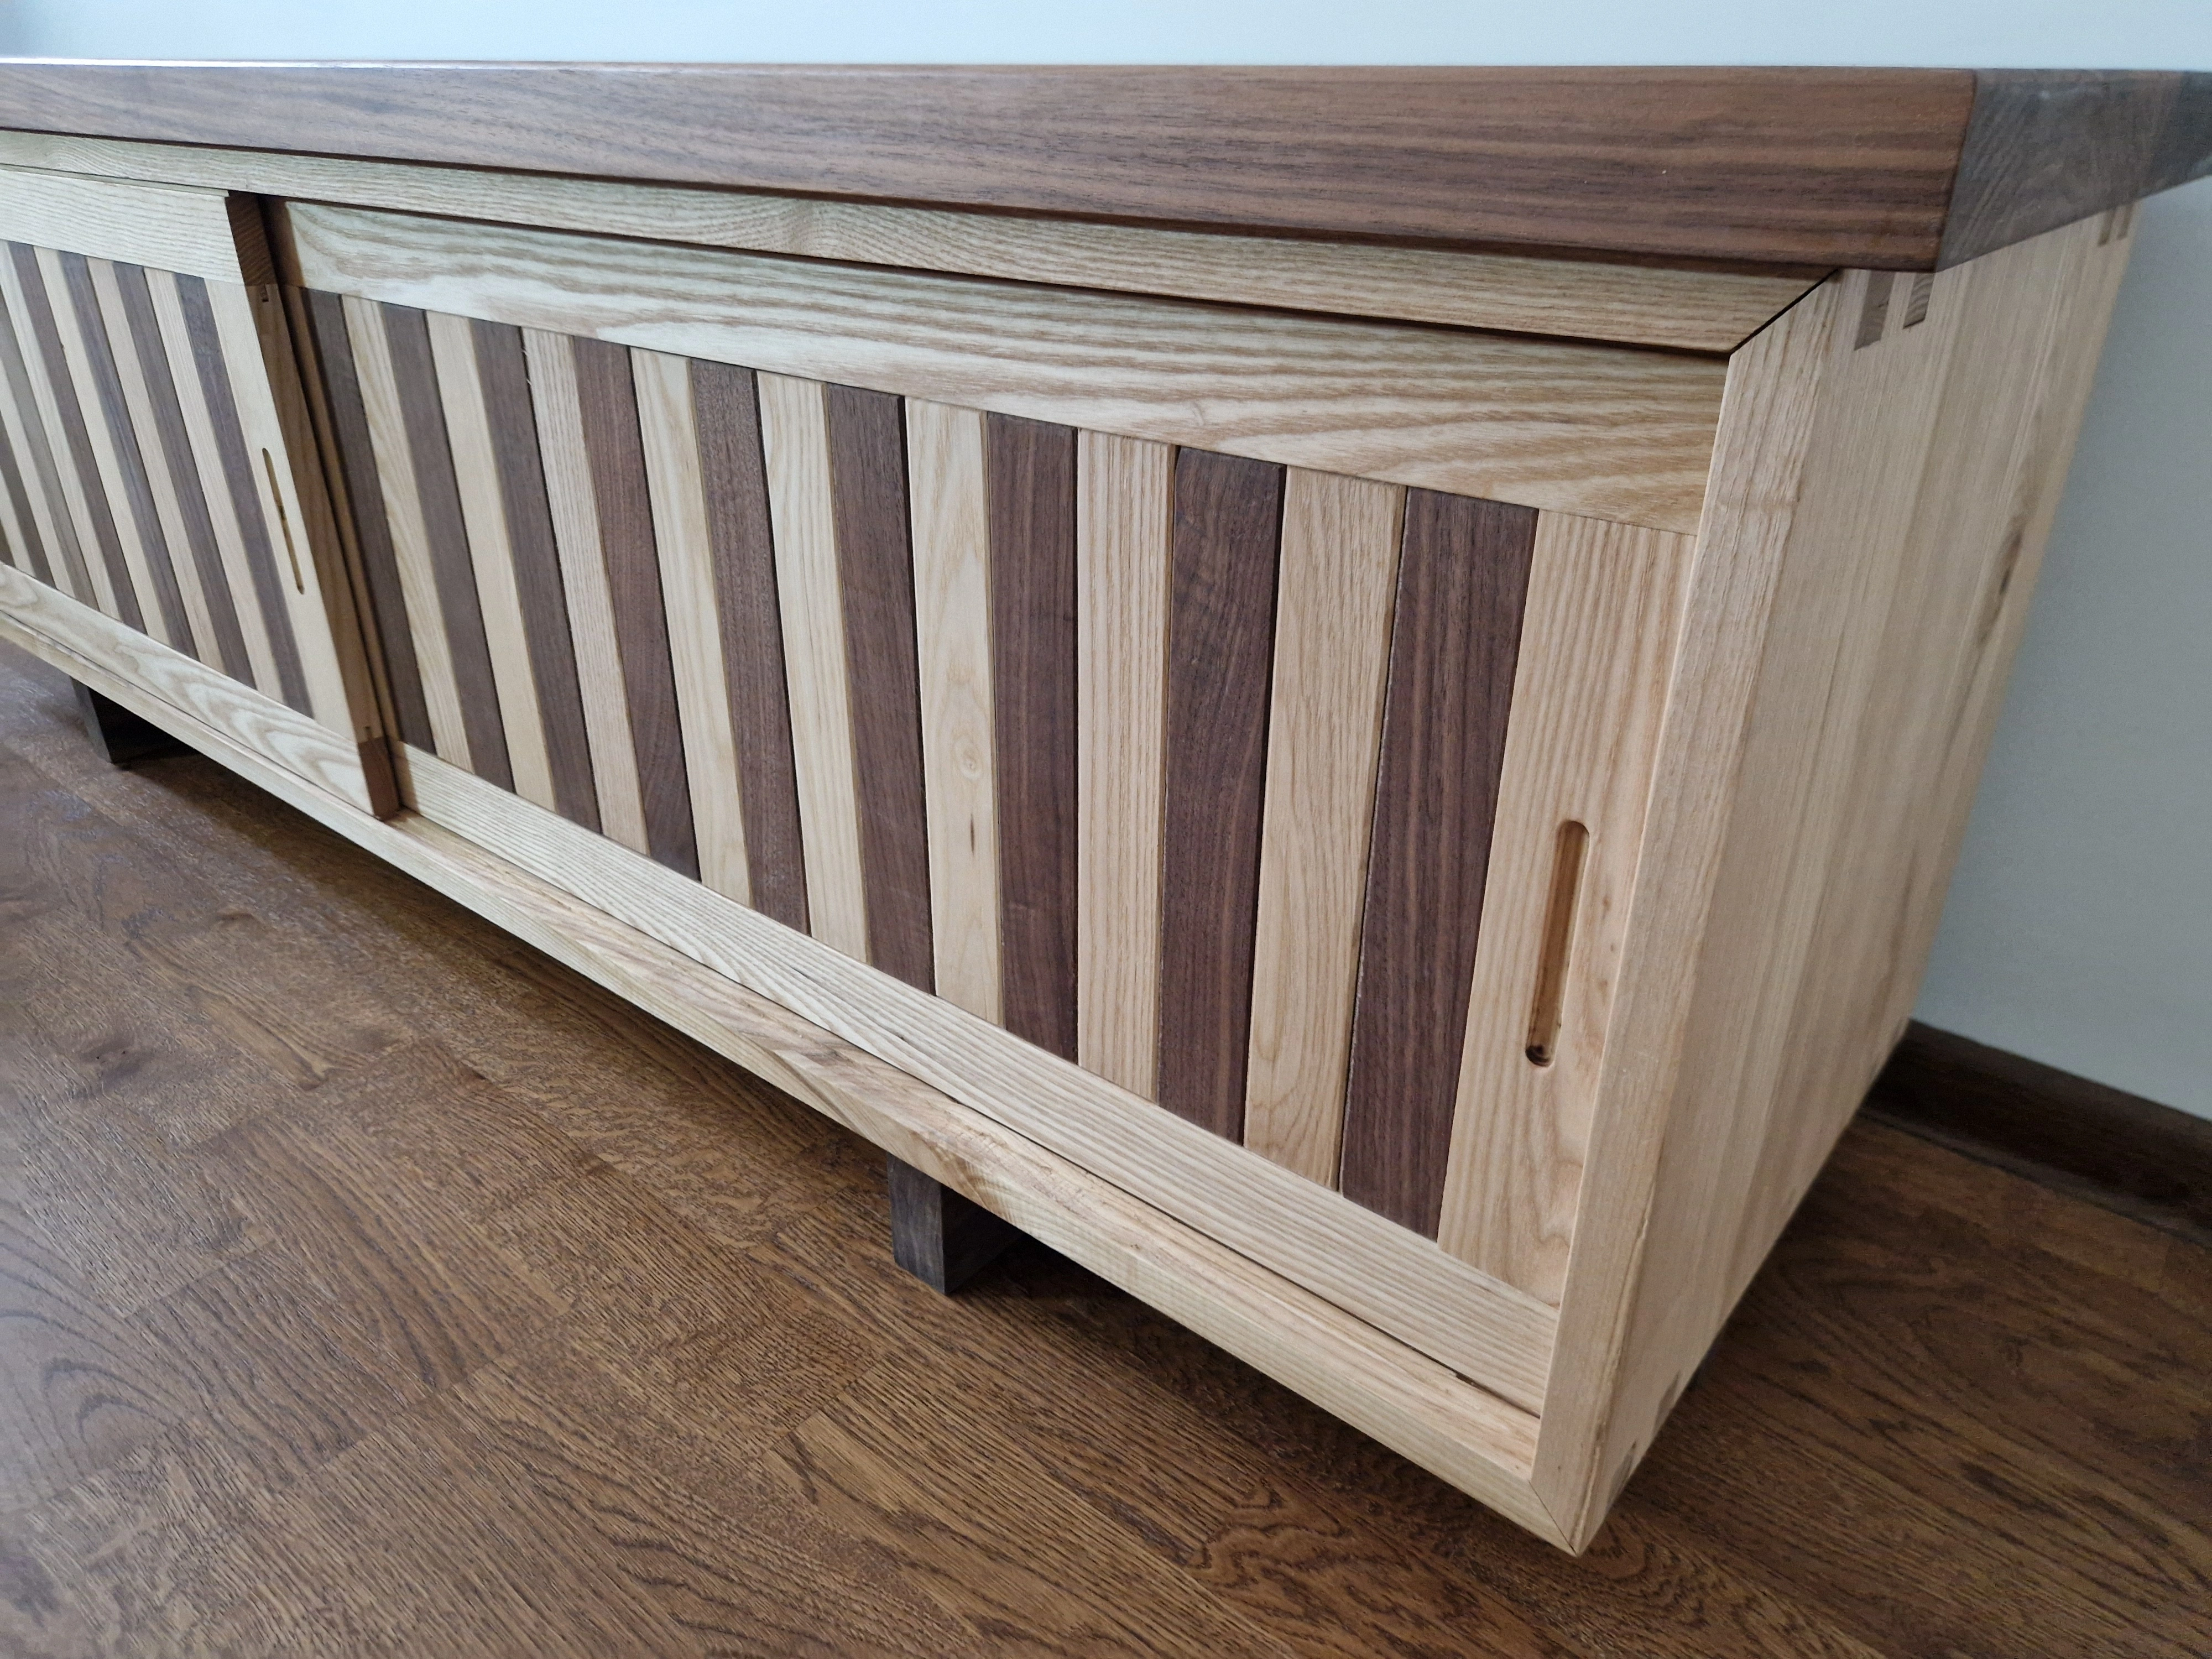
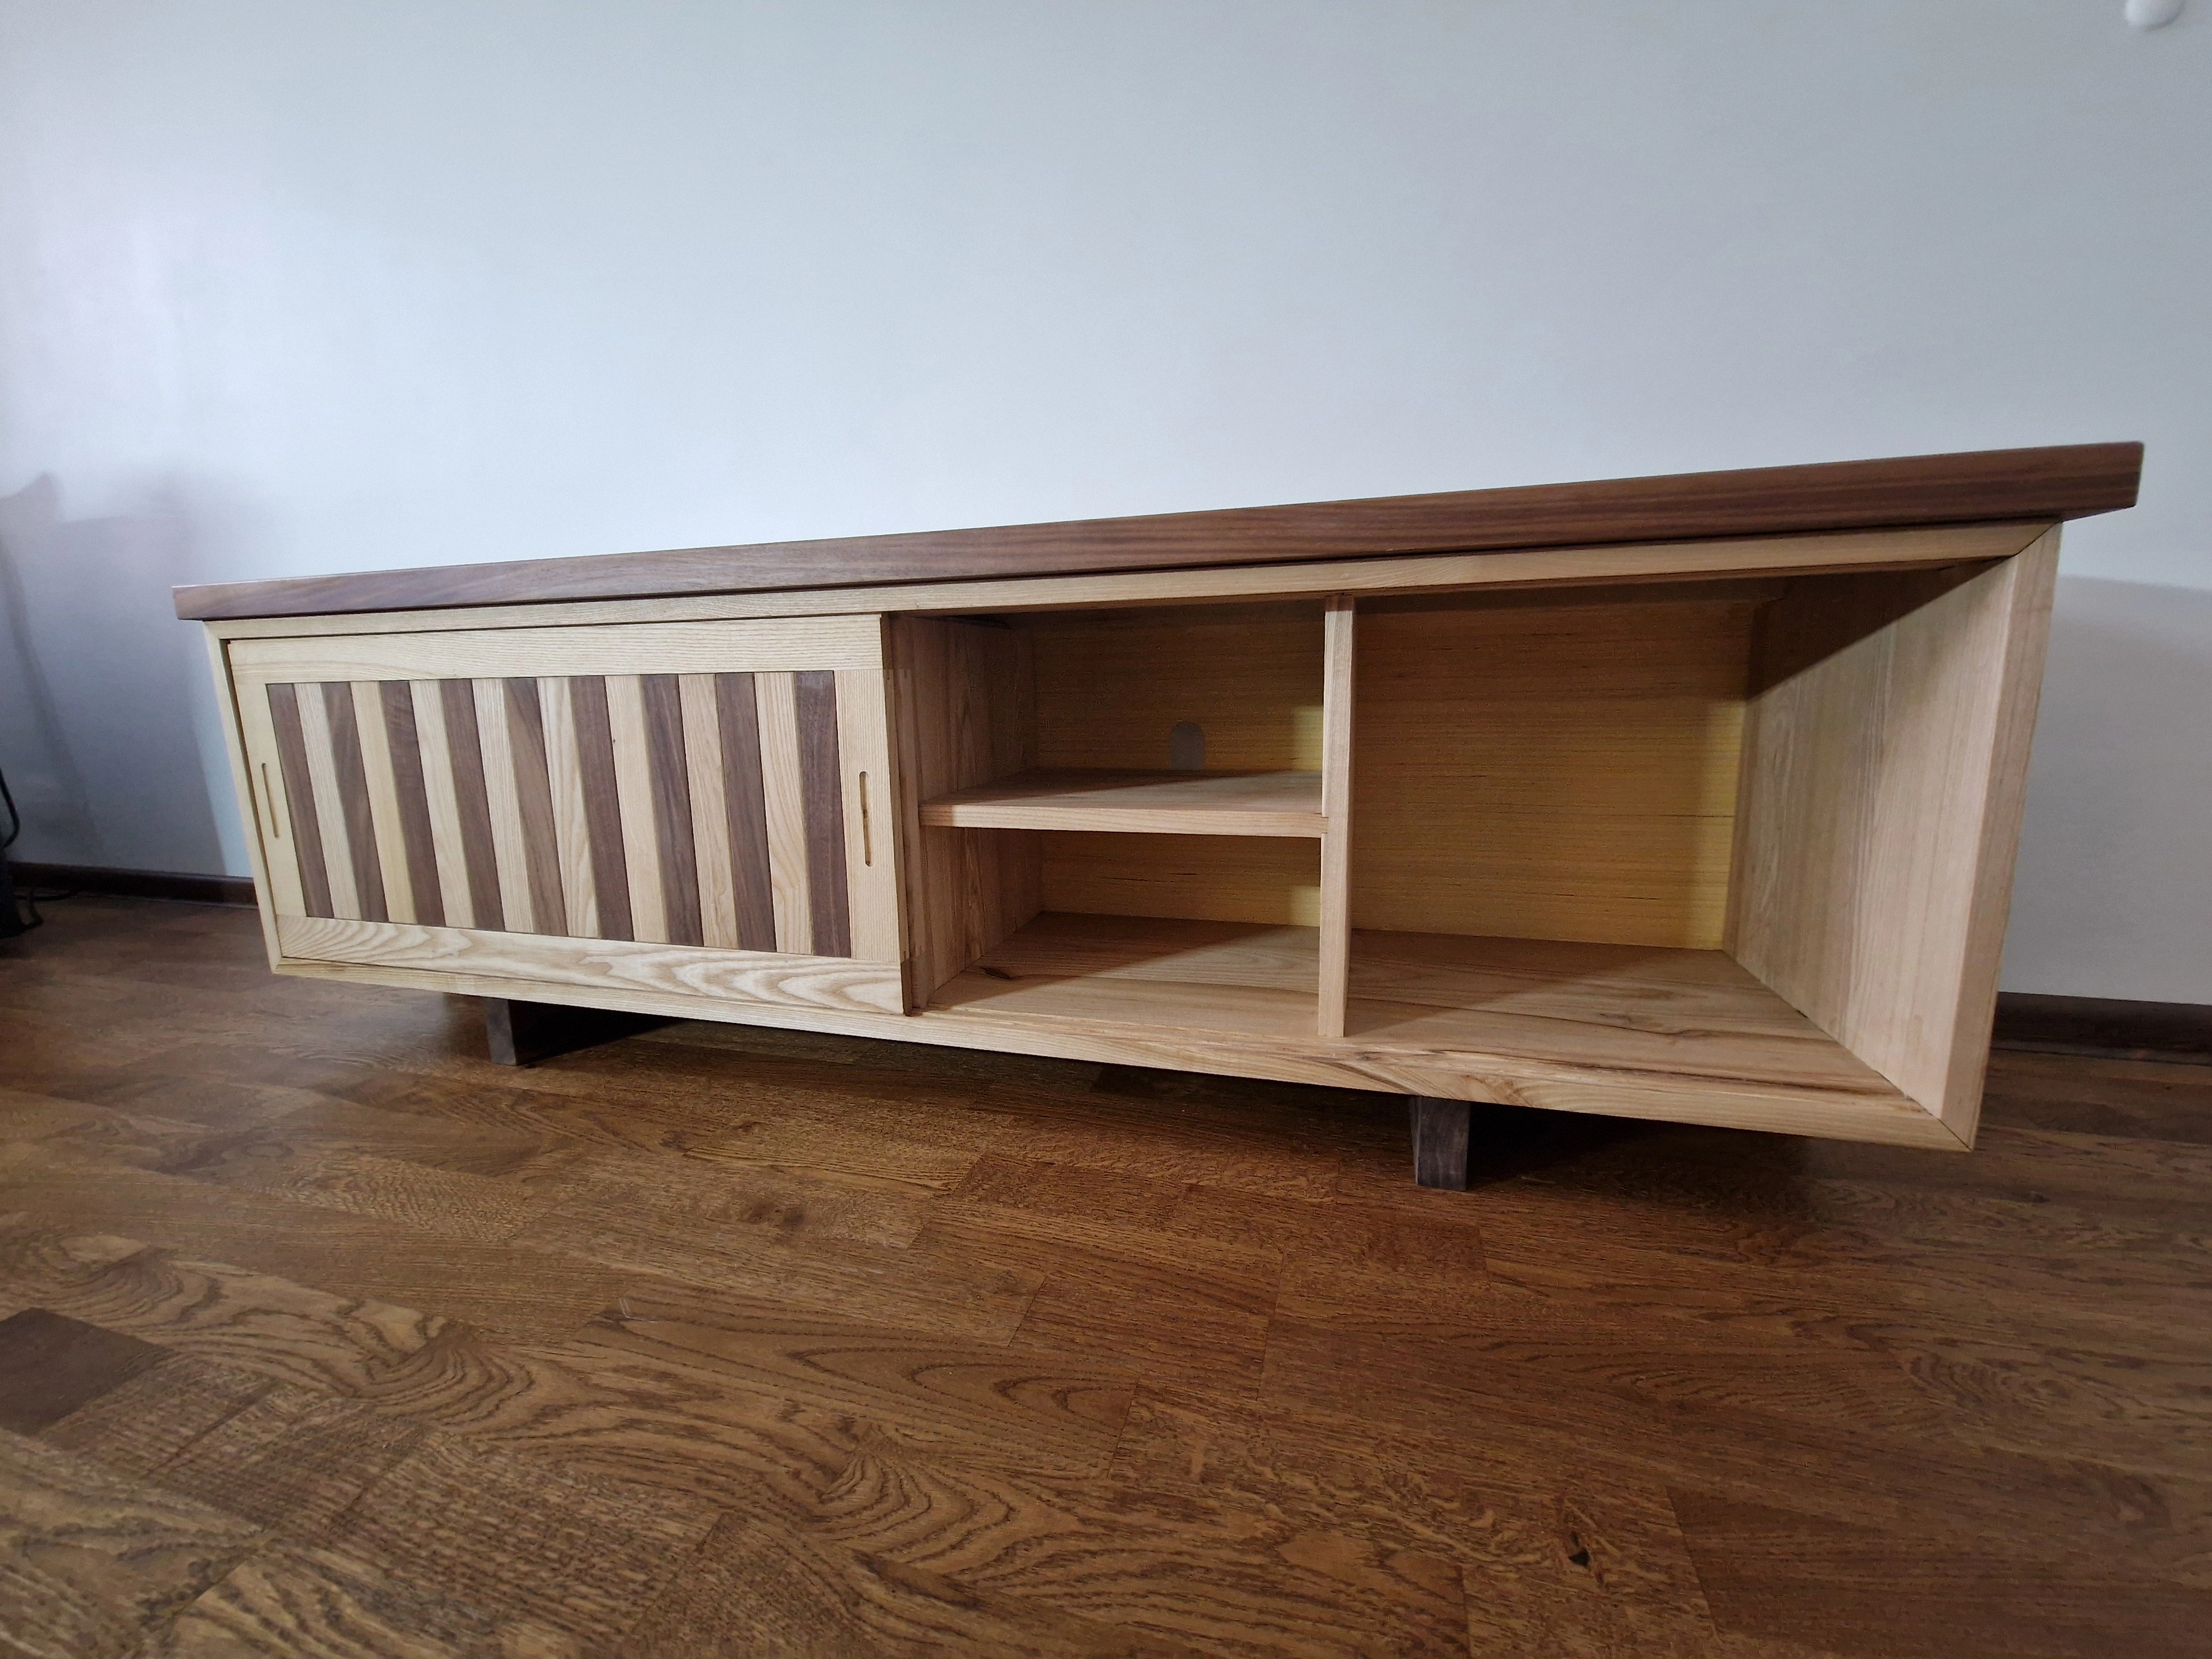
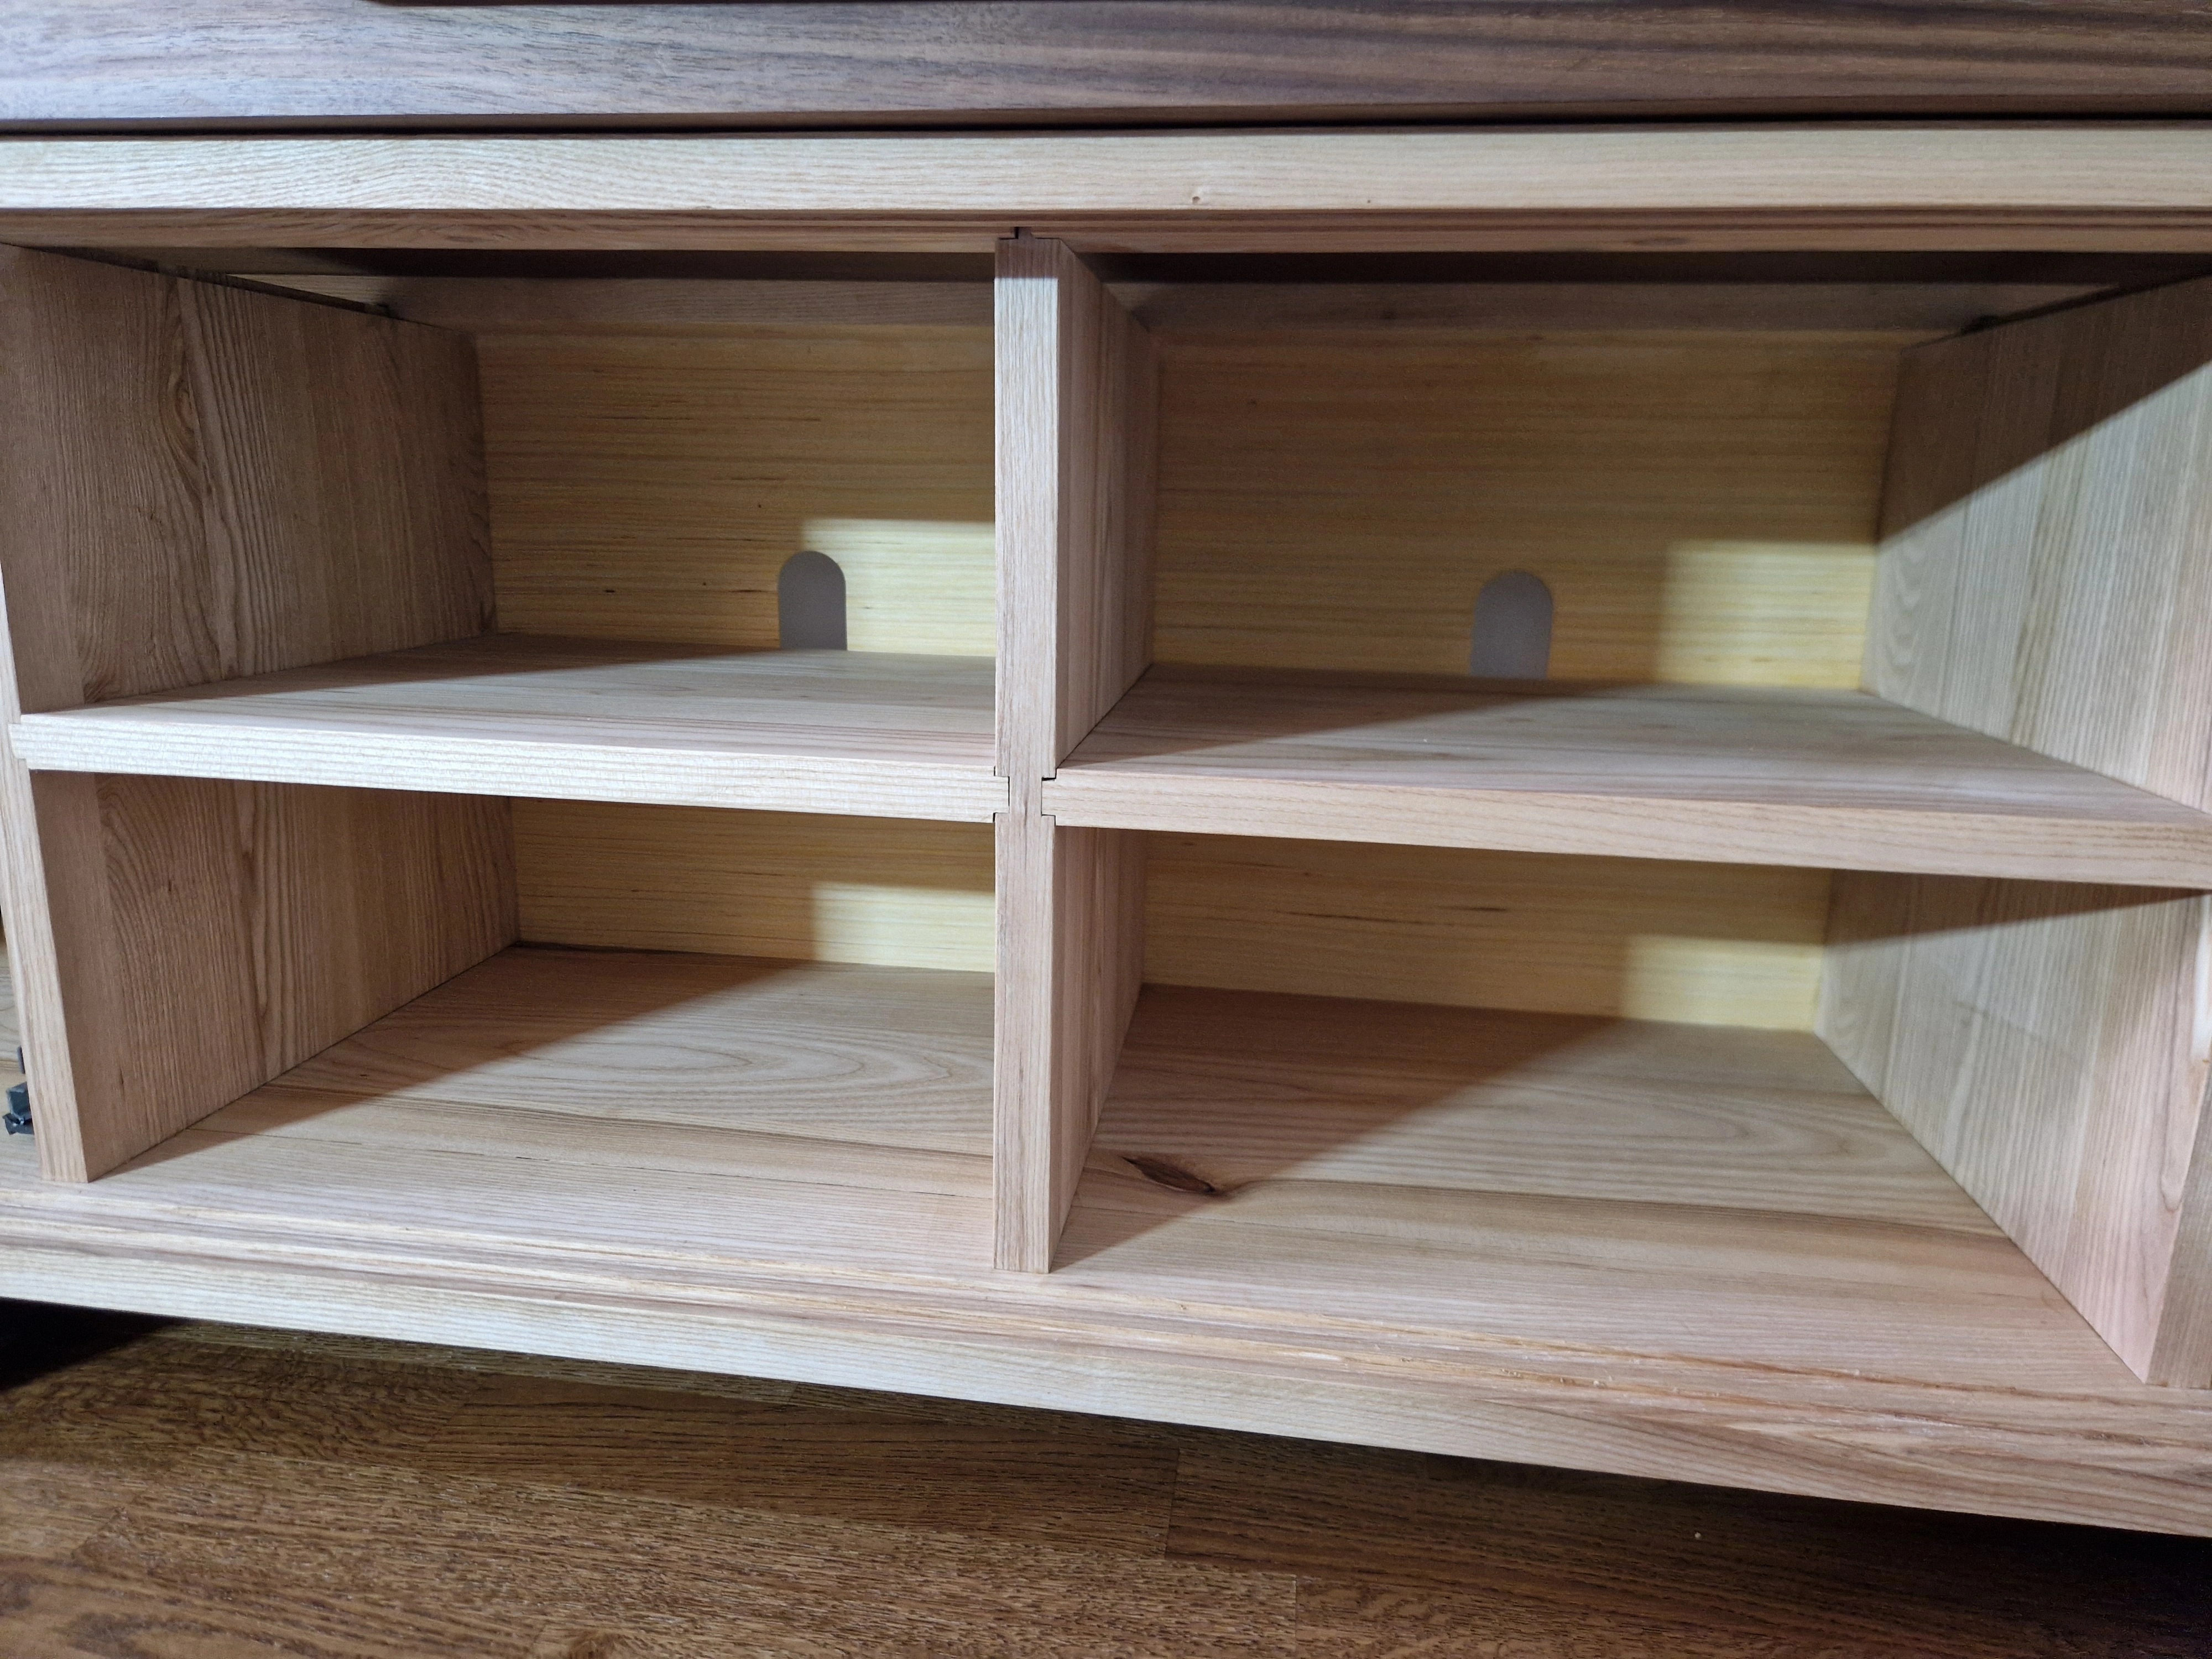
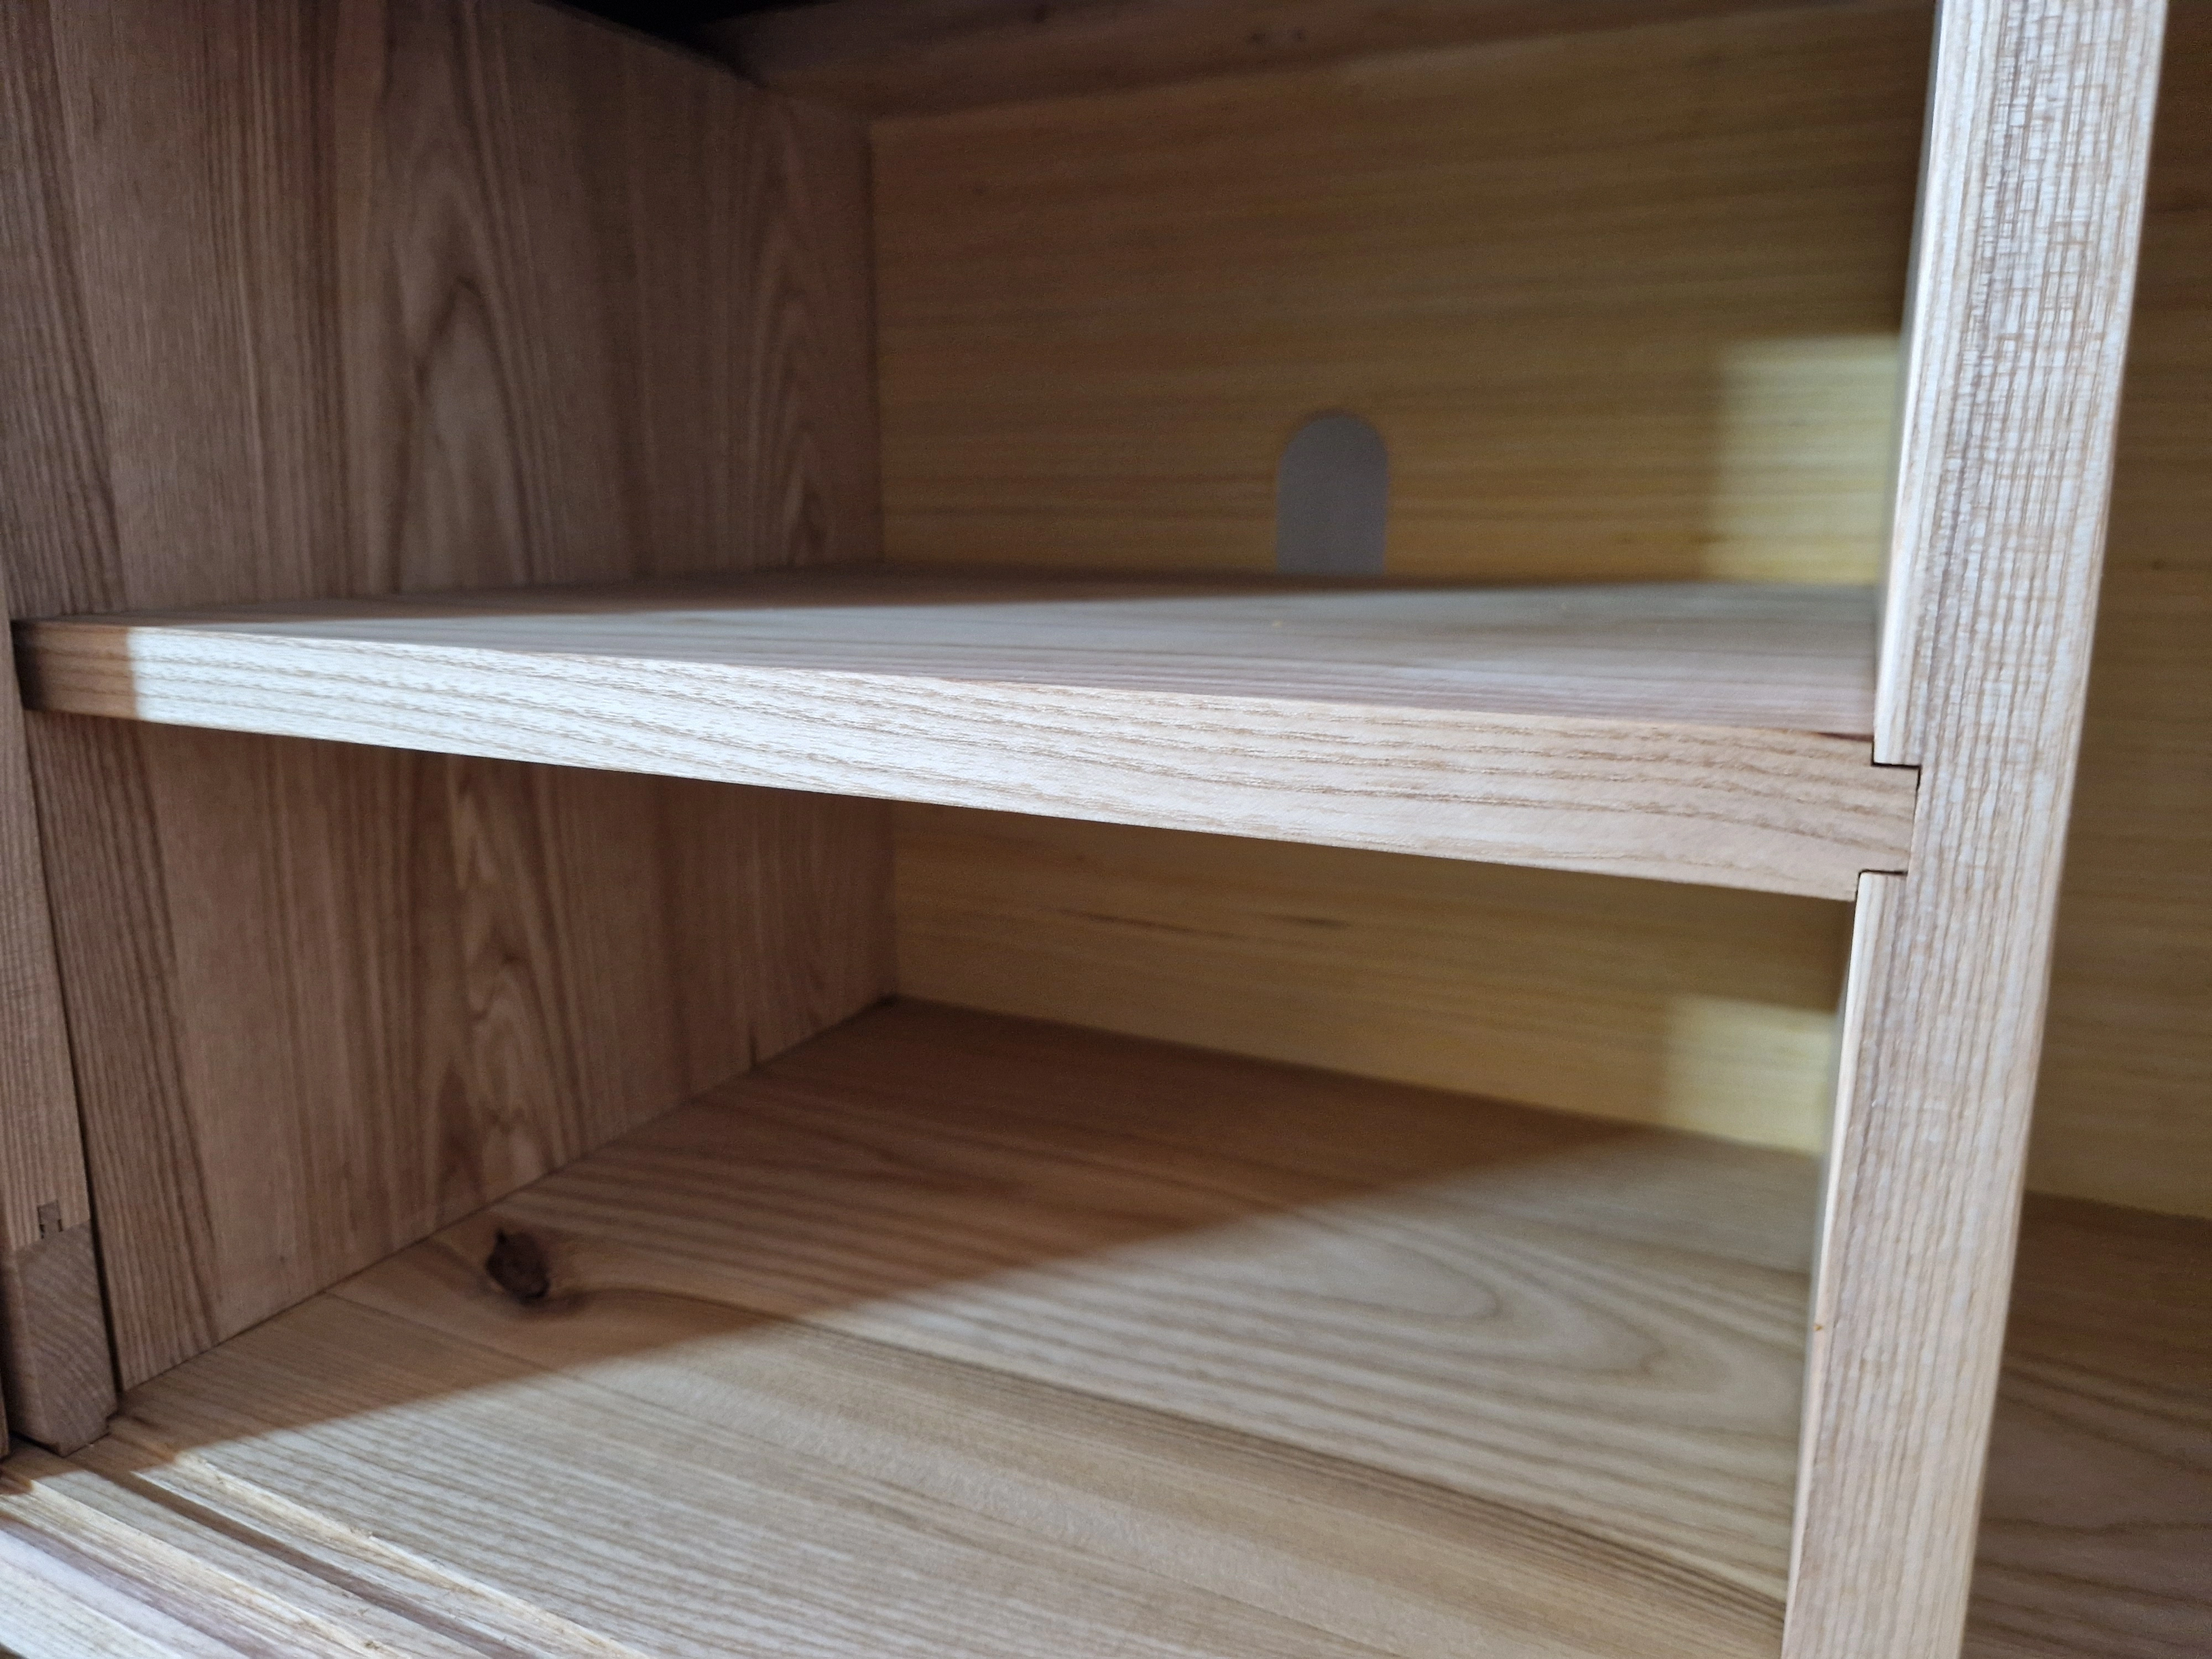
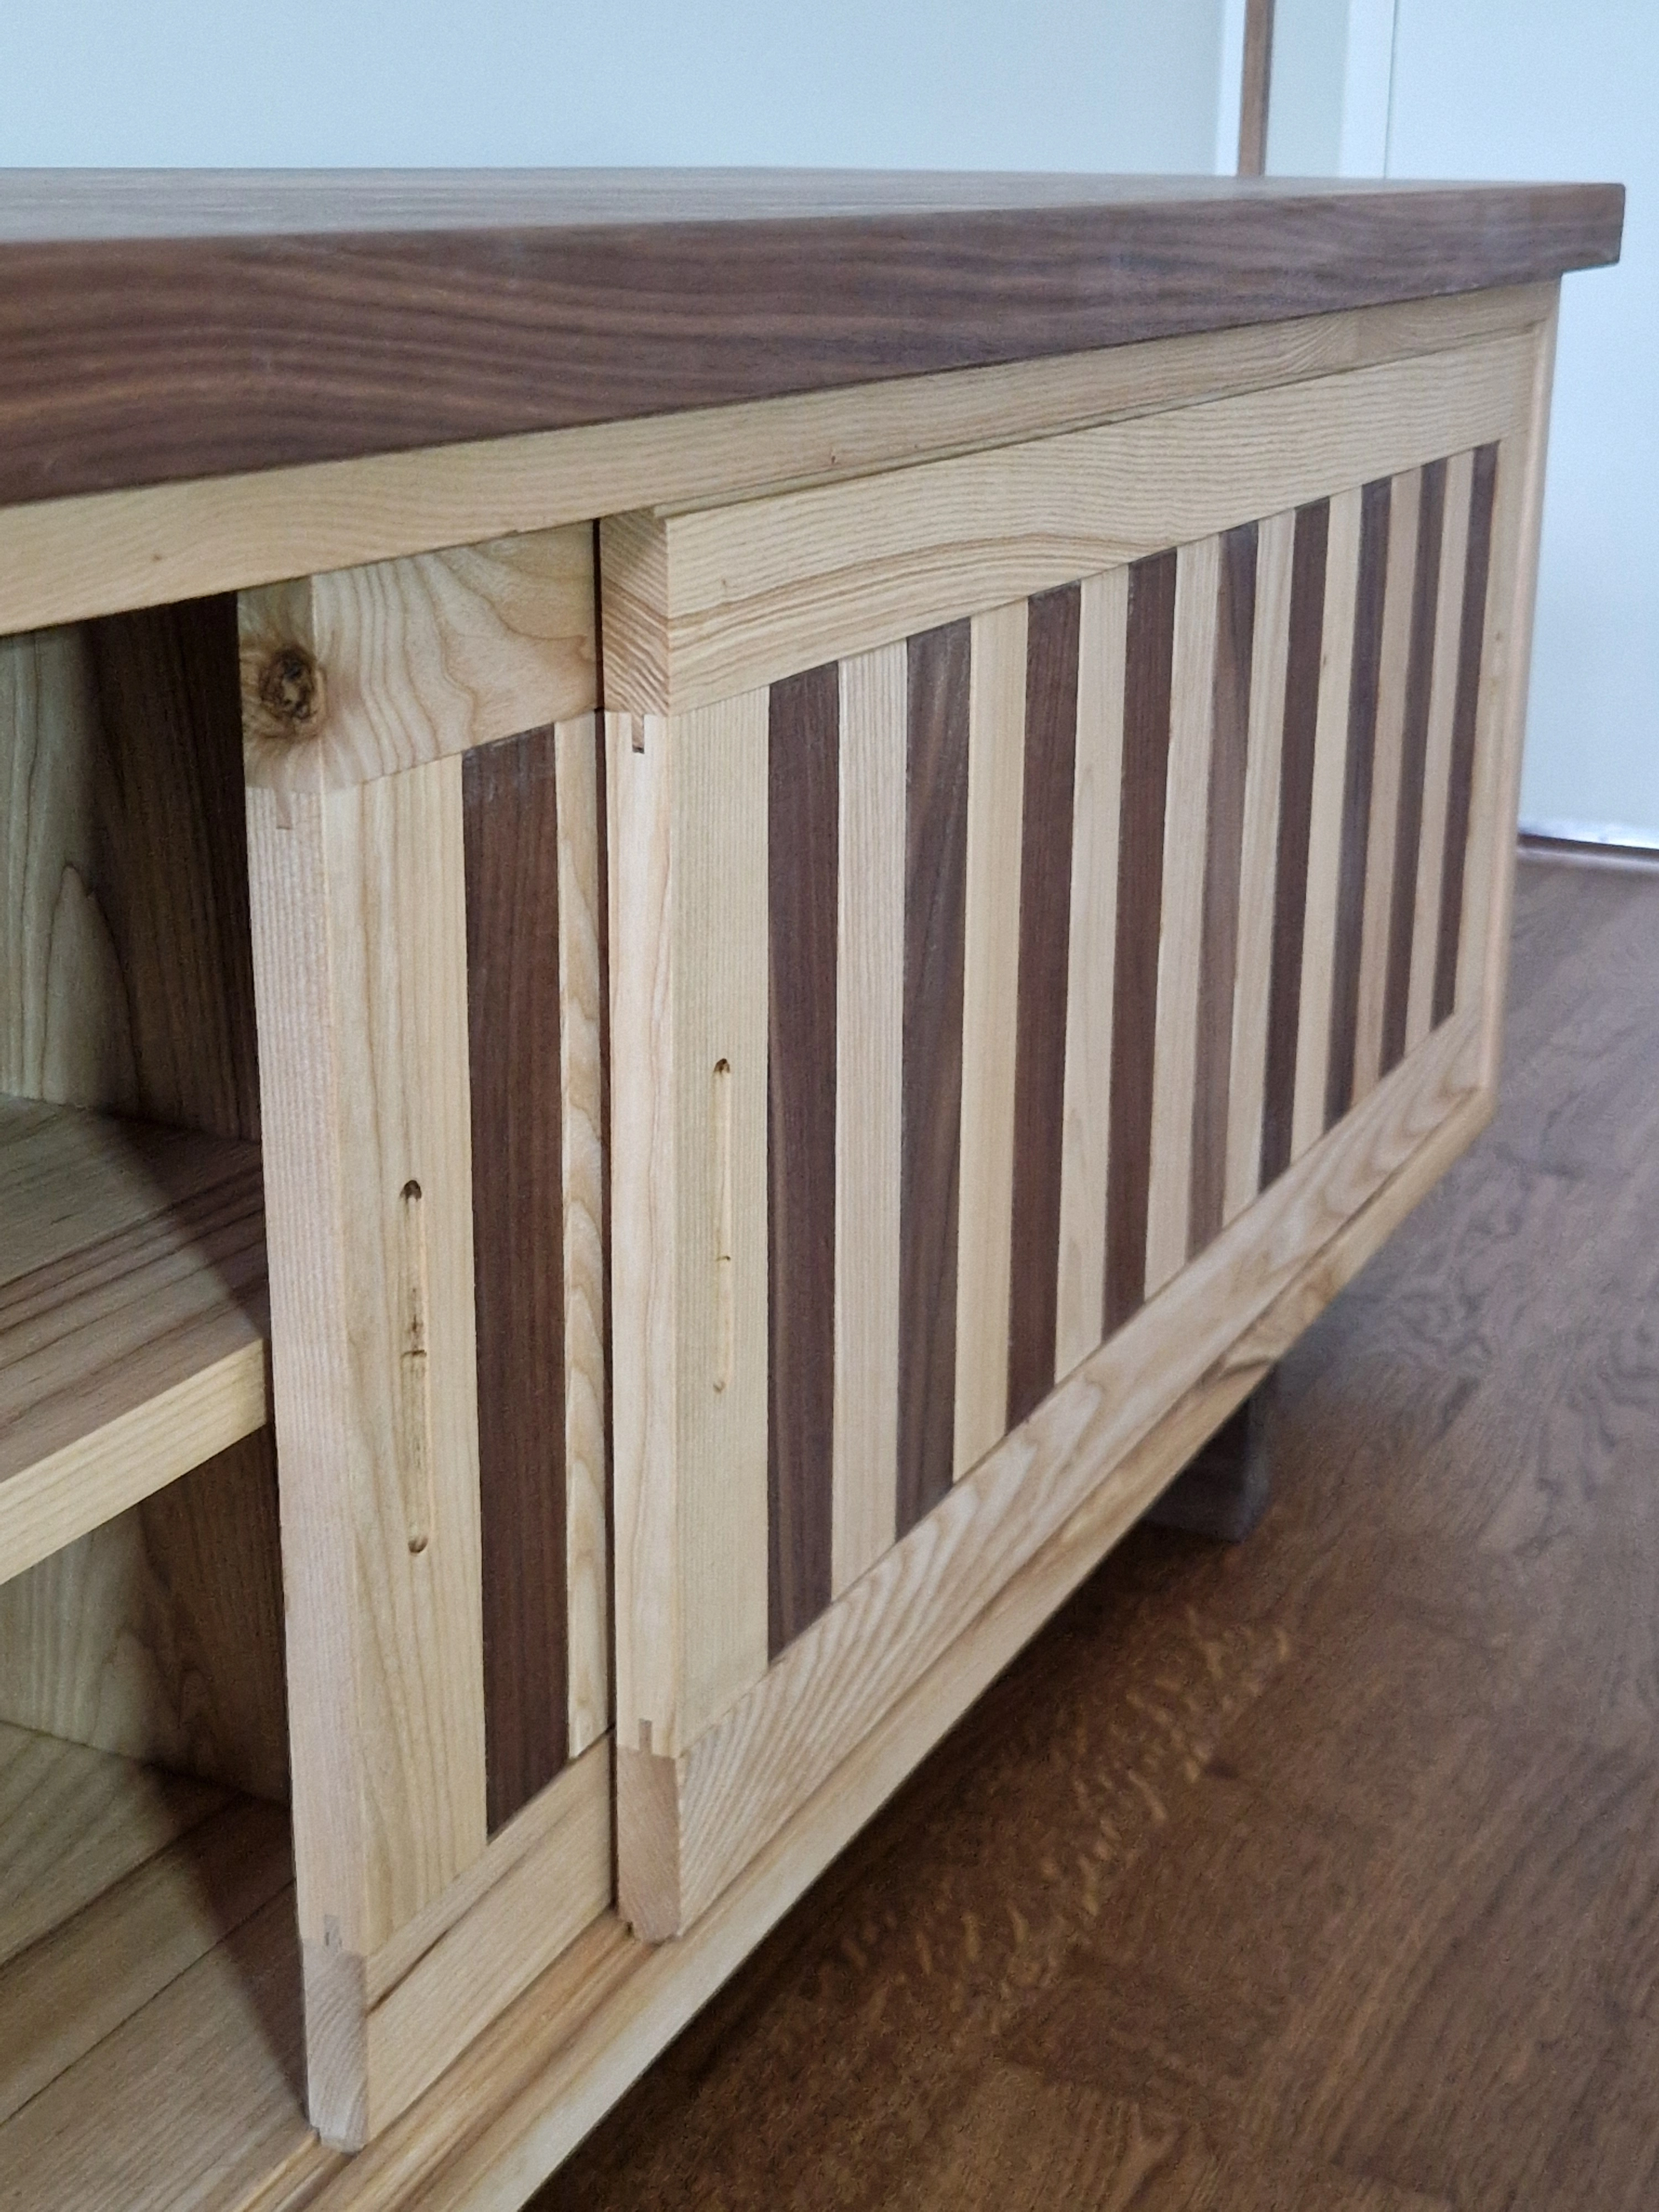
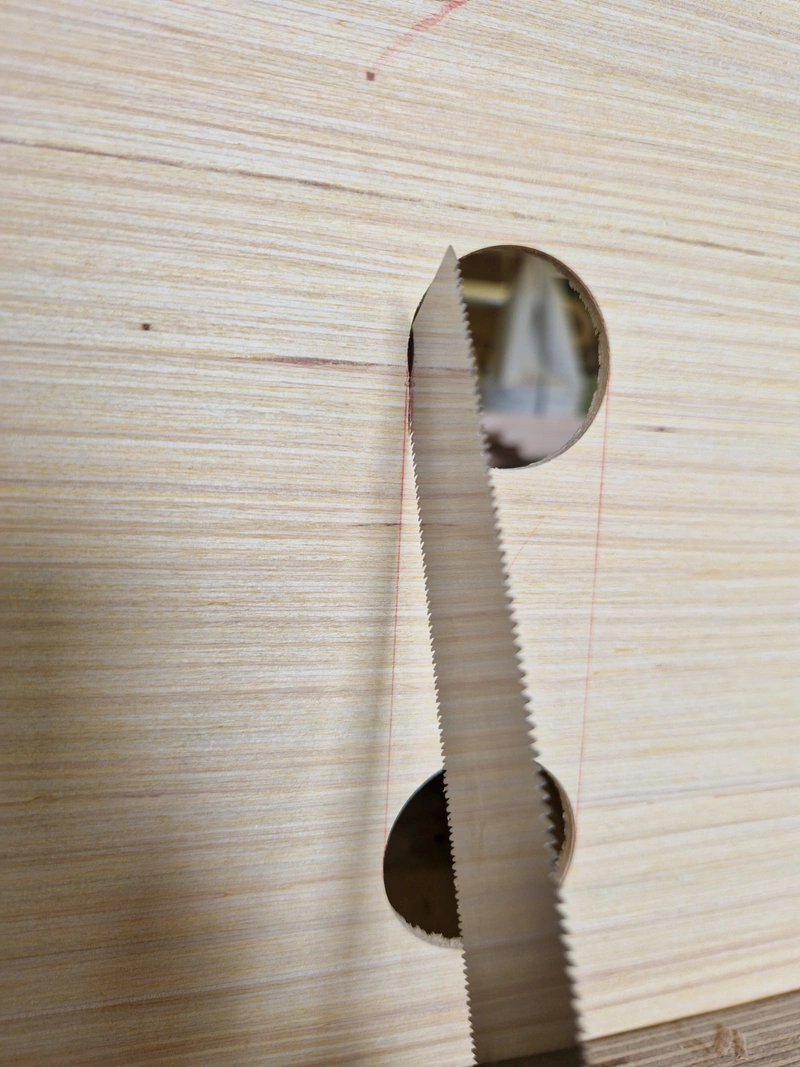
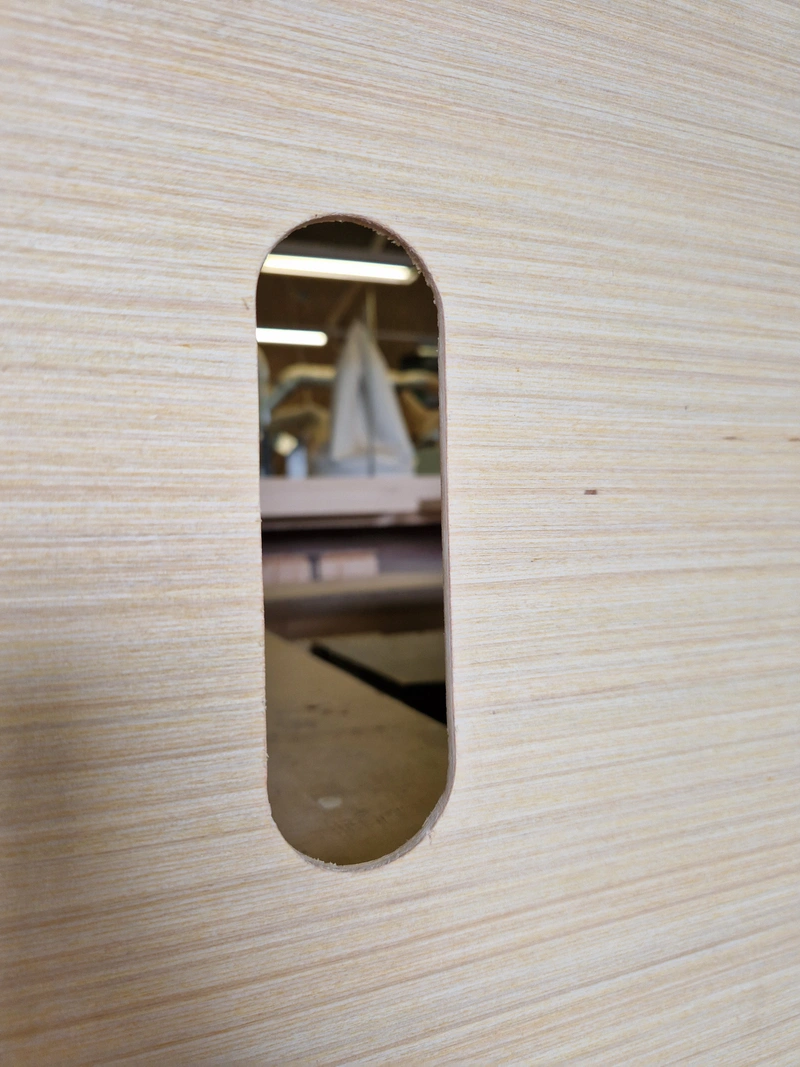
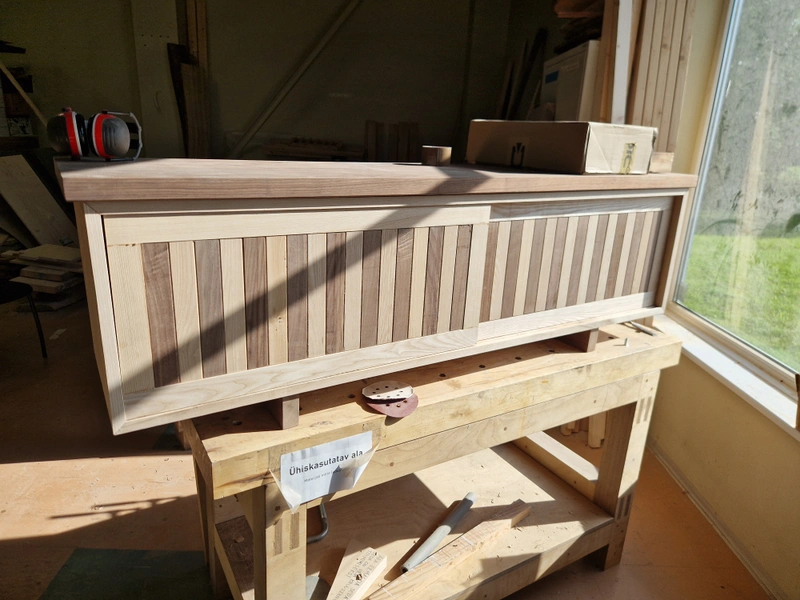
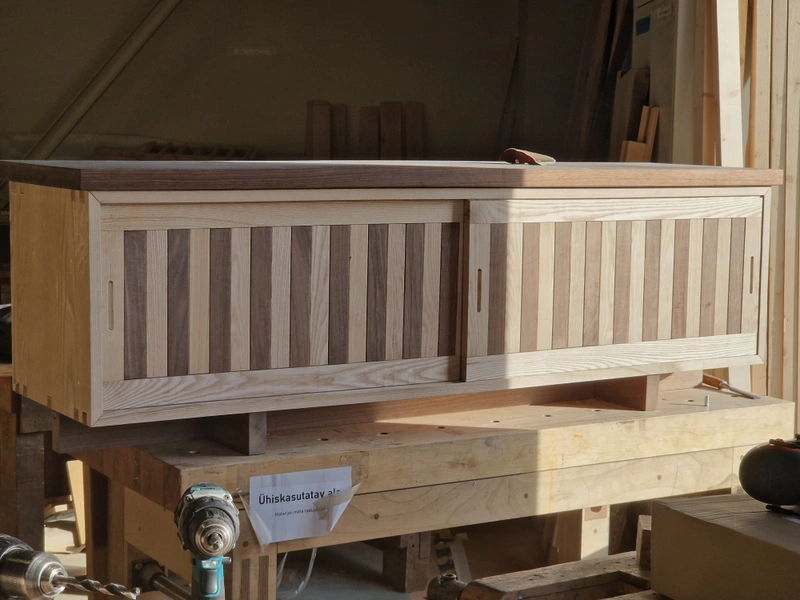
A low credenza with slatted wooden sliding doors. The interior is divided into four sections - outermost two sections are full height, for storing things like boardgames, and middle sections are split in half for storing electronic devices & controllers/remotes, with pill-shaped cuts made in the veneer allowing wires to be passed in from behind.
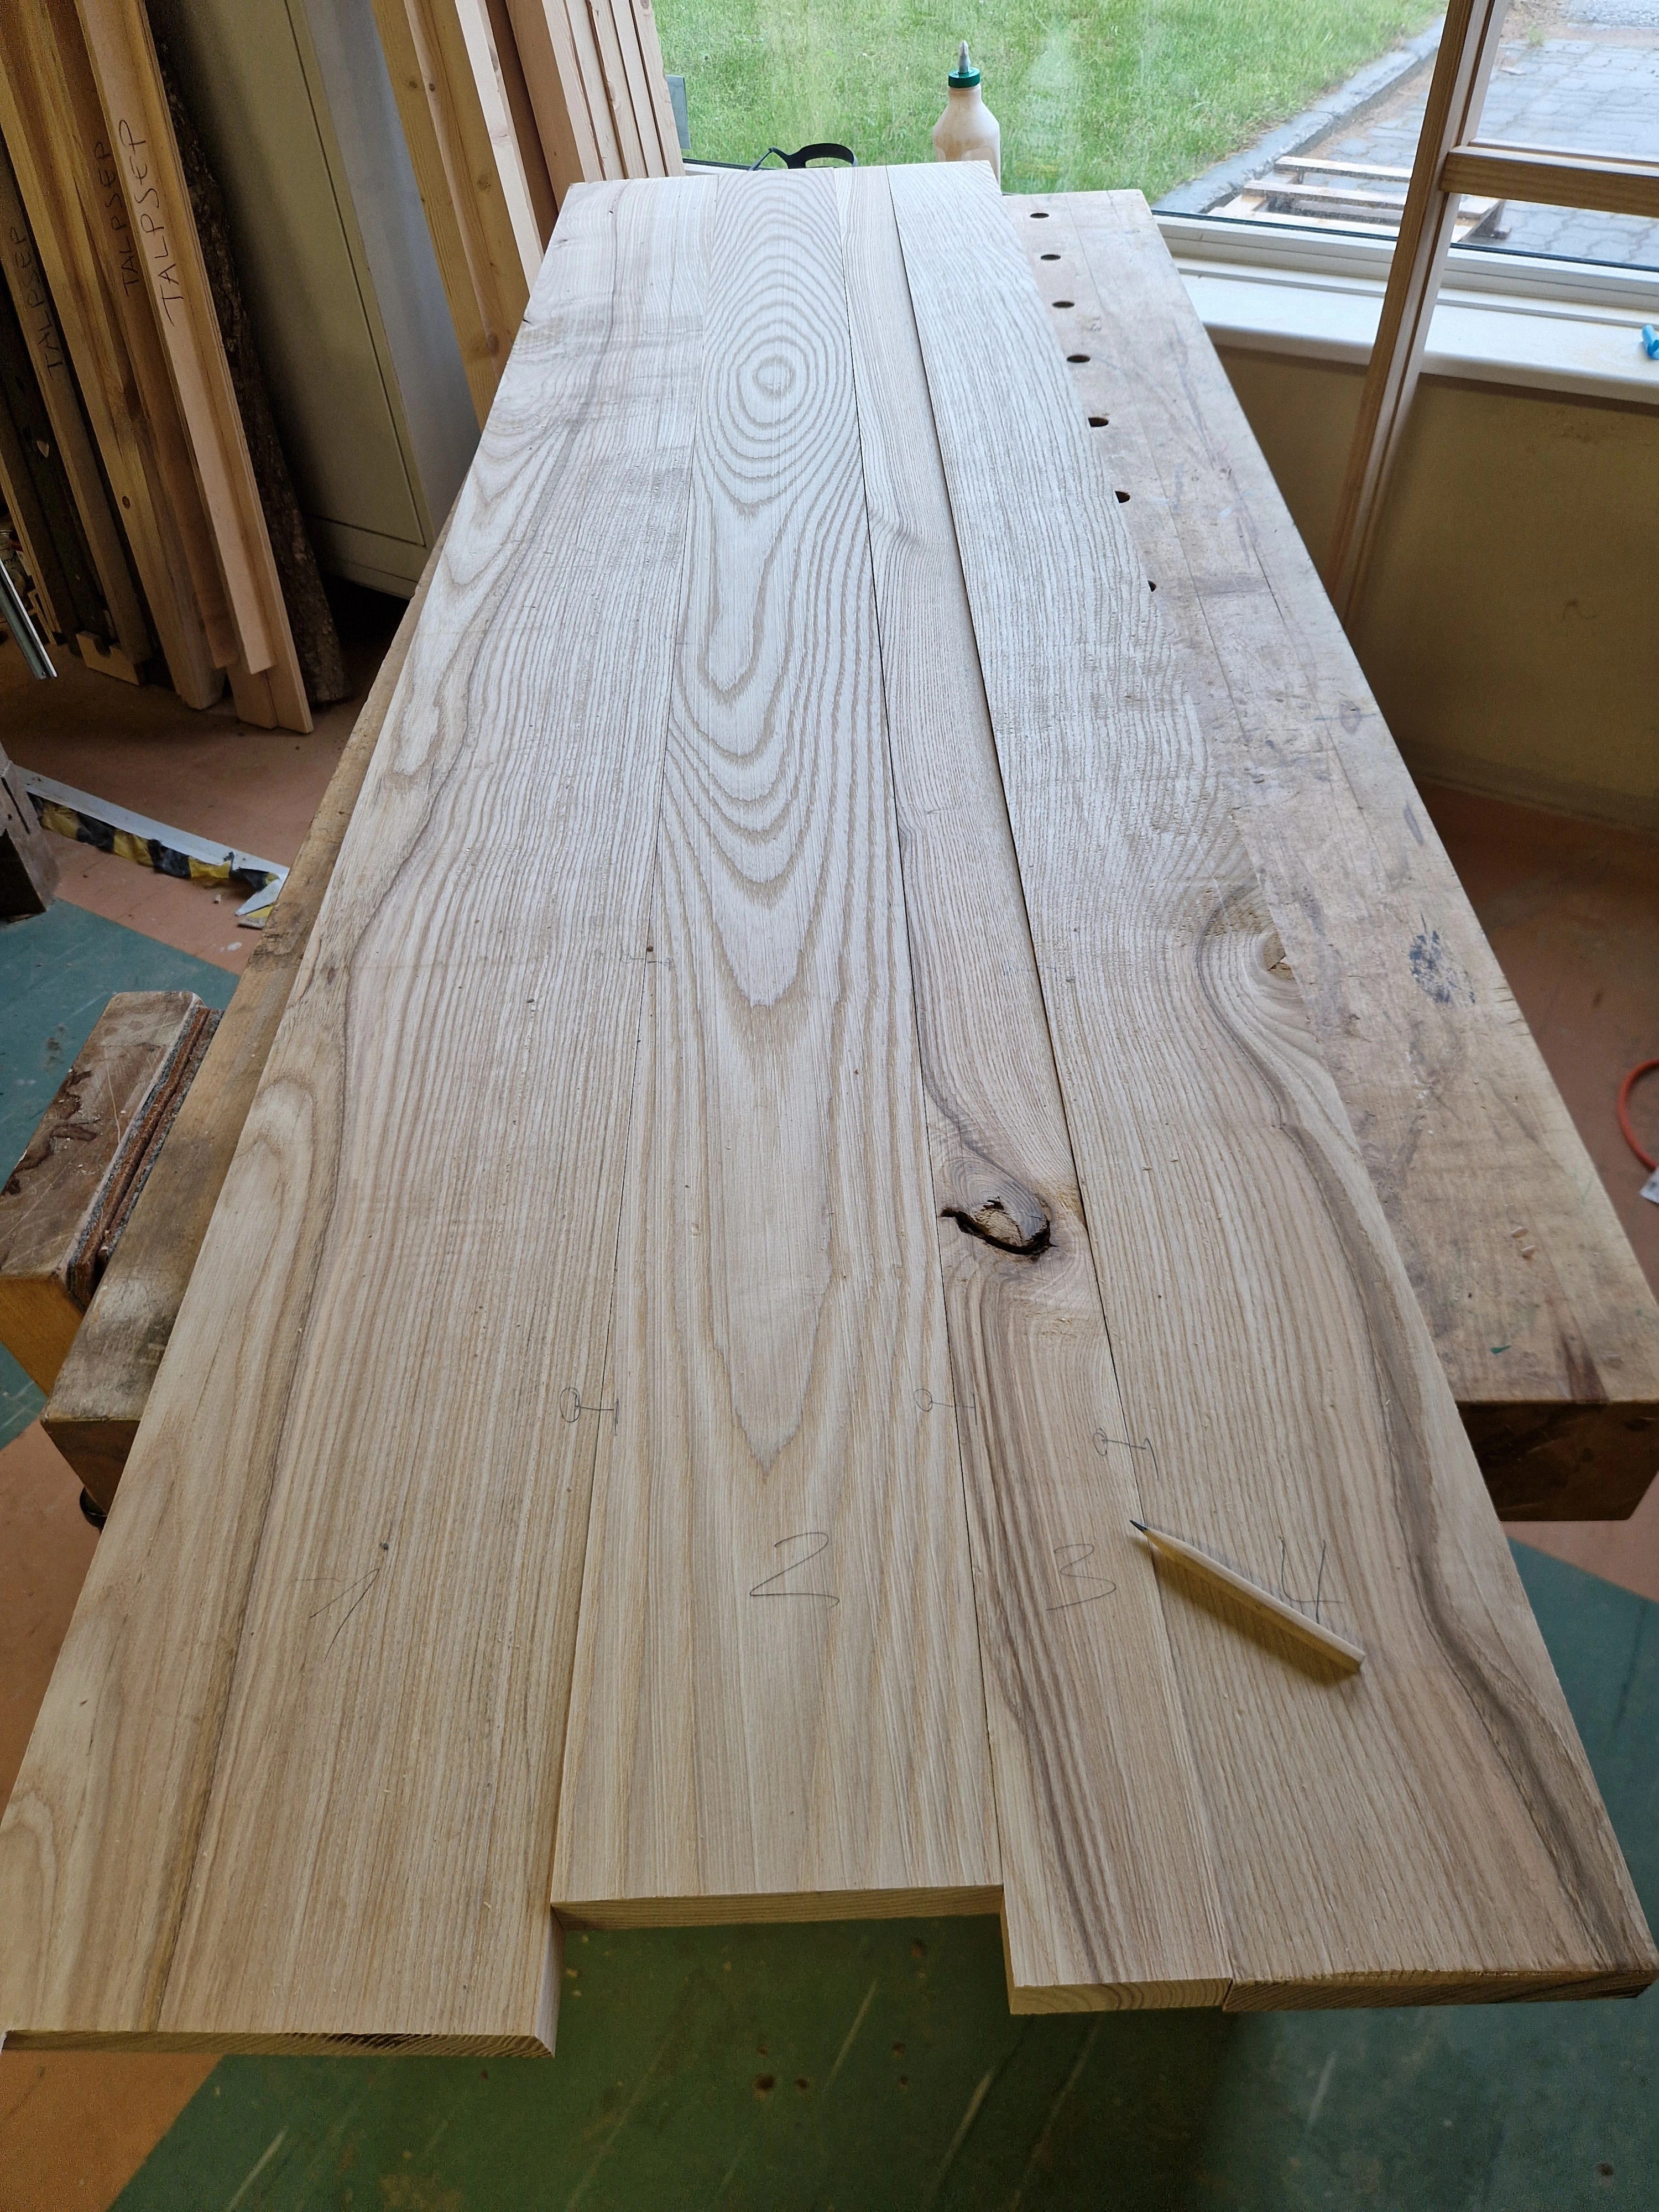
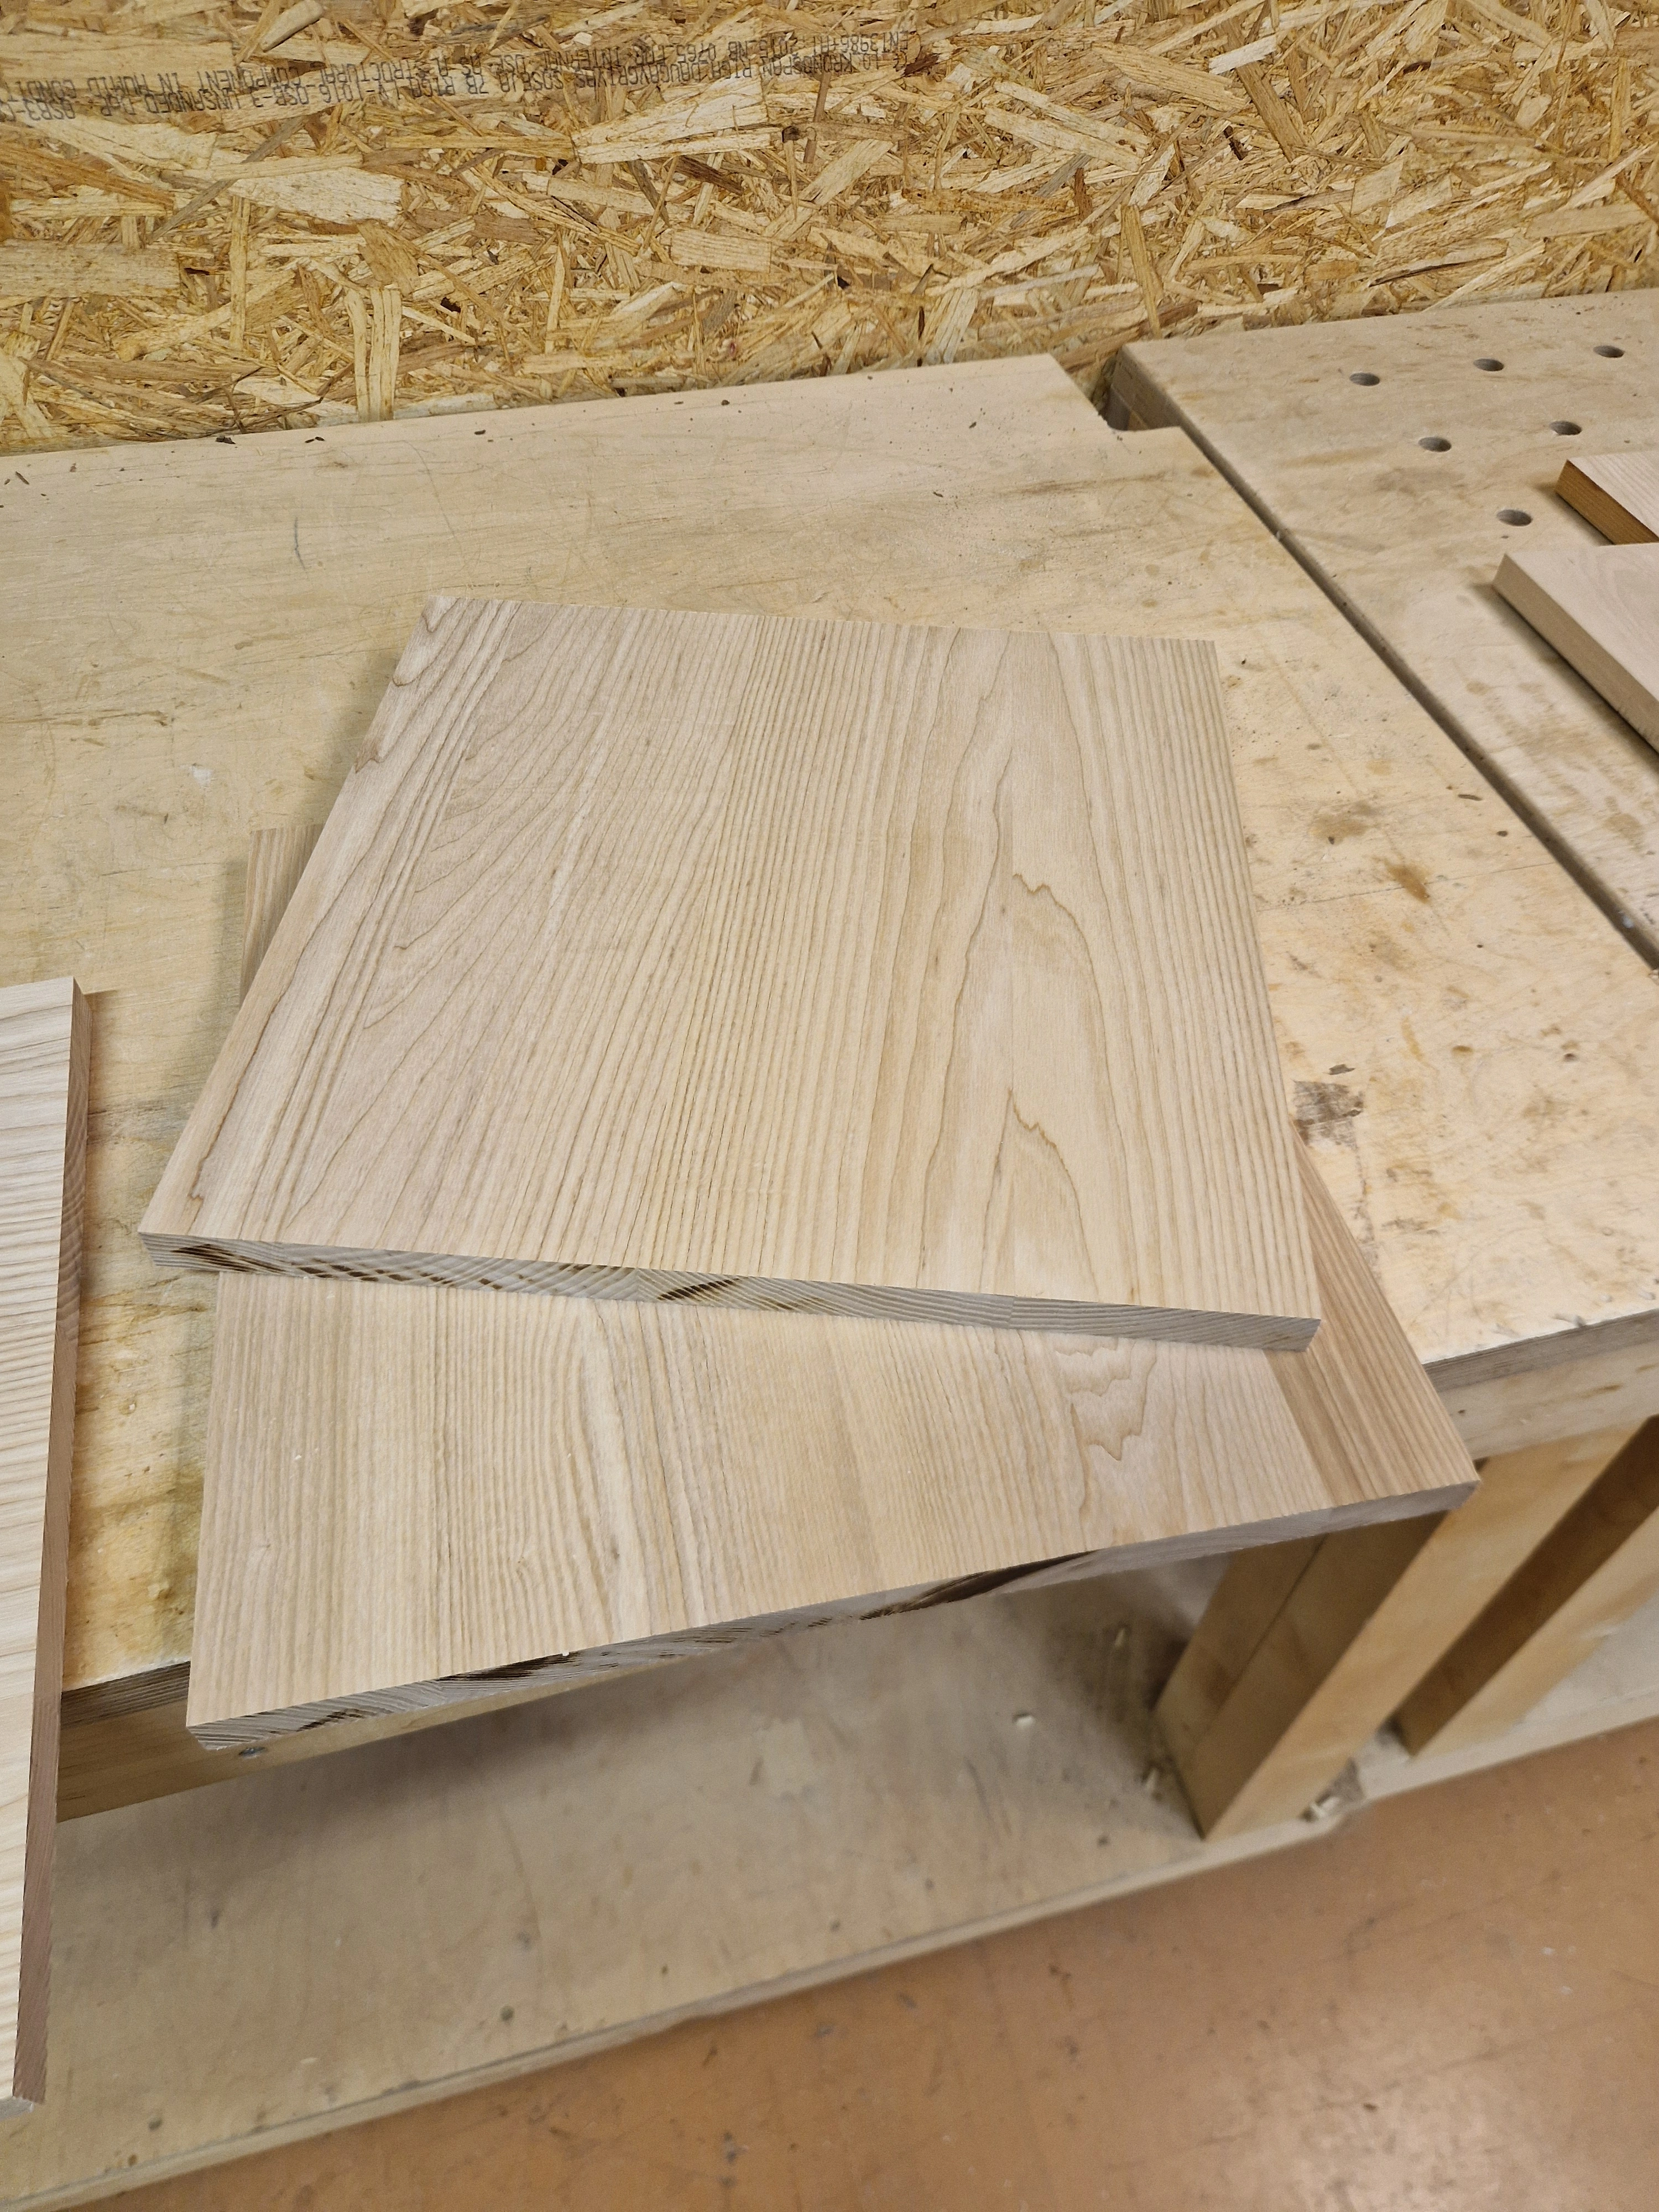
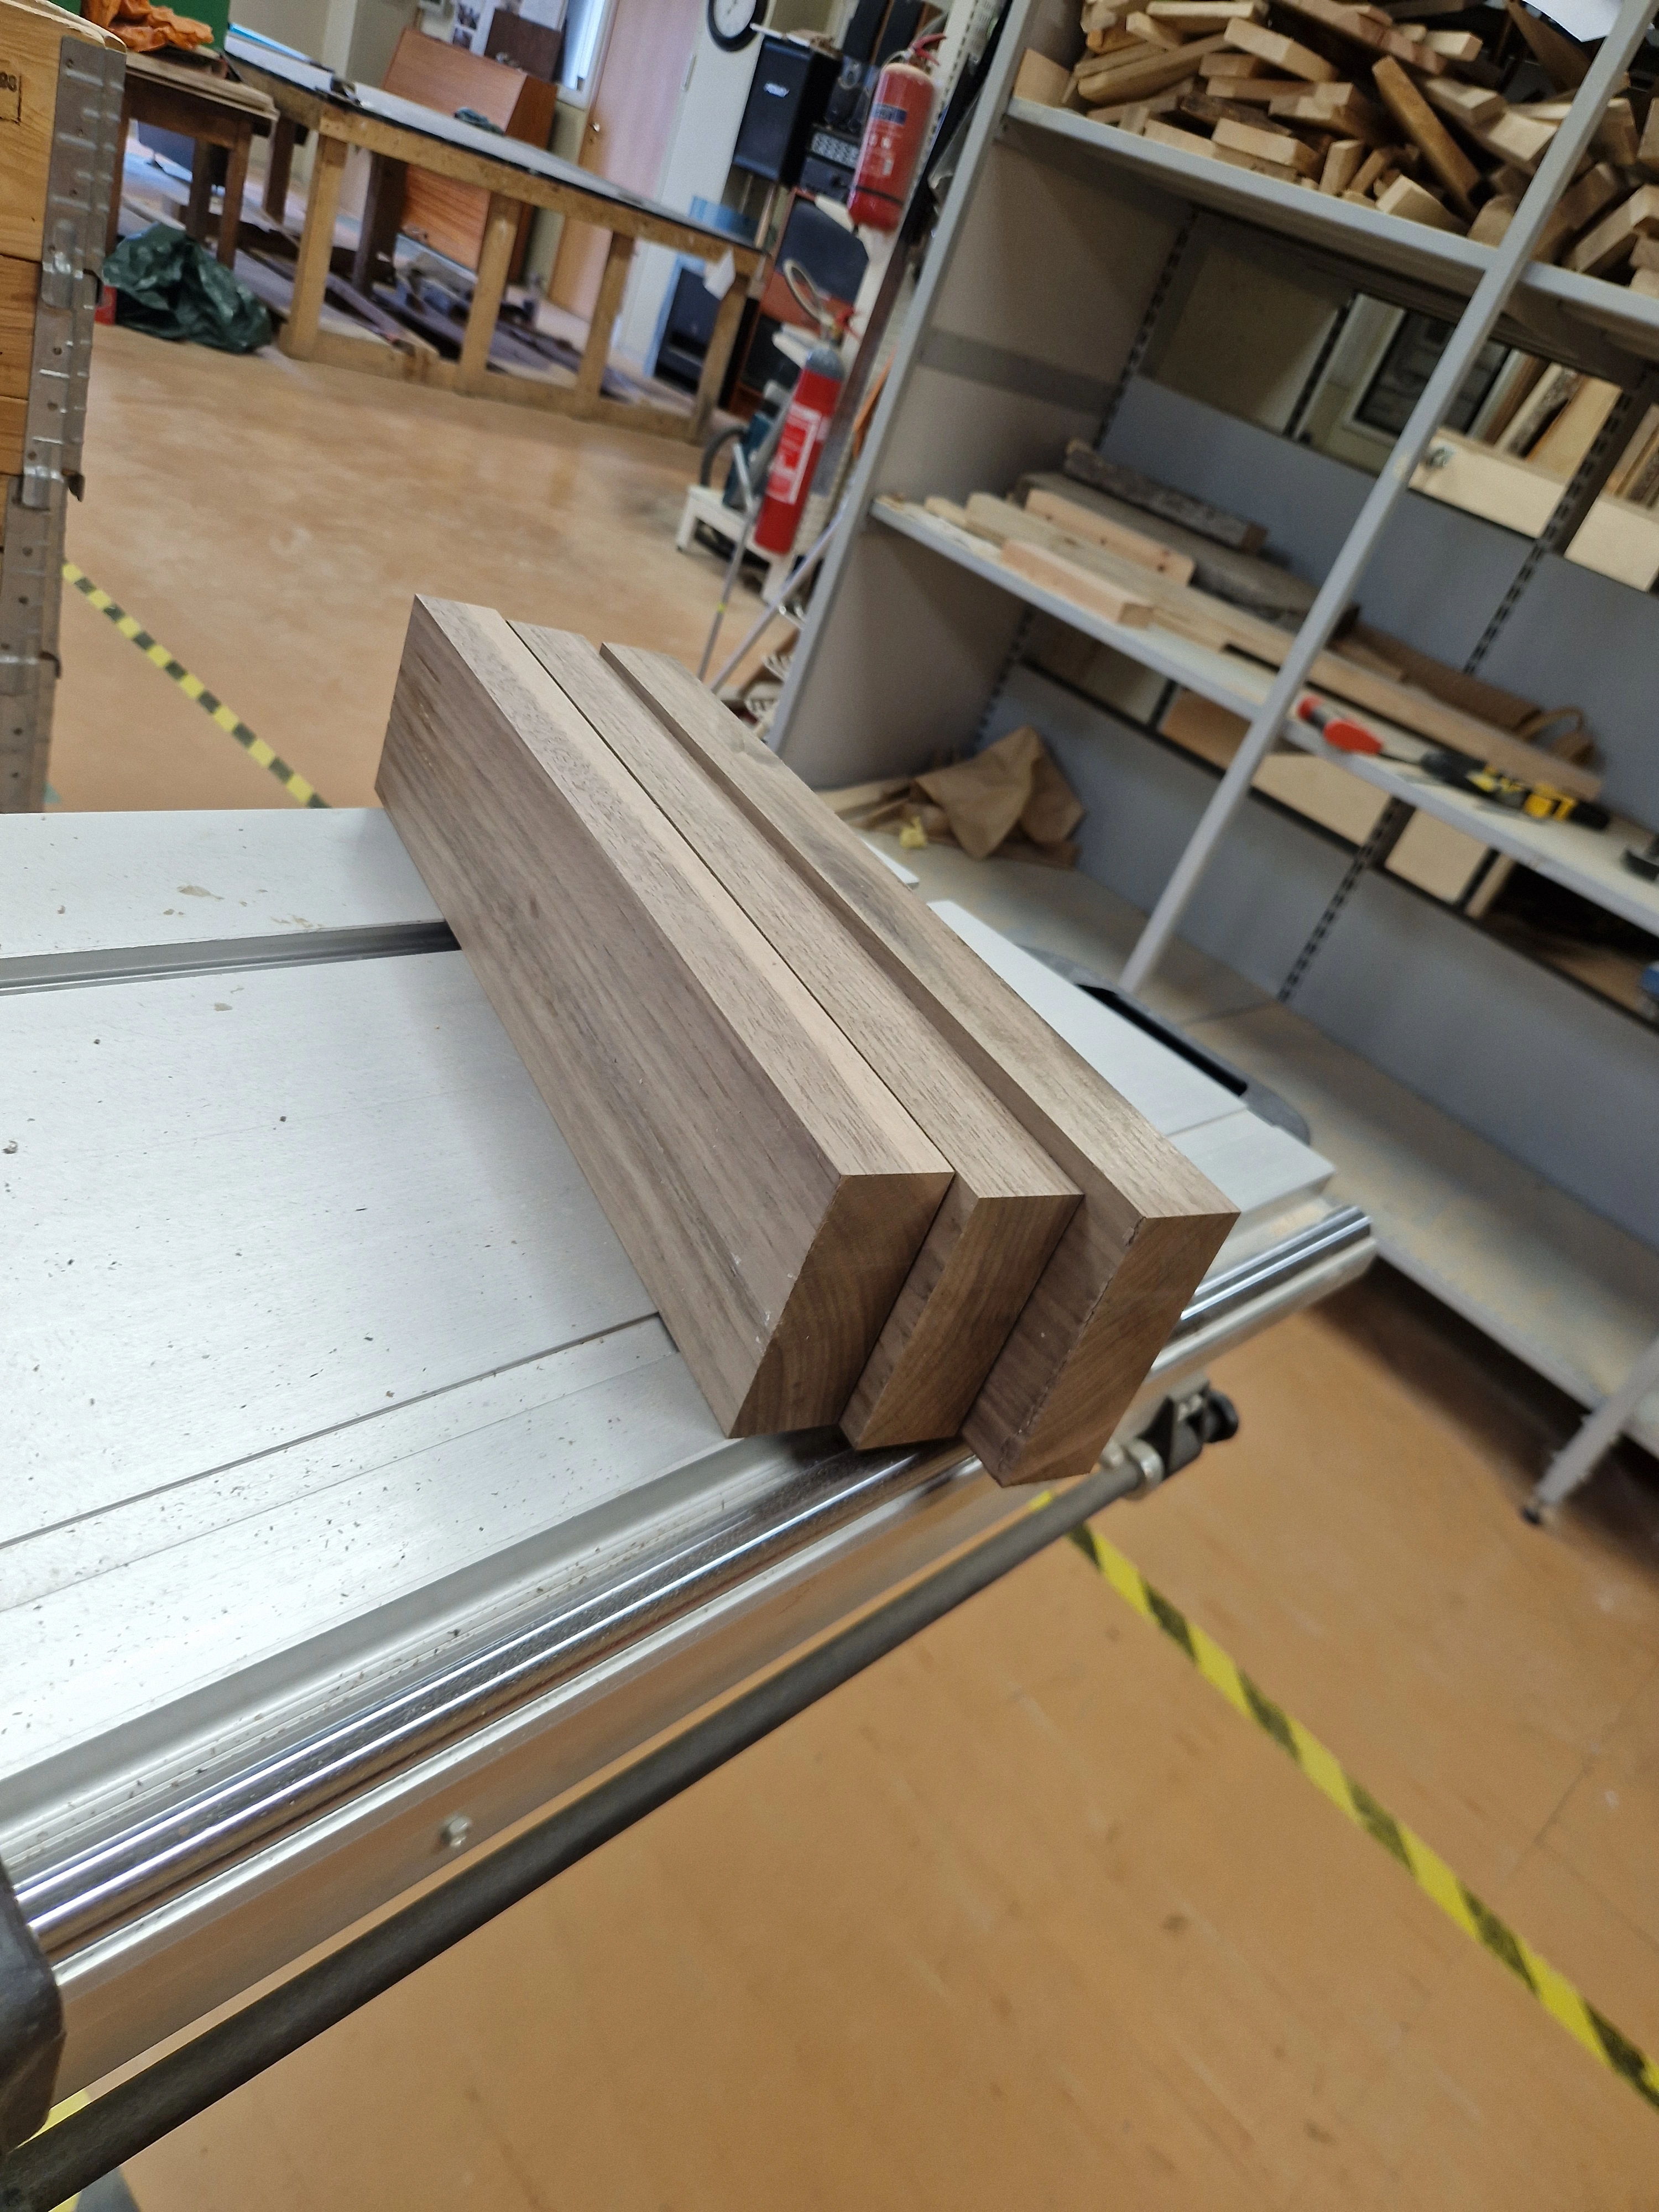
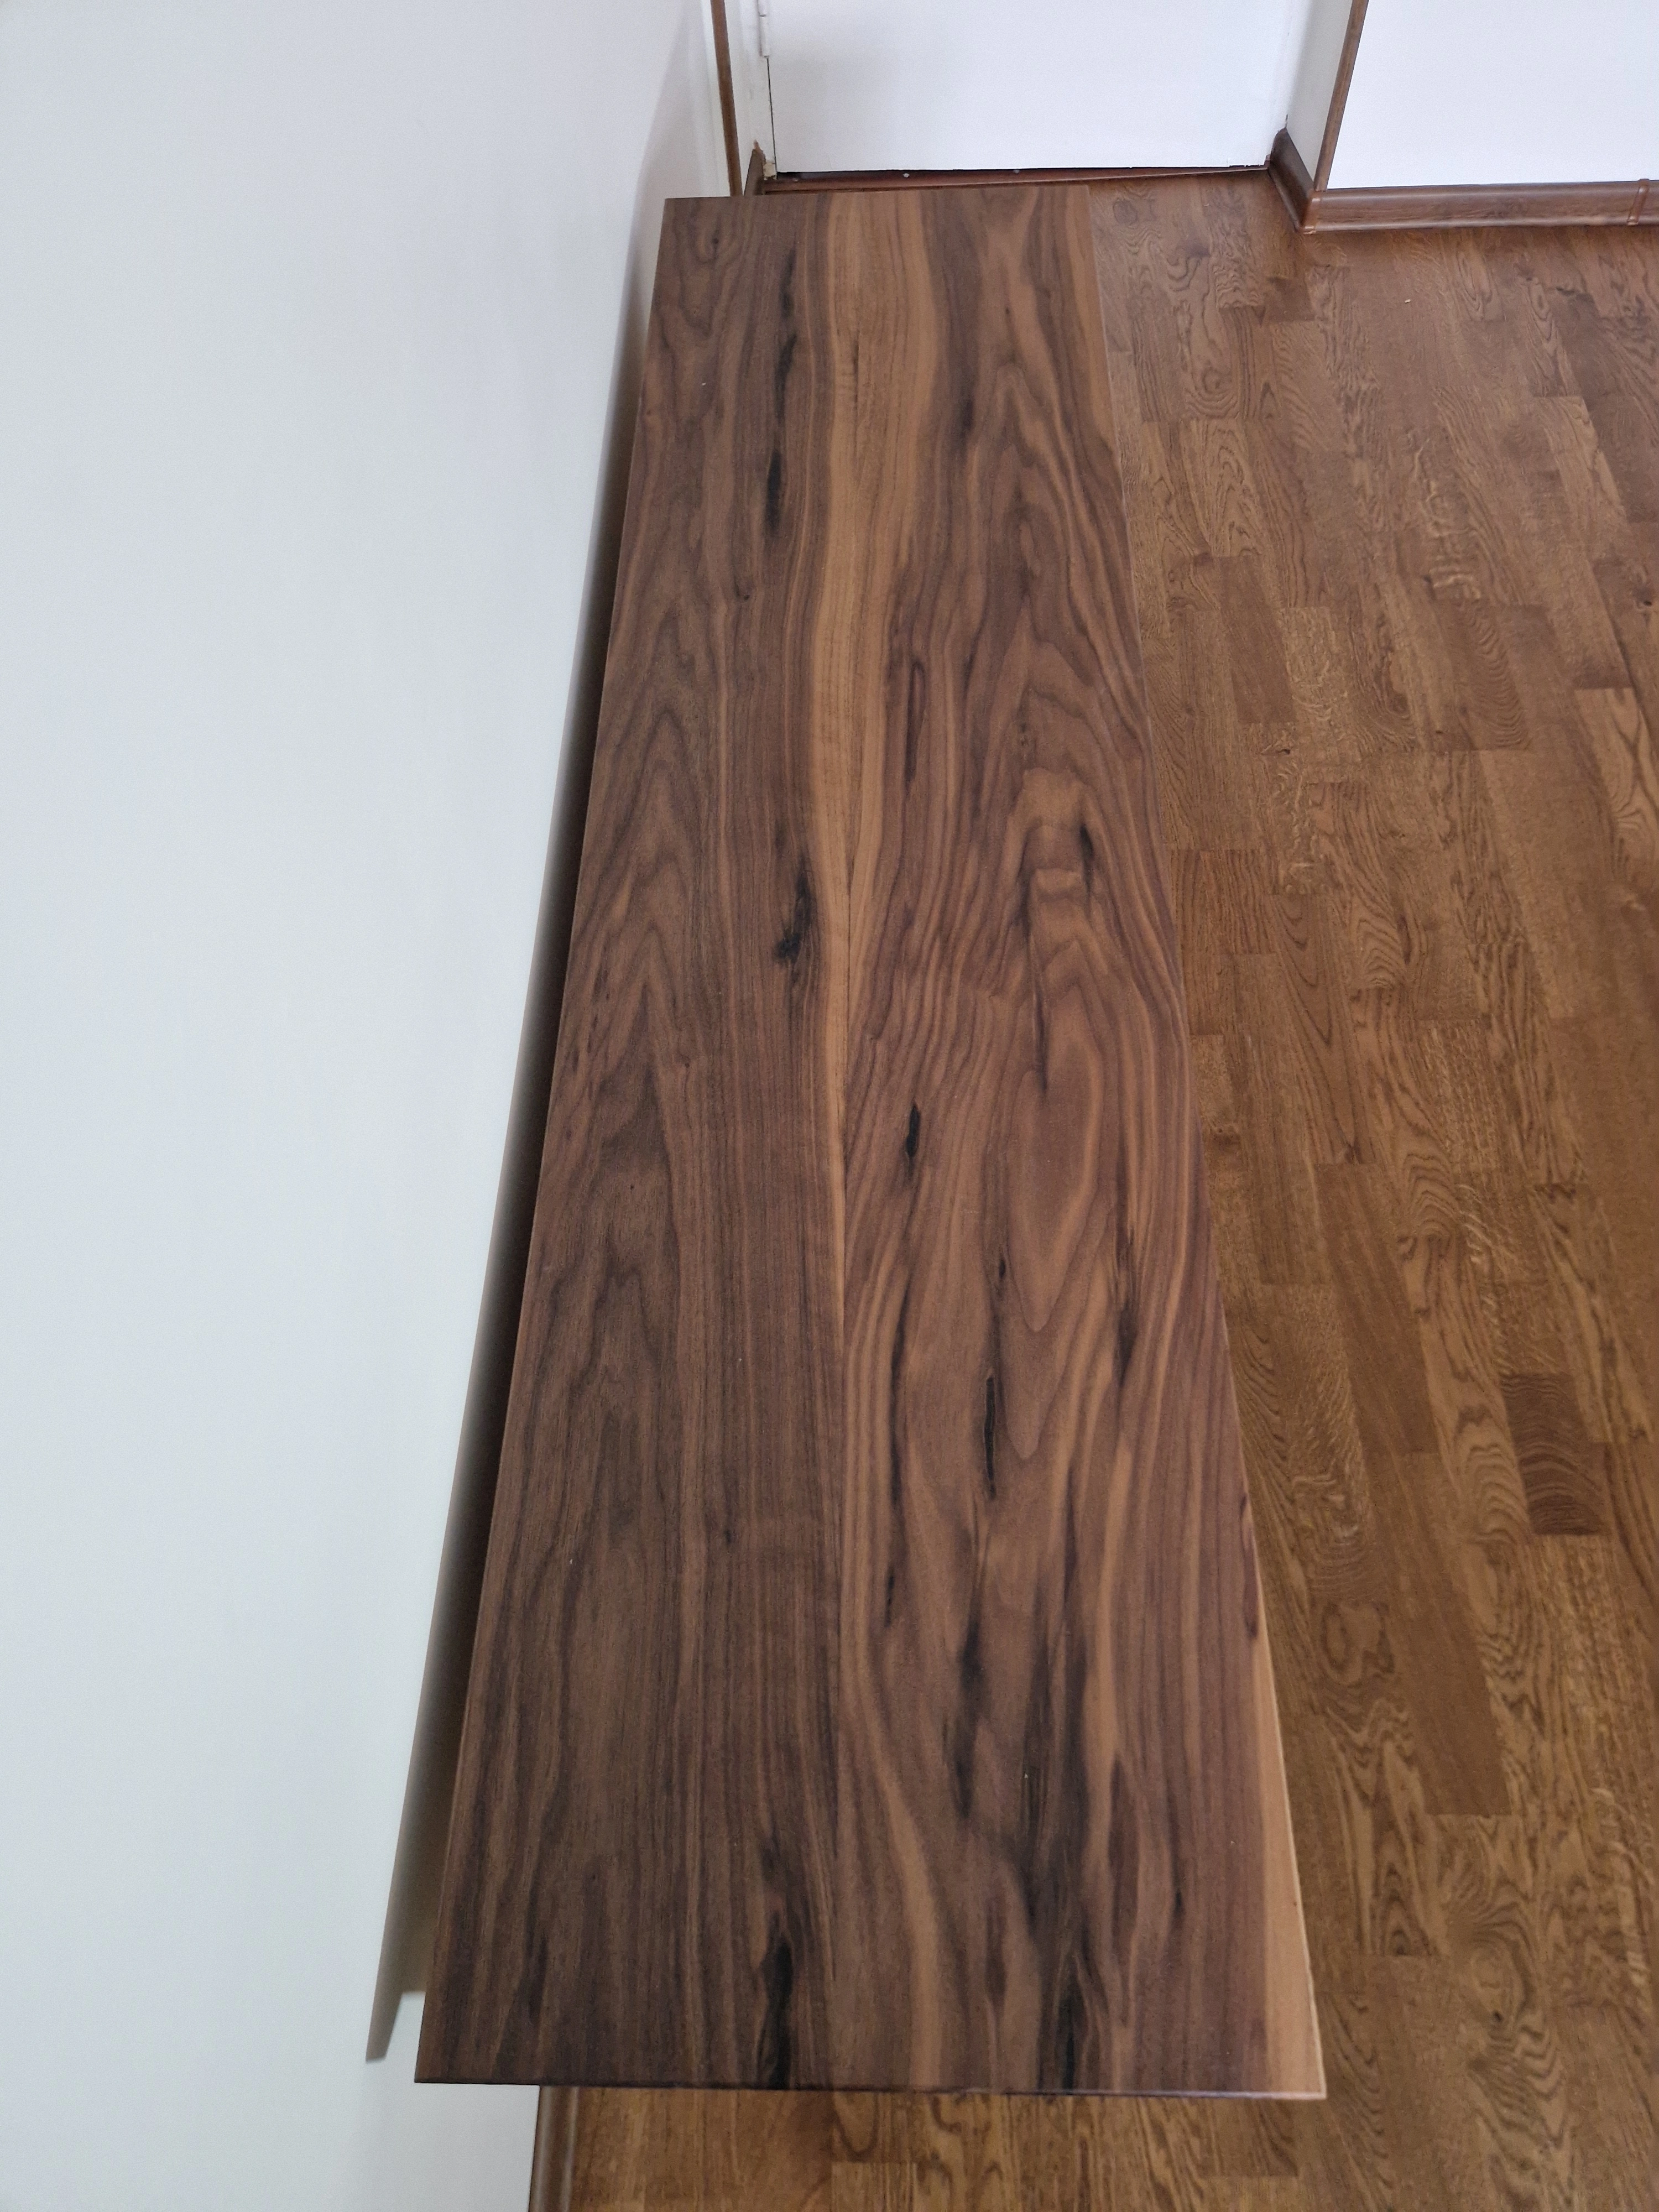
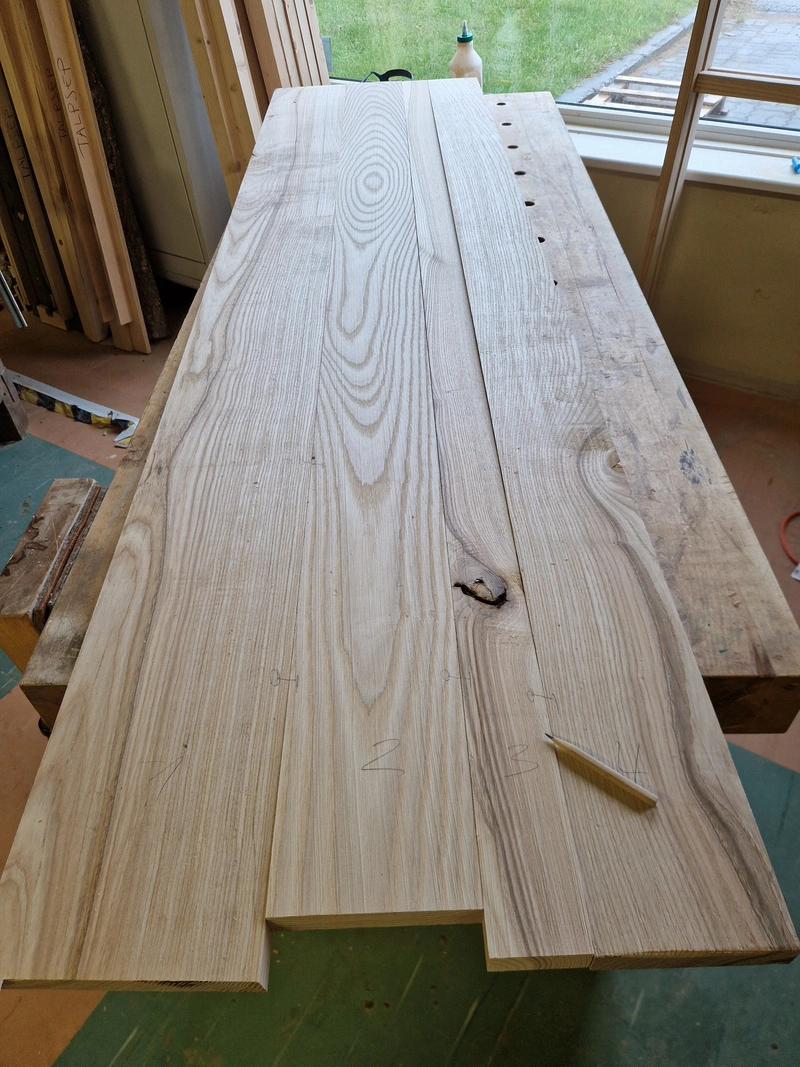
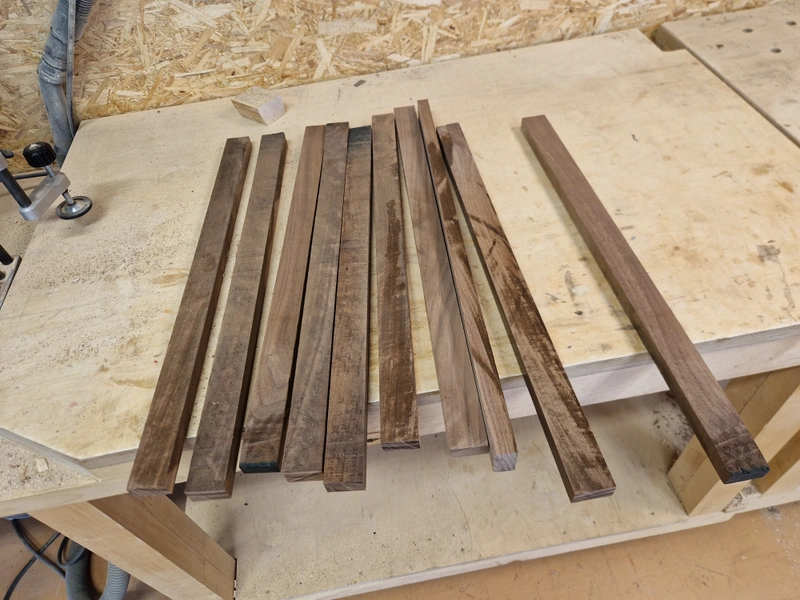
The legs, tabletop and half the slats are solid walnut. Carcass and the other half of slats are solid ash and the back panel is ash-veneered plywood.
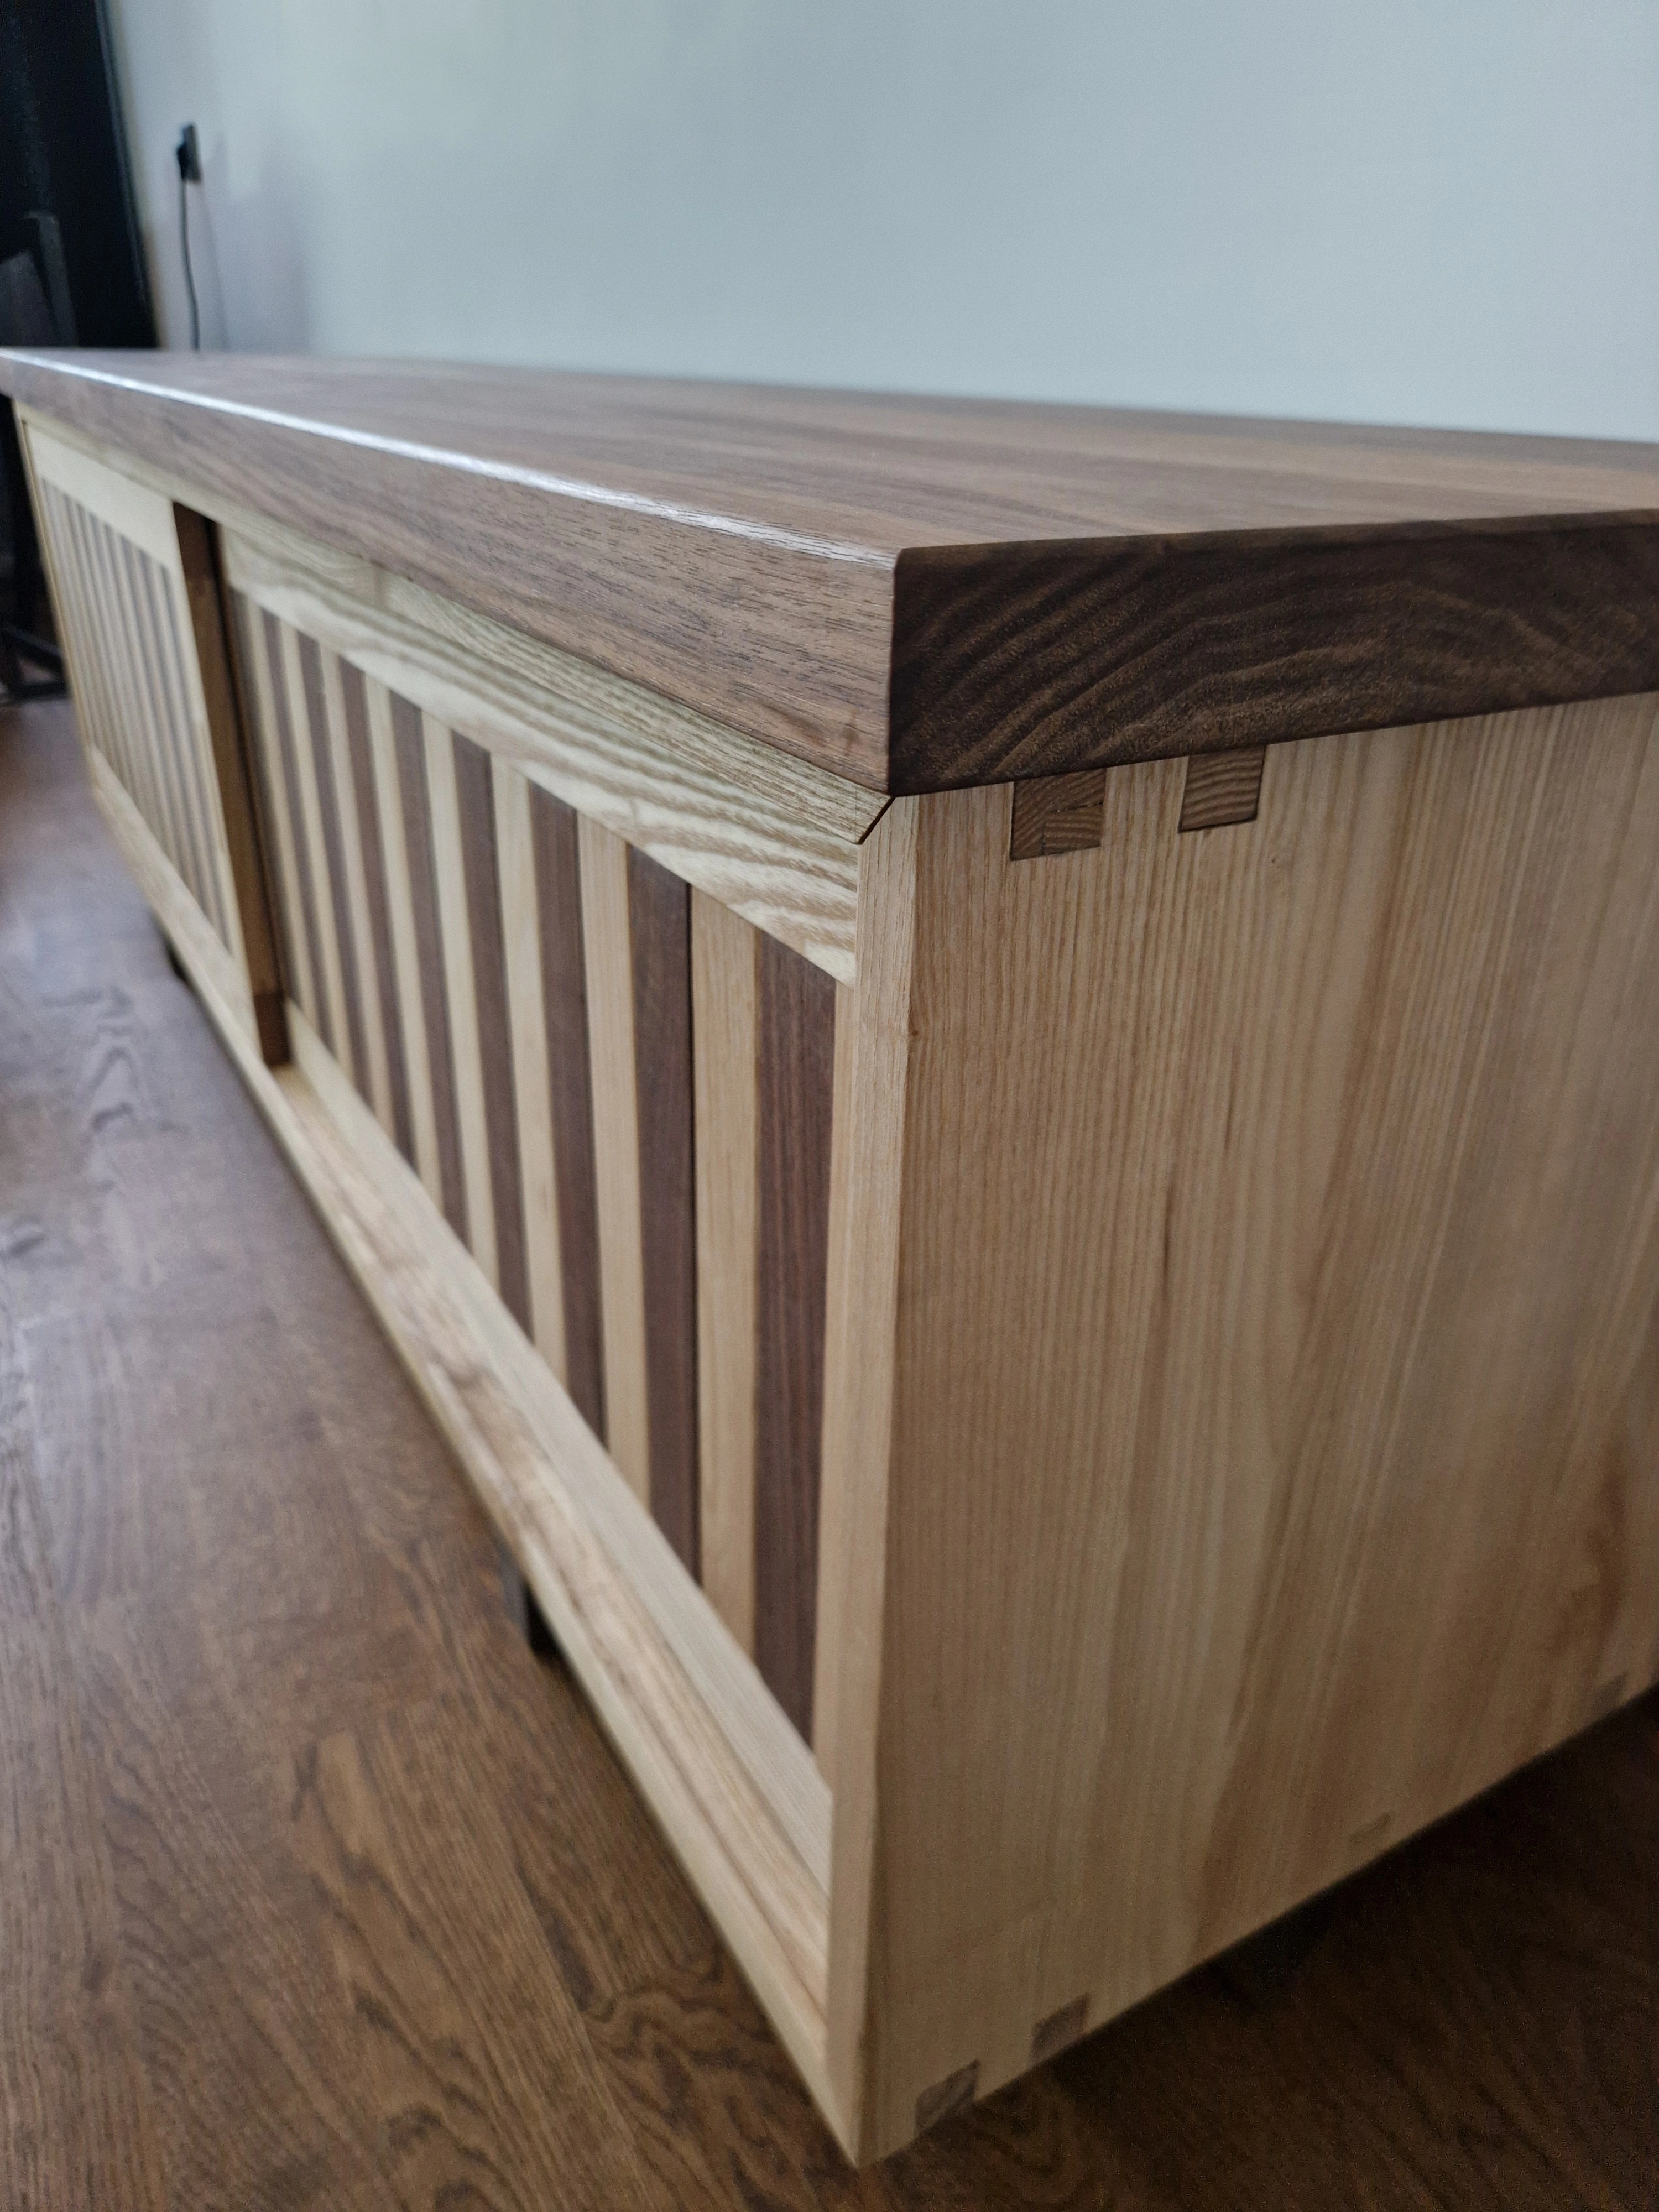
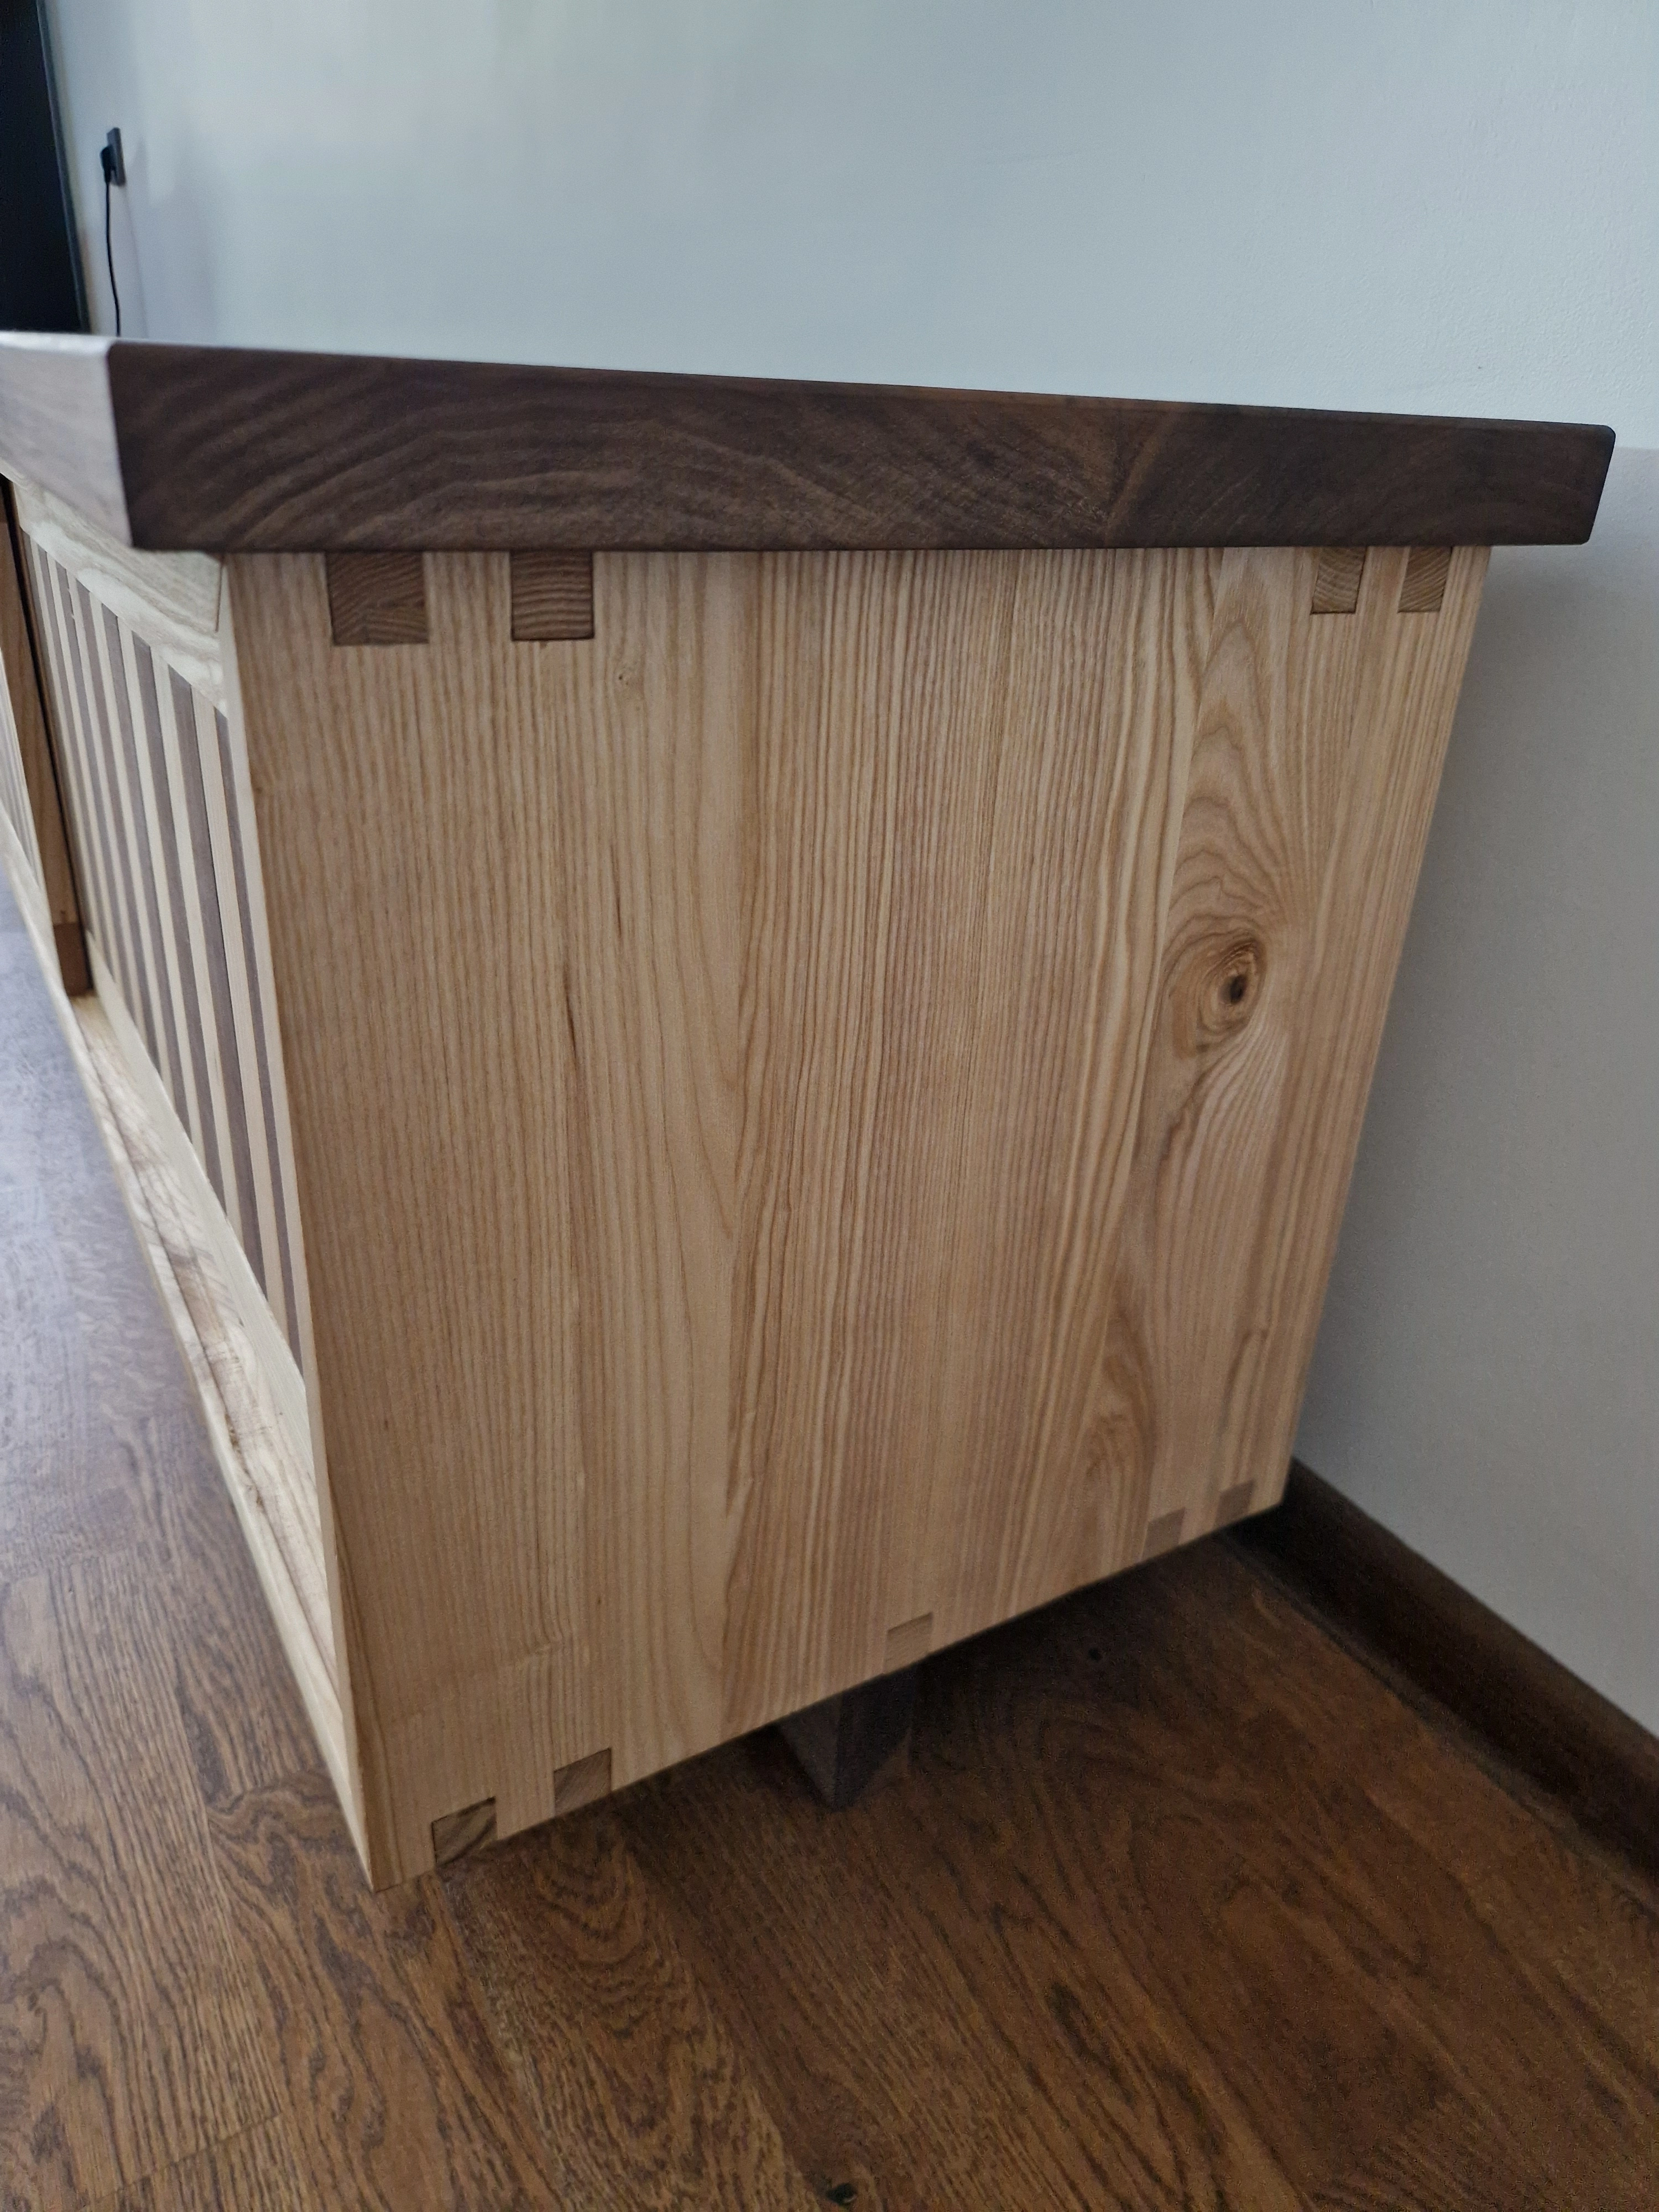
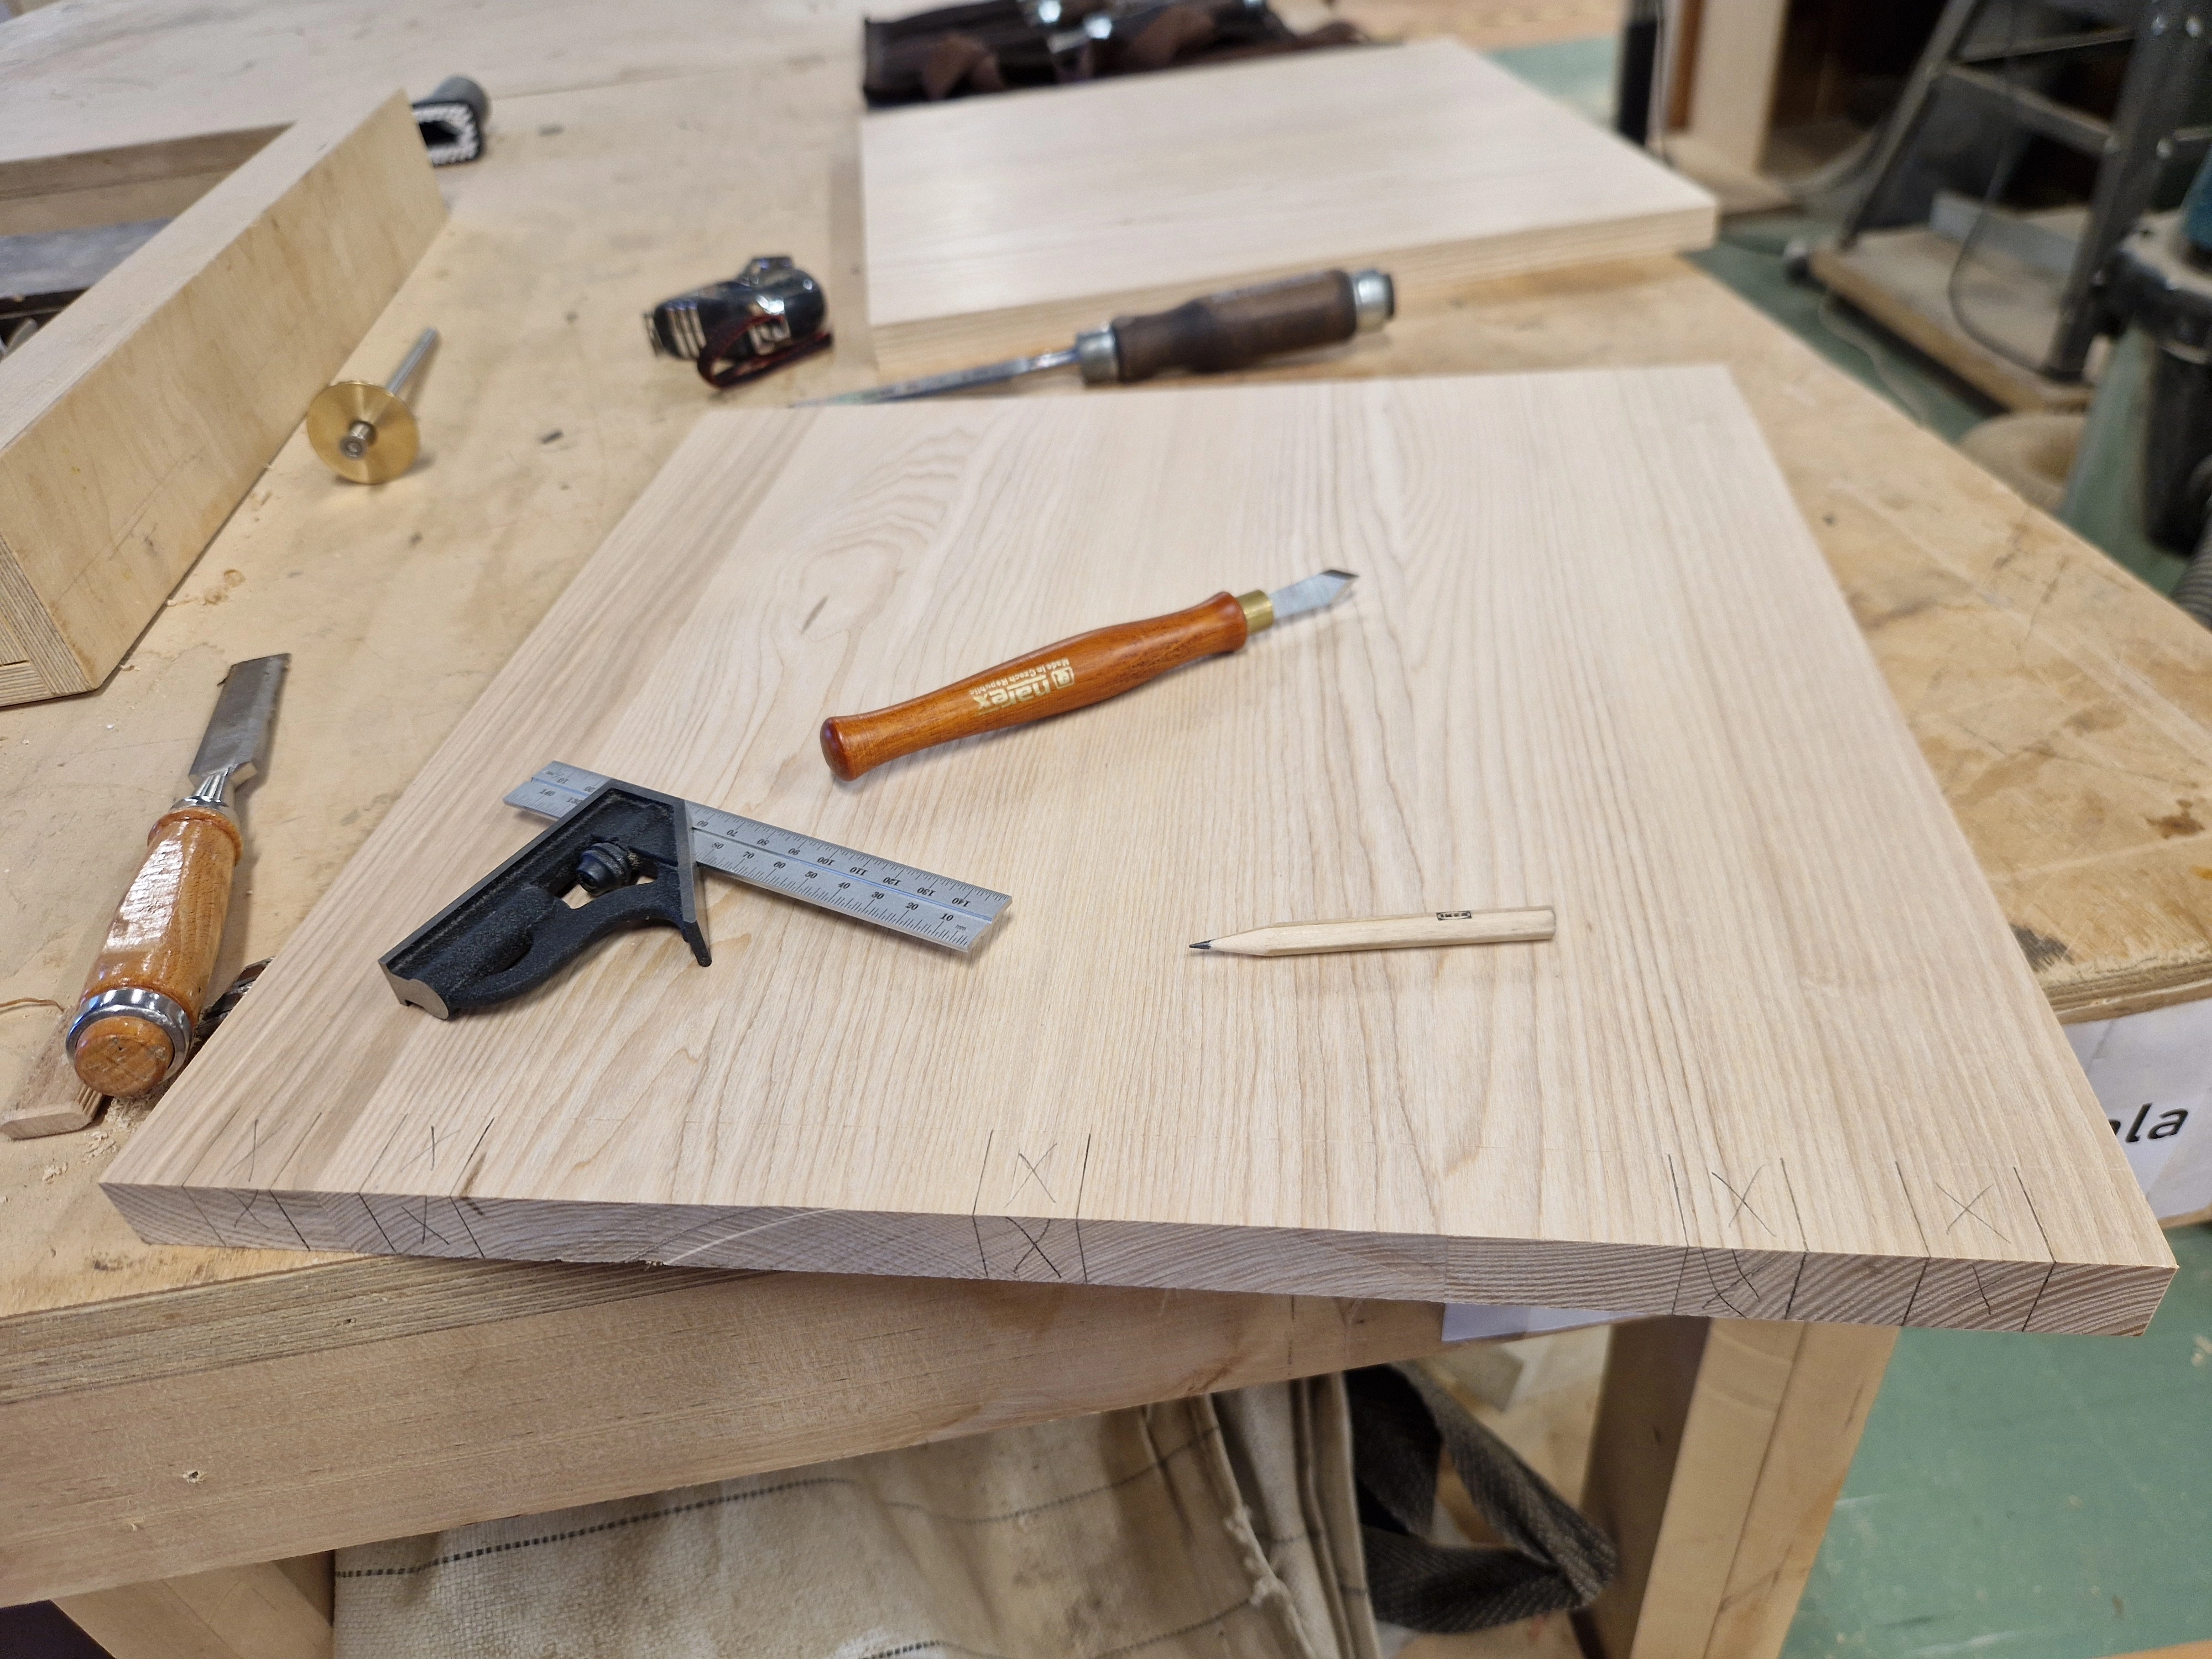
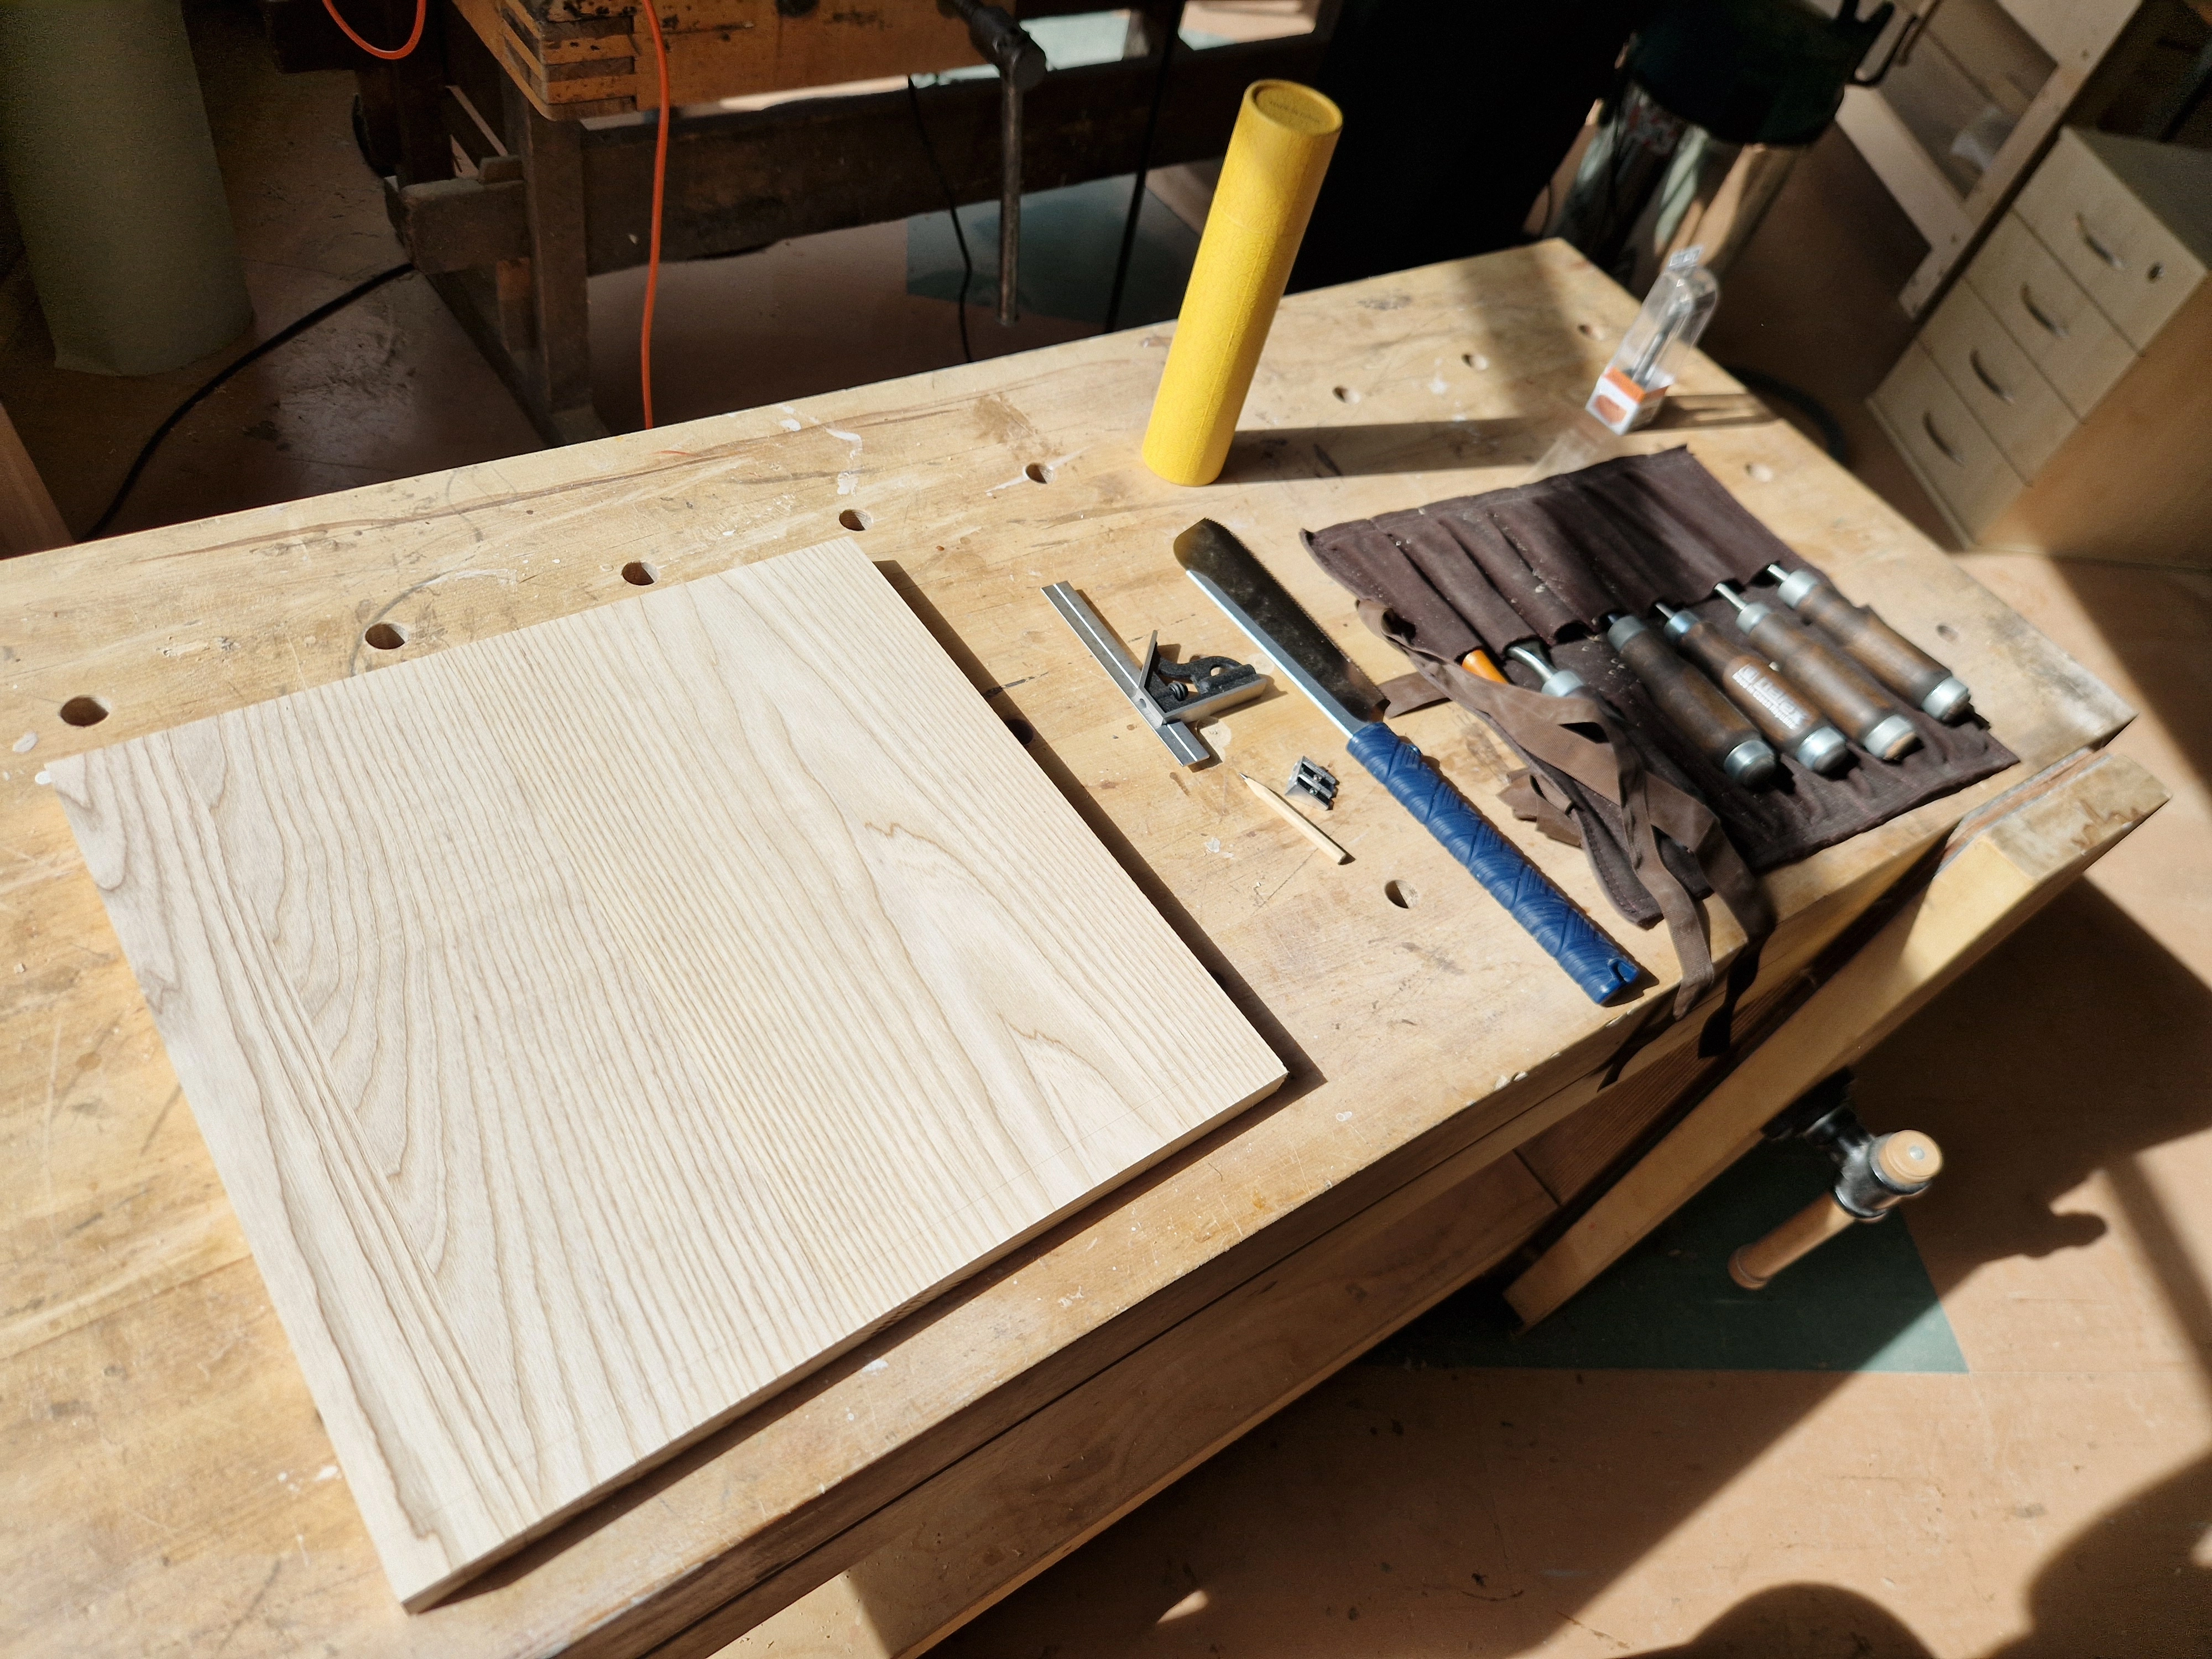
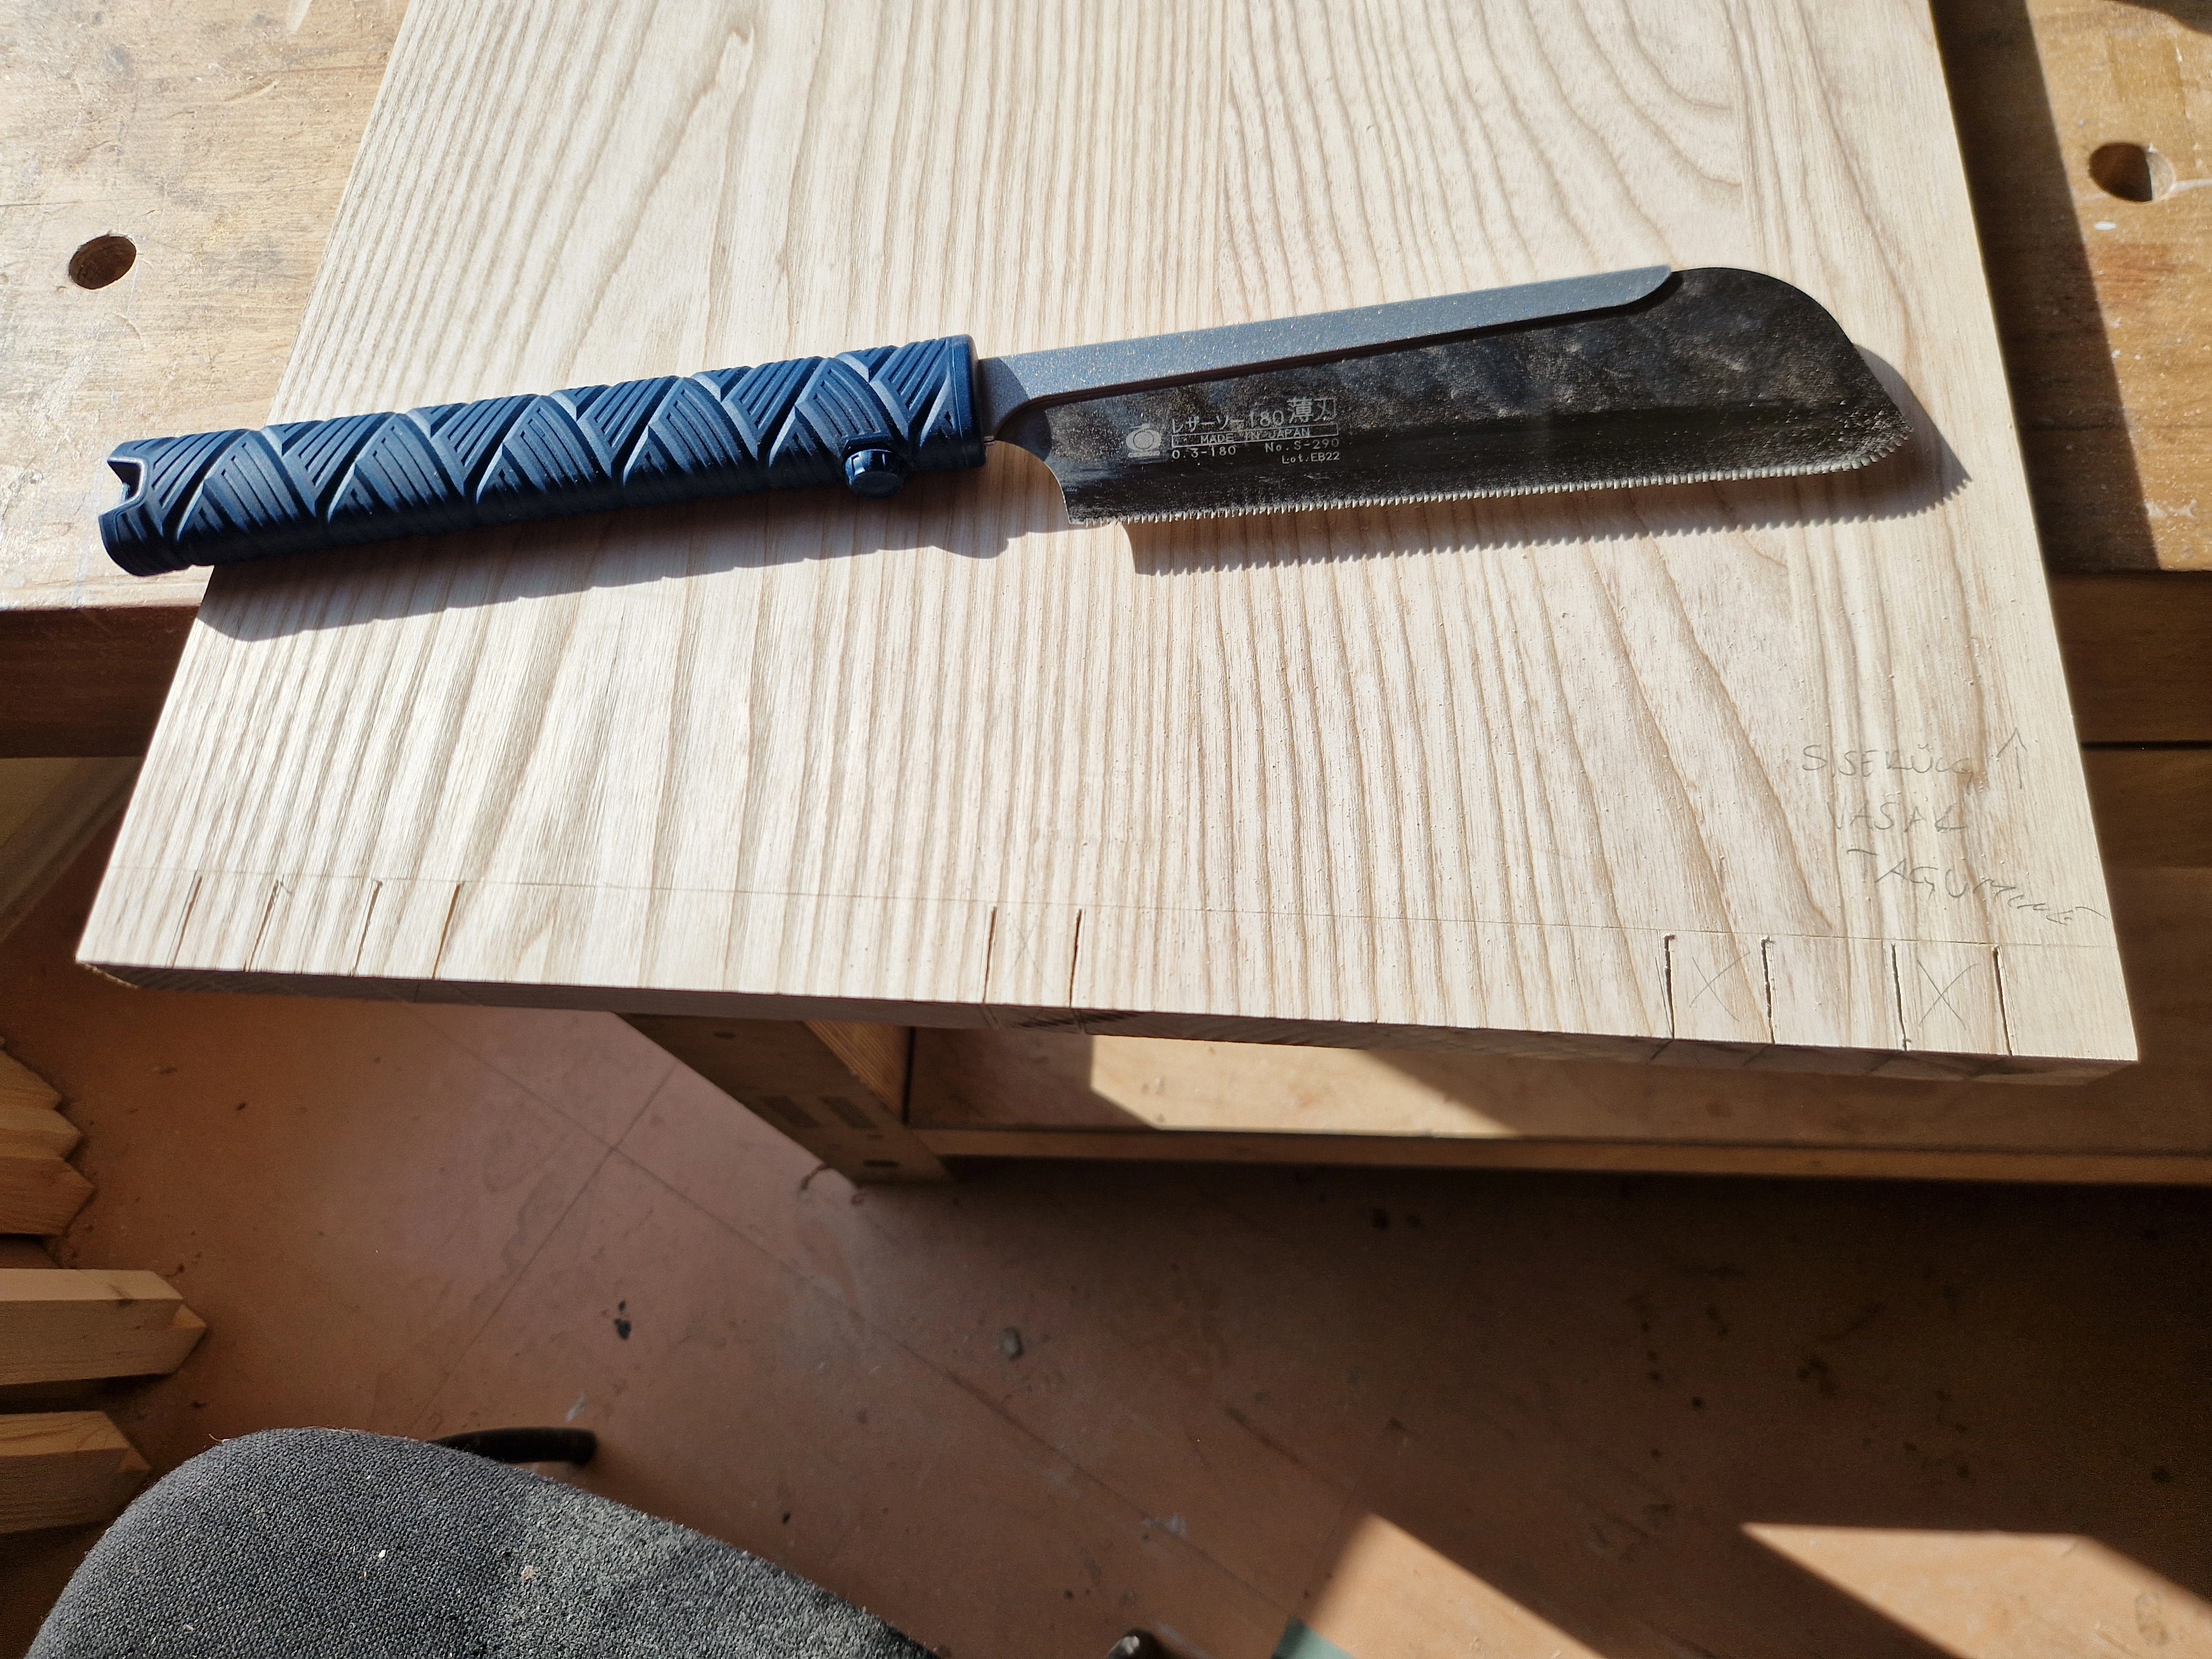
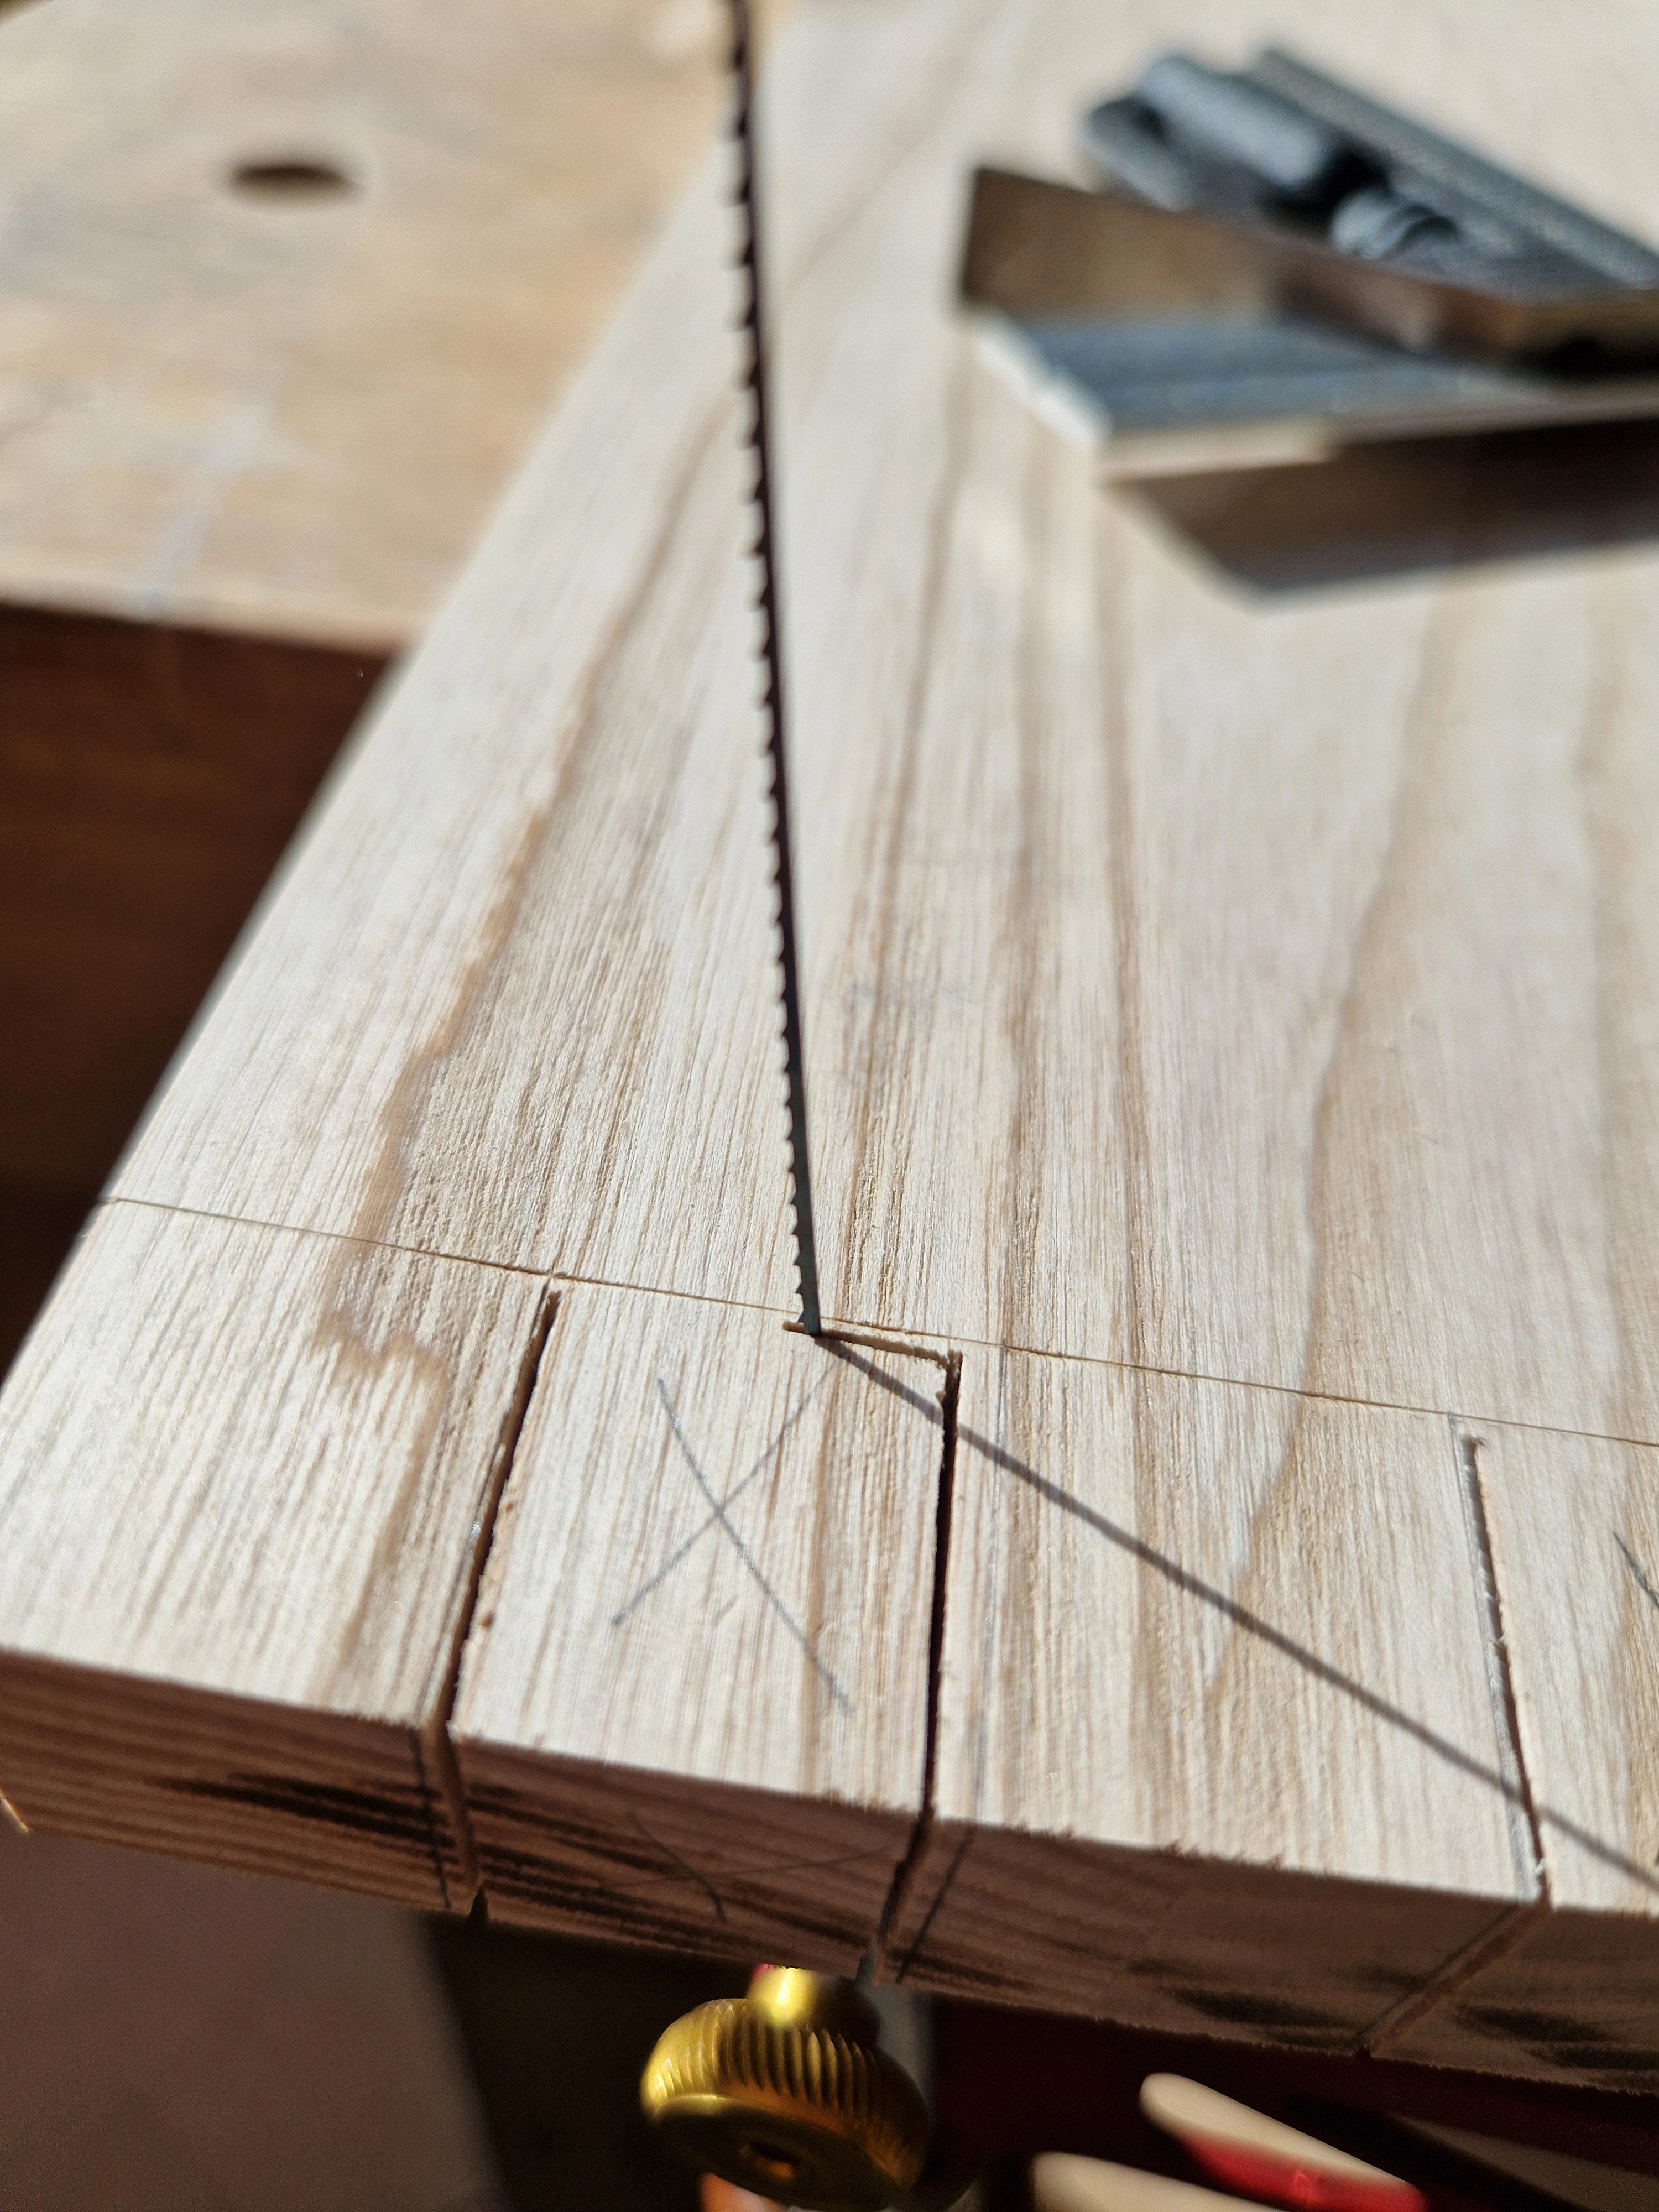
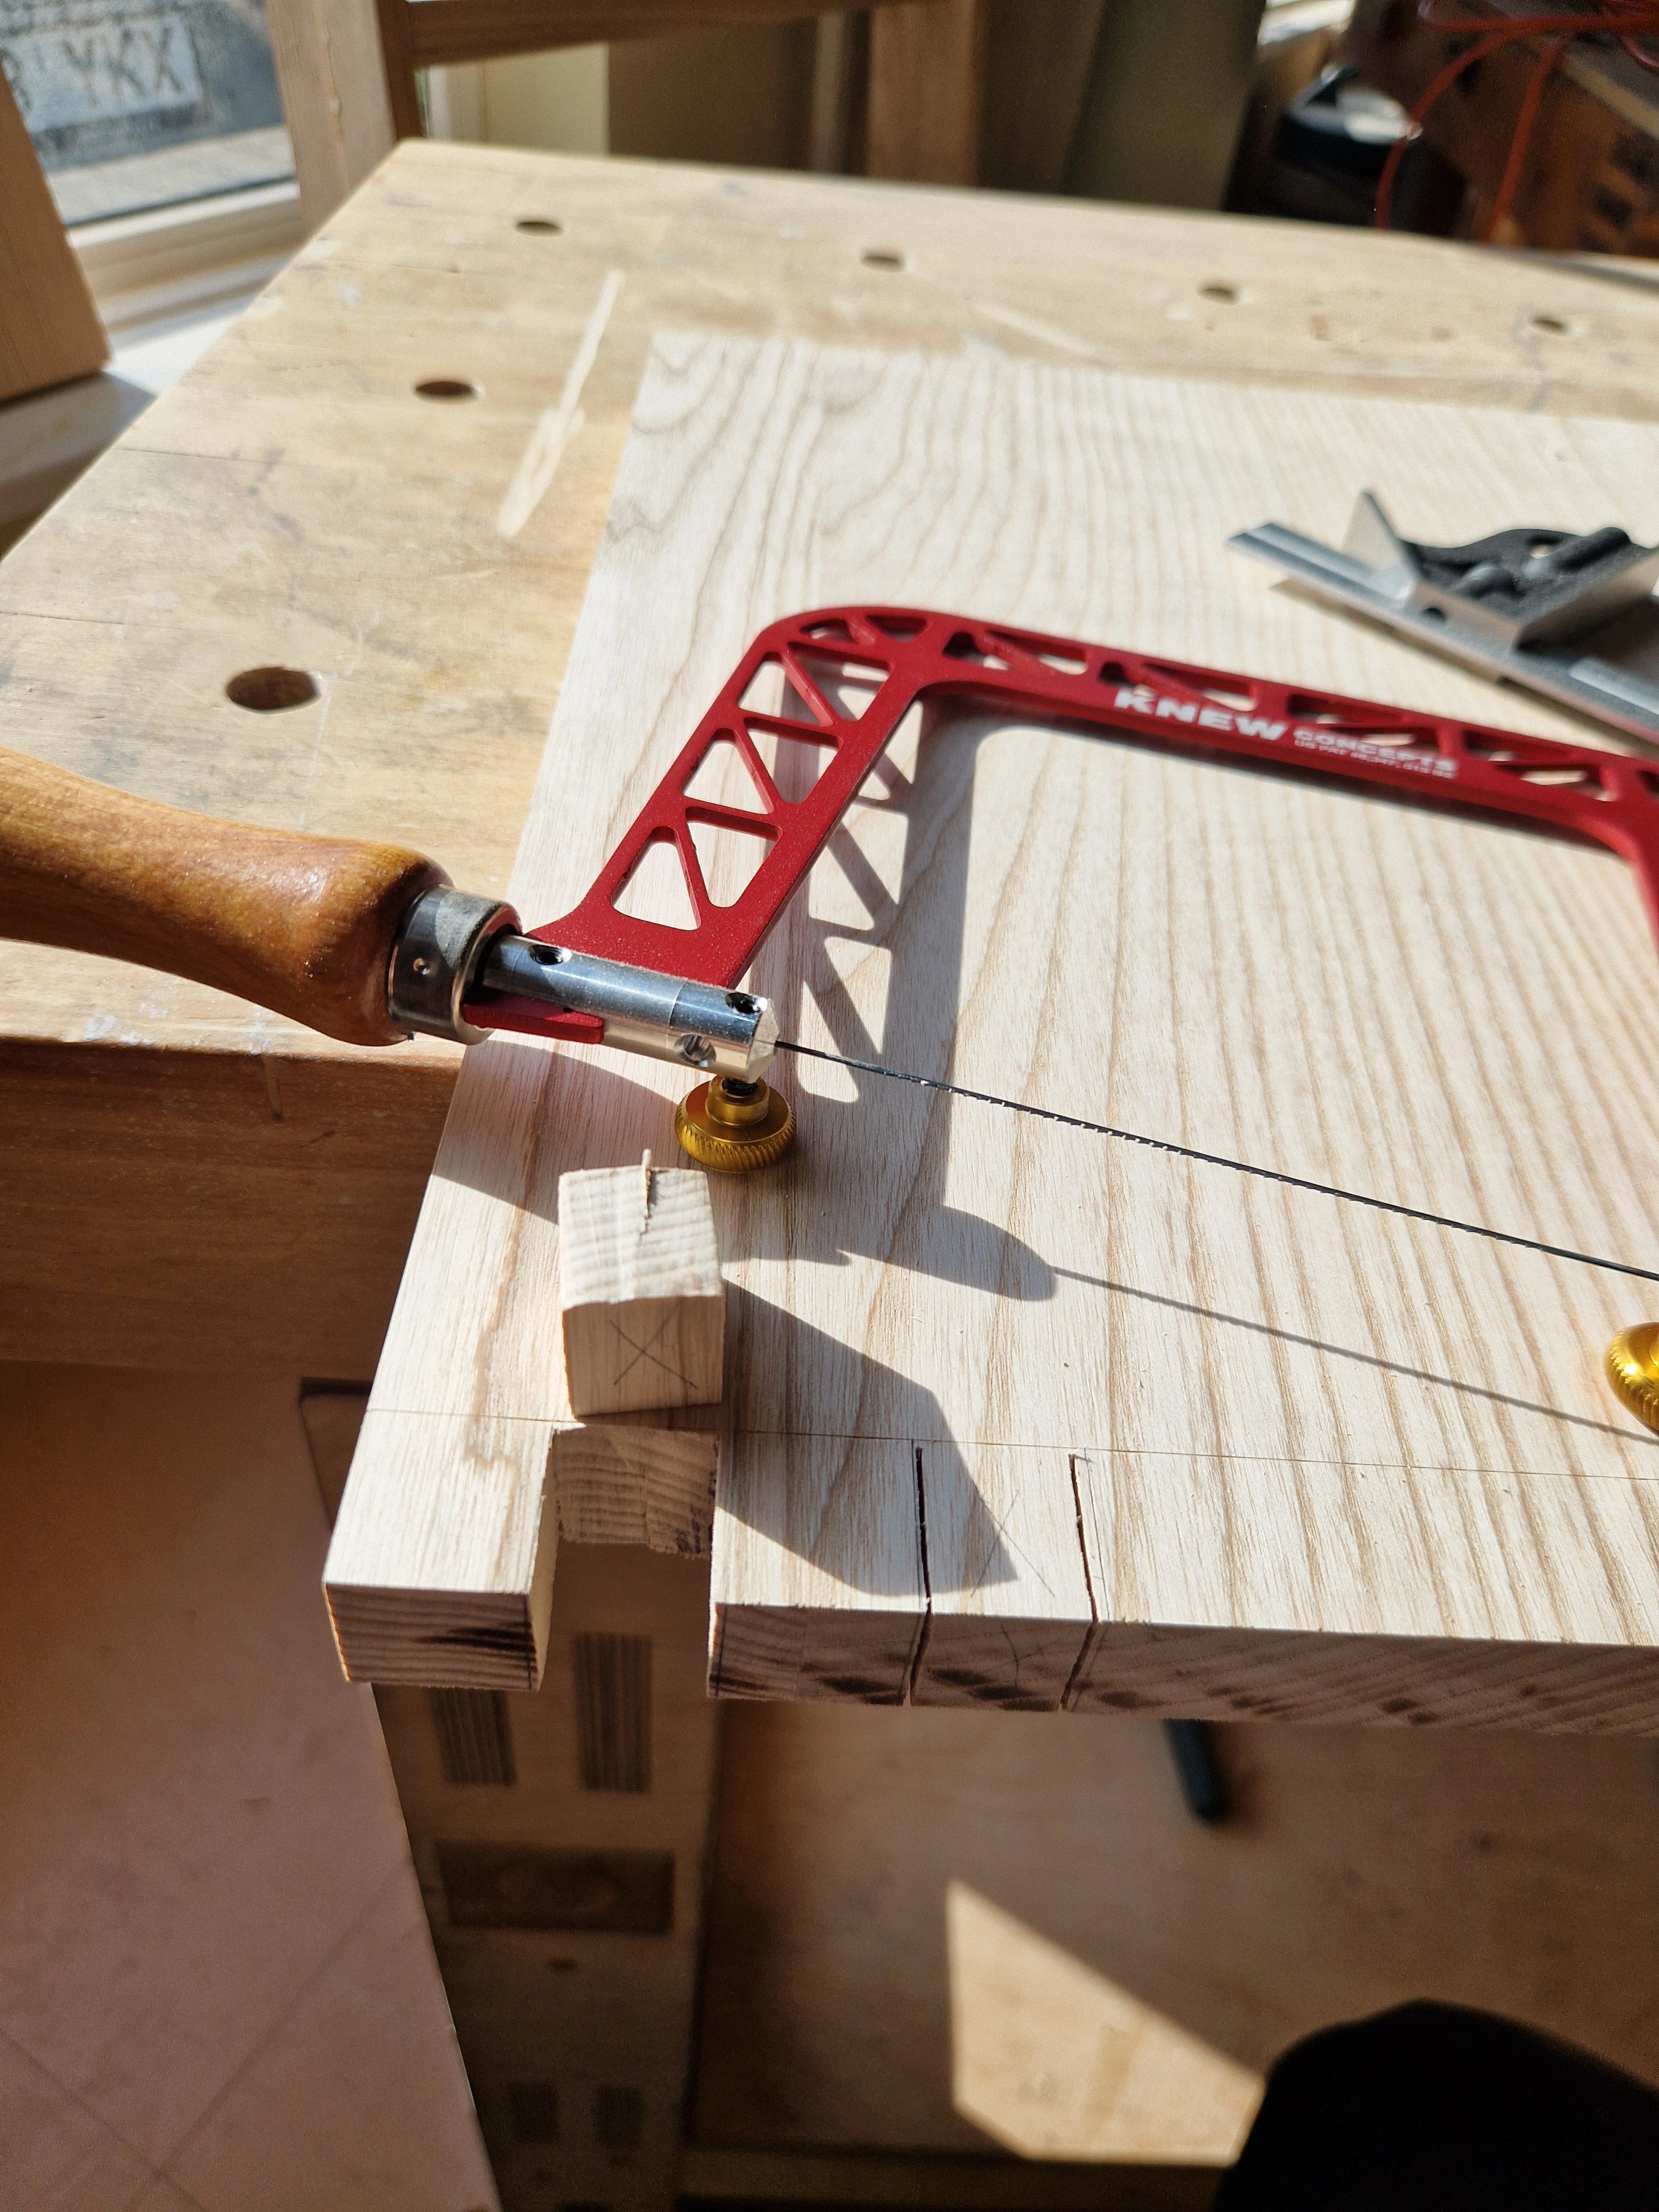
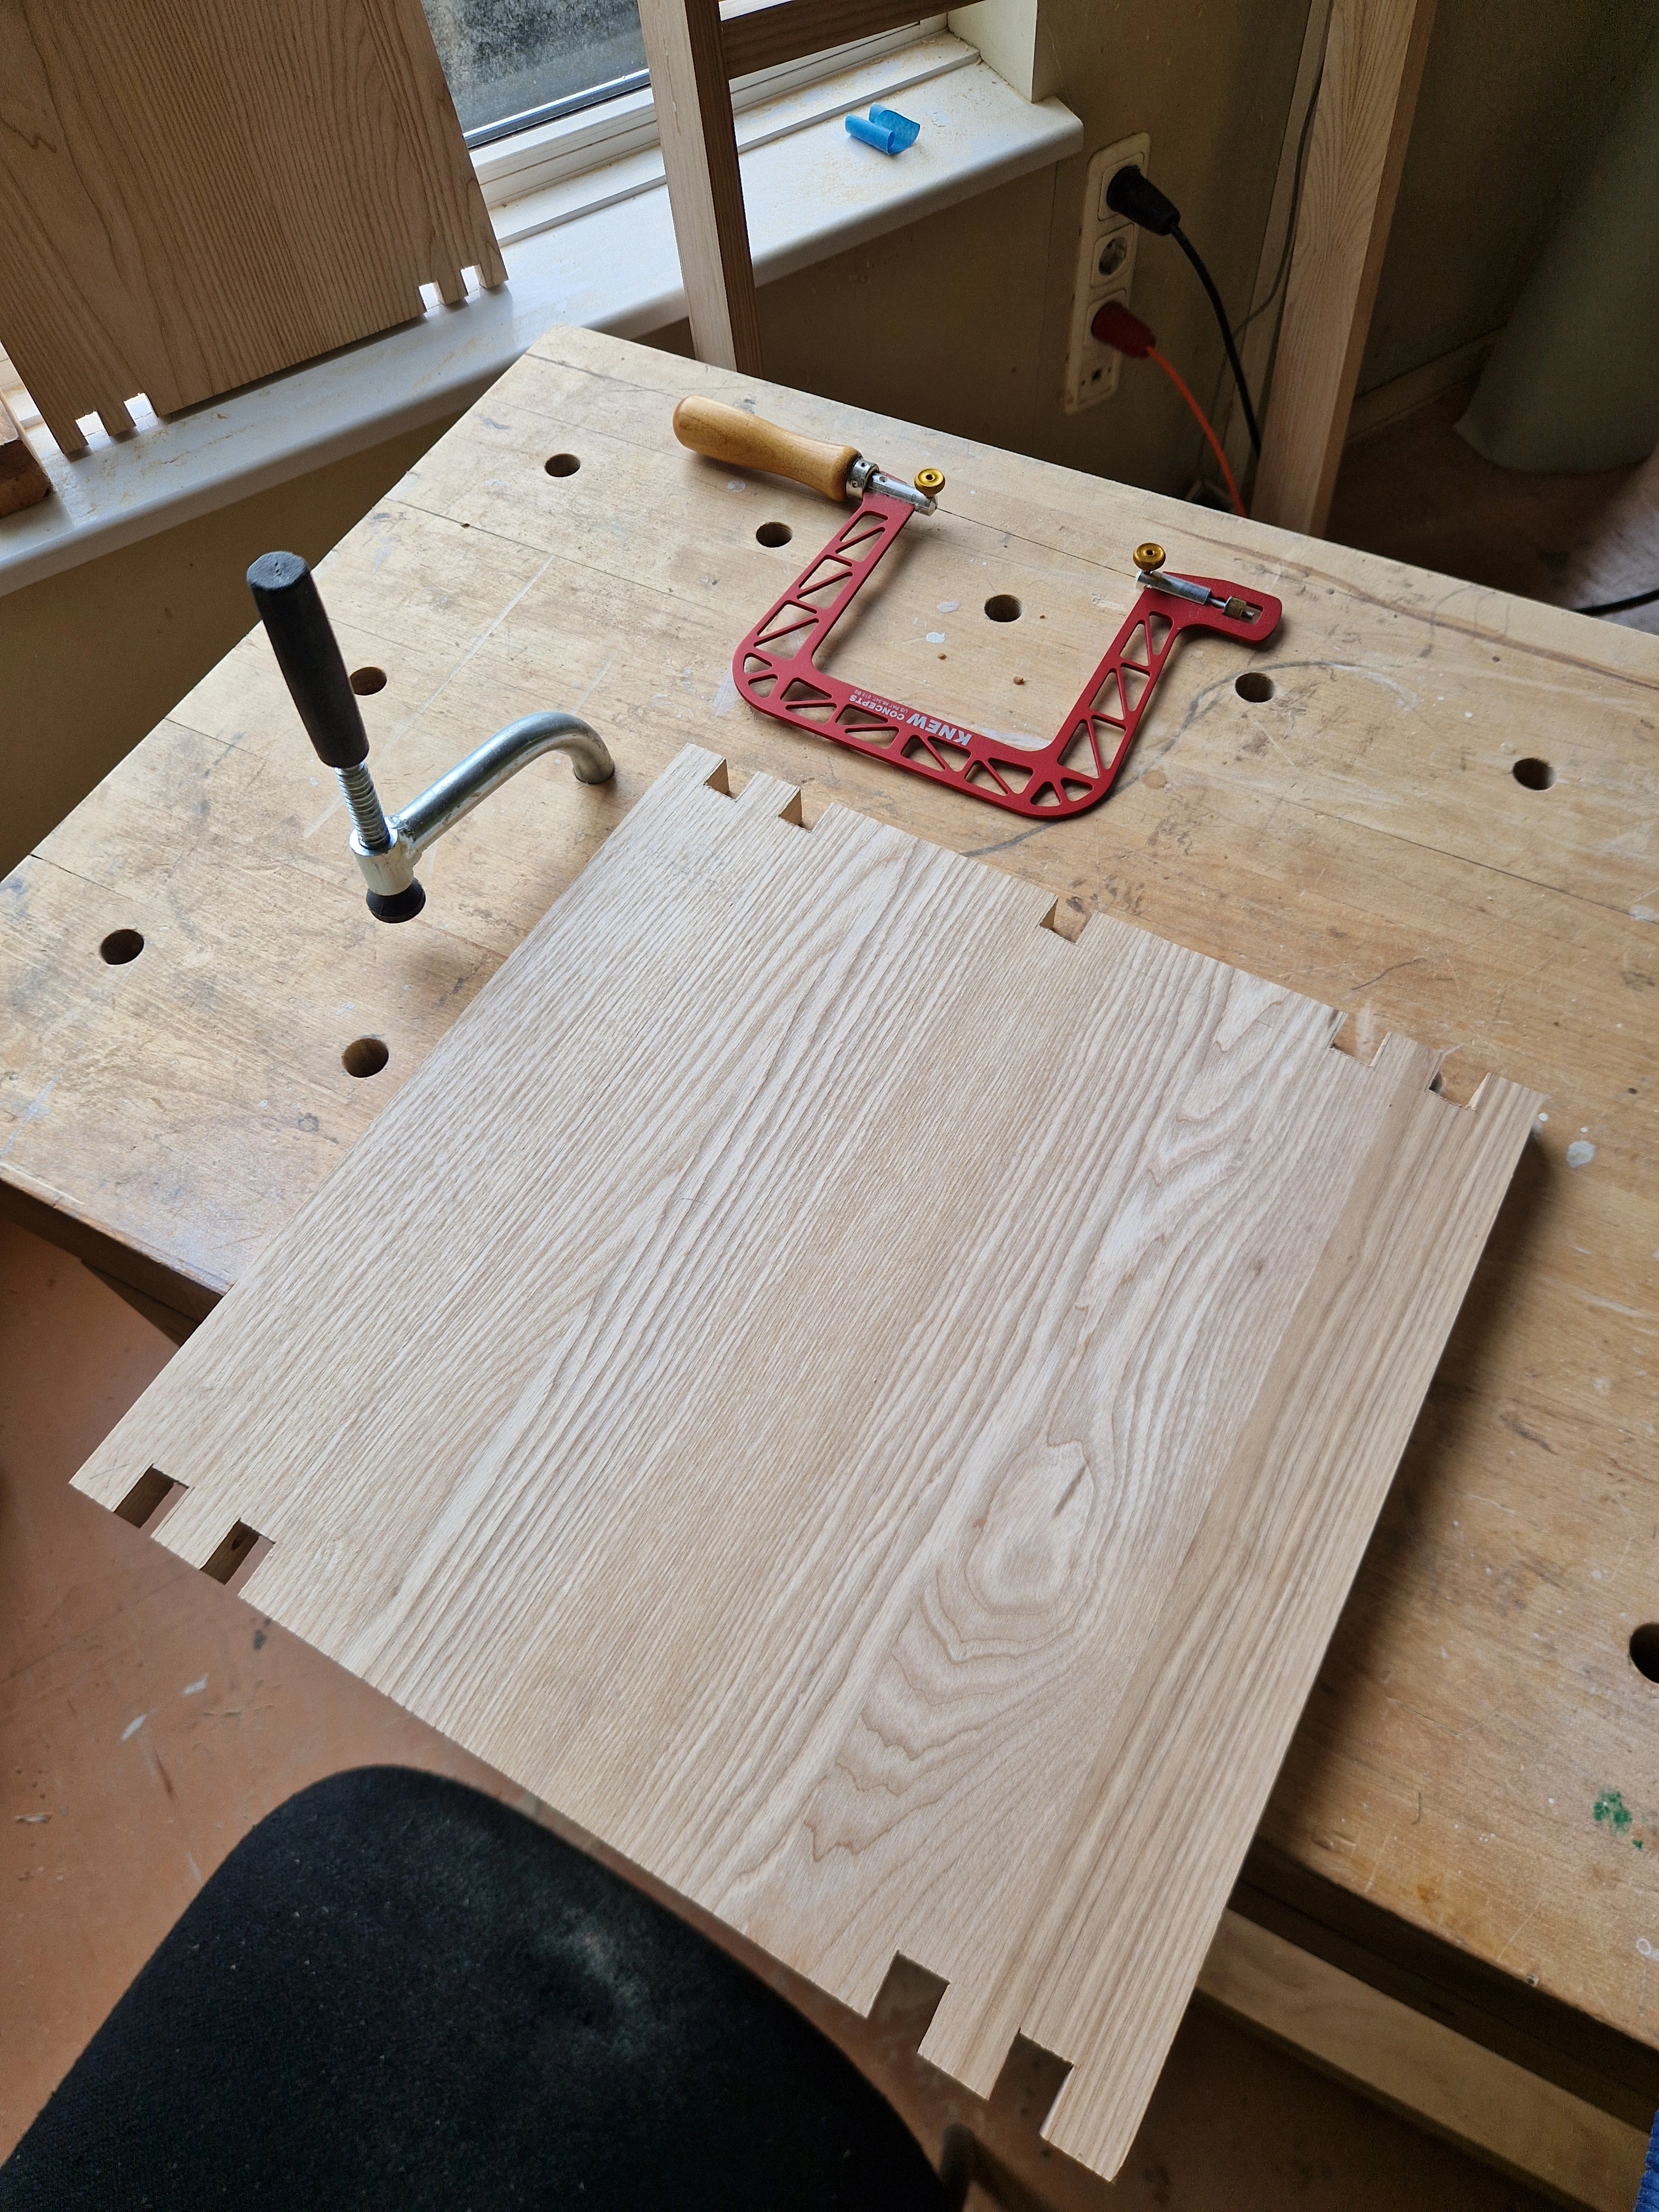
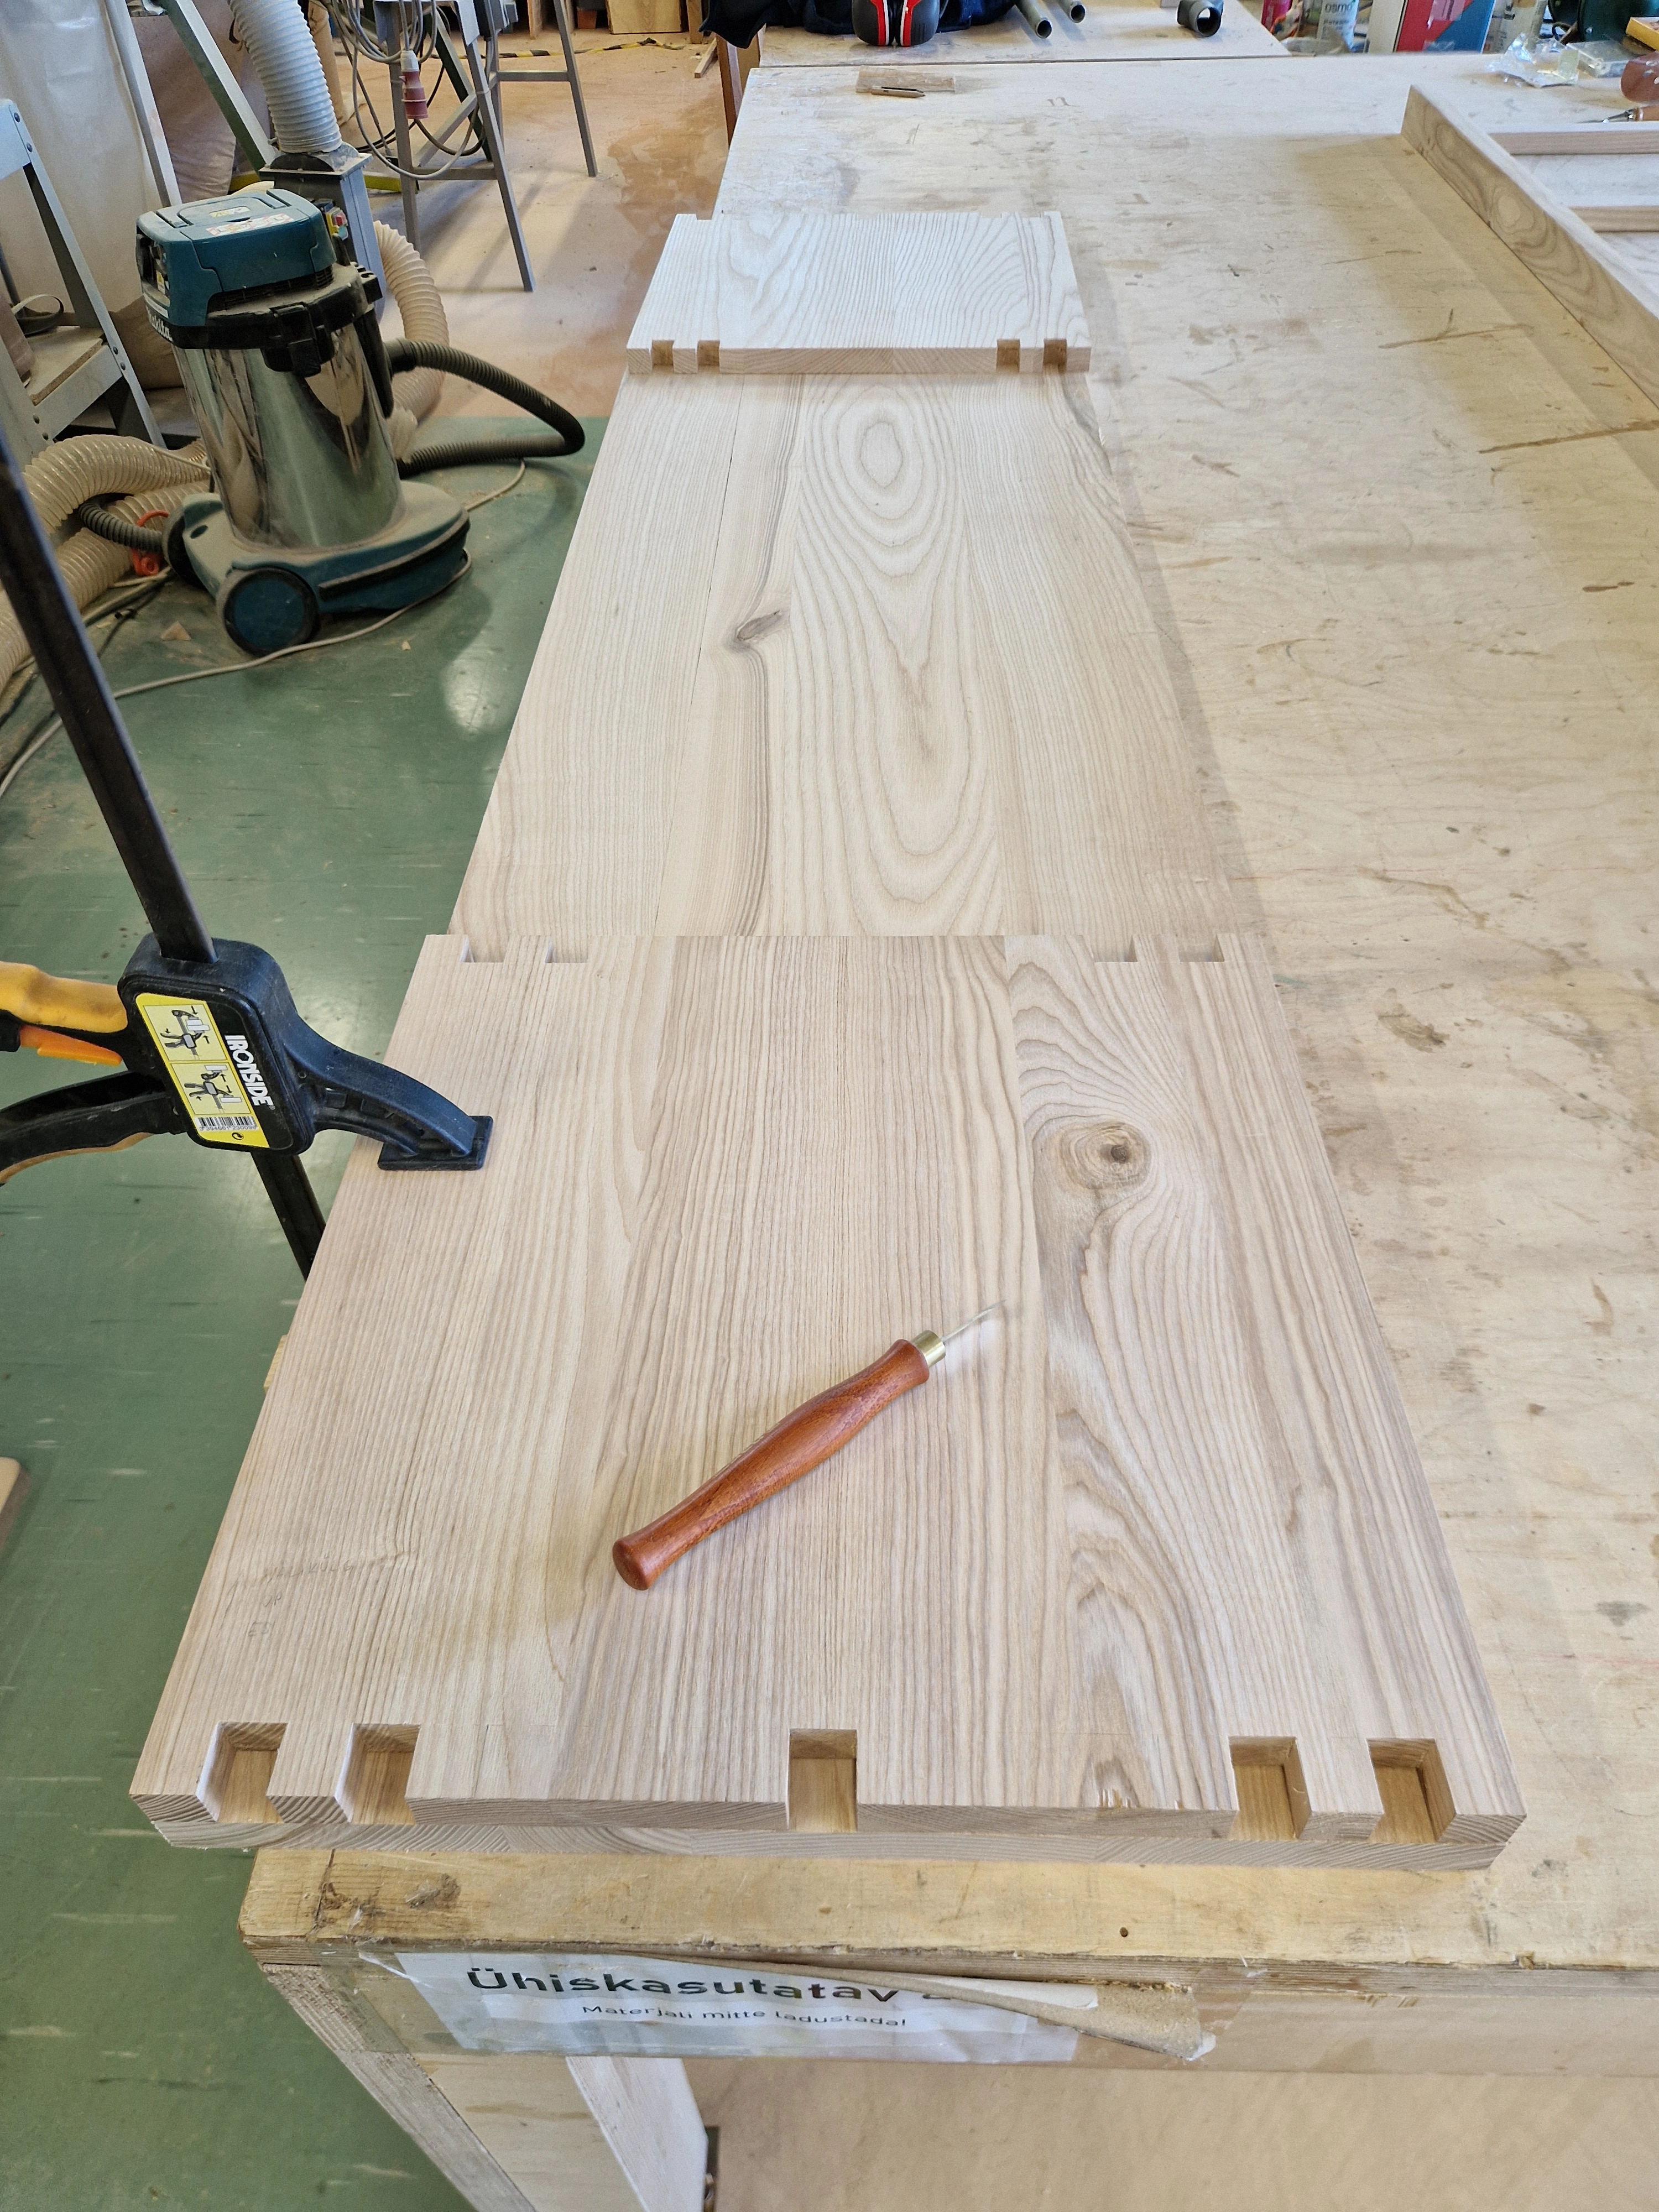
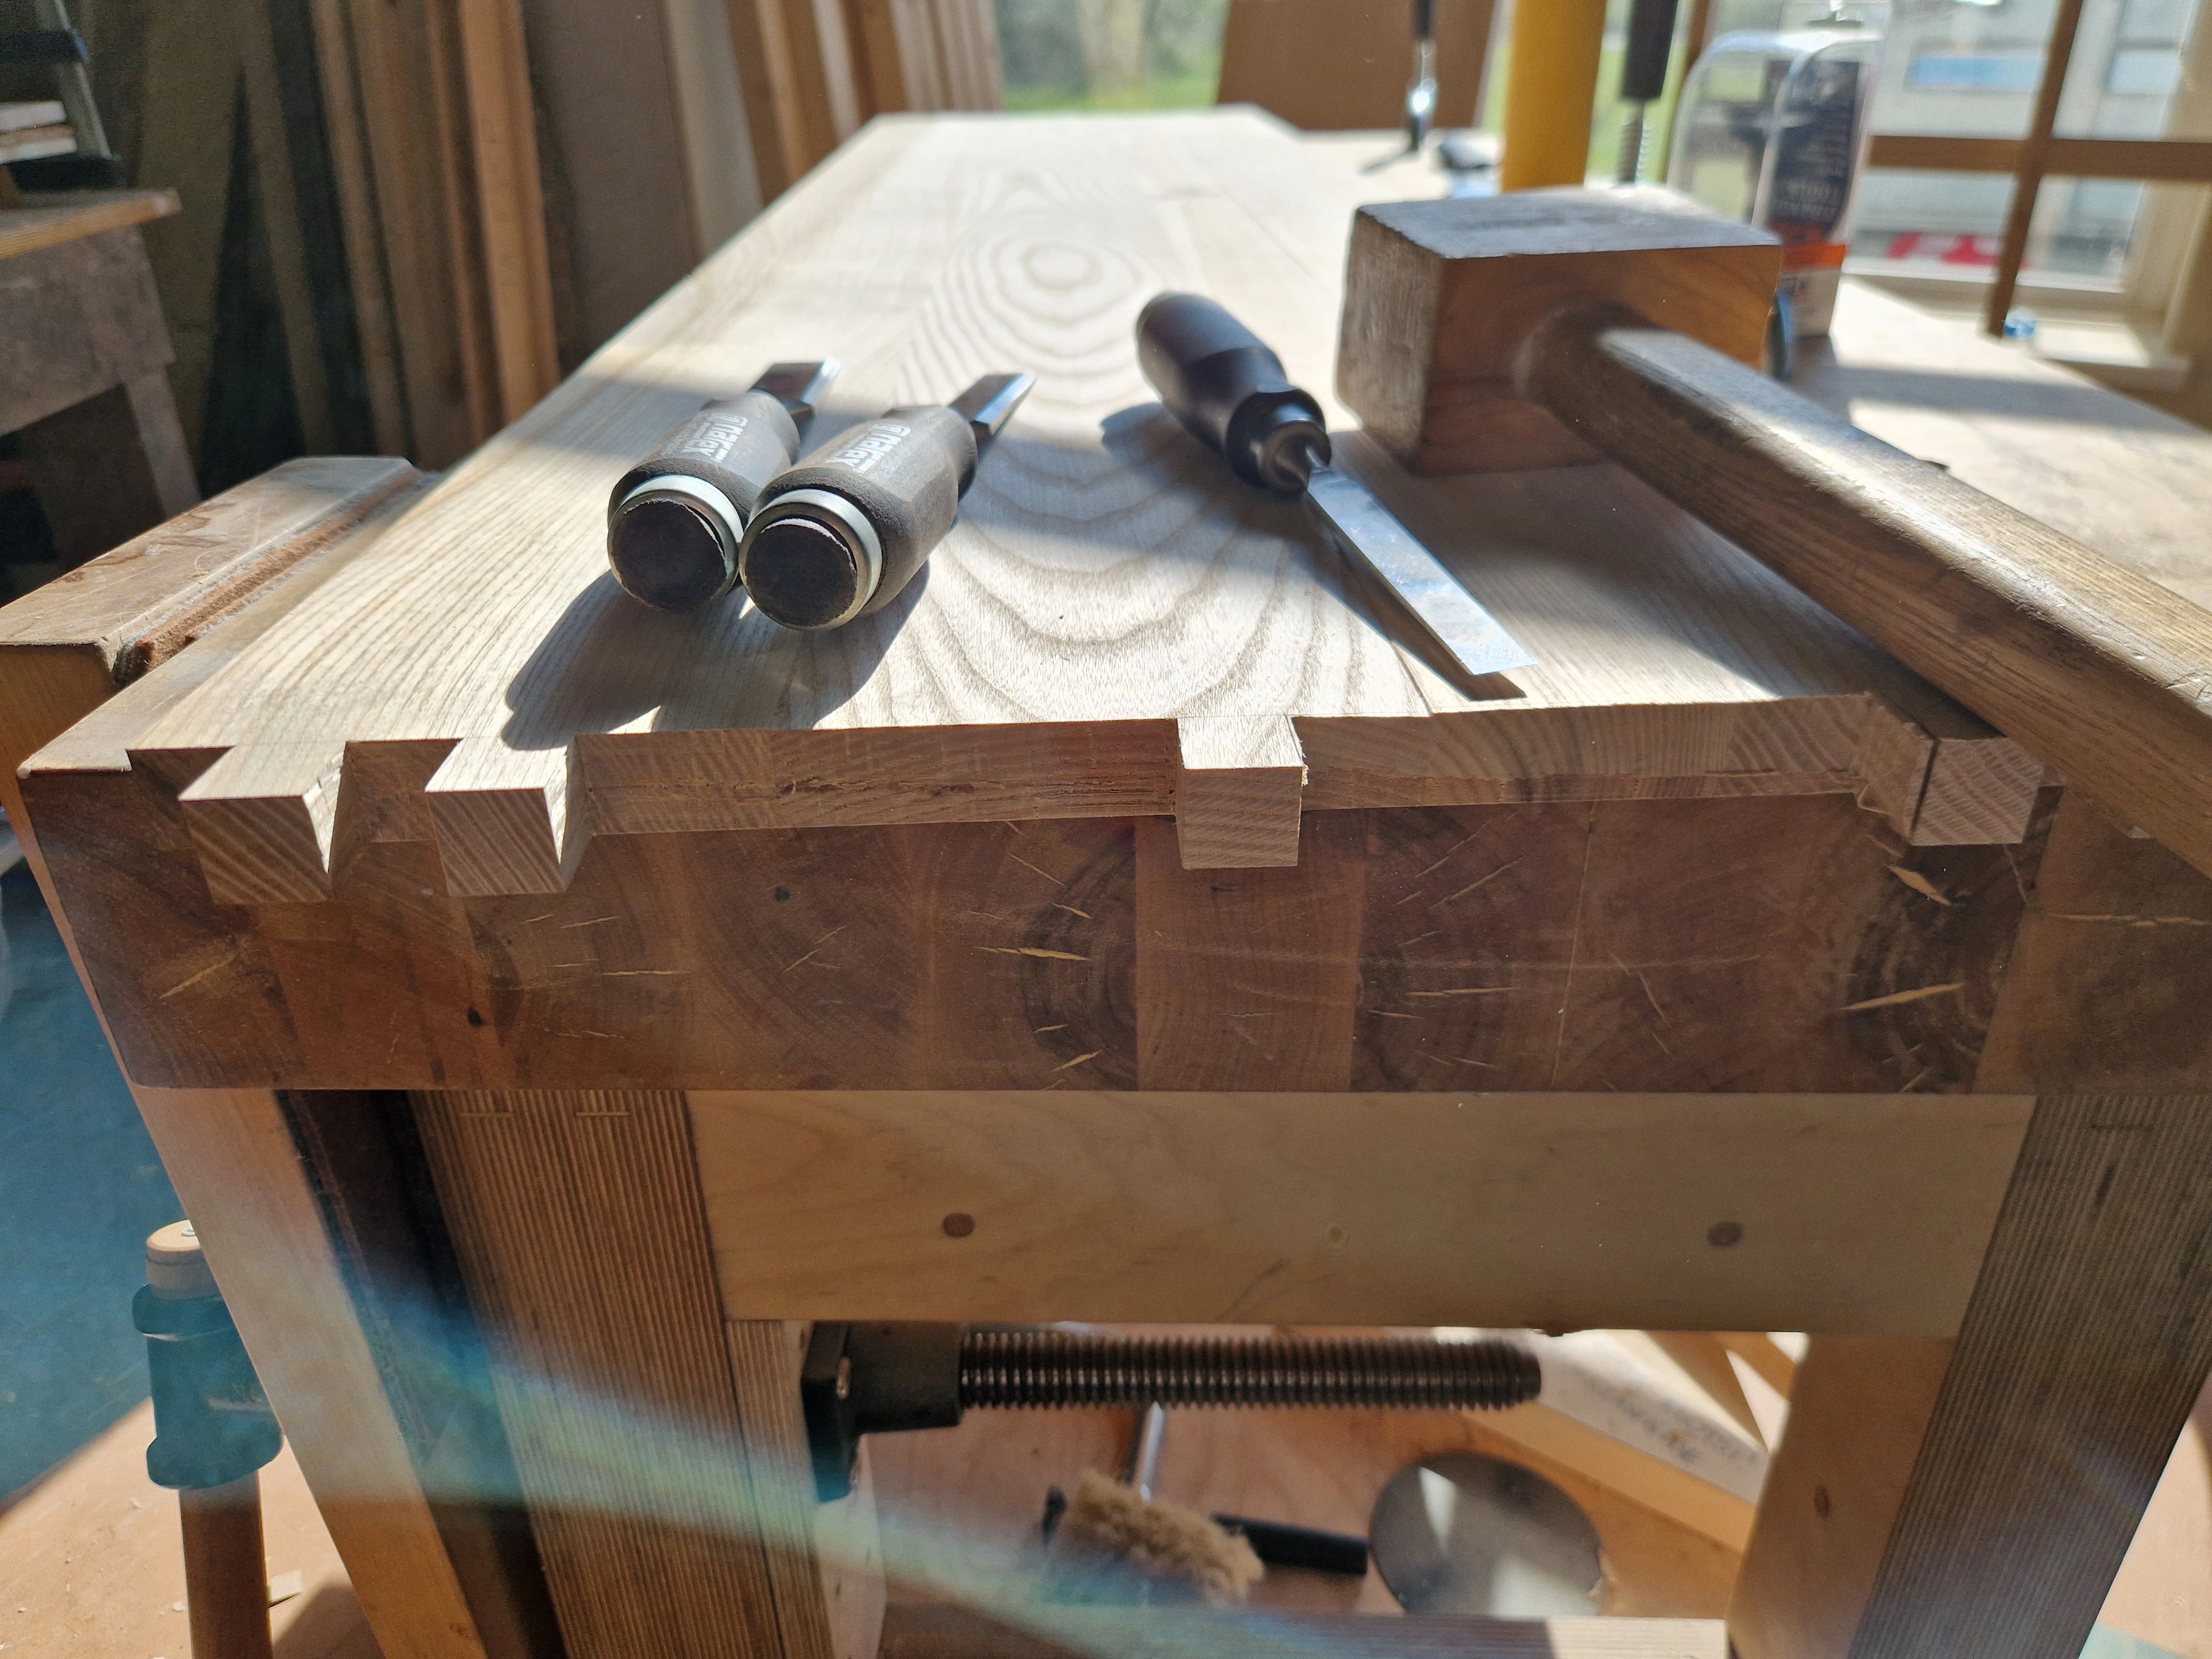
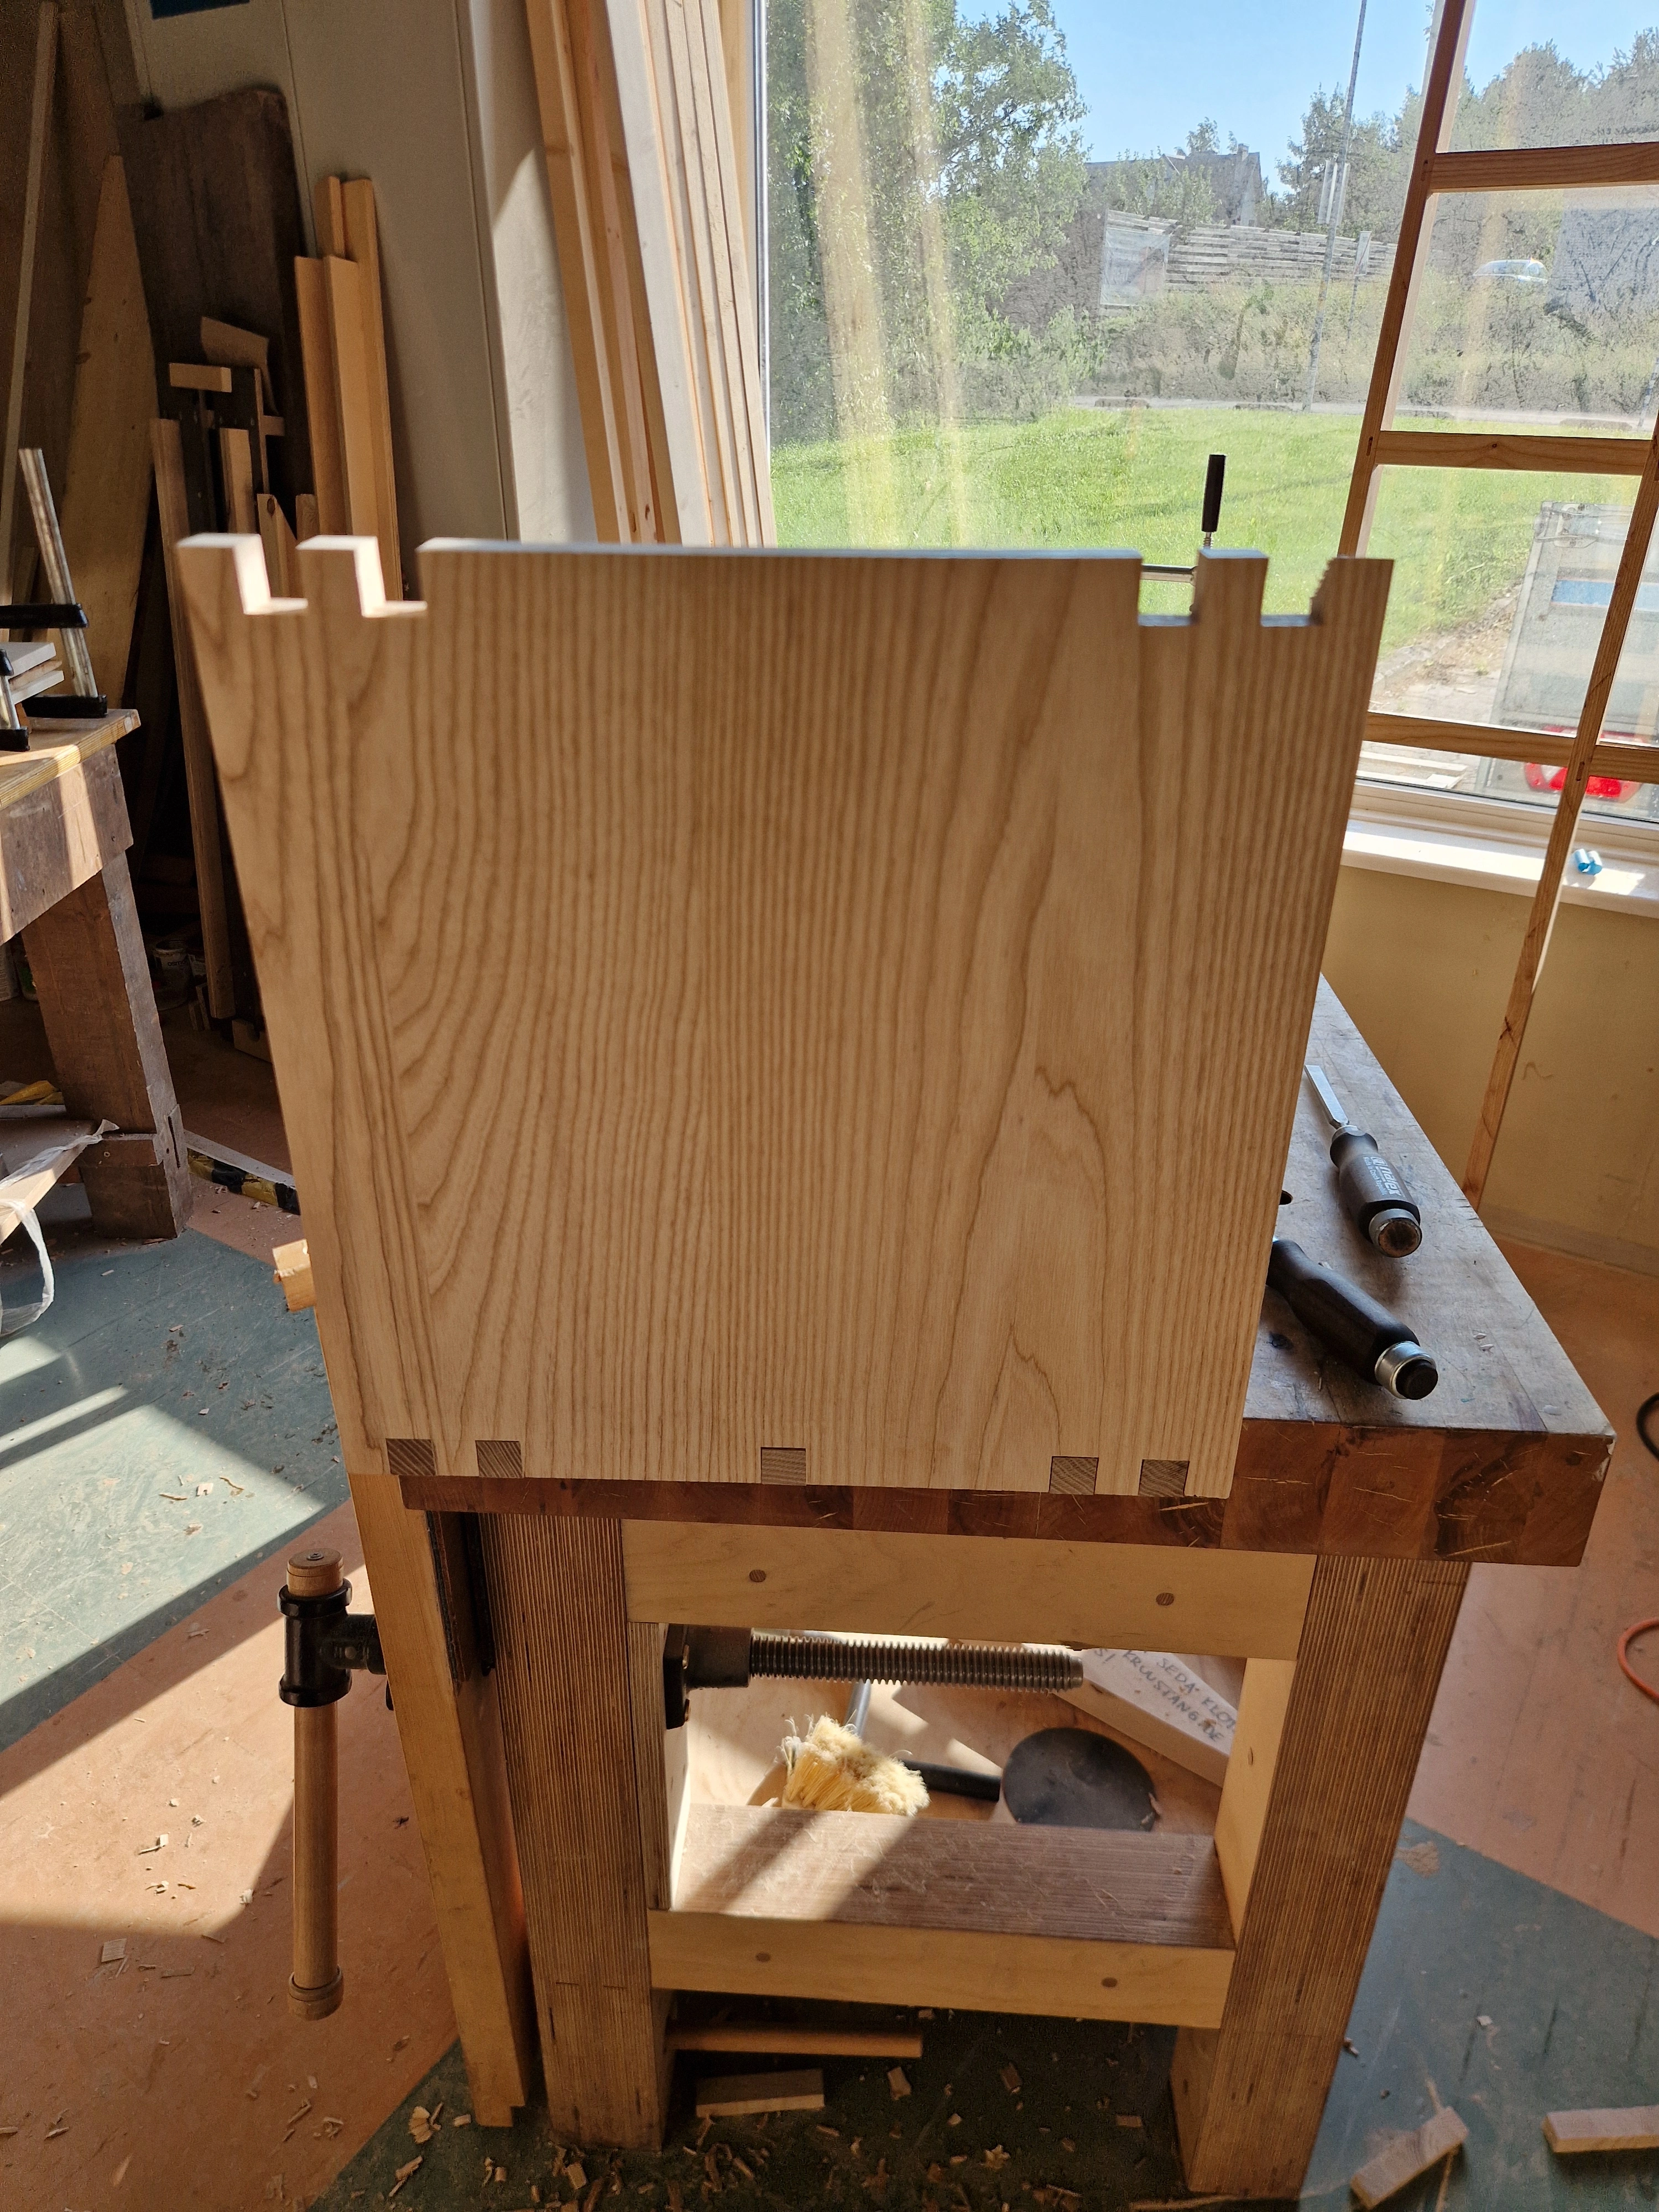
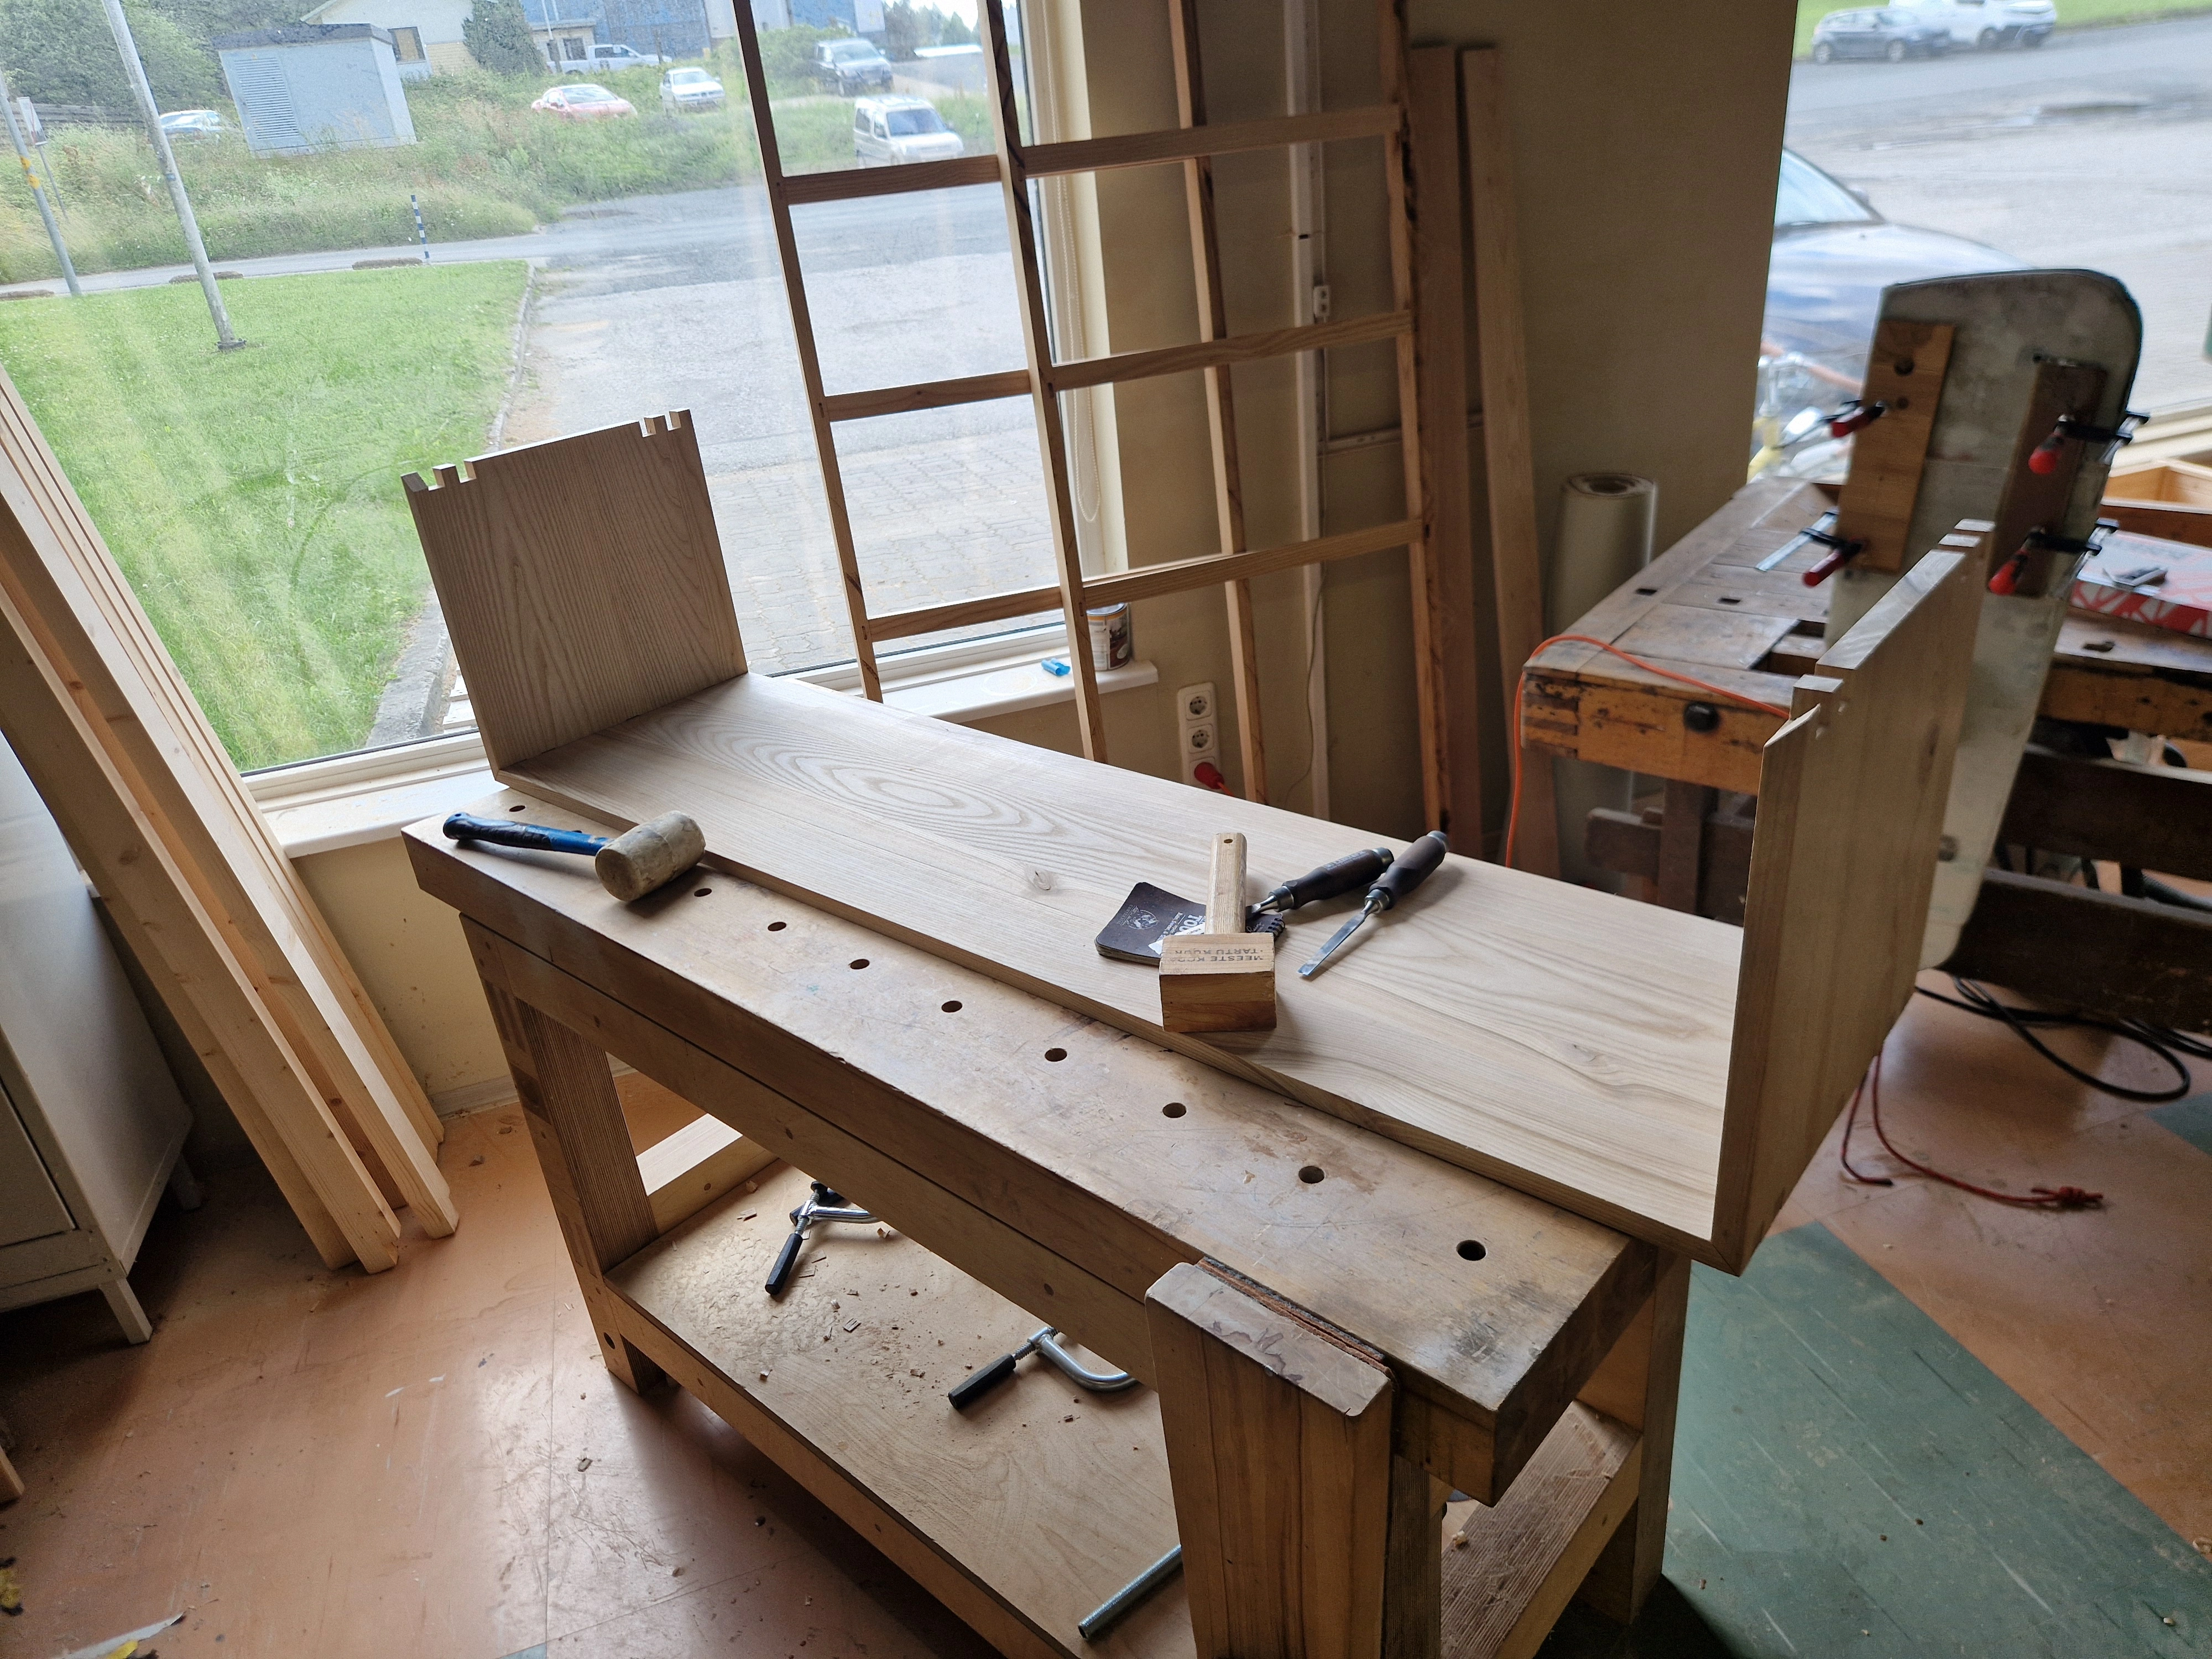
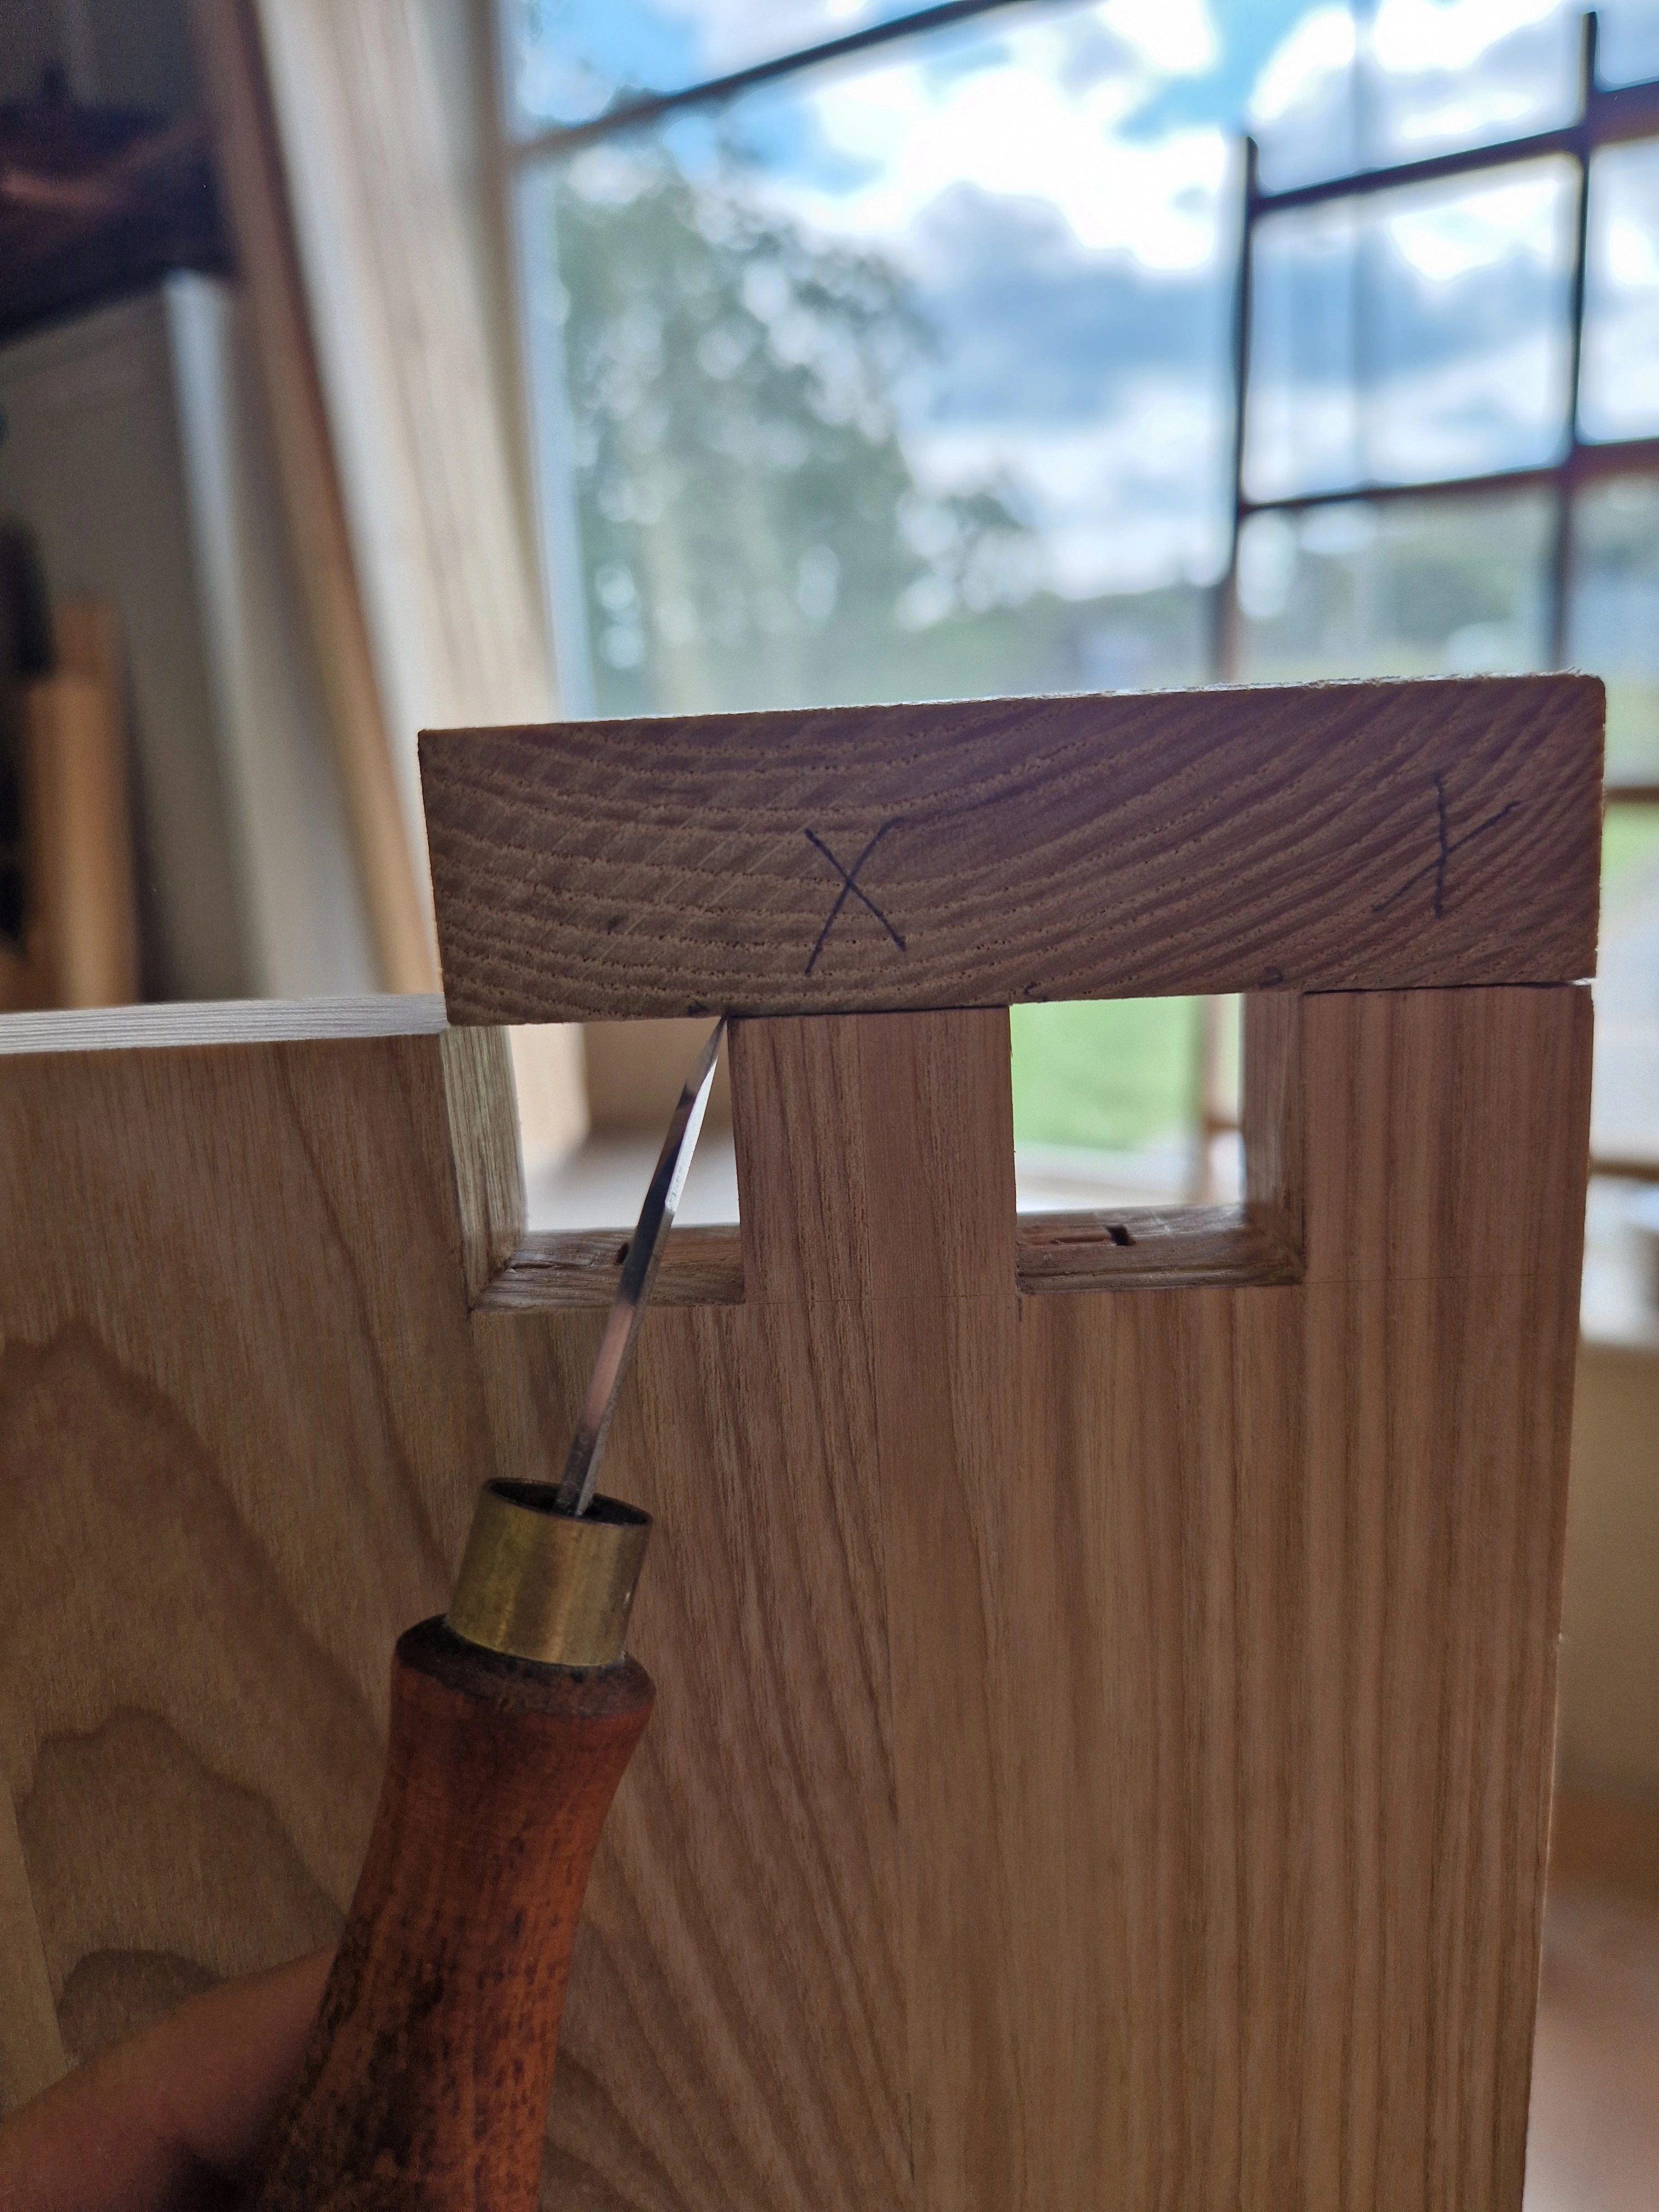
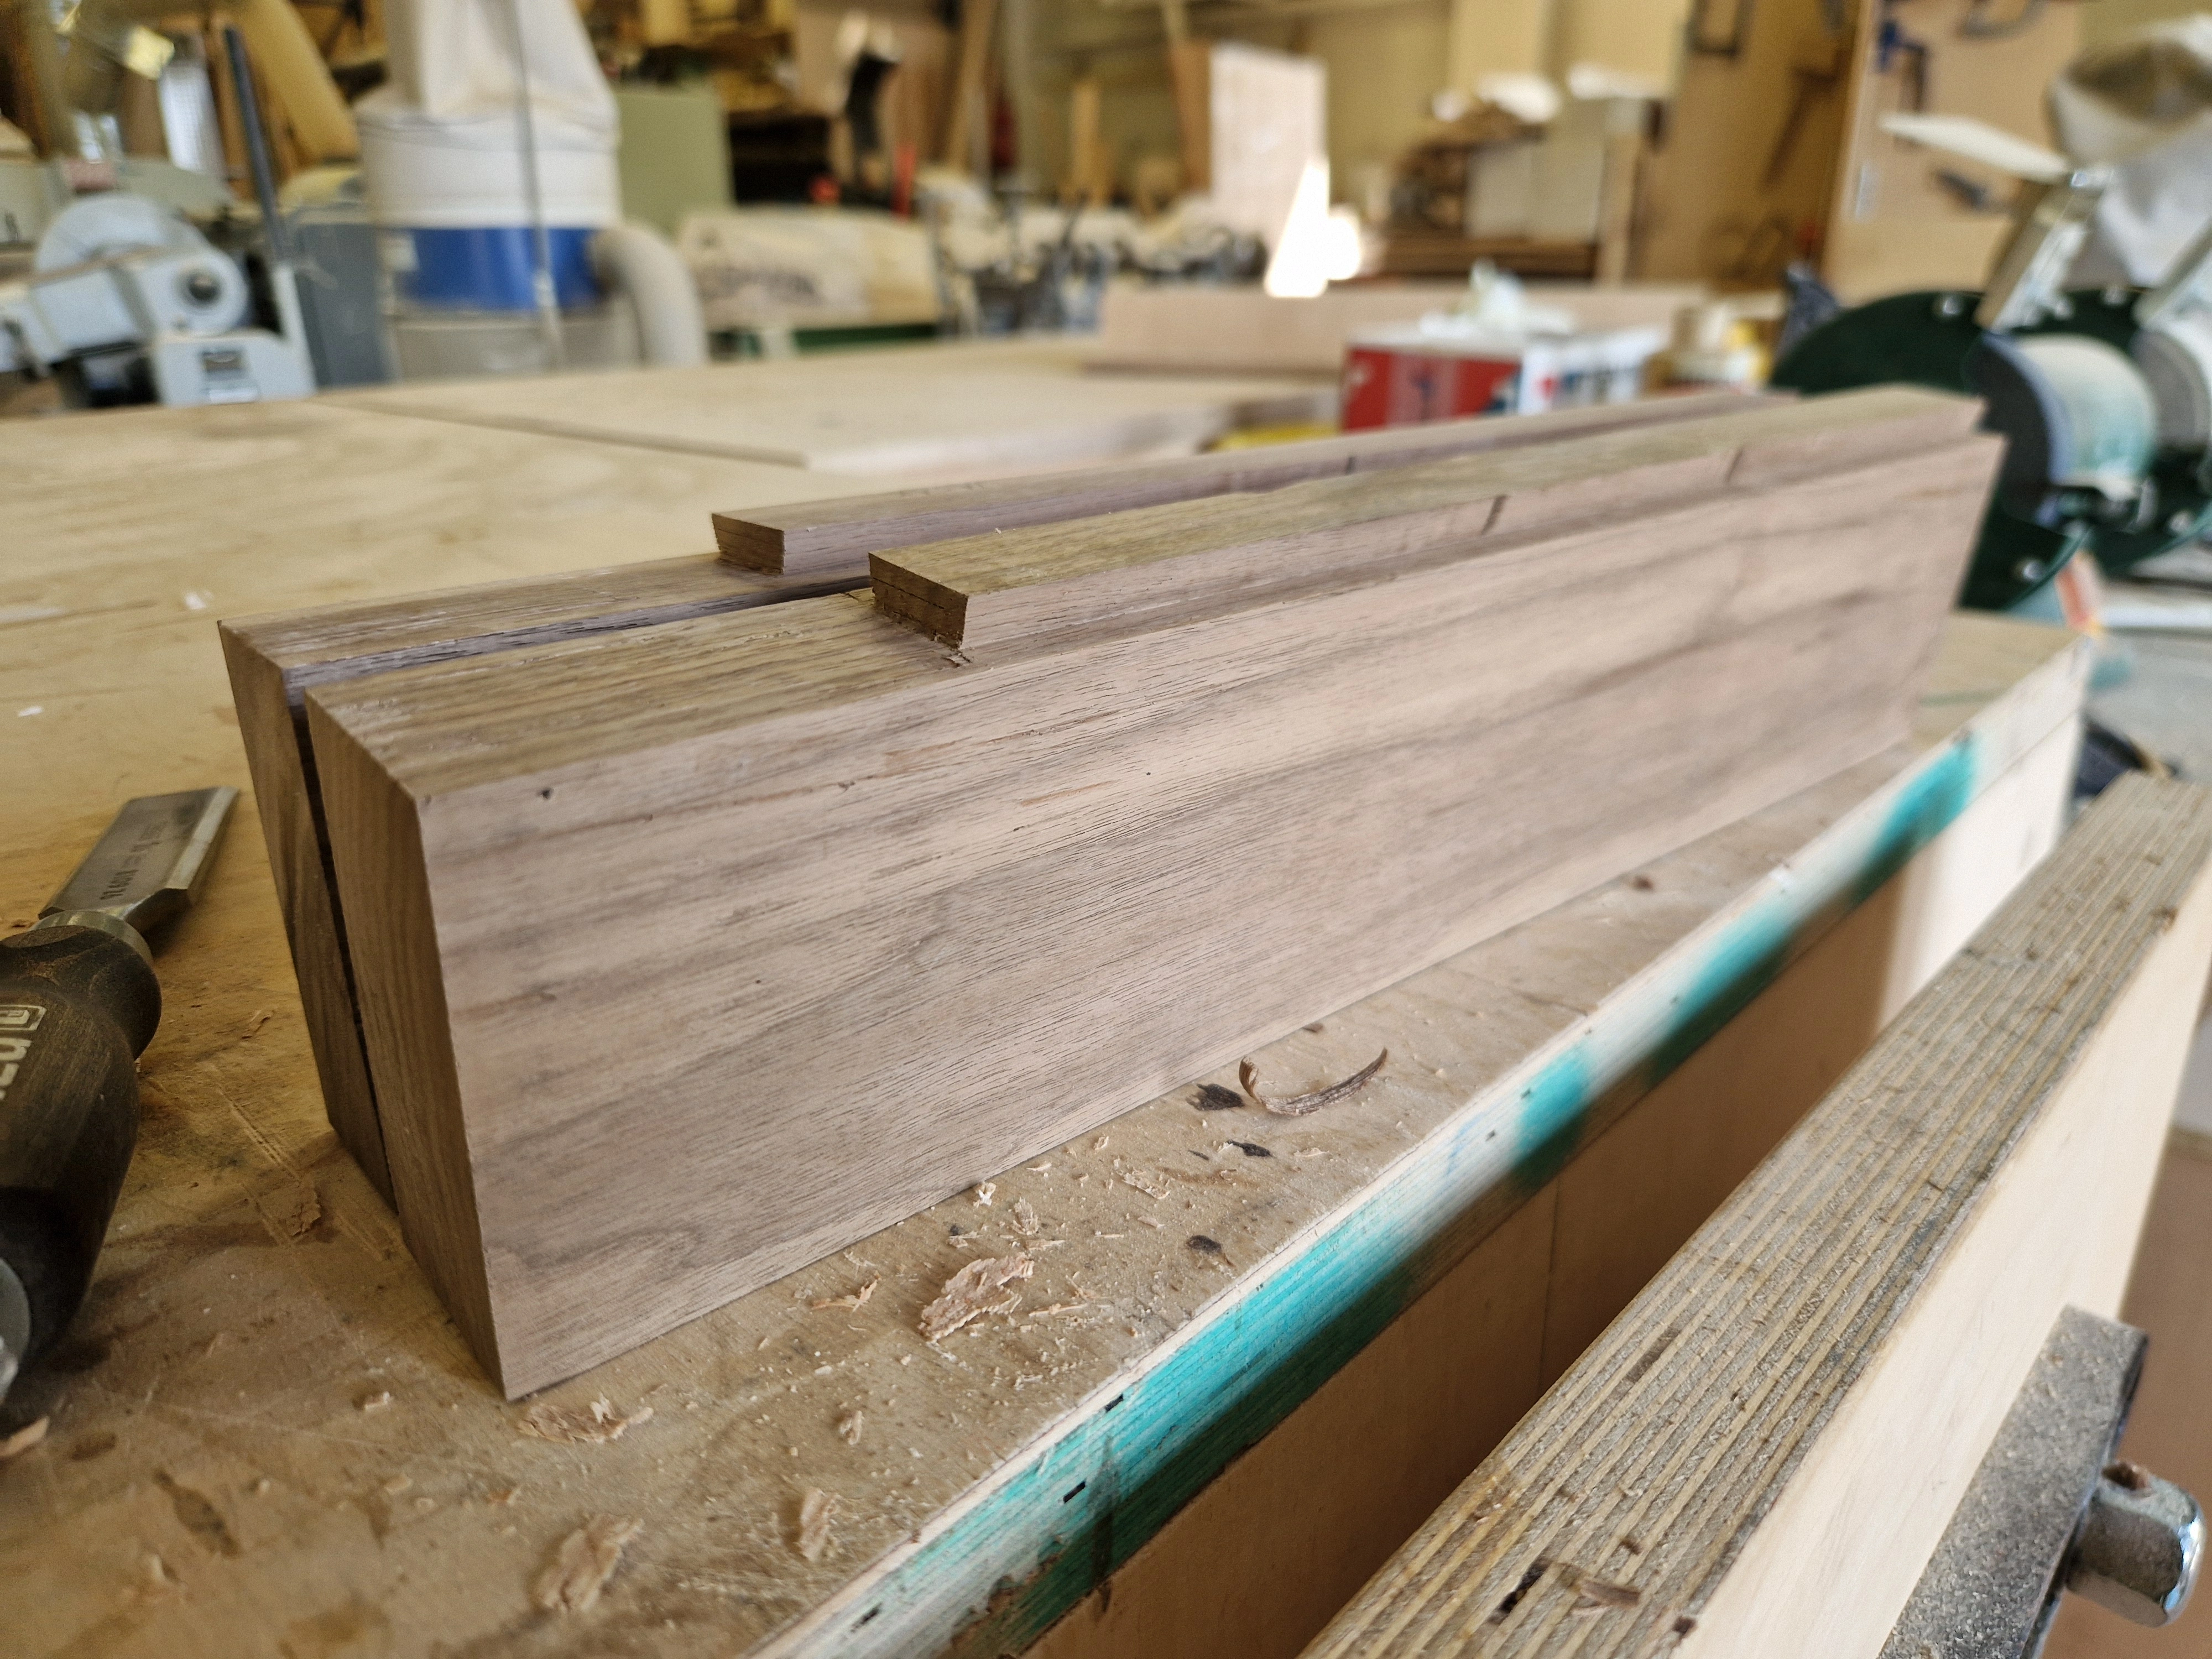
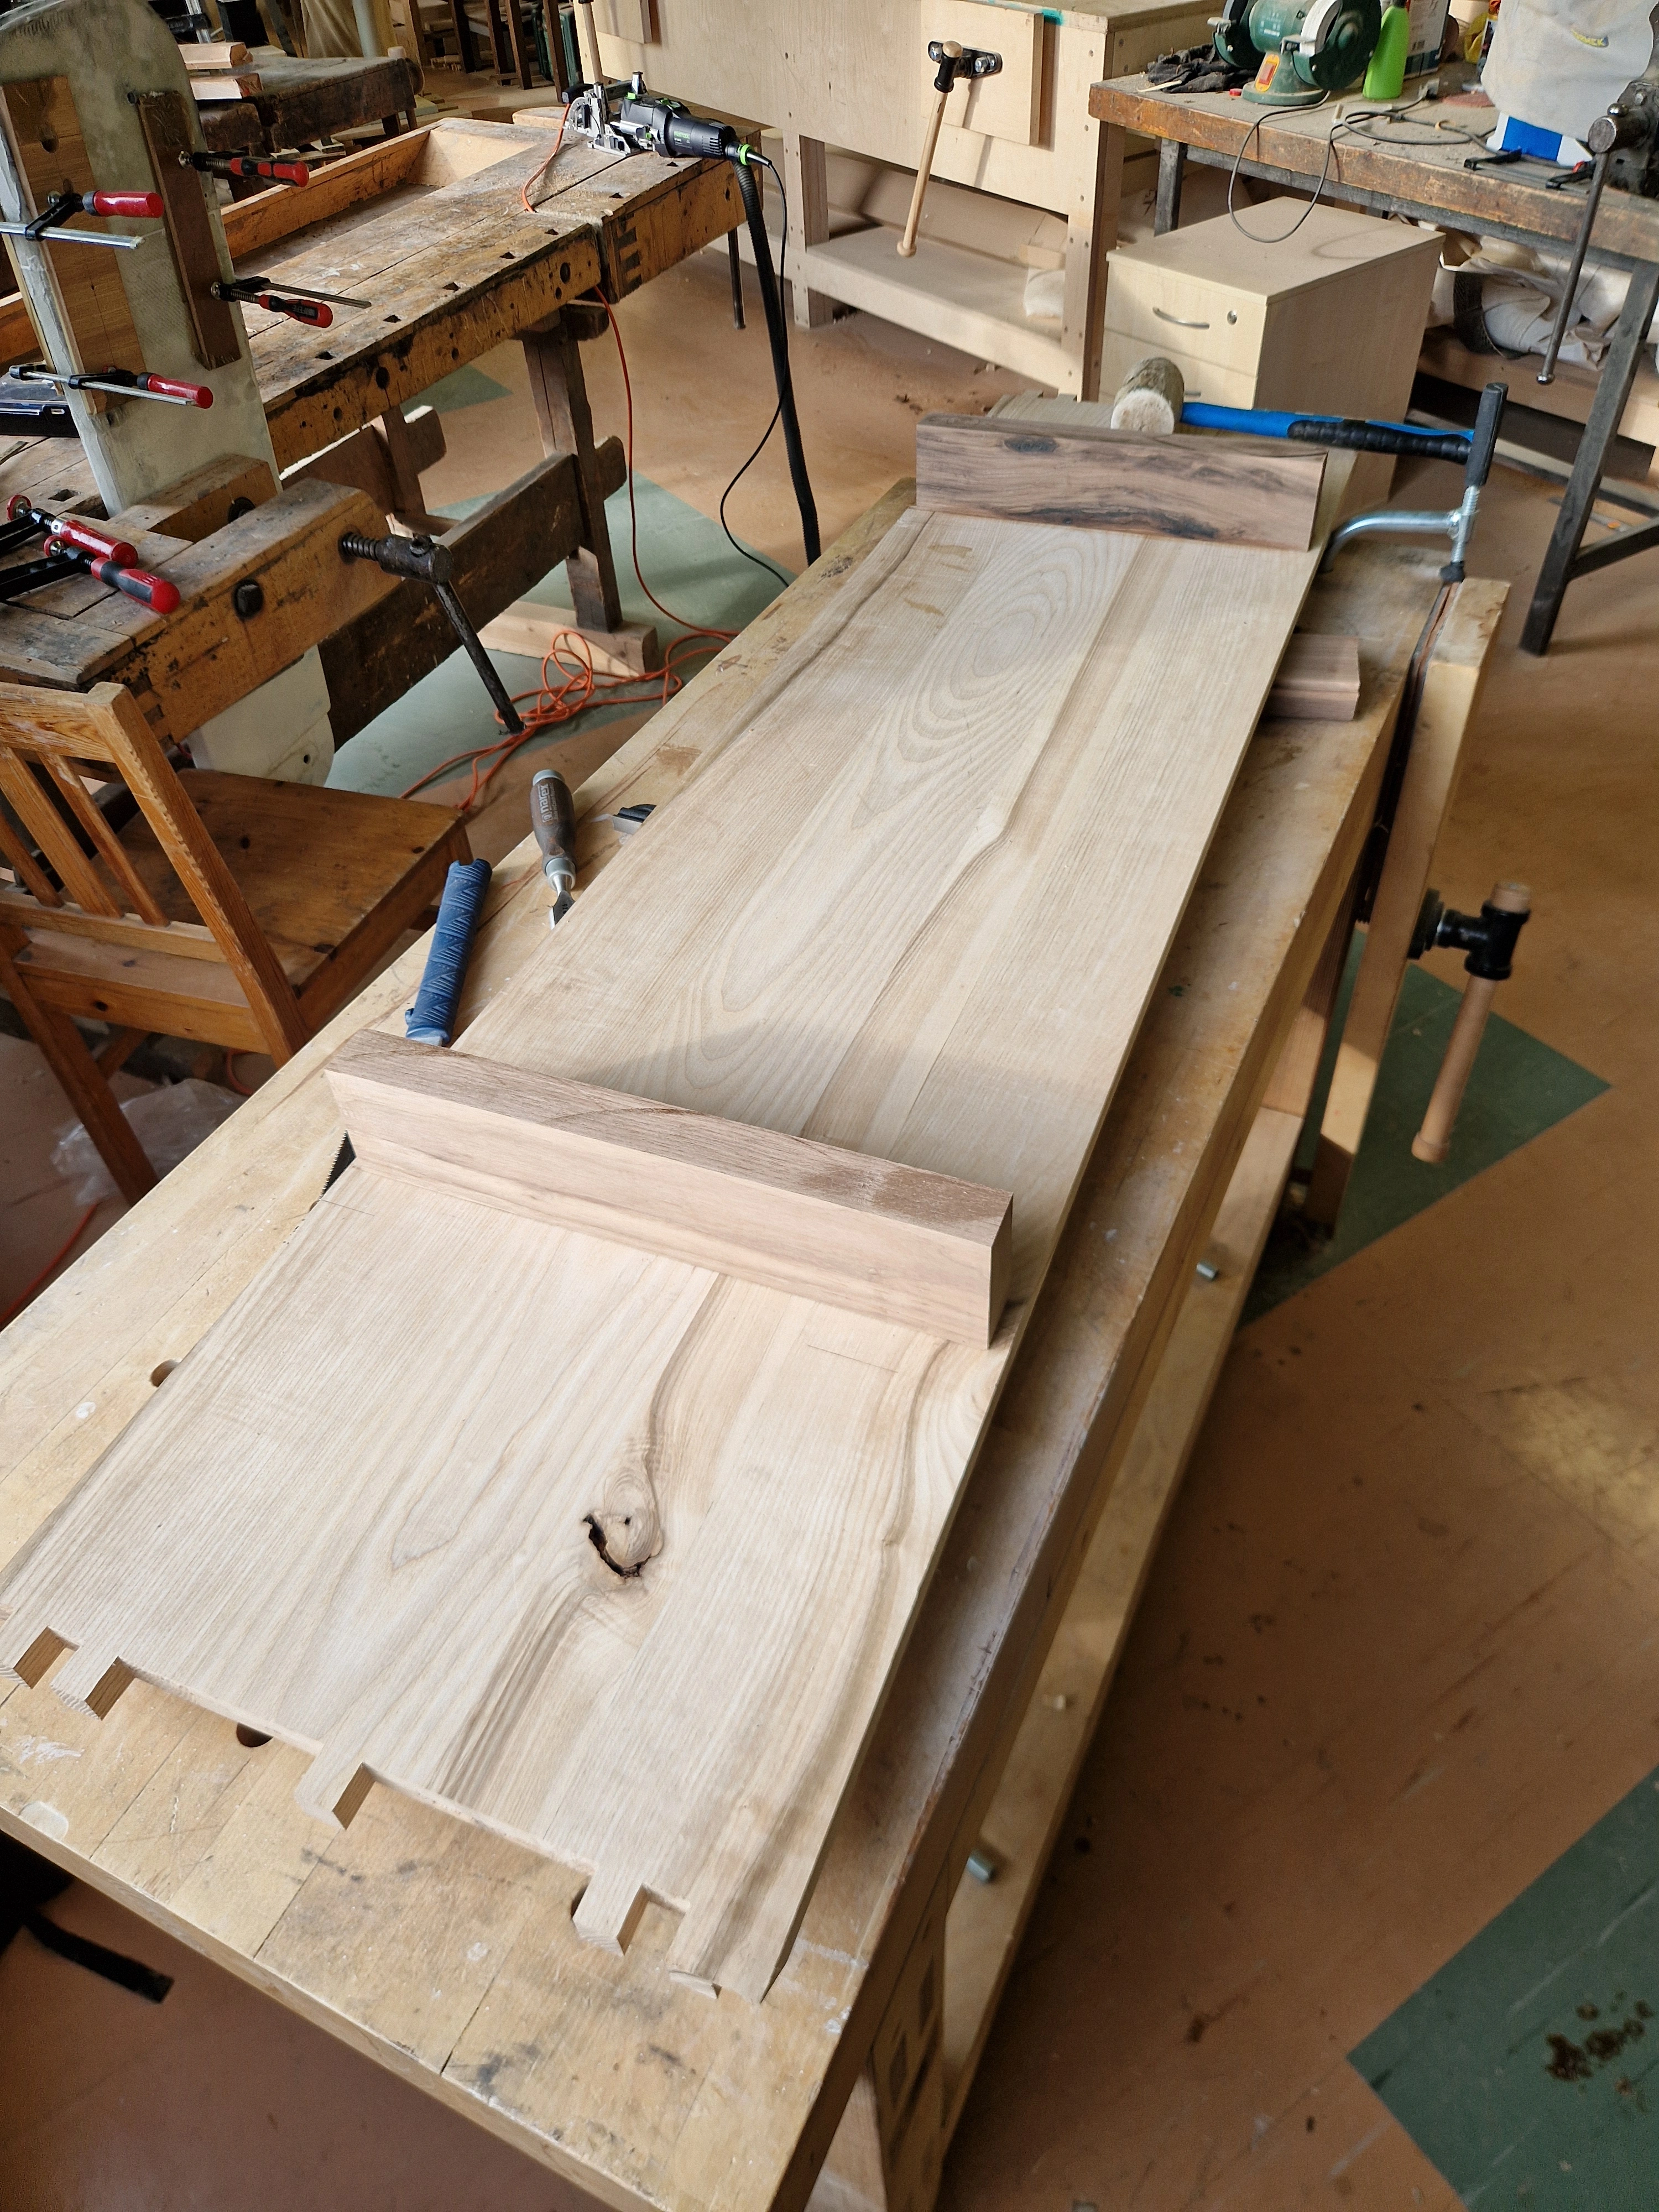
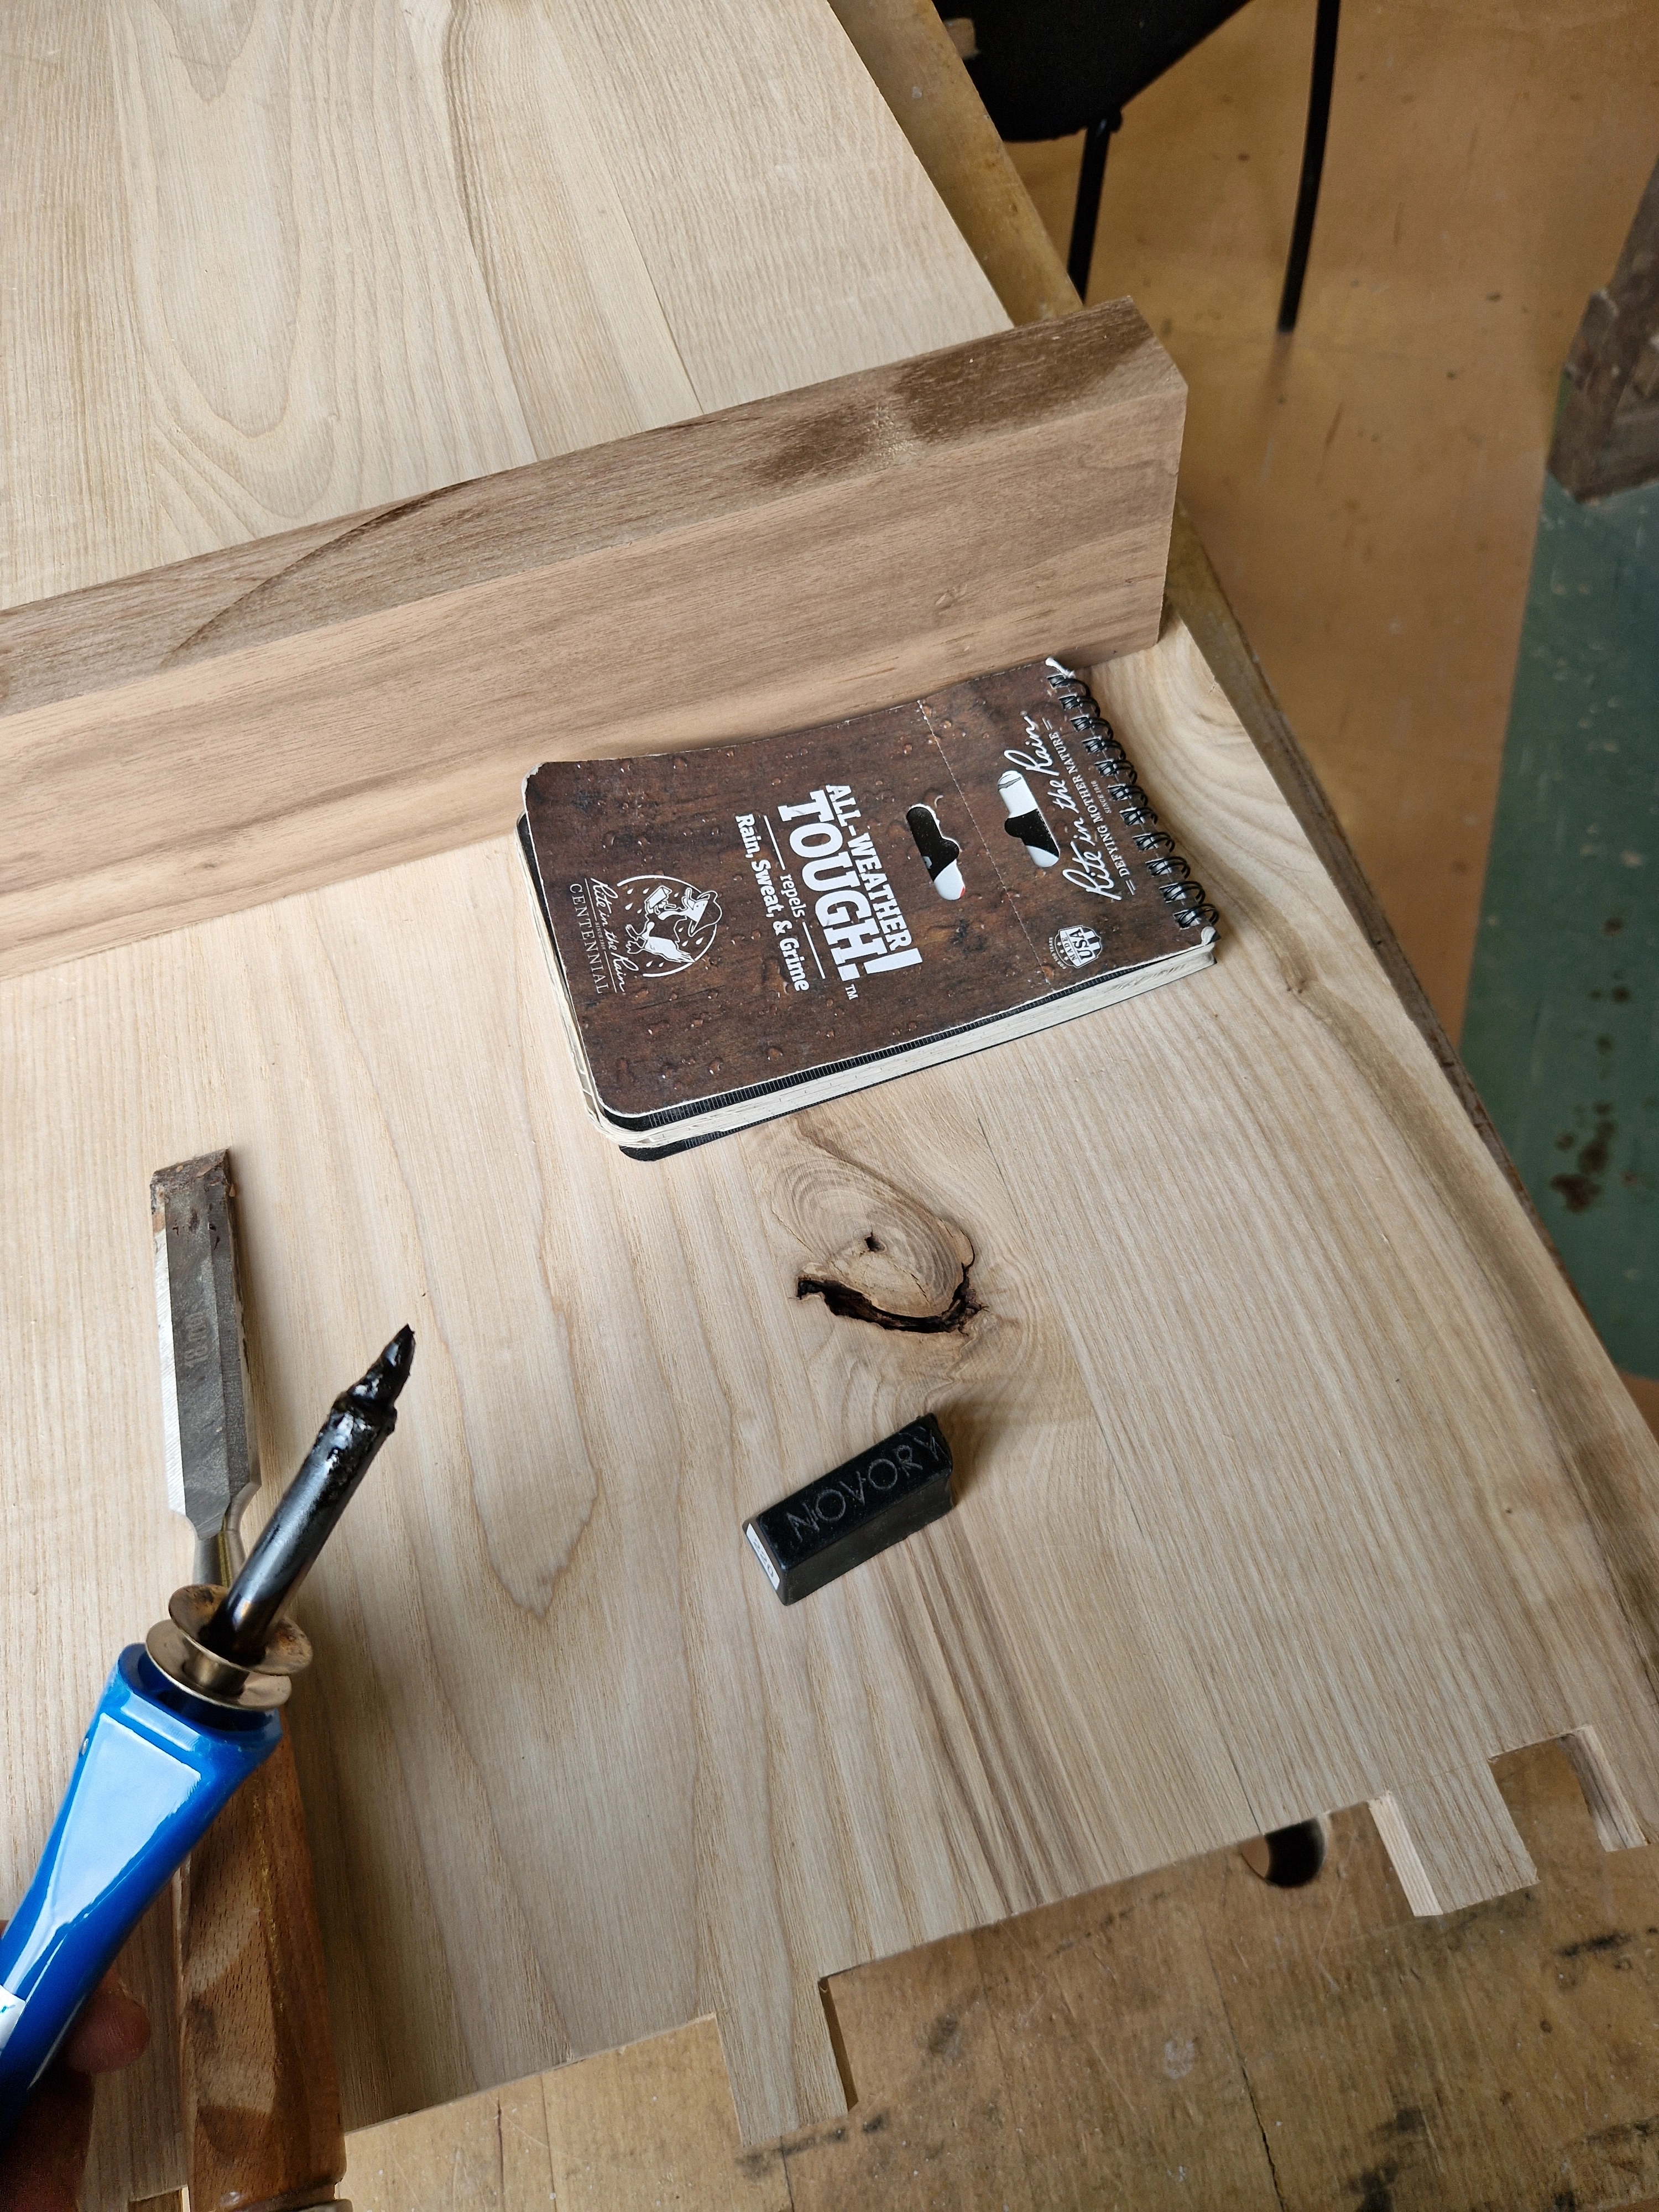
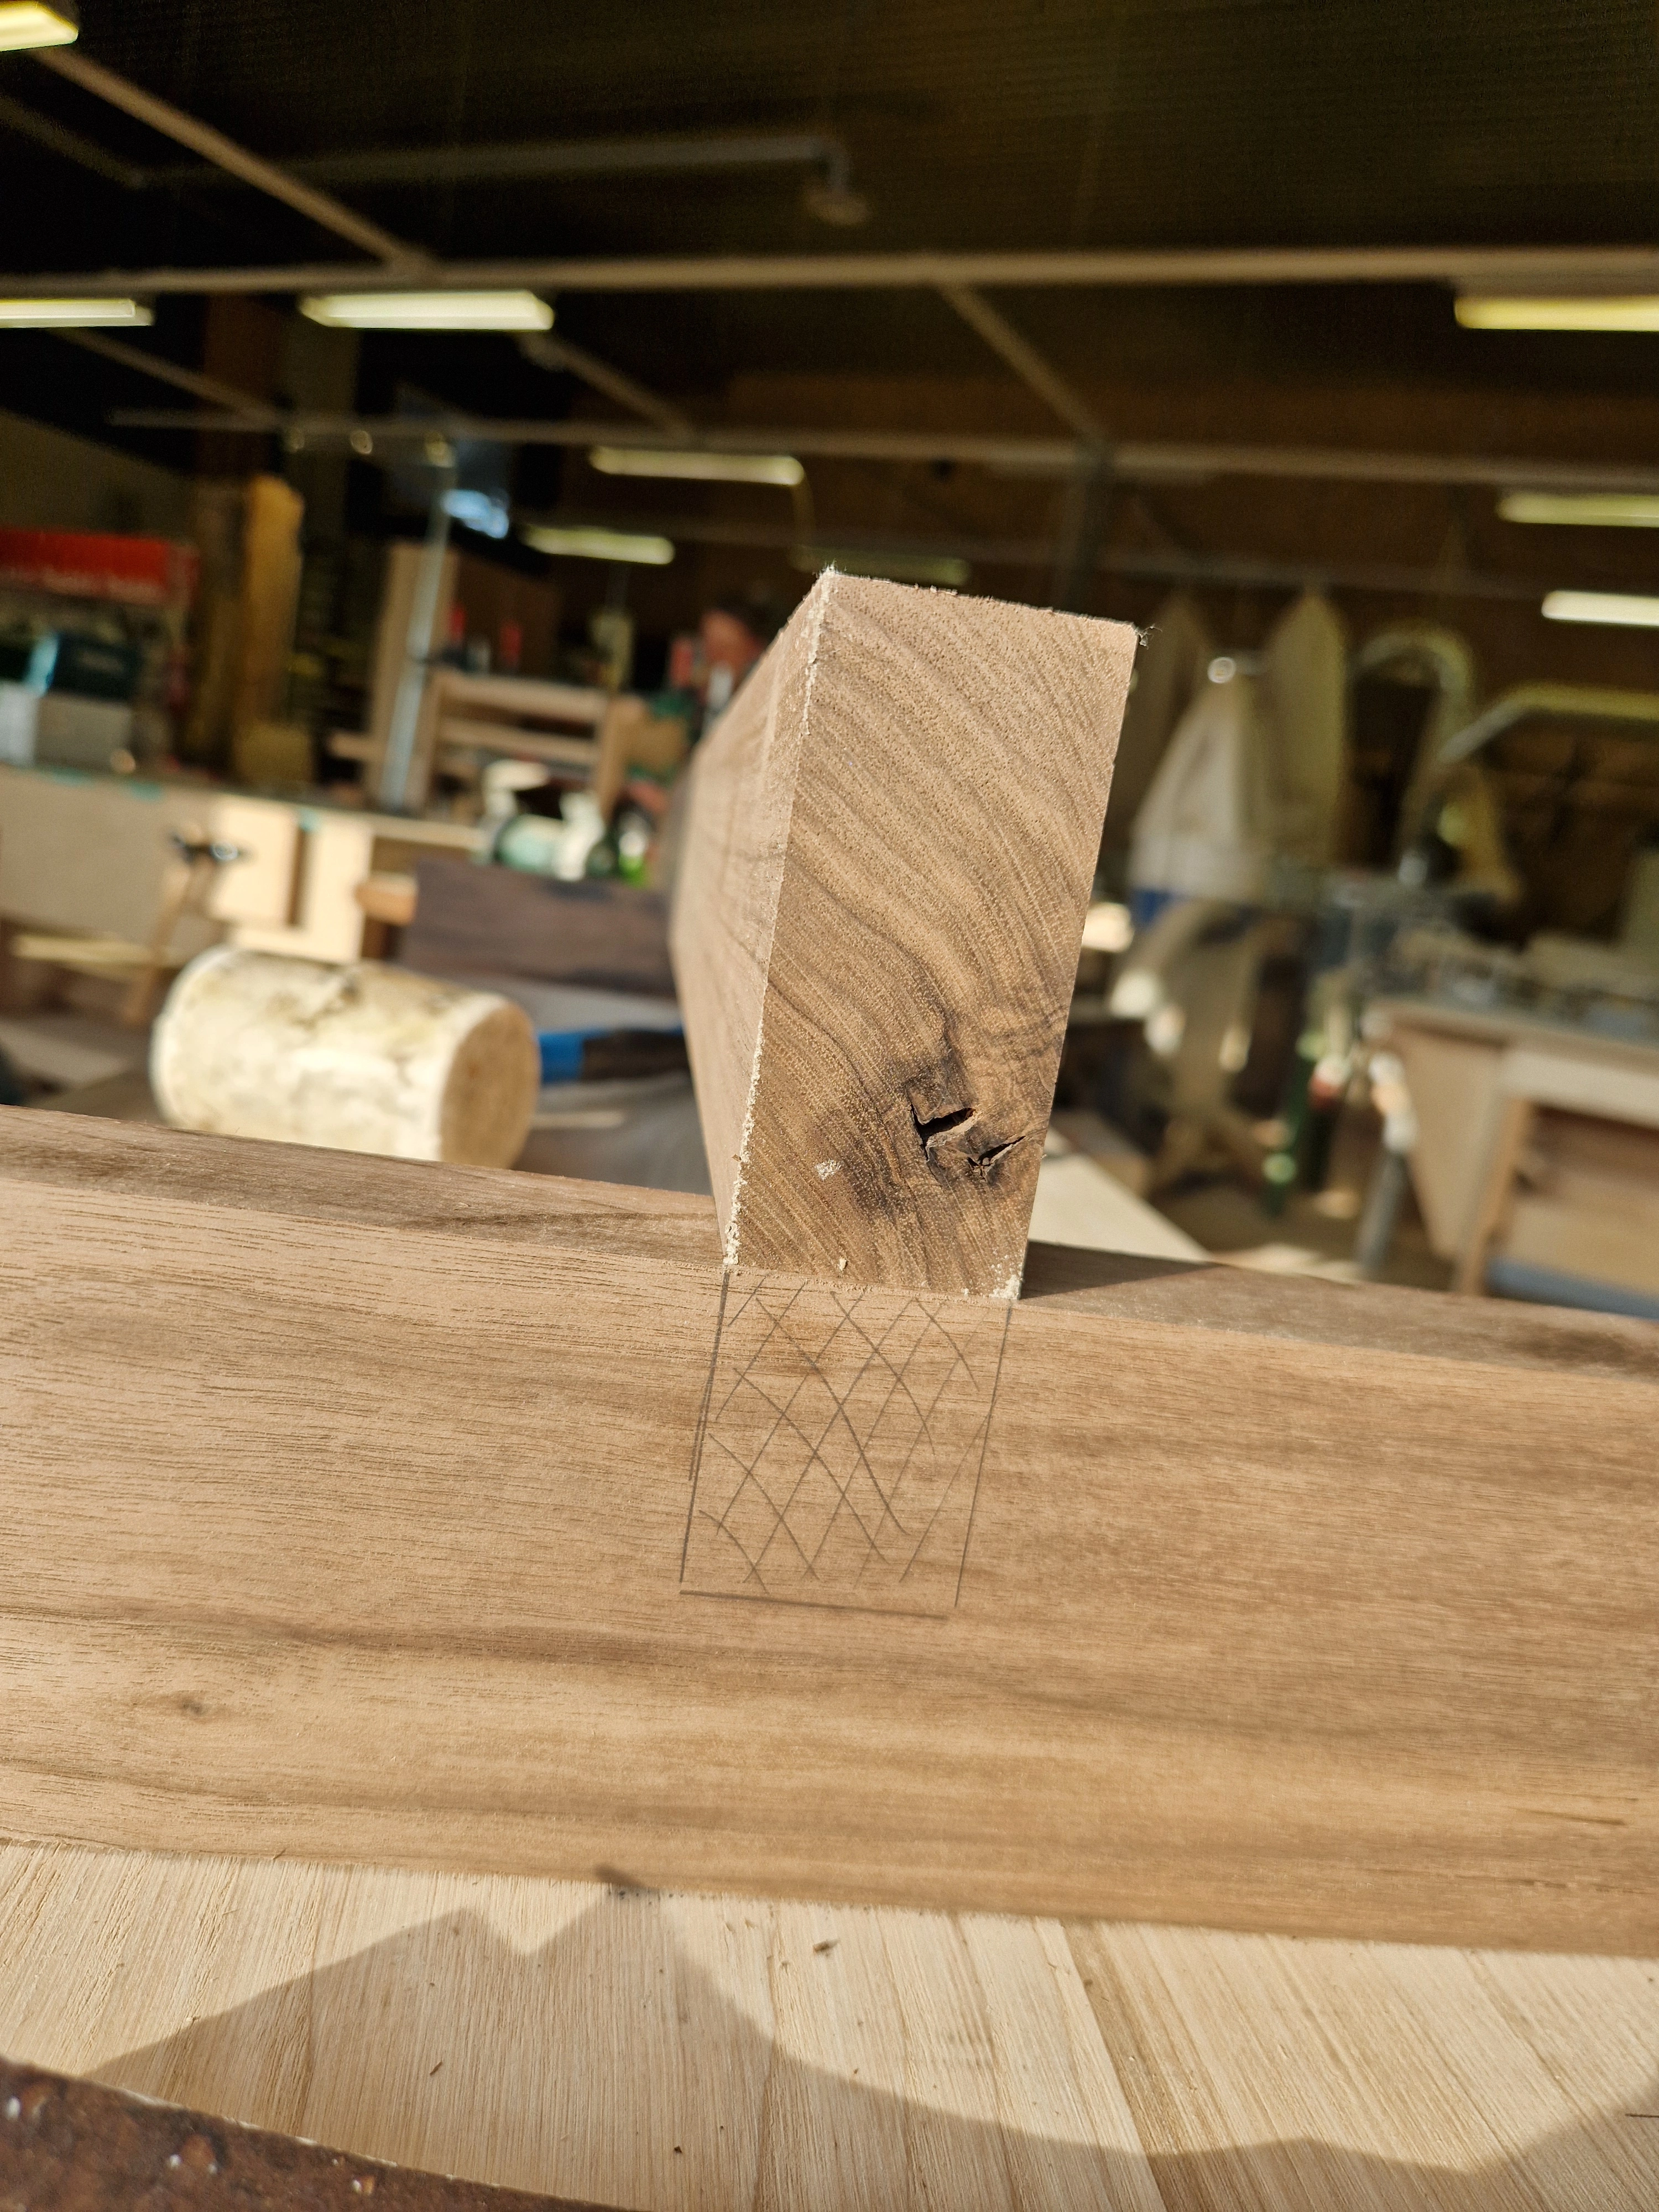
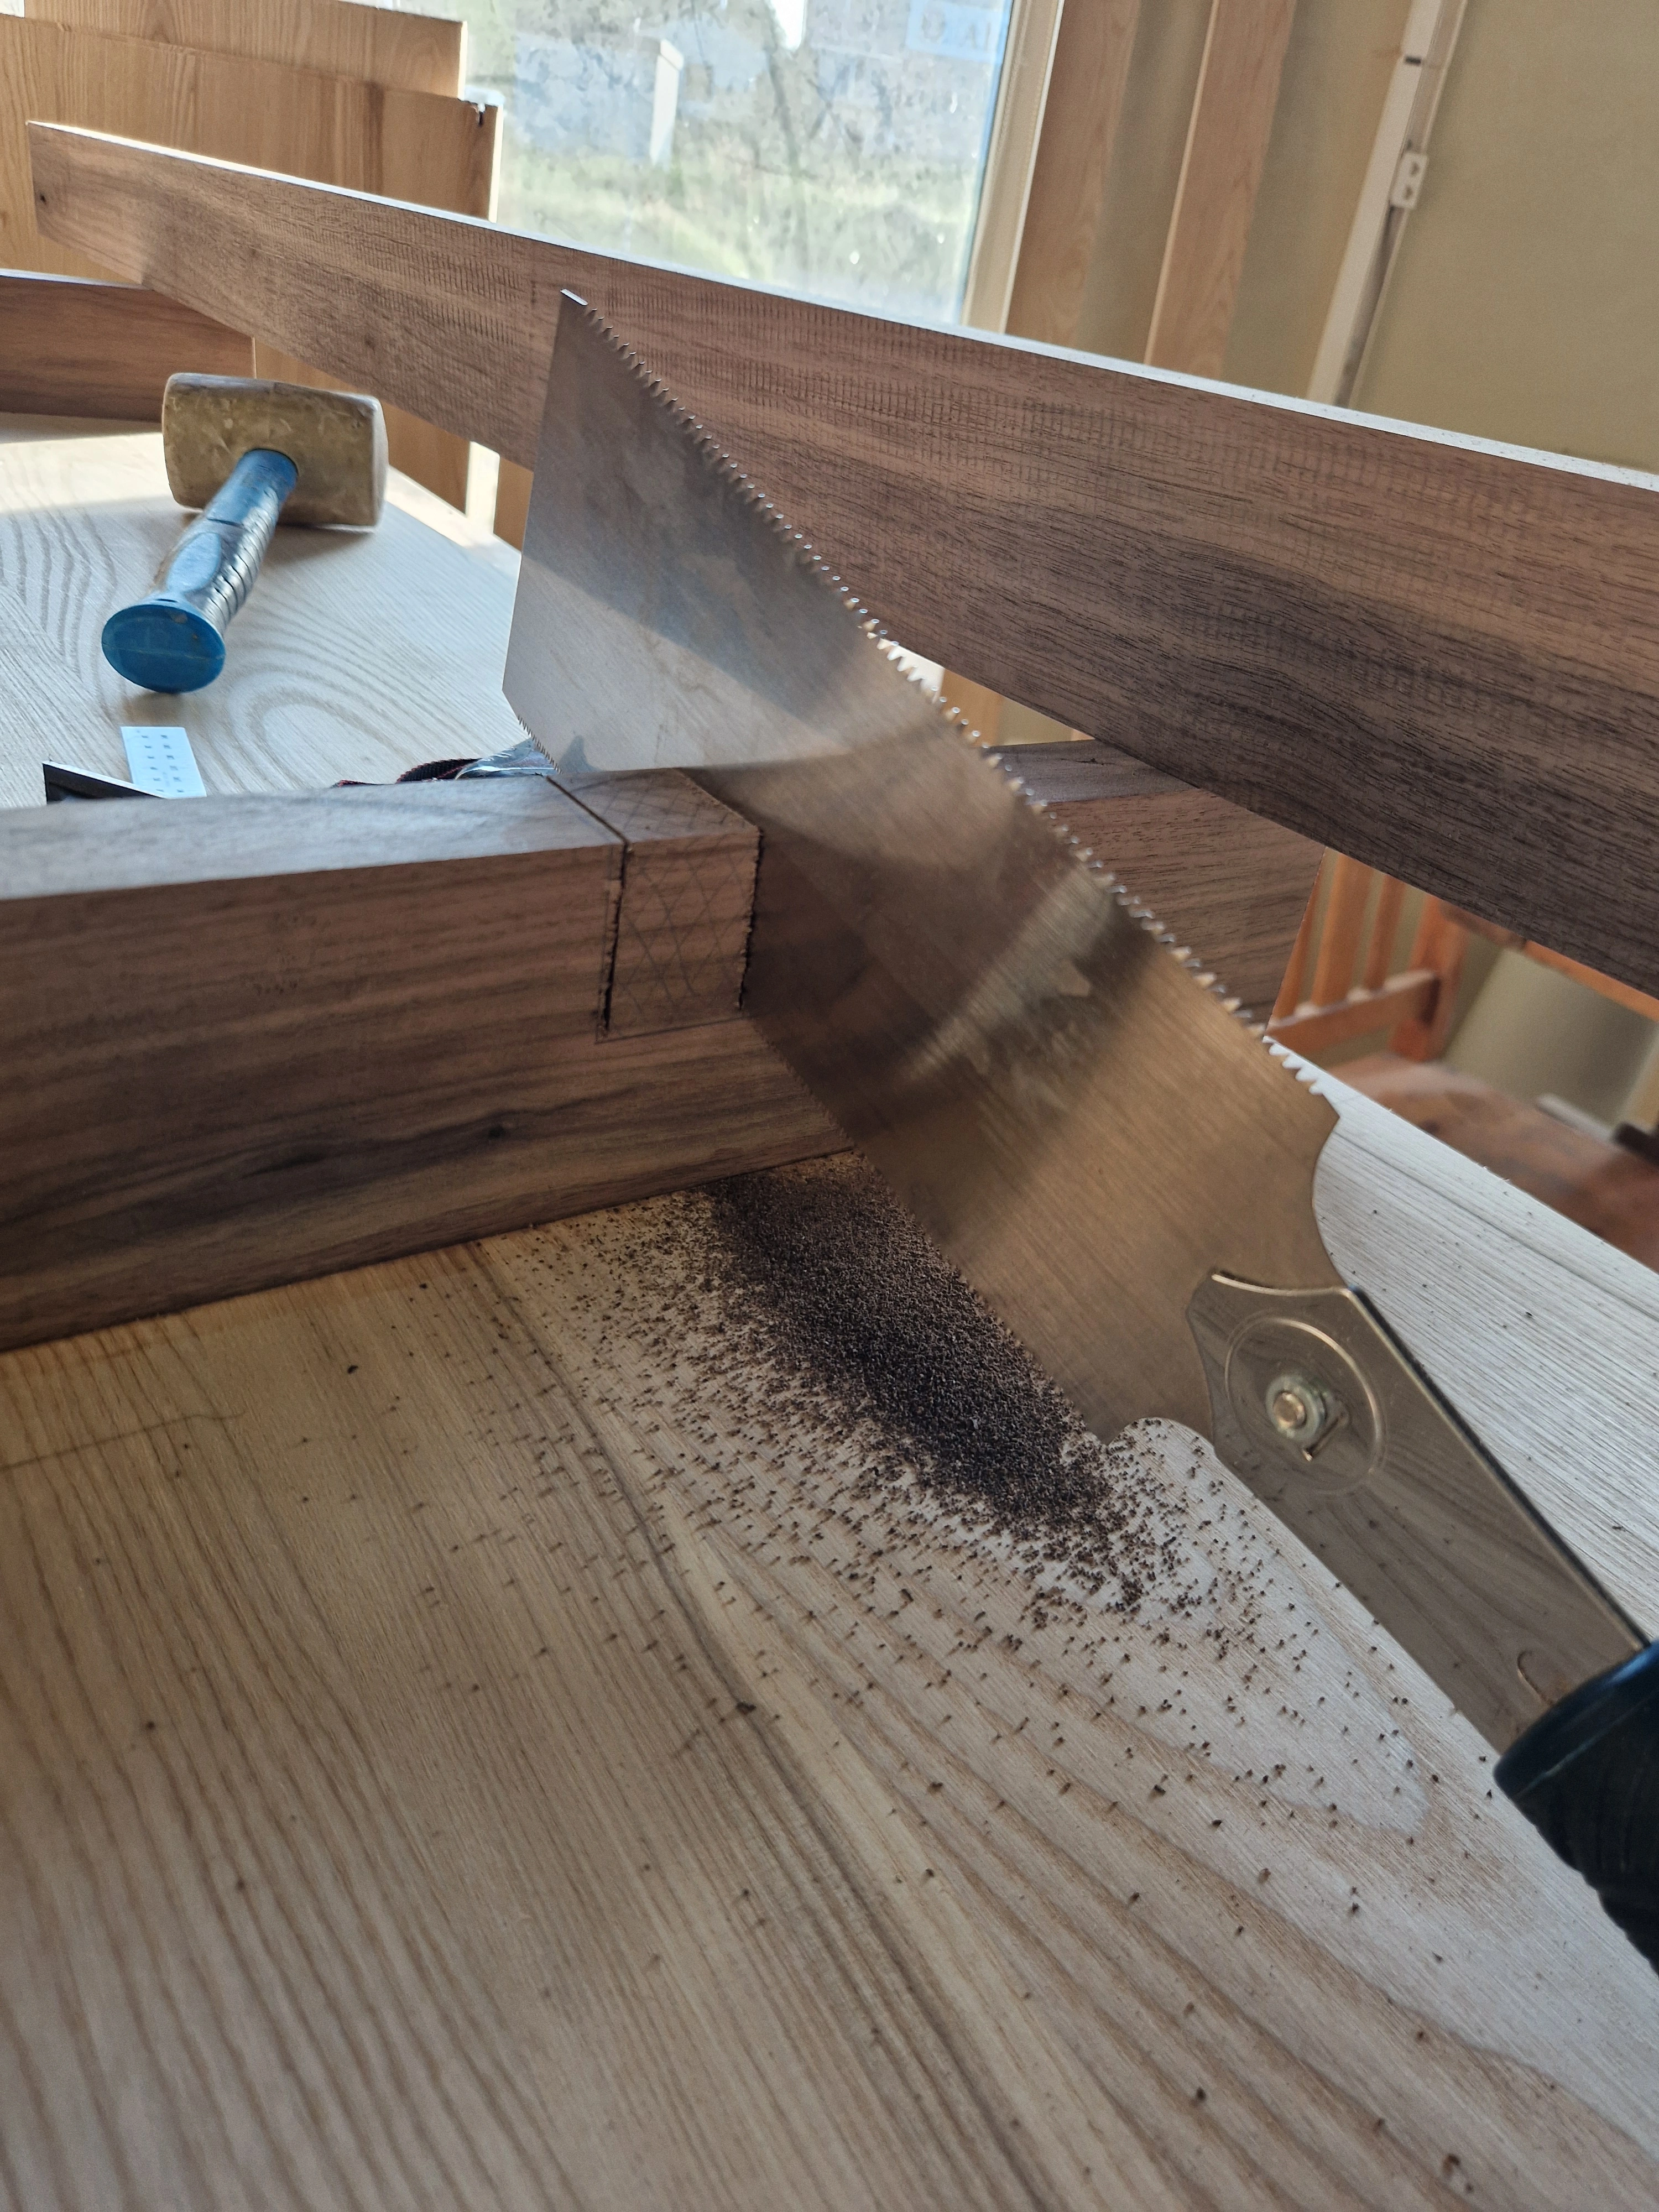
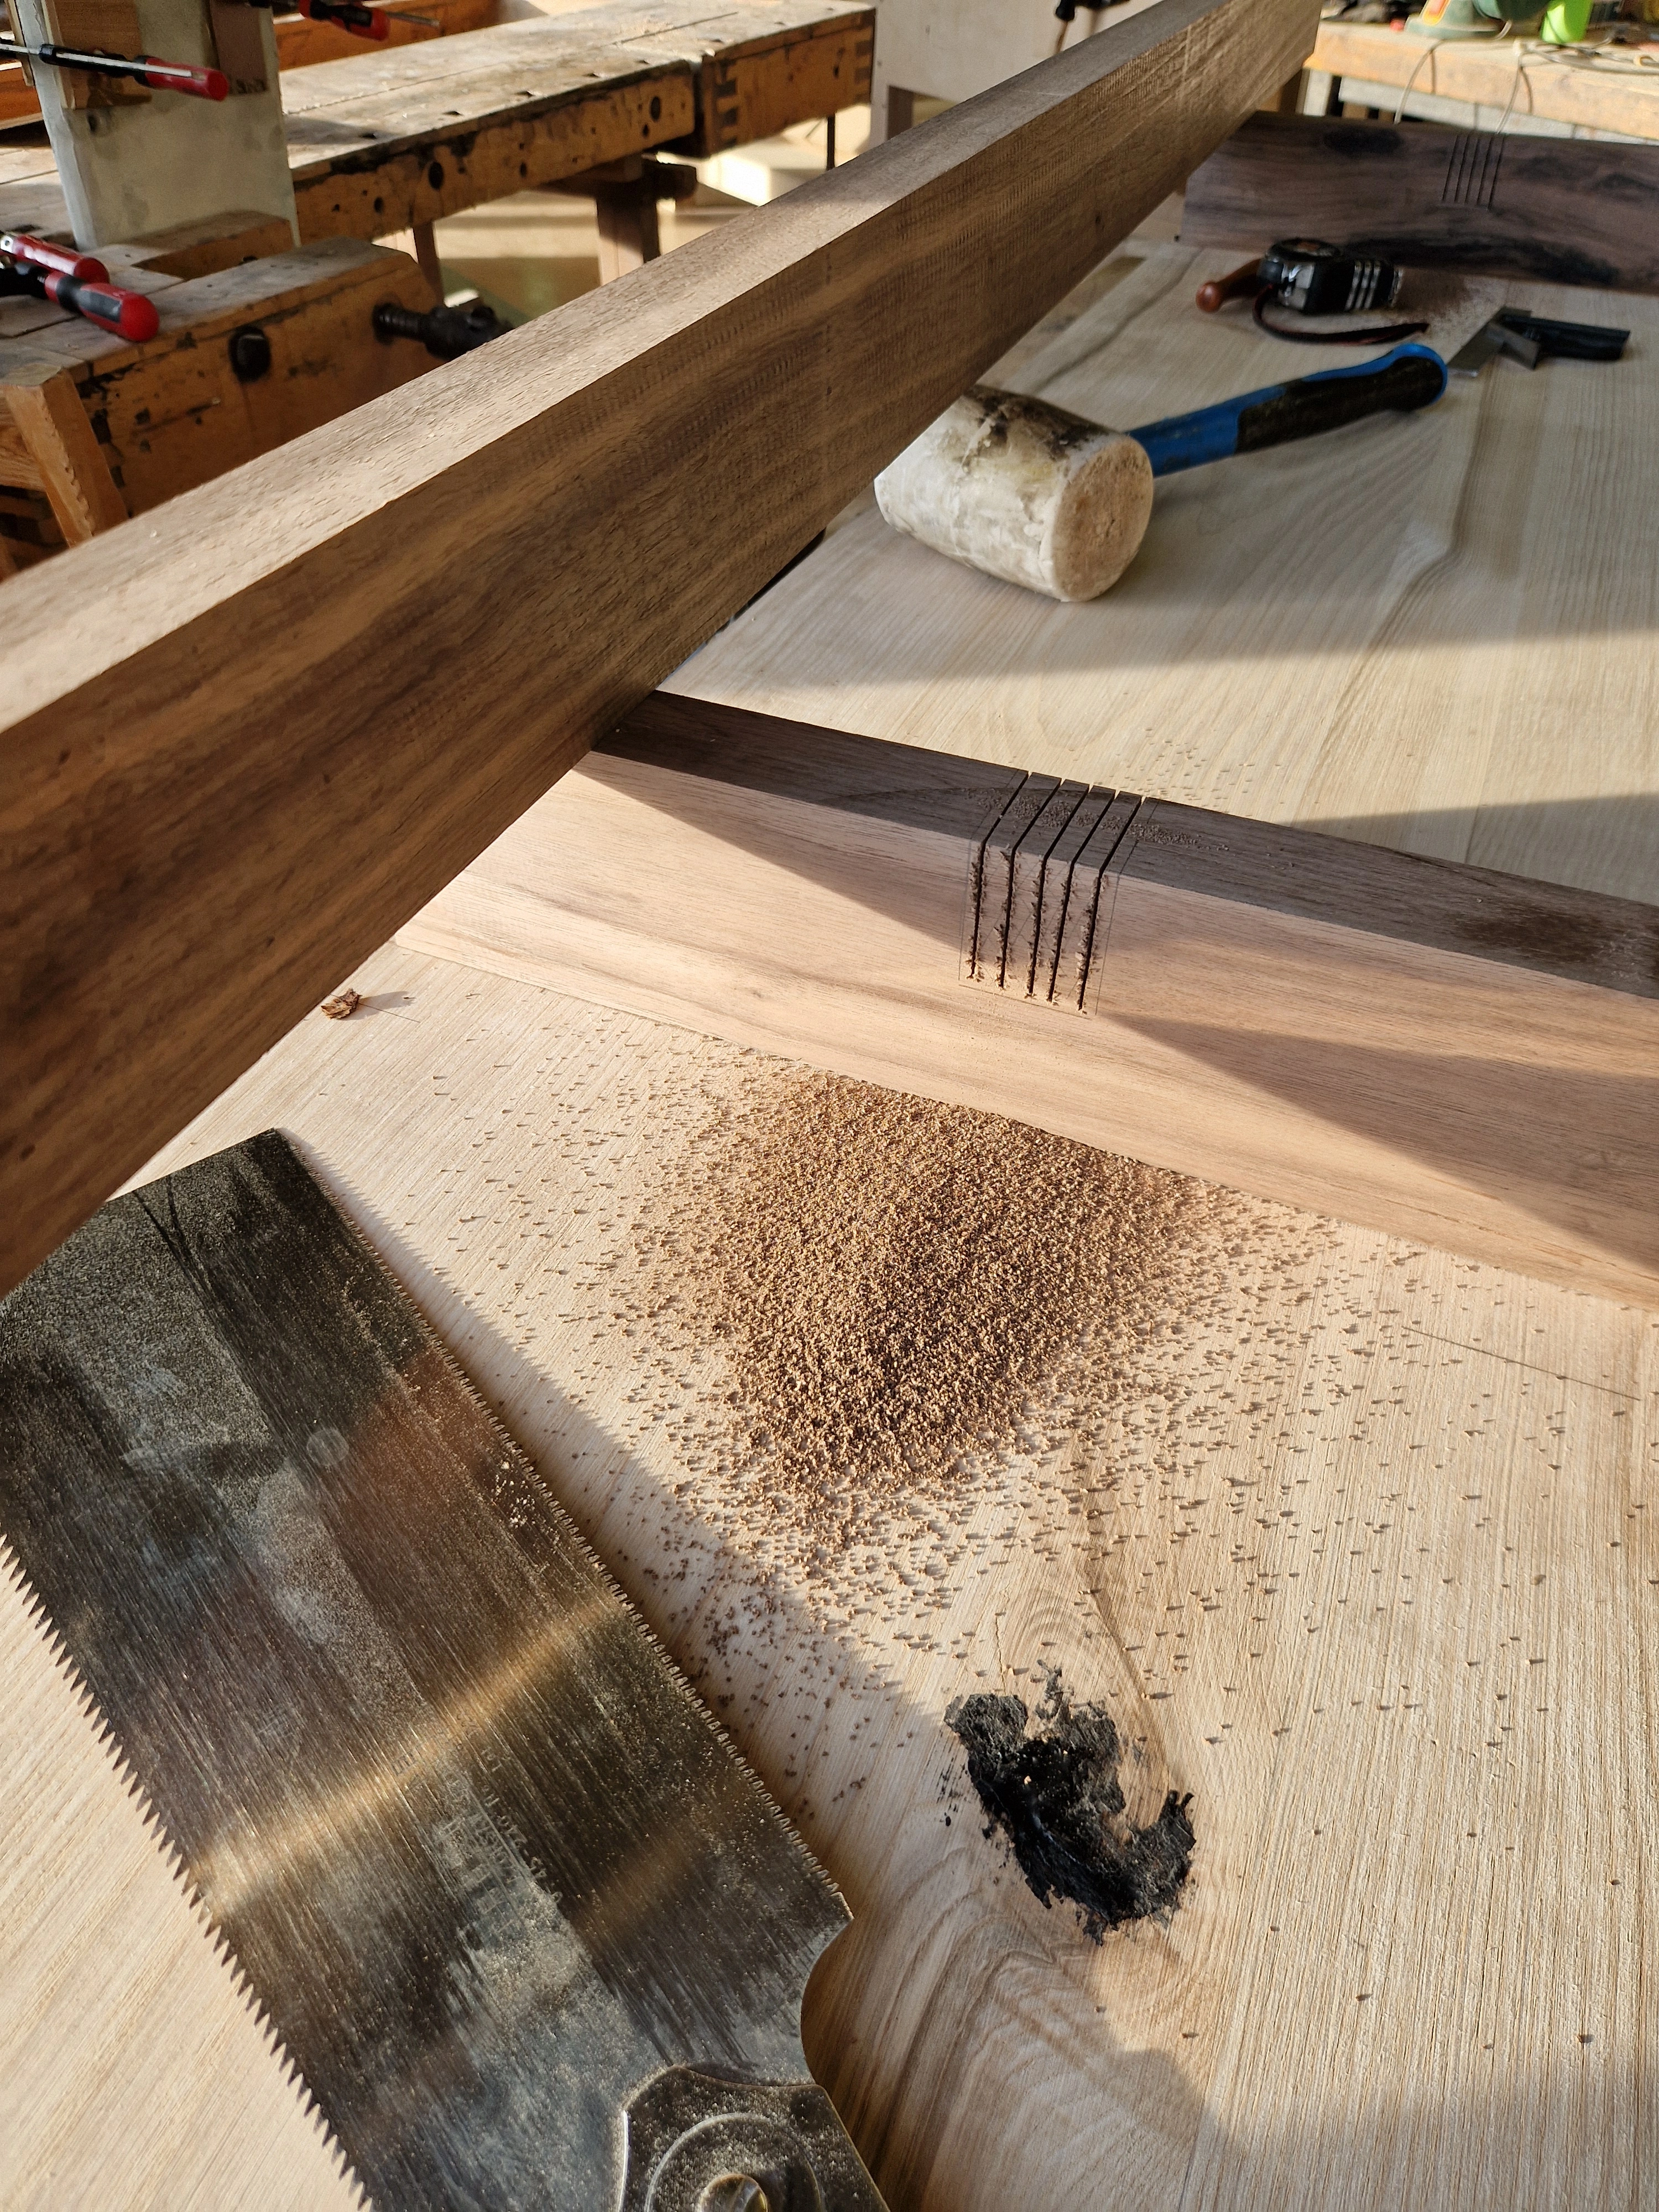
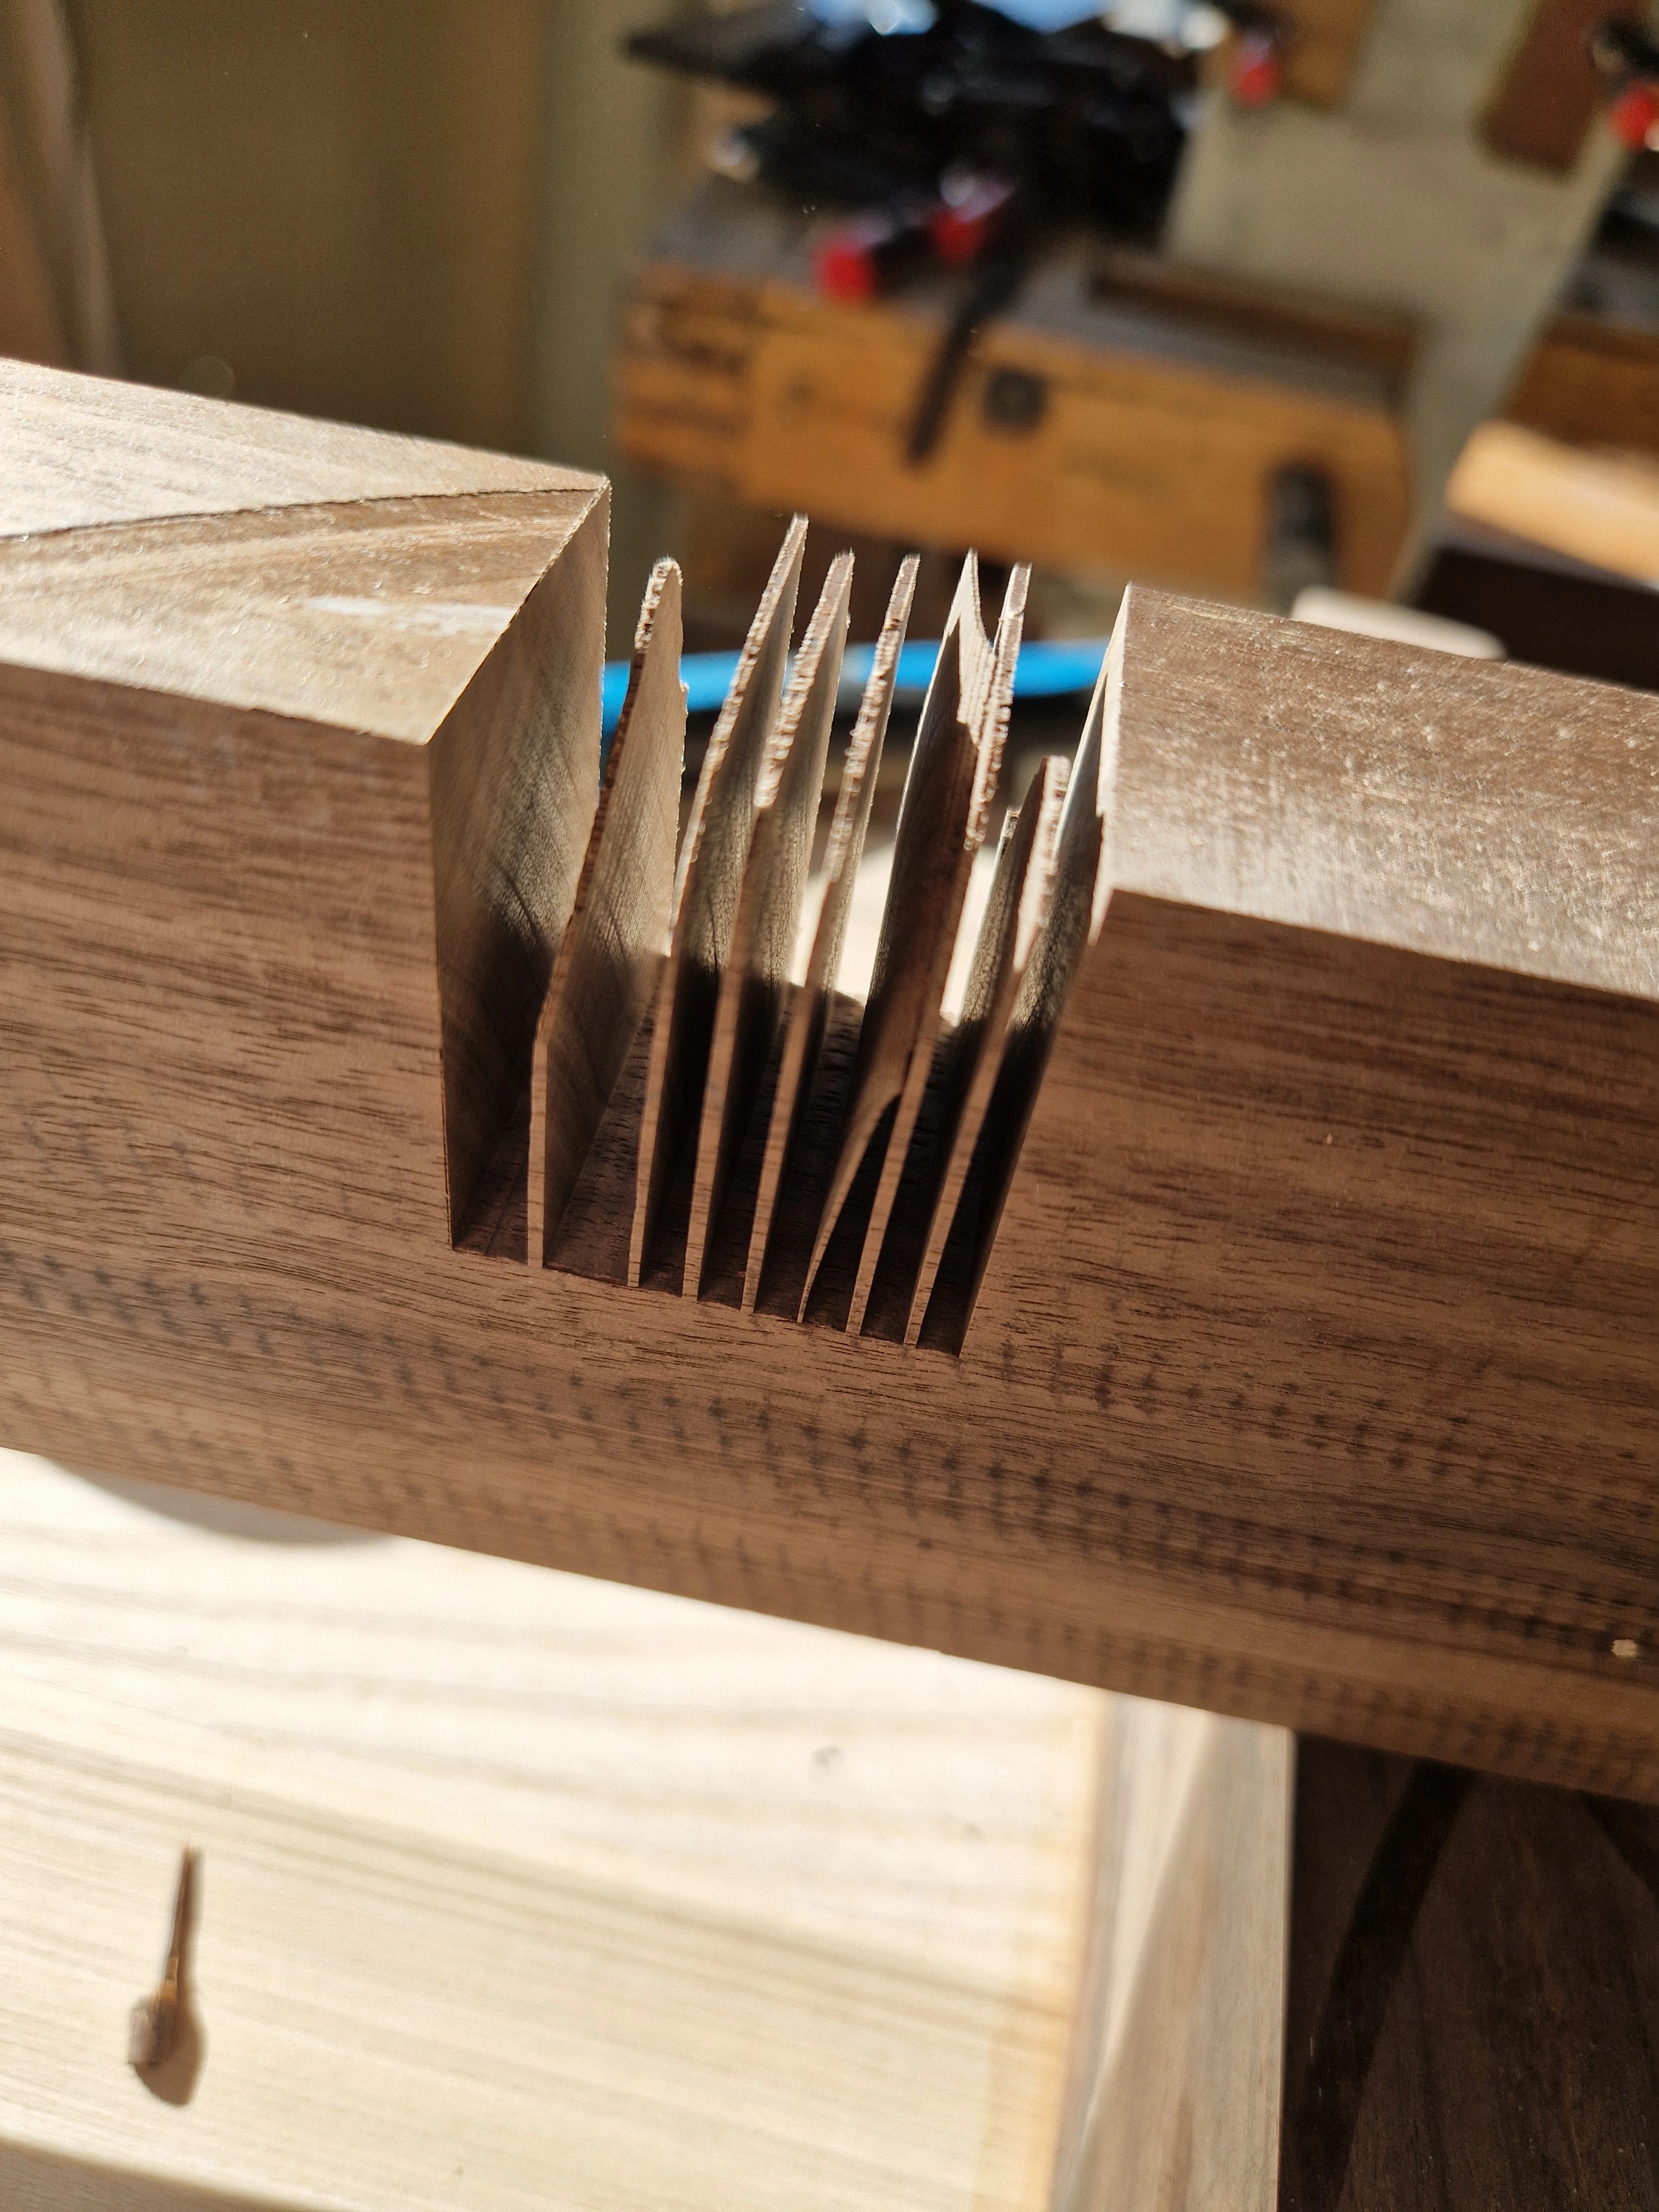
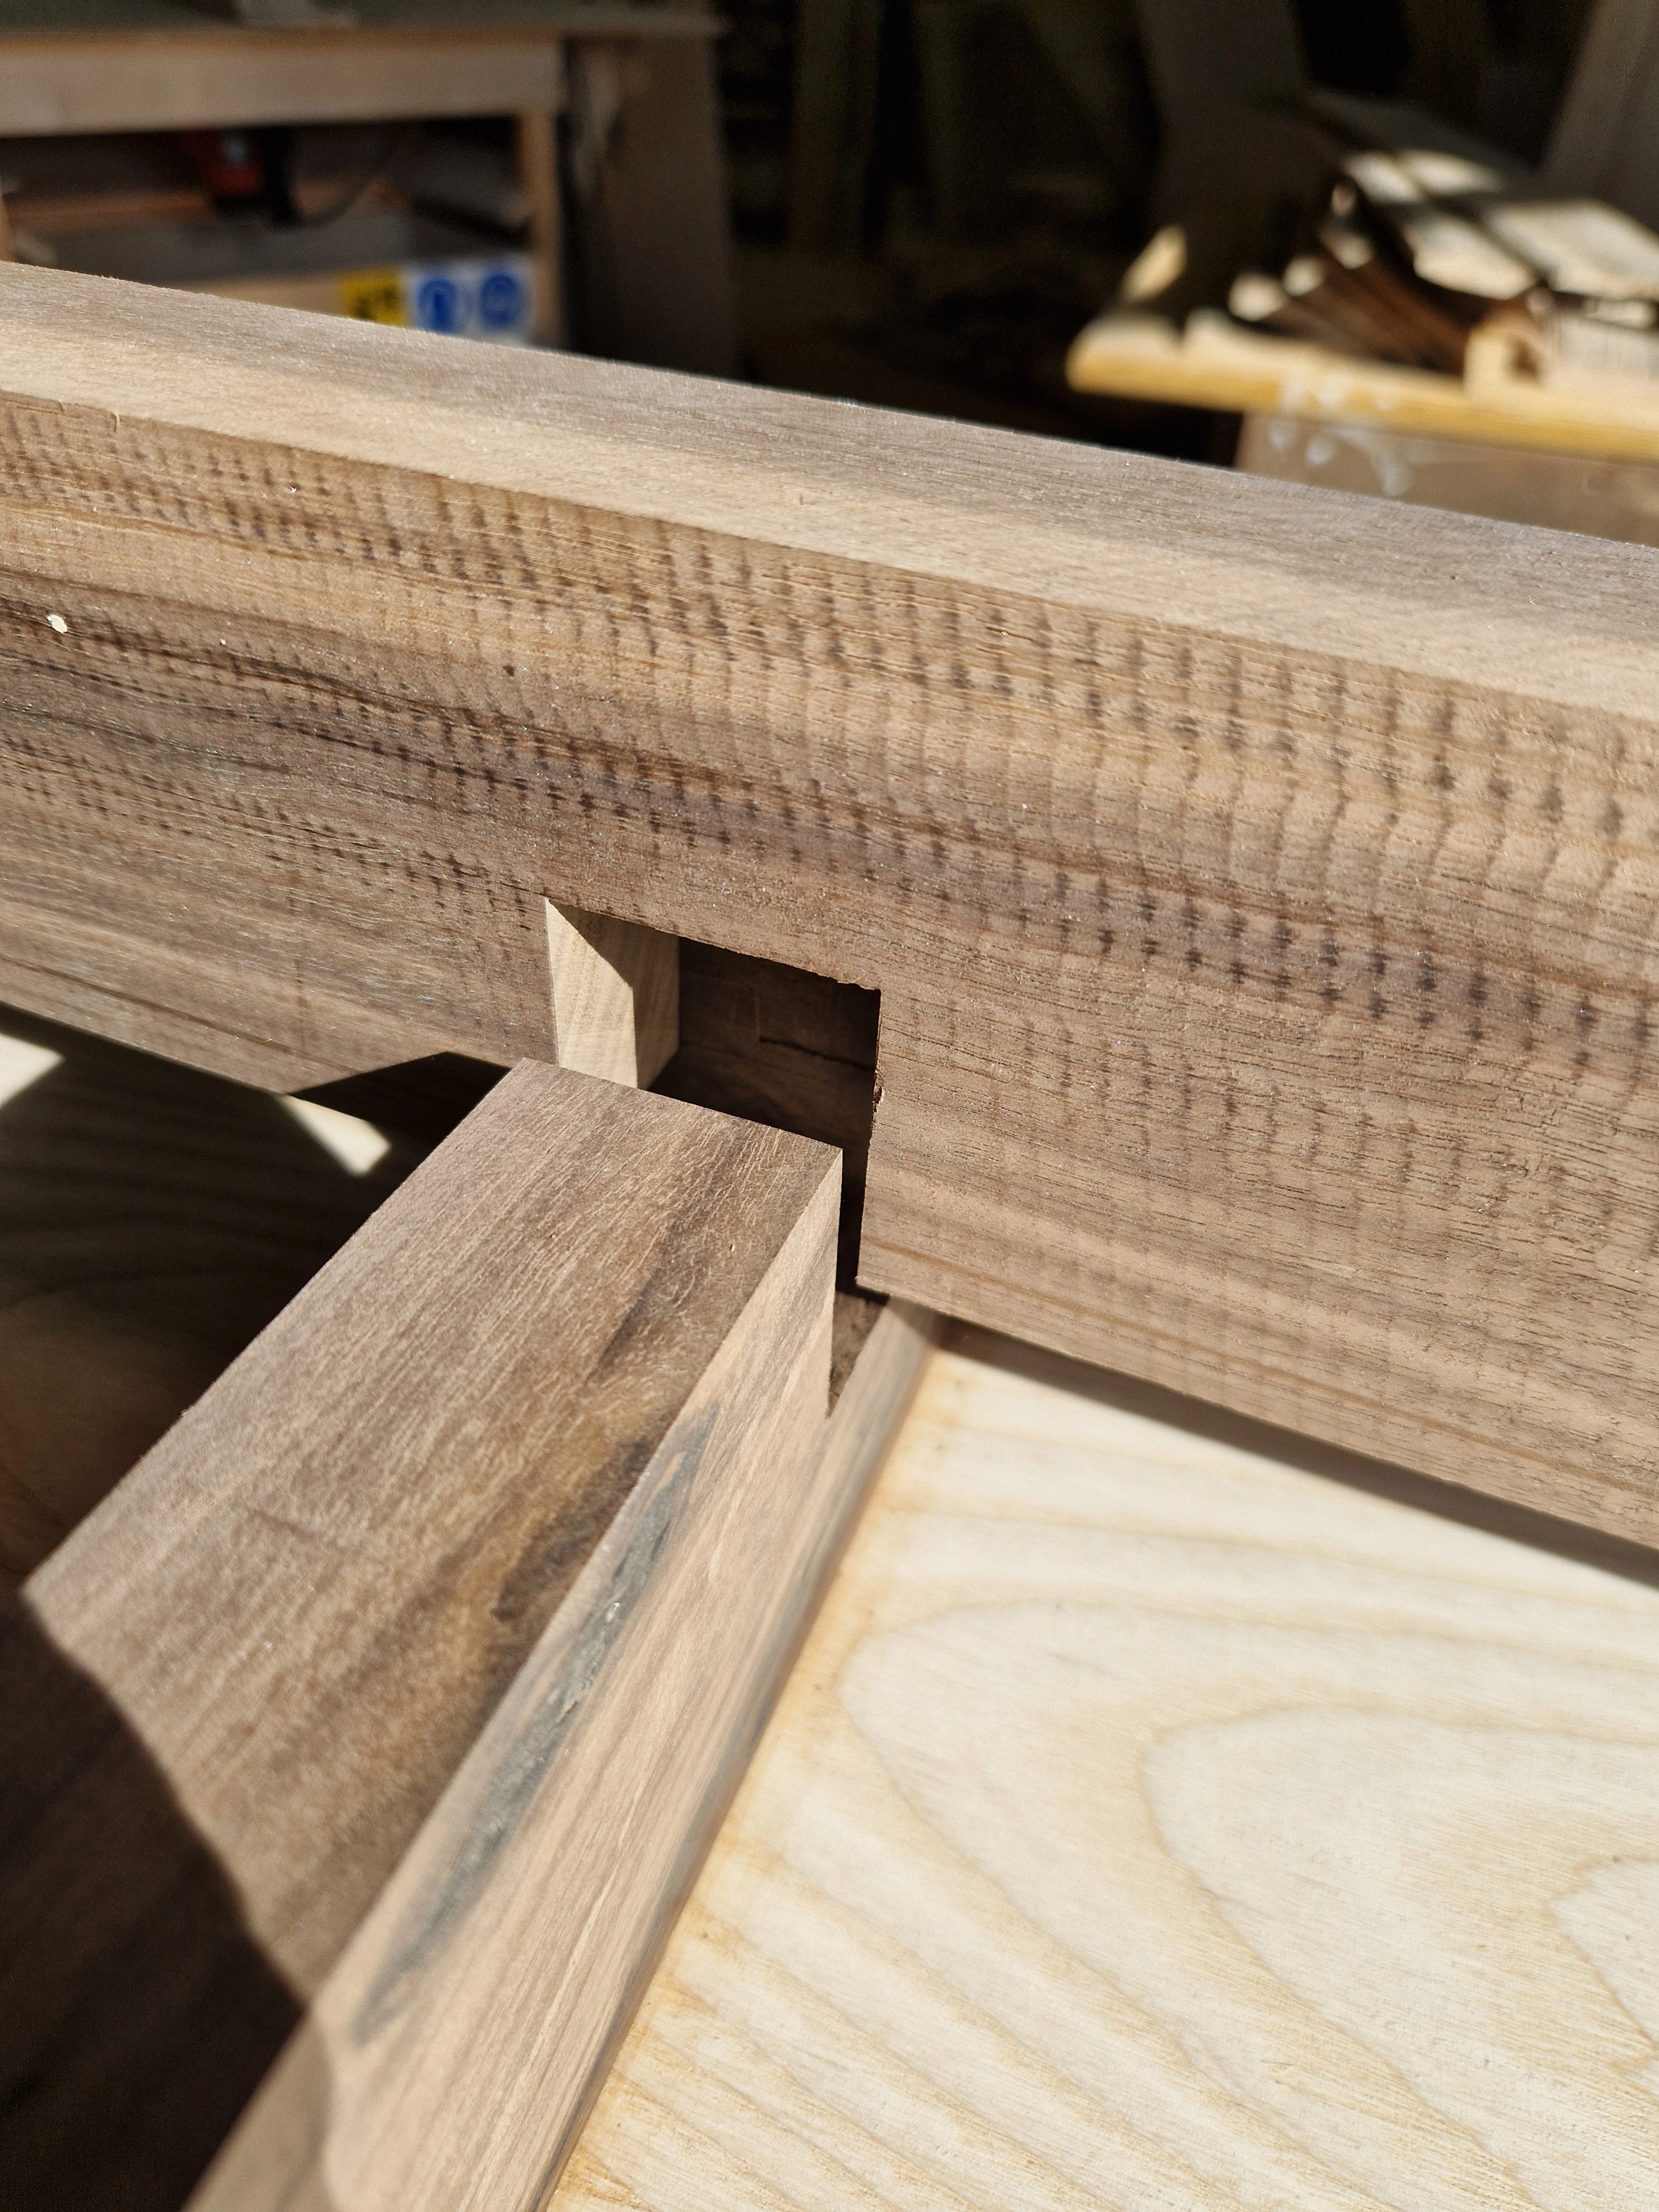
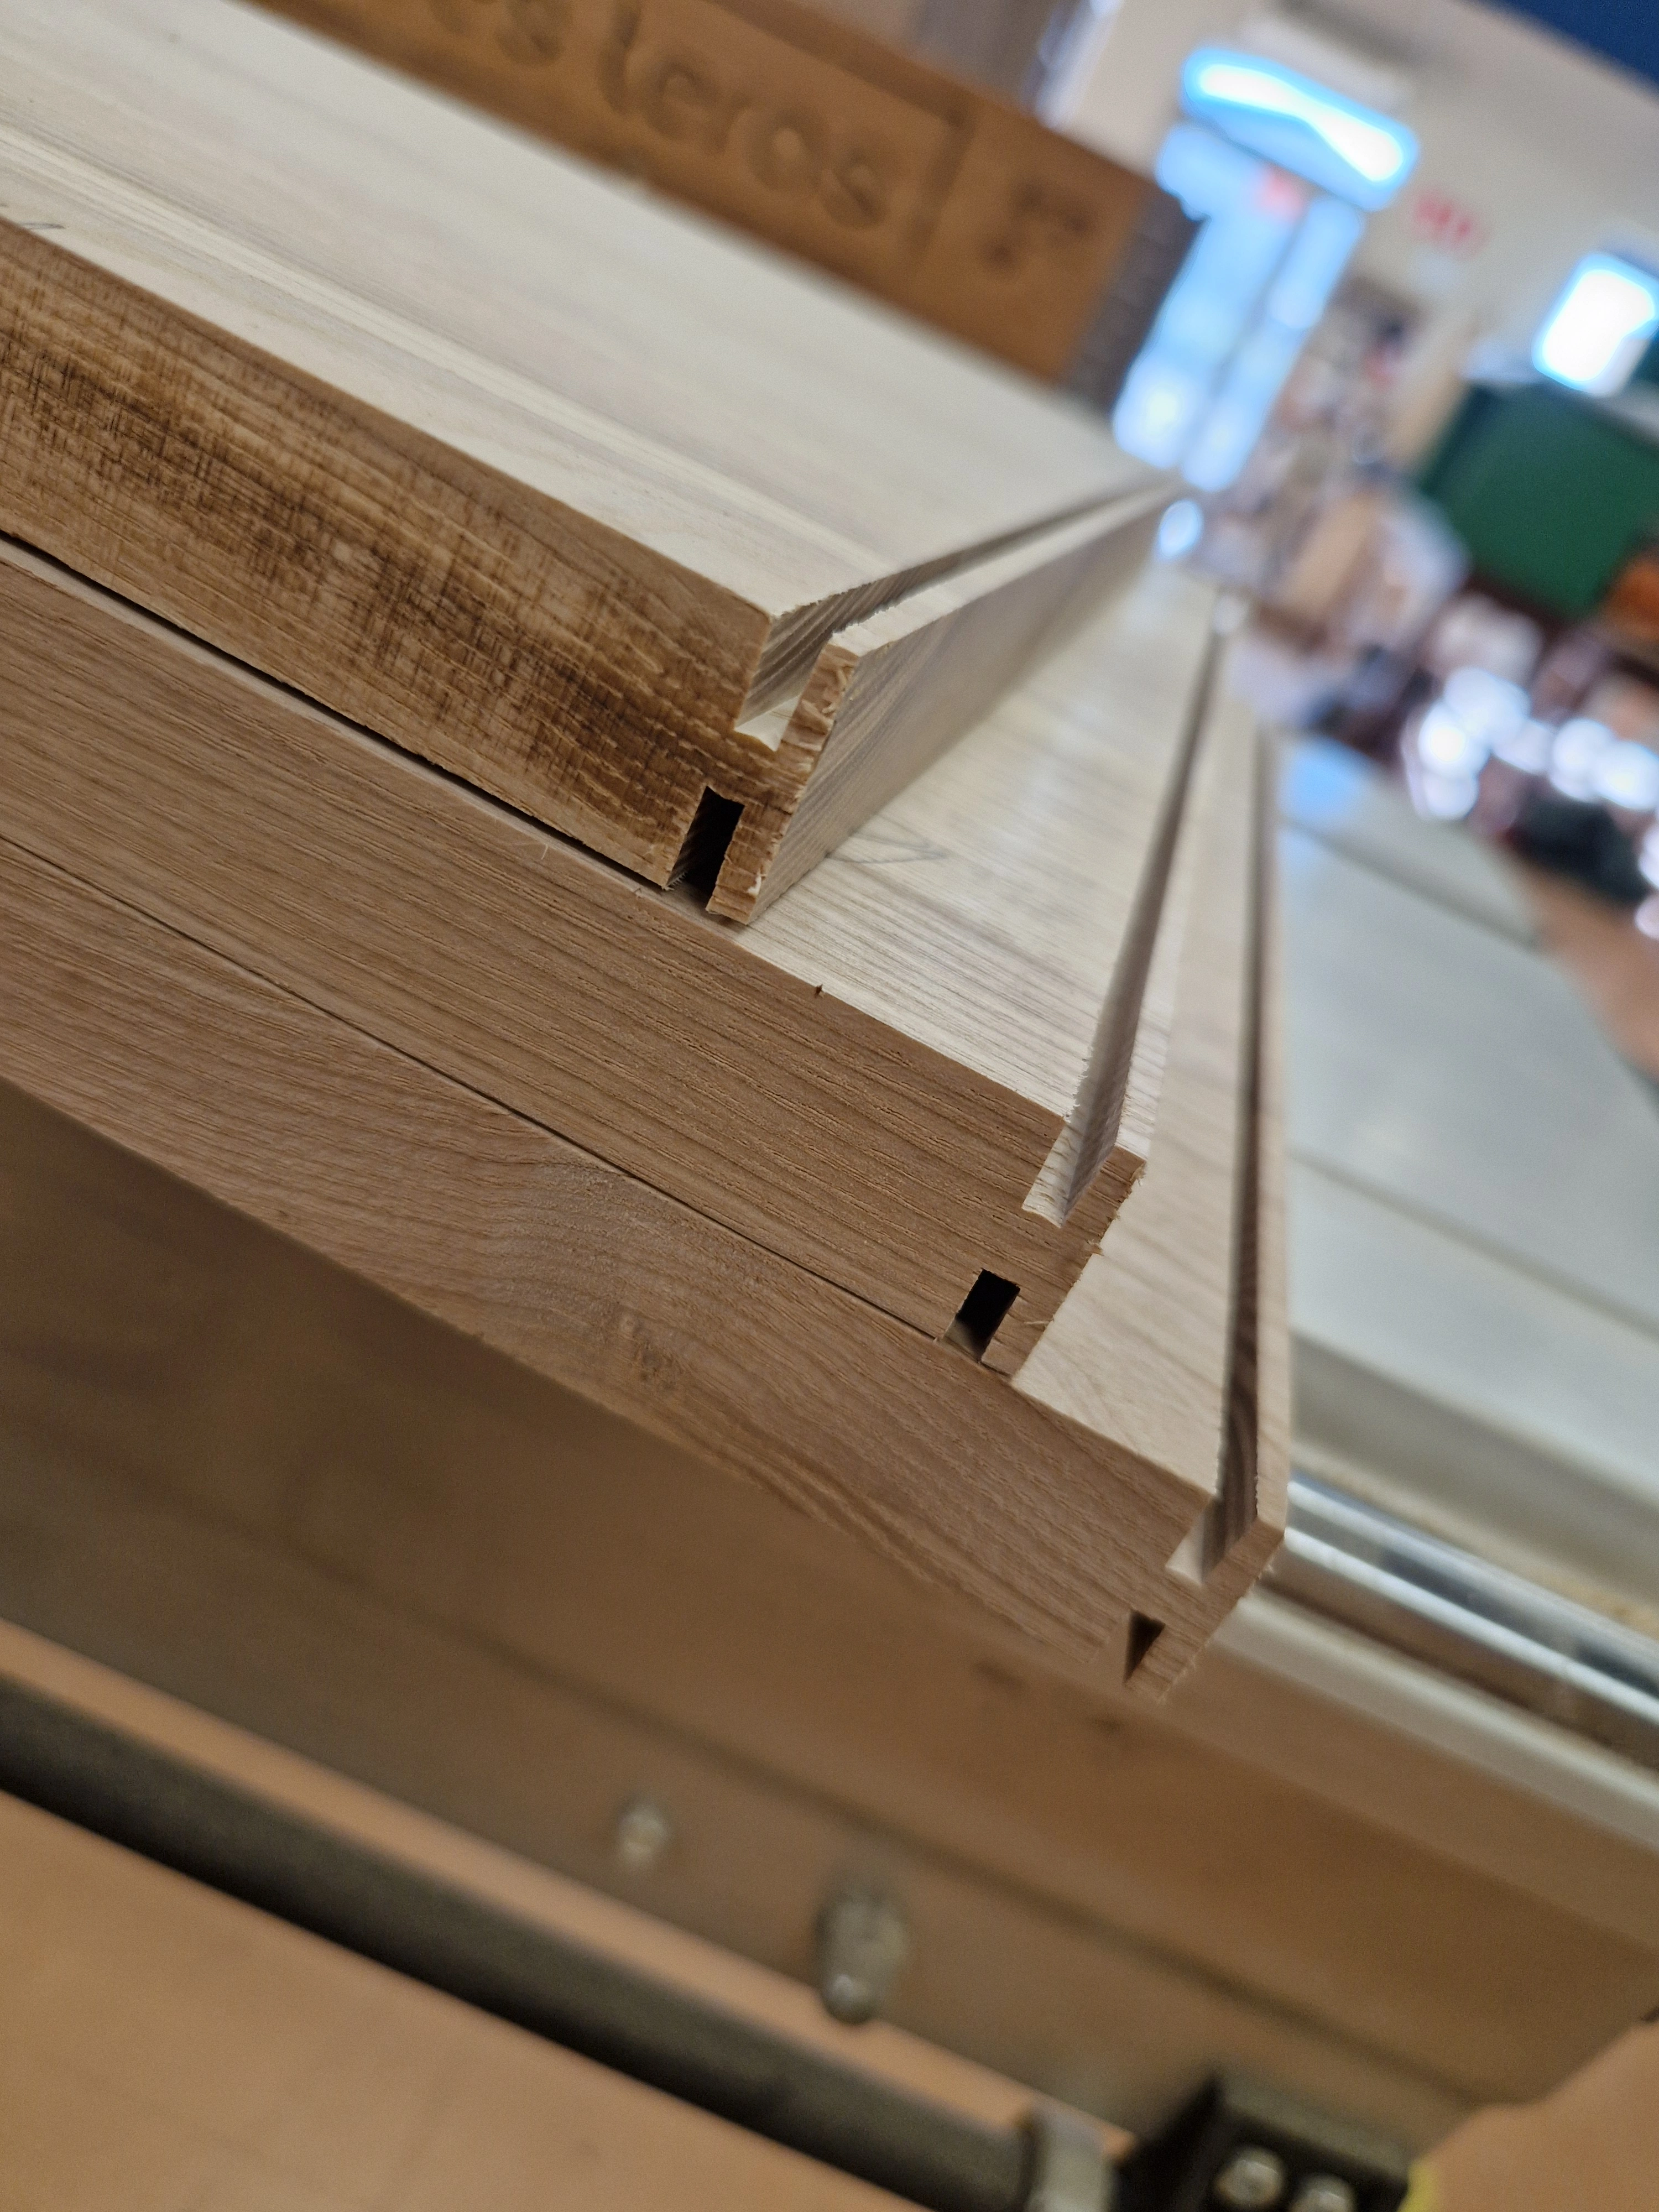
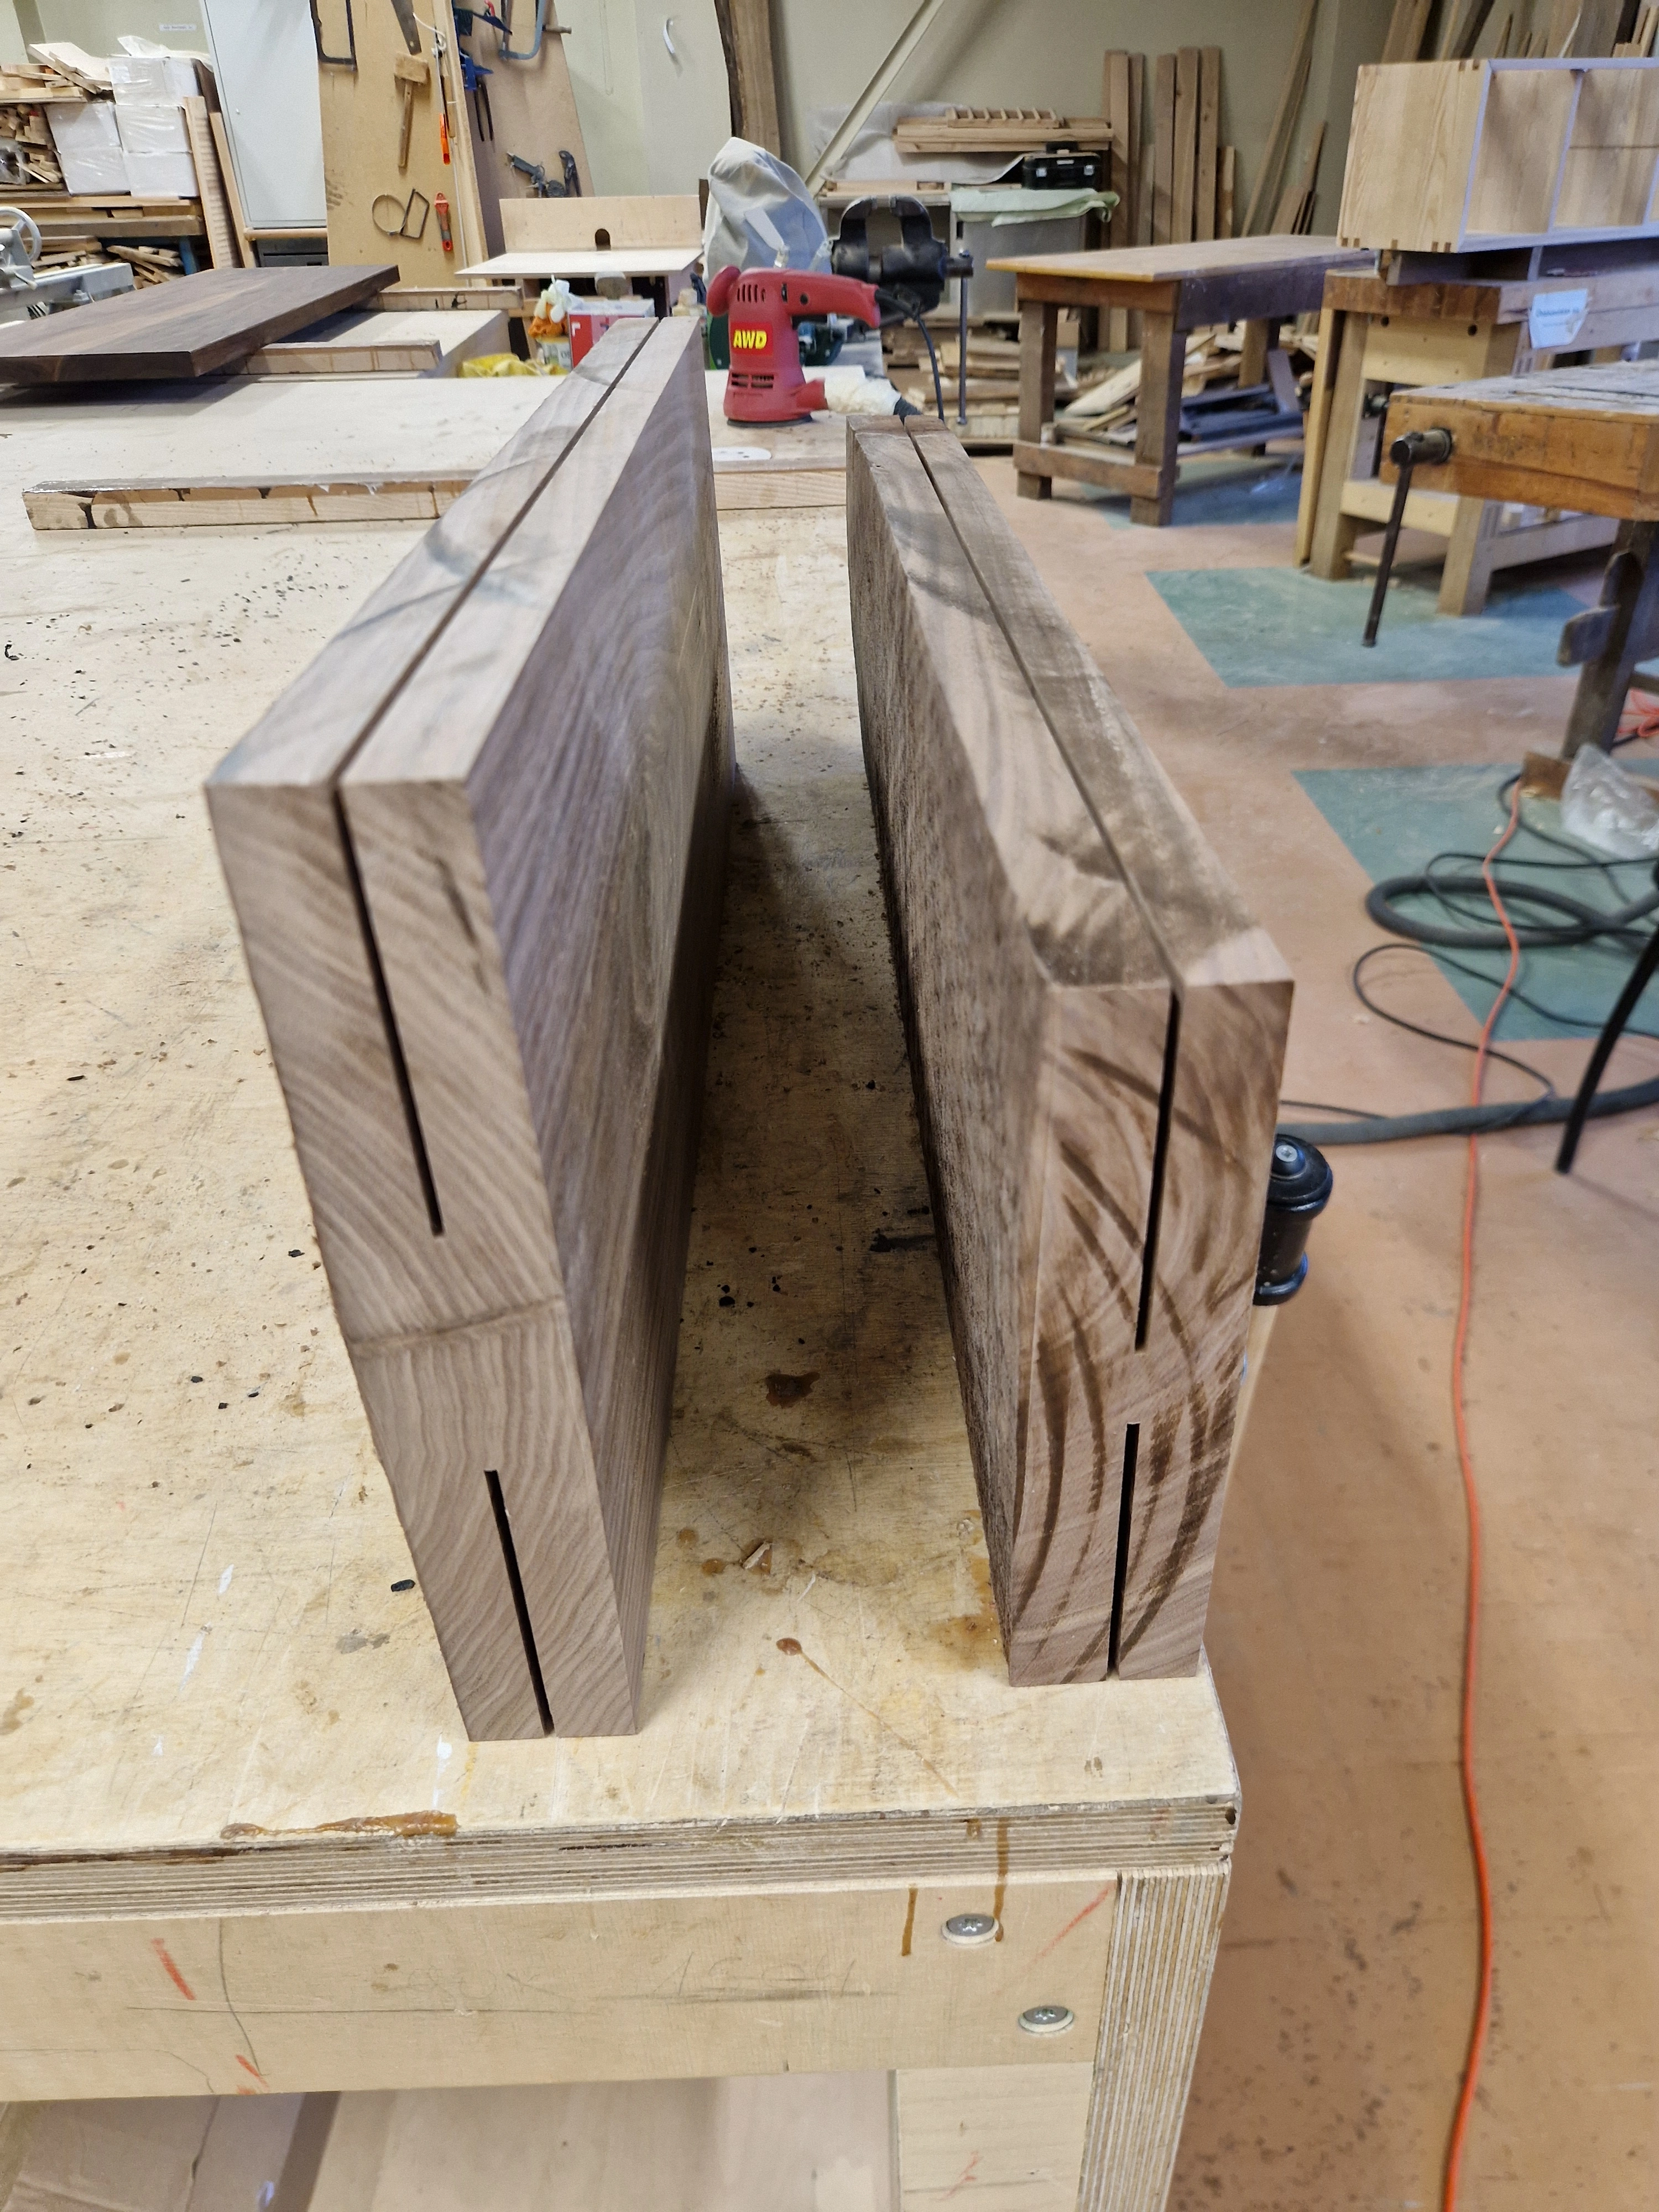
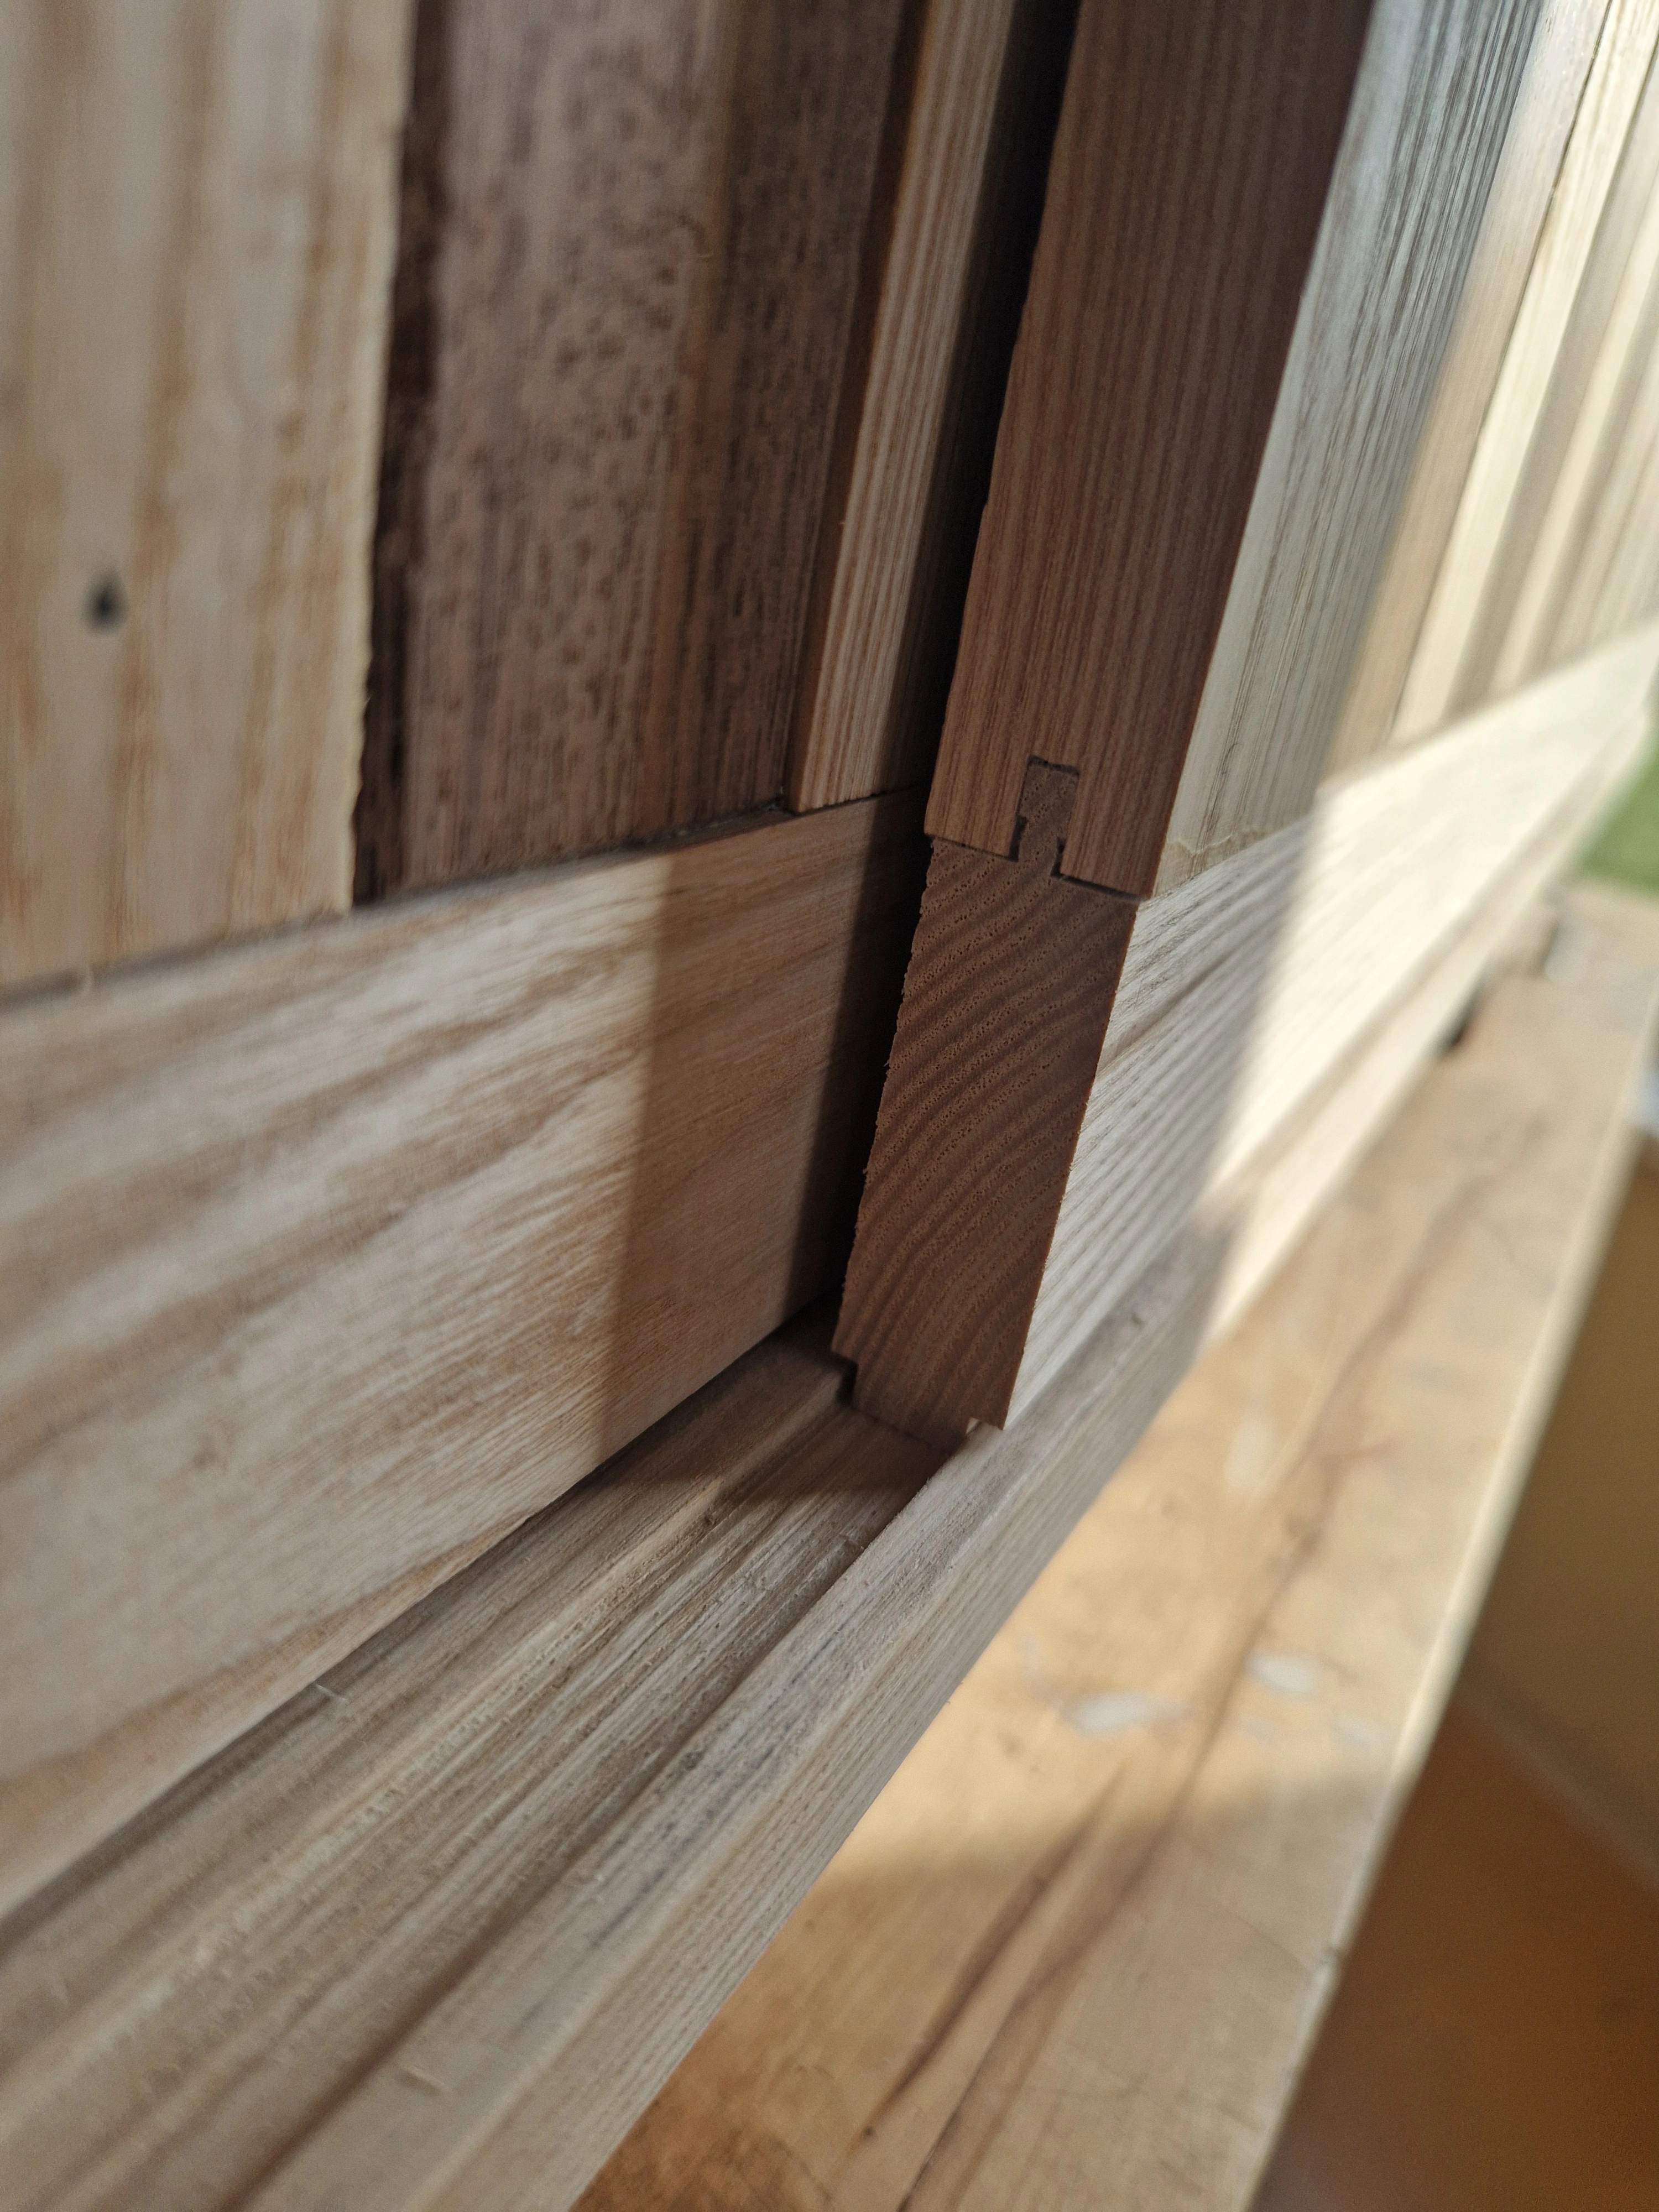
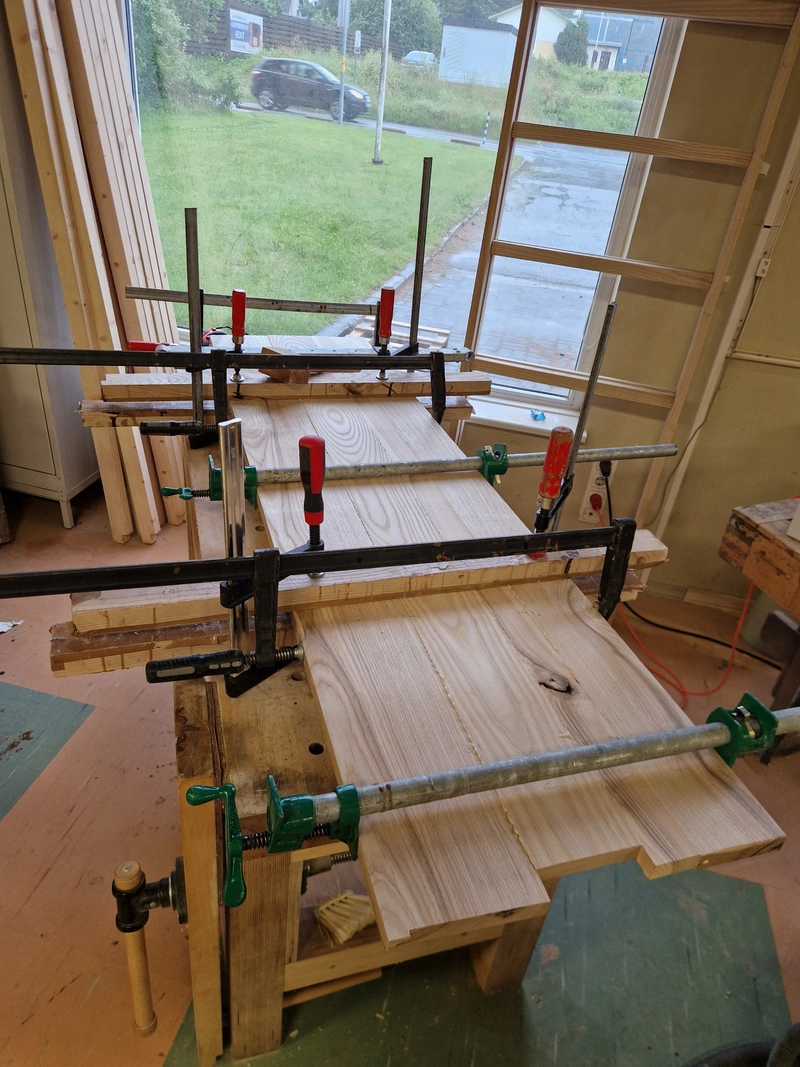
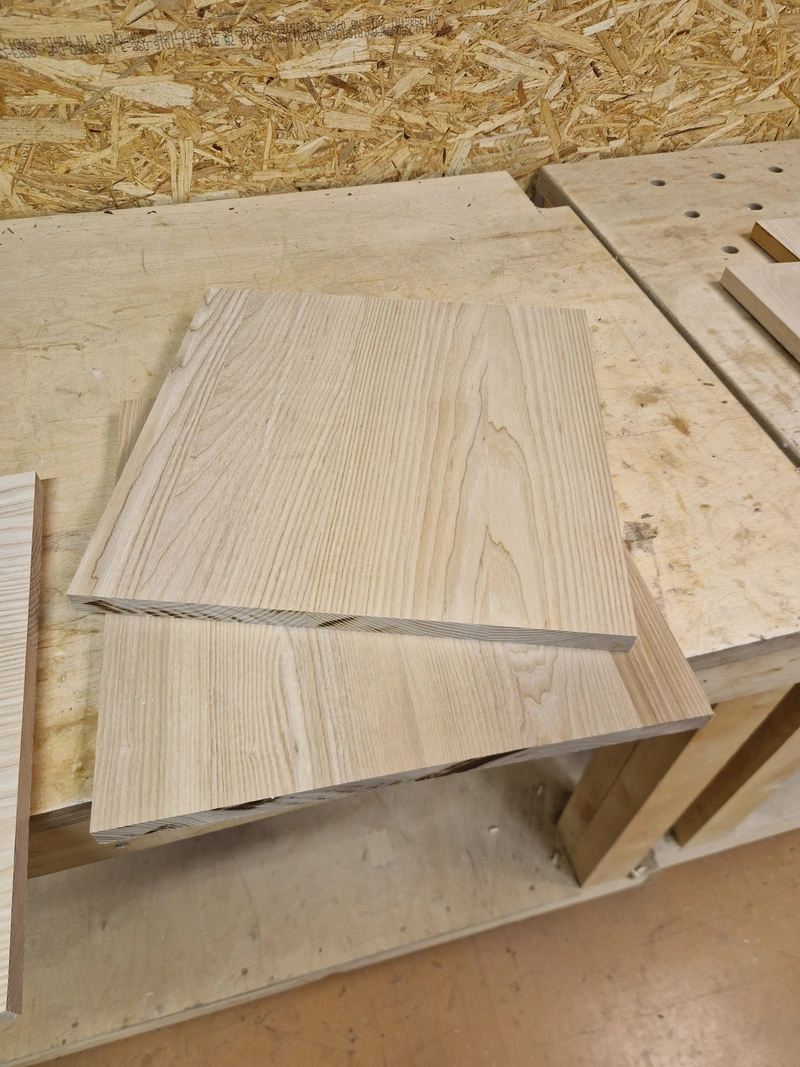
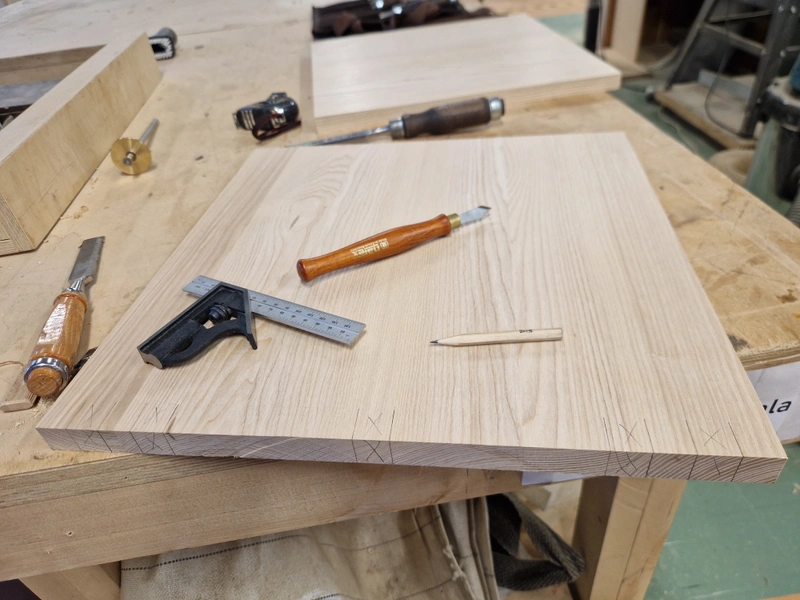
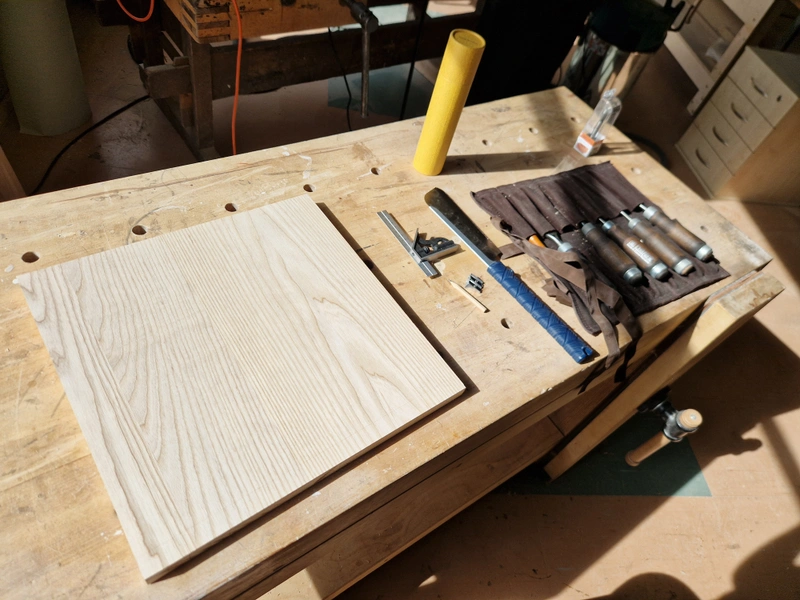
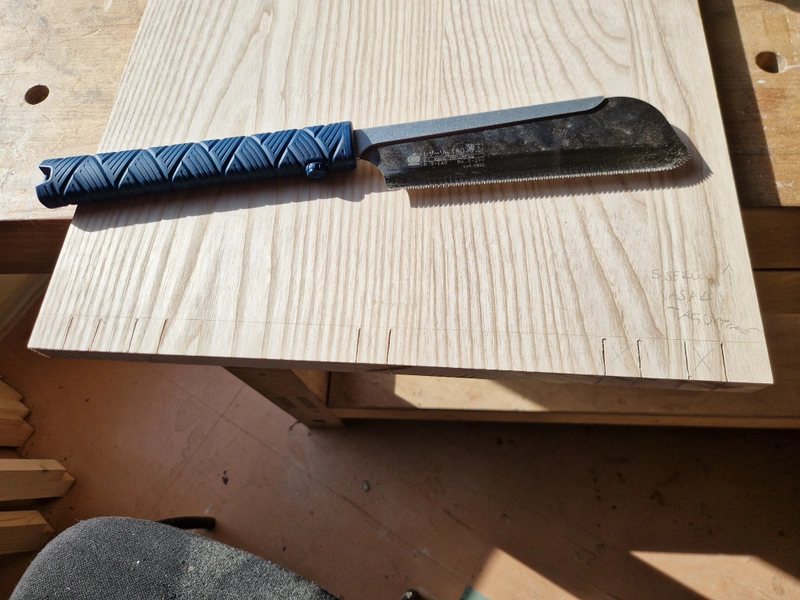
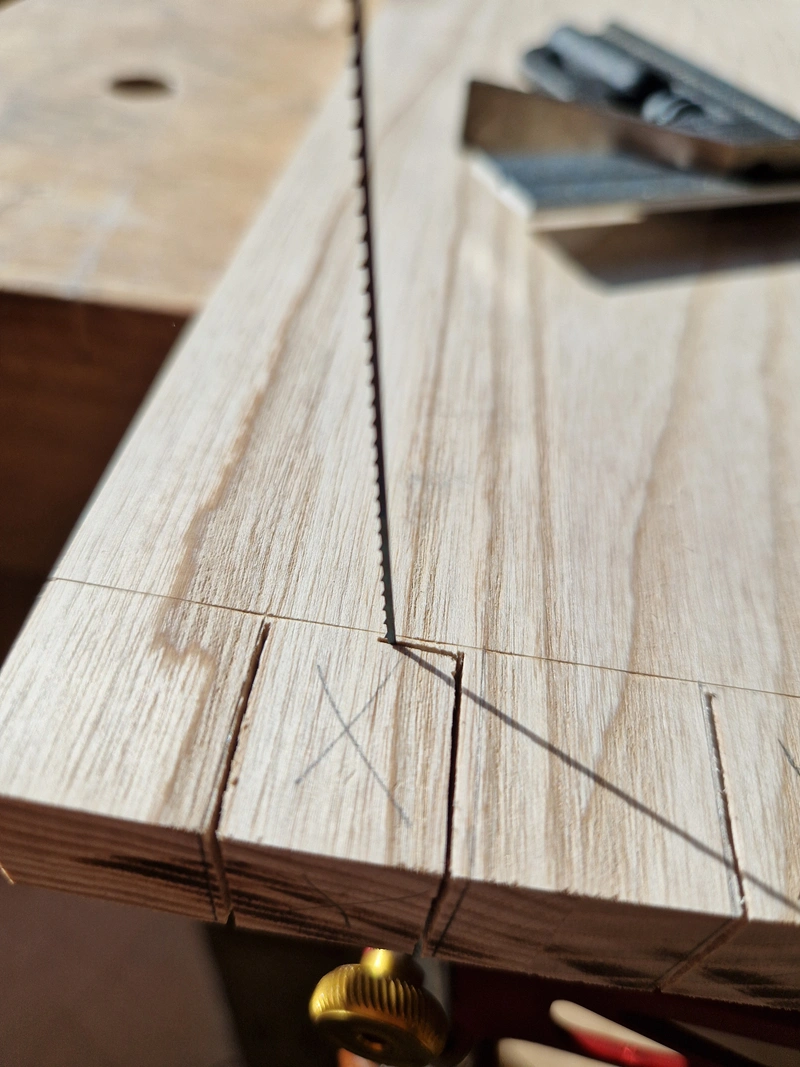
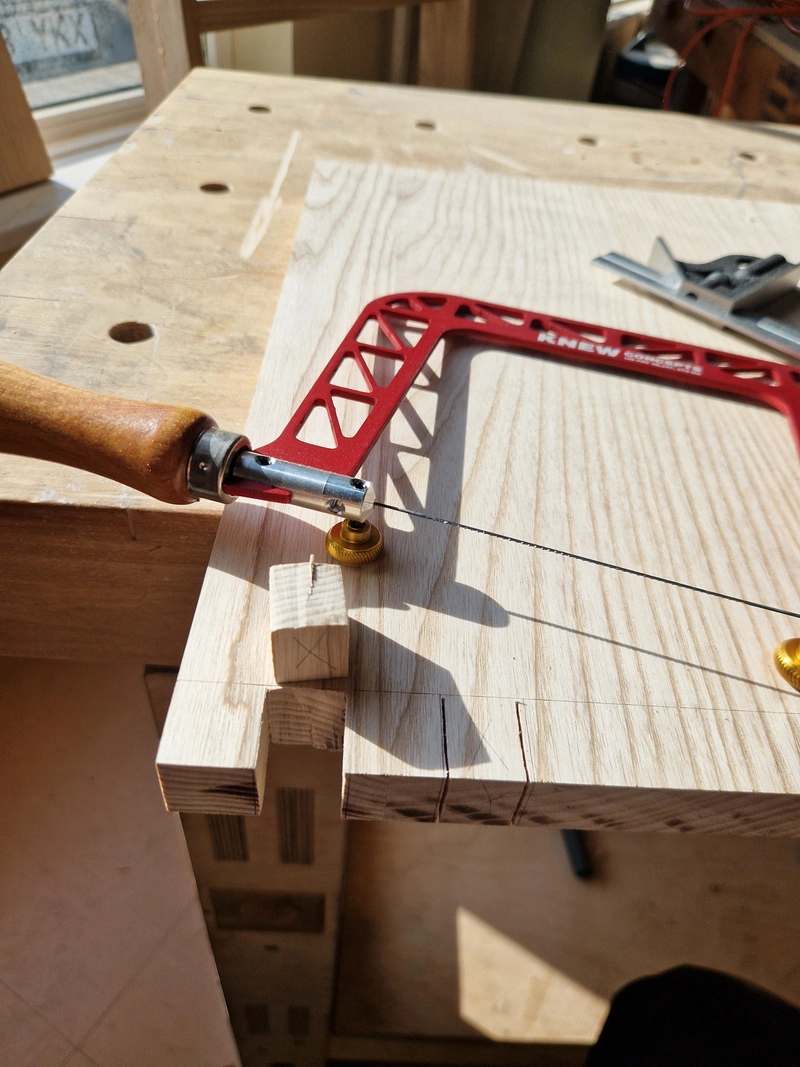
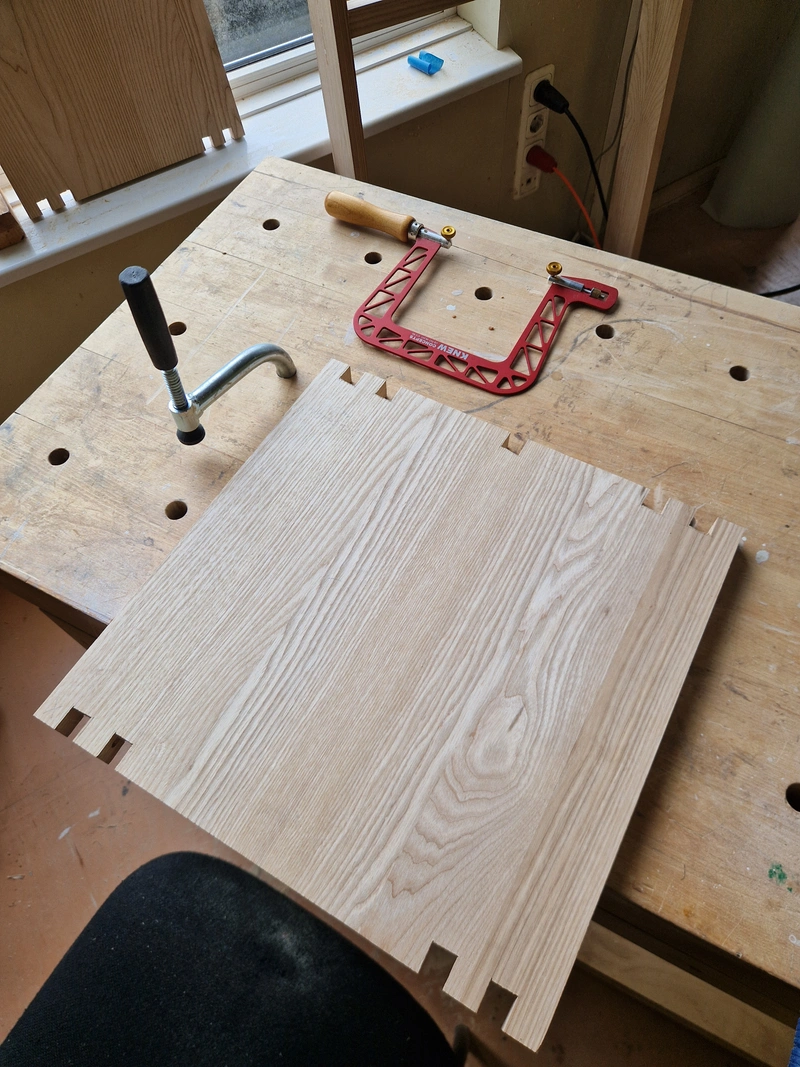
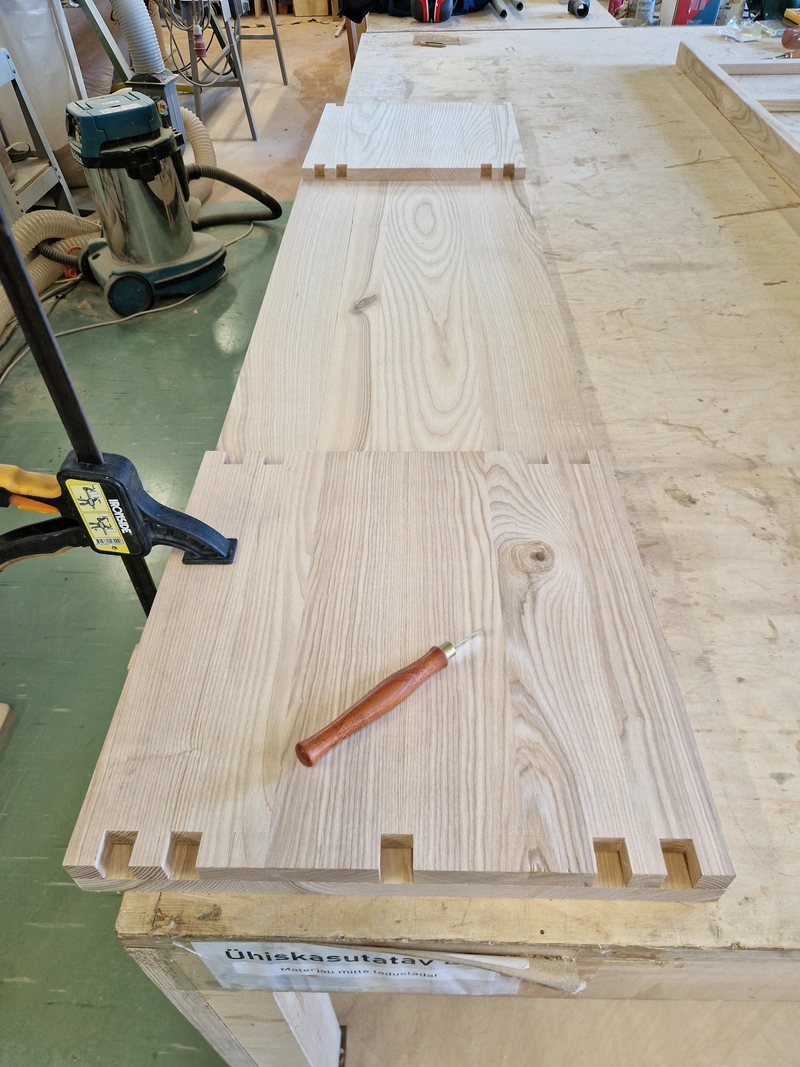
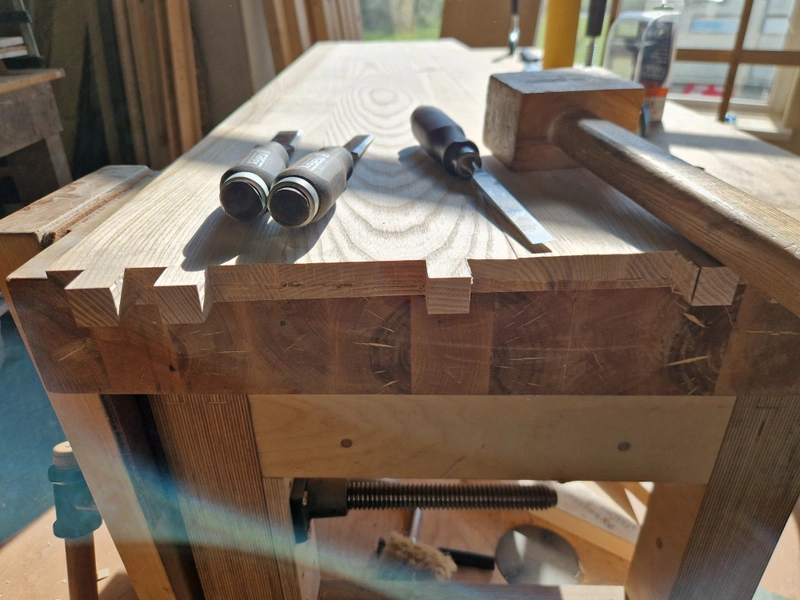
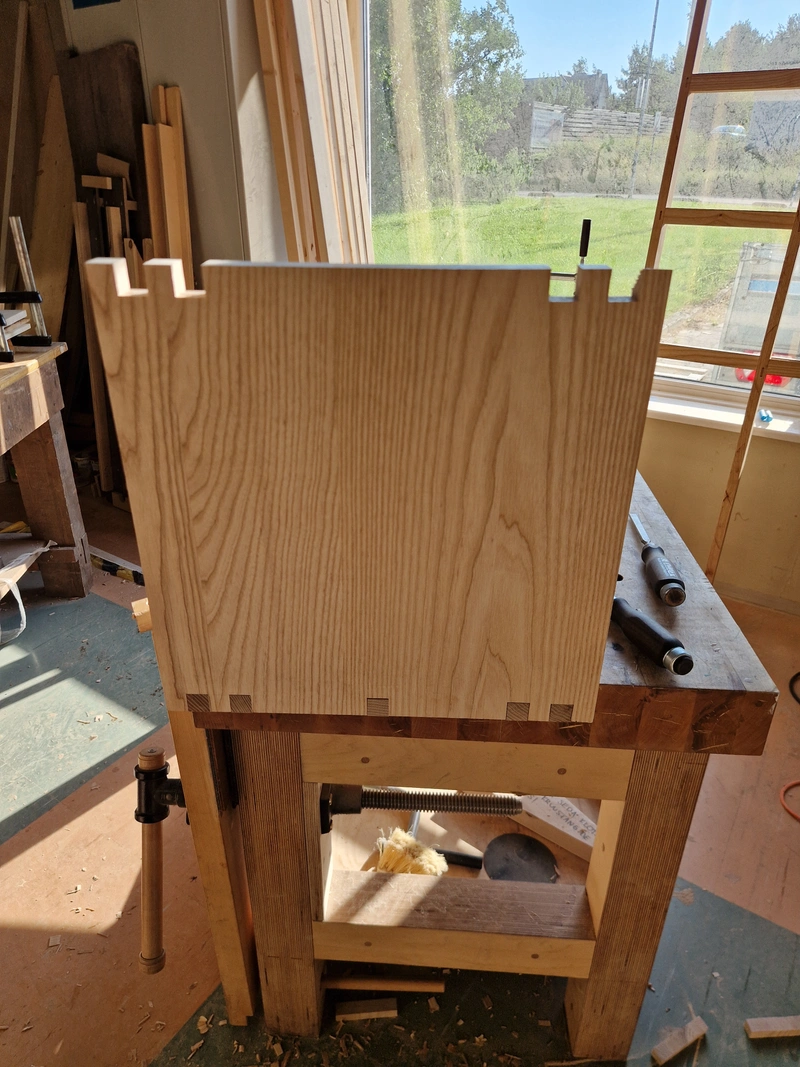
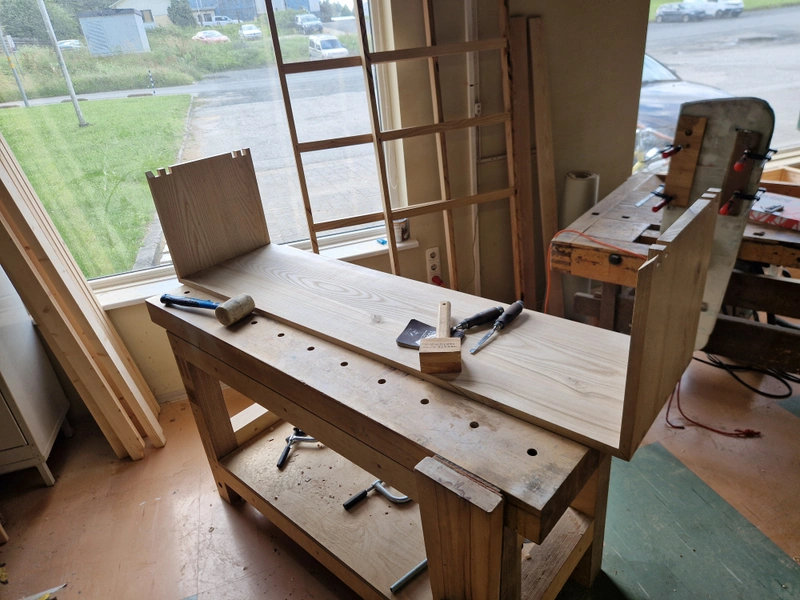
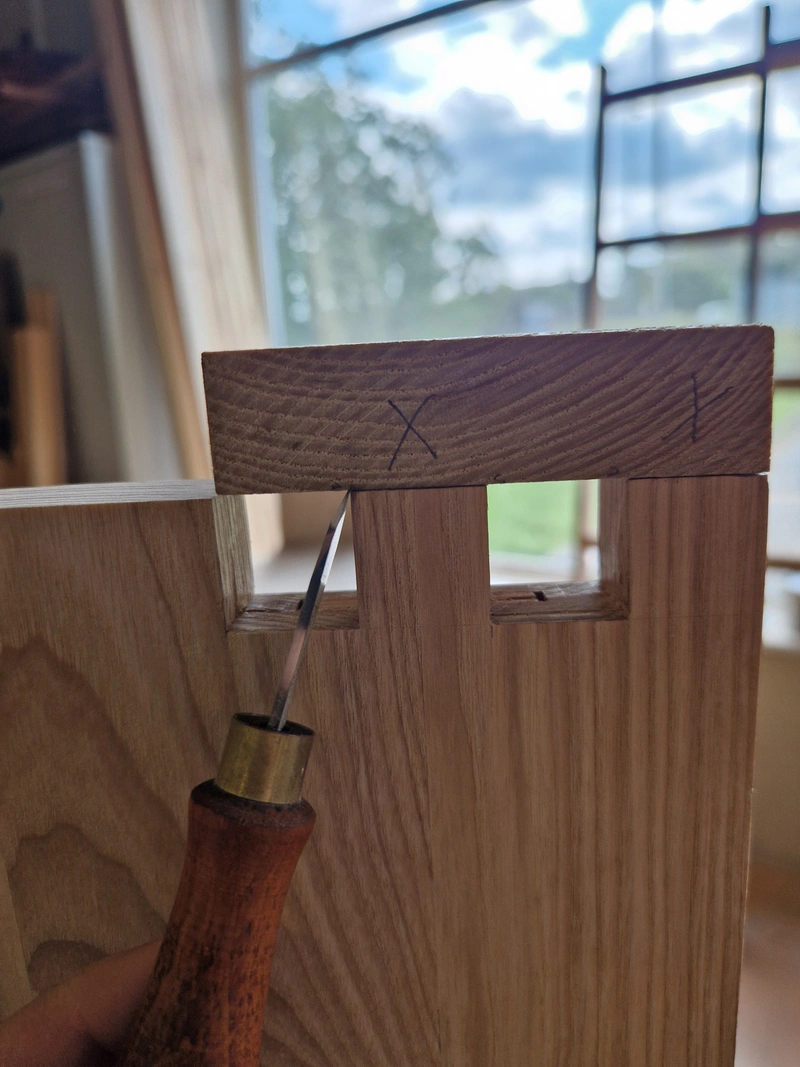
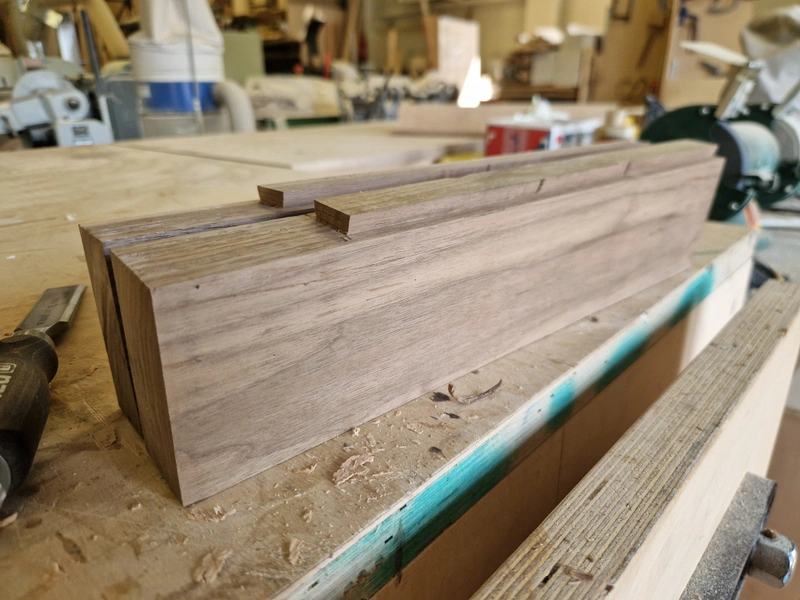
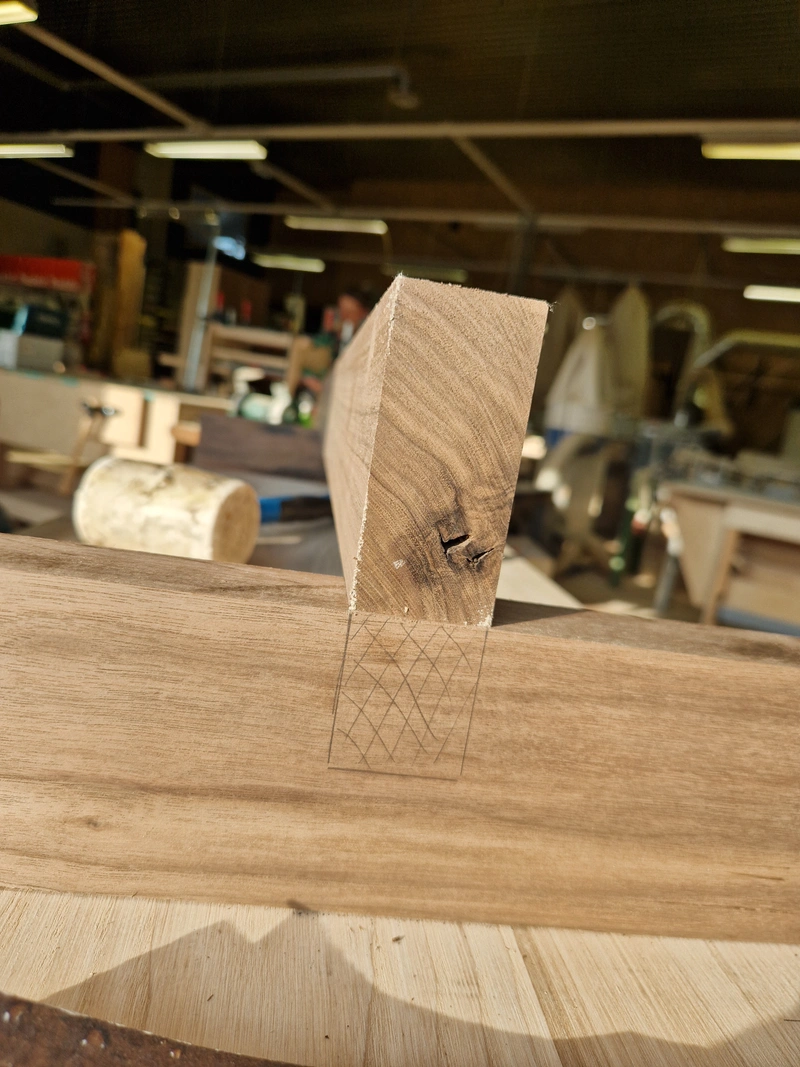
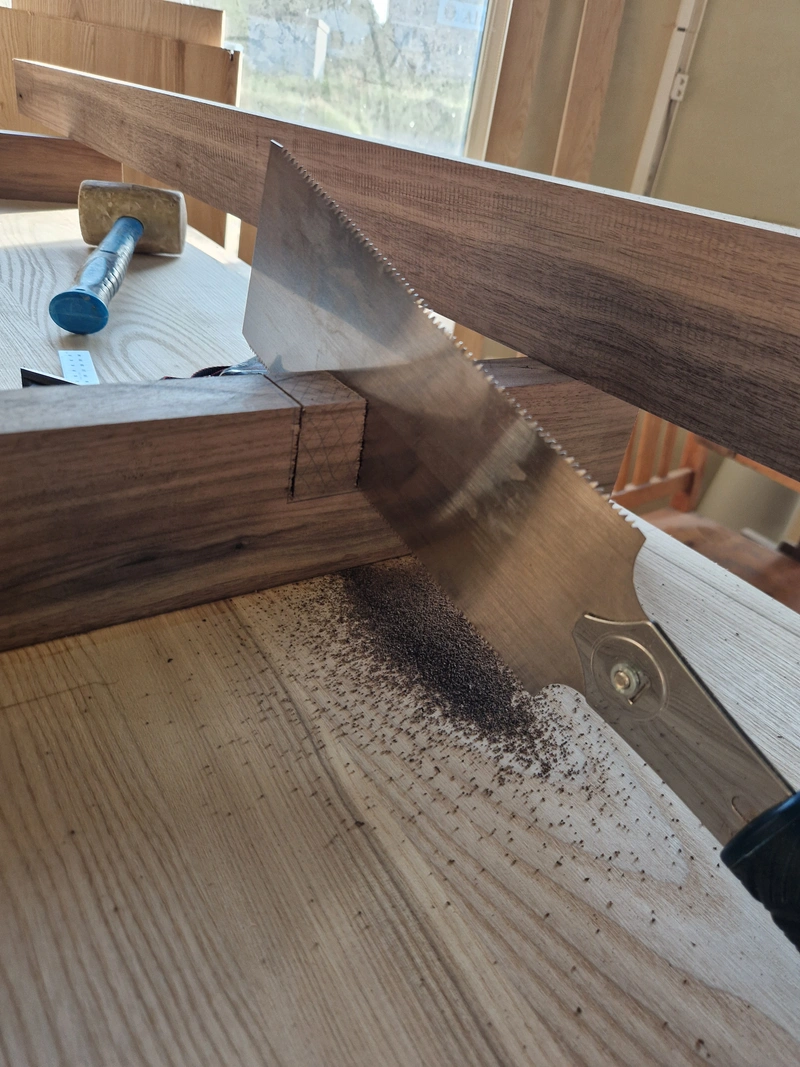
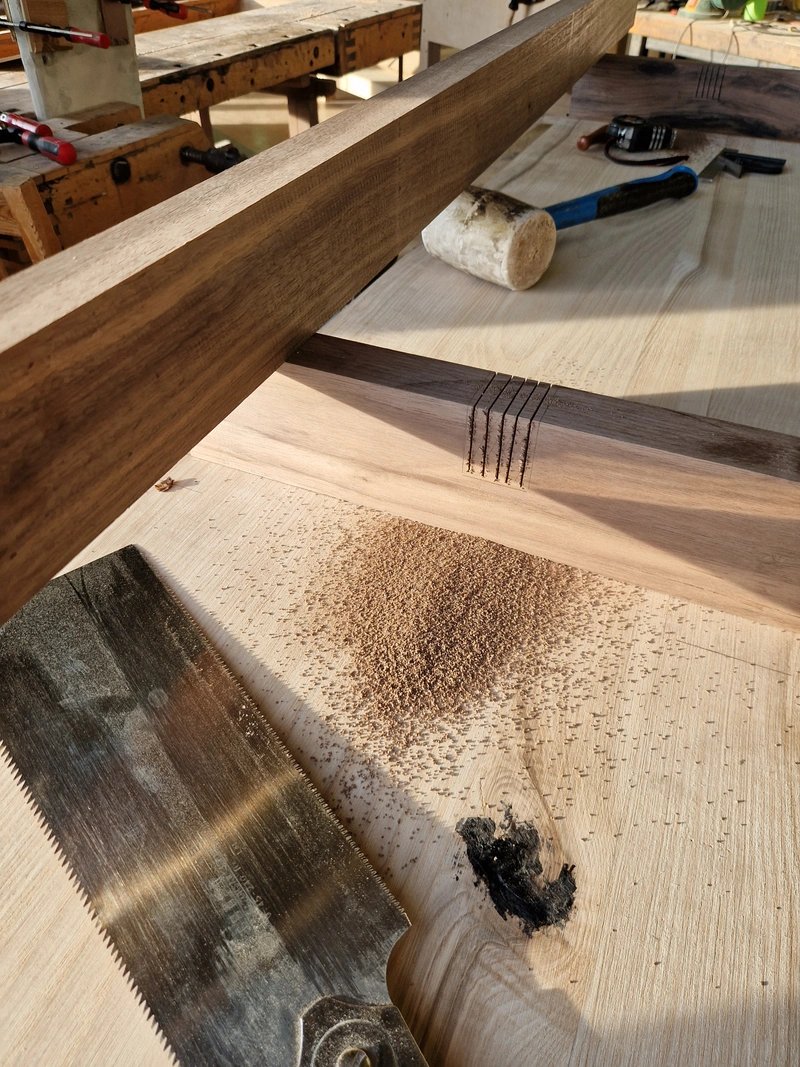
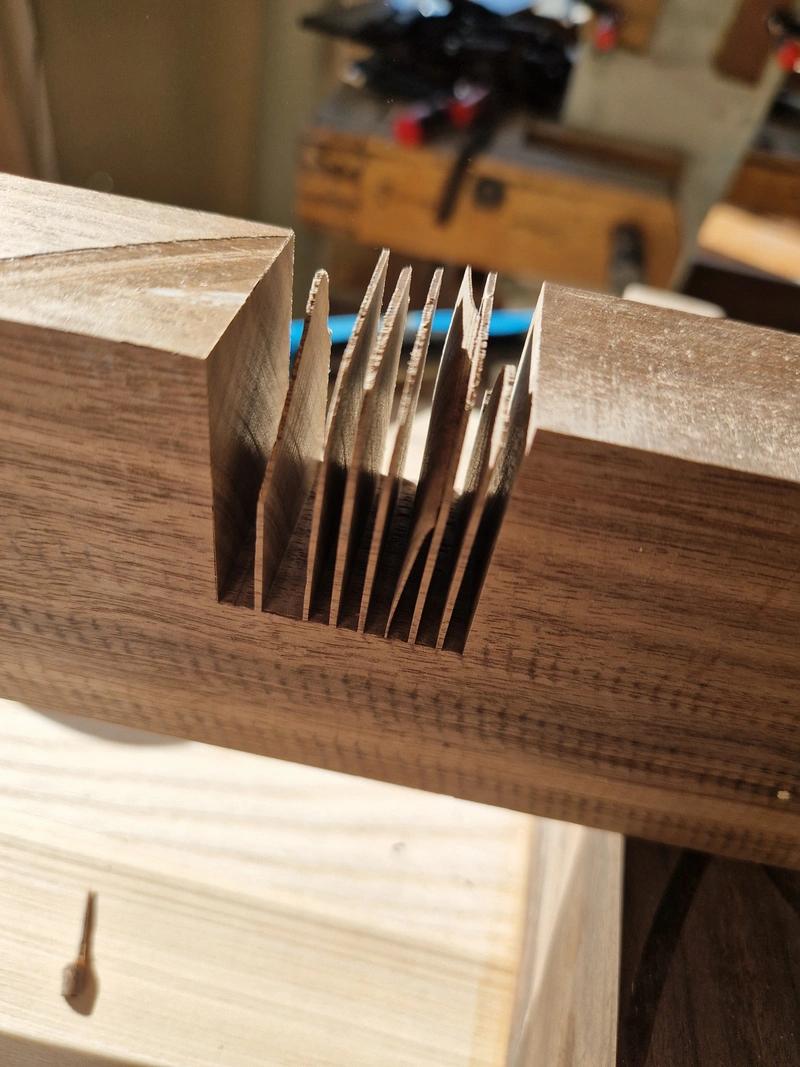
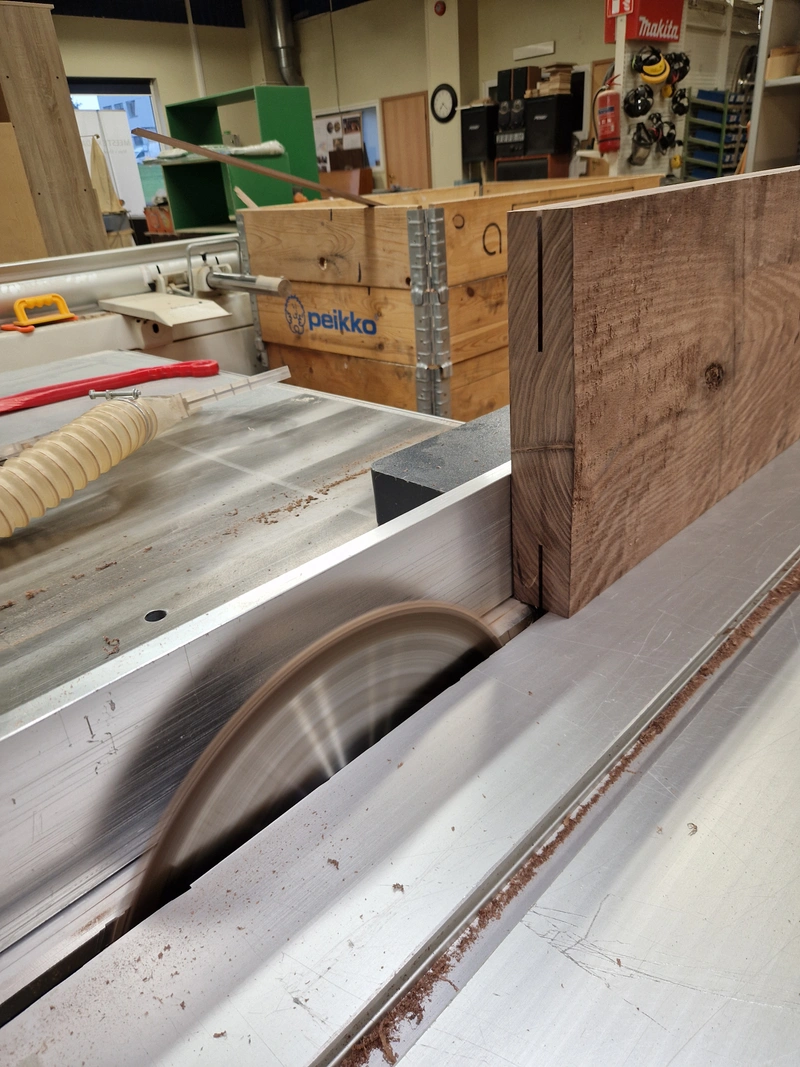
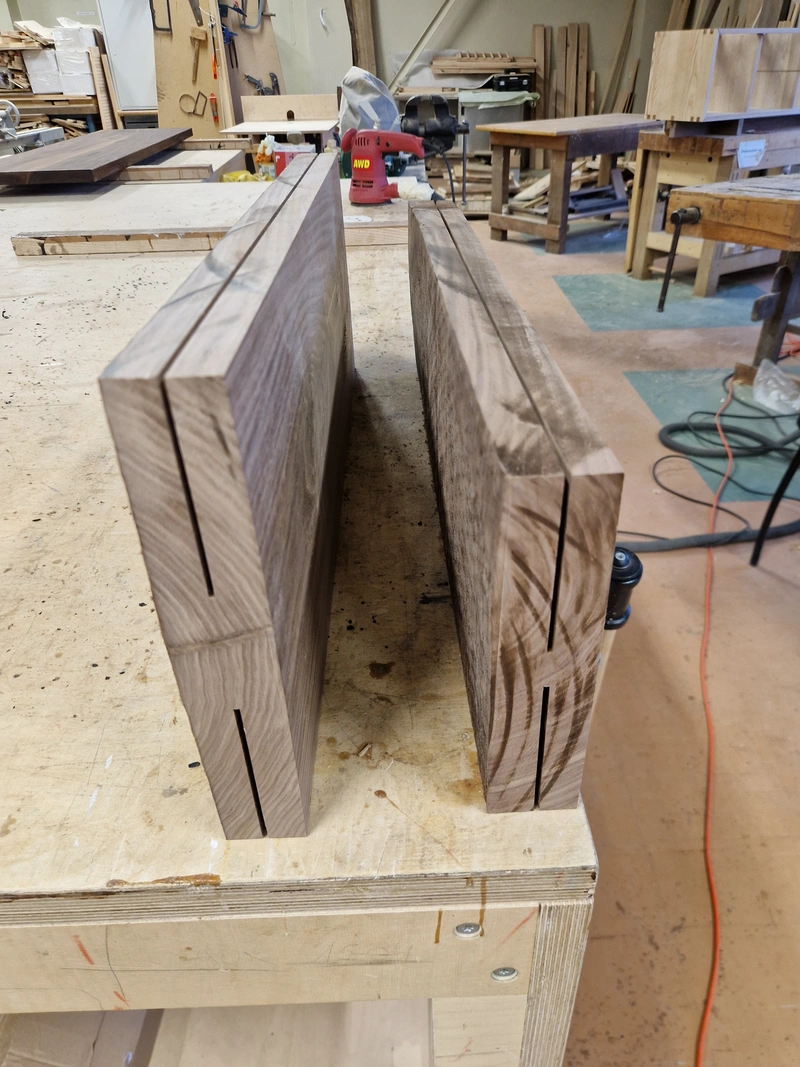
Decided to invest in a proper coping saw, which sped up creating box joints tremendously, and boosted the quality as well, as there was much less tear-out compared to going for a completely chisel-based approach. Once again, designed the joints to match my chisel width which really helps ensure the joints line up and give a nice end result.
1 / 14
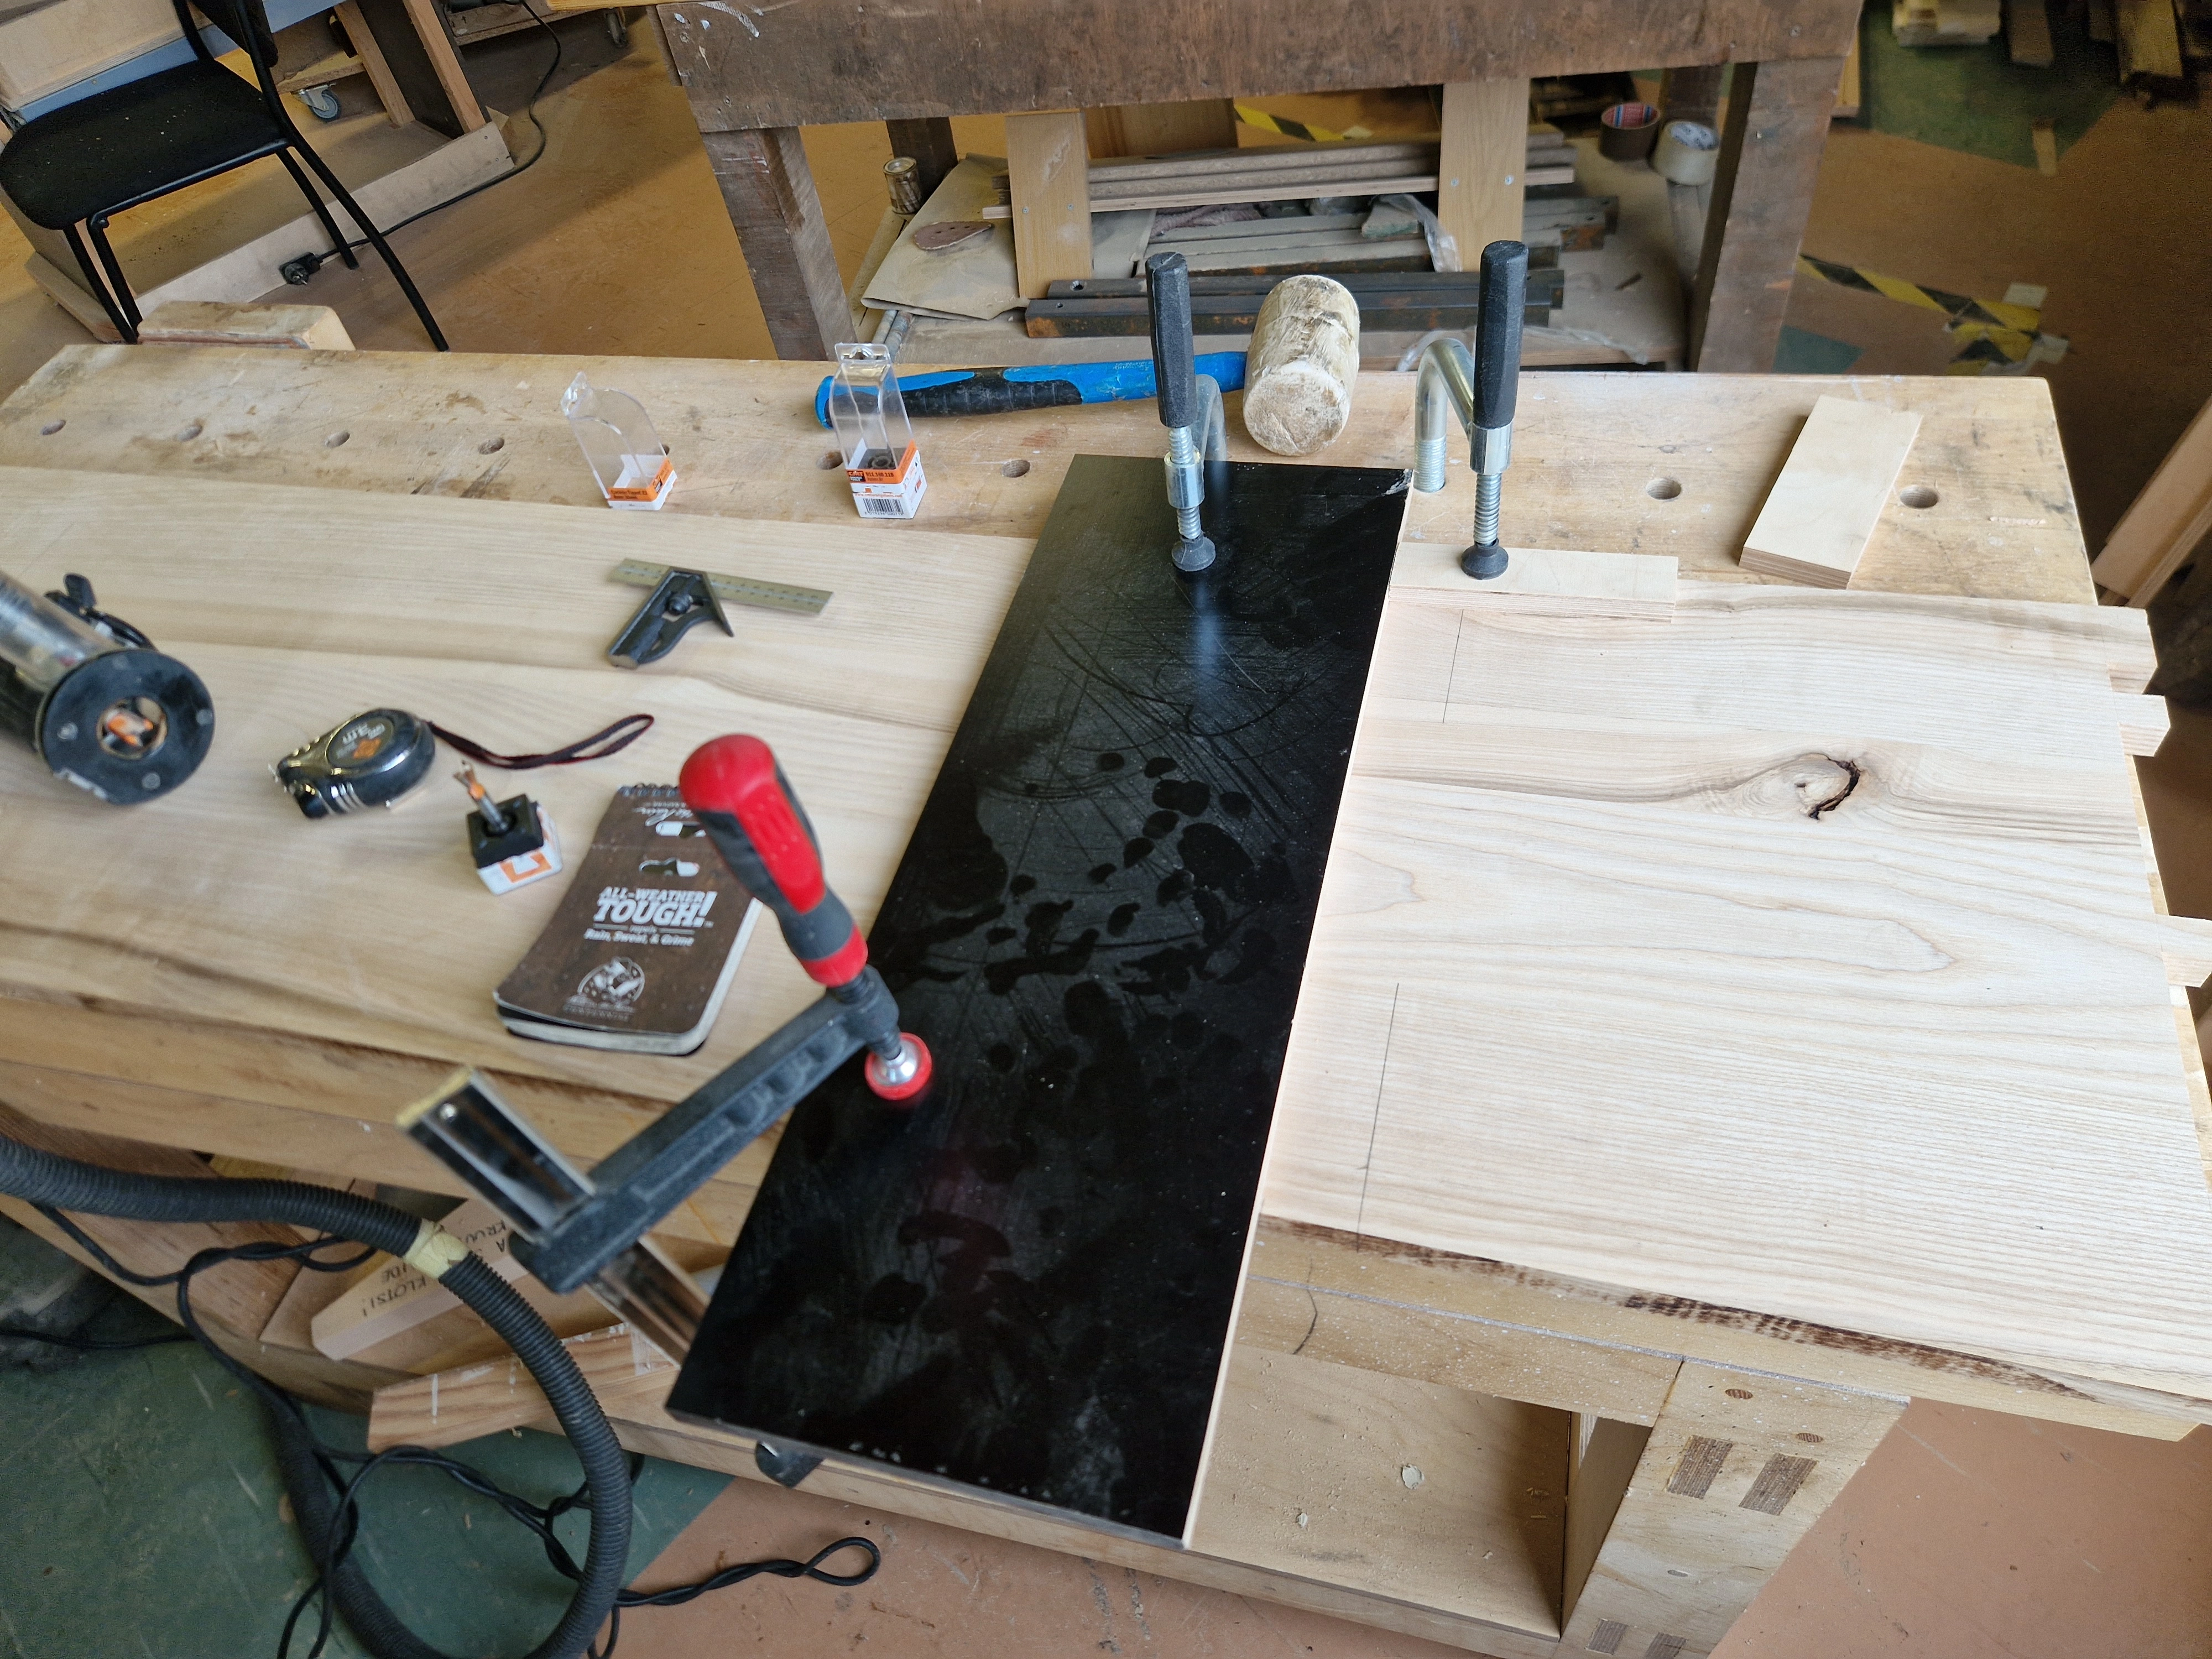
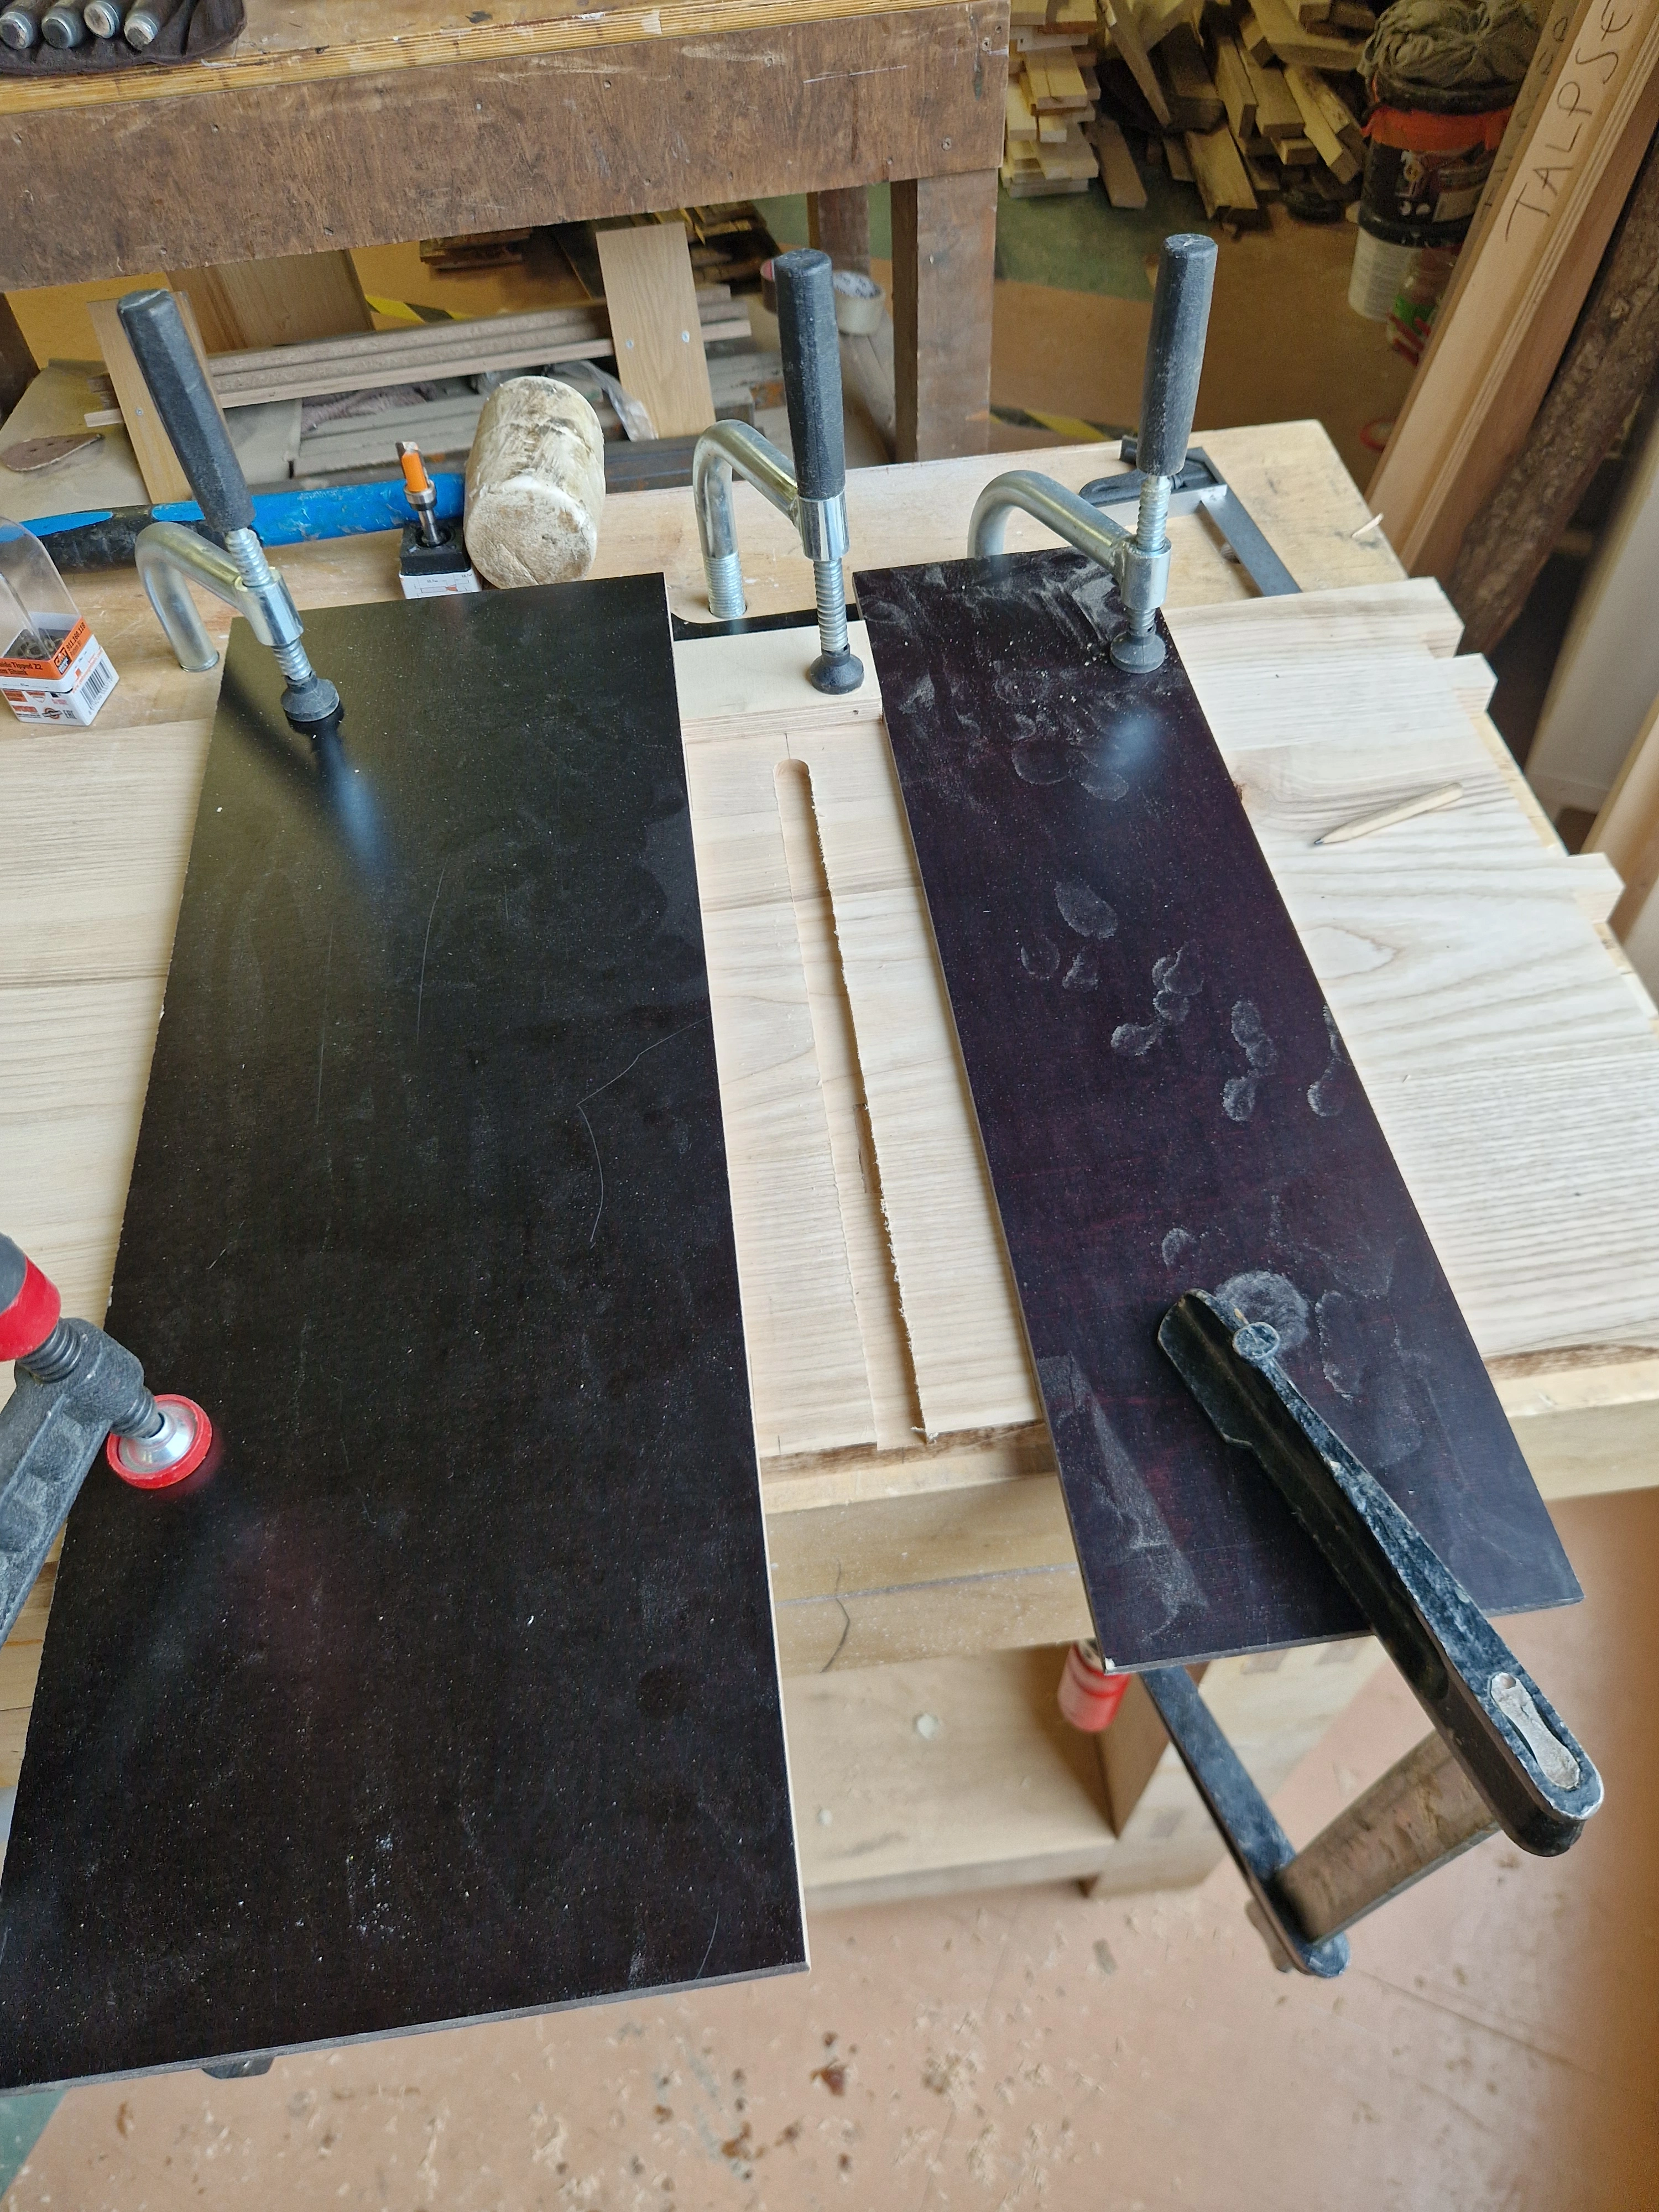
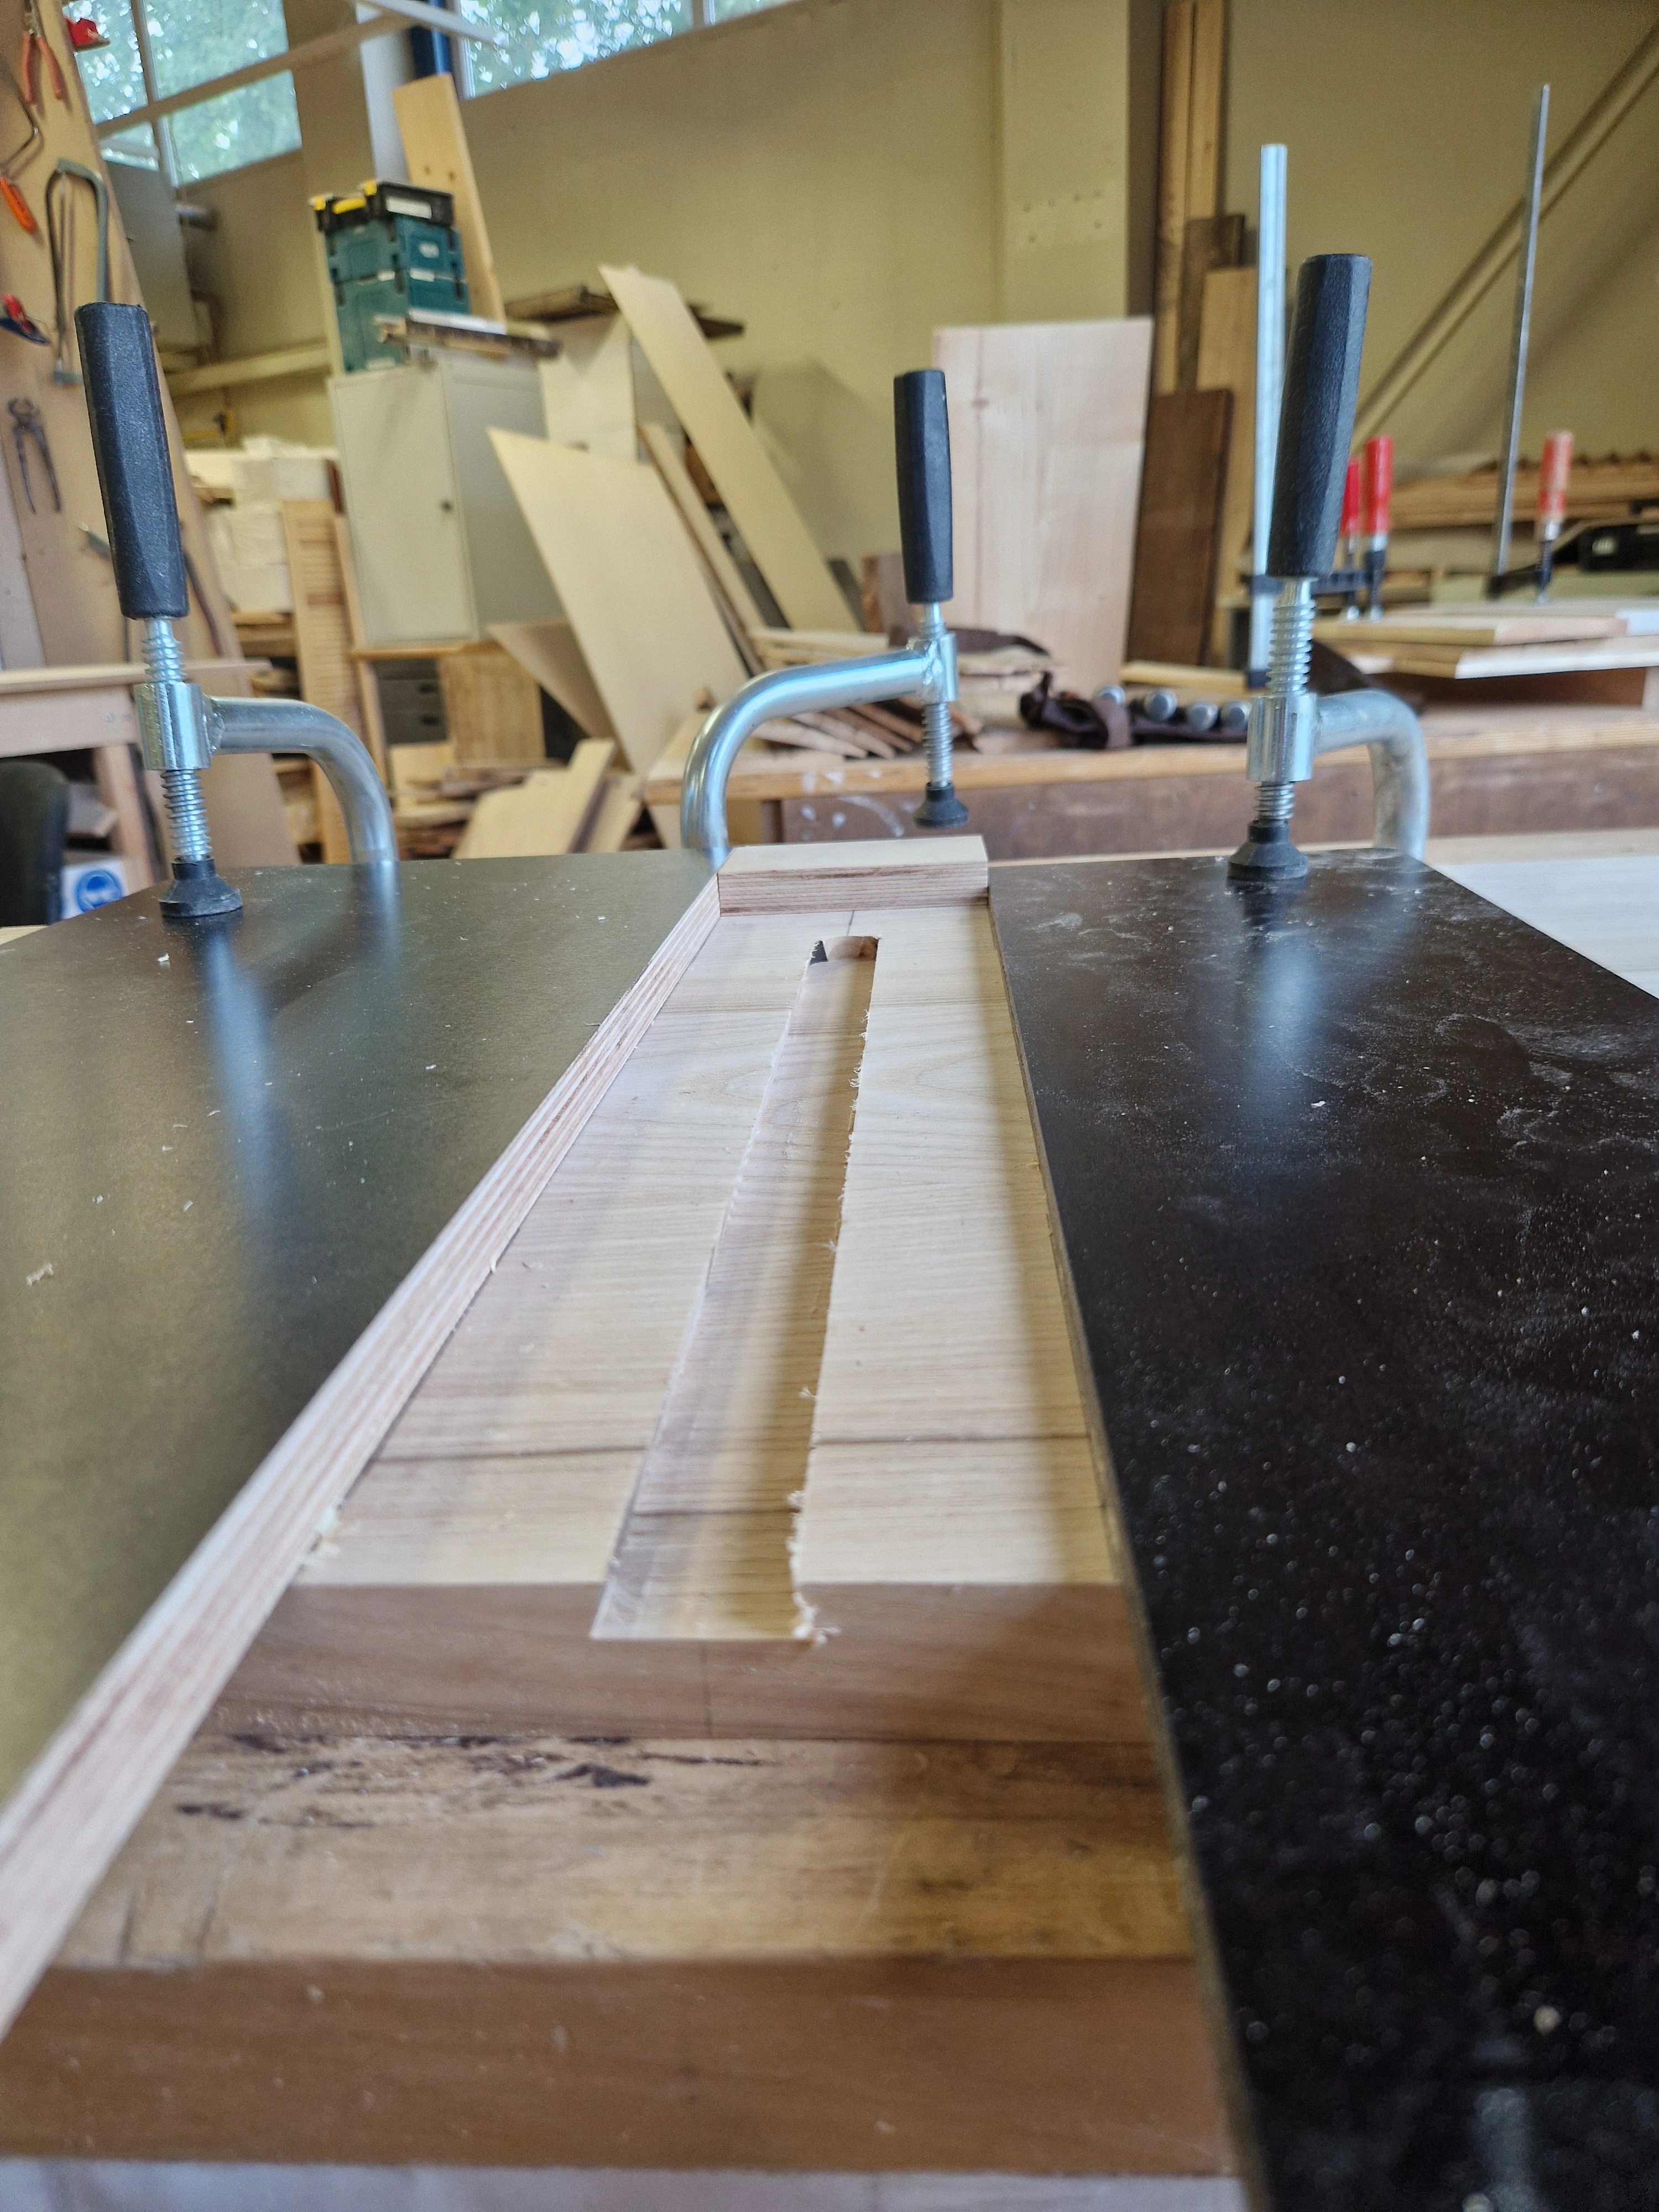
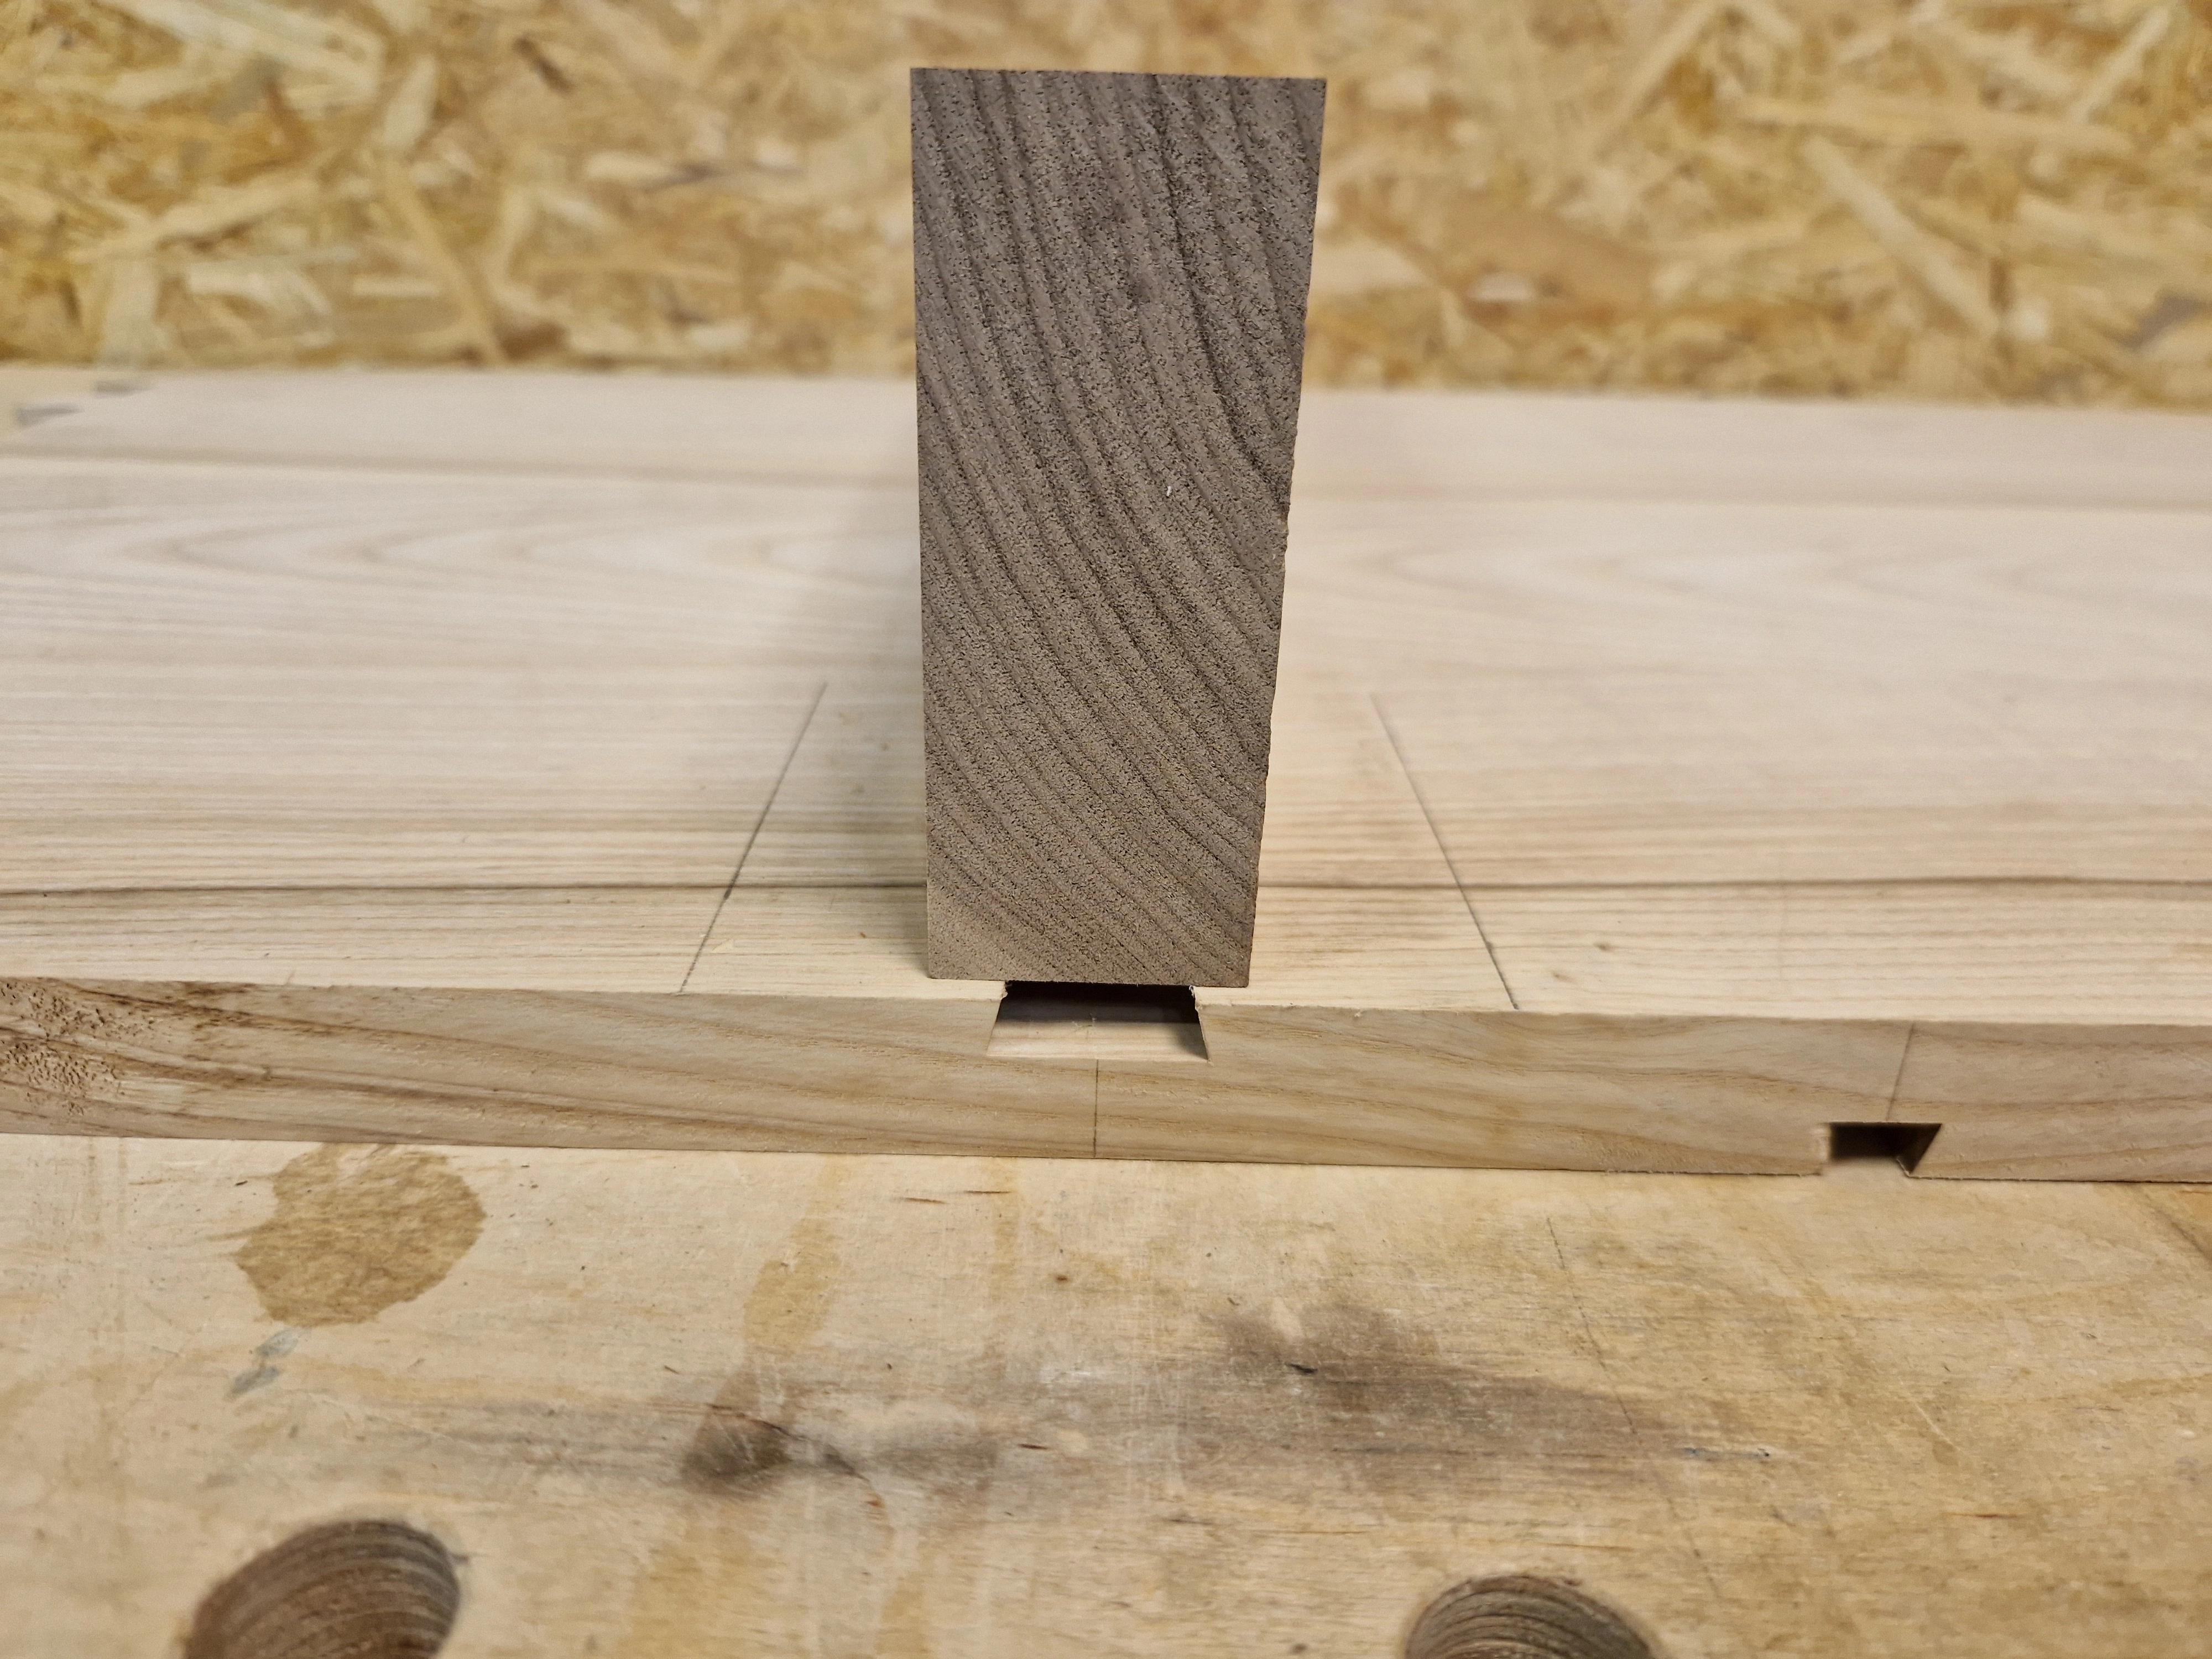
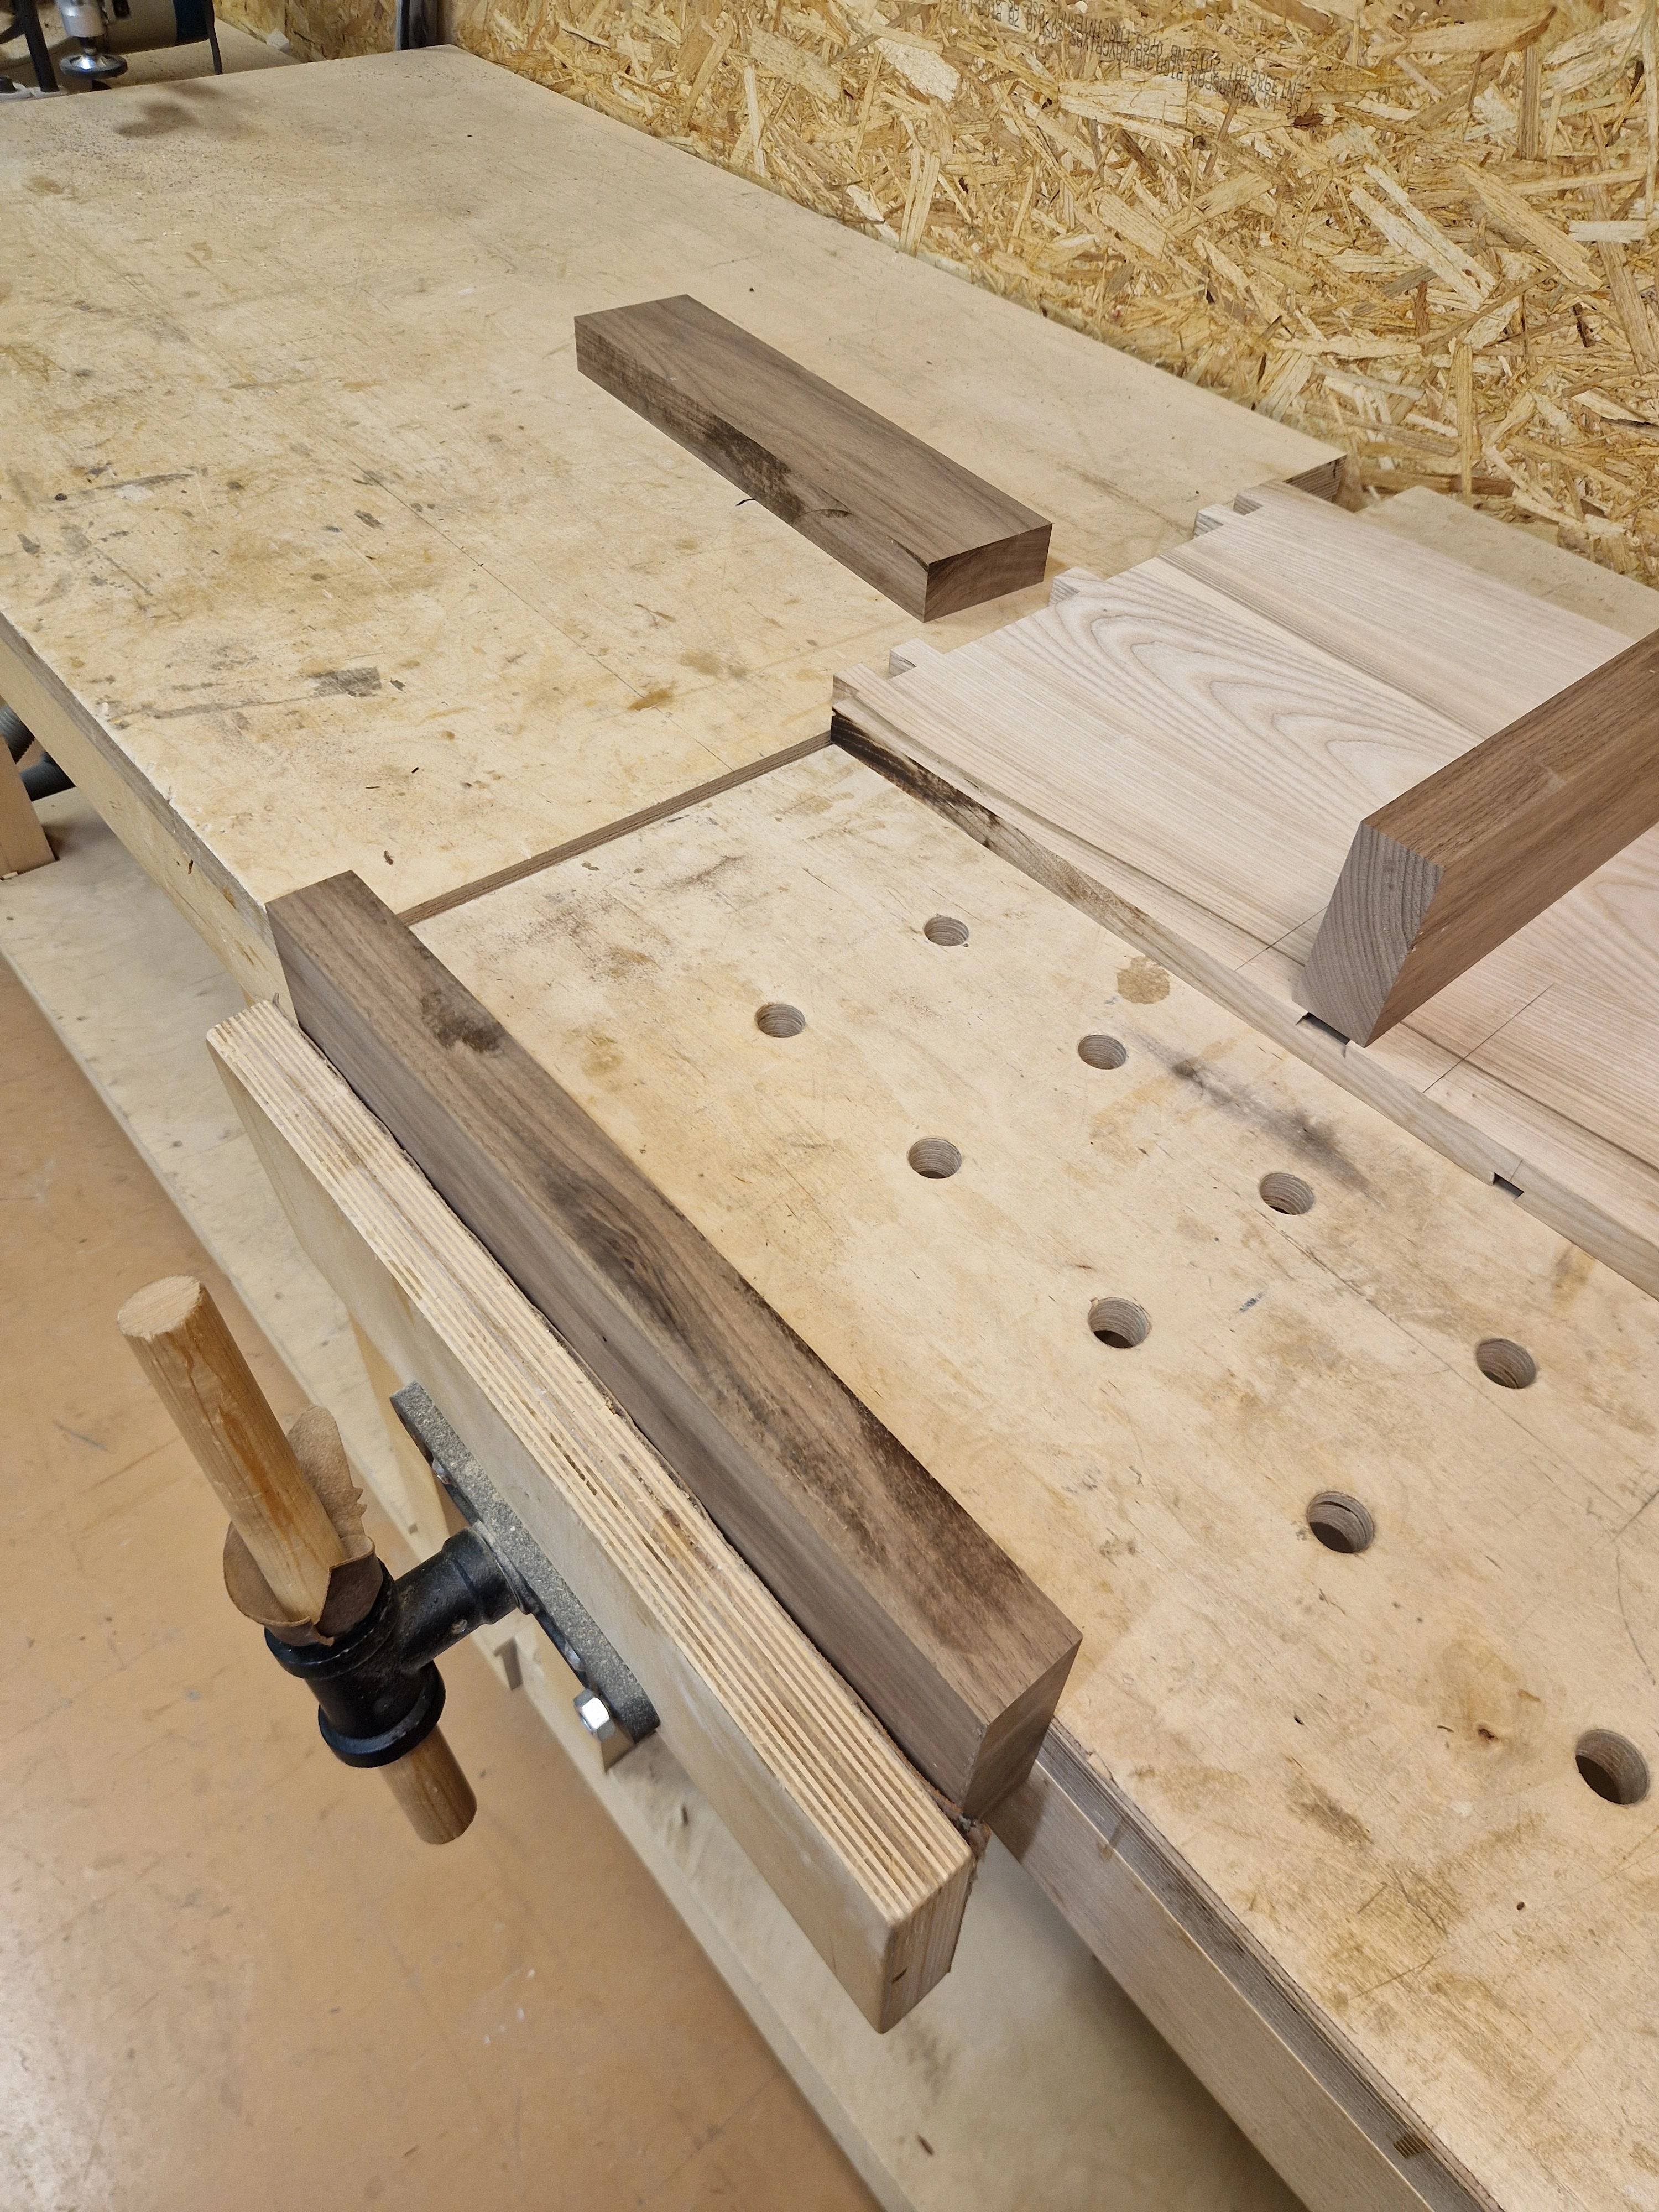
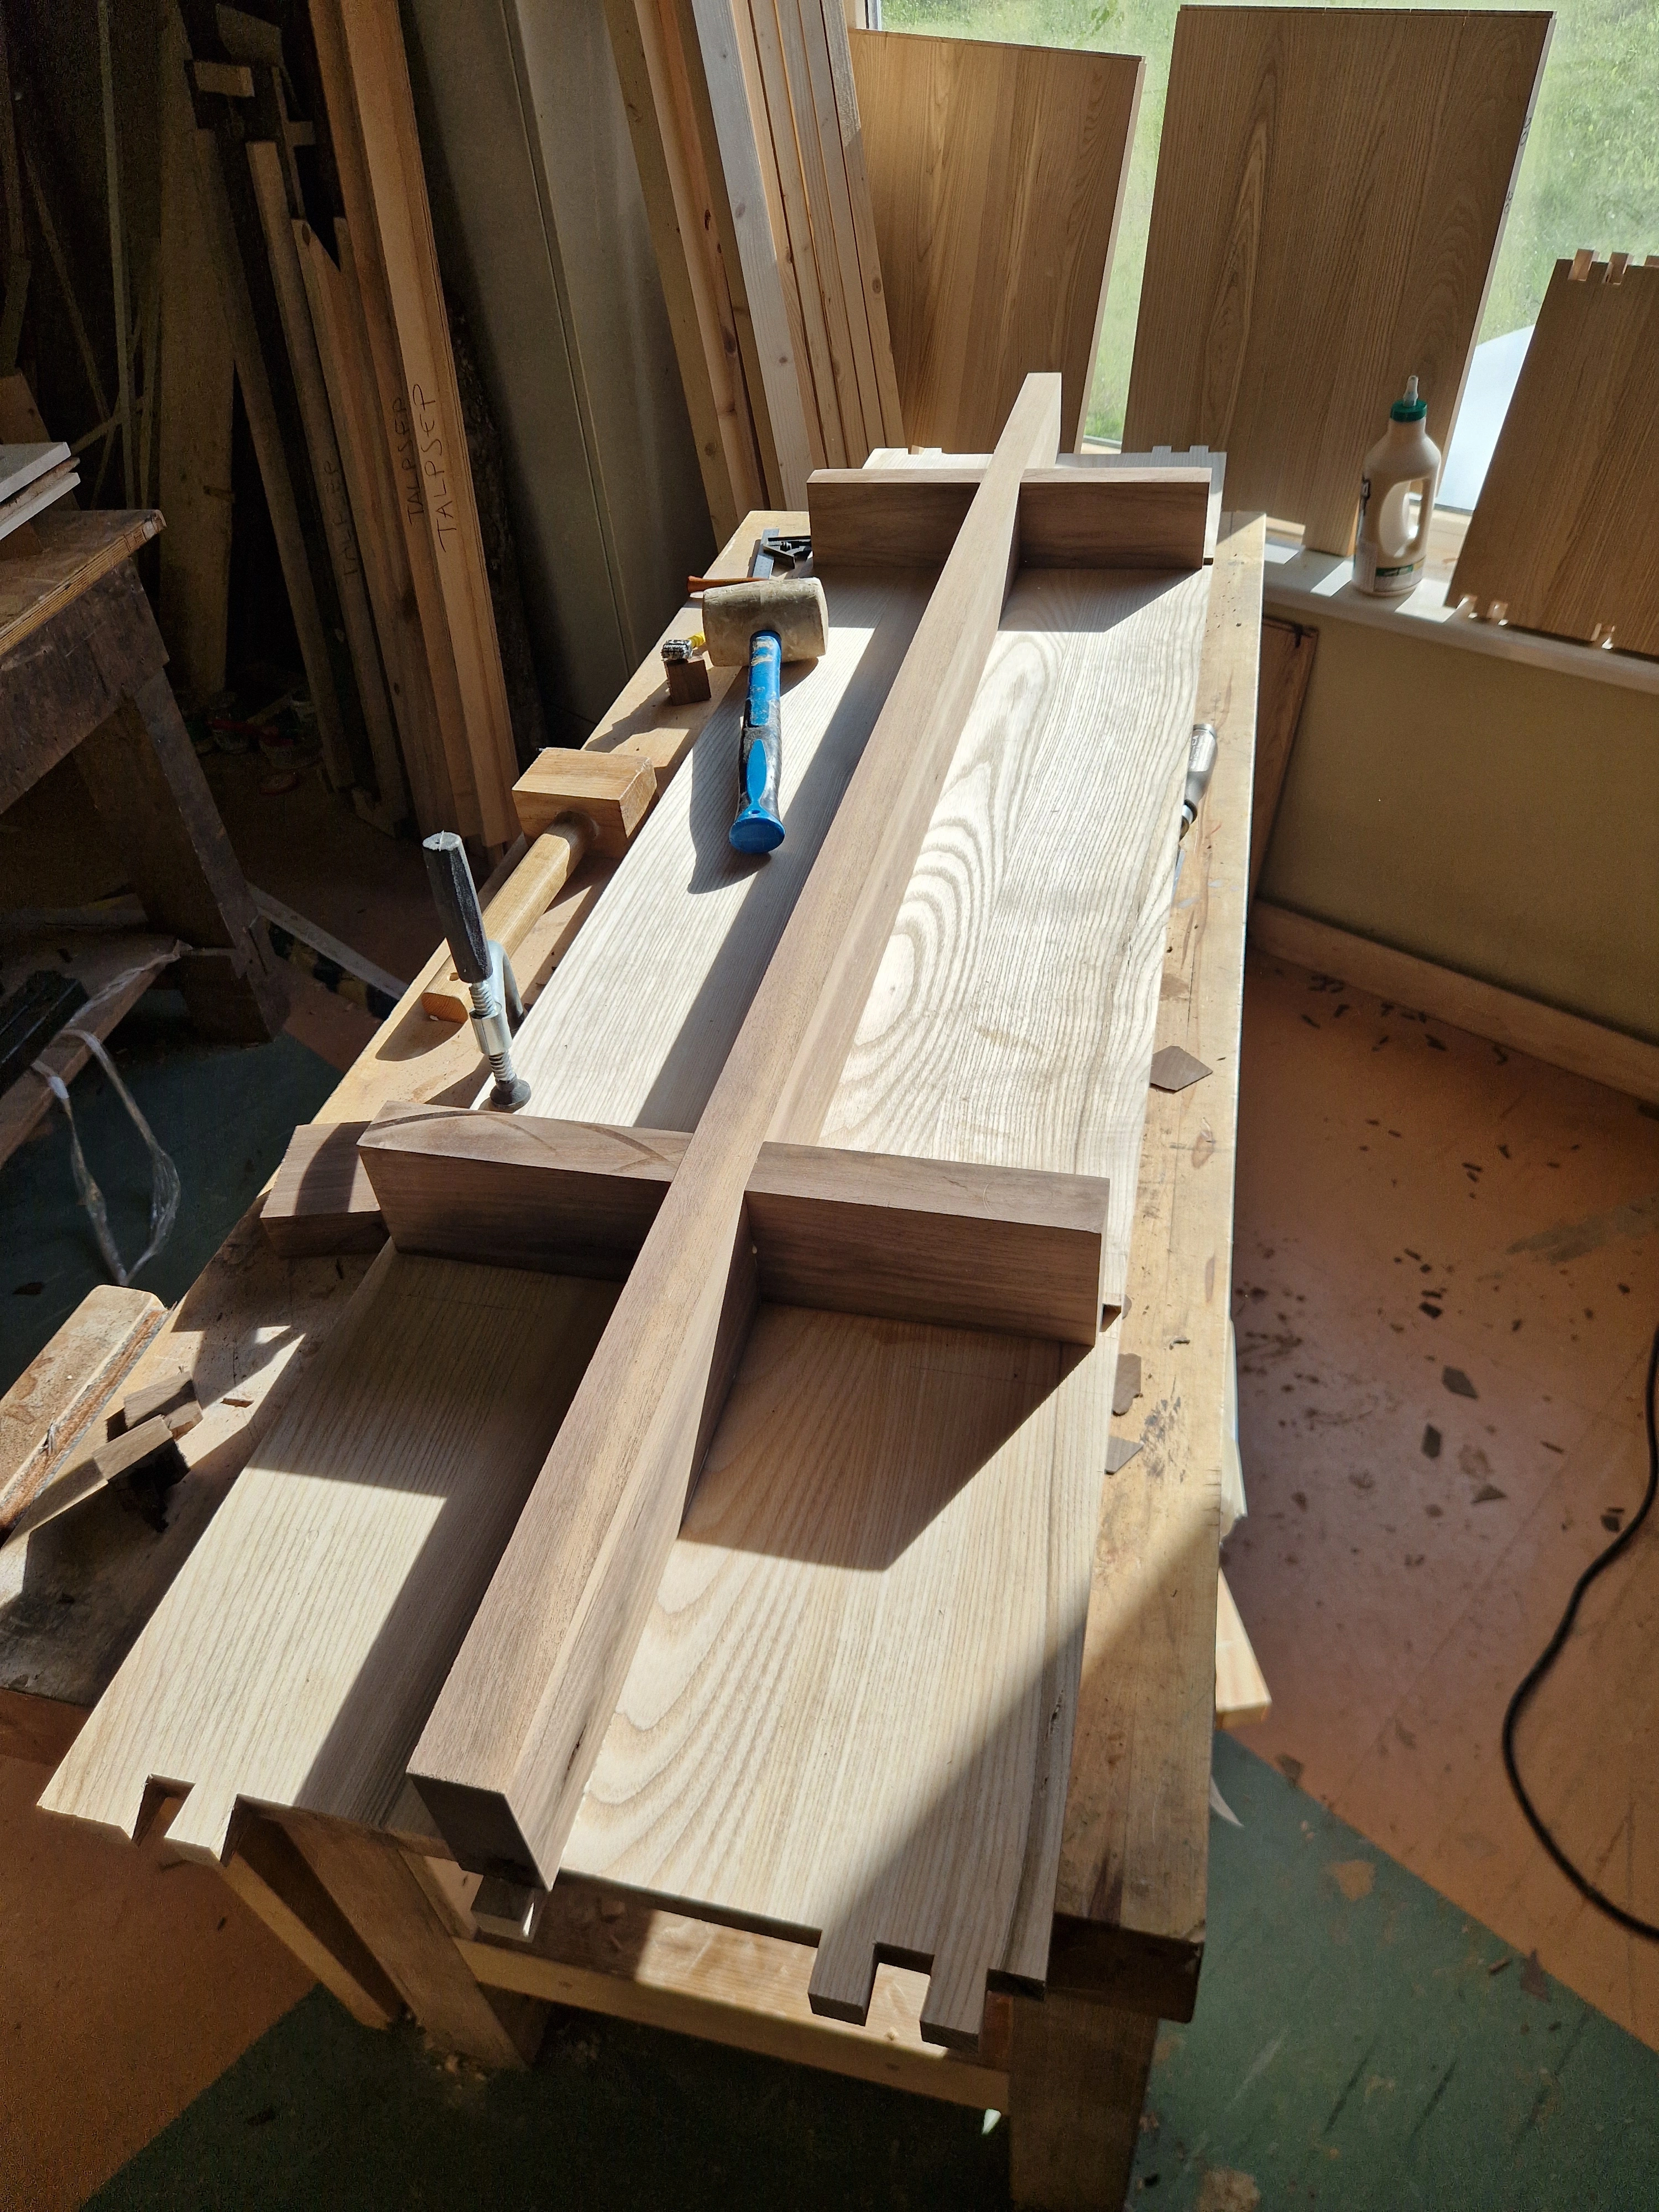
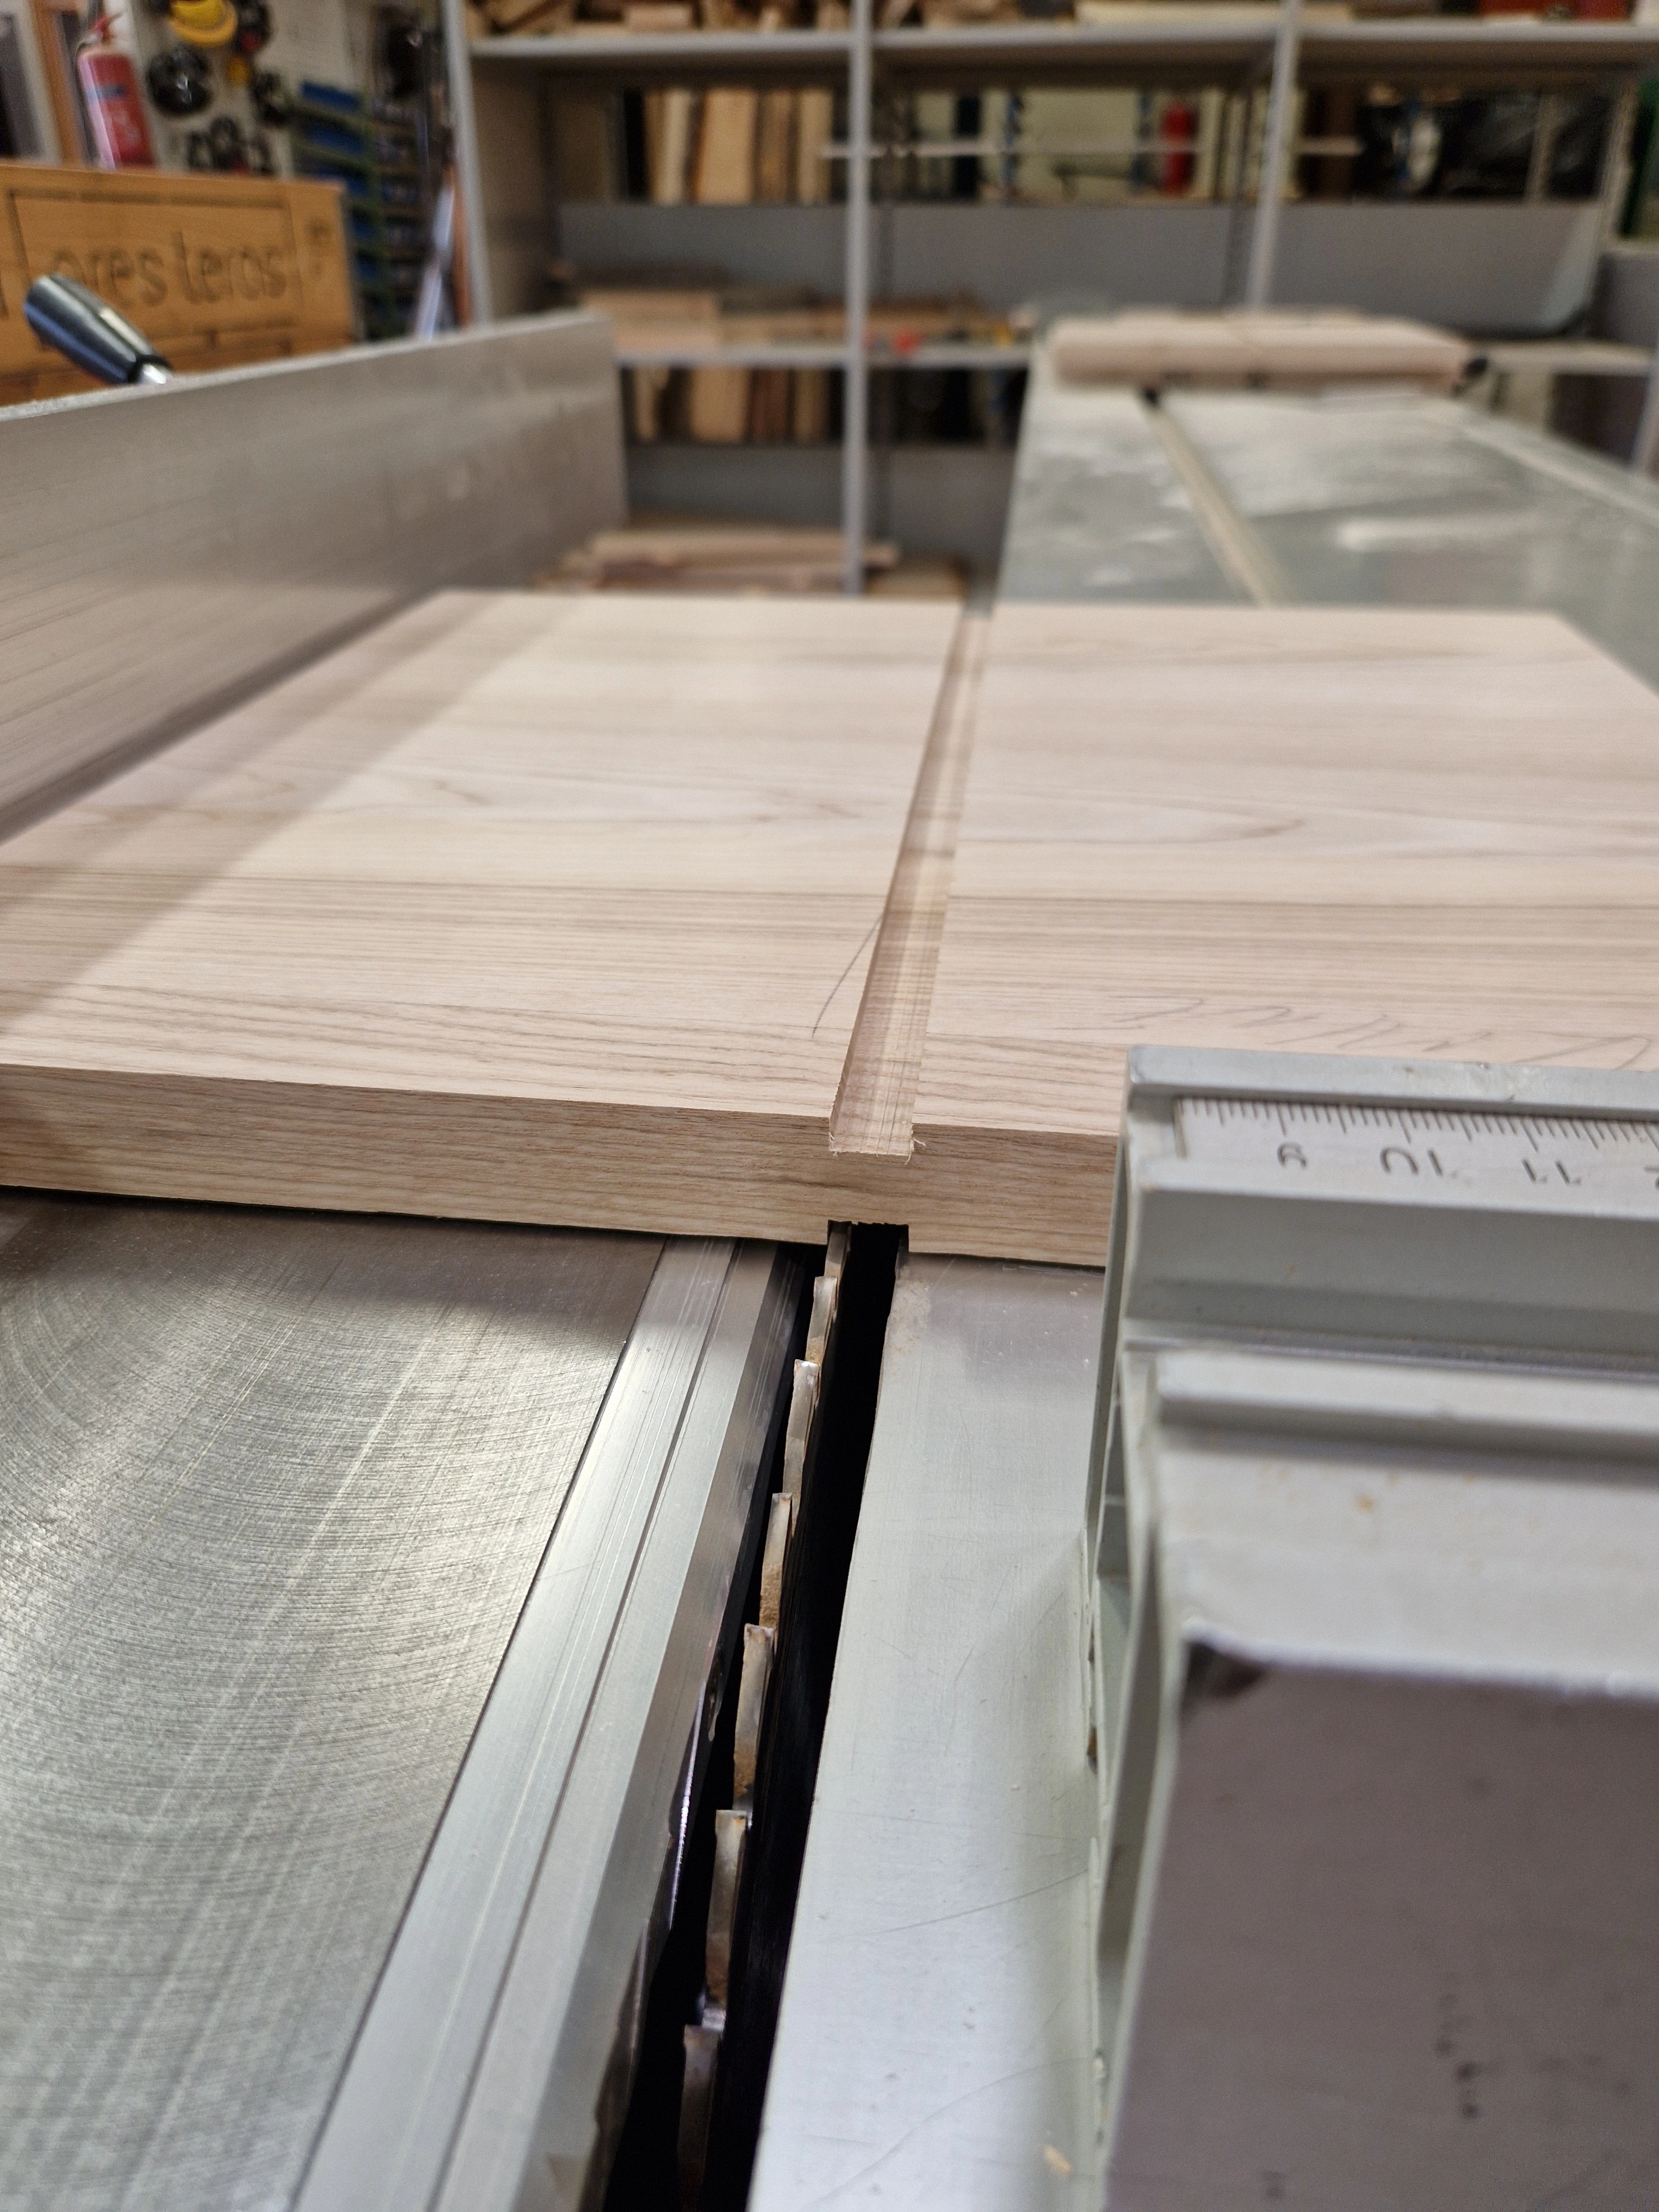
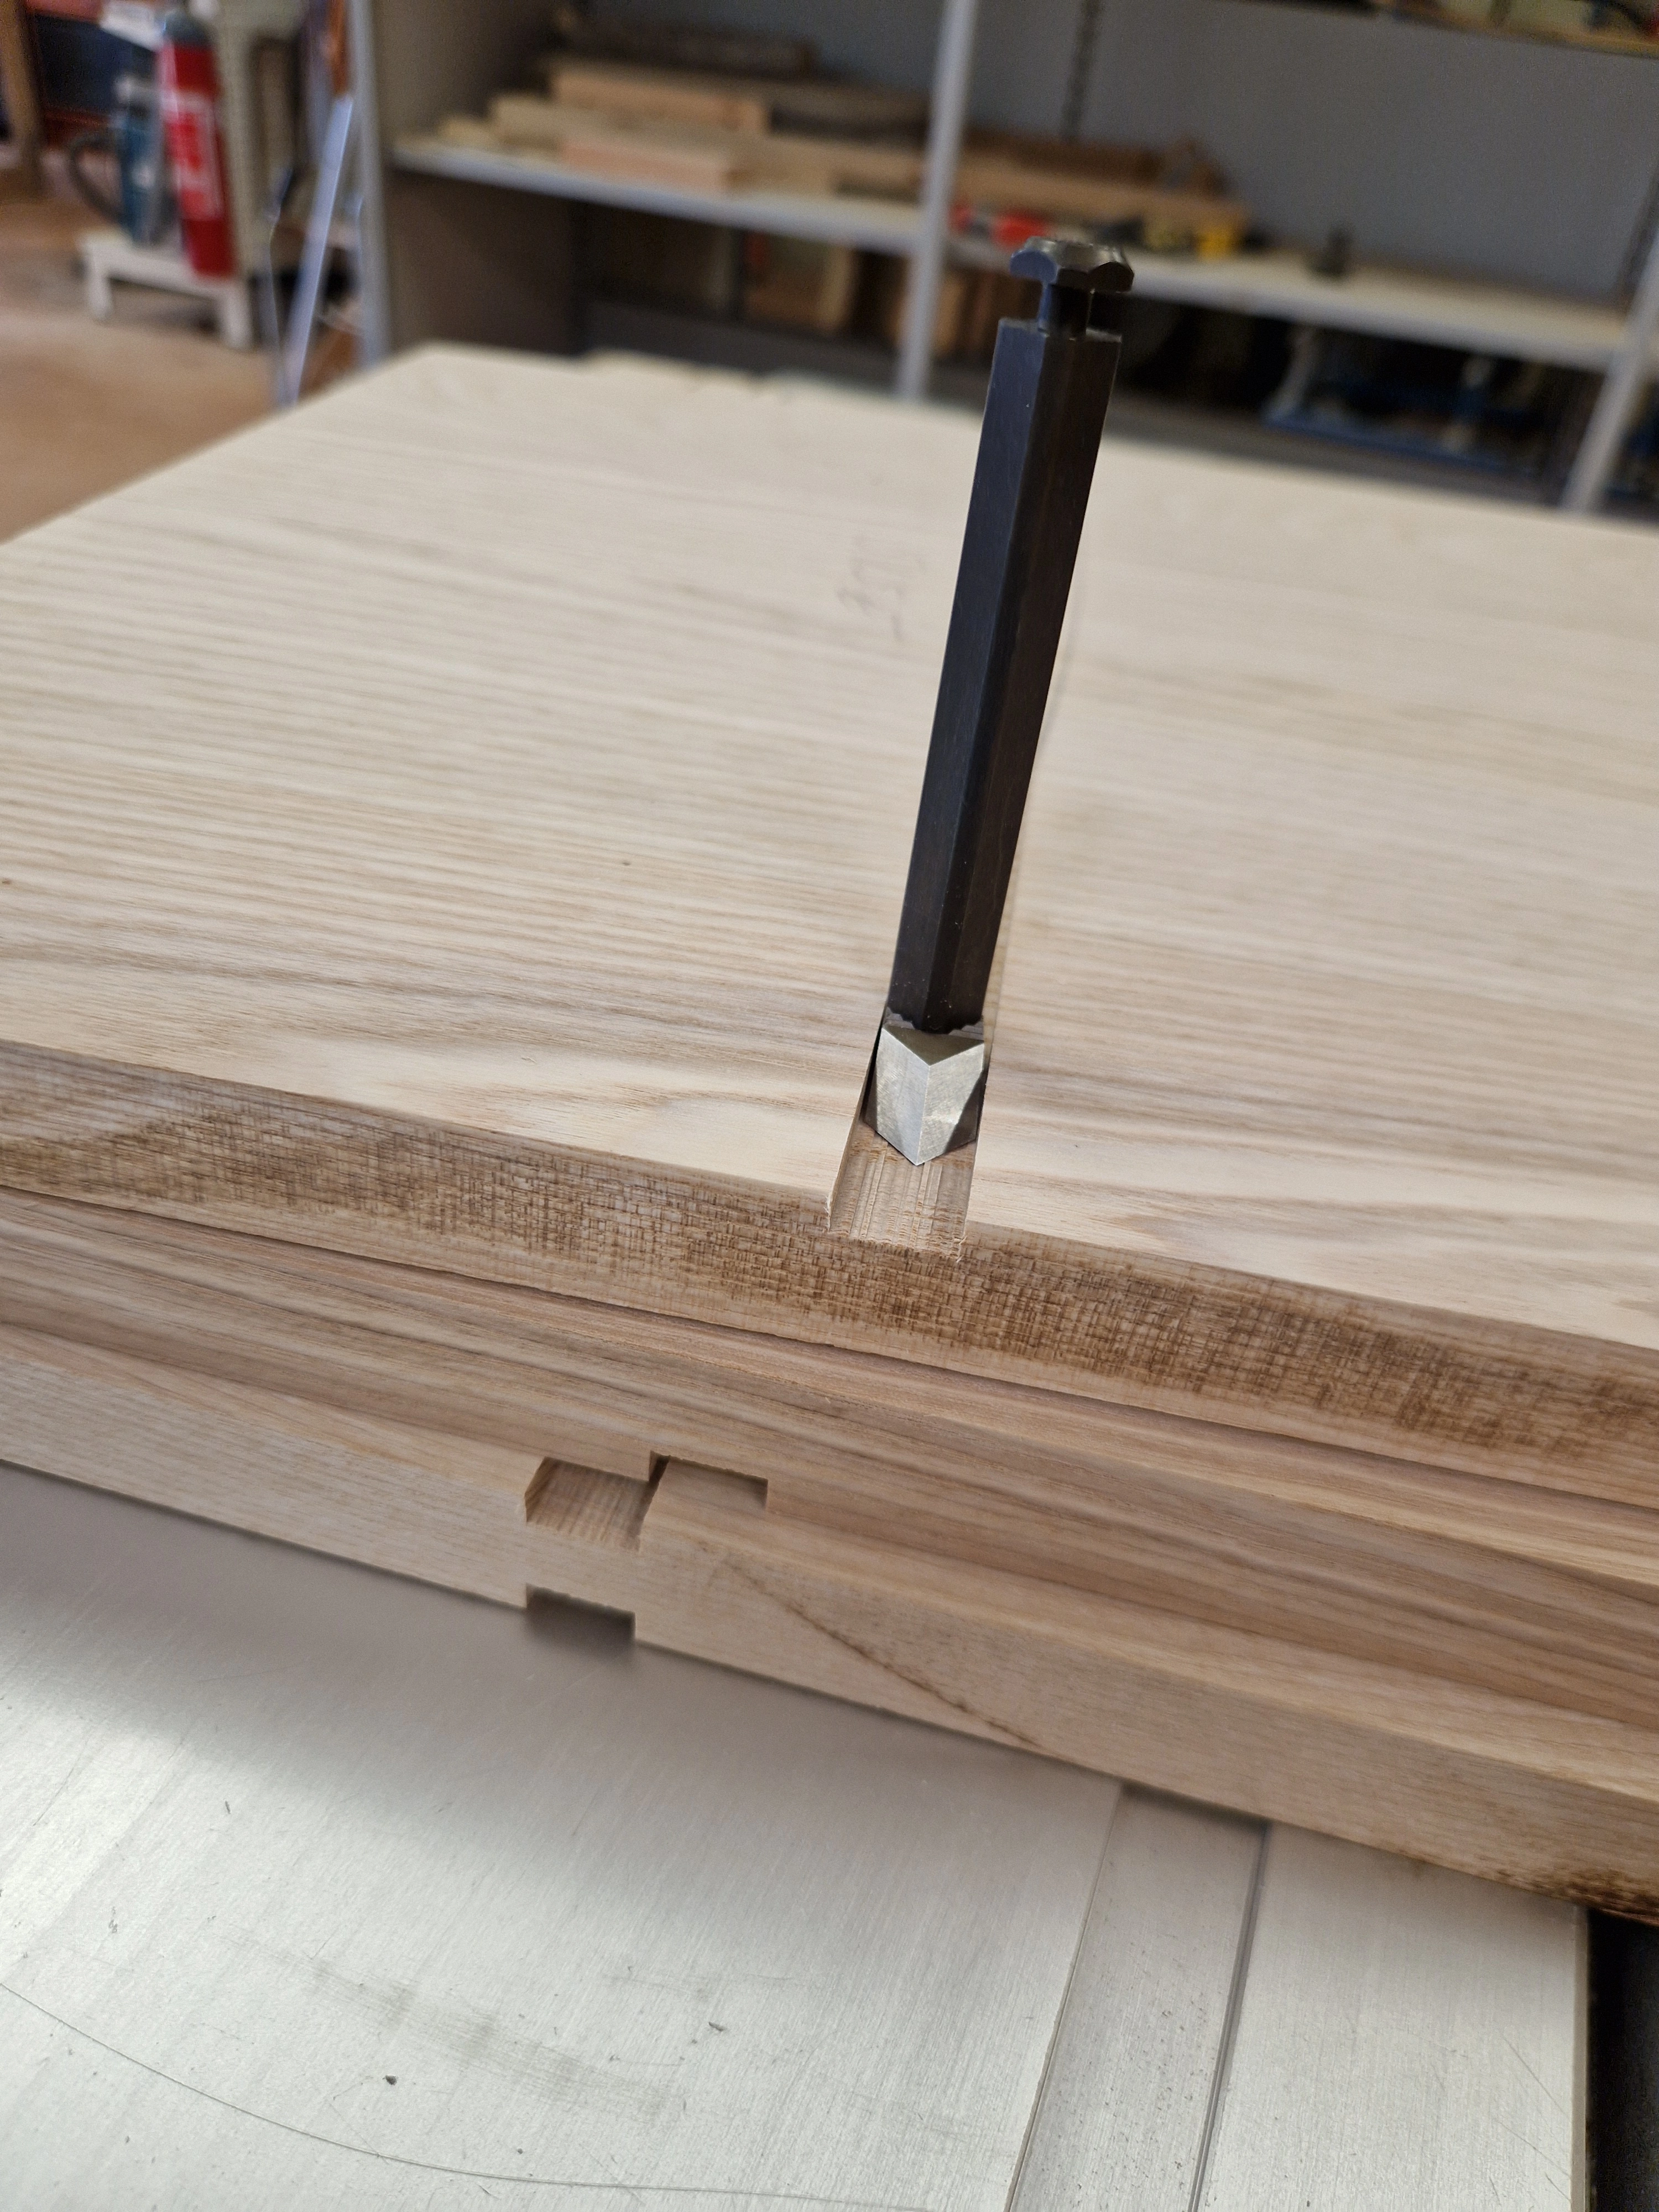
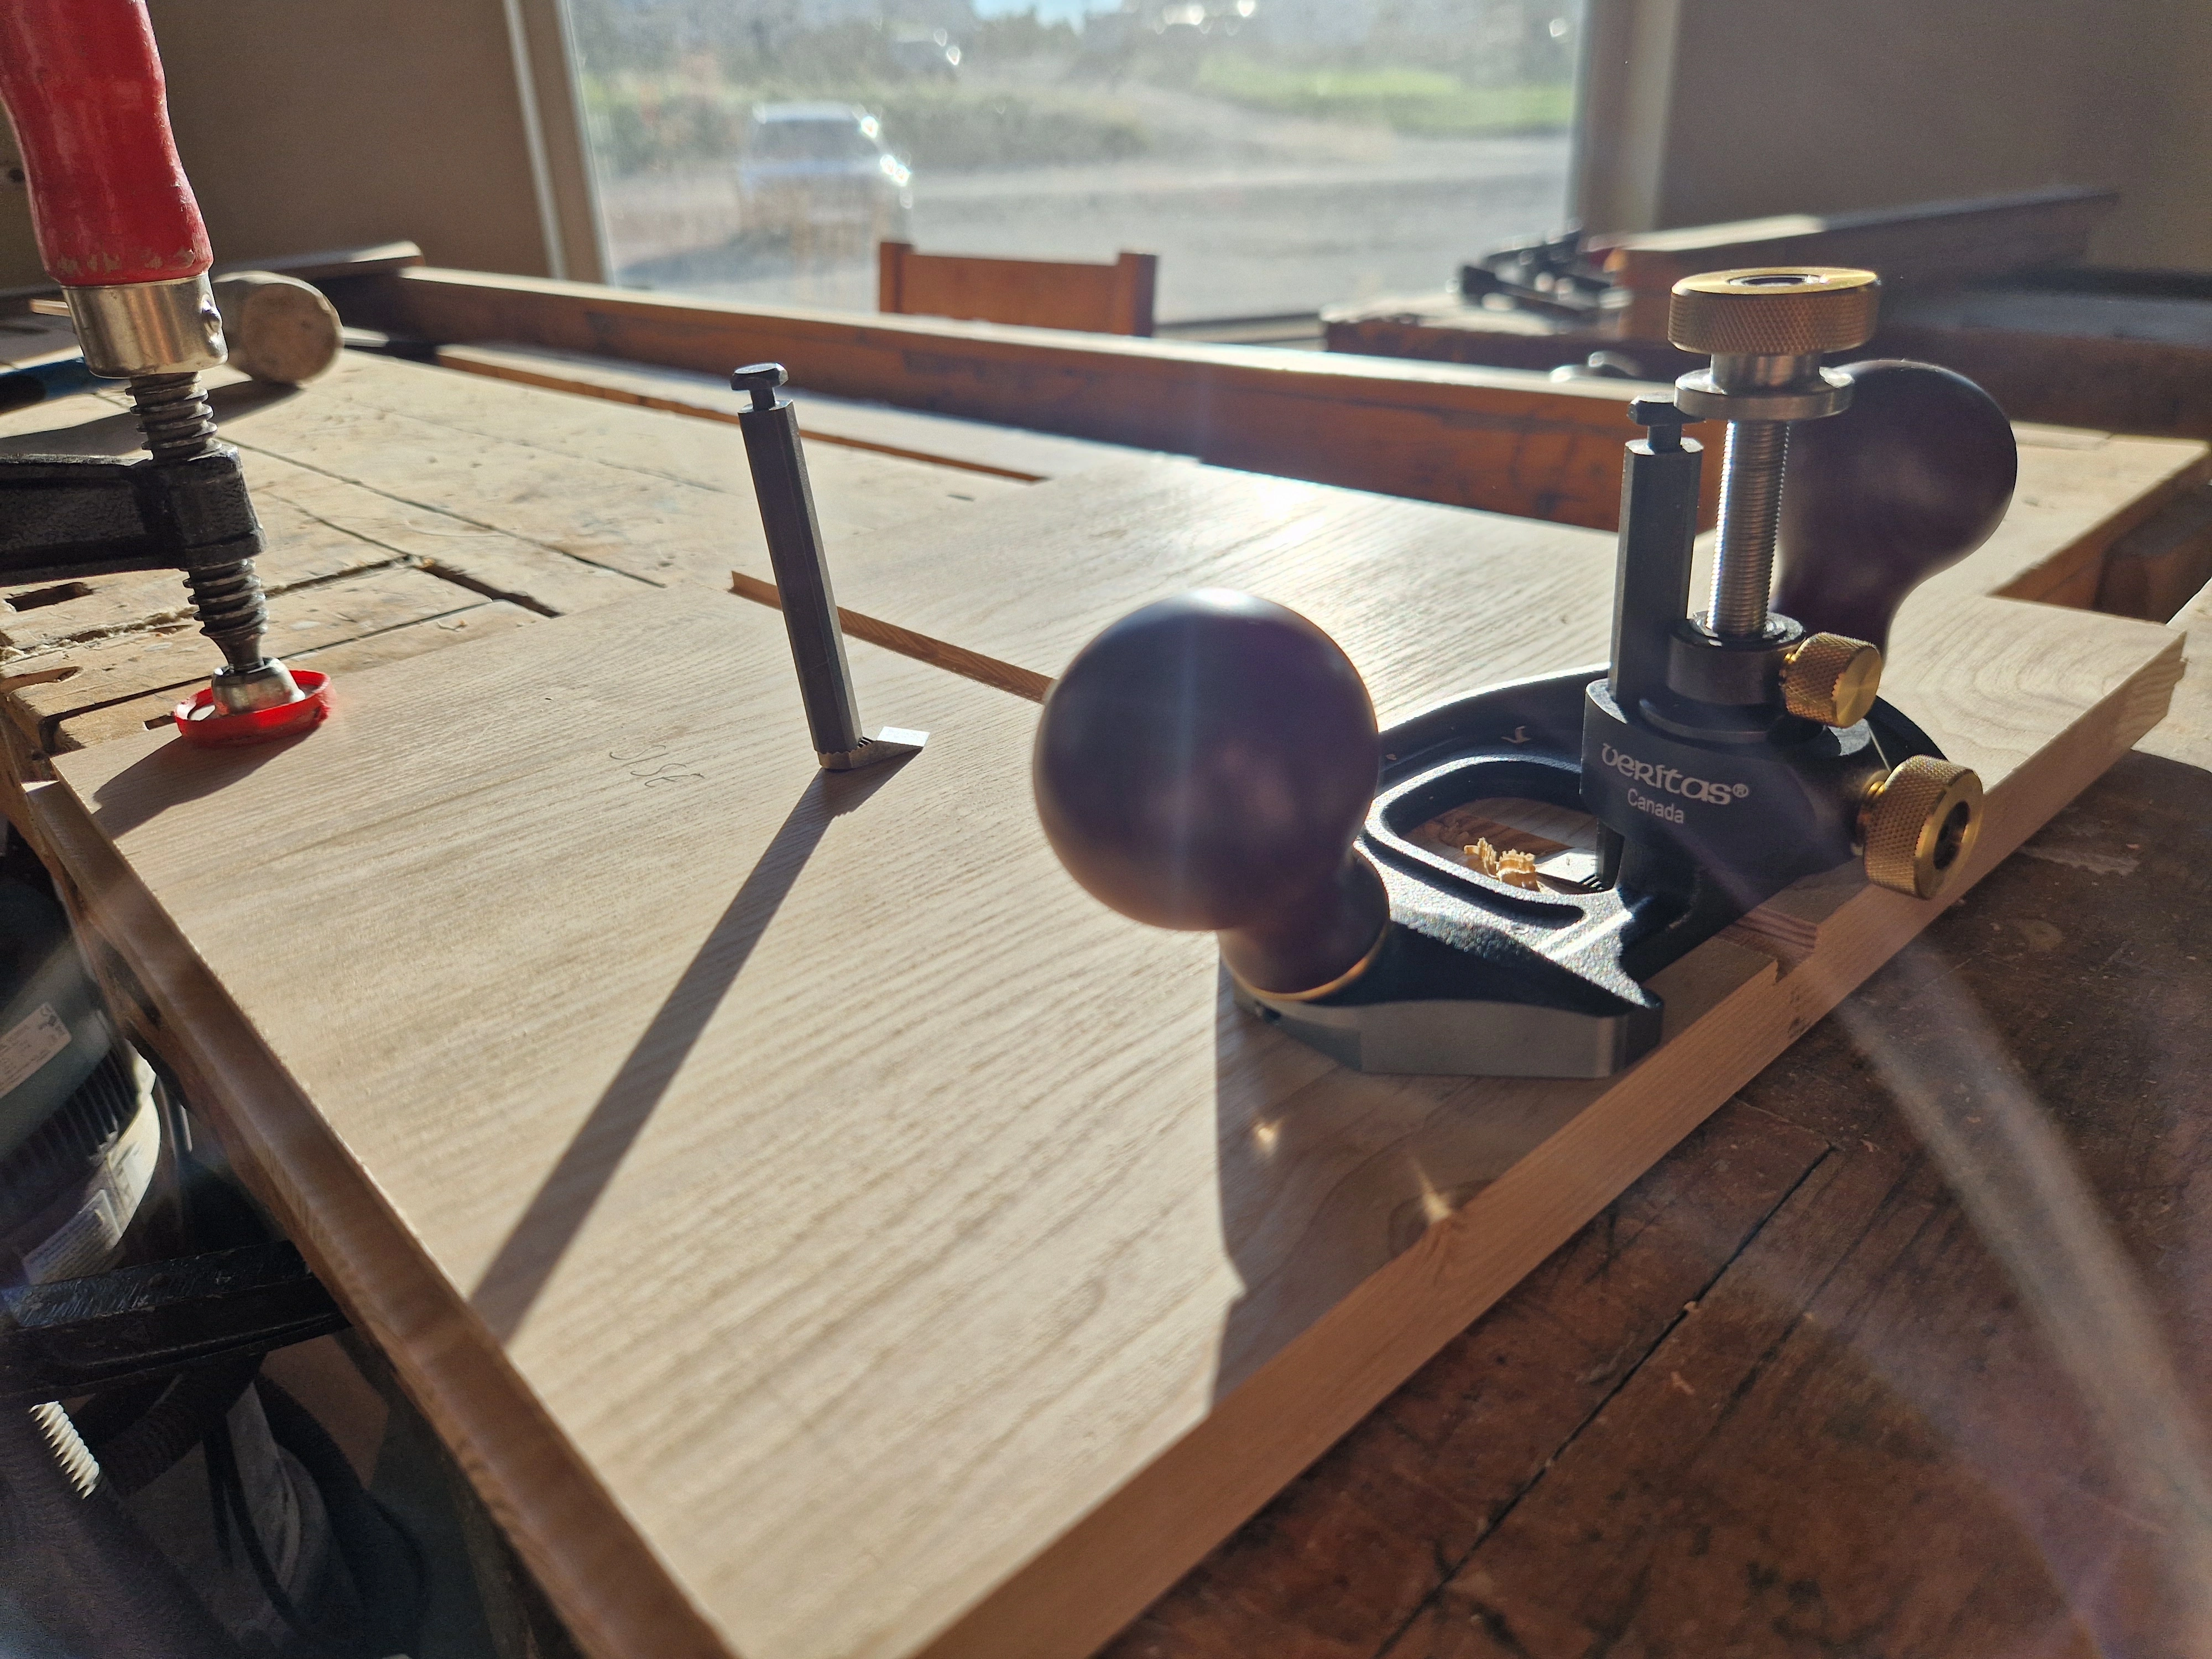
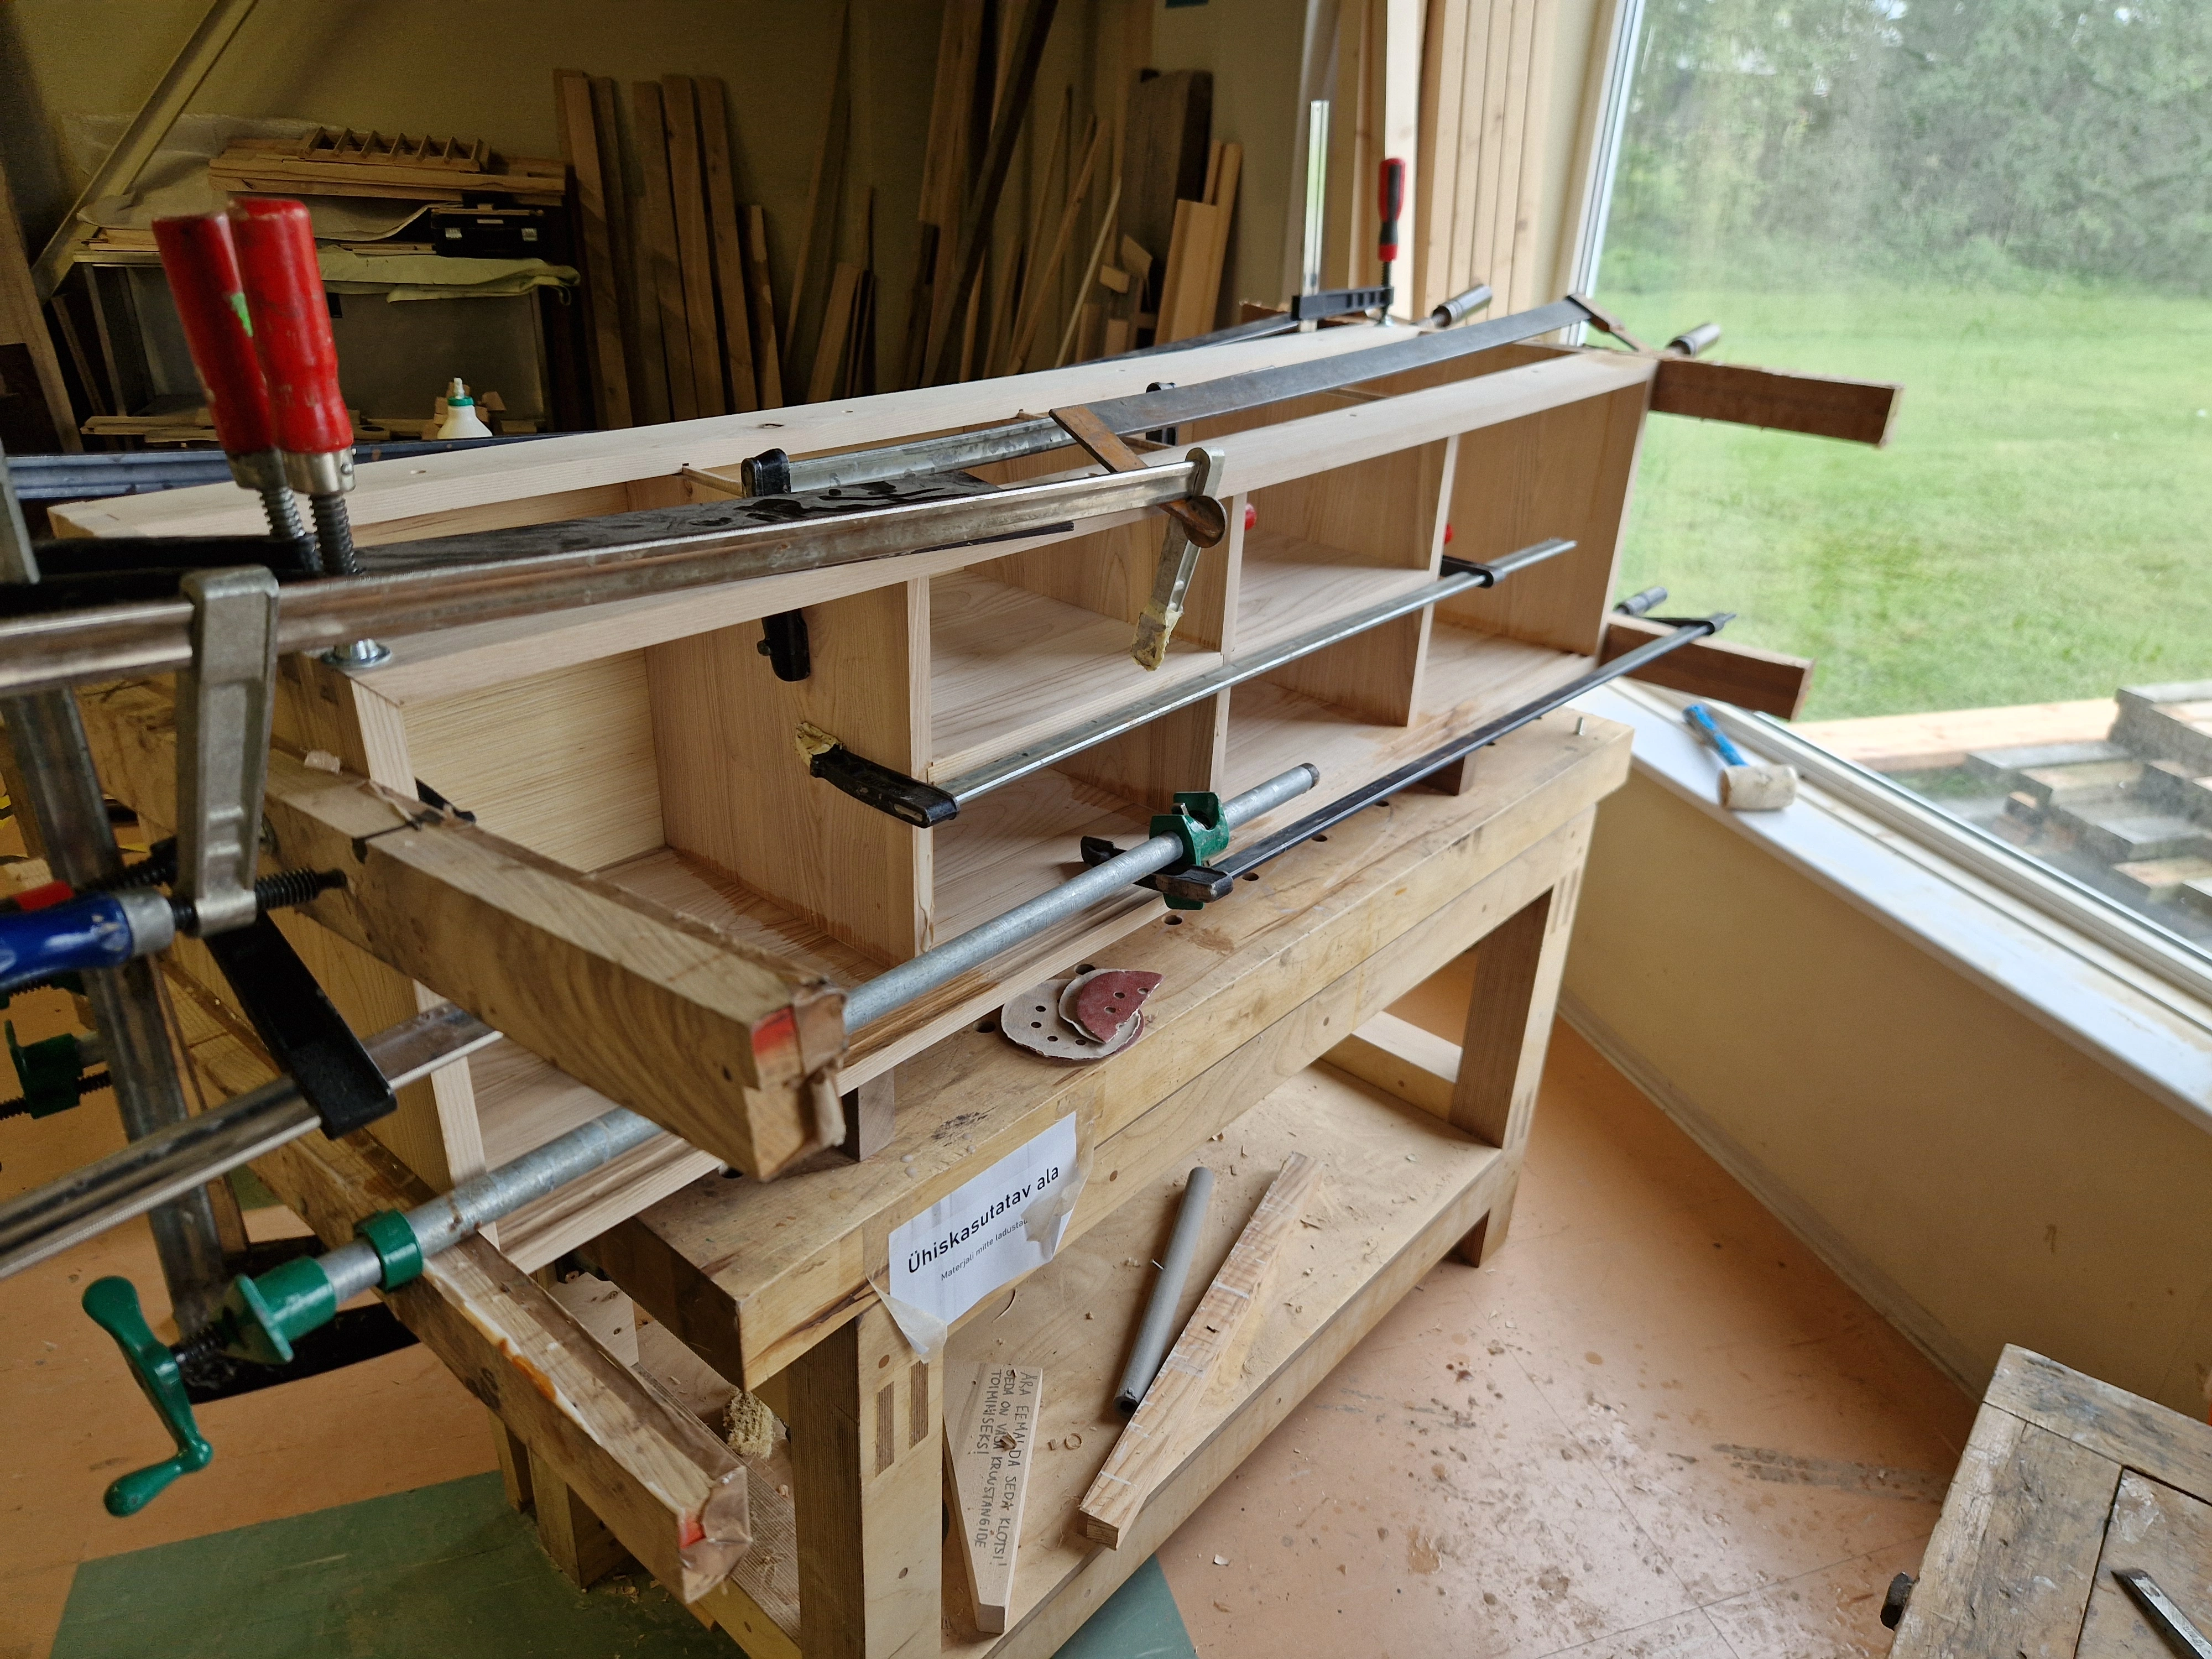
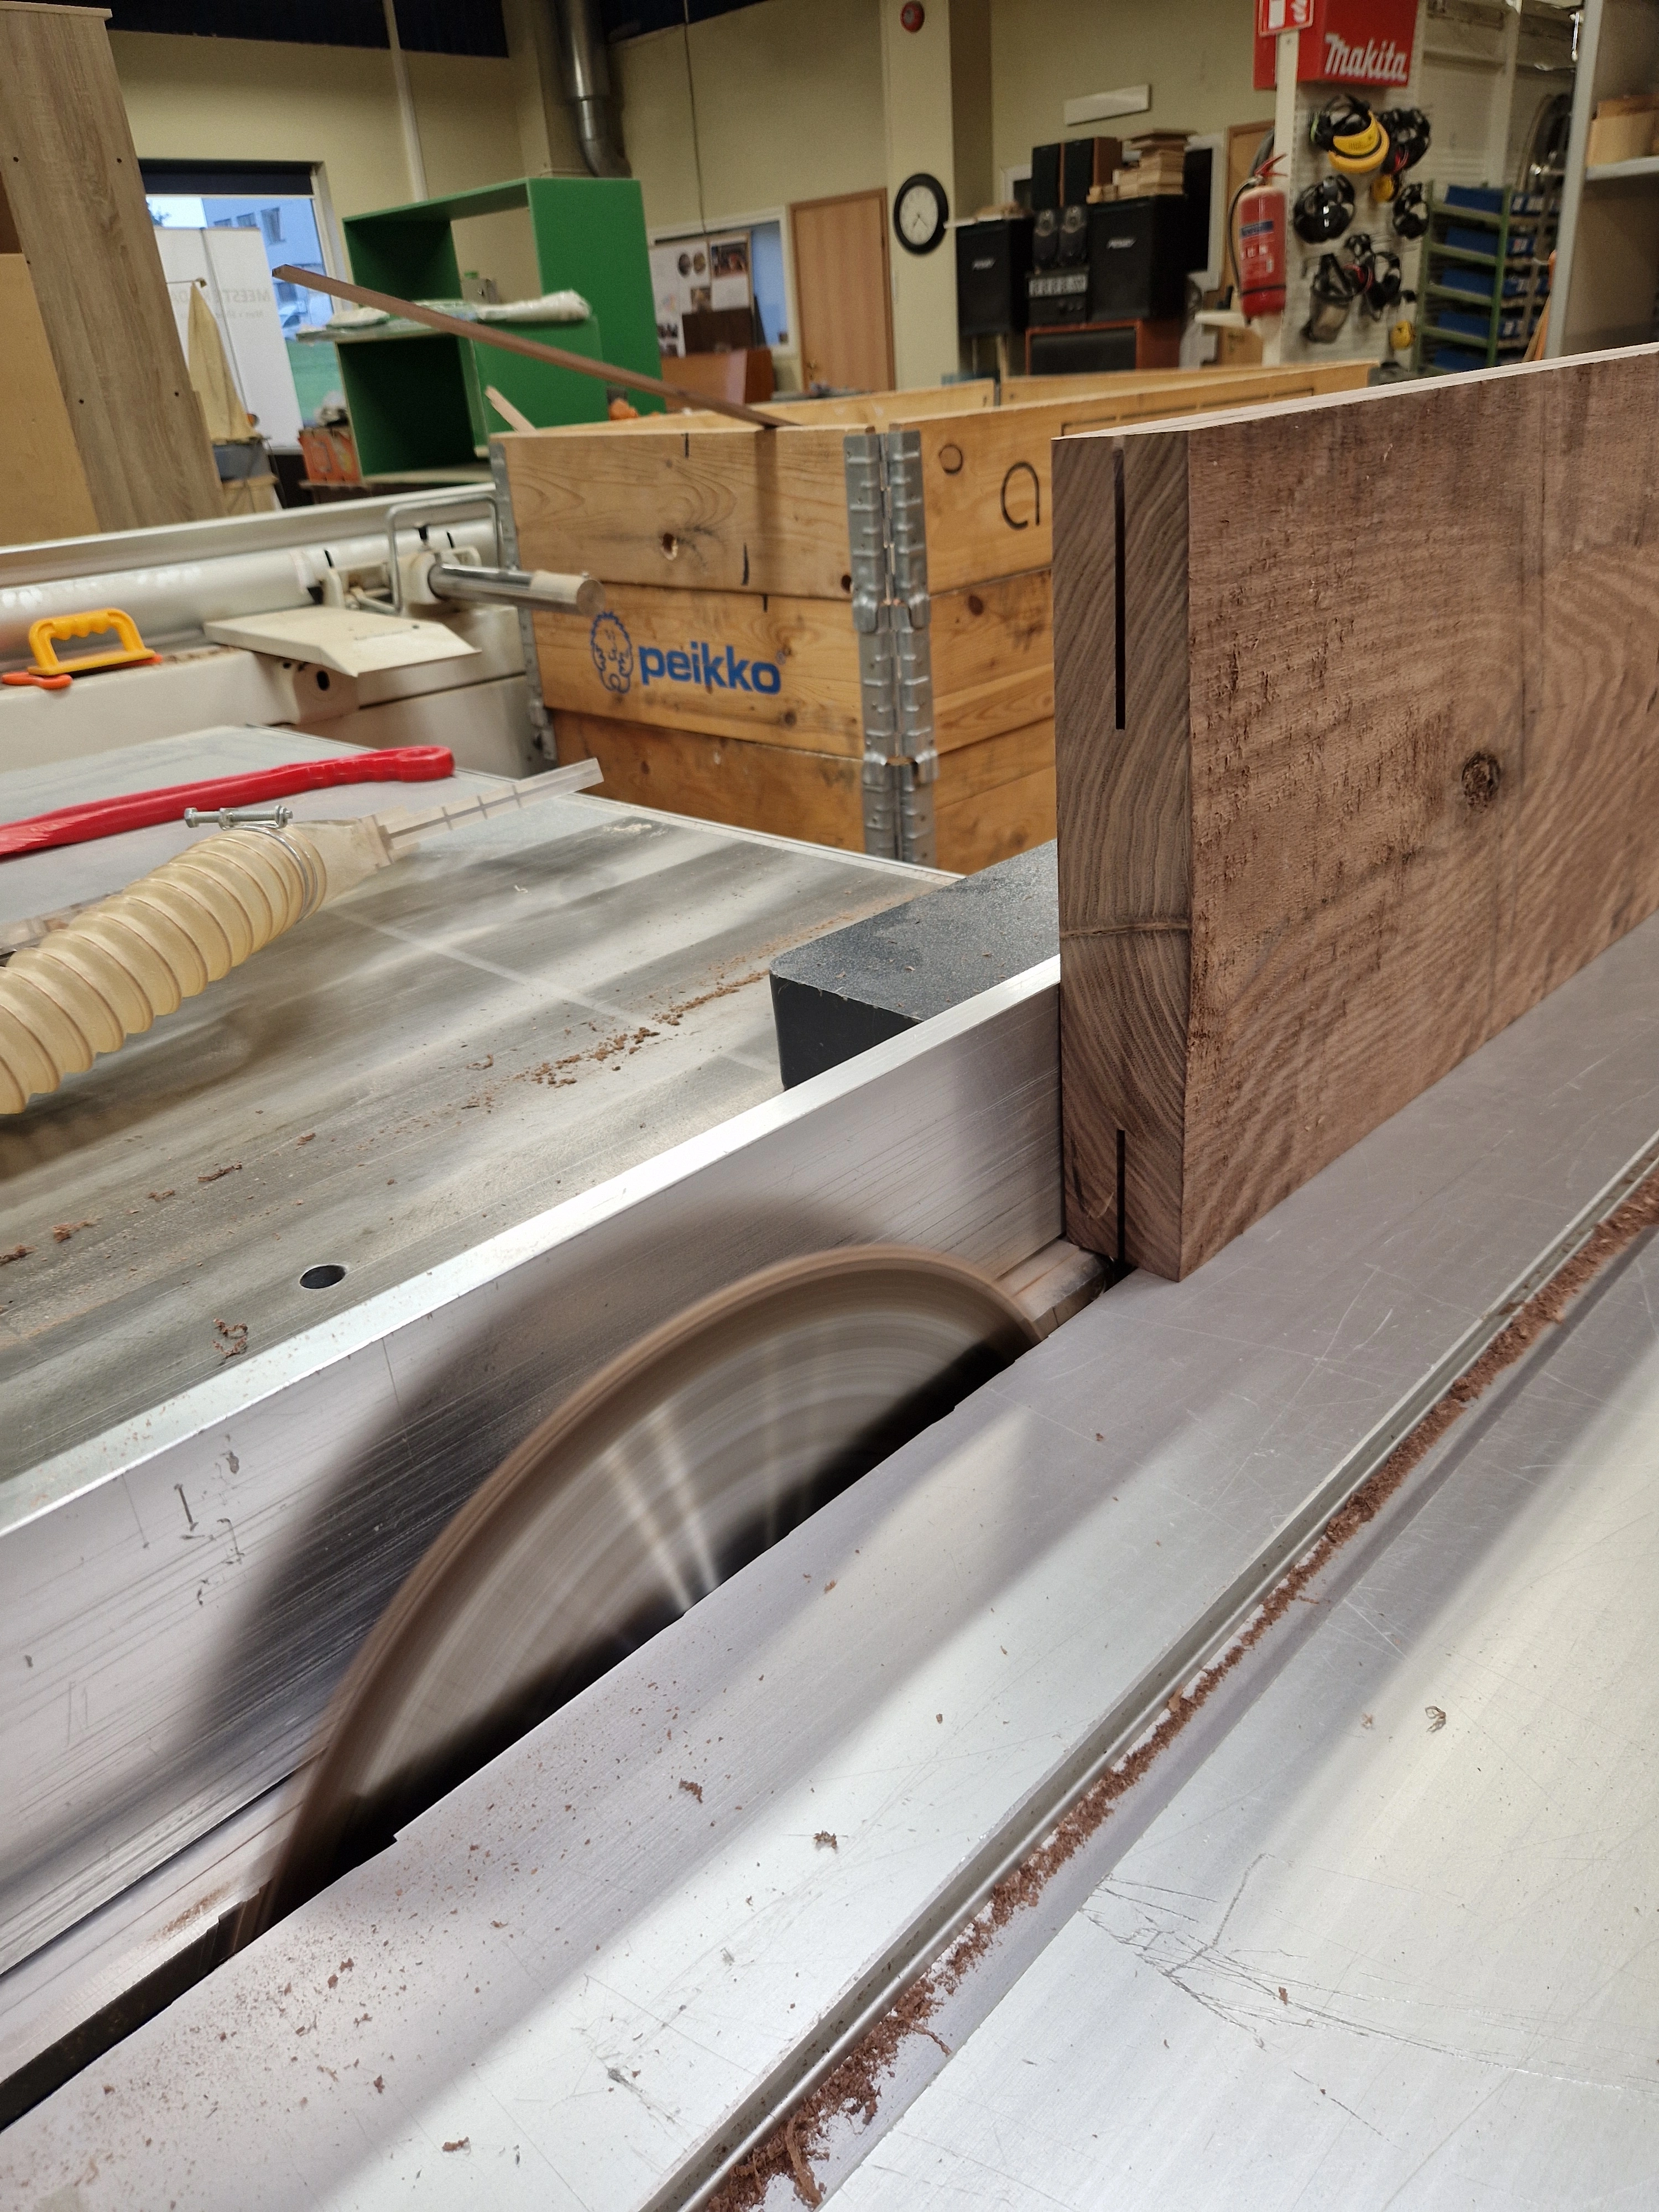
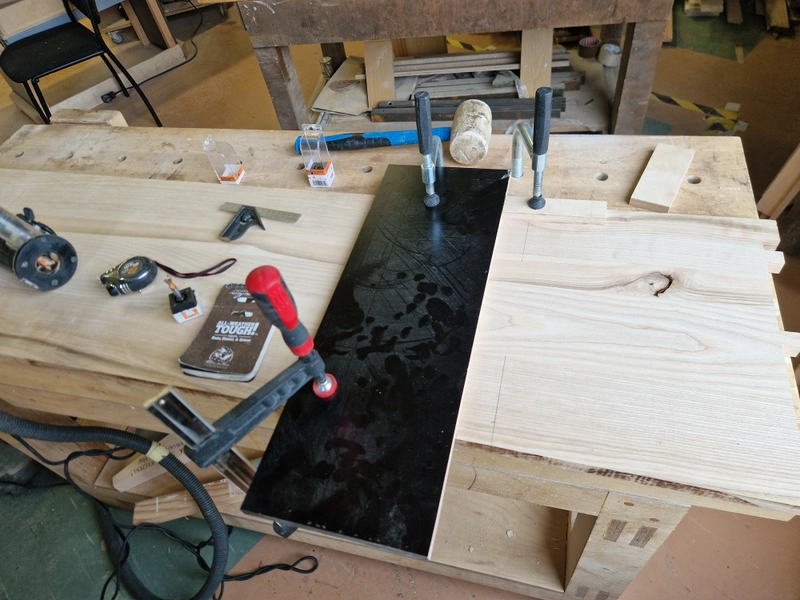
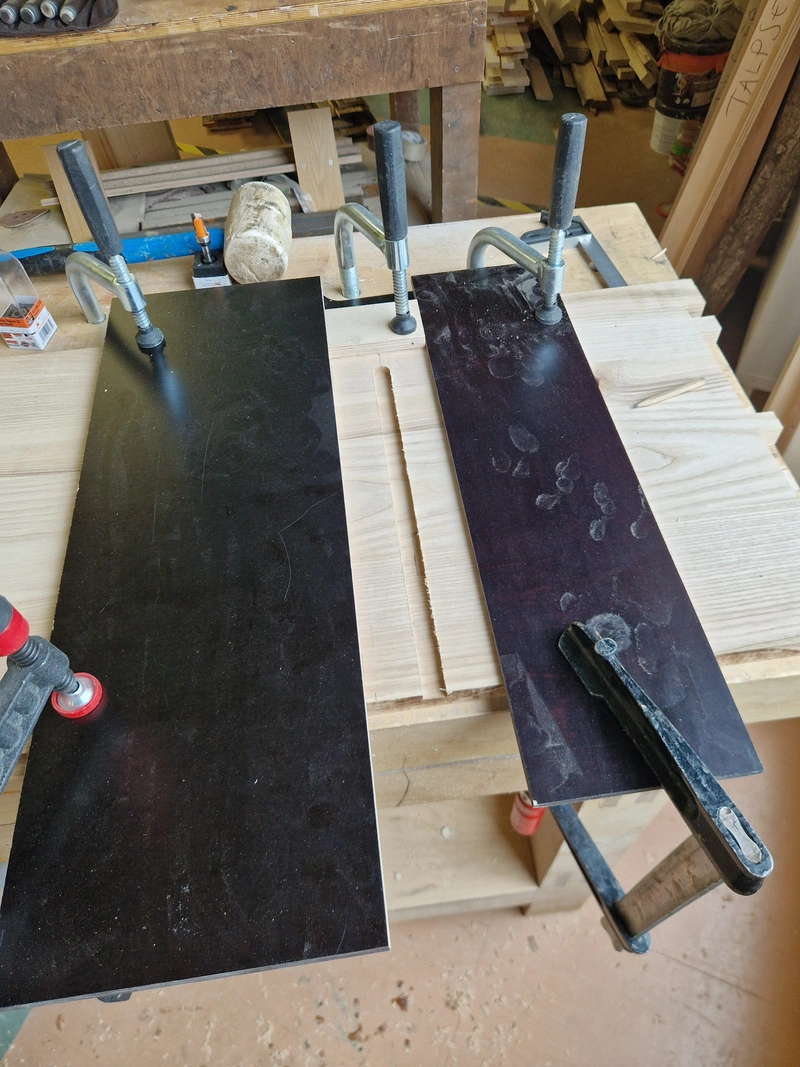
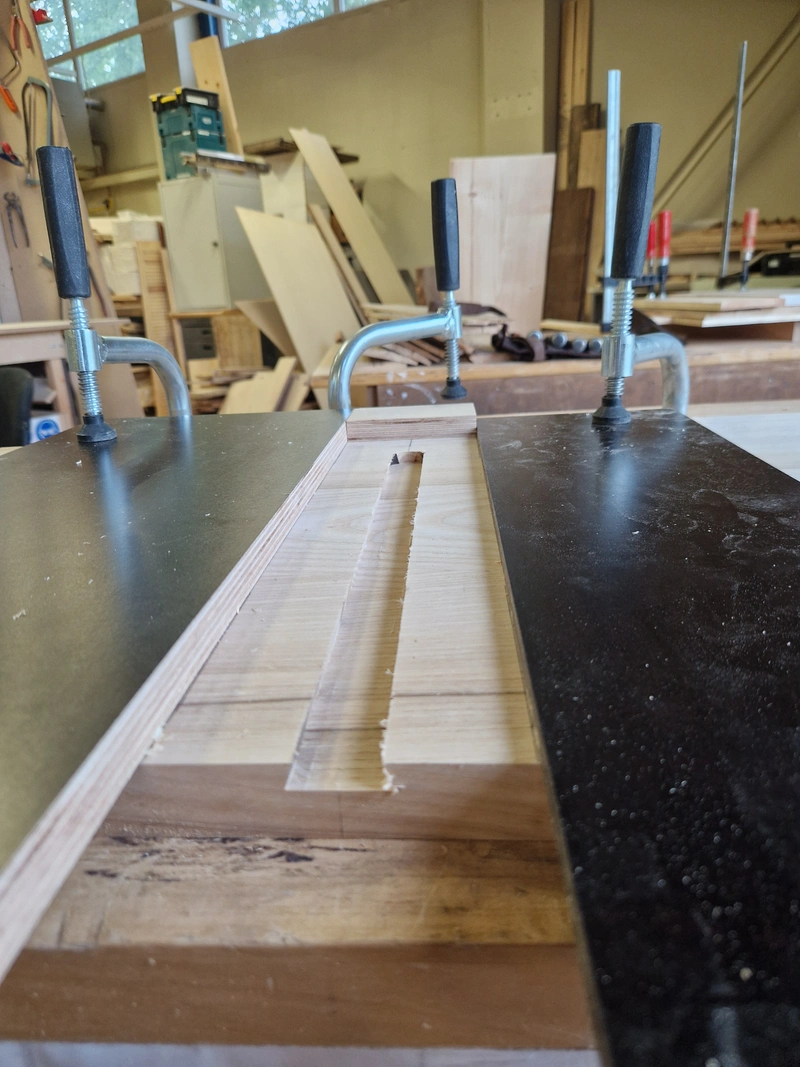
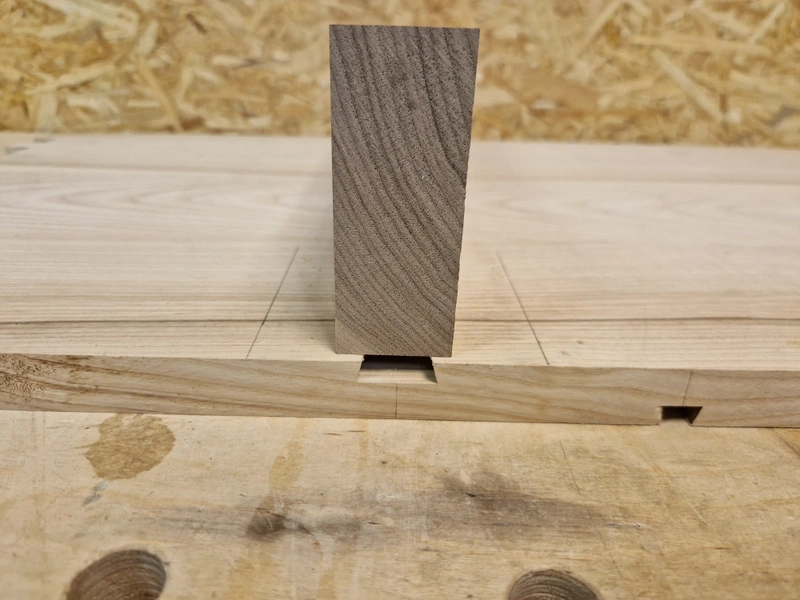
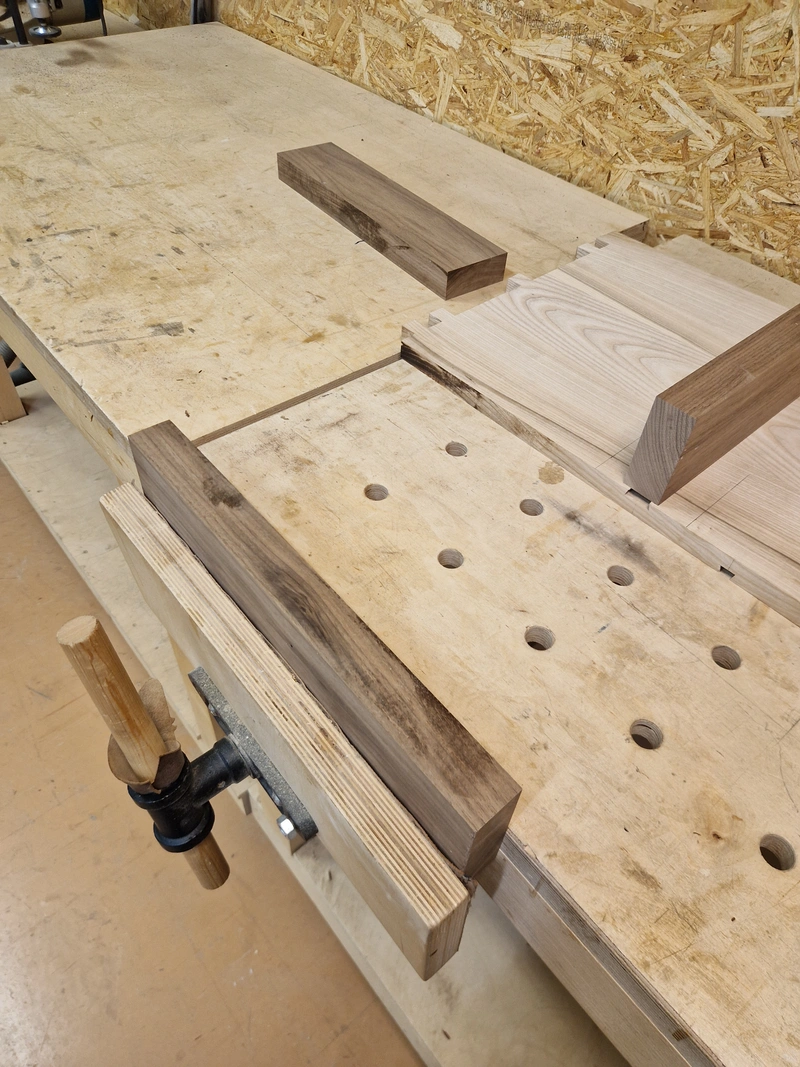
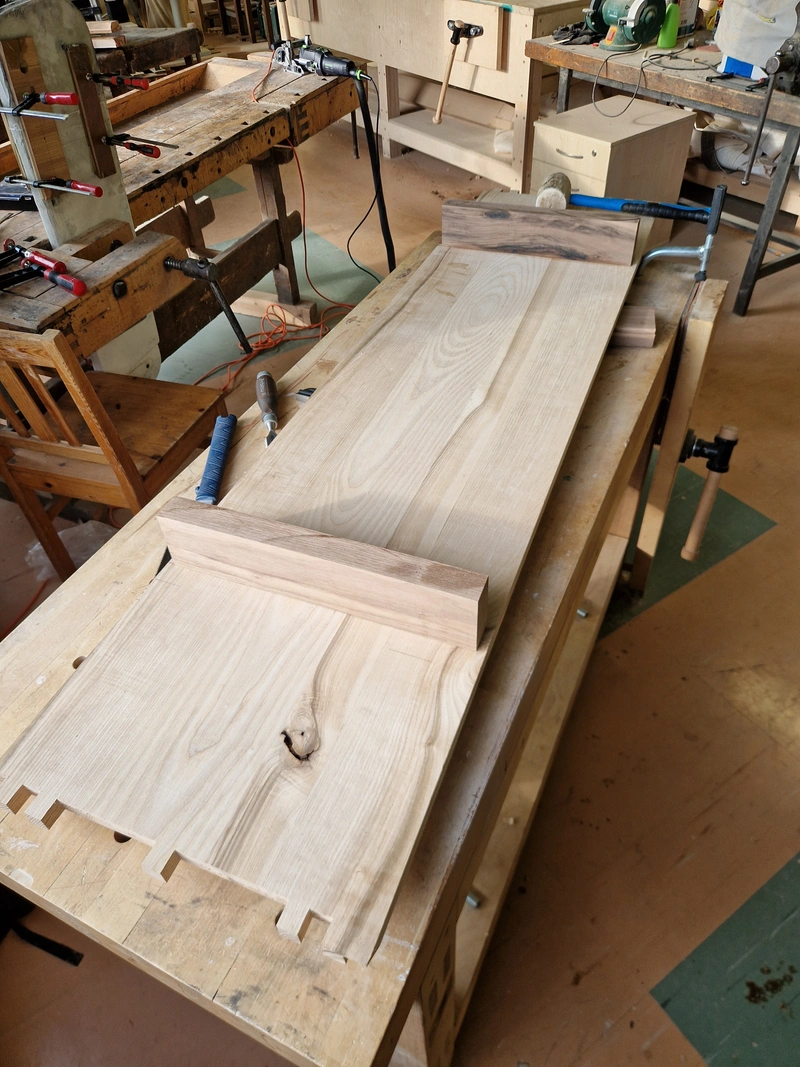
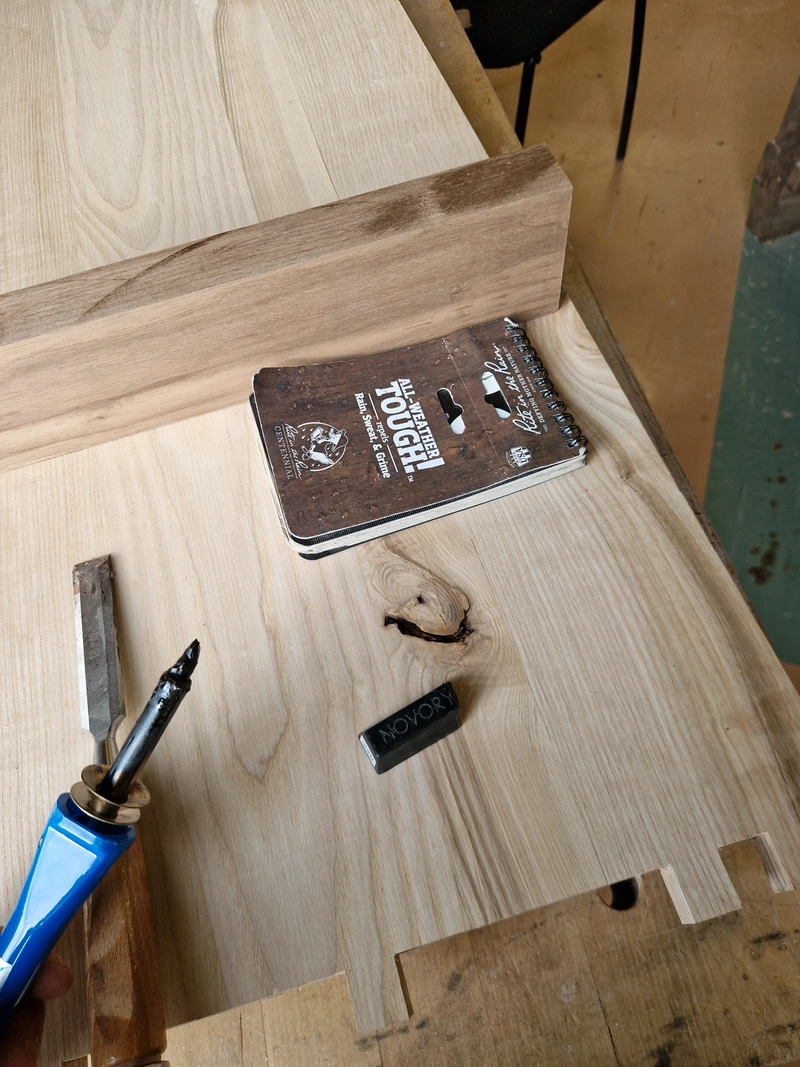
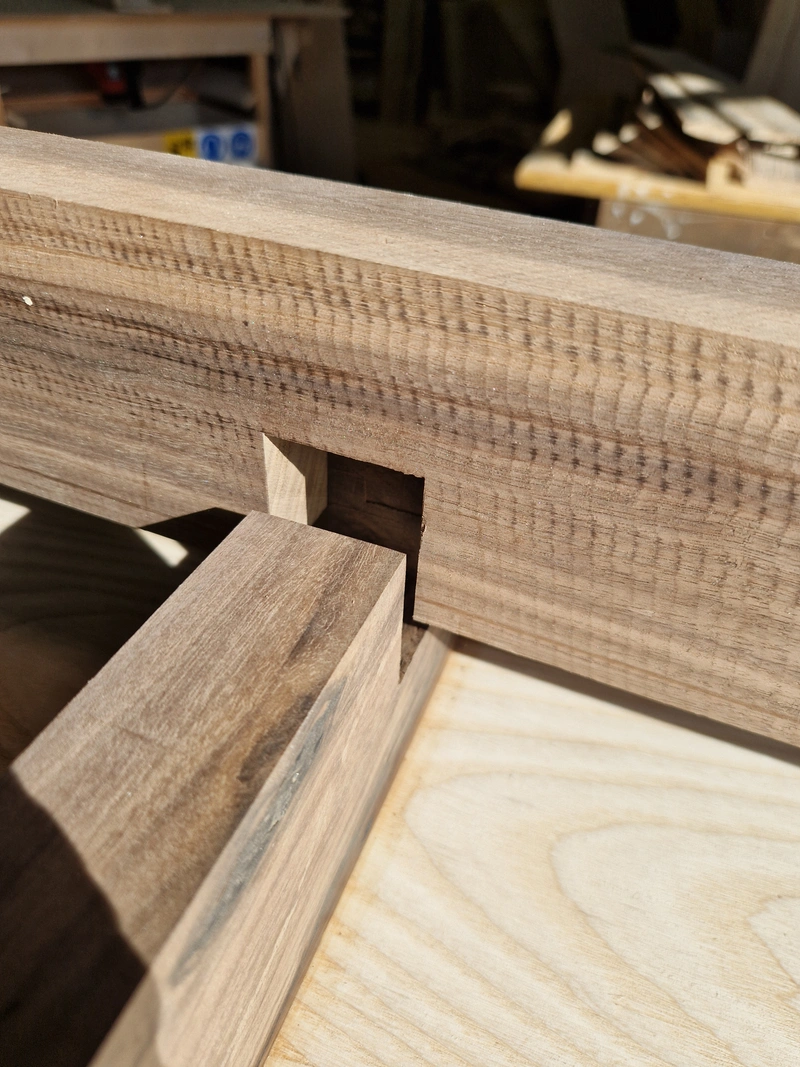
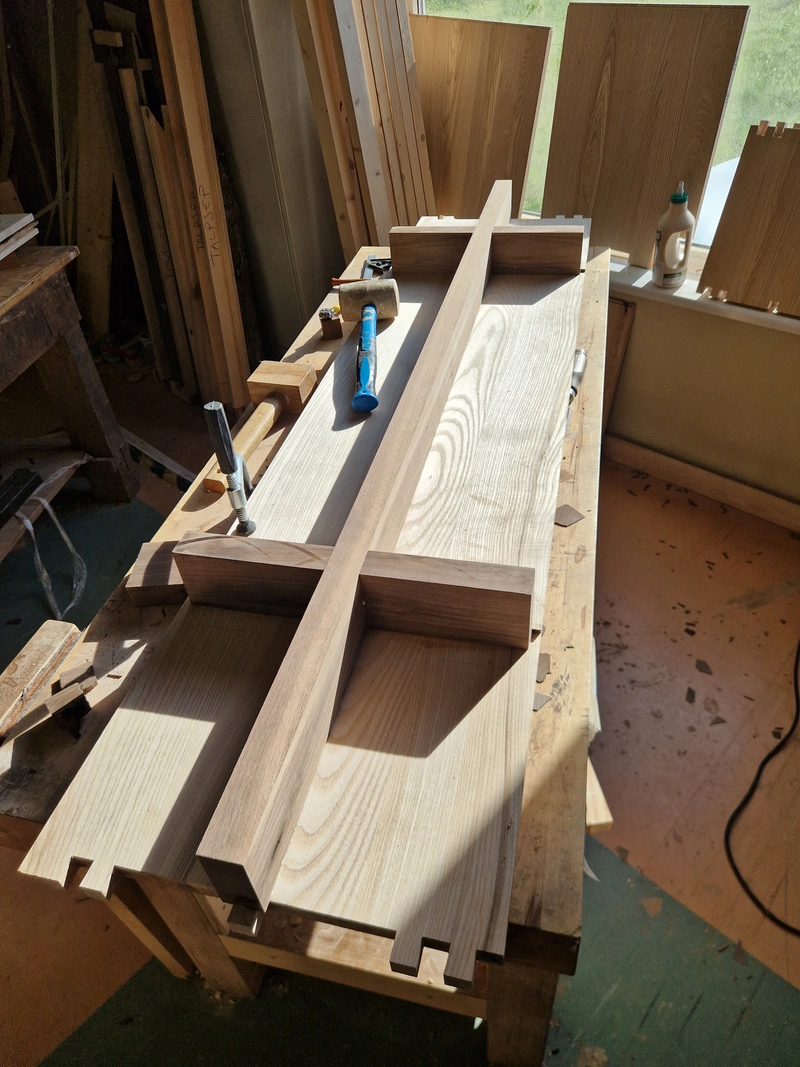
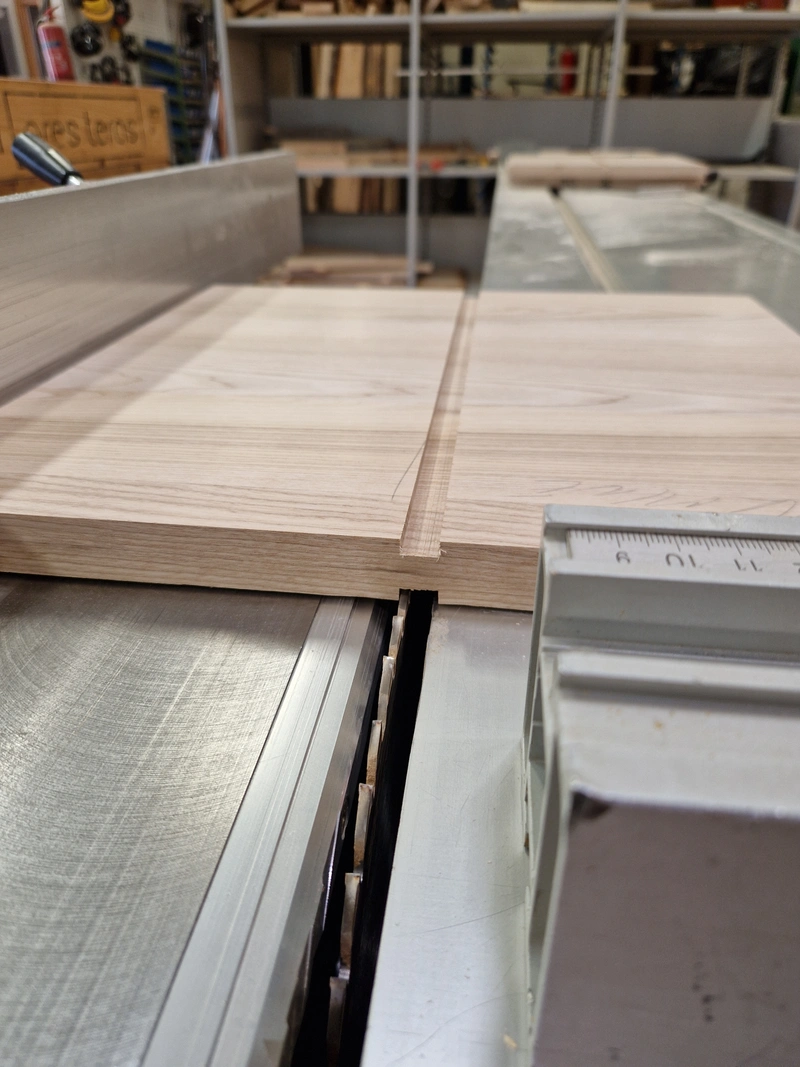
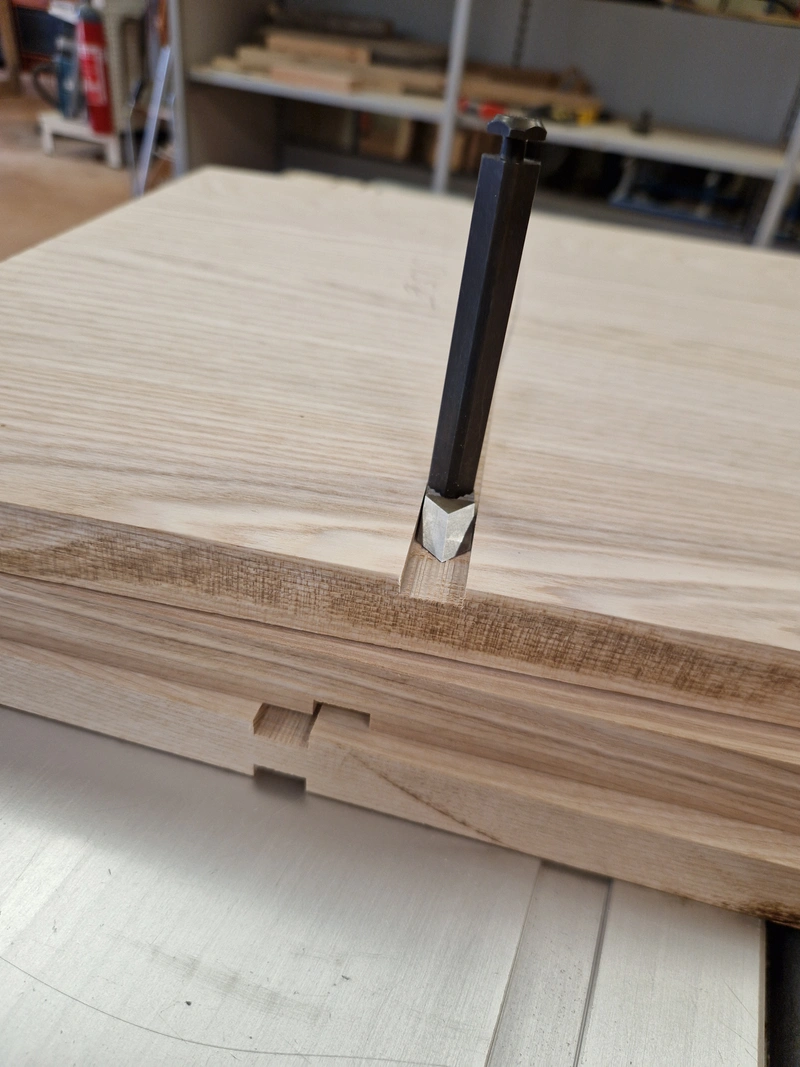
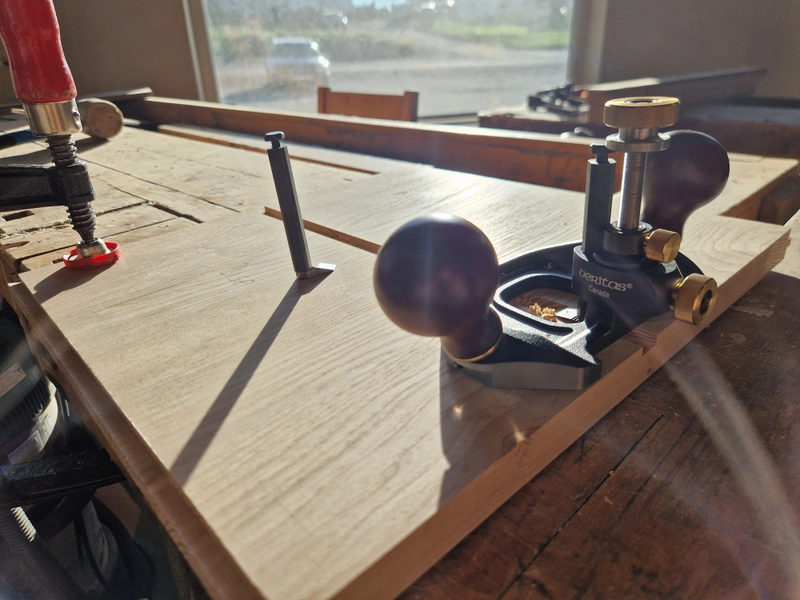
Used a router and a dovetail bit to create dovetail grooves for the legs to slide into. This also acts as a sliding dovetail batten, ensuring perfect flatness for the bottom panel throughout its entire lifetime (the panel can not twist/cup without breaking the batten, which it cant do due to the sheer strength of the batten itself). This is critical especially considering that later the sliding doors will be added, which demand perfect alignment between bottom and top grooves, otherwise they wont slide perfectly. The top groove is cut into an 8cm wide stretcher, which is small enough that its movement is negligible, however the bottom panel needs to be designed well to work well.
1 / 17
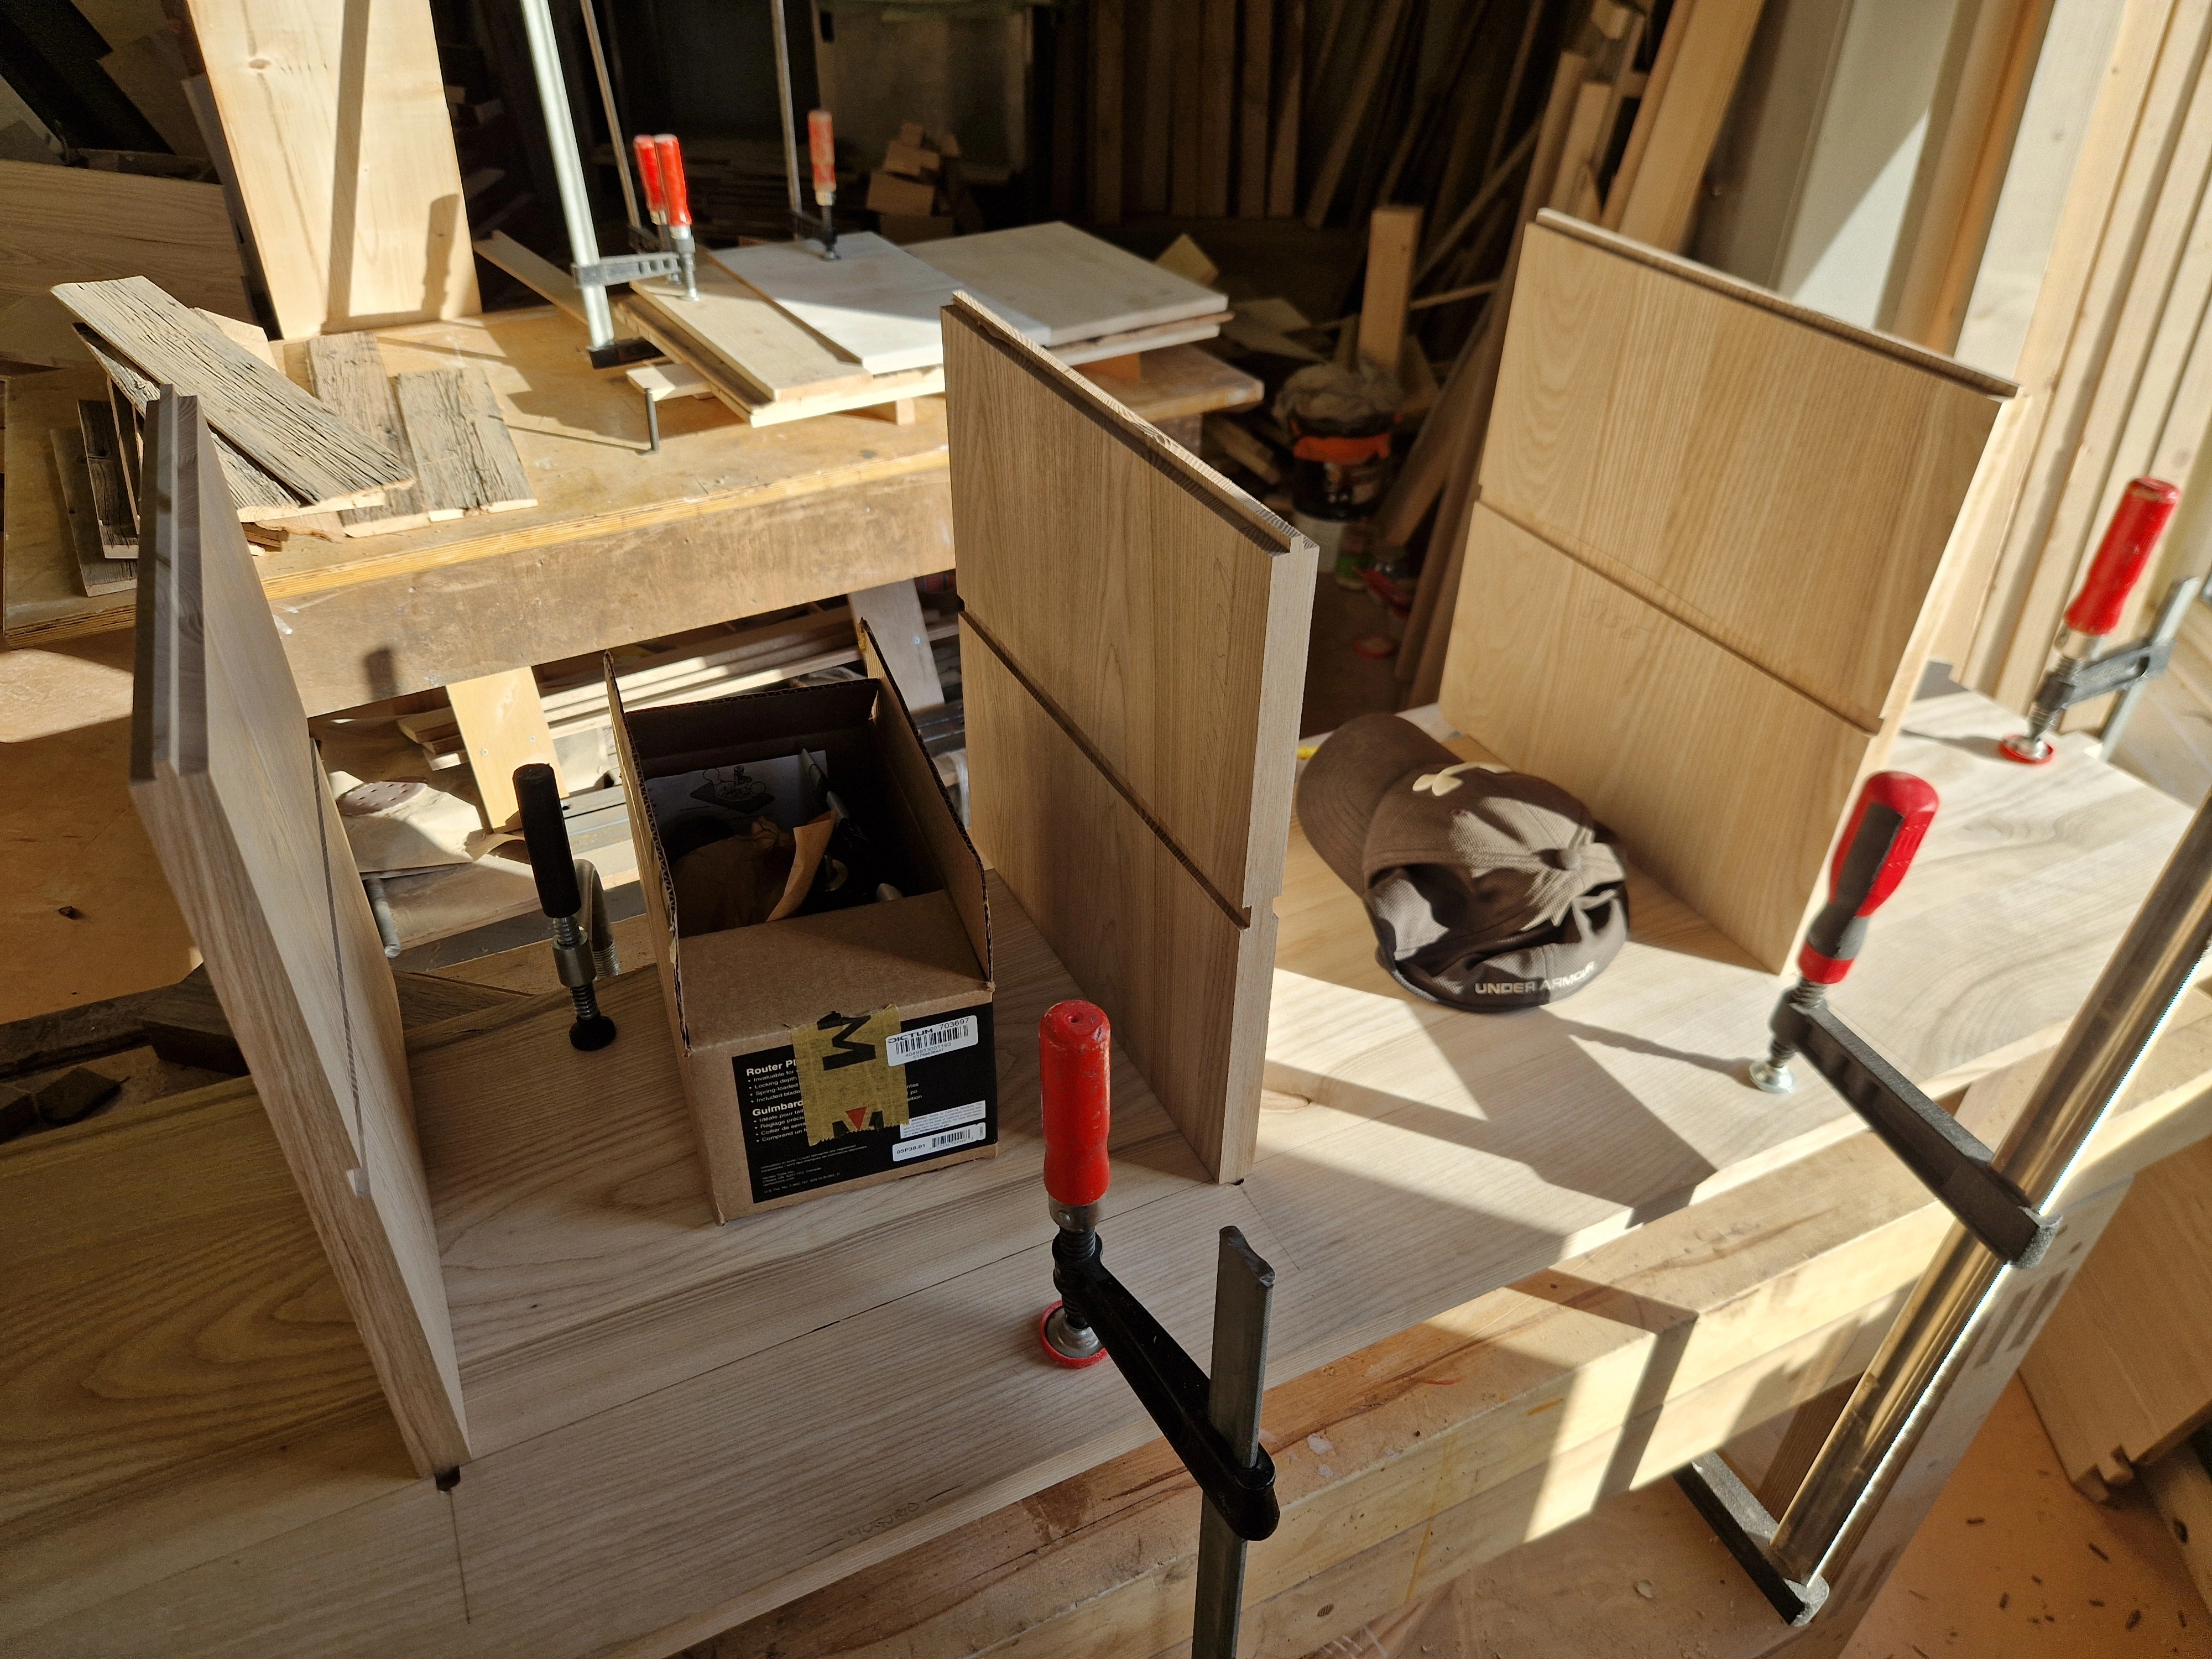
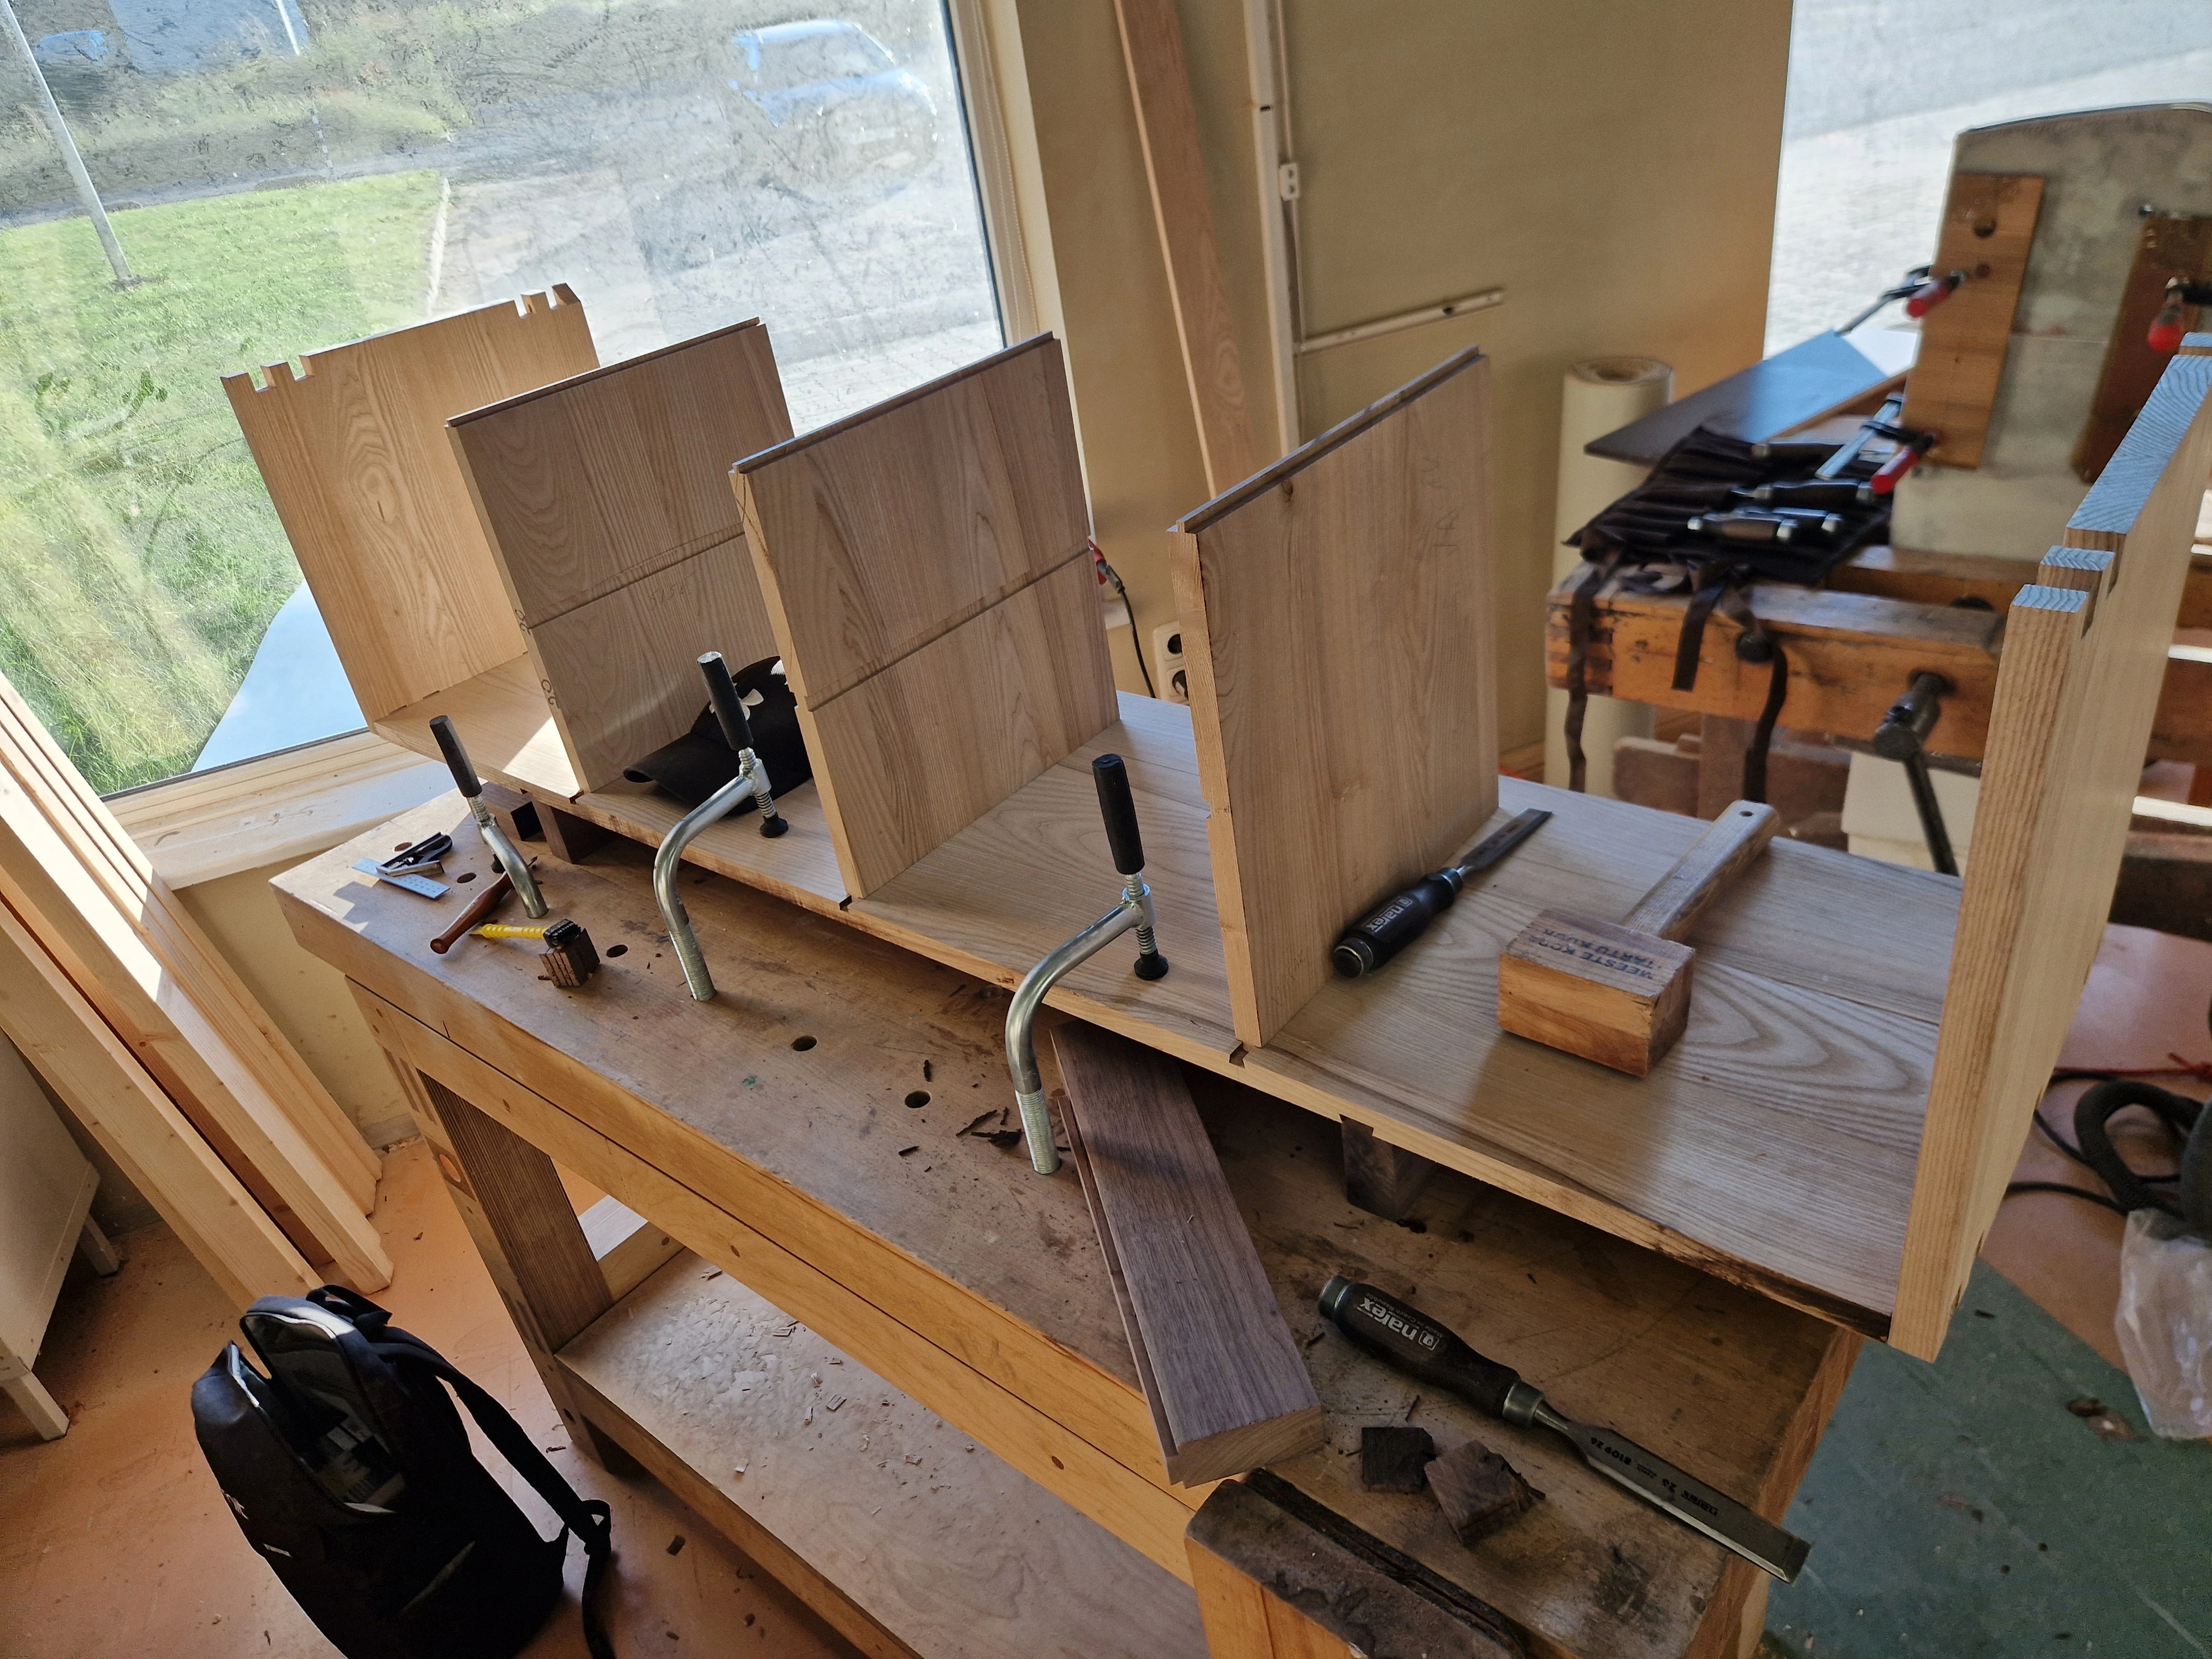
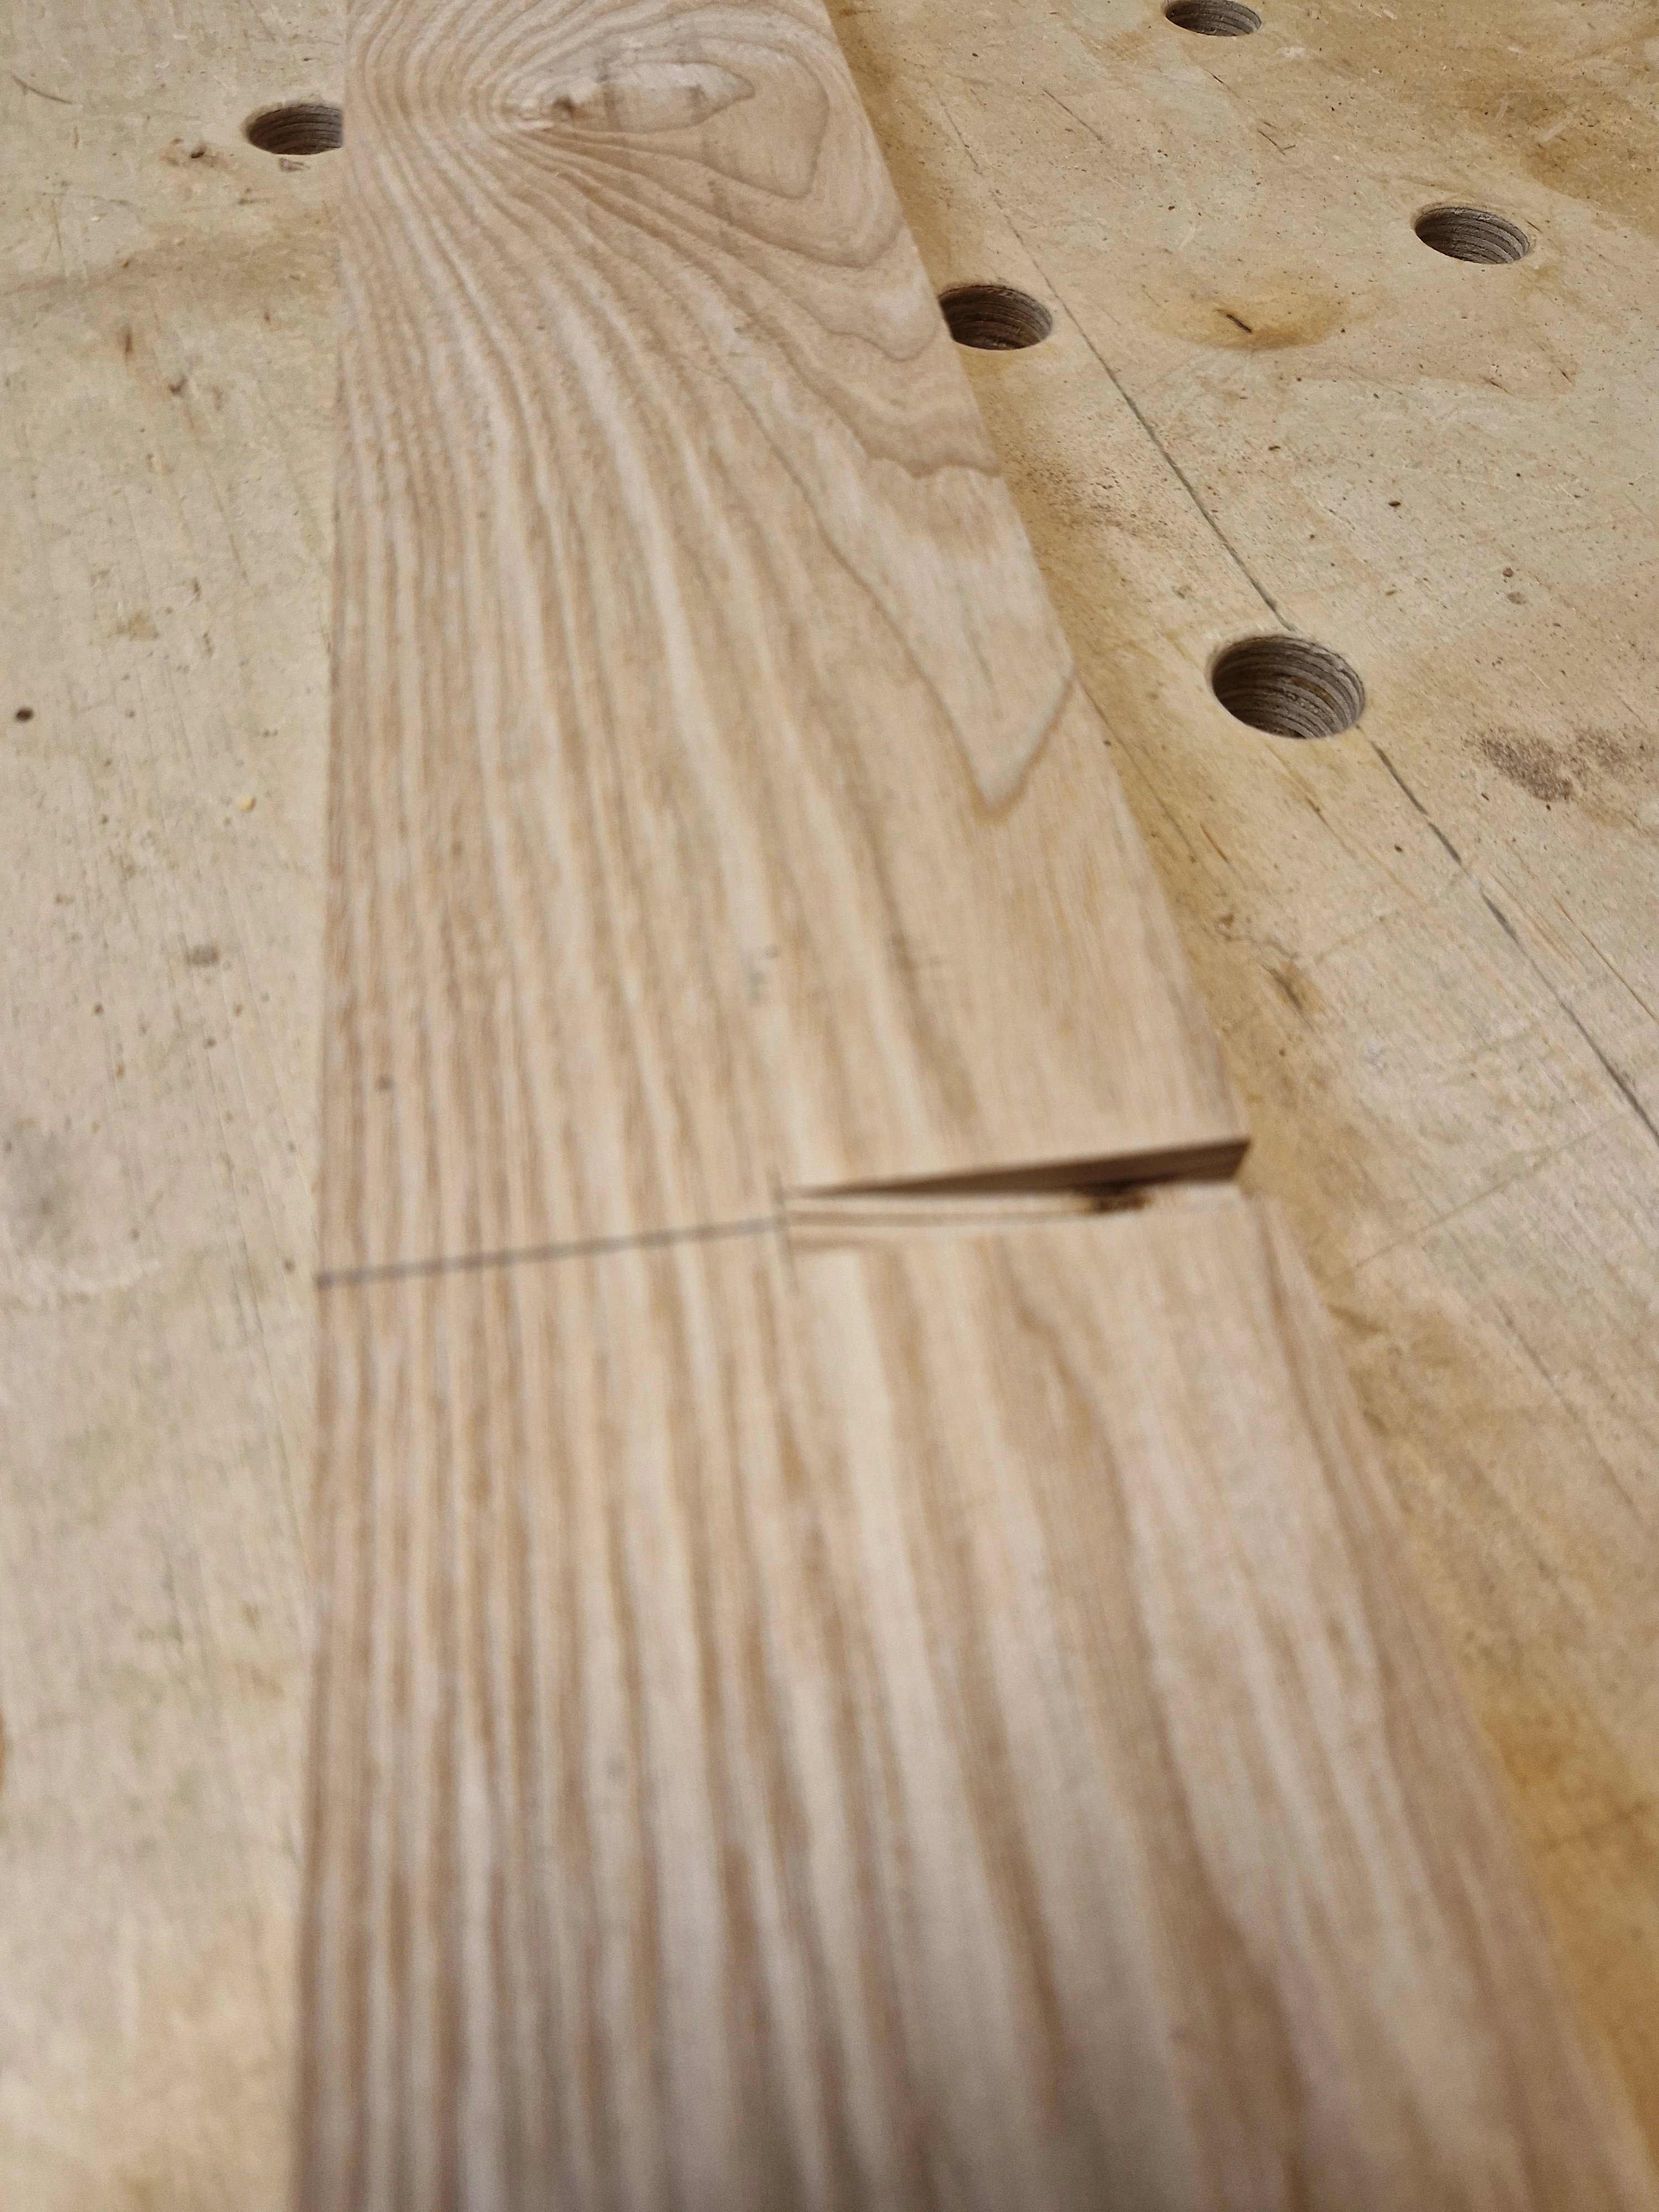
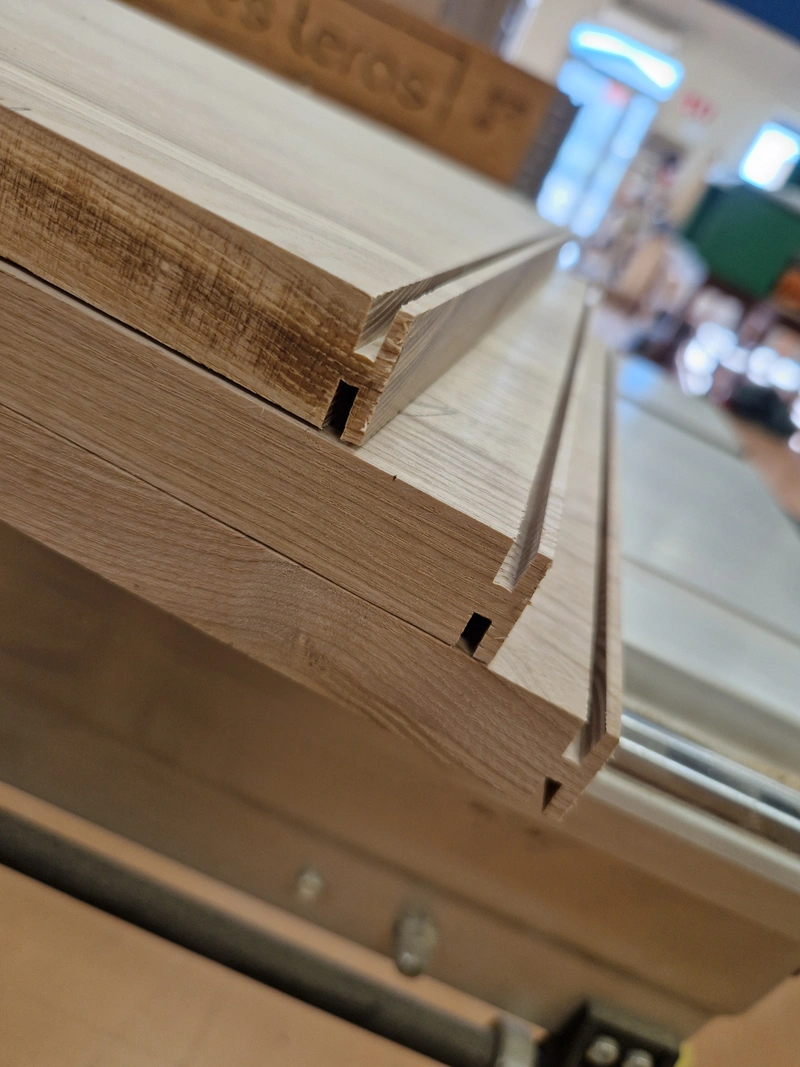
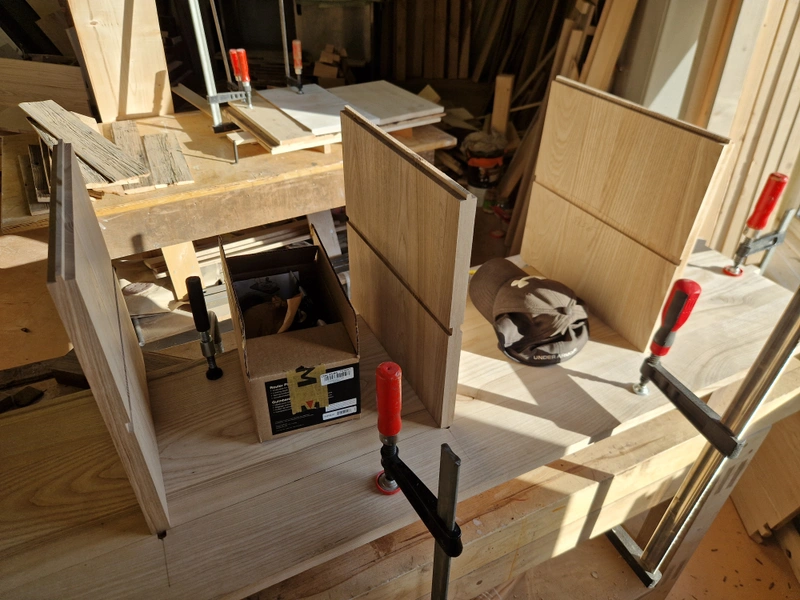
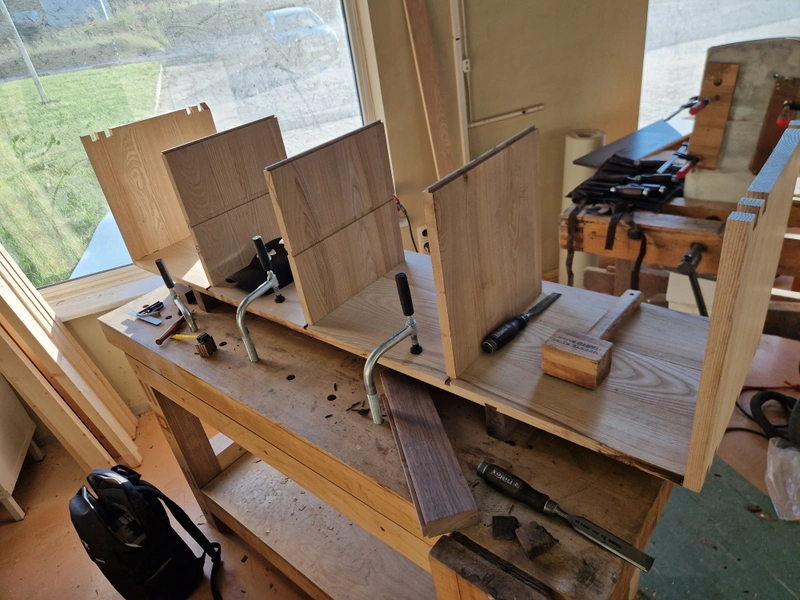
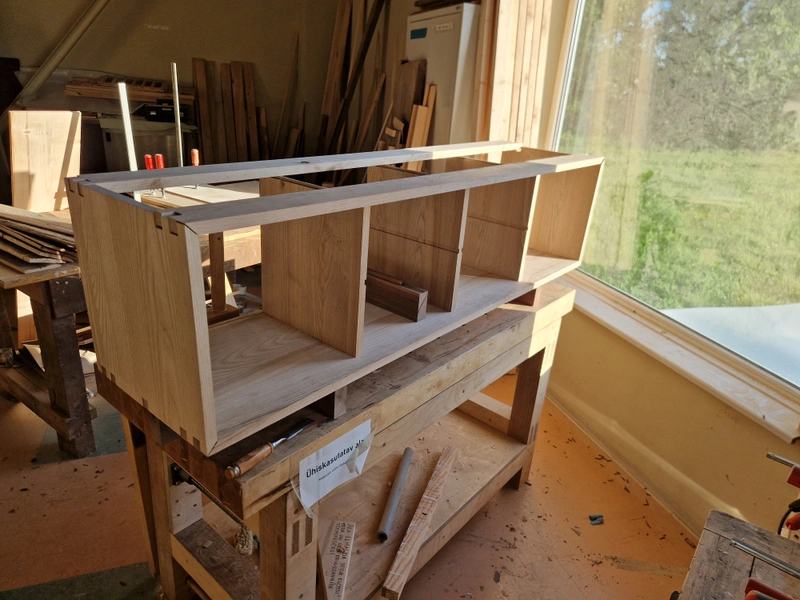
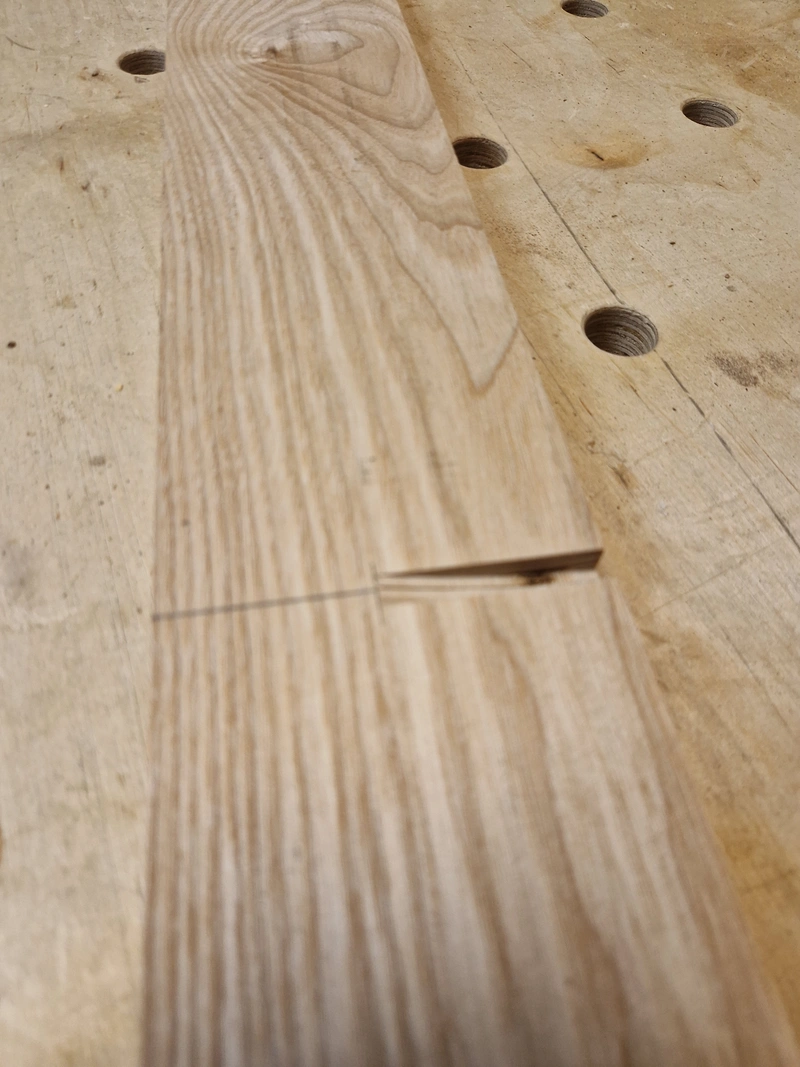
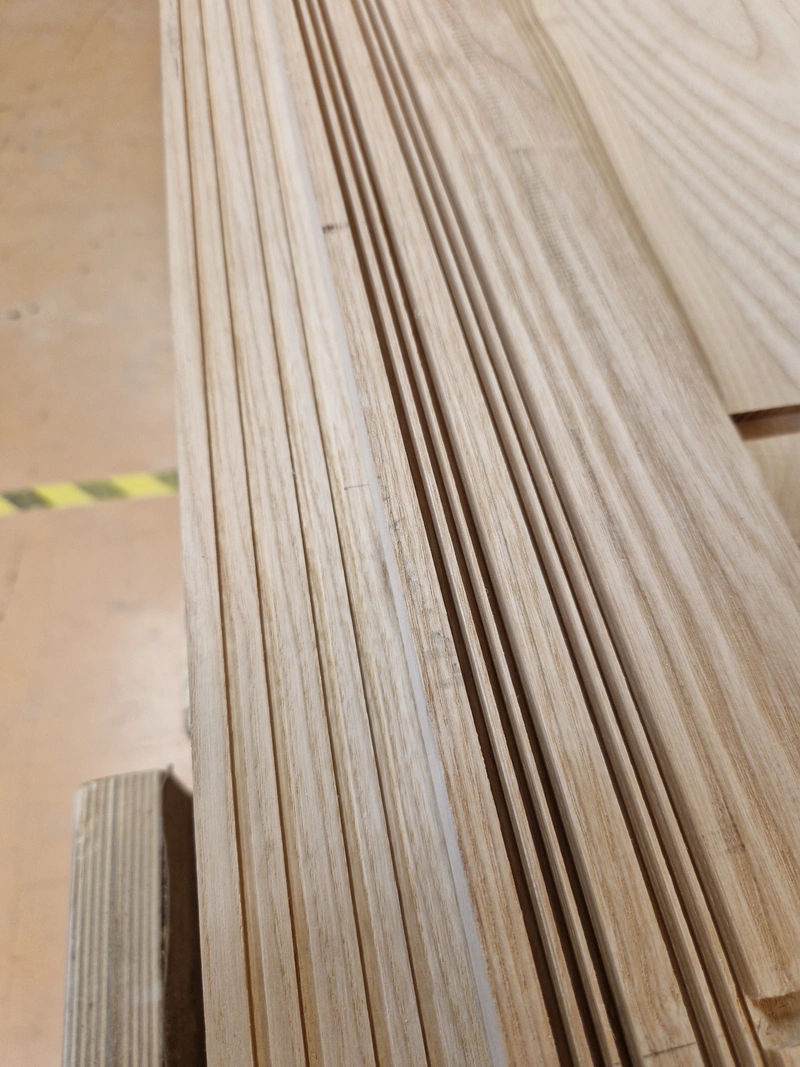
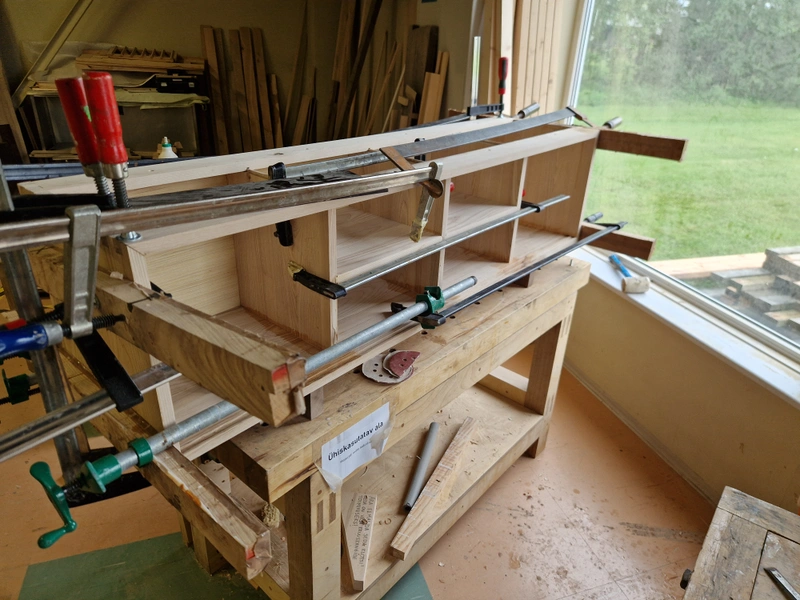
For the vertical elements I created even more sliding dovetail joints. At this point it's just because I like them, not because they're structurally needed. These may as well have been added to the panel via regular dominoes but for some reason I really like sliding the elements in. Added tongue-and-groove joints to the top of the elements and the stretchers, which help align the elements properly during the glue-up.
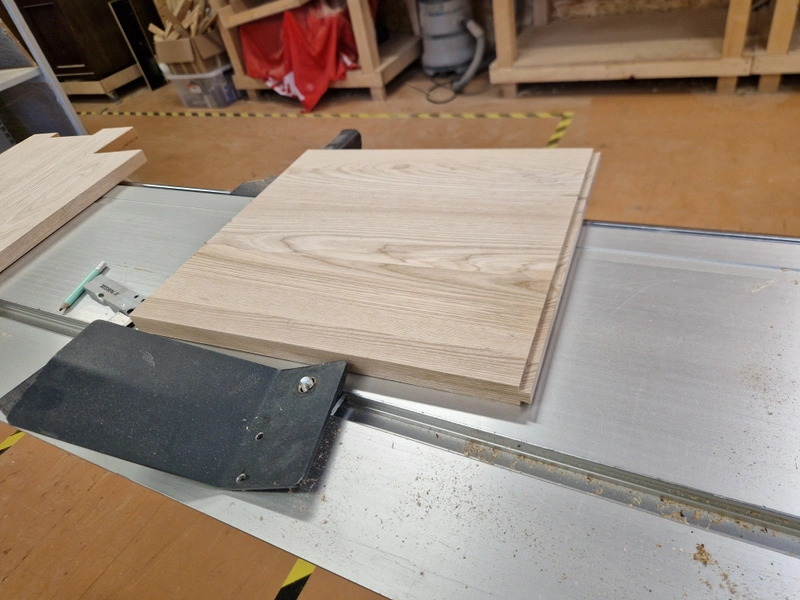
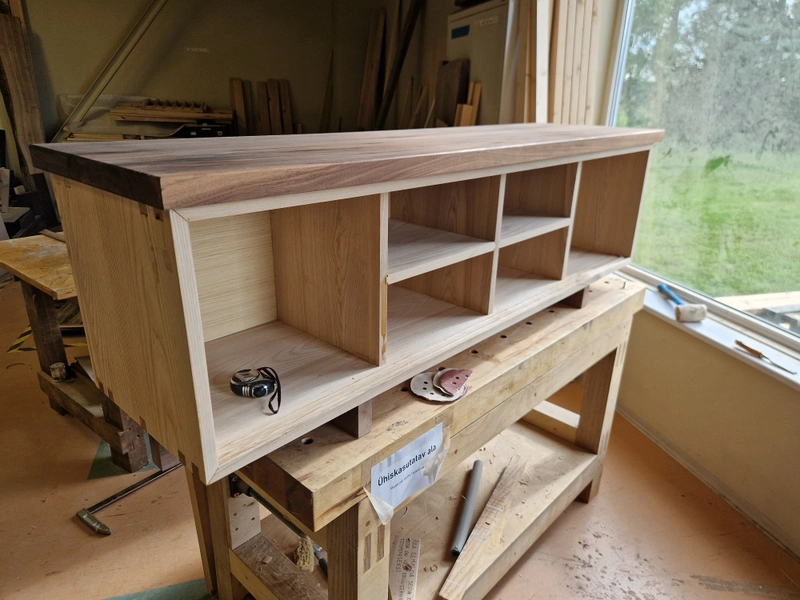
For the center sections, I added two horizontal elements to create 4 smaller shelves. These panels are joined together via dado joints and glue.
1 / 14
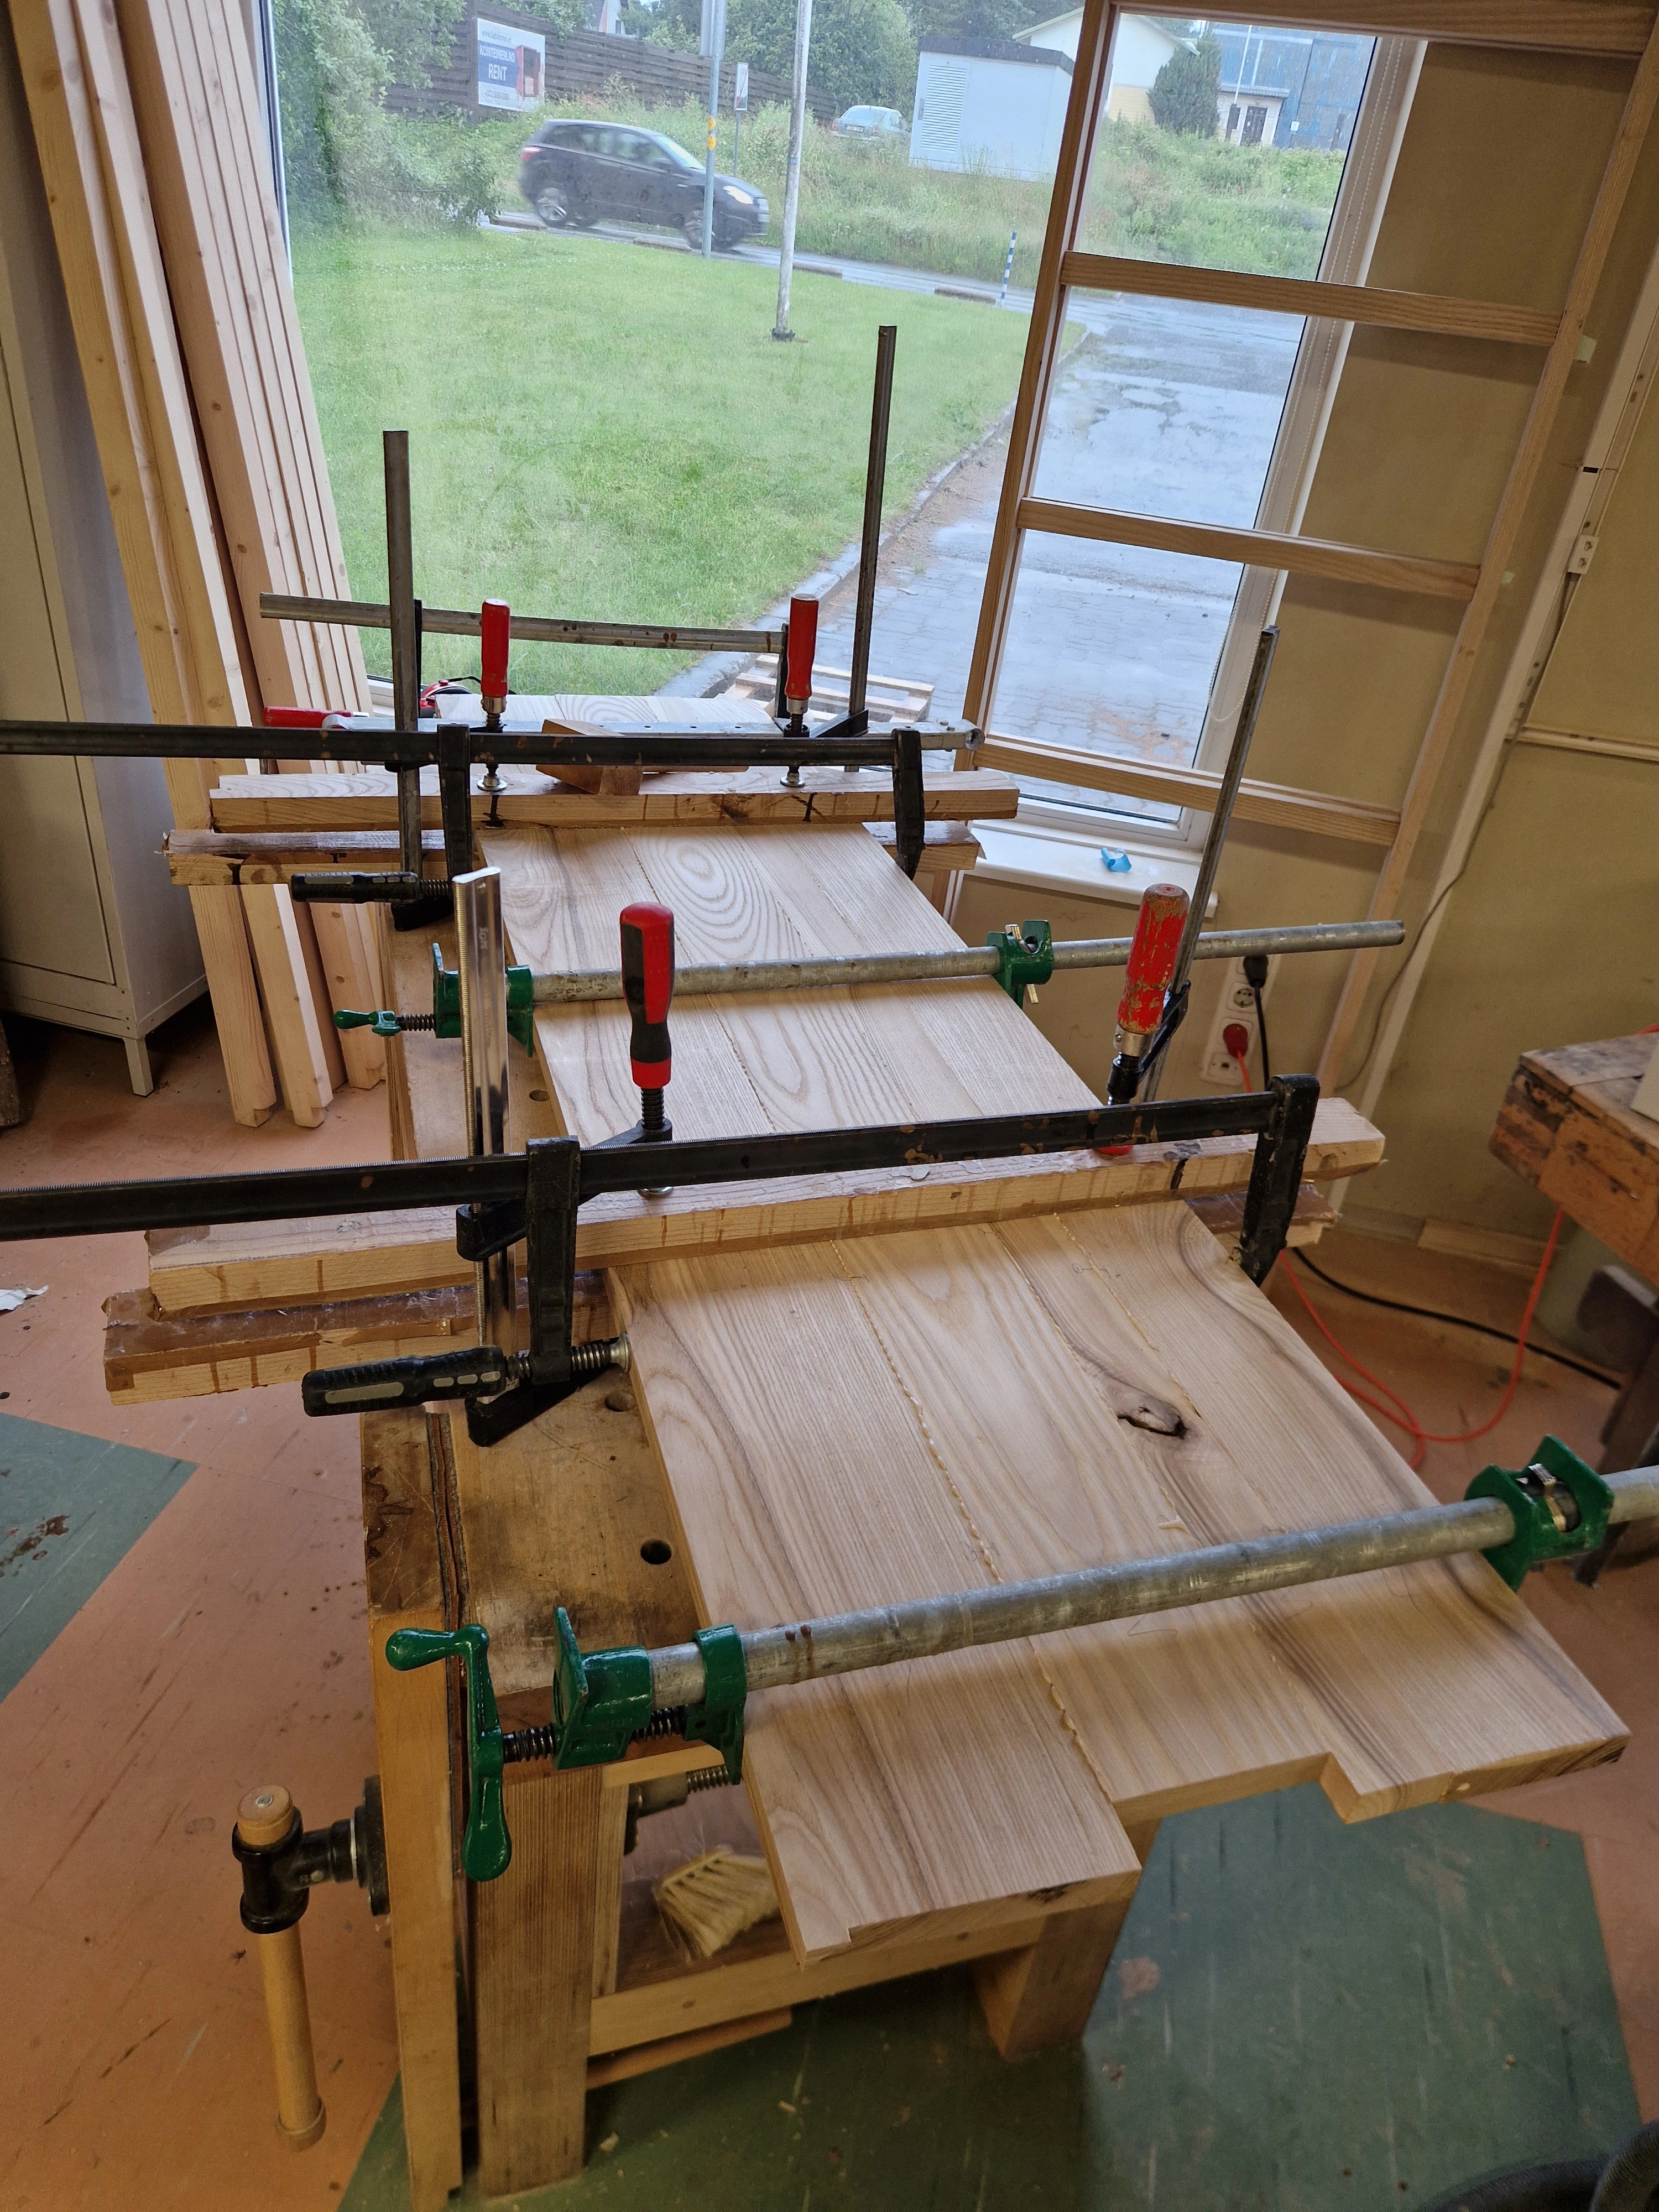
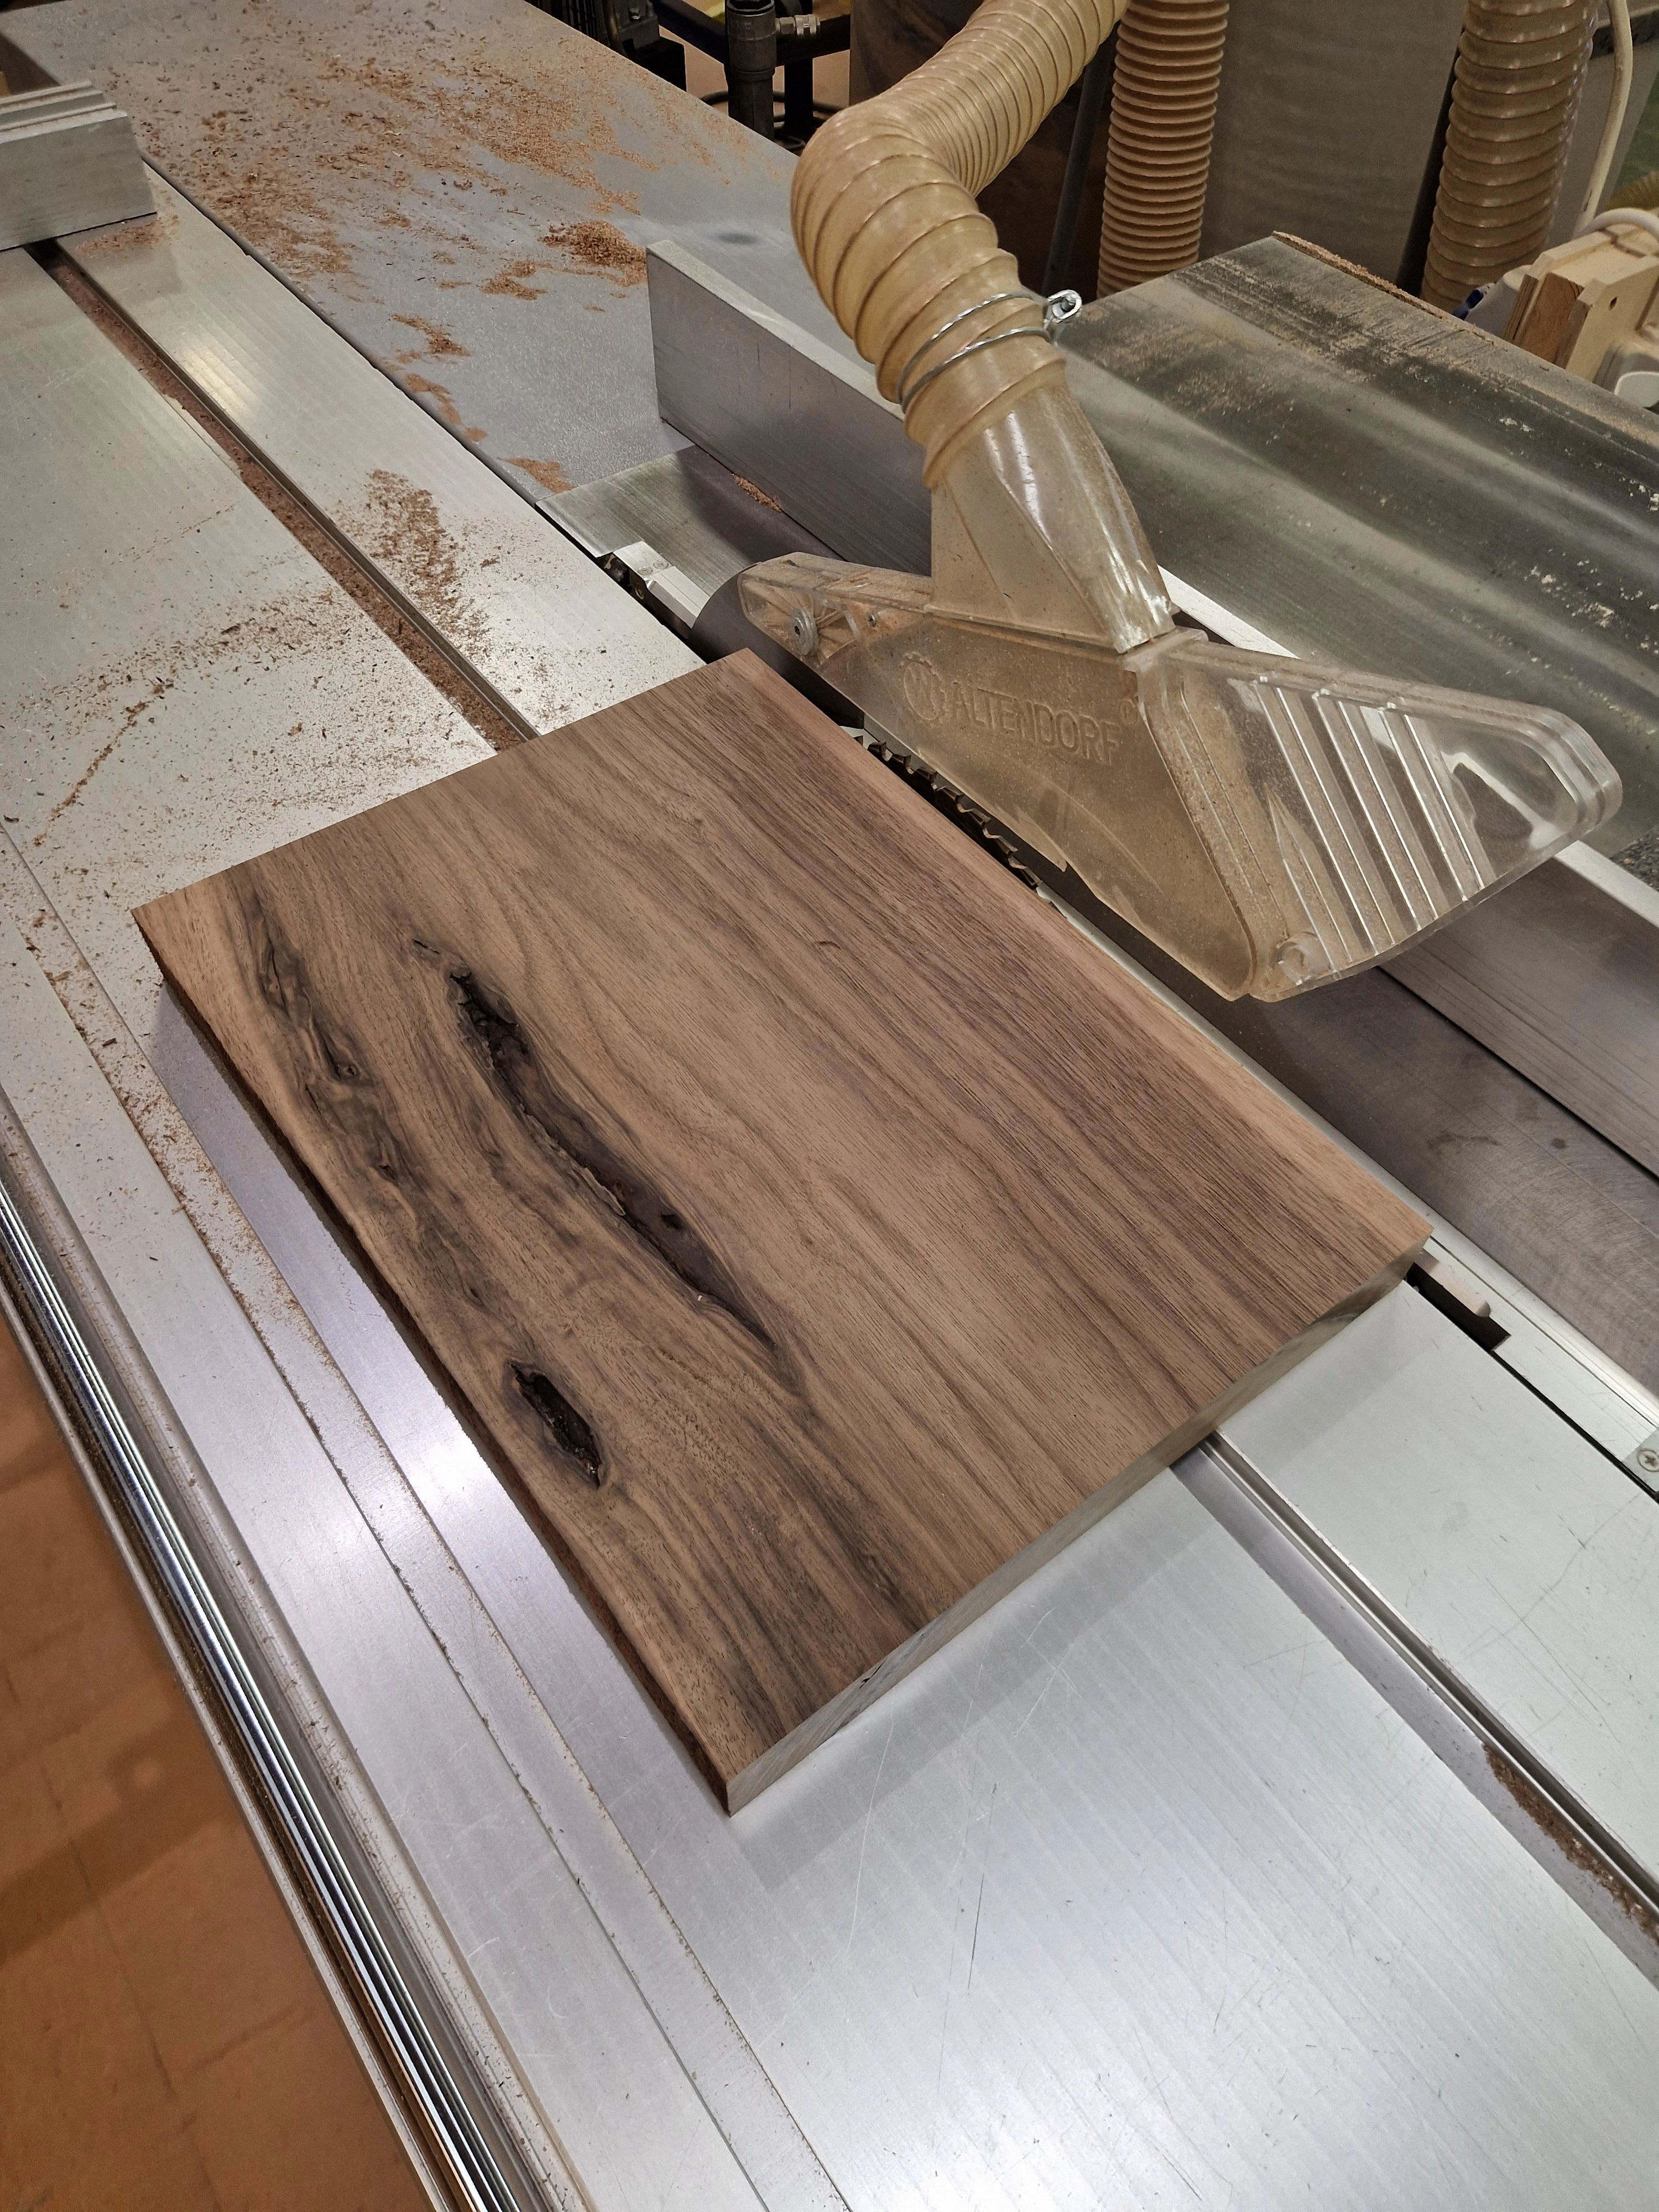
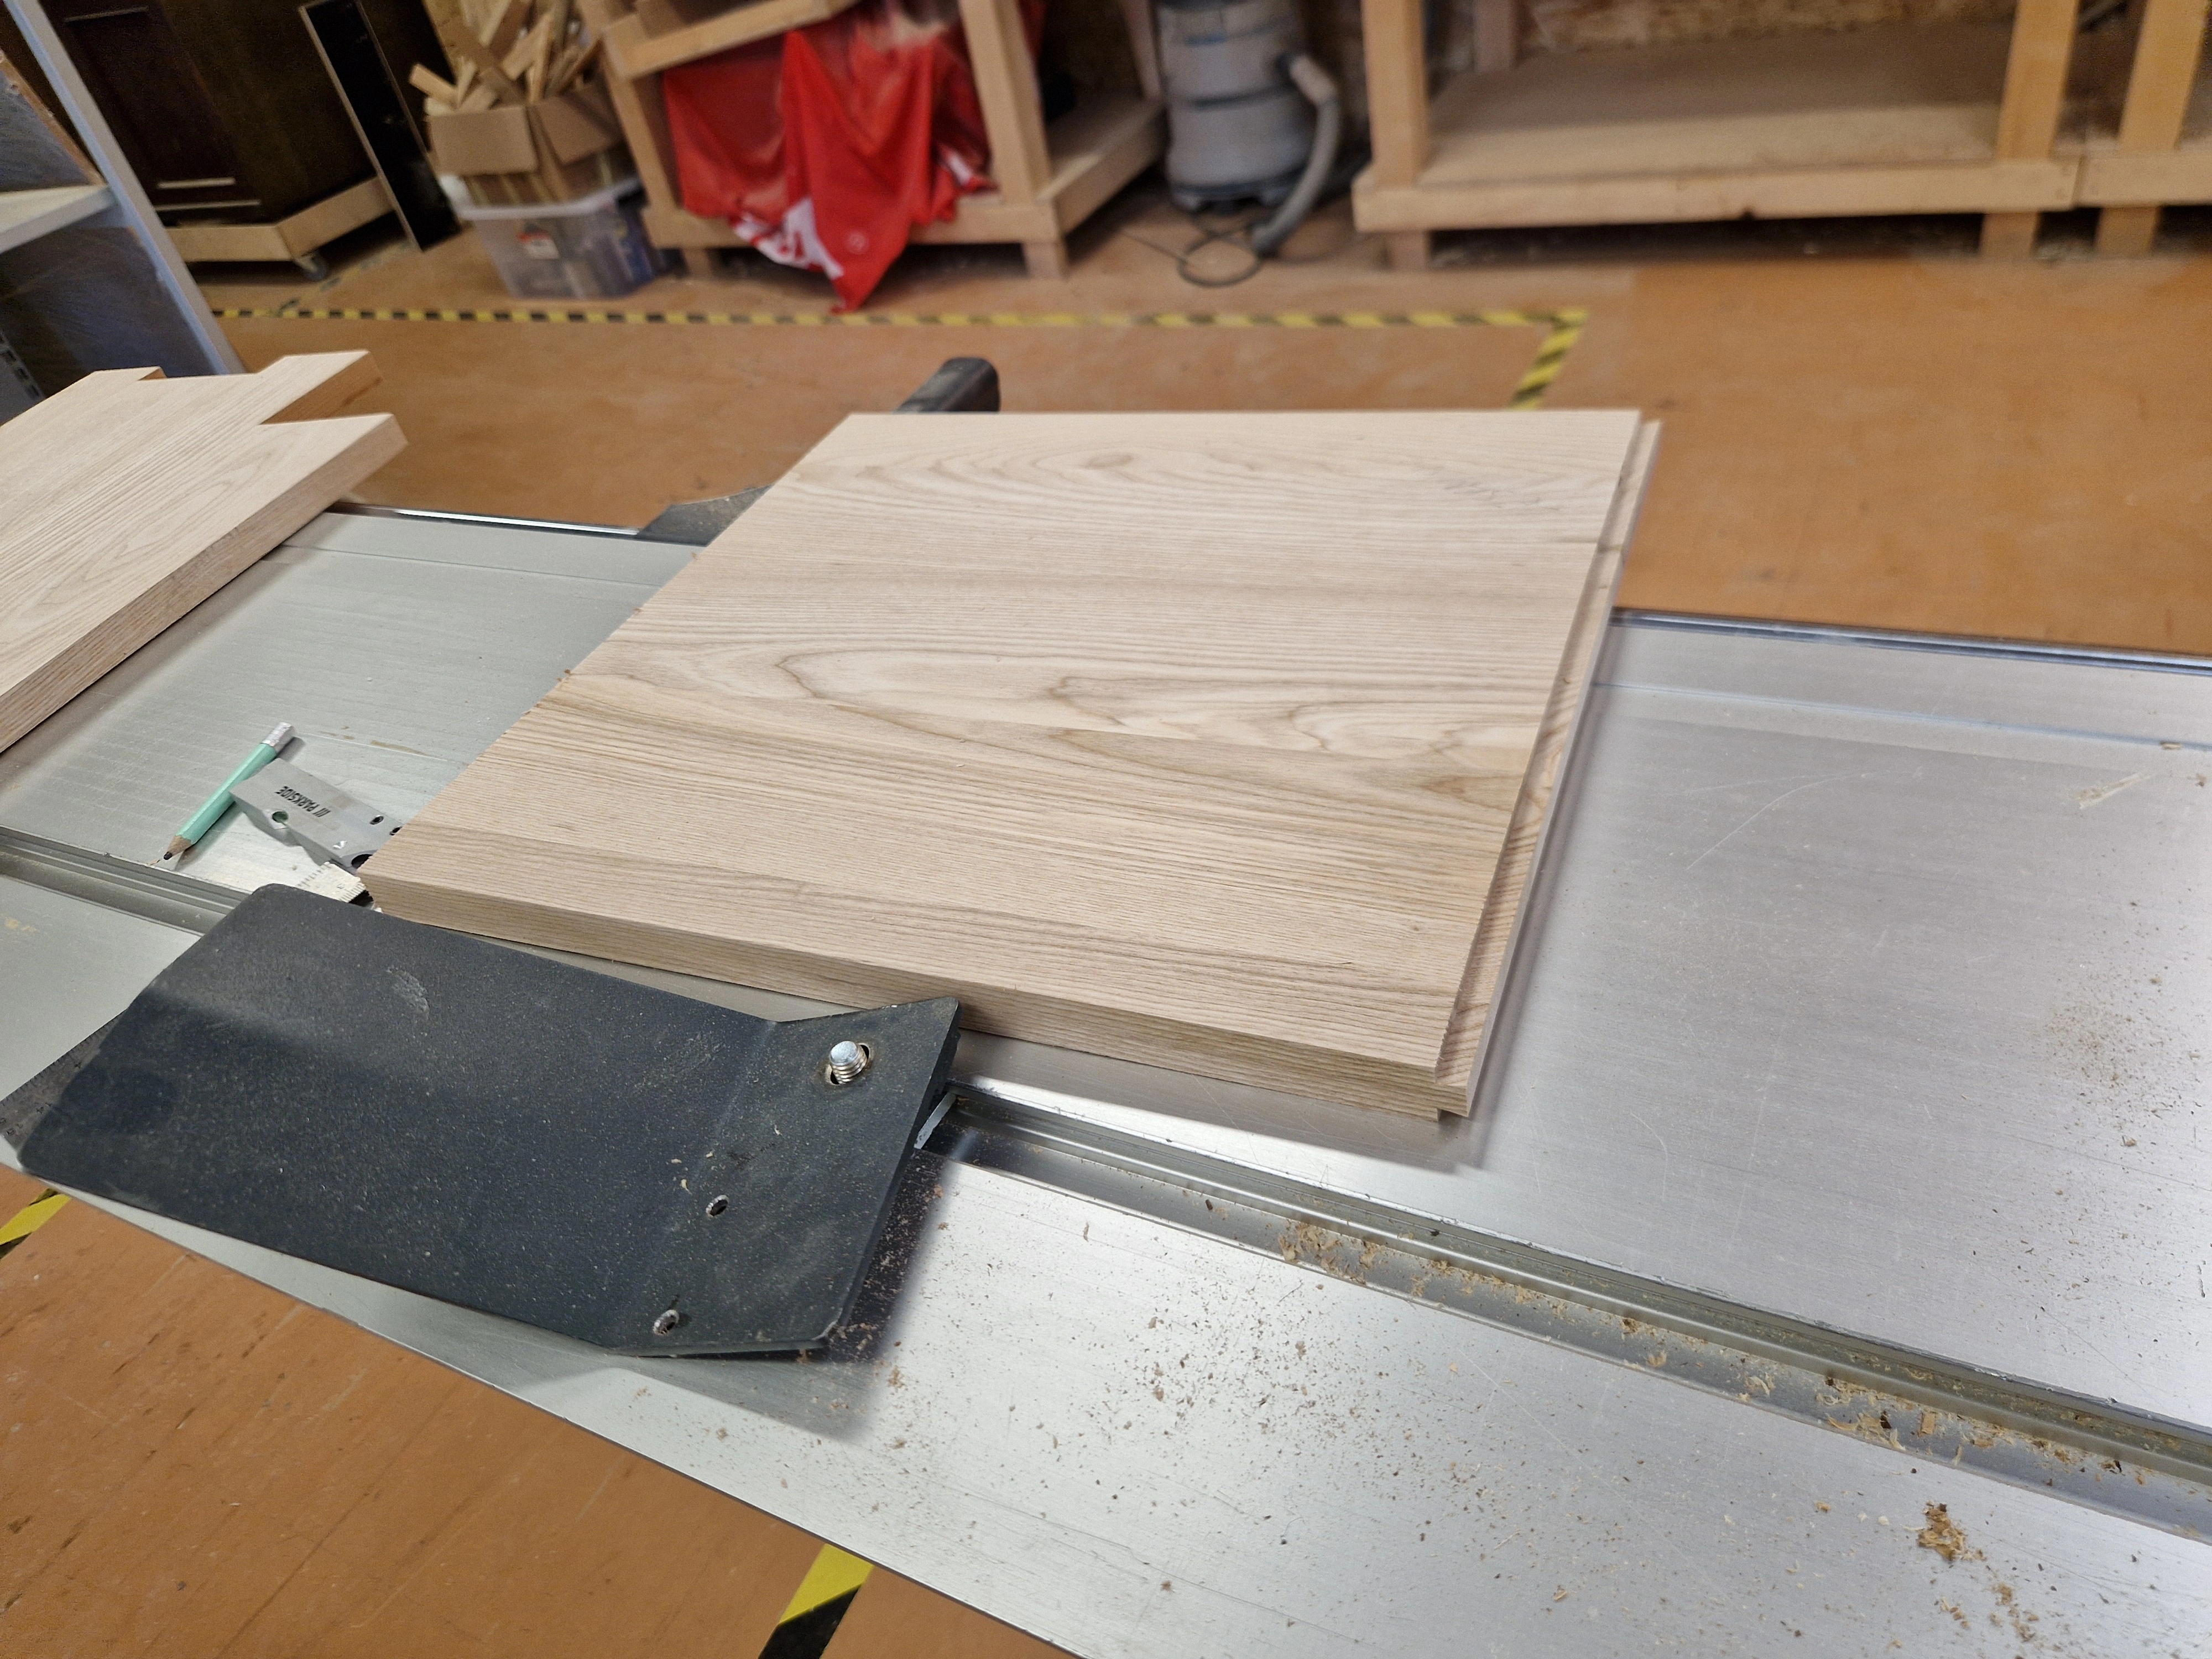
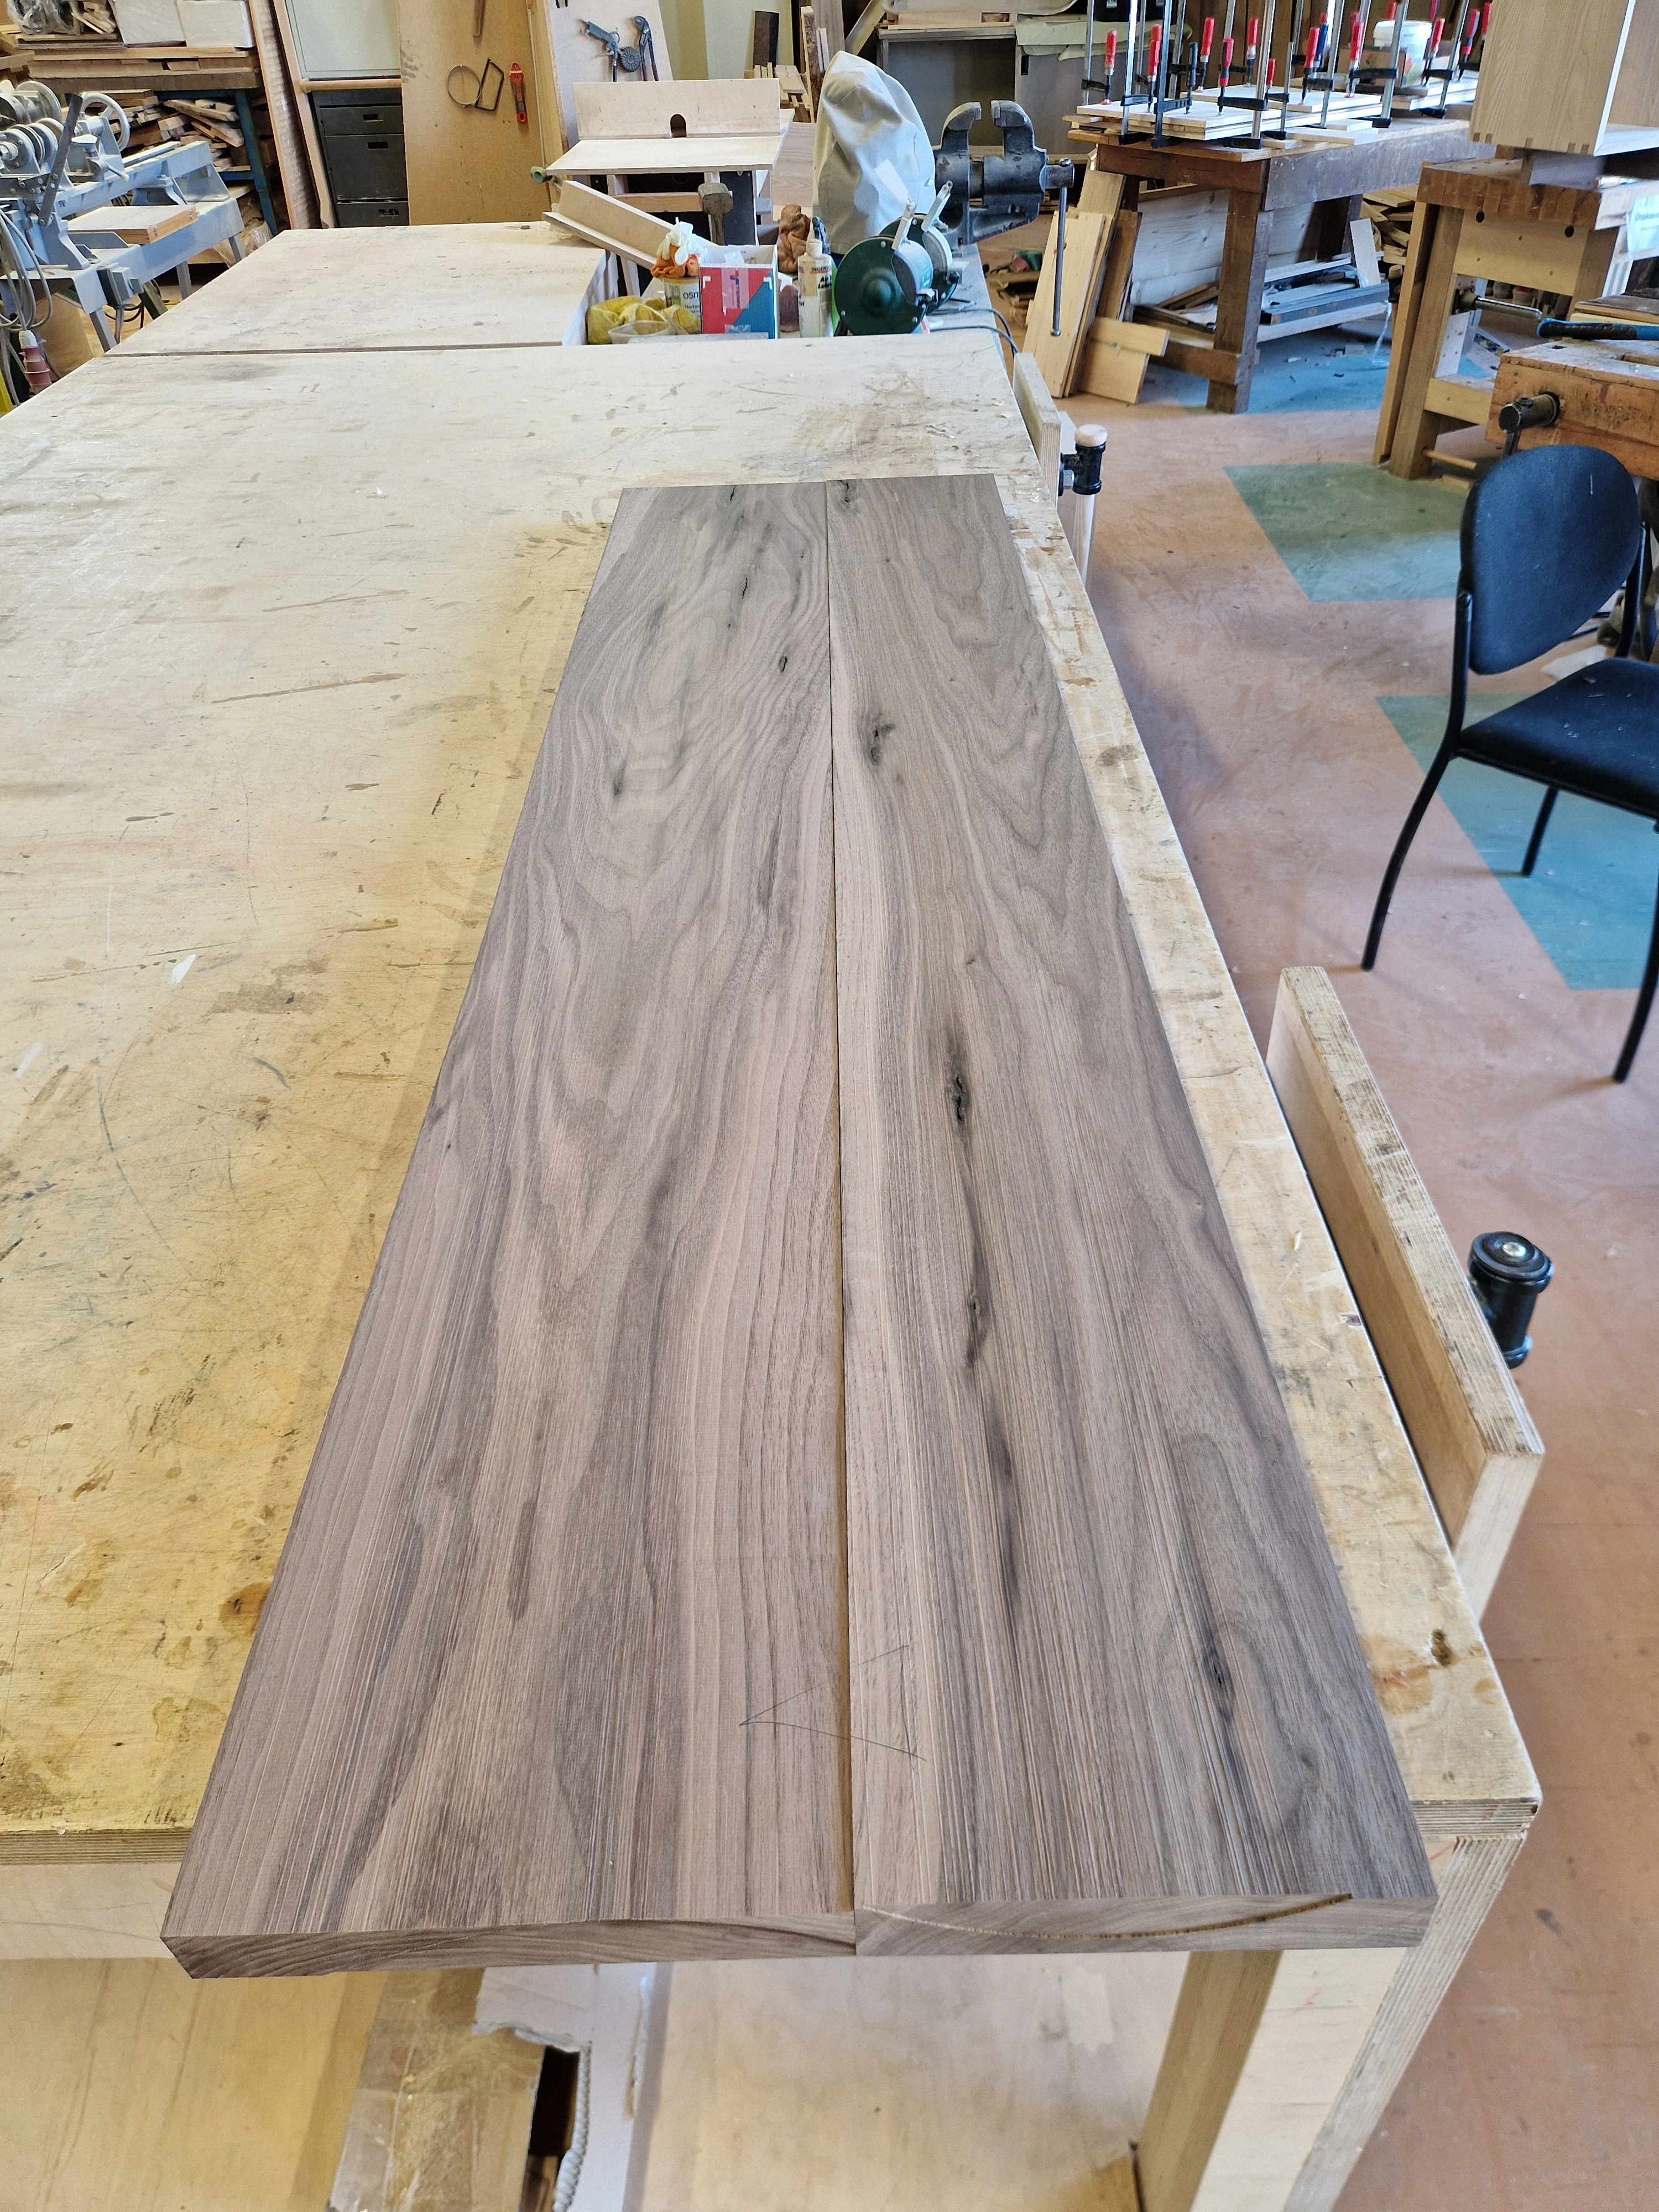
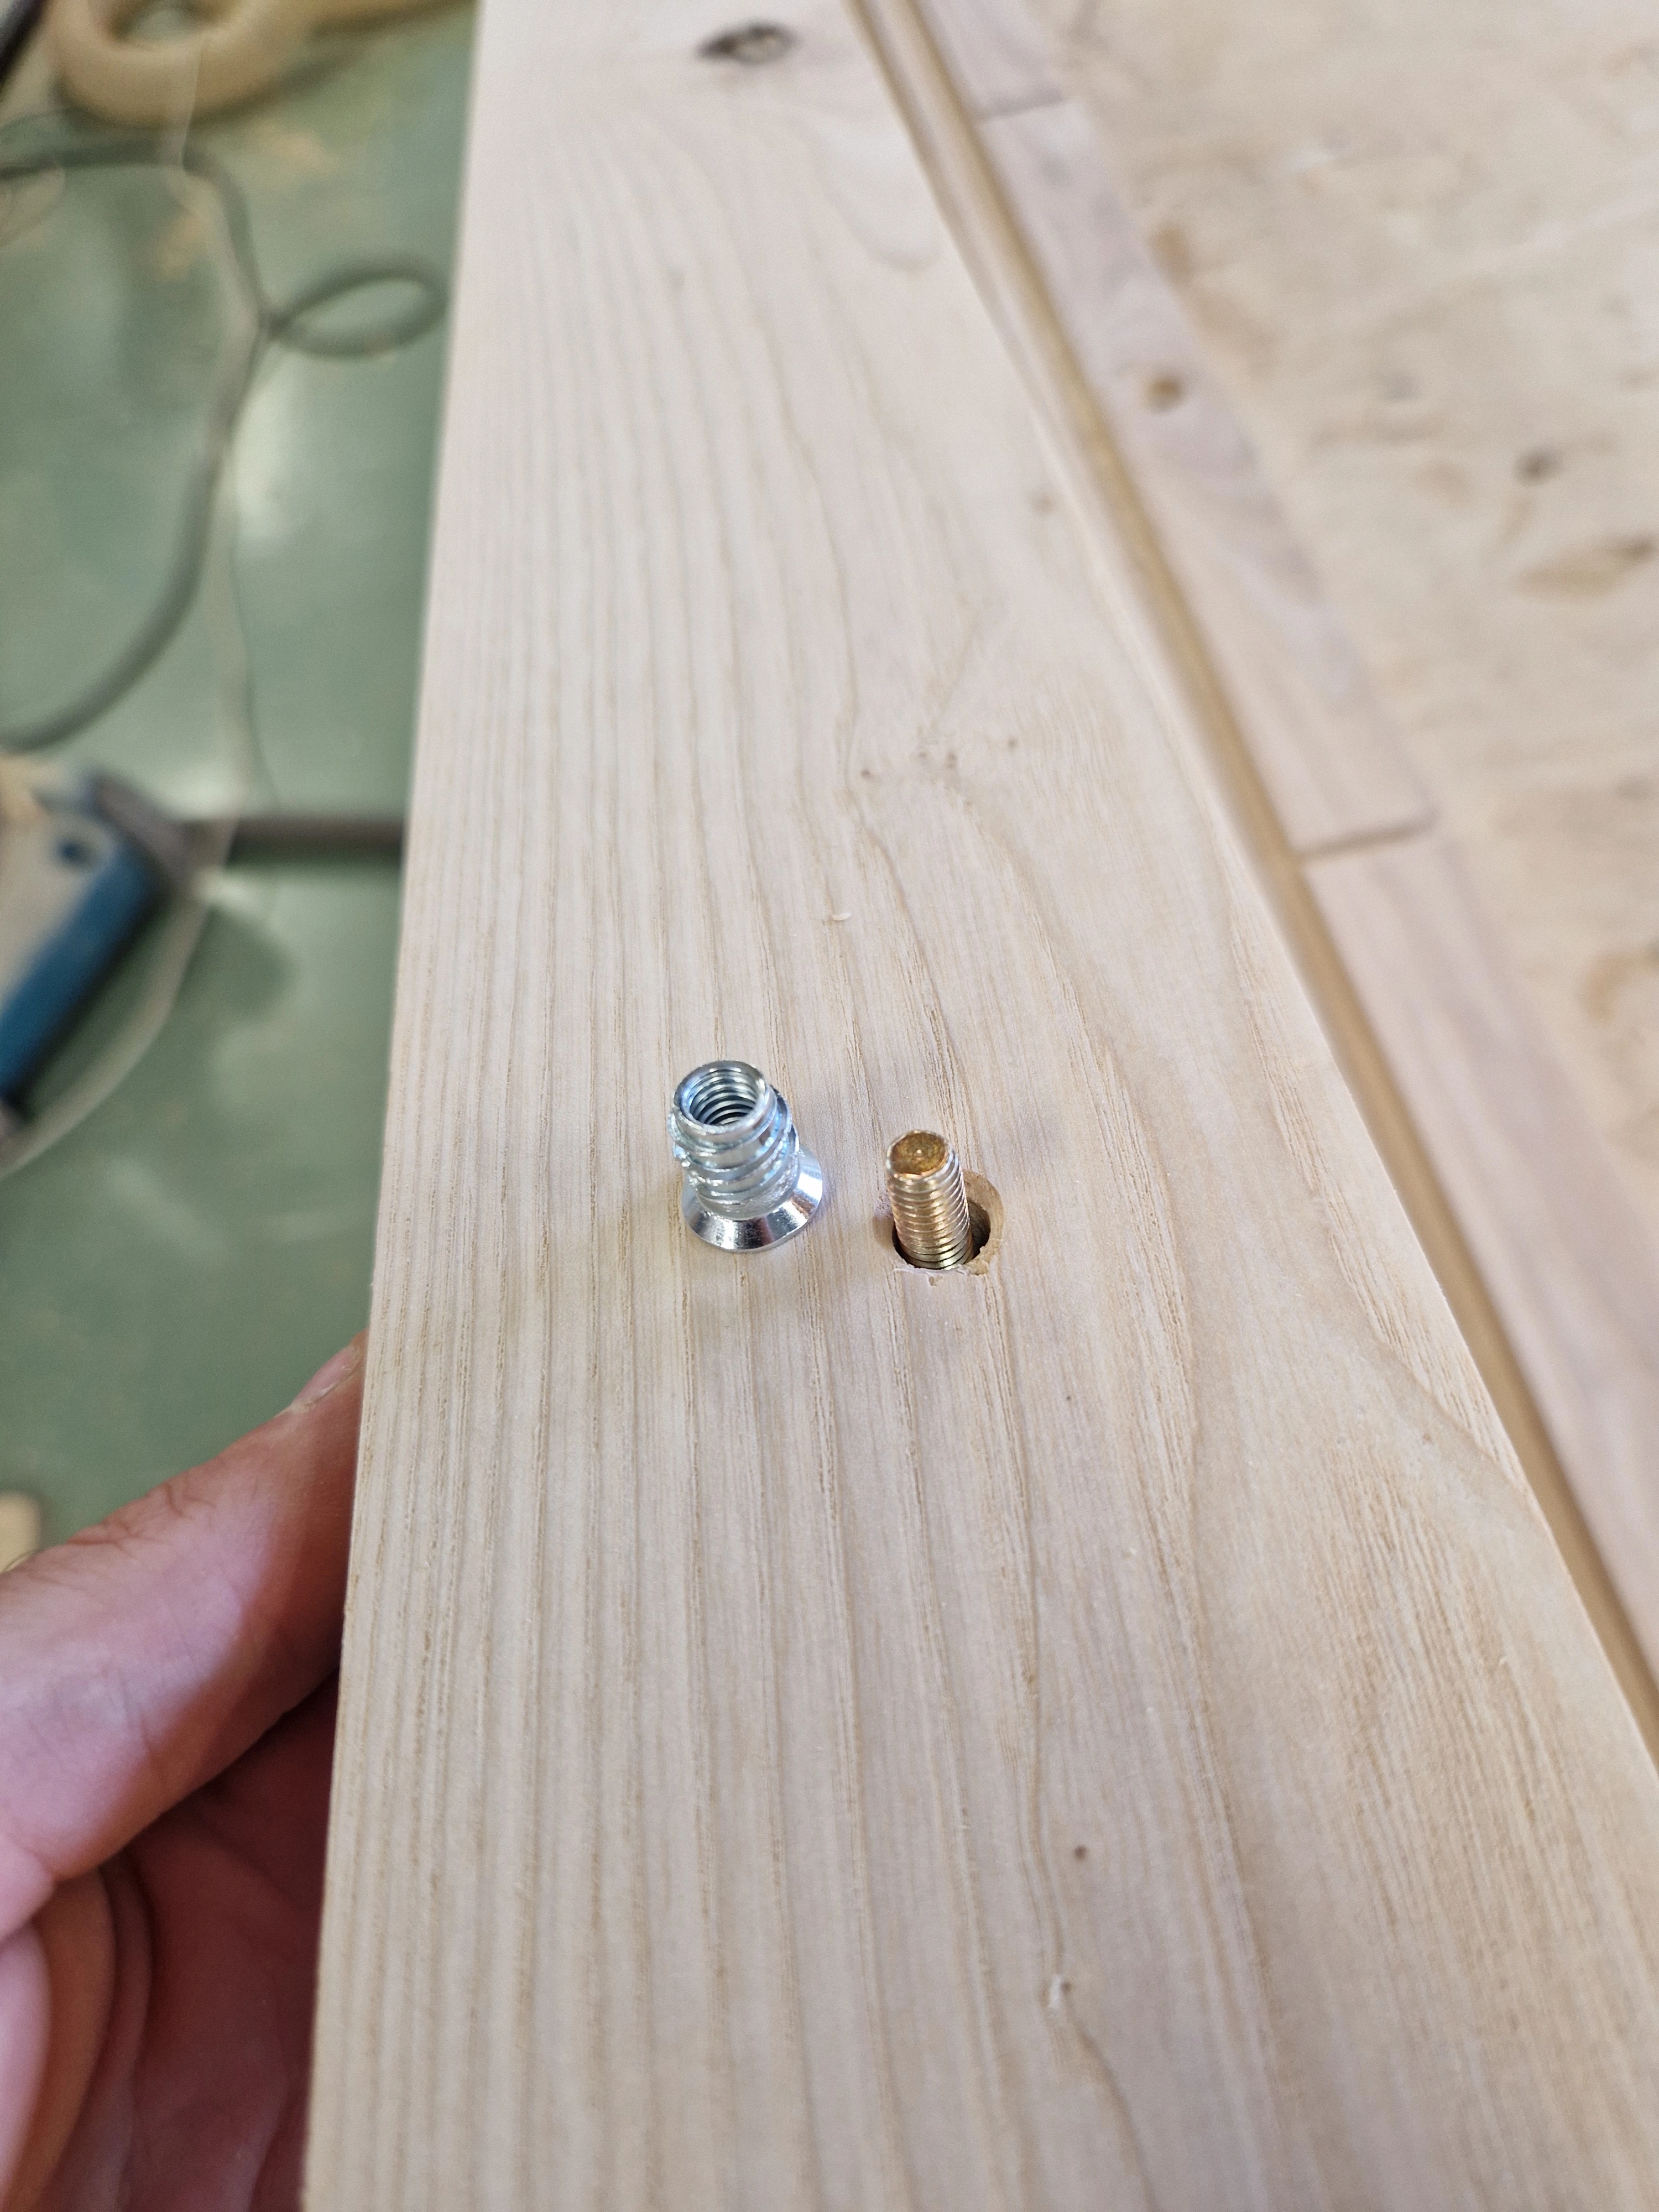
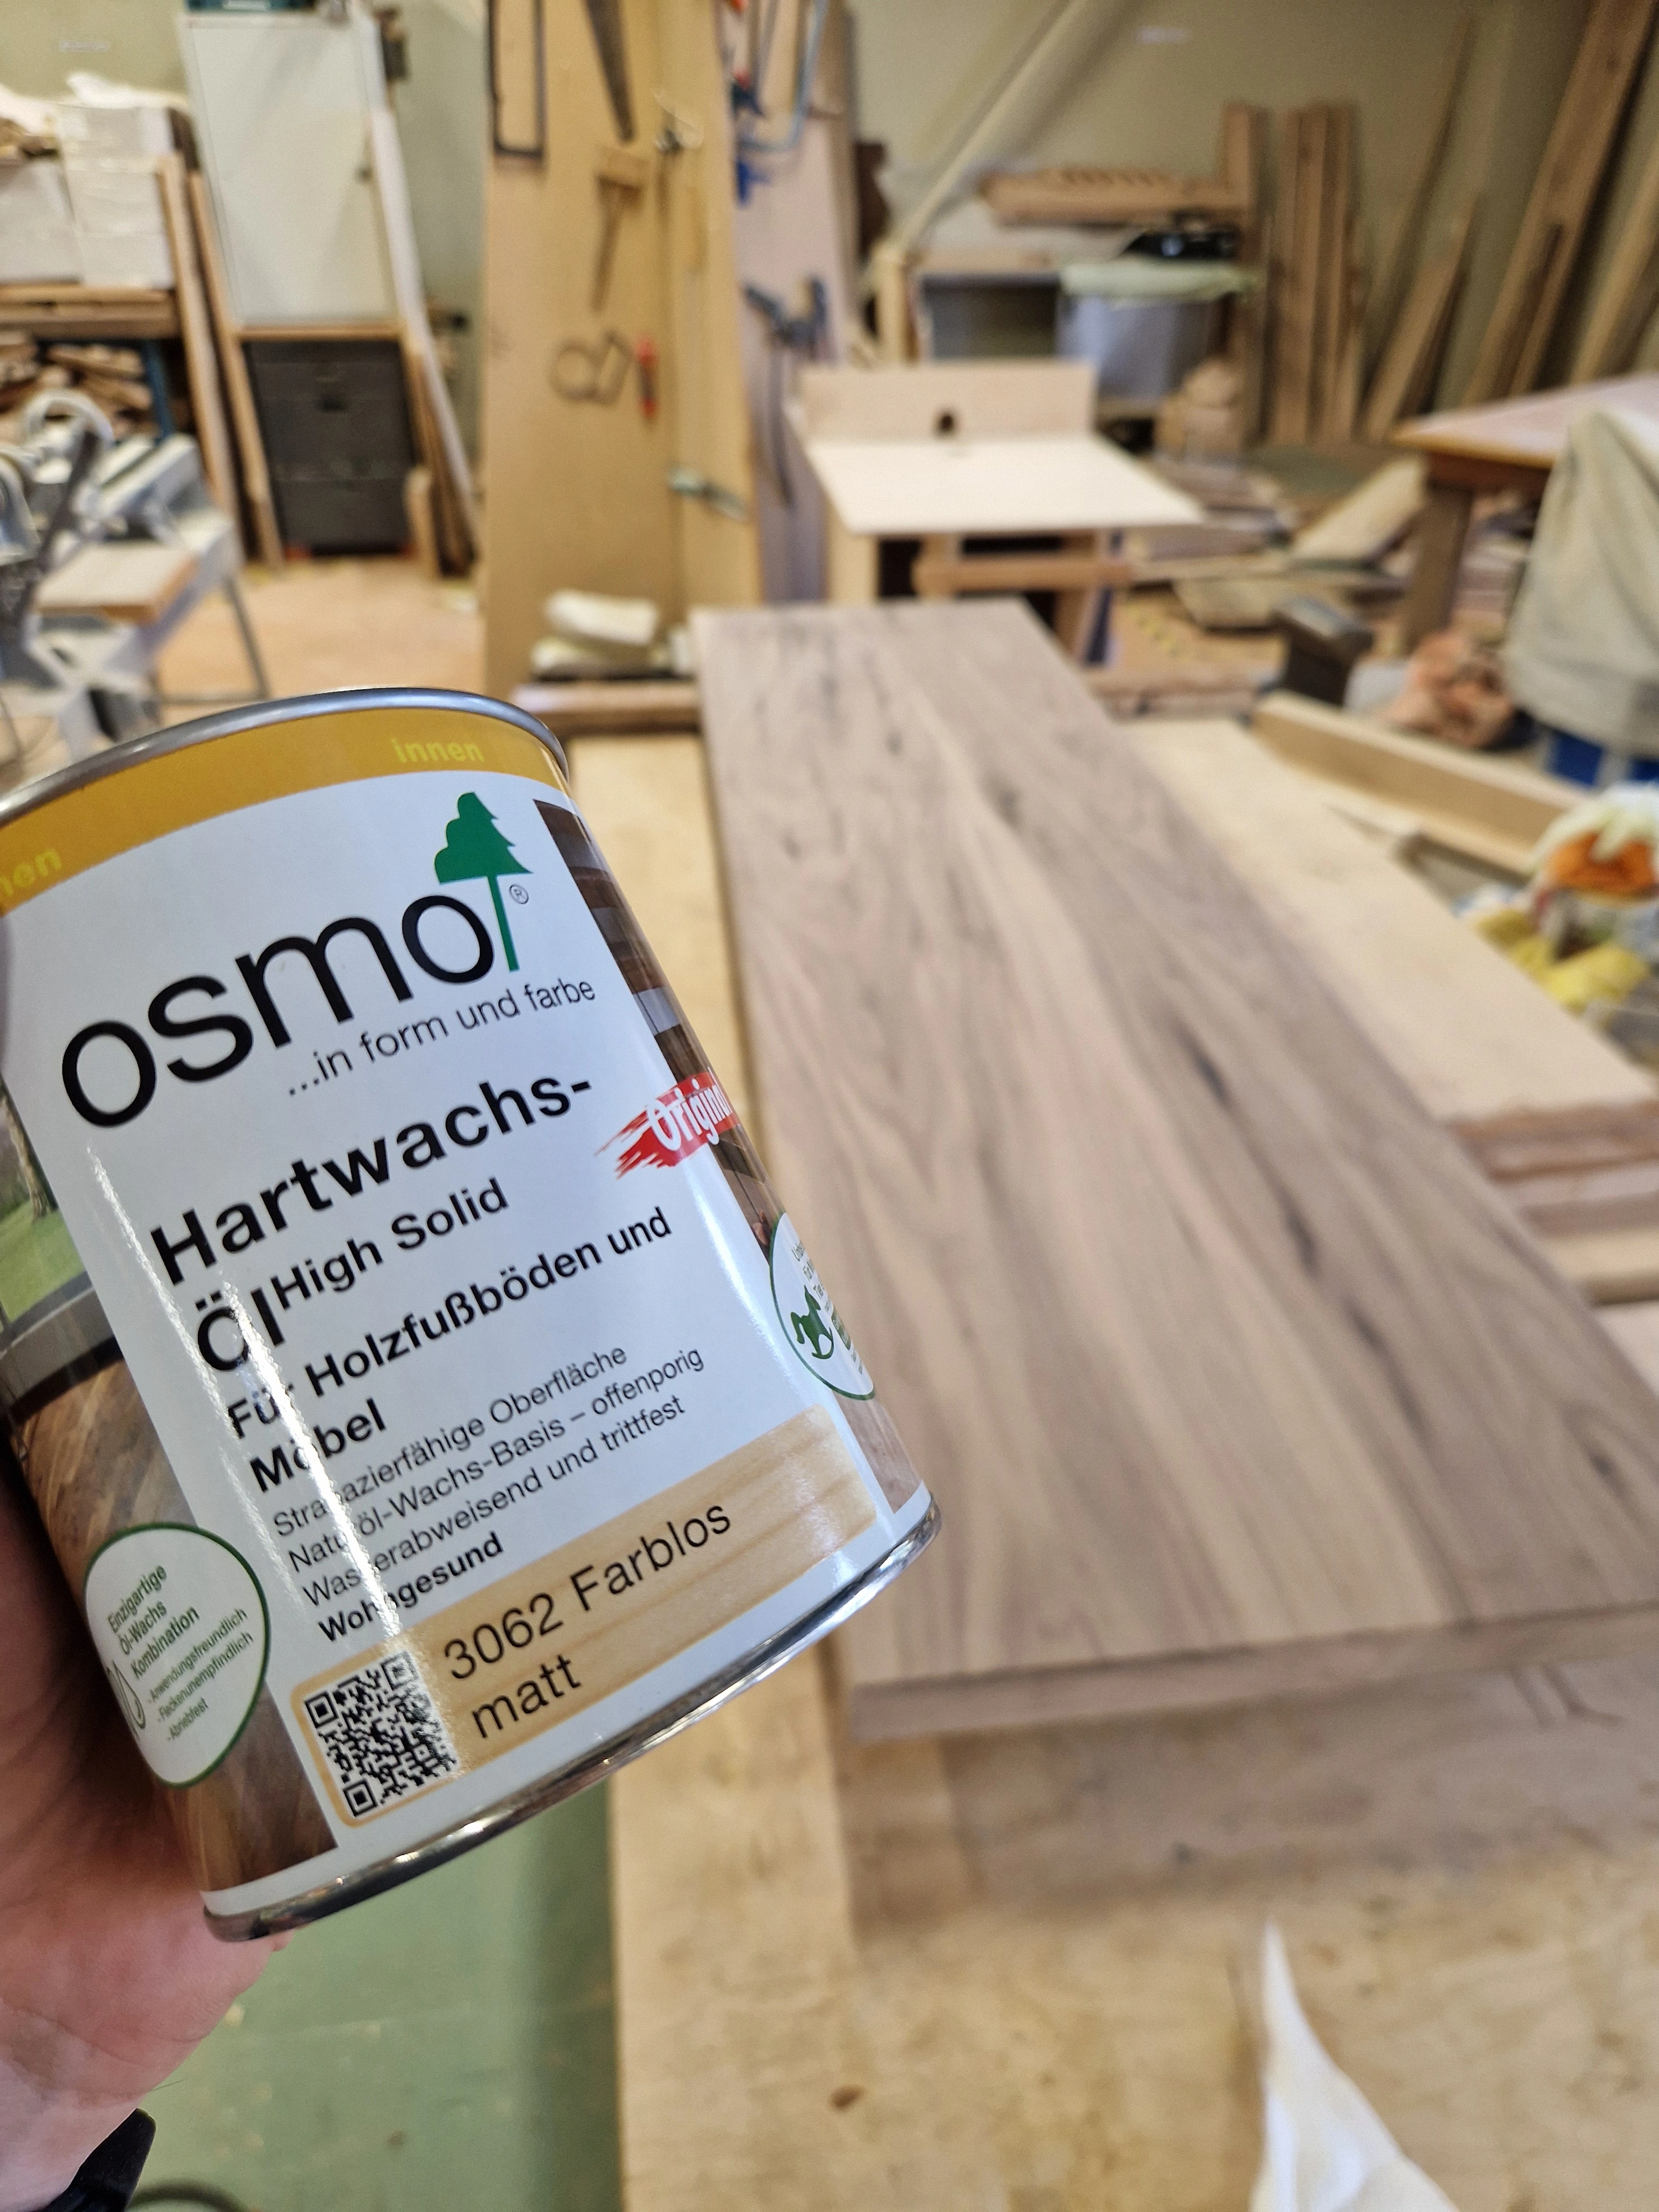
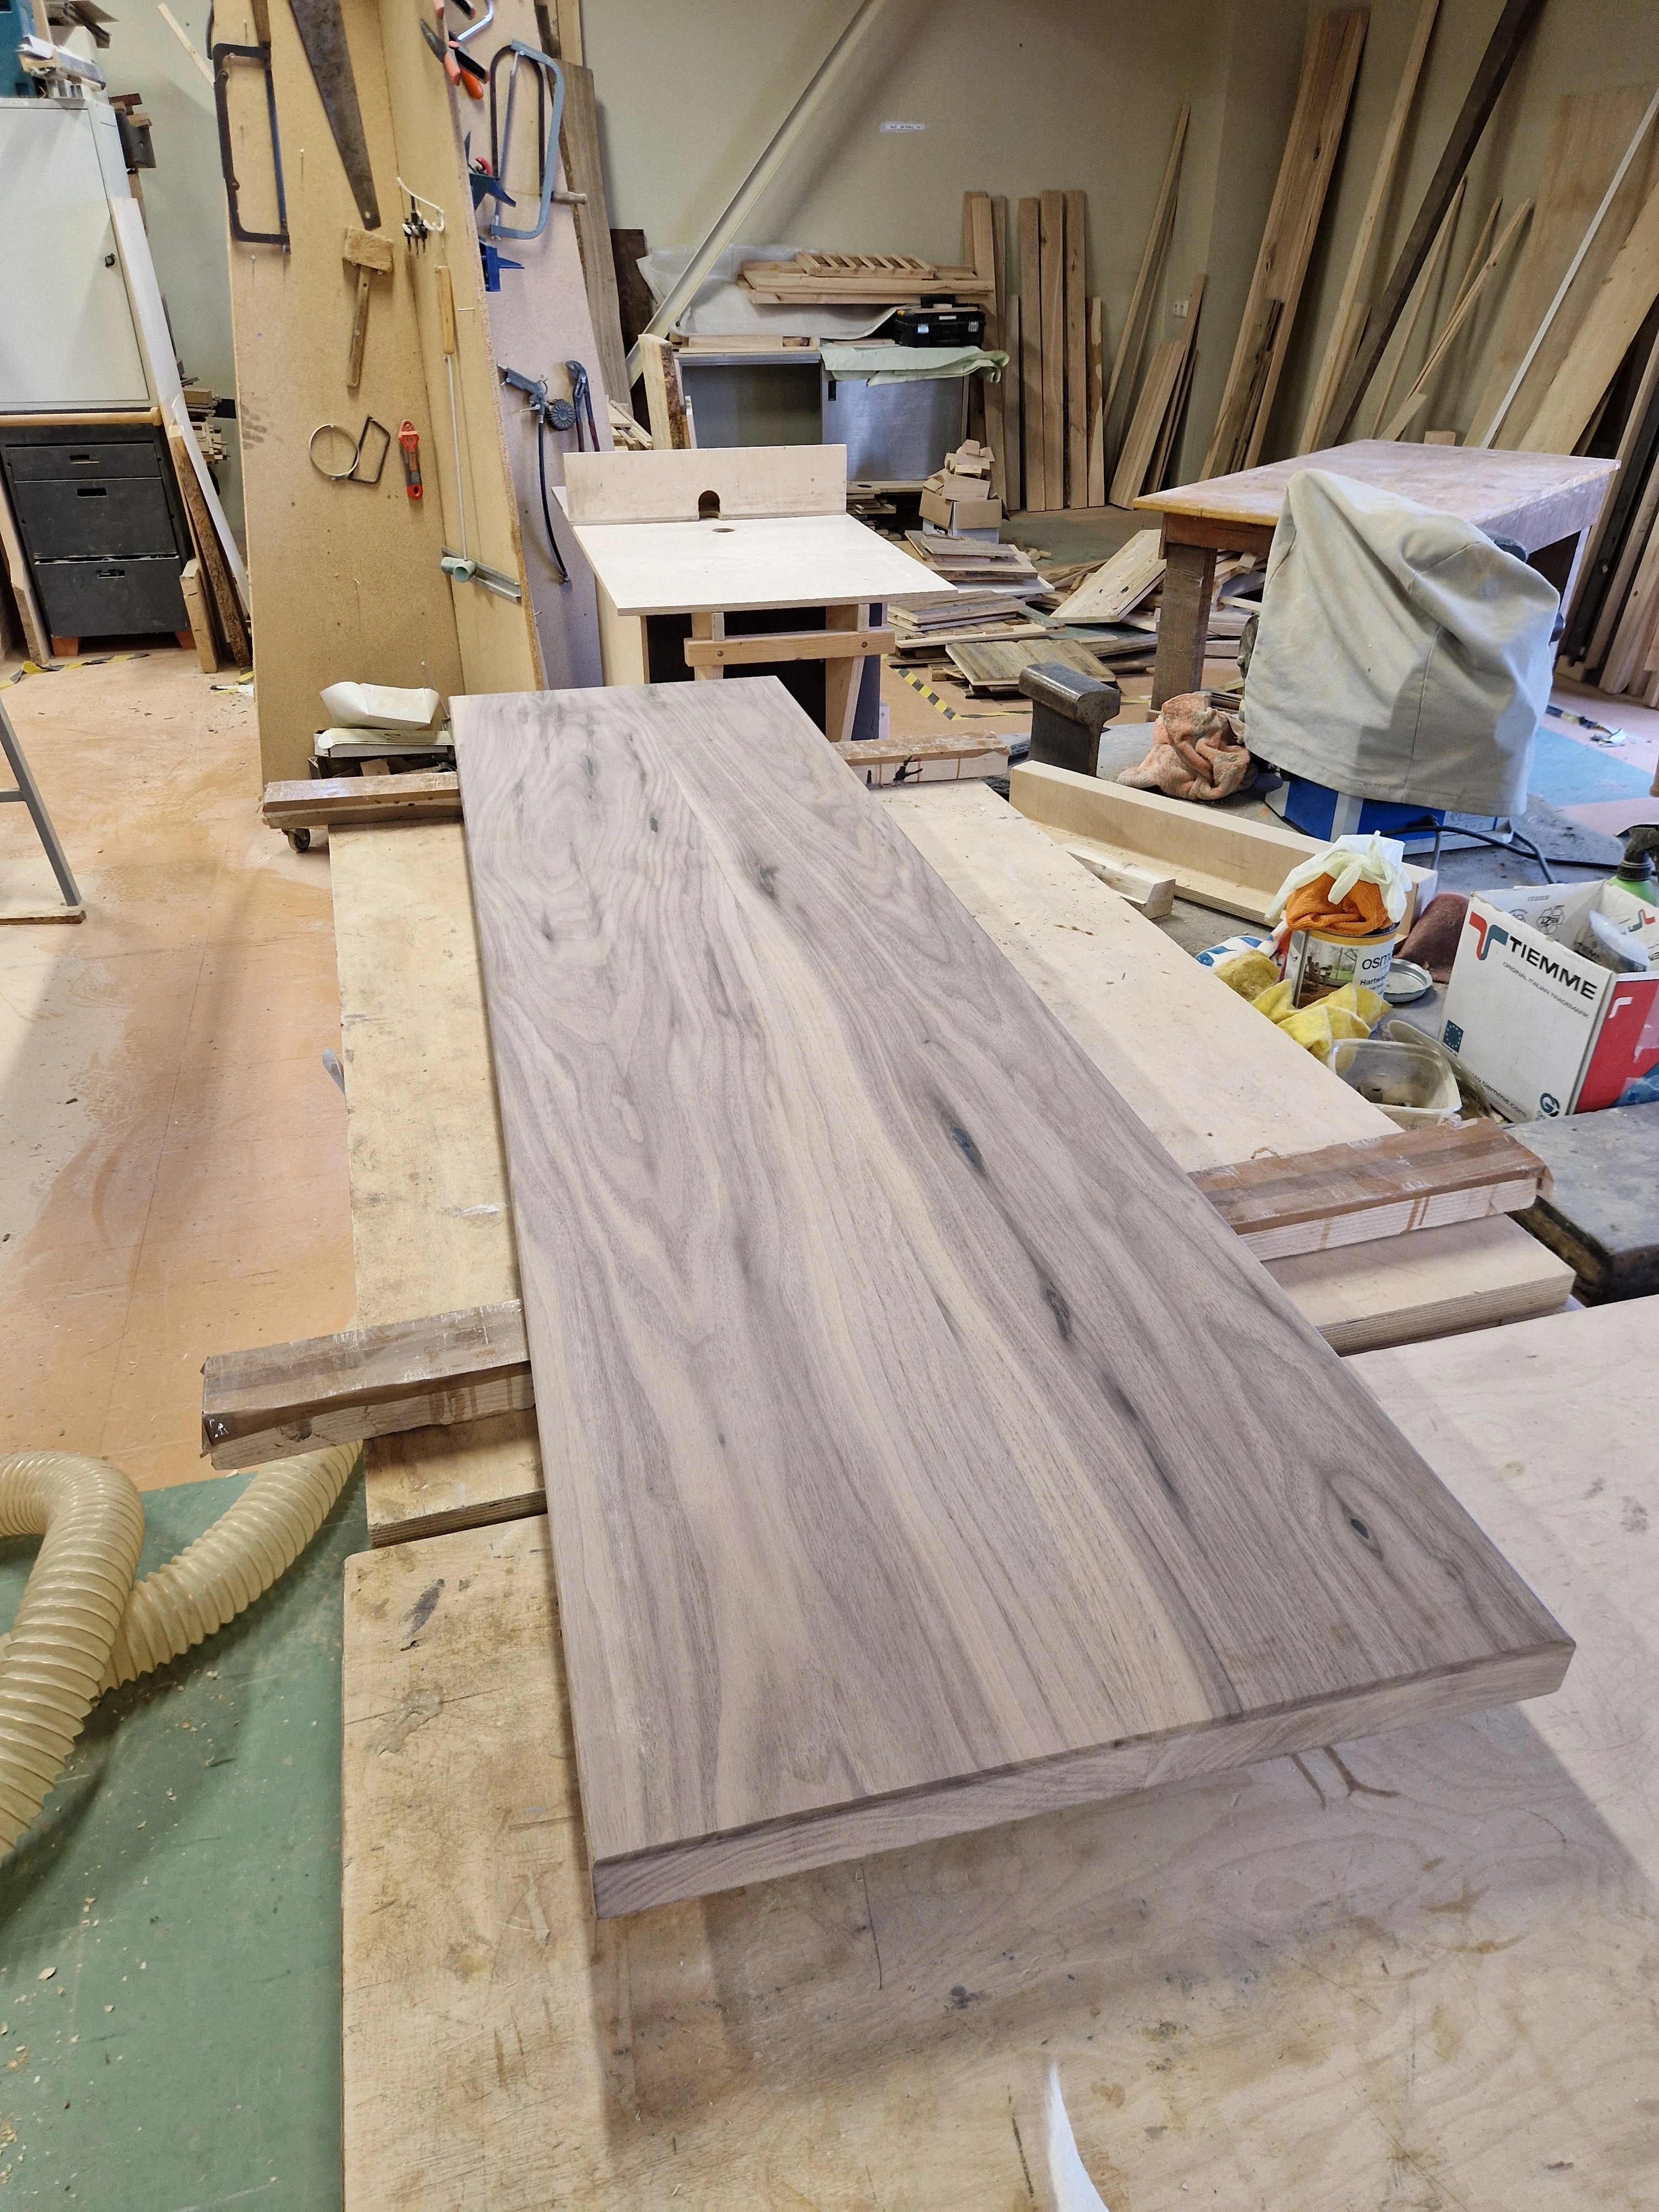
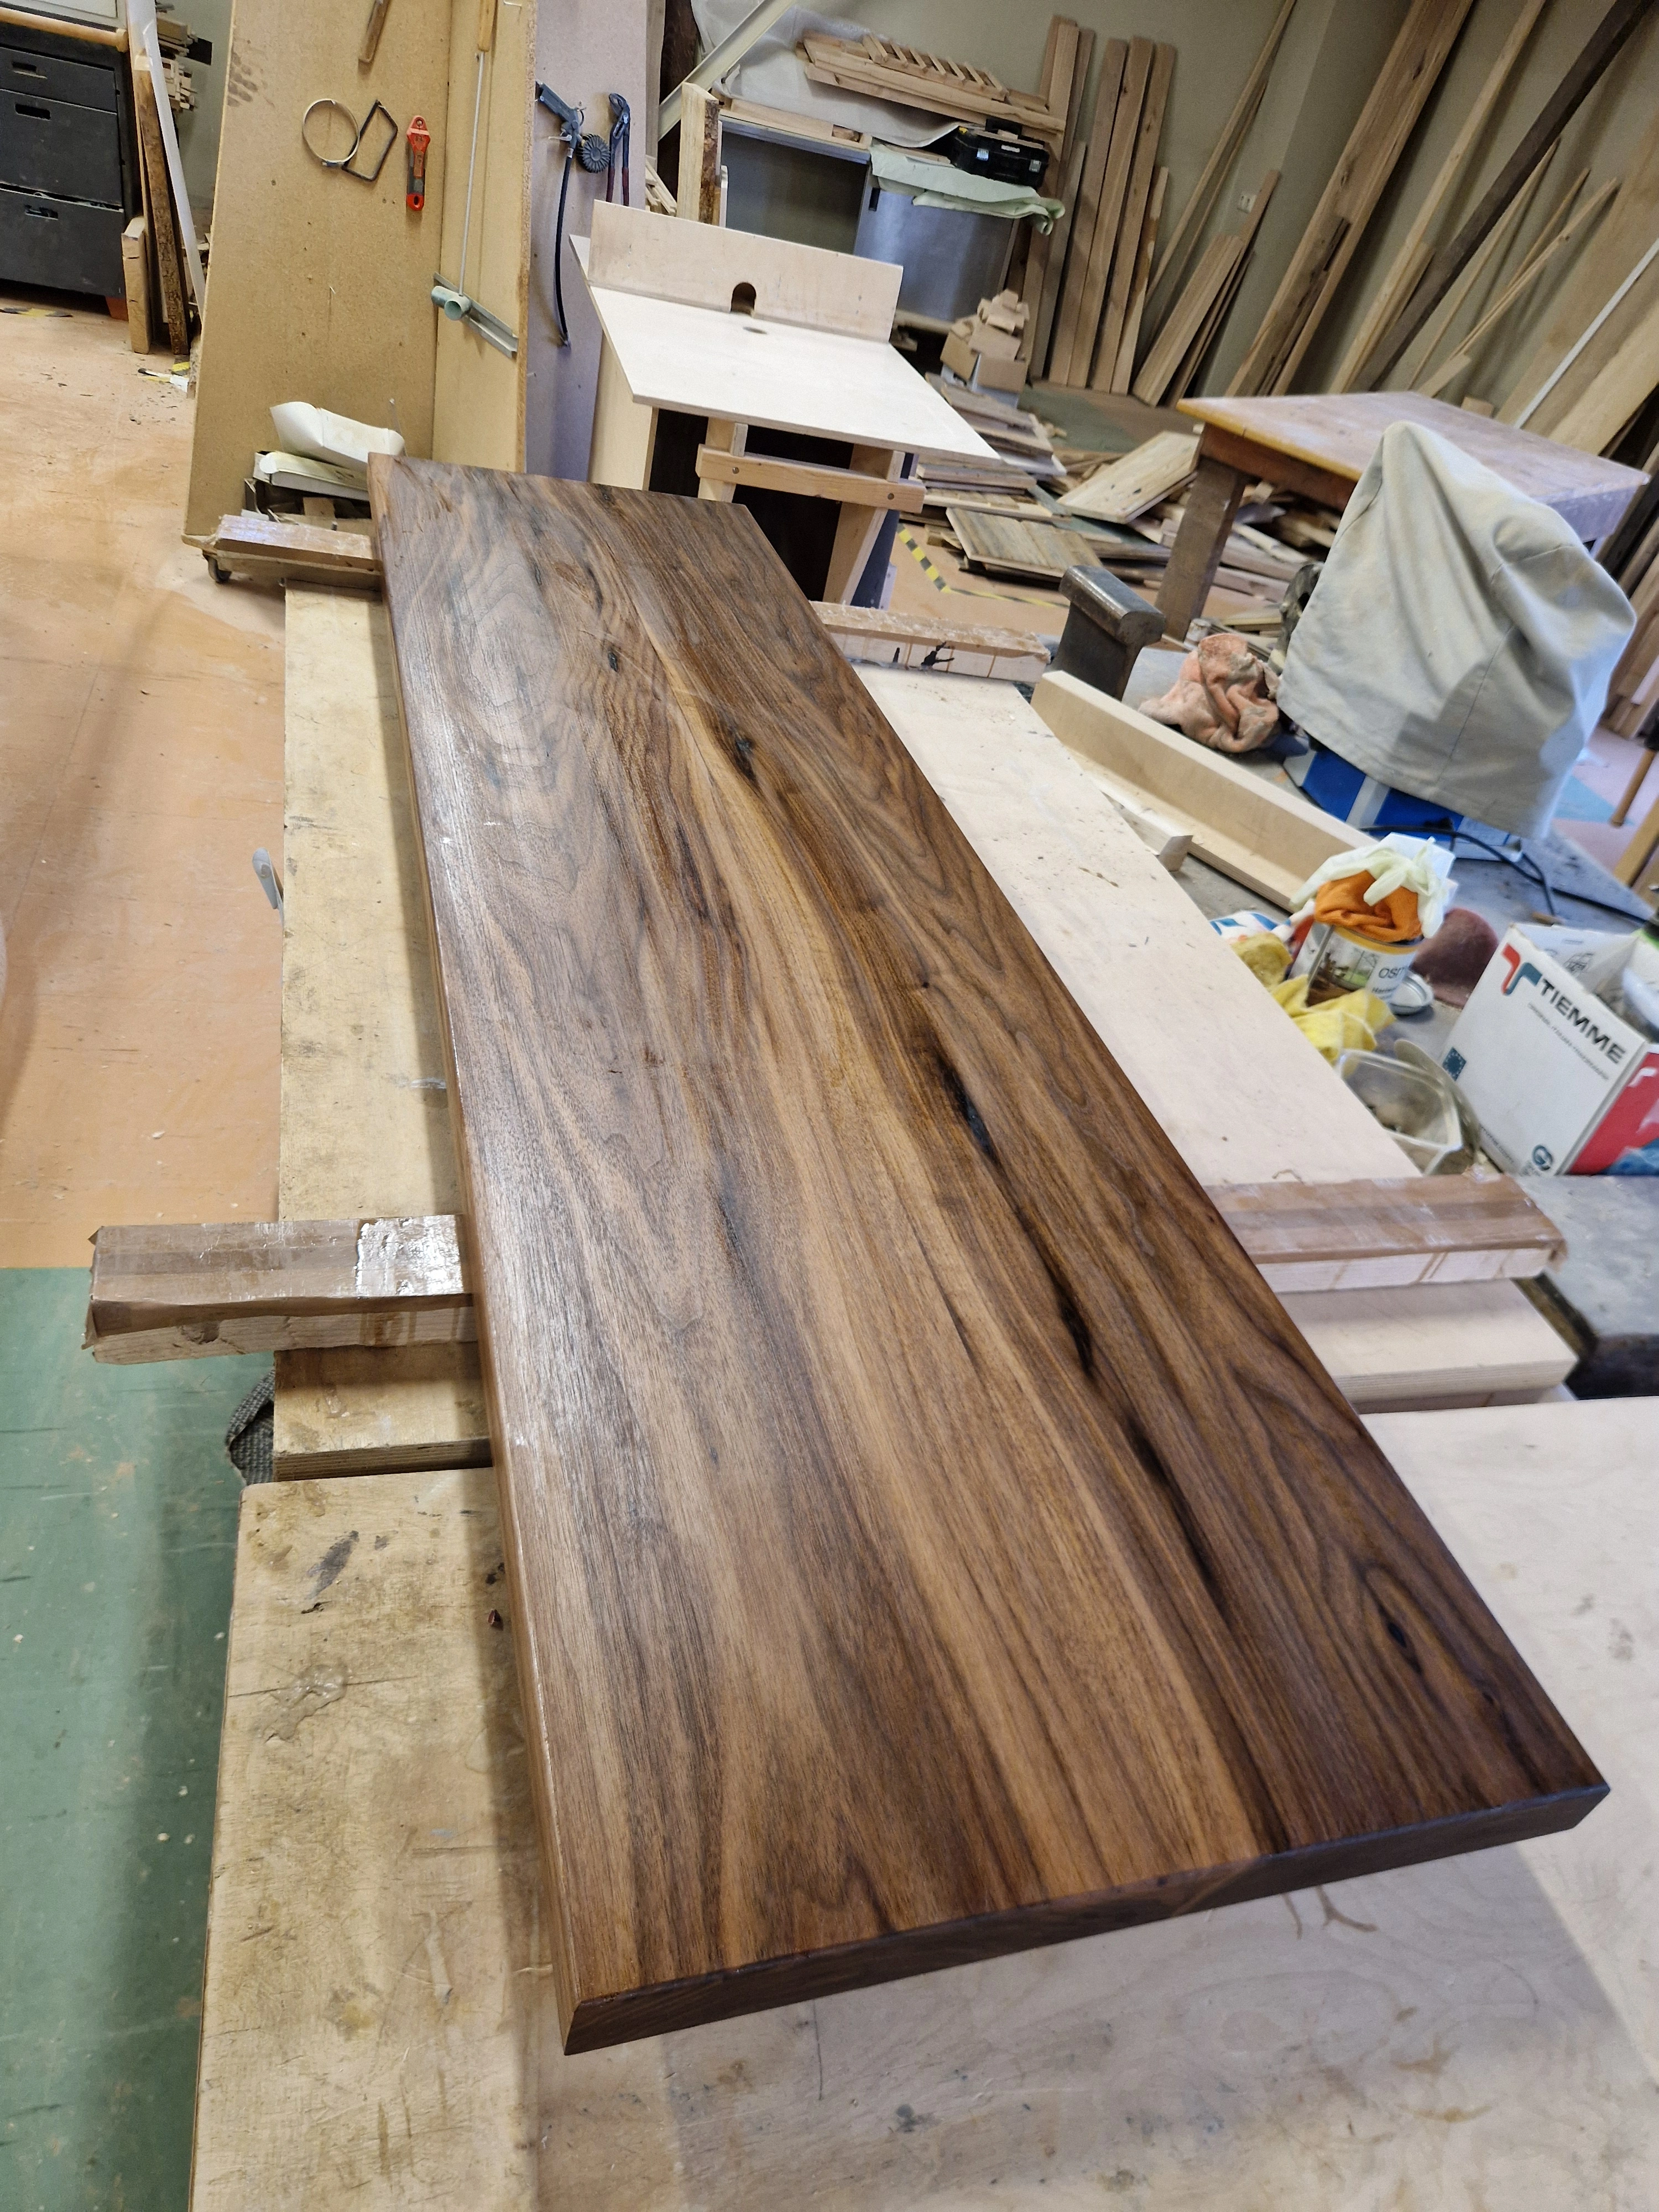
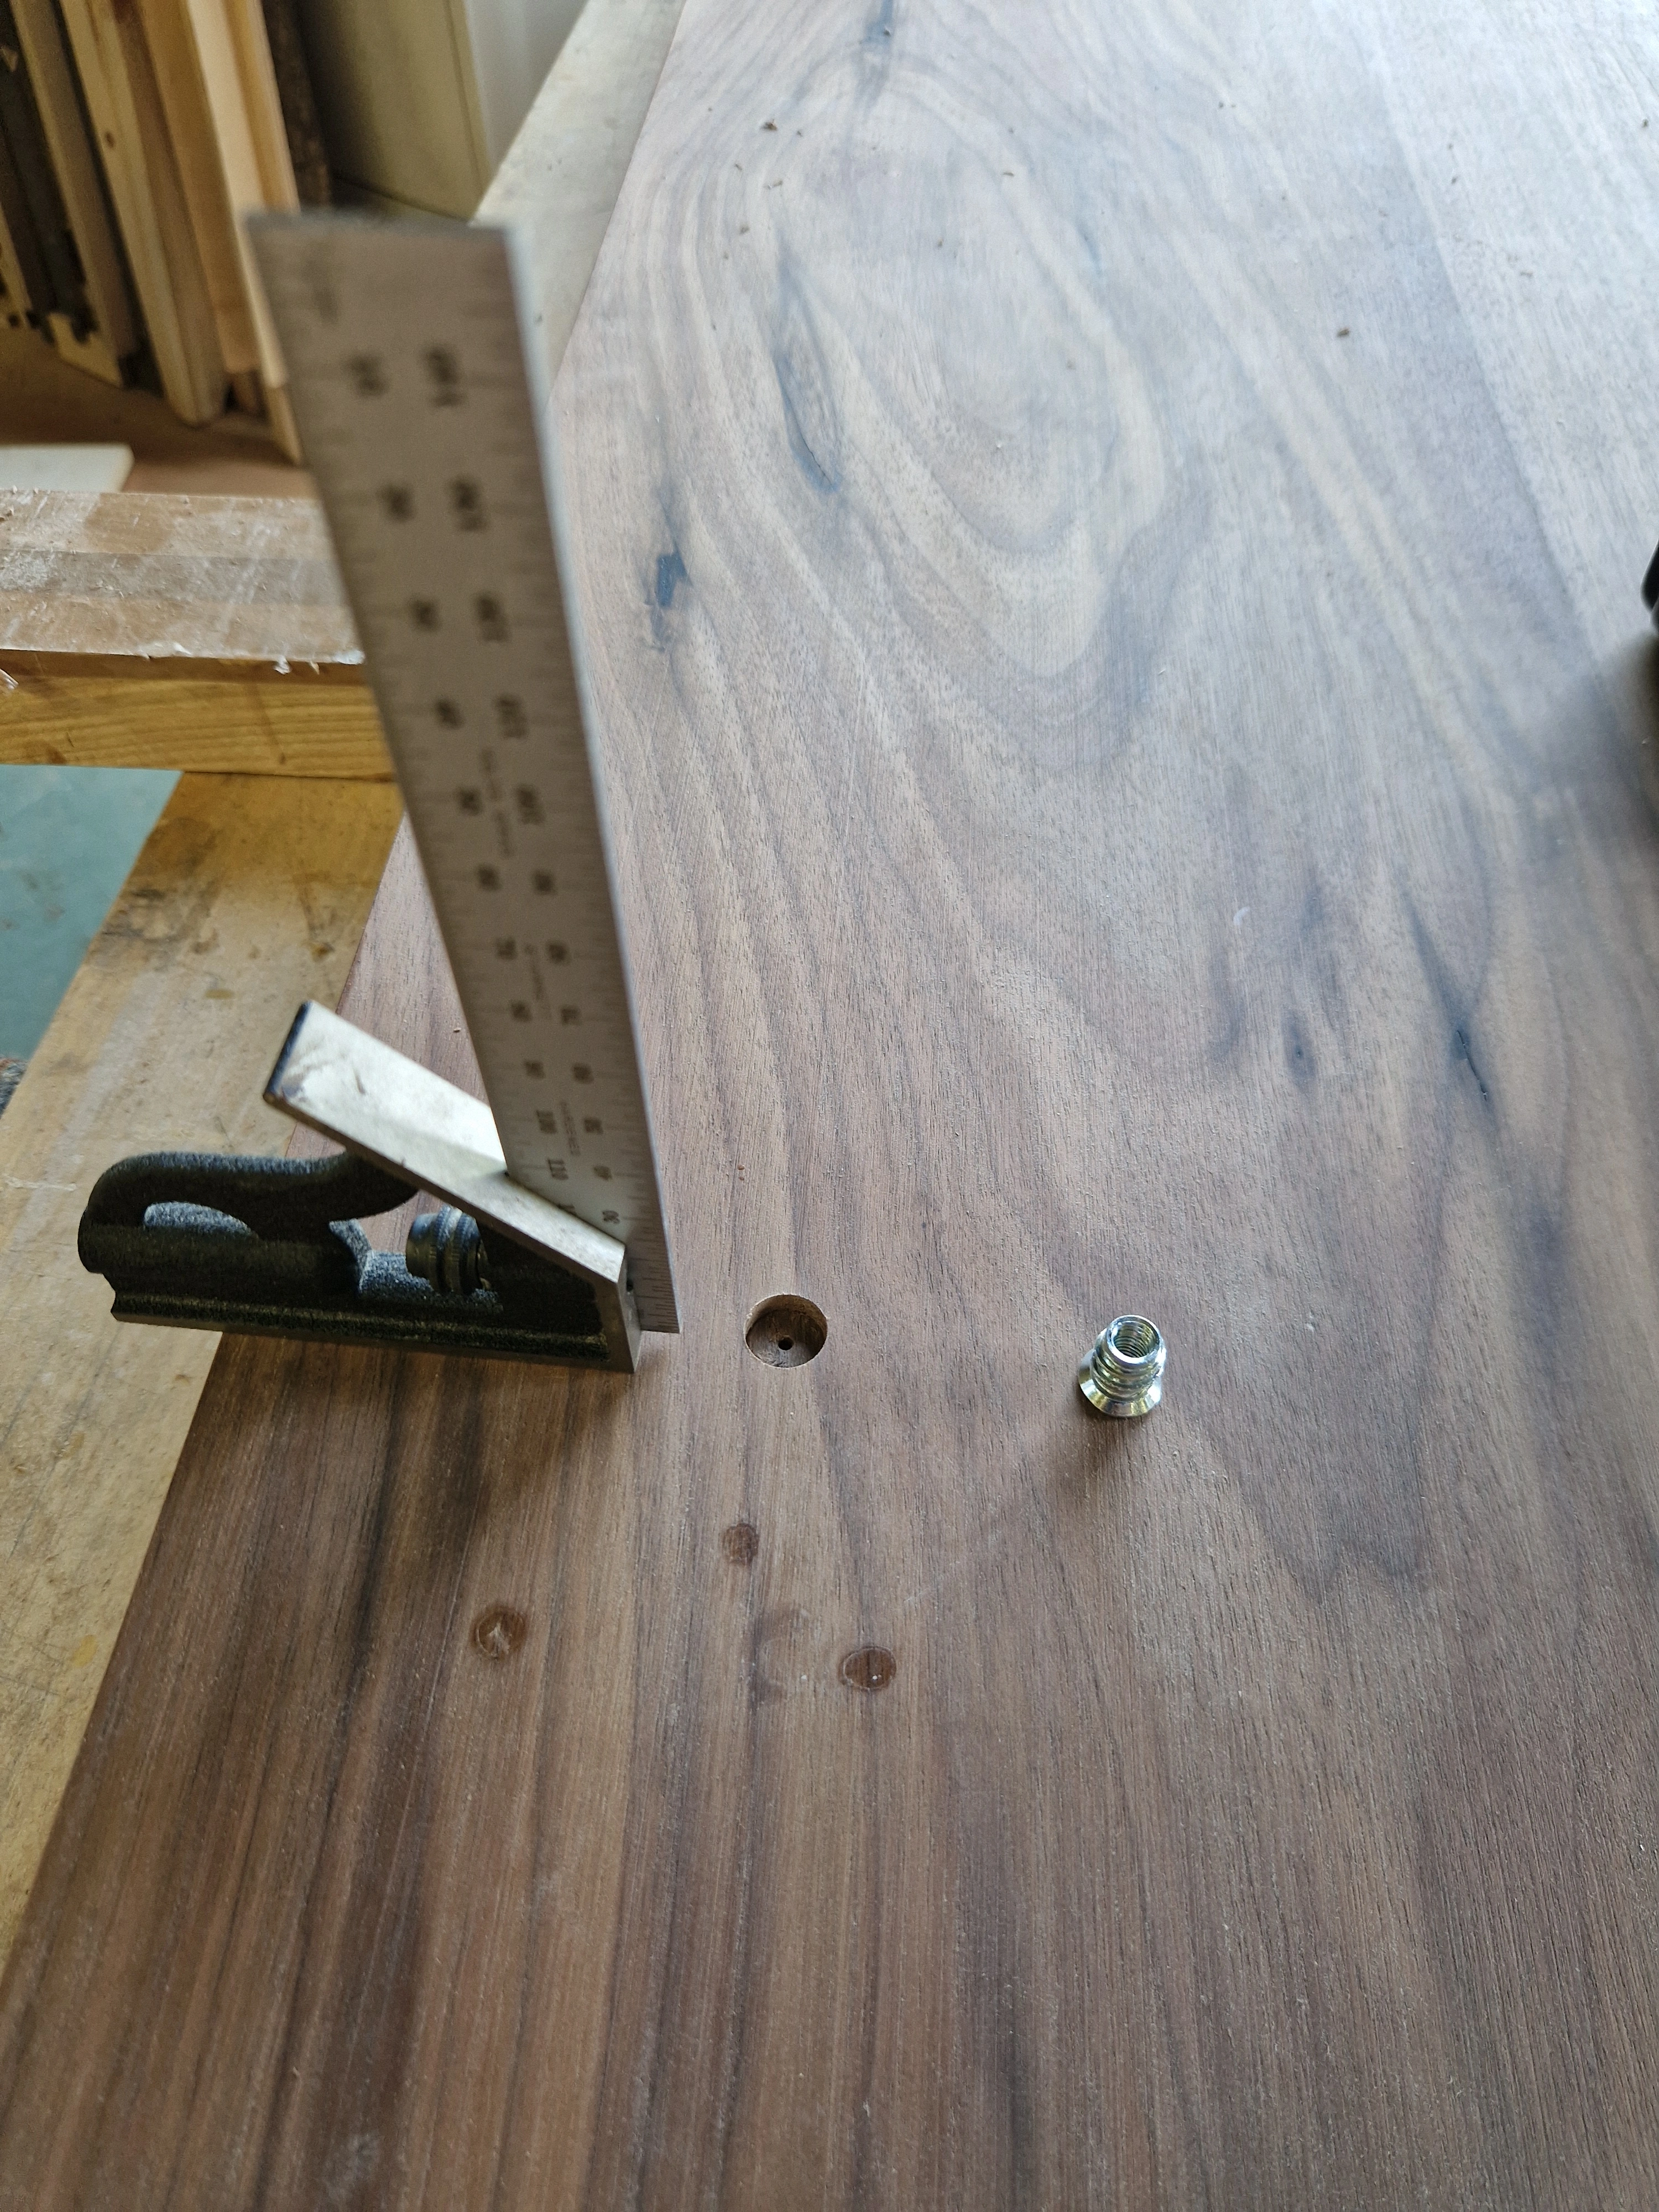
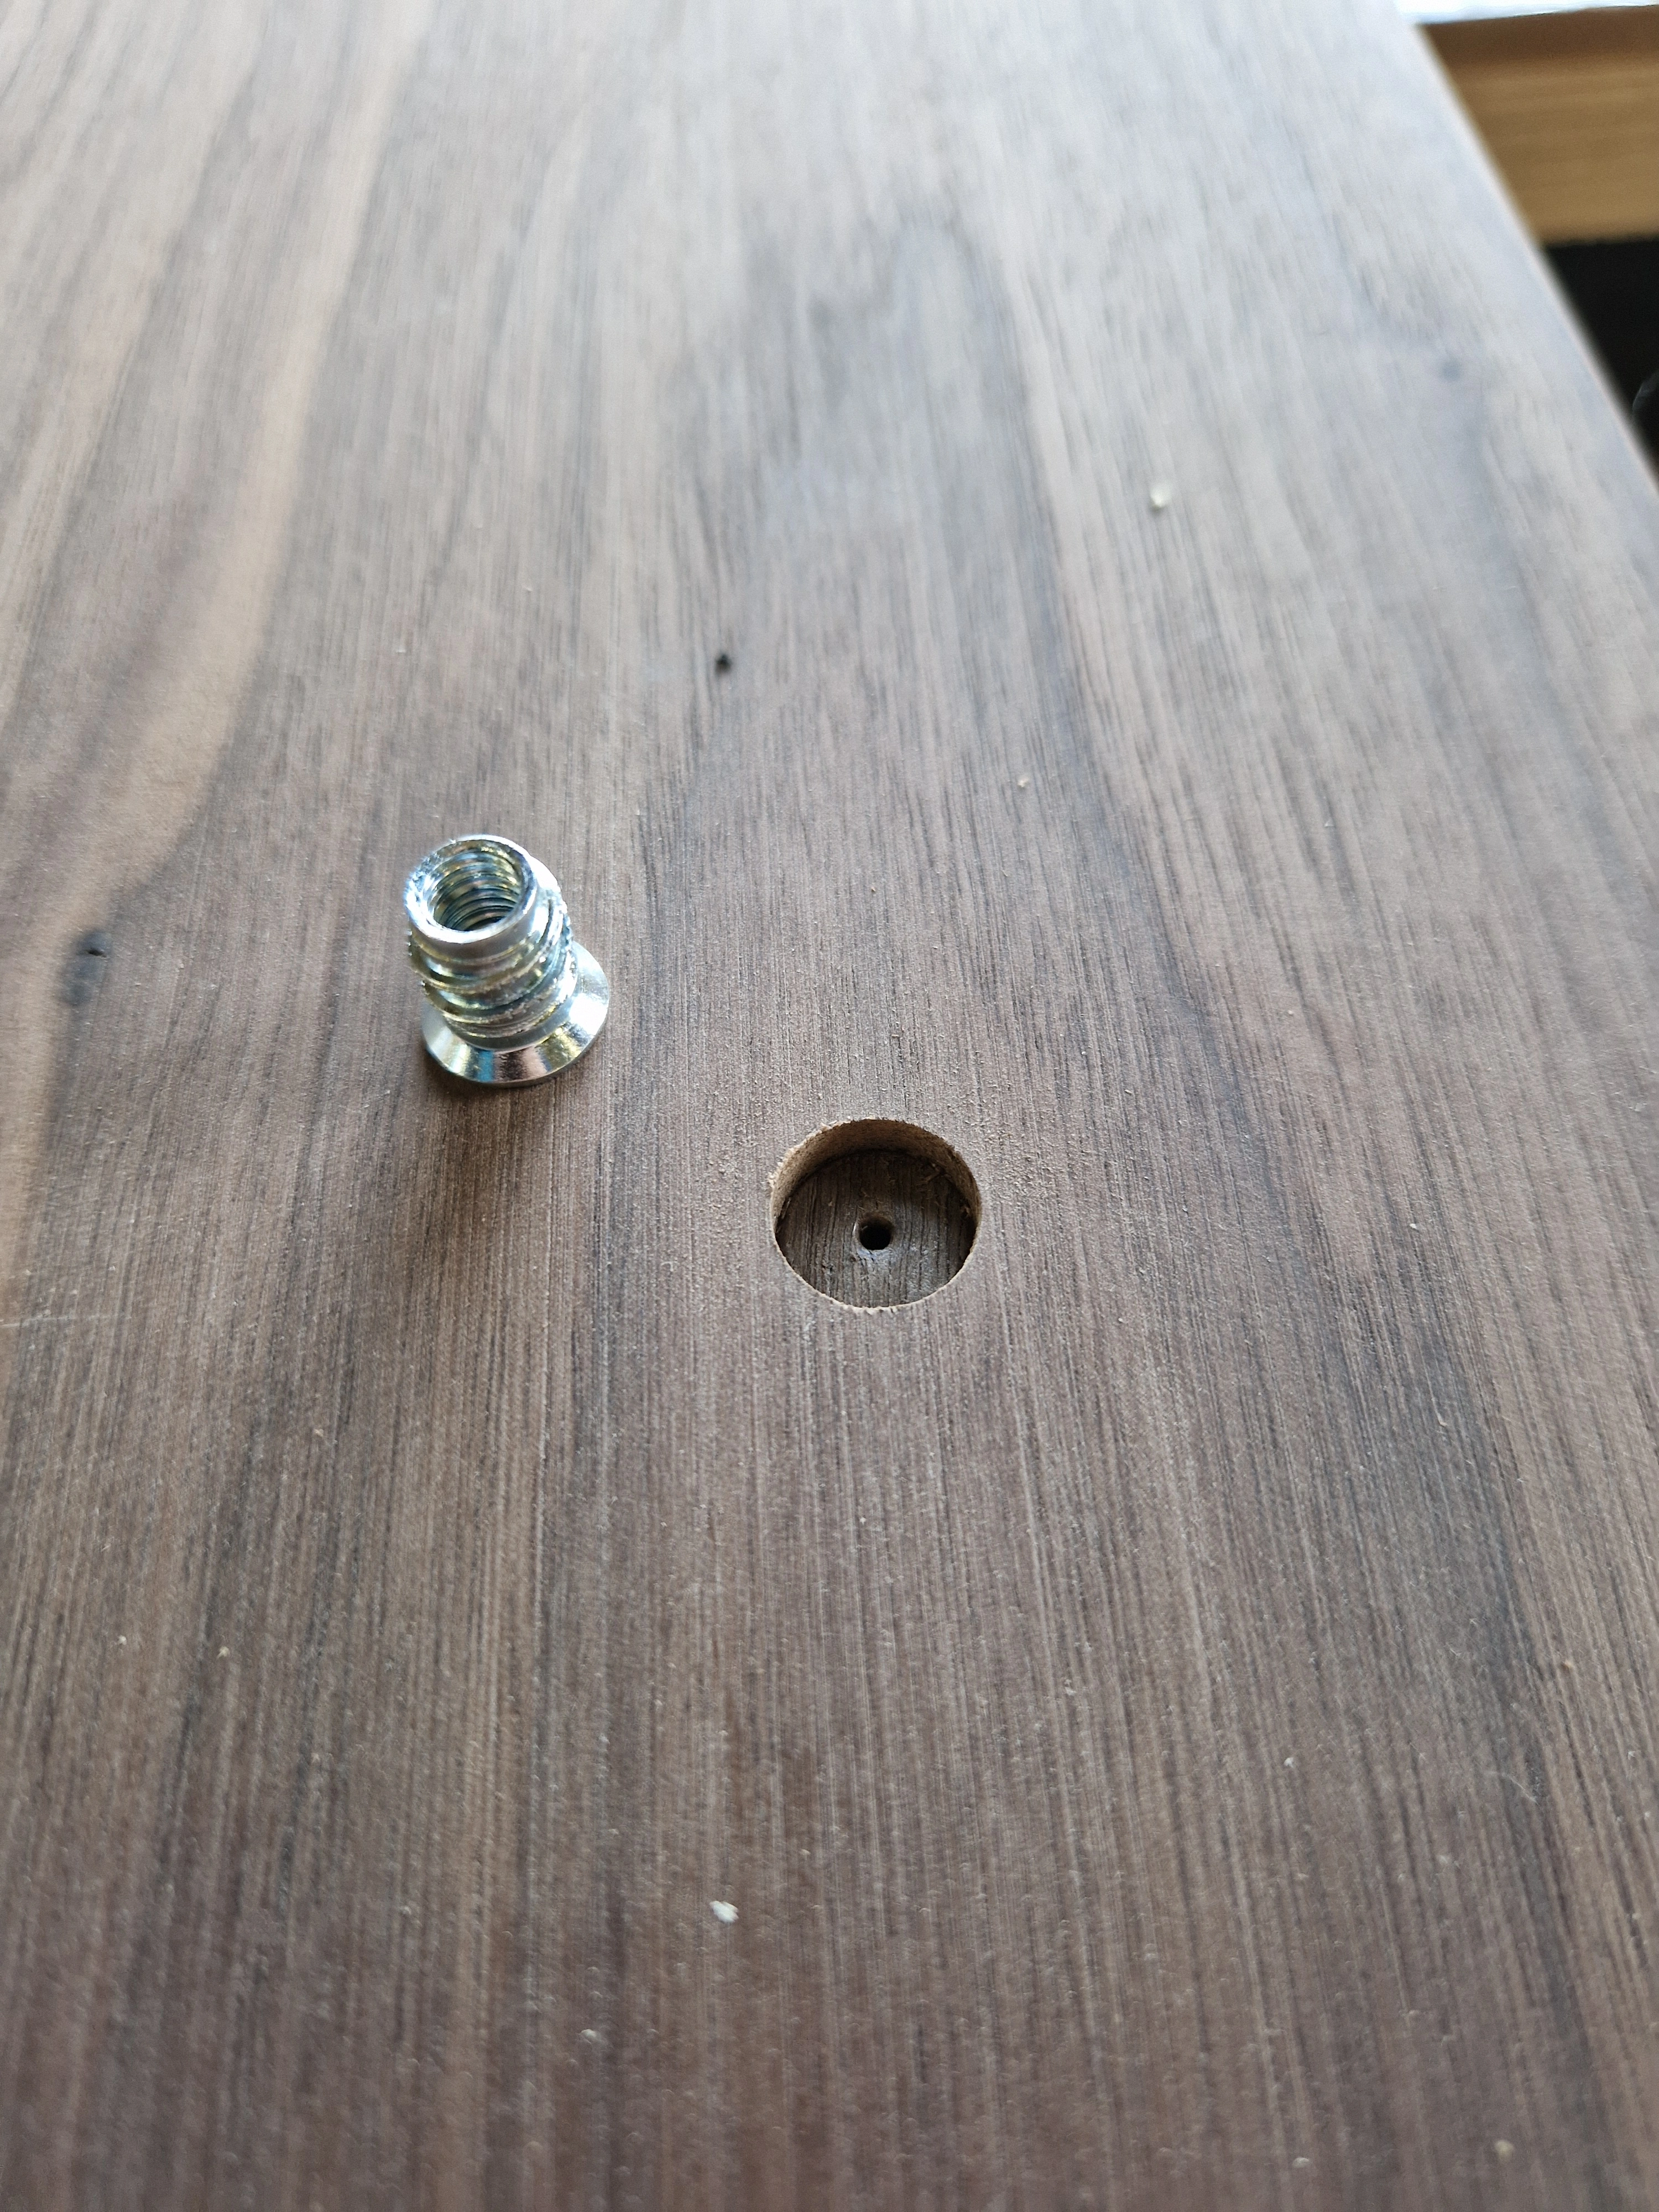
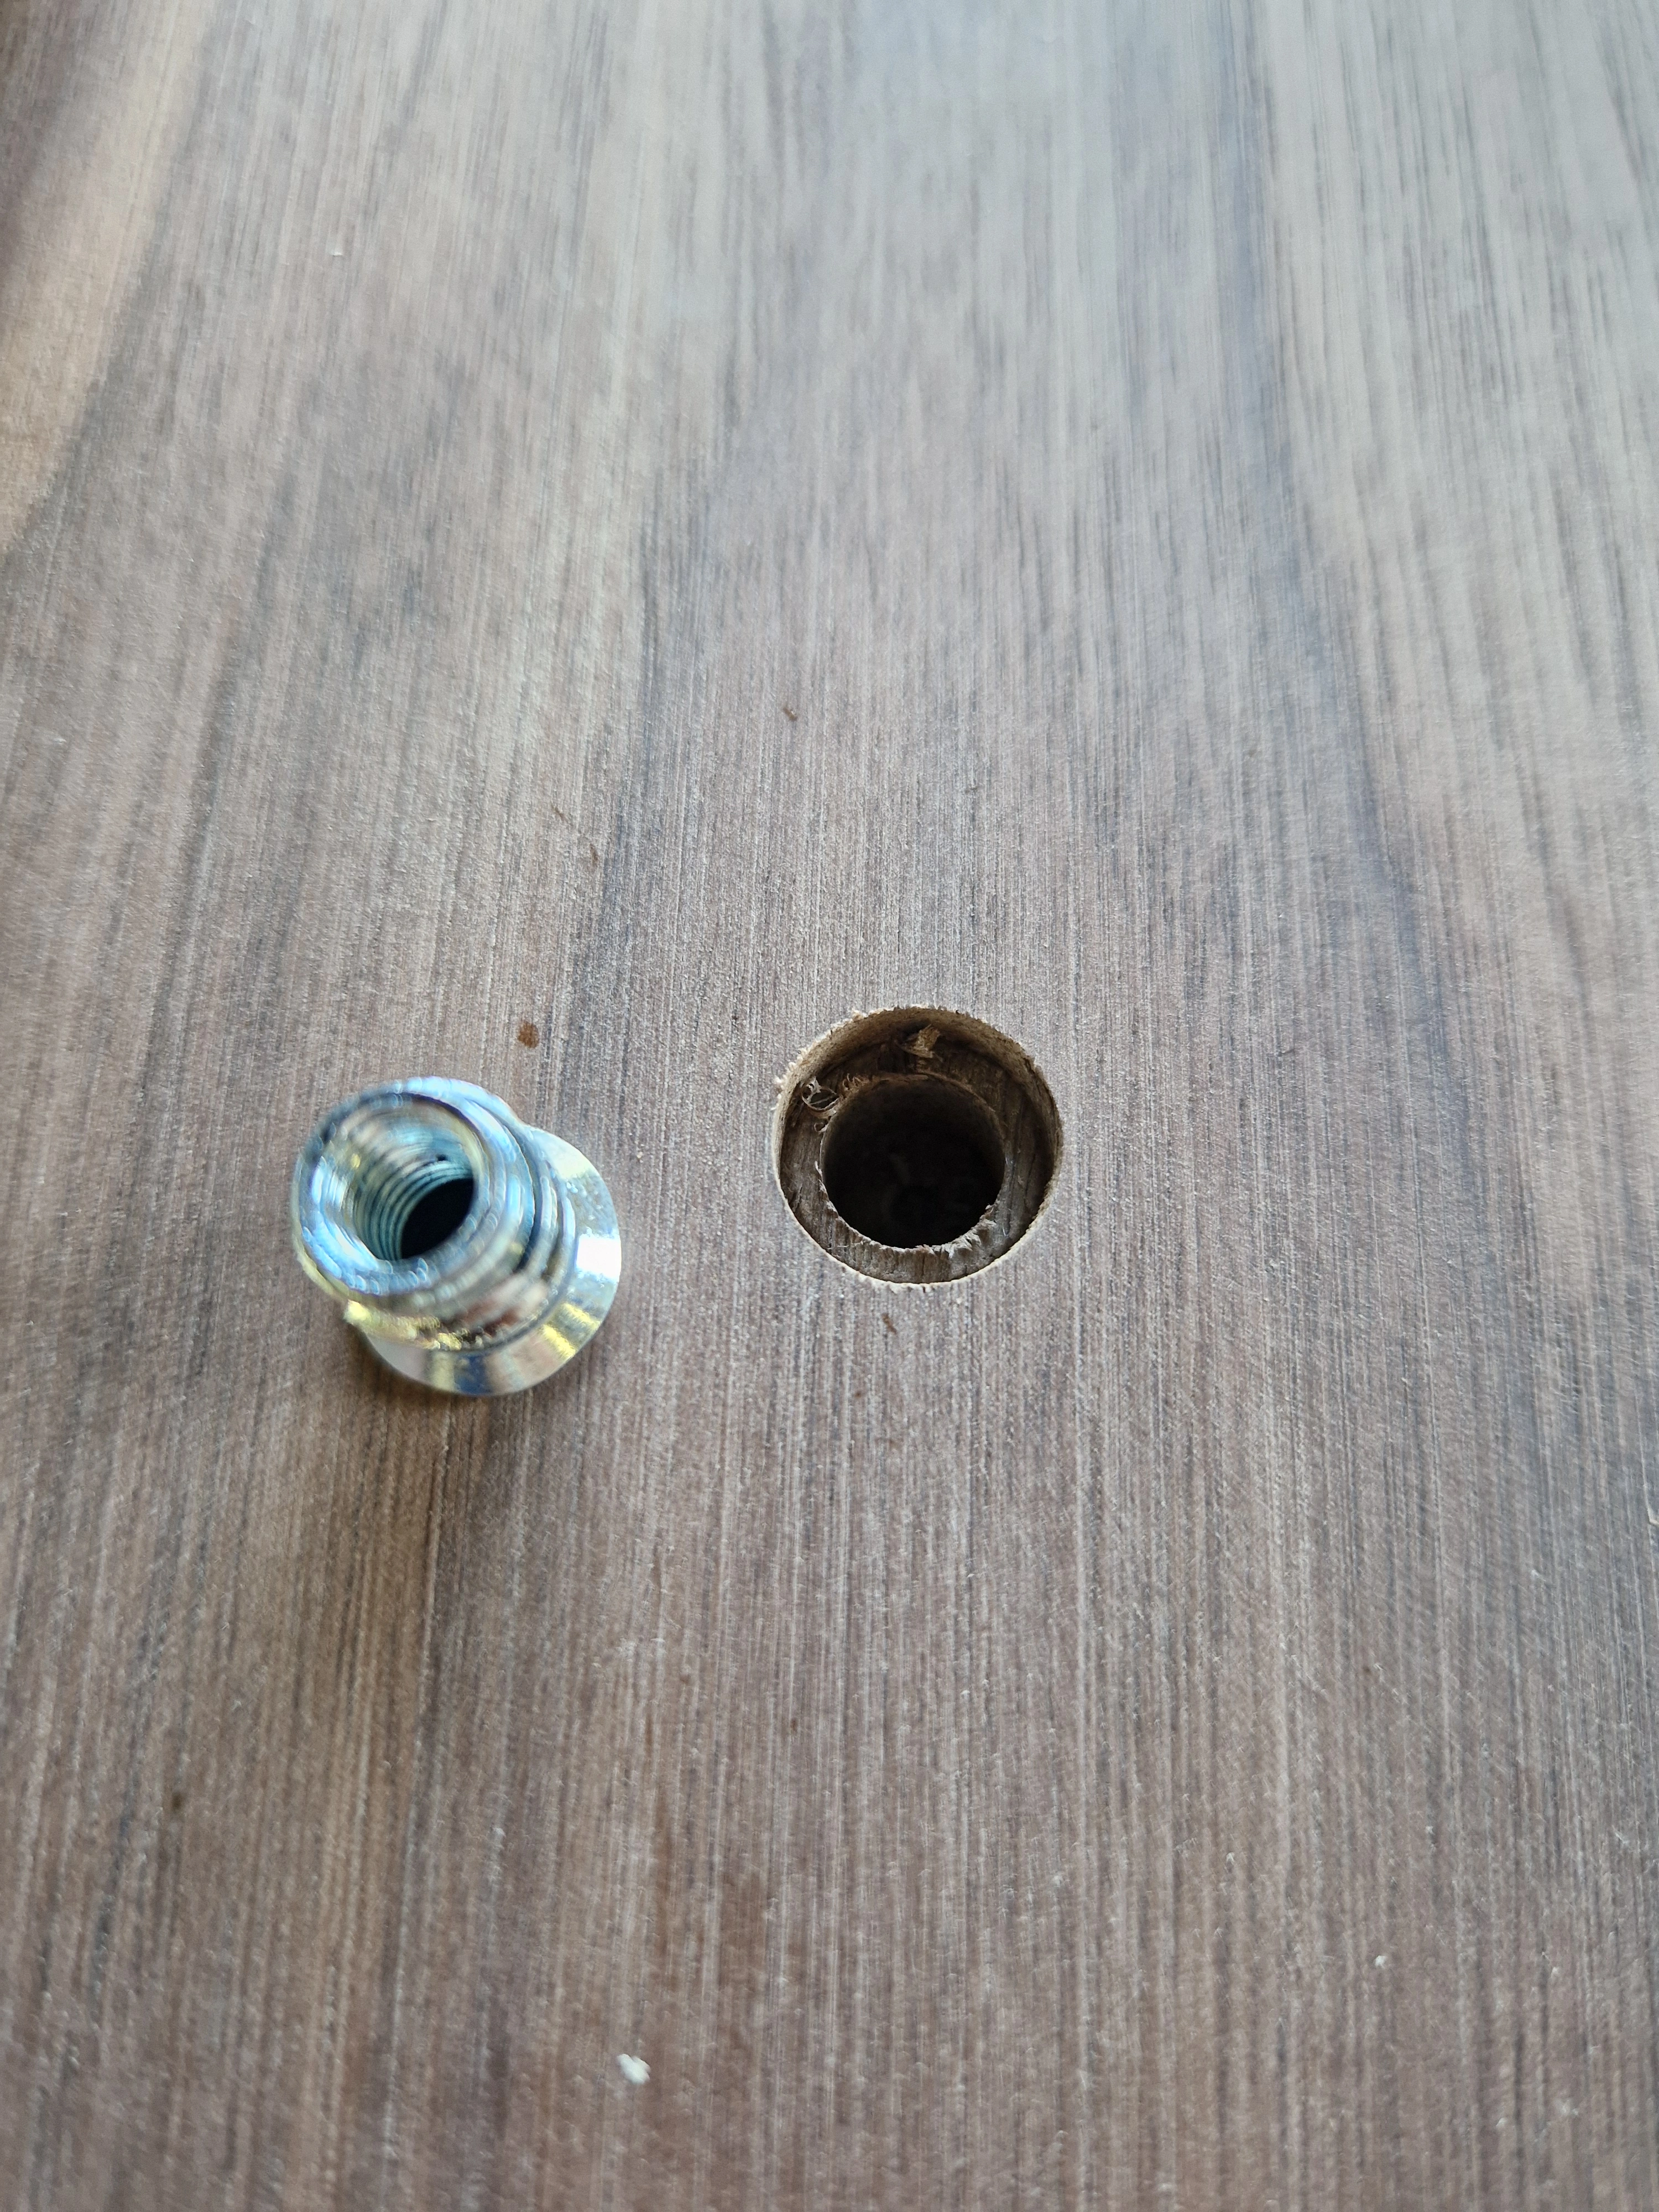
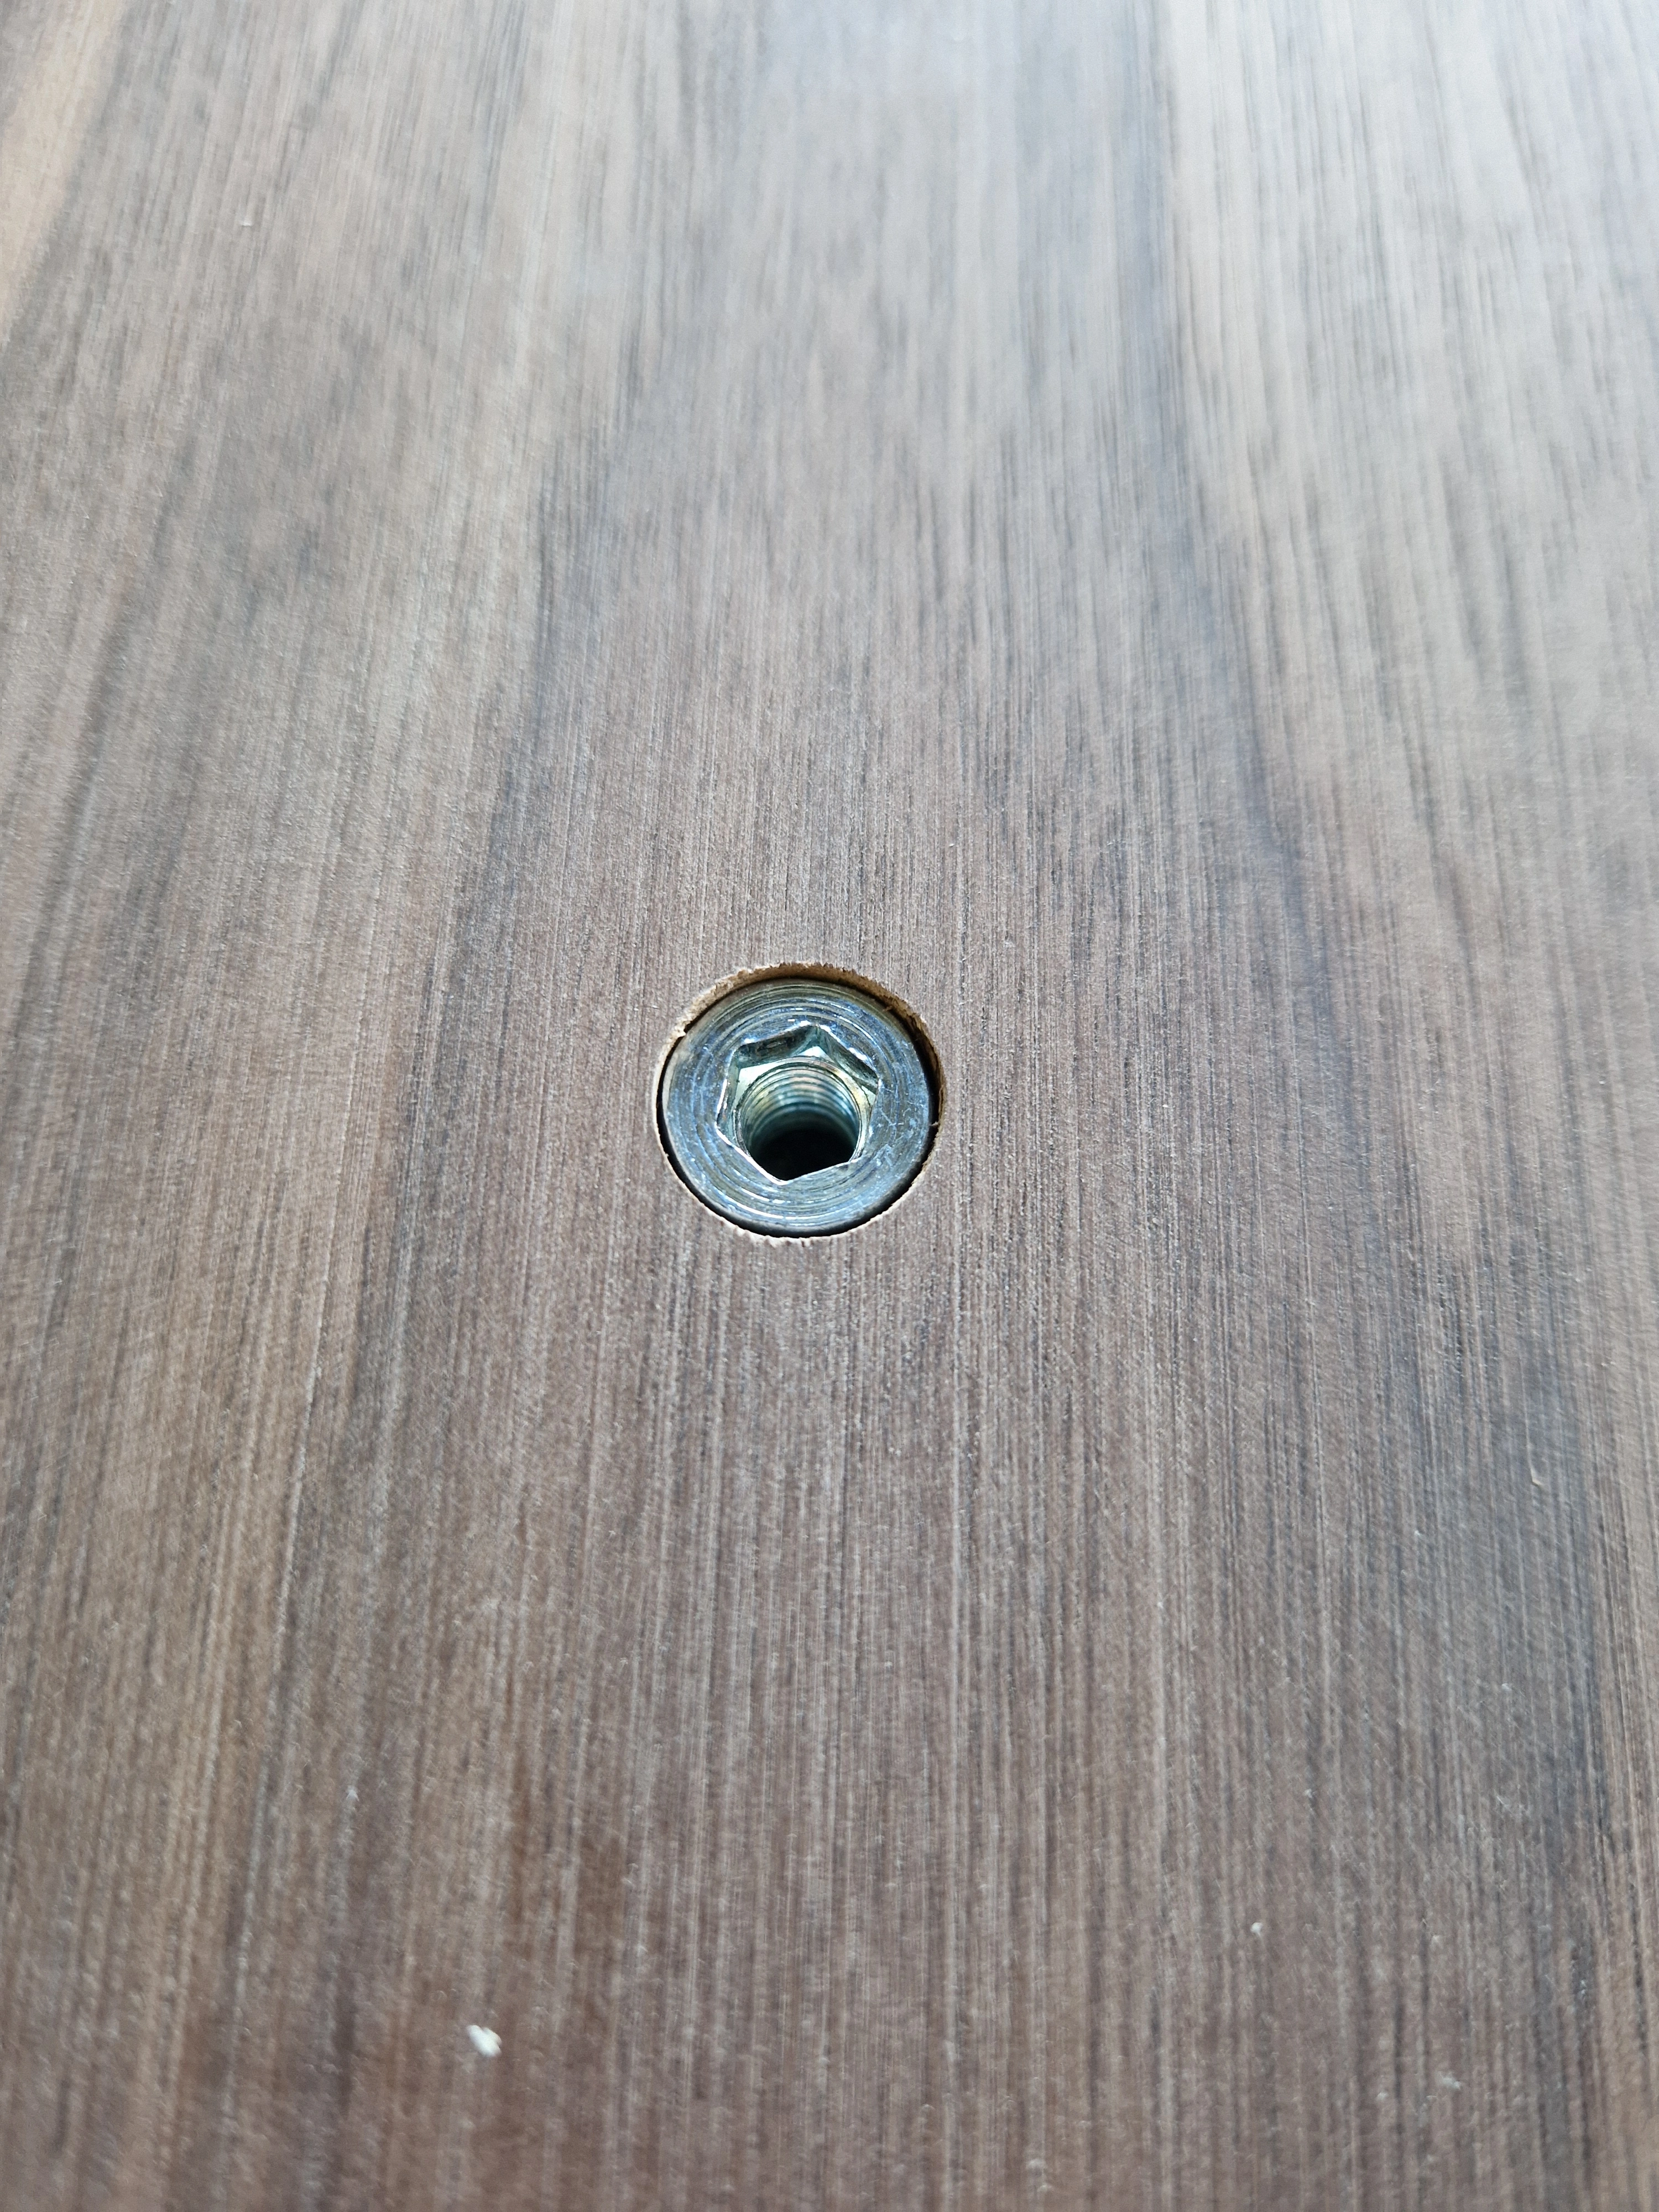
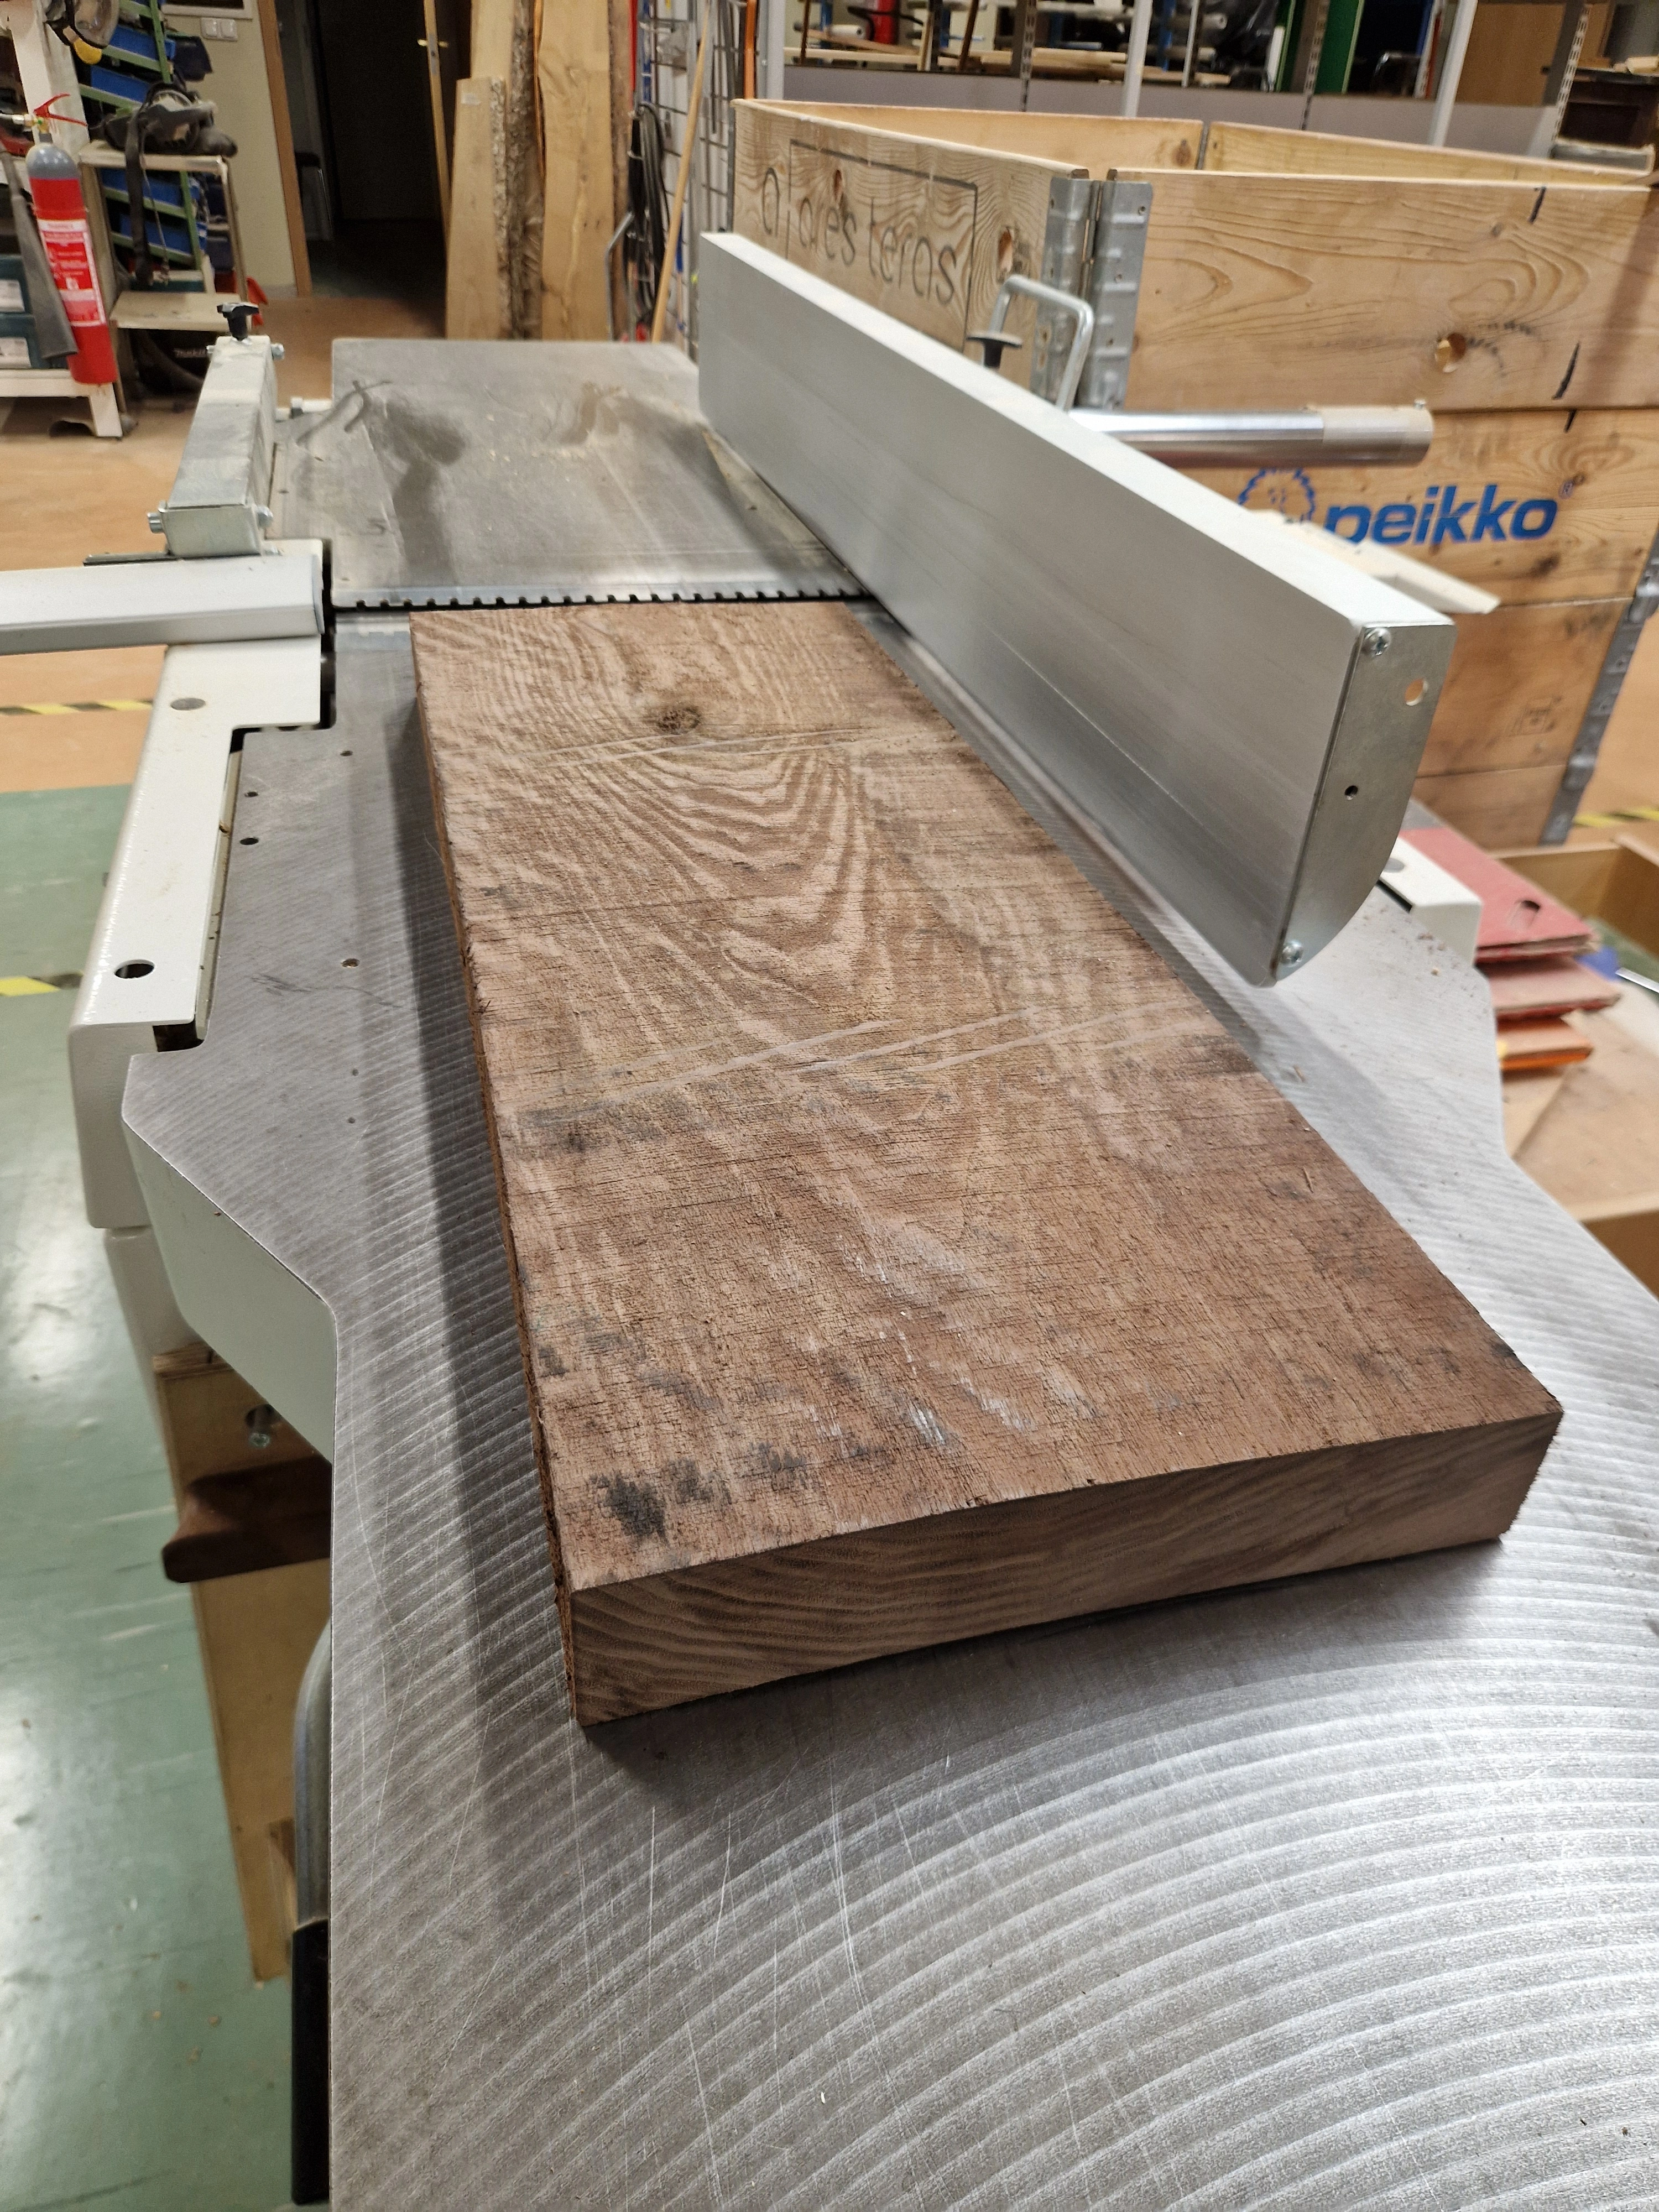
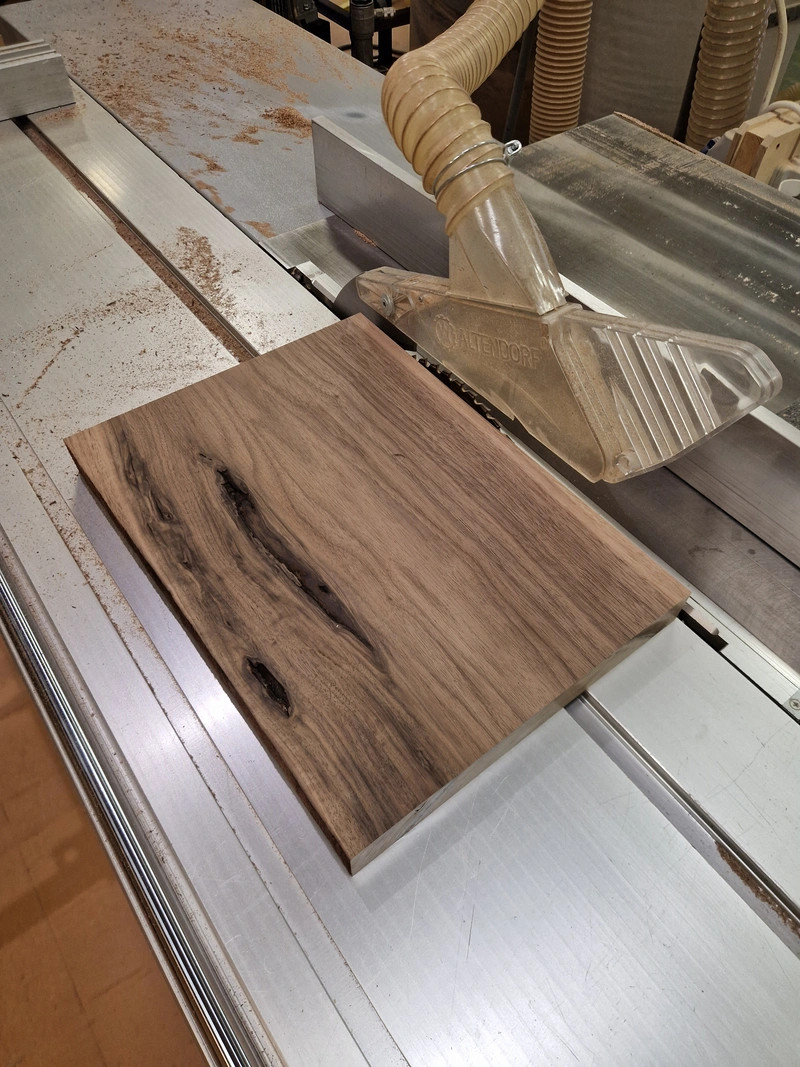
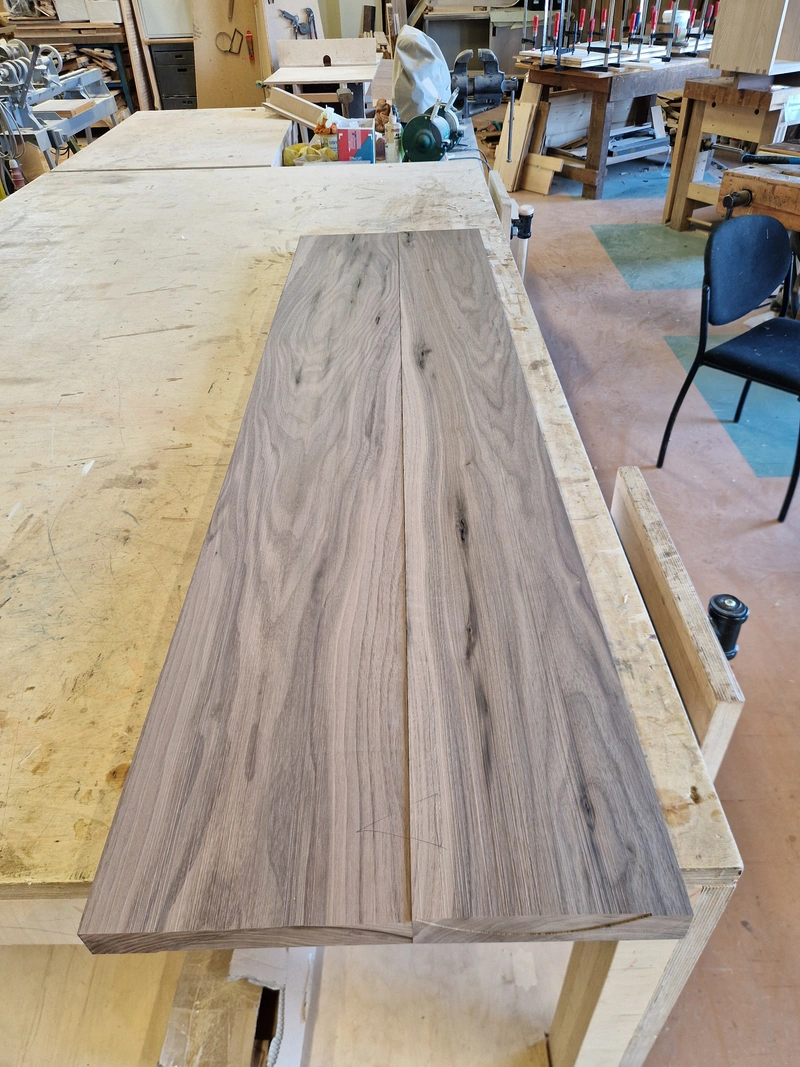
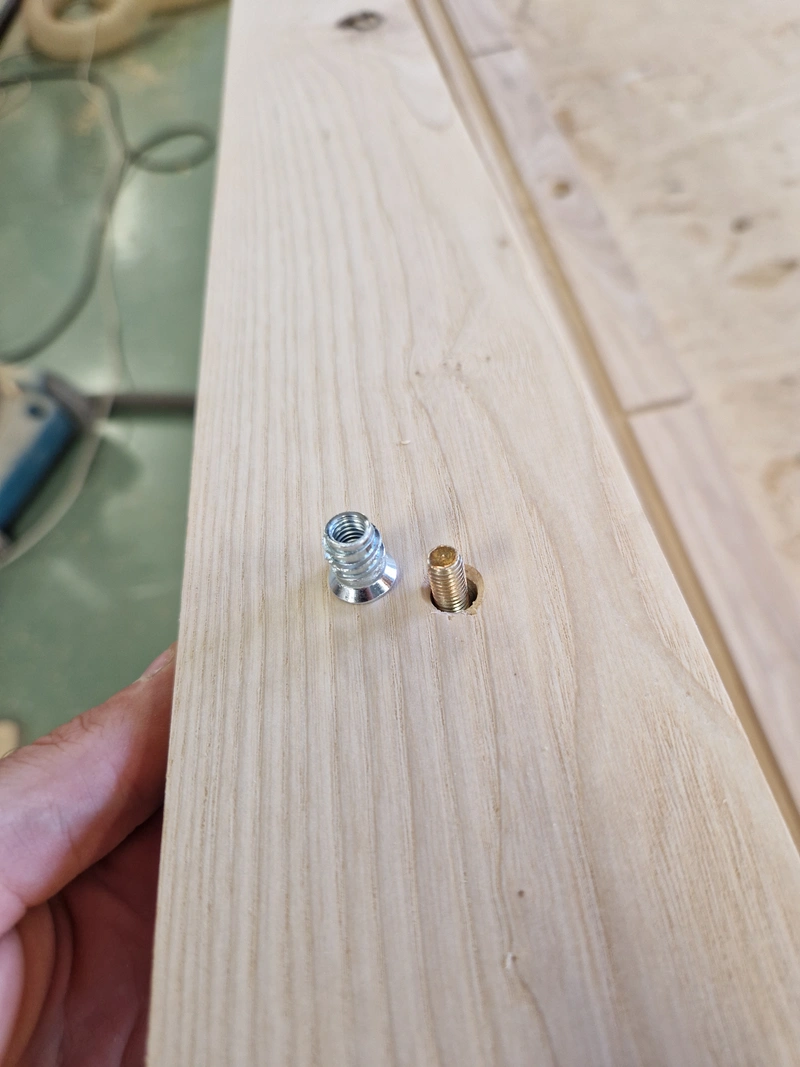
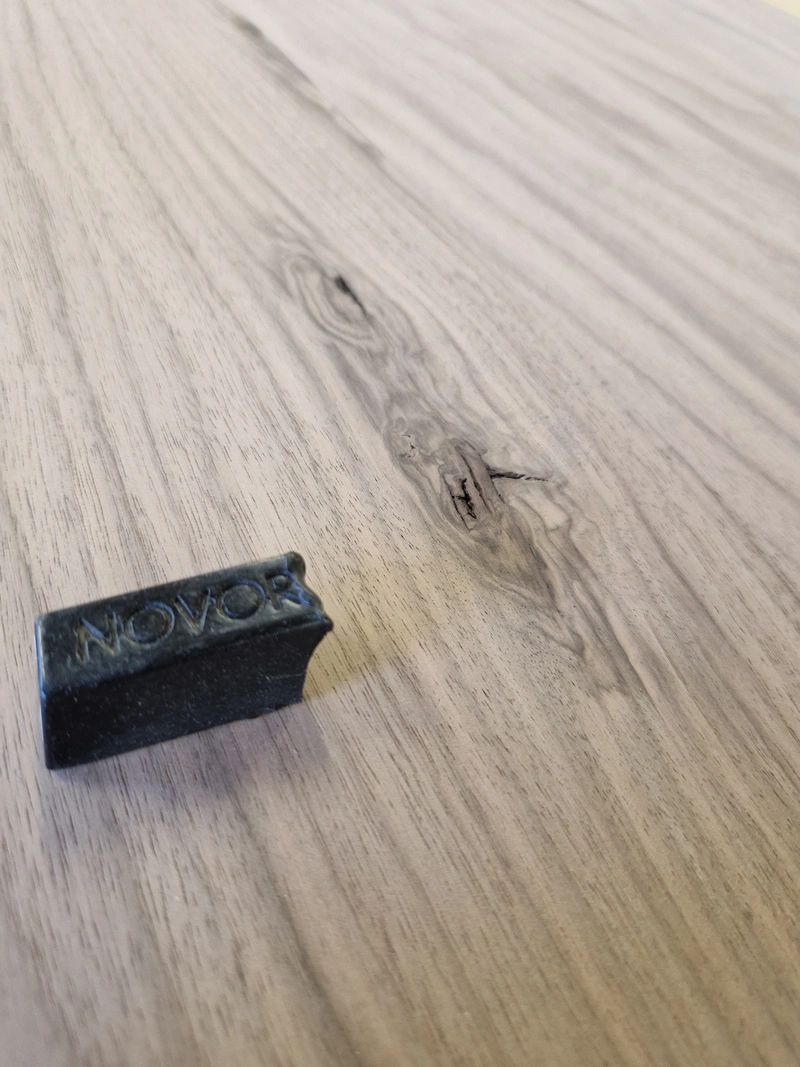
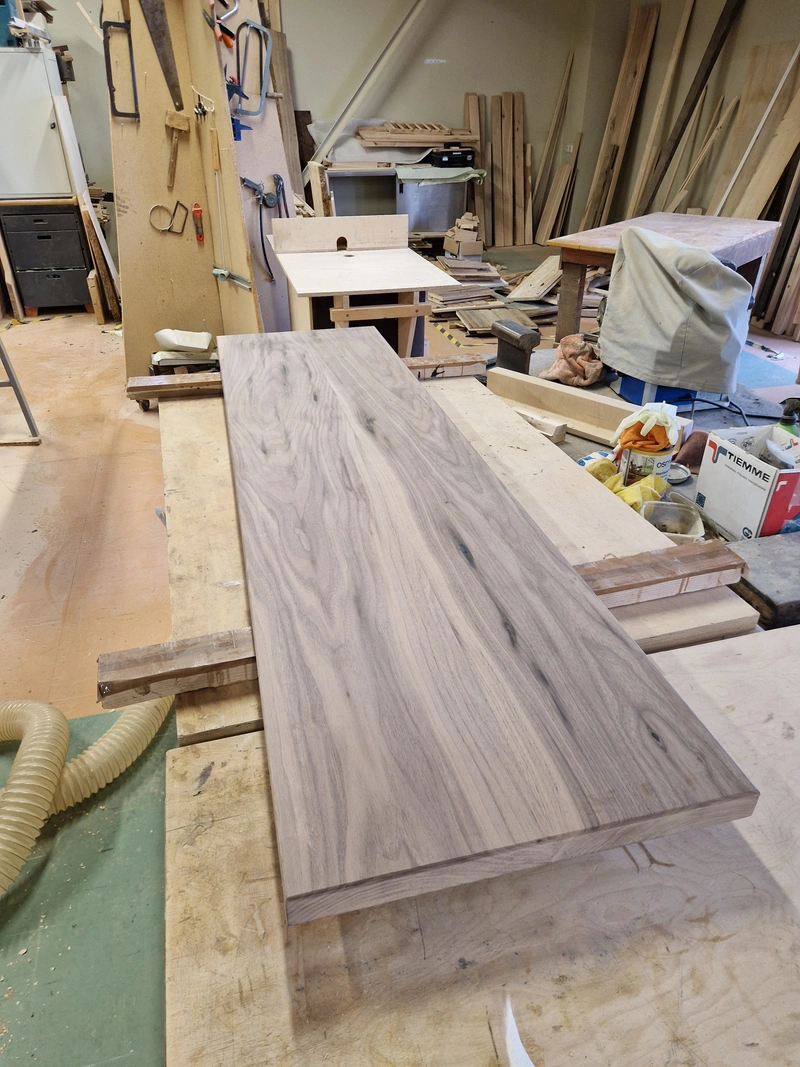
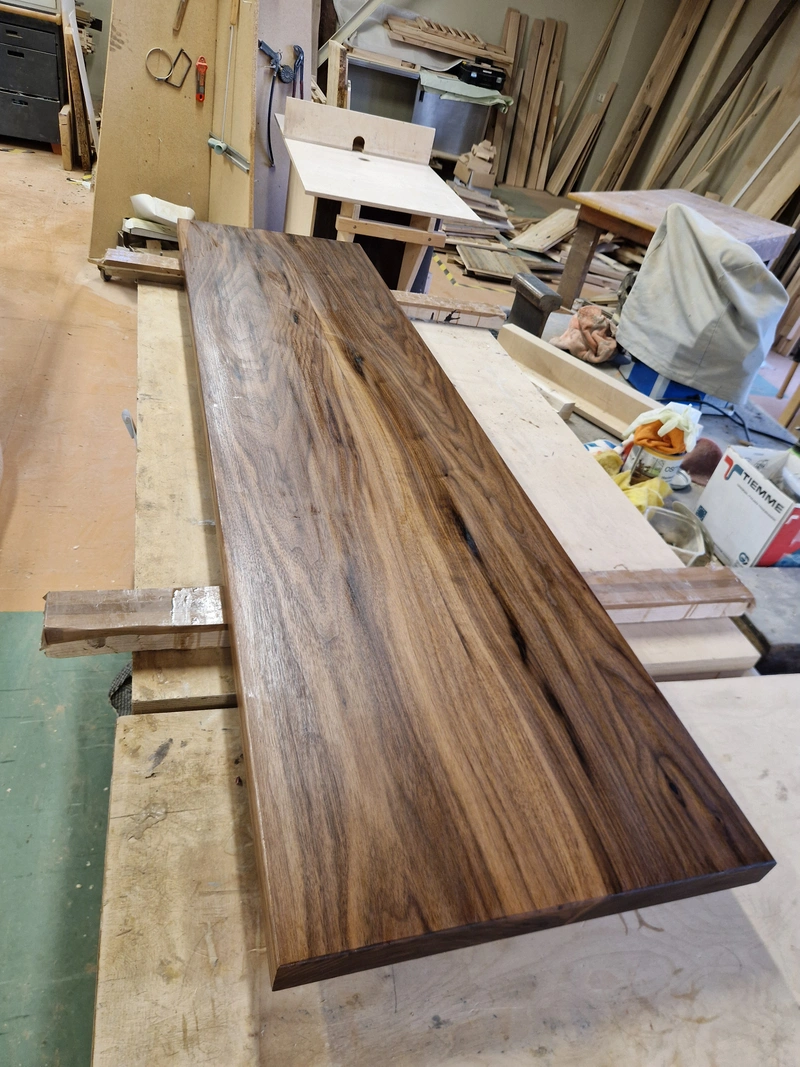
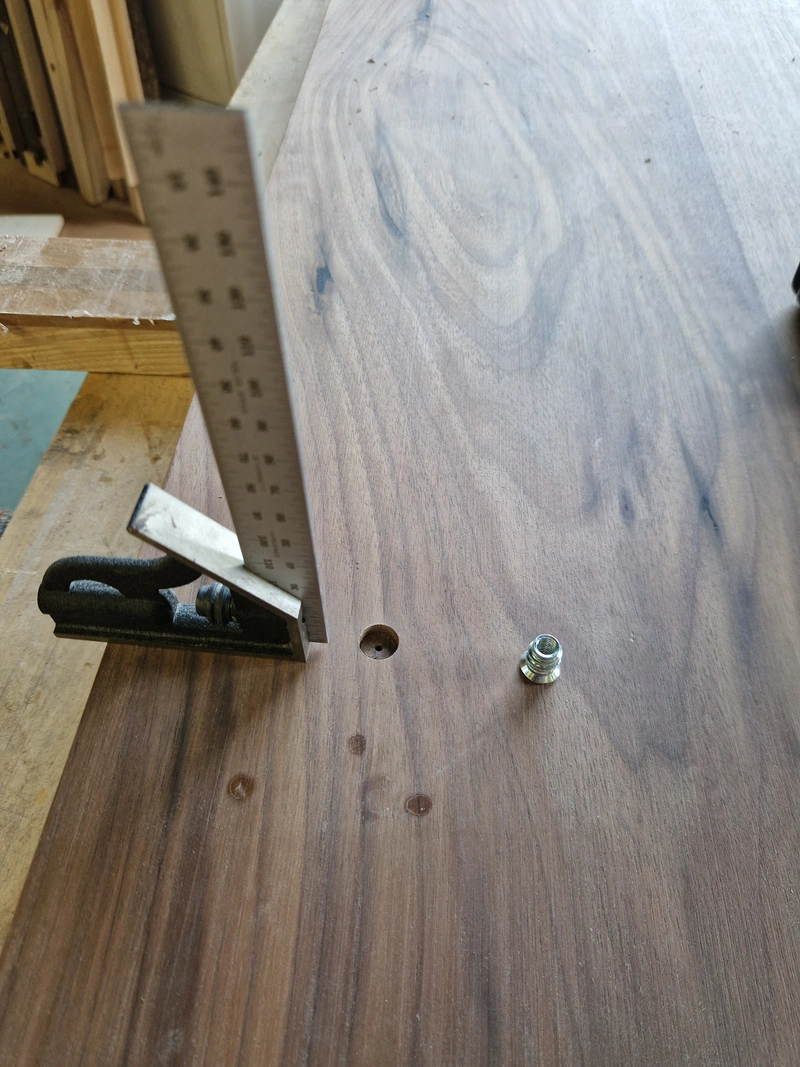
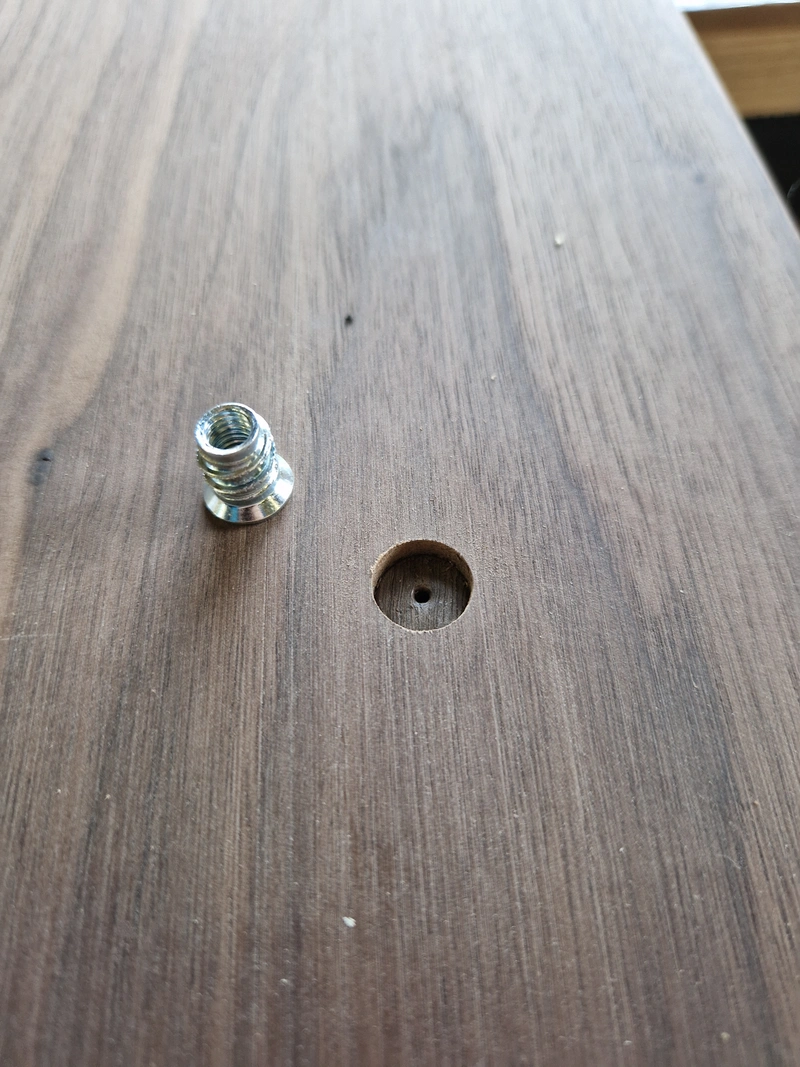
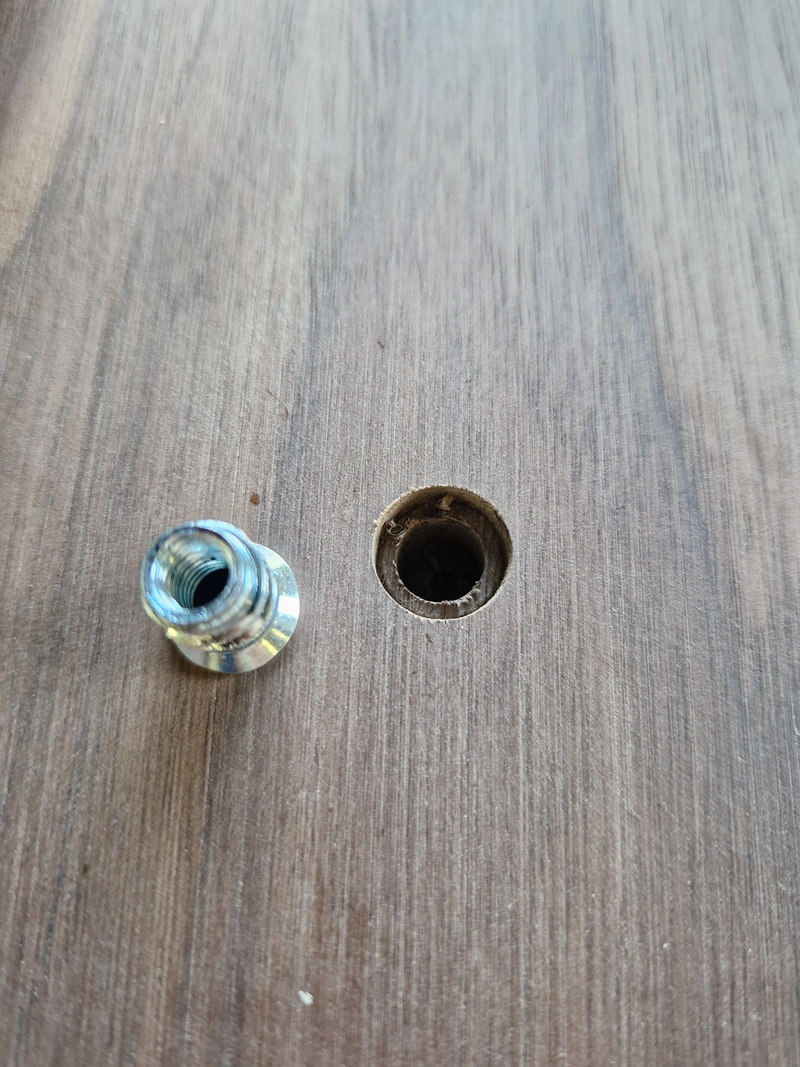
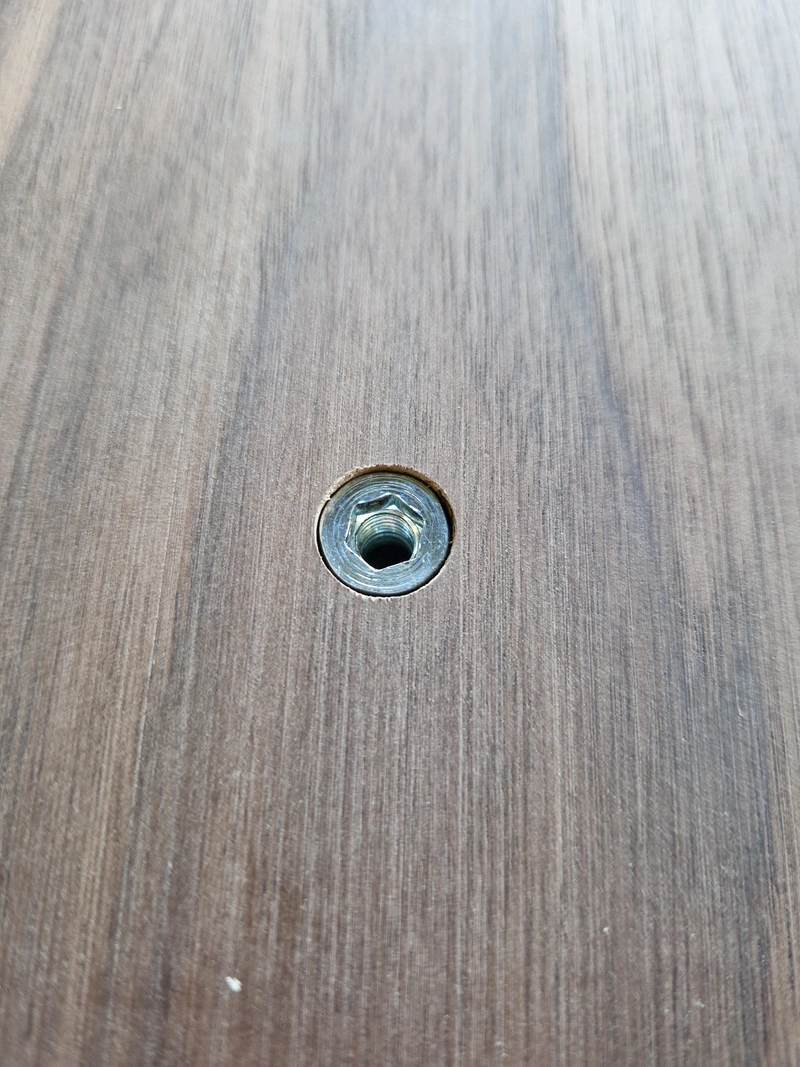
Flattened and joined two walnut planks, used a wide-belt sander for perfect flatness. Used proper threaded inserts and "furniture bolts" for joining the tabletop to the carcass, which is my new go-to approach. Much faster to build, stronger joints, much better results.
1 / 11
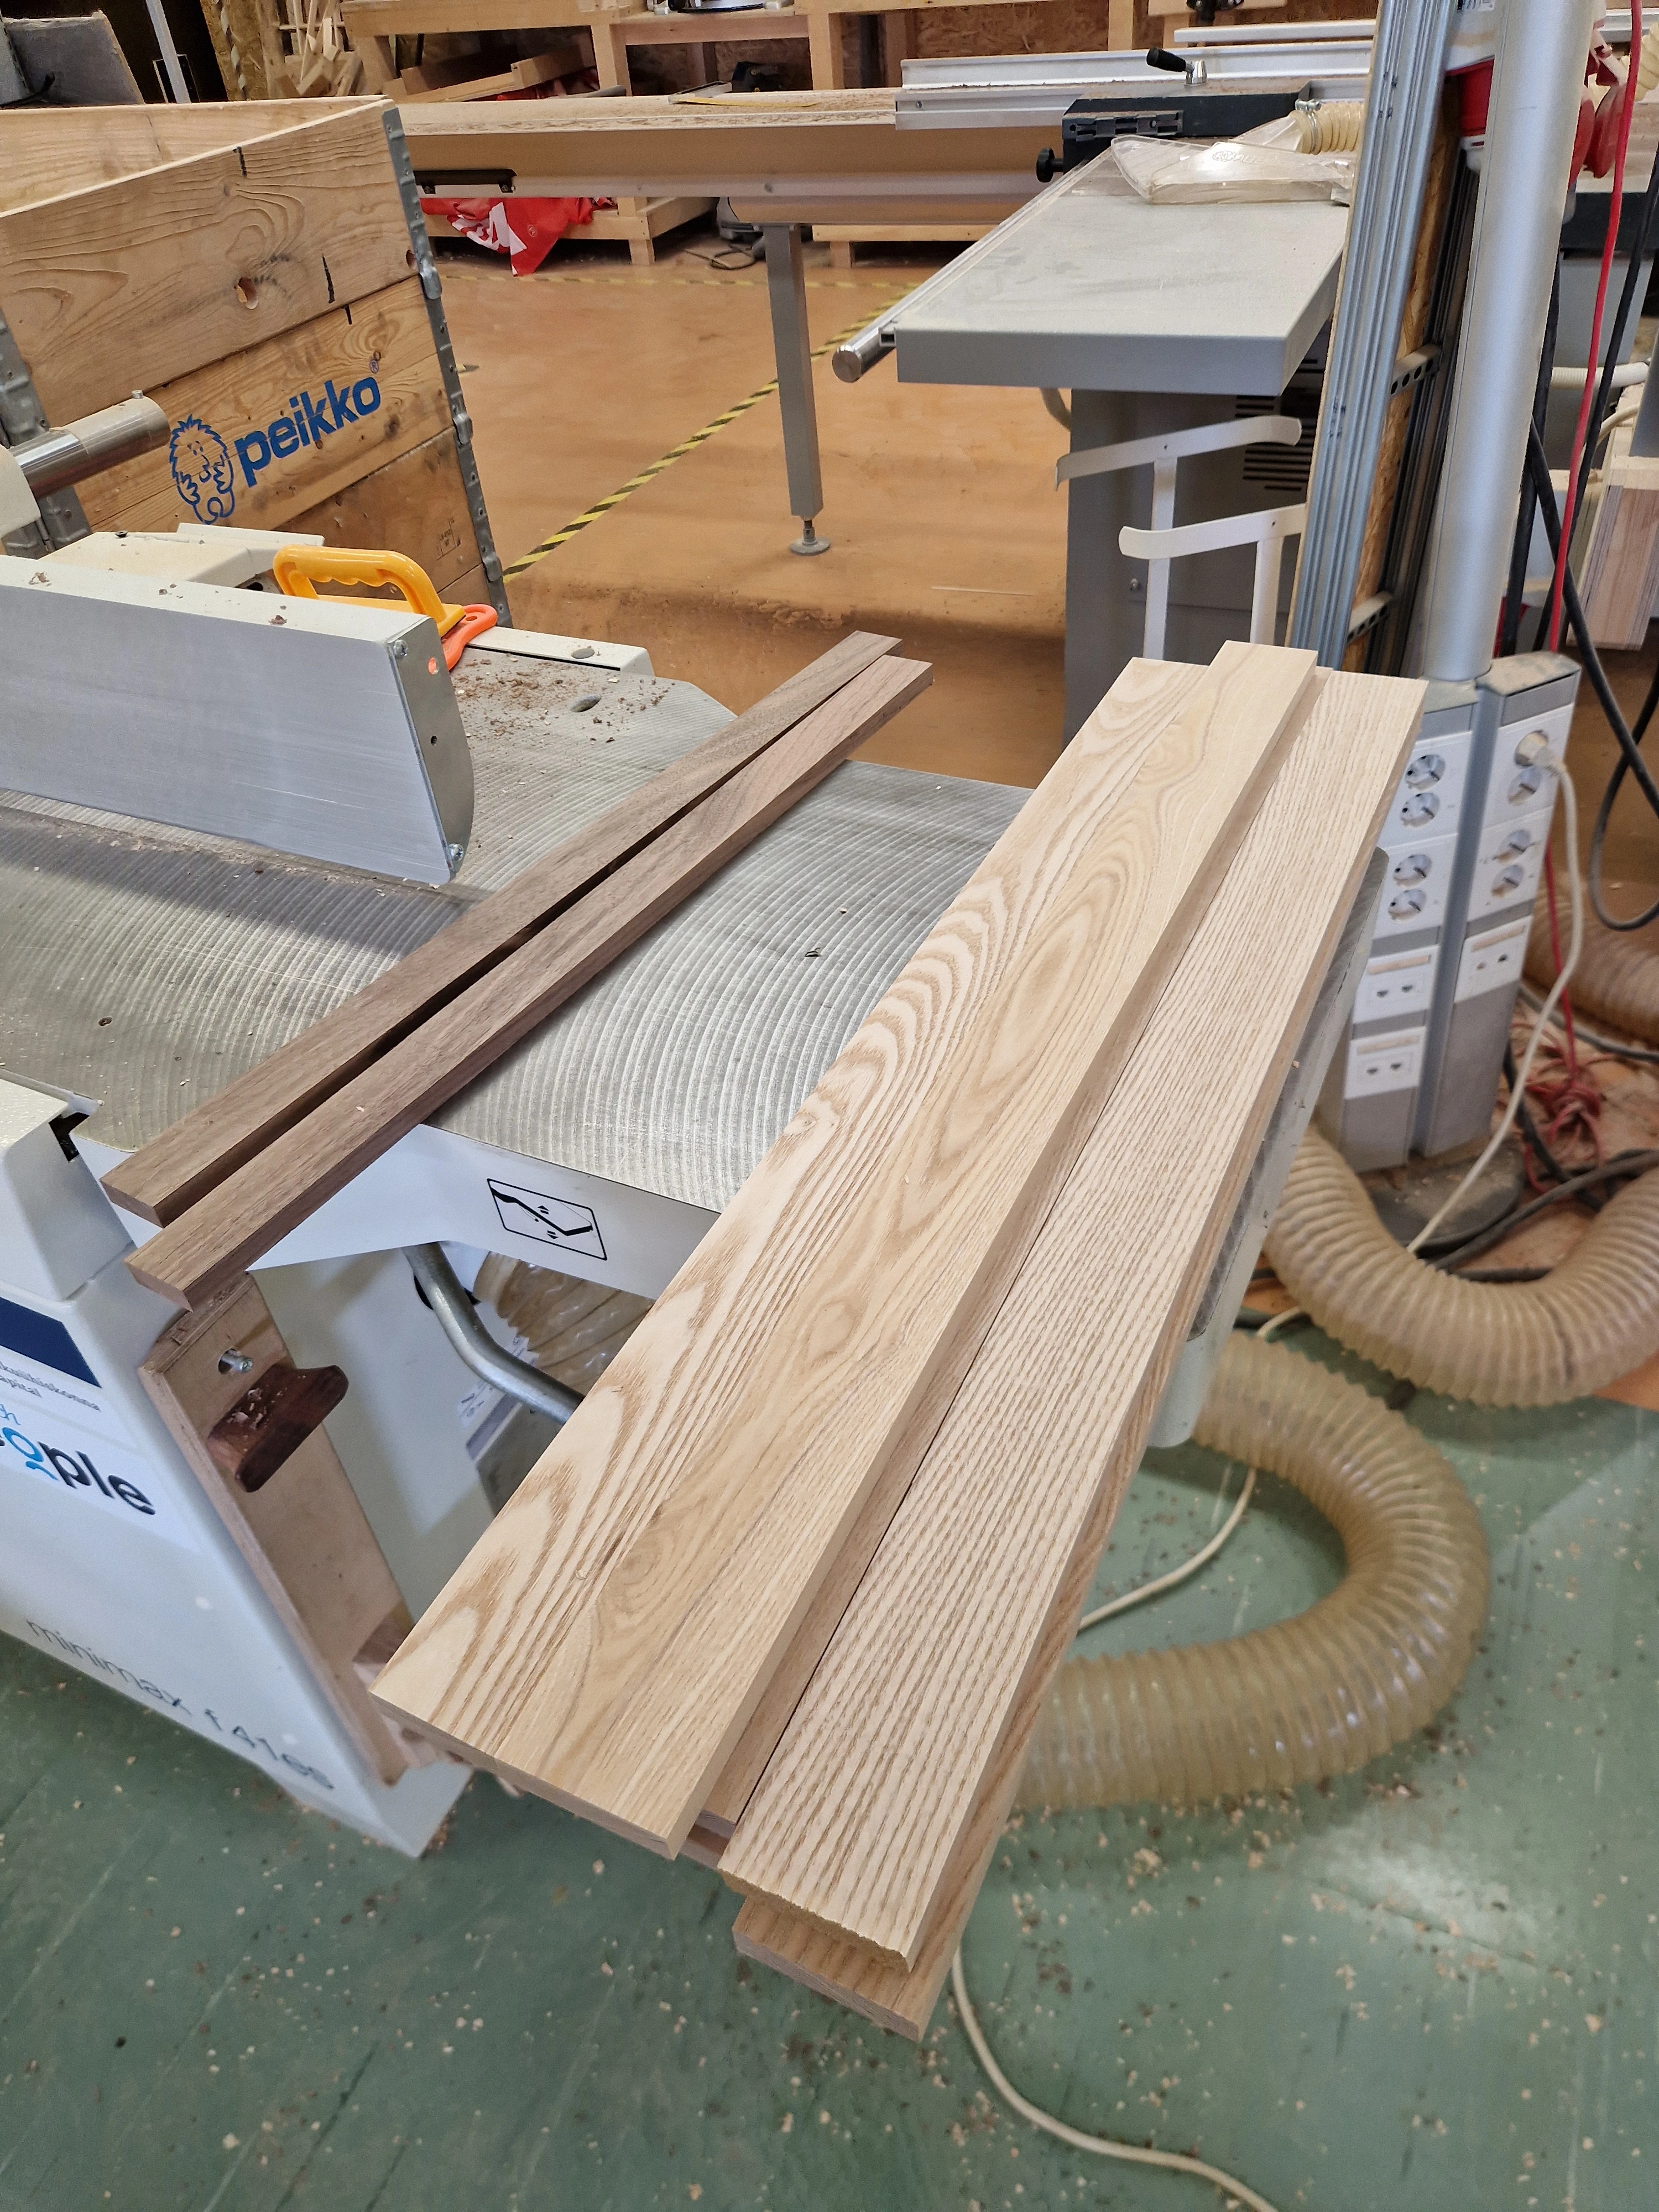
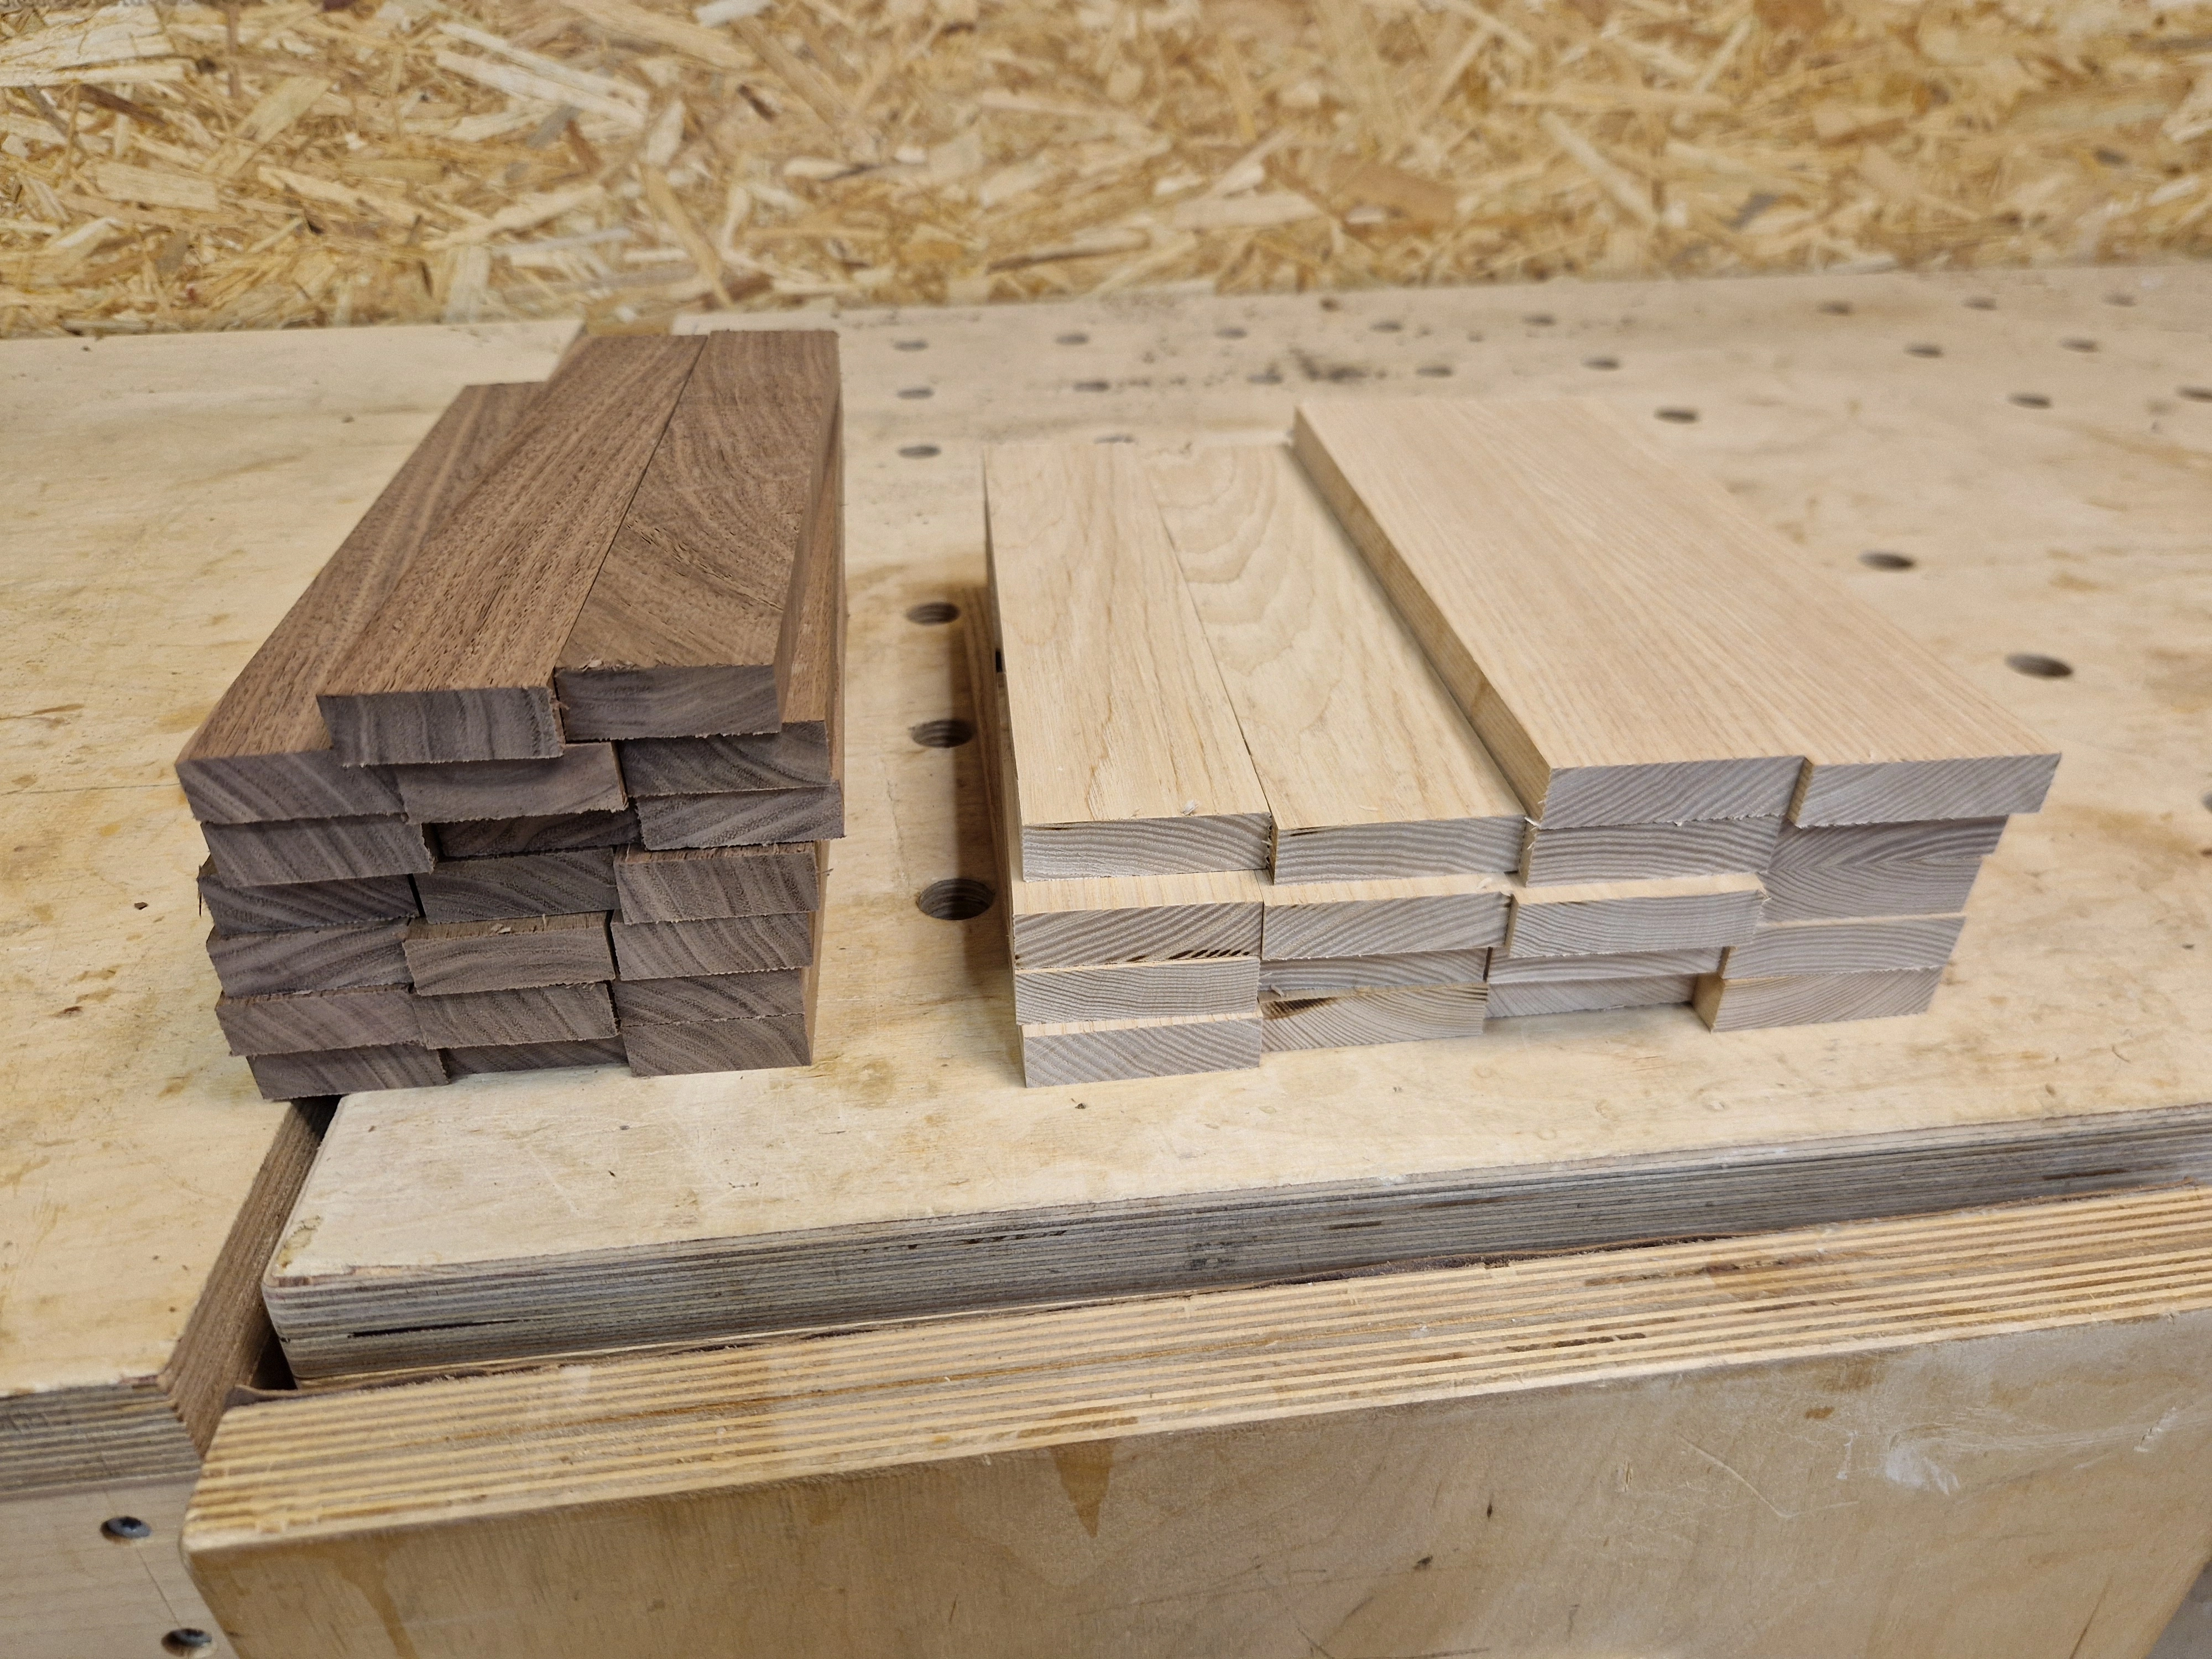
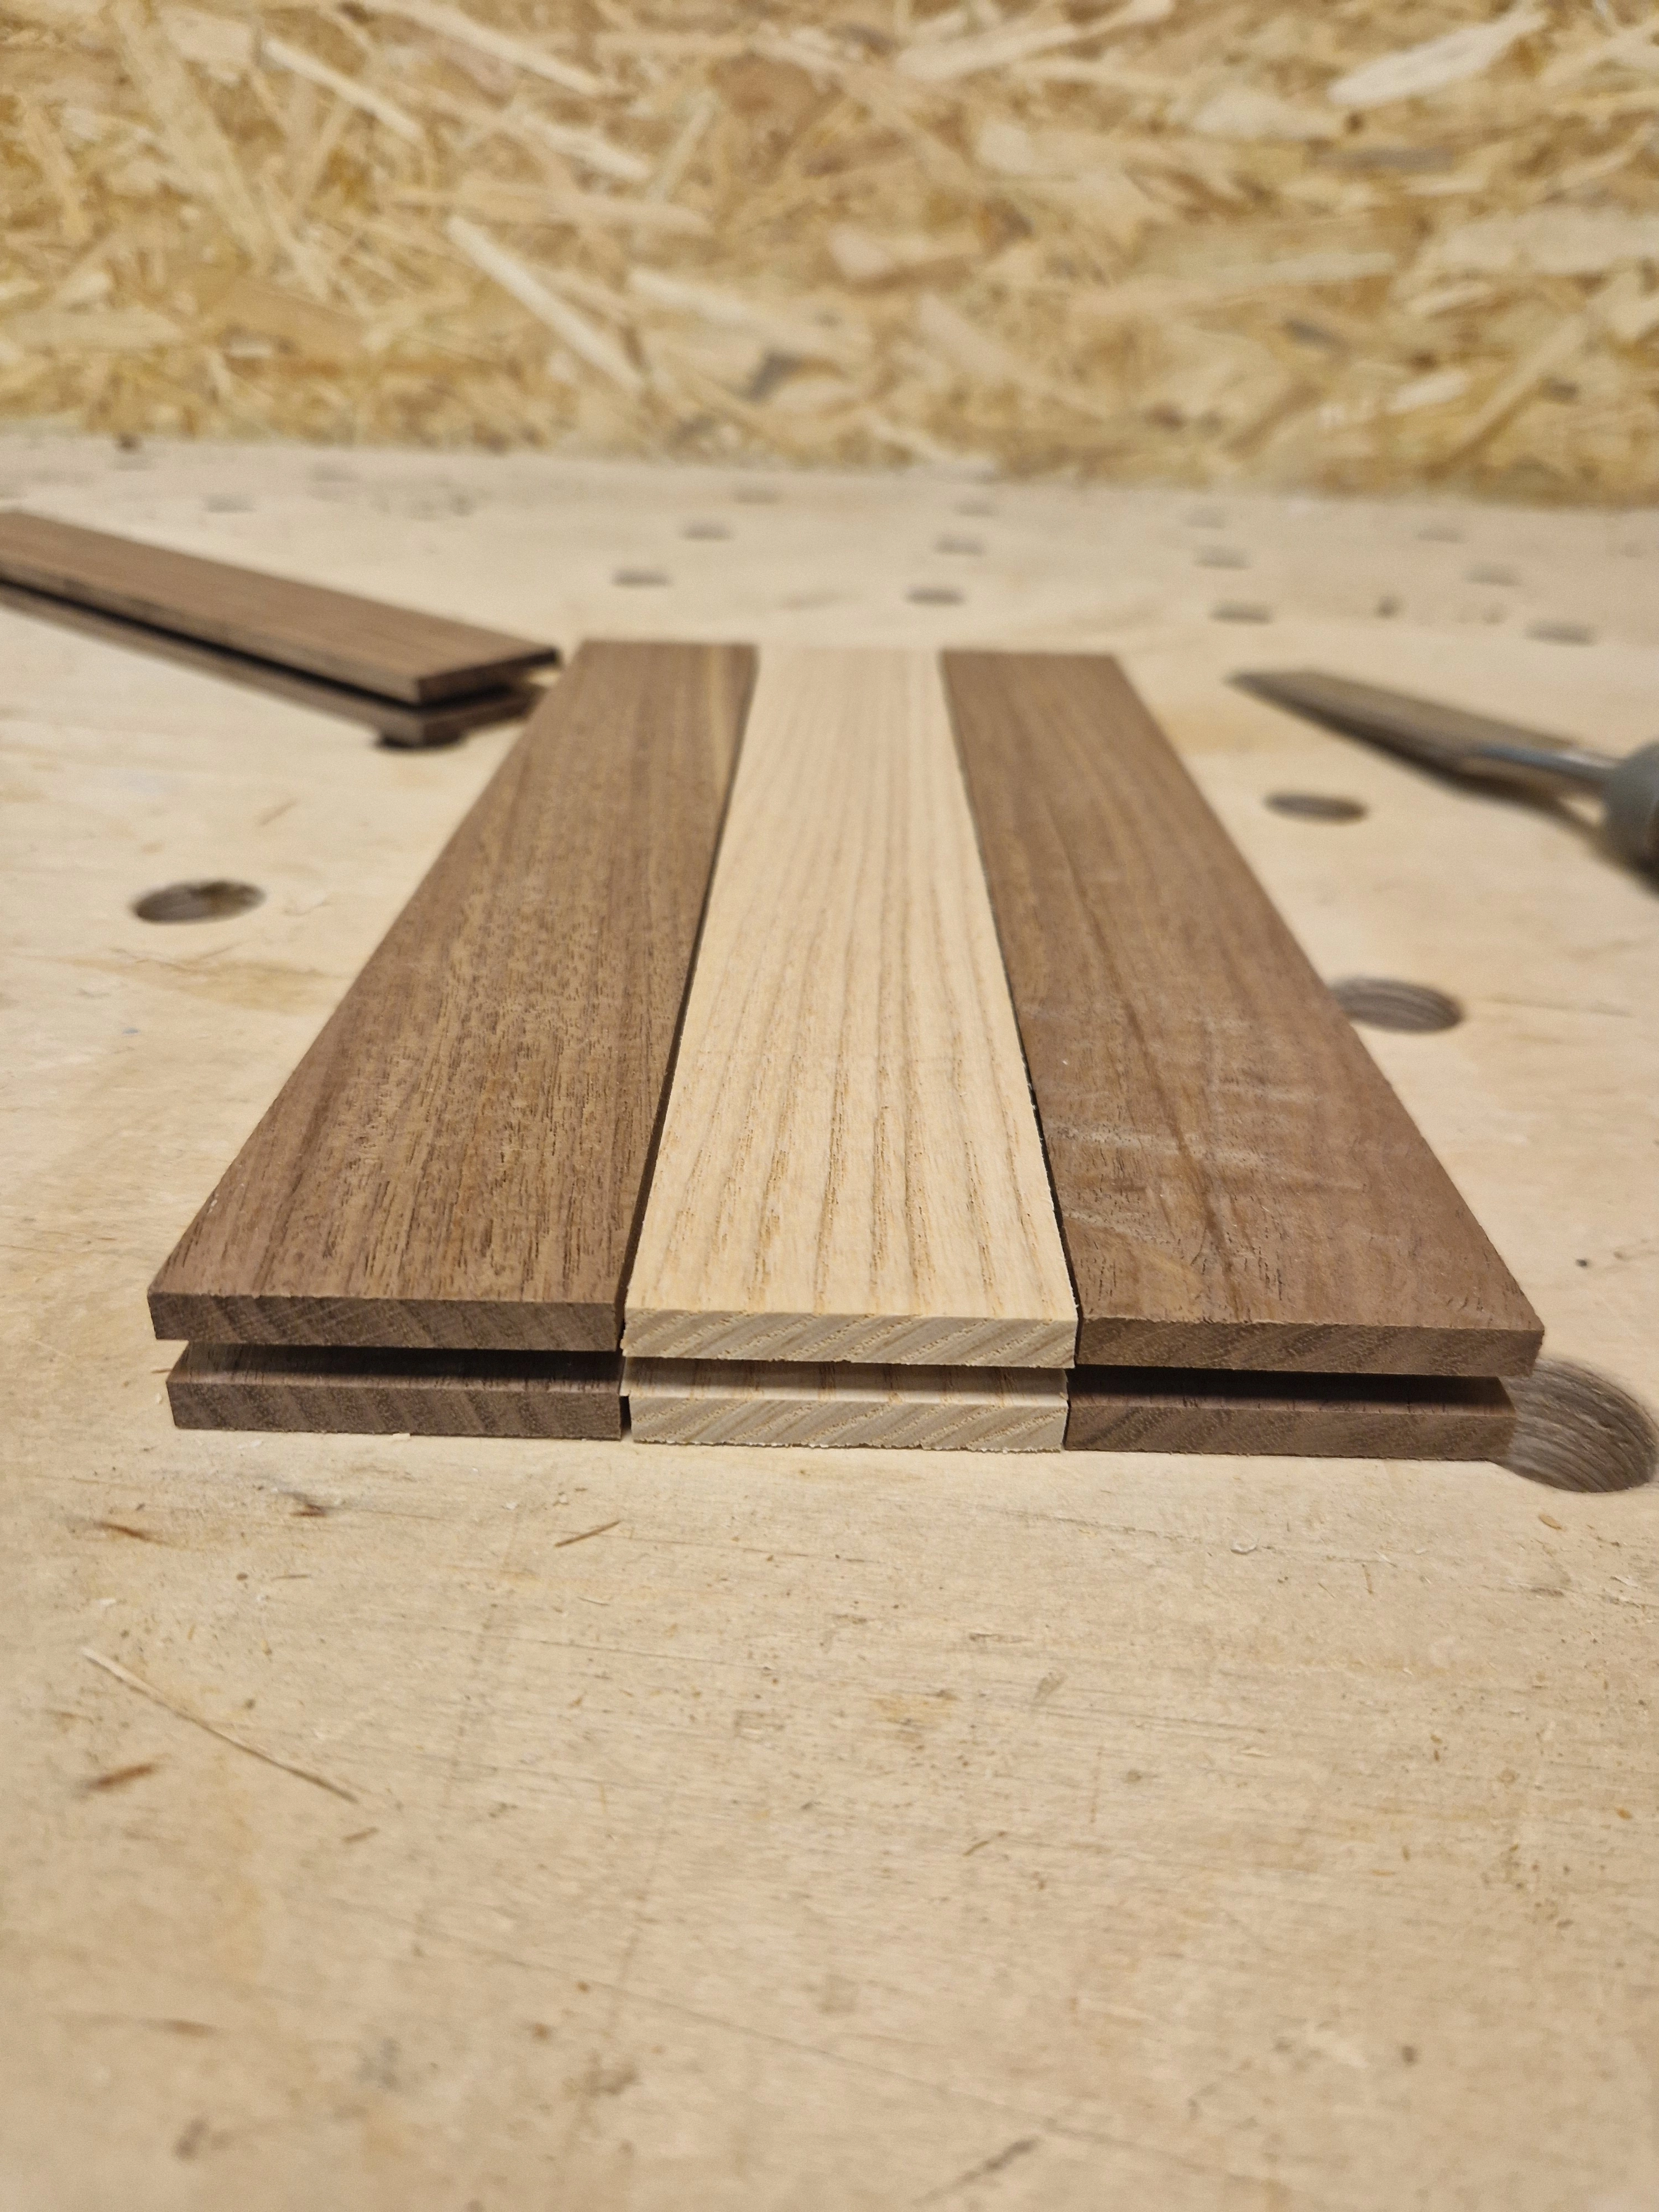
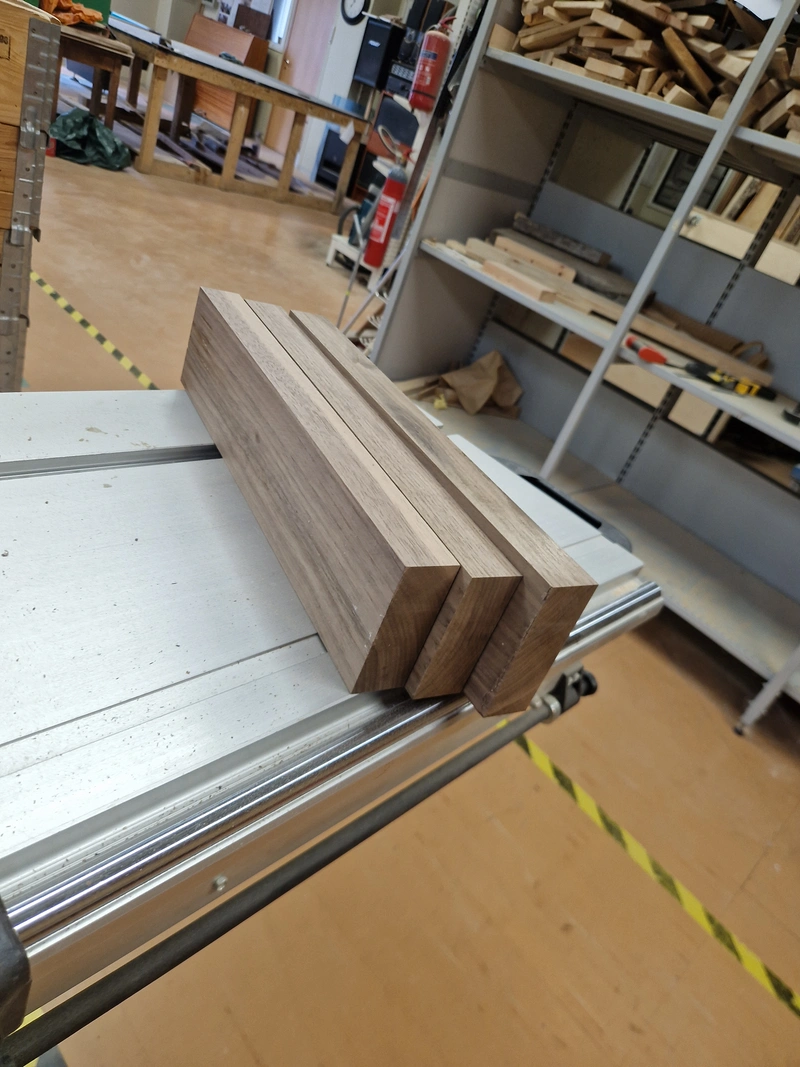
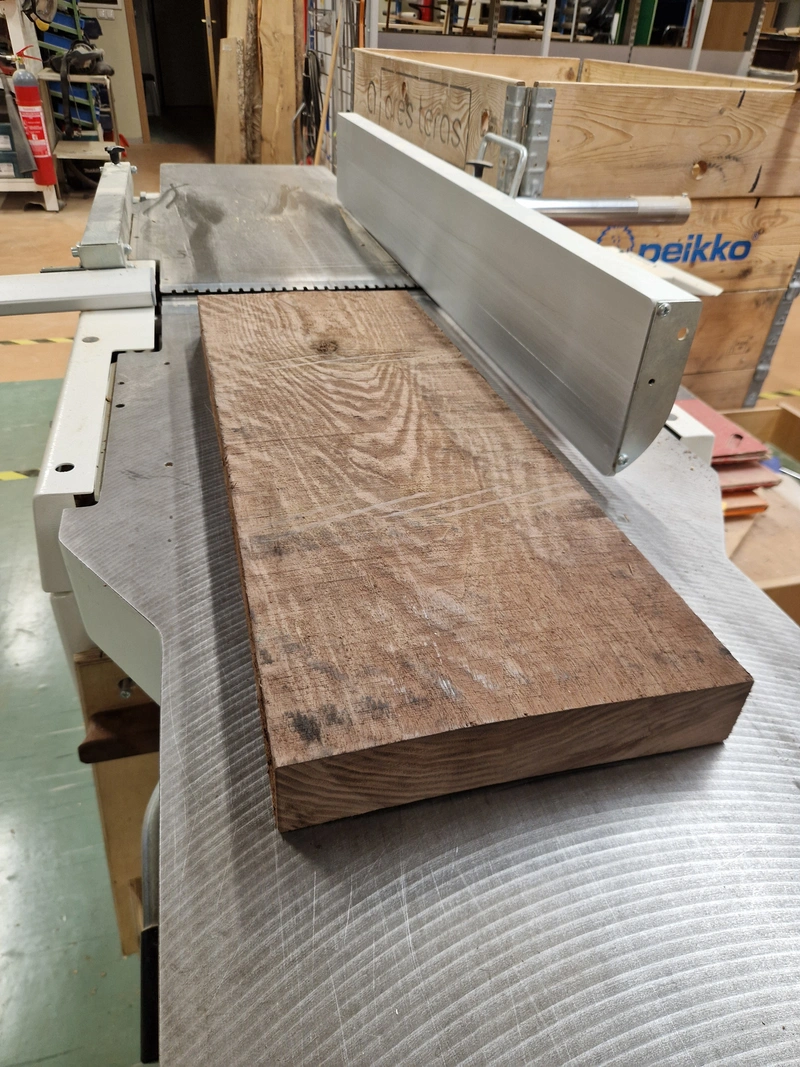
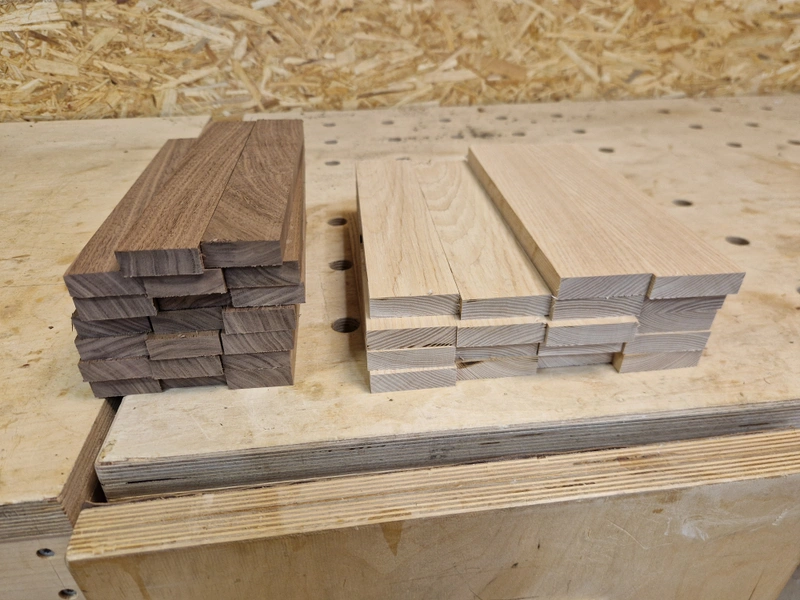
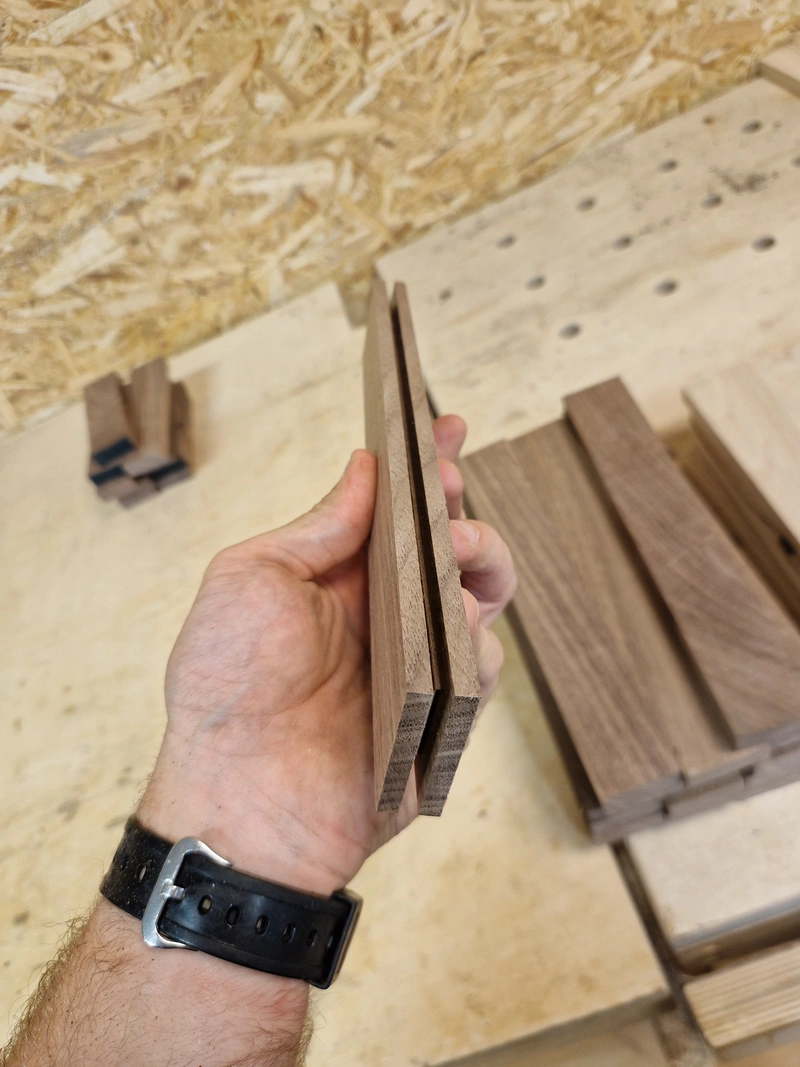
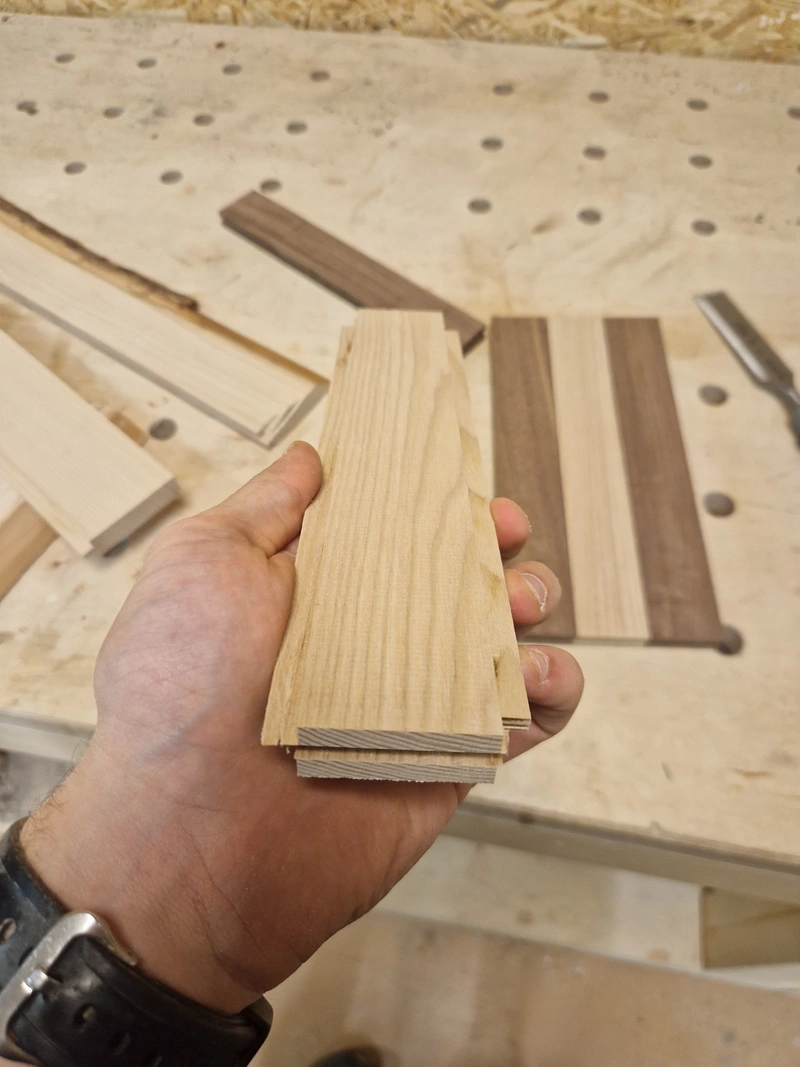
The spooky part of the project. Not only do the doors have to be perfectly flat and straight, they have to also remain that way for their lifetime, which given proper care is probably around 100 years. In order to accomplish this it's important to release all tension from the wood before cutting to proper dimensions, and it's important to choose the most stable parts of each plank. In reality, the best option here would be quartersawn wood which is the most stable, but I do not have access to this, so instead I opted to do my best with what I have.
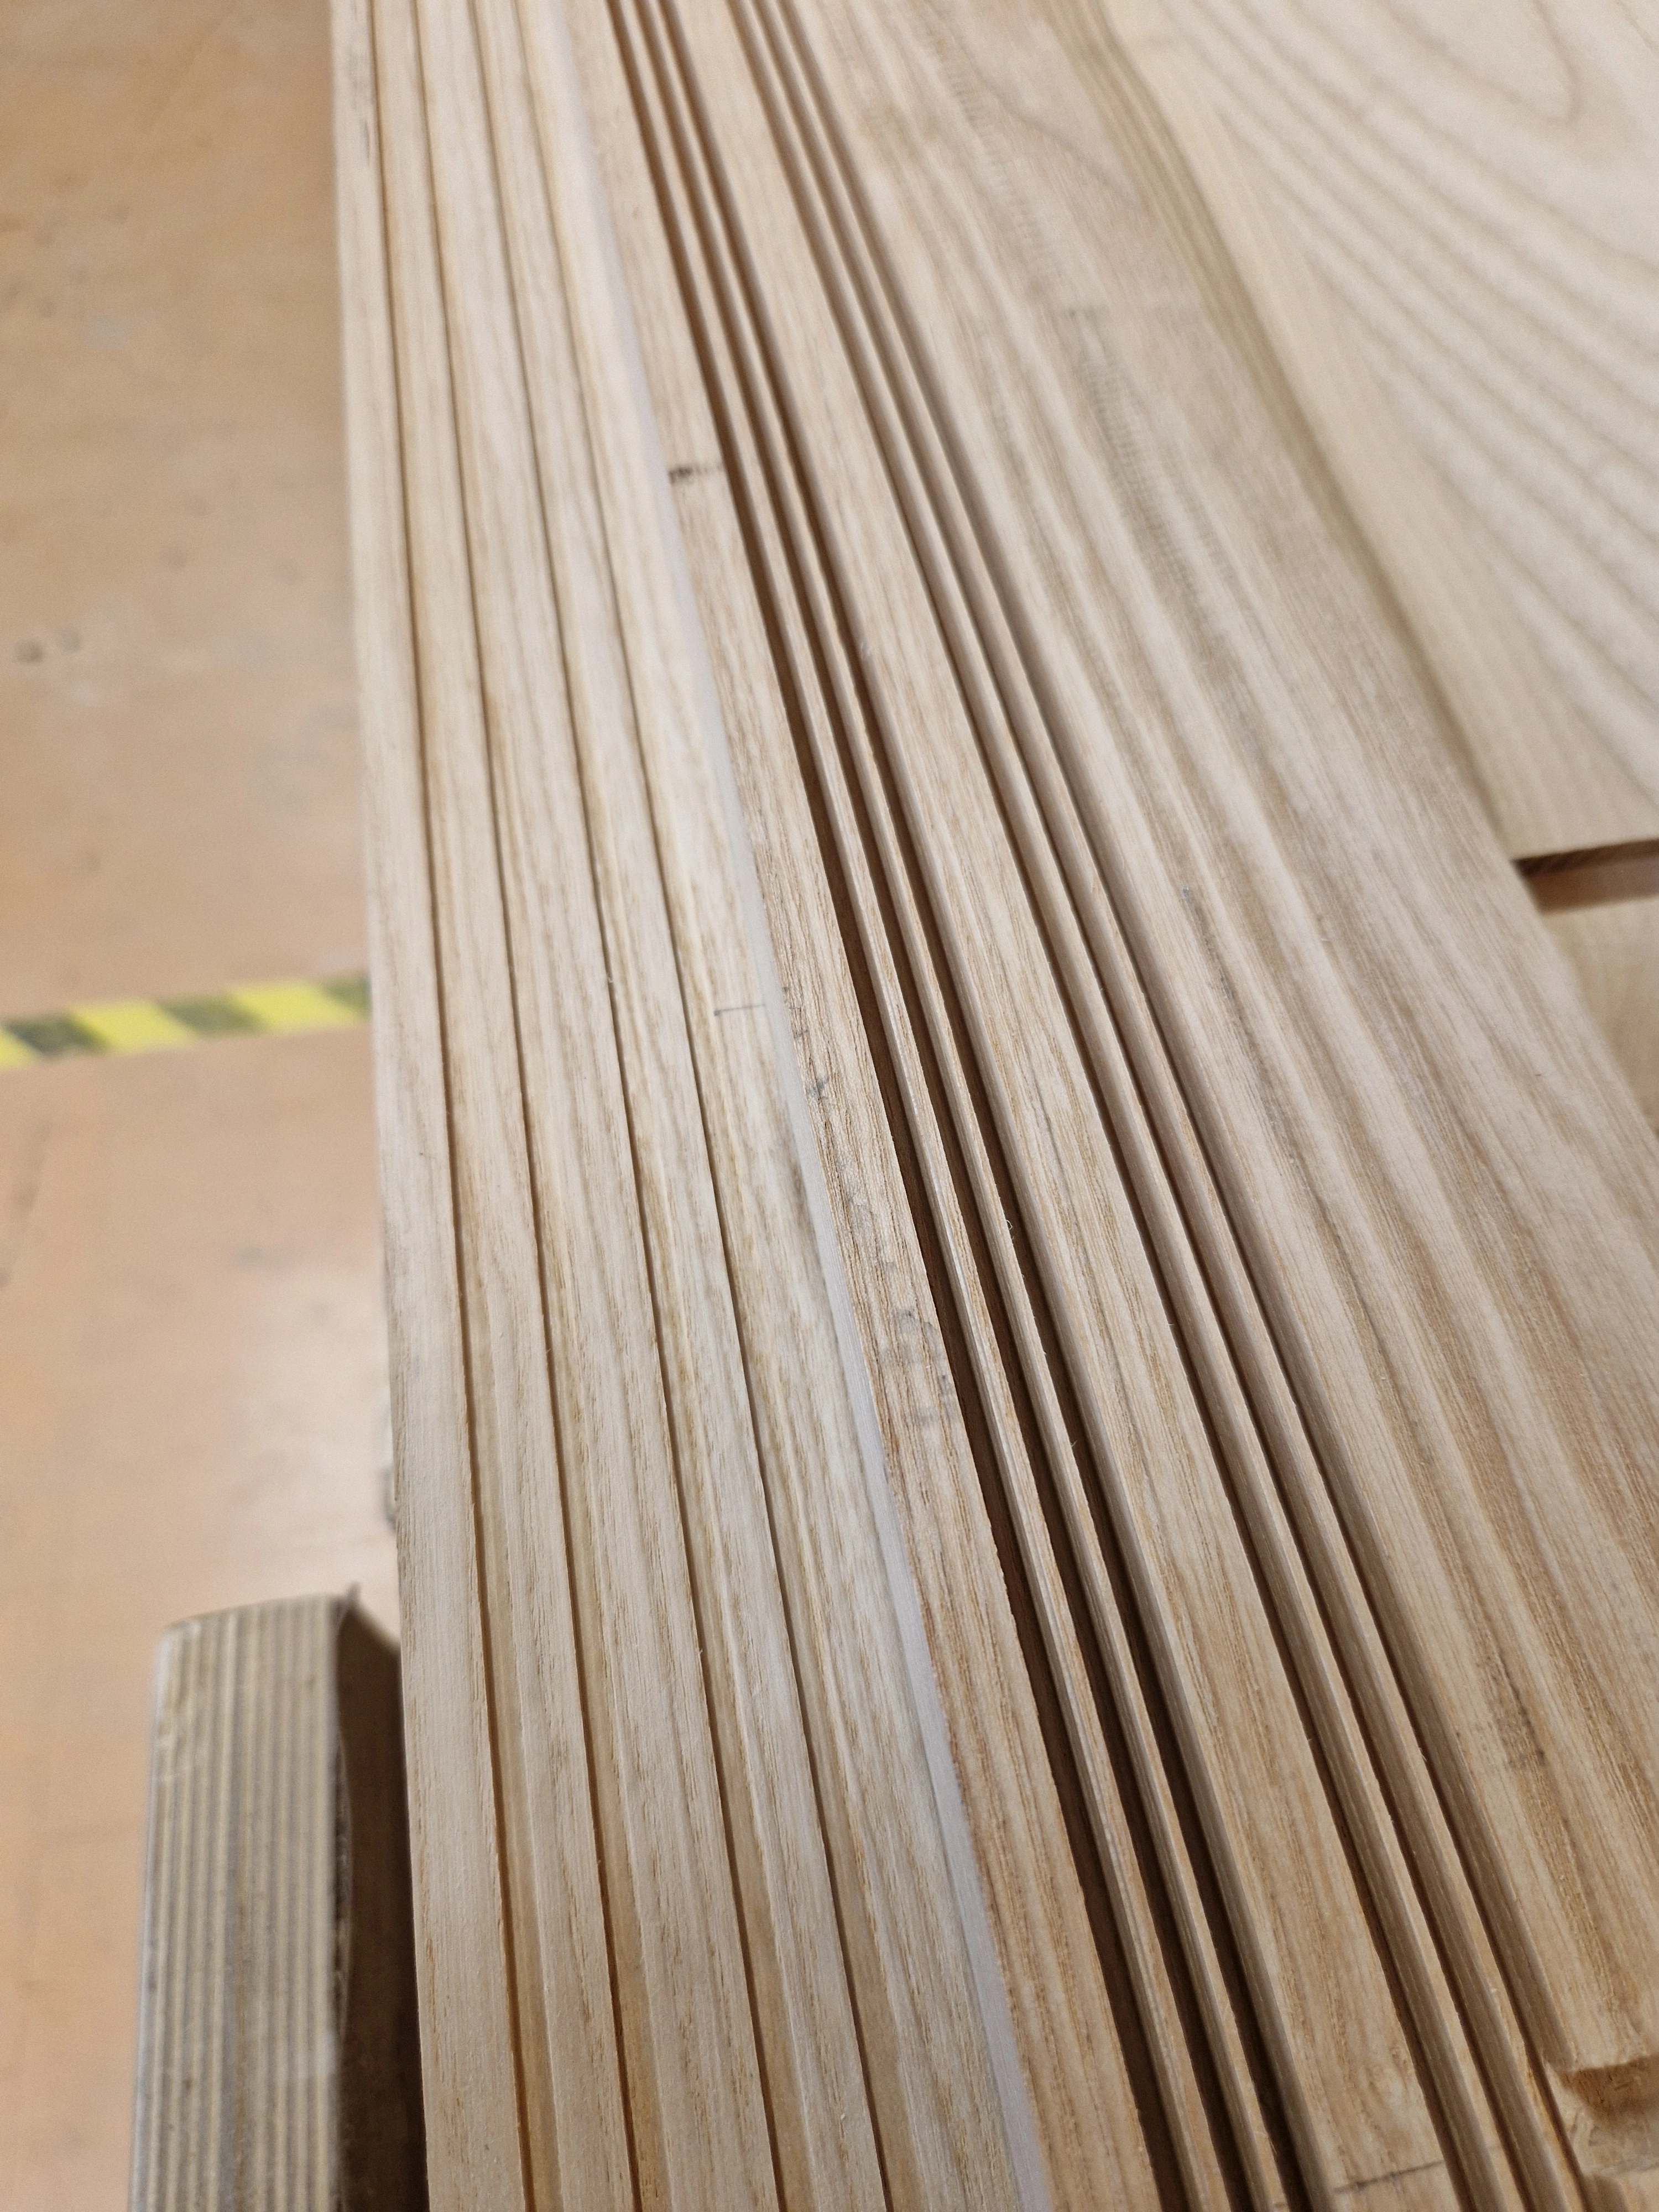
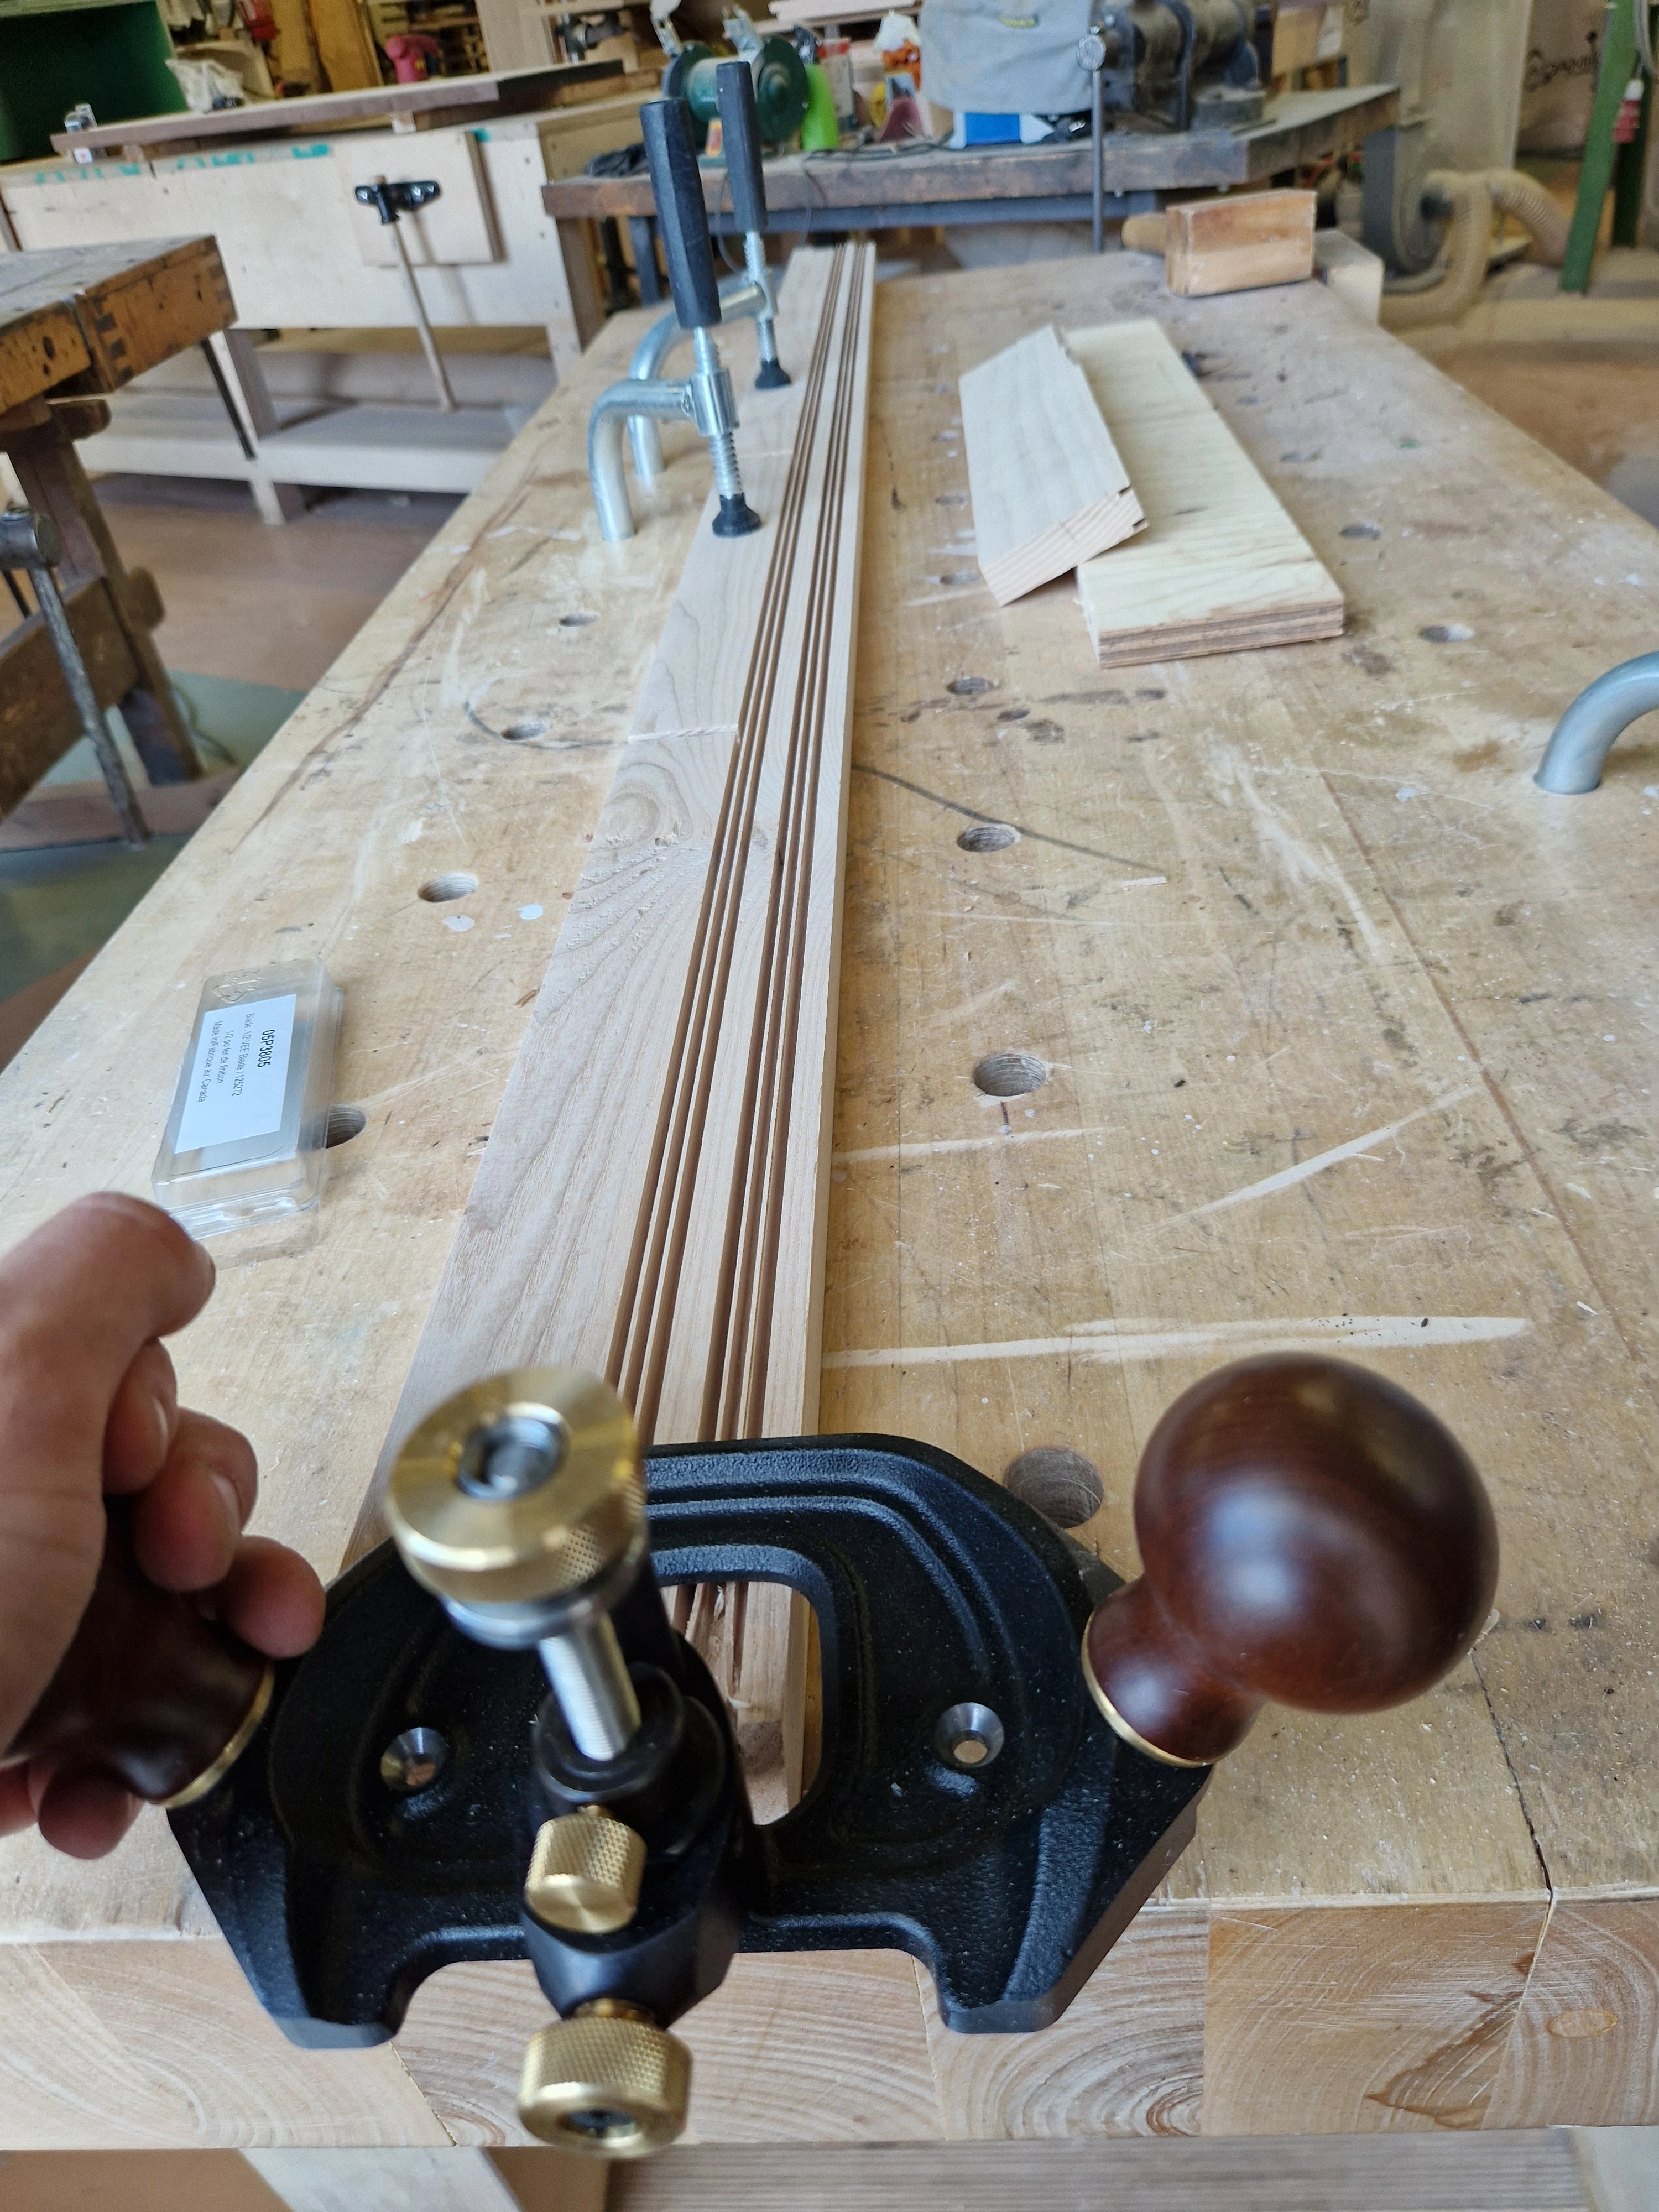
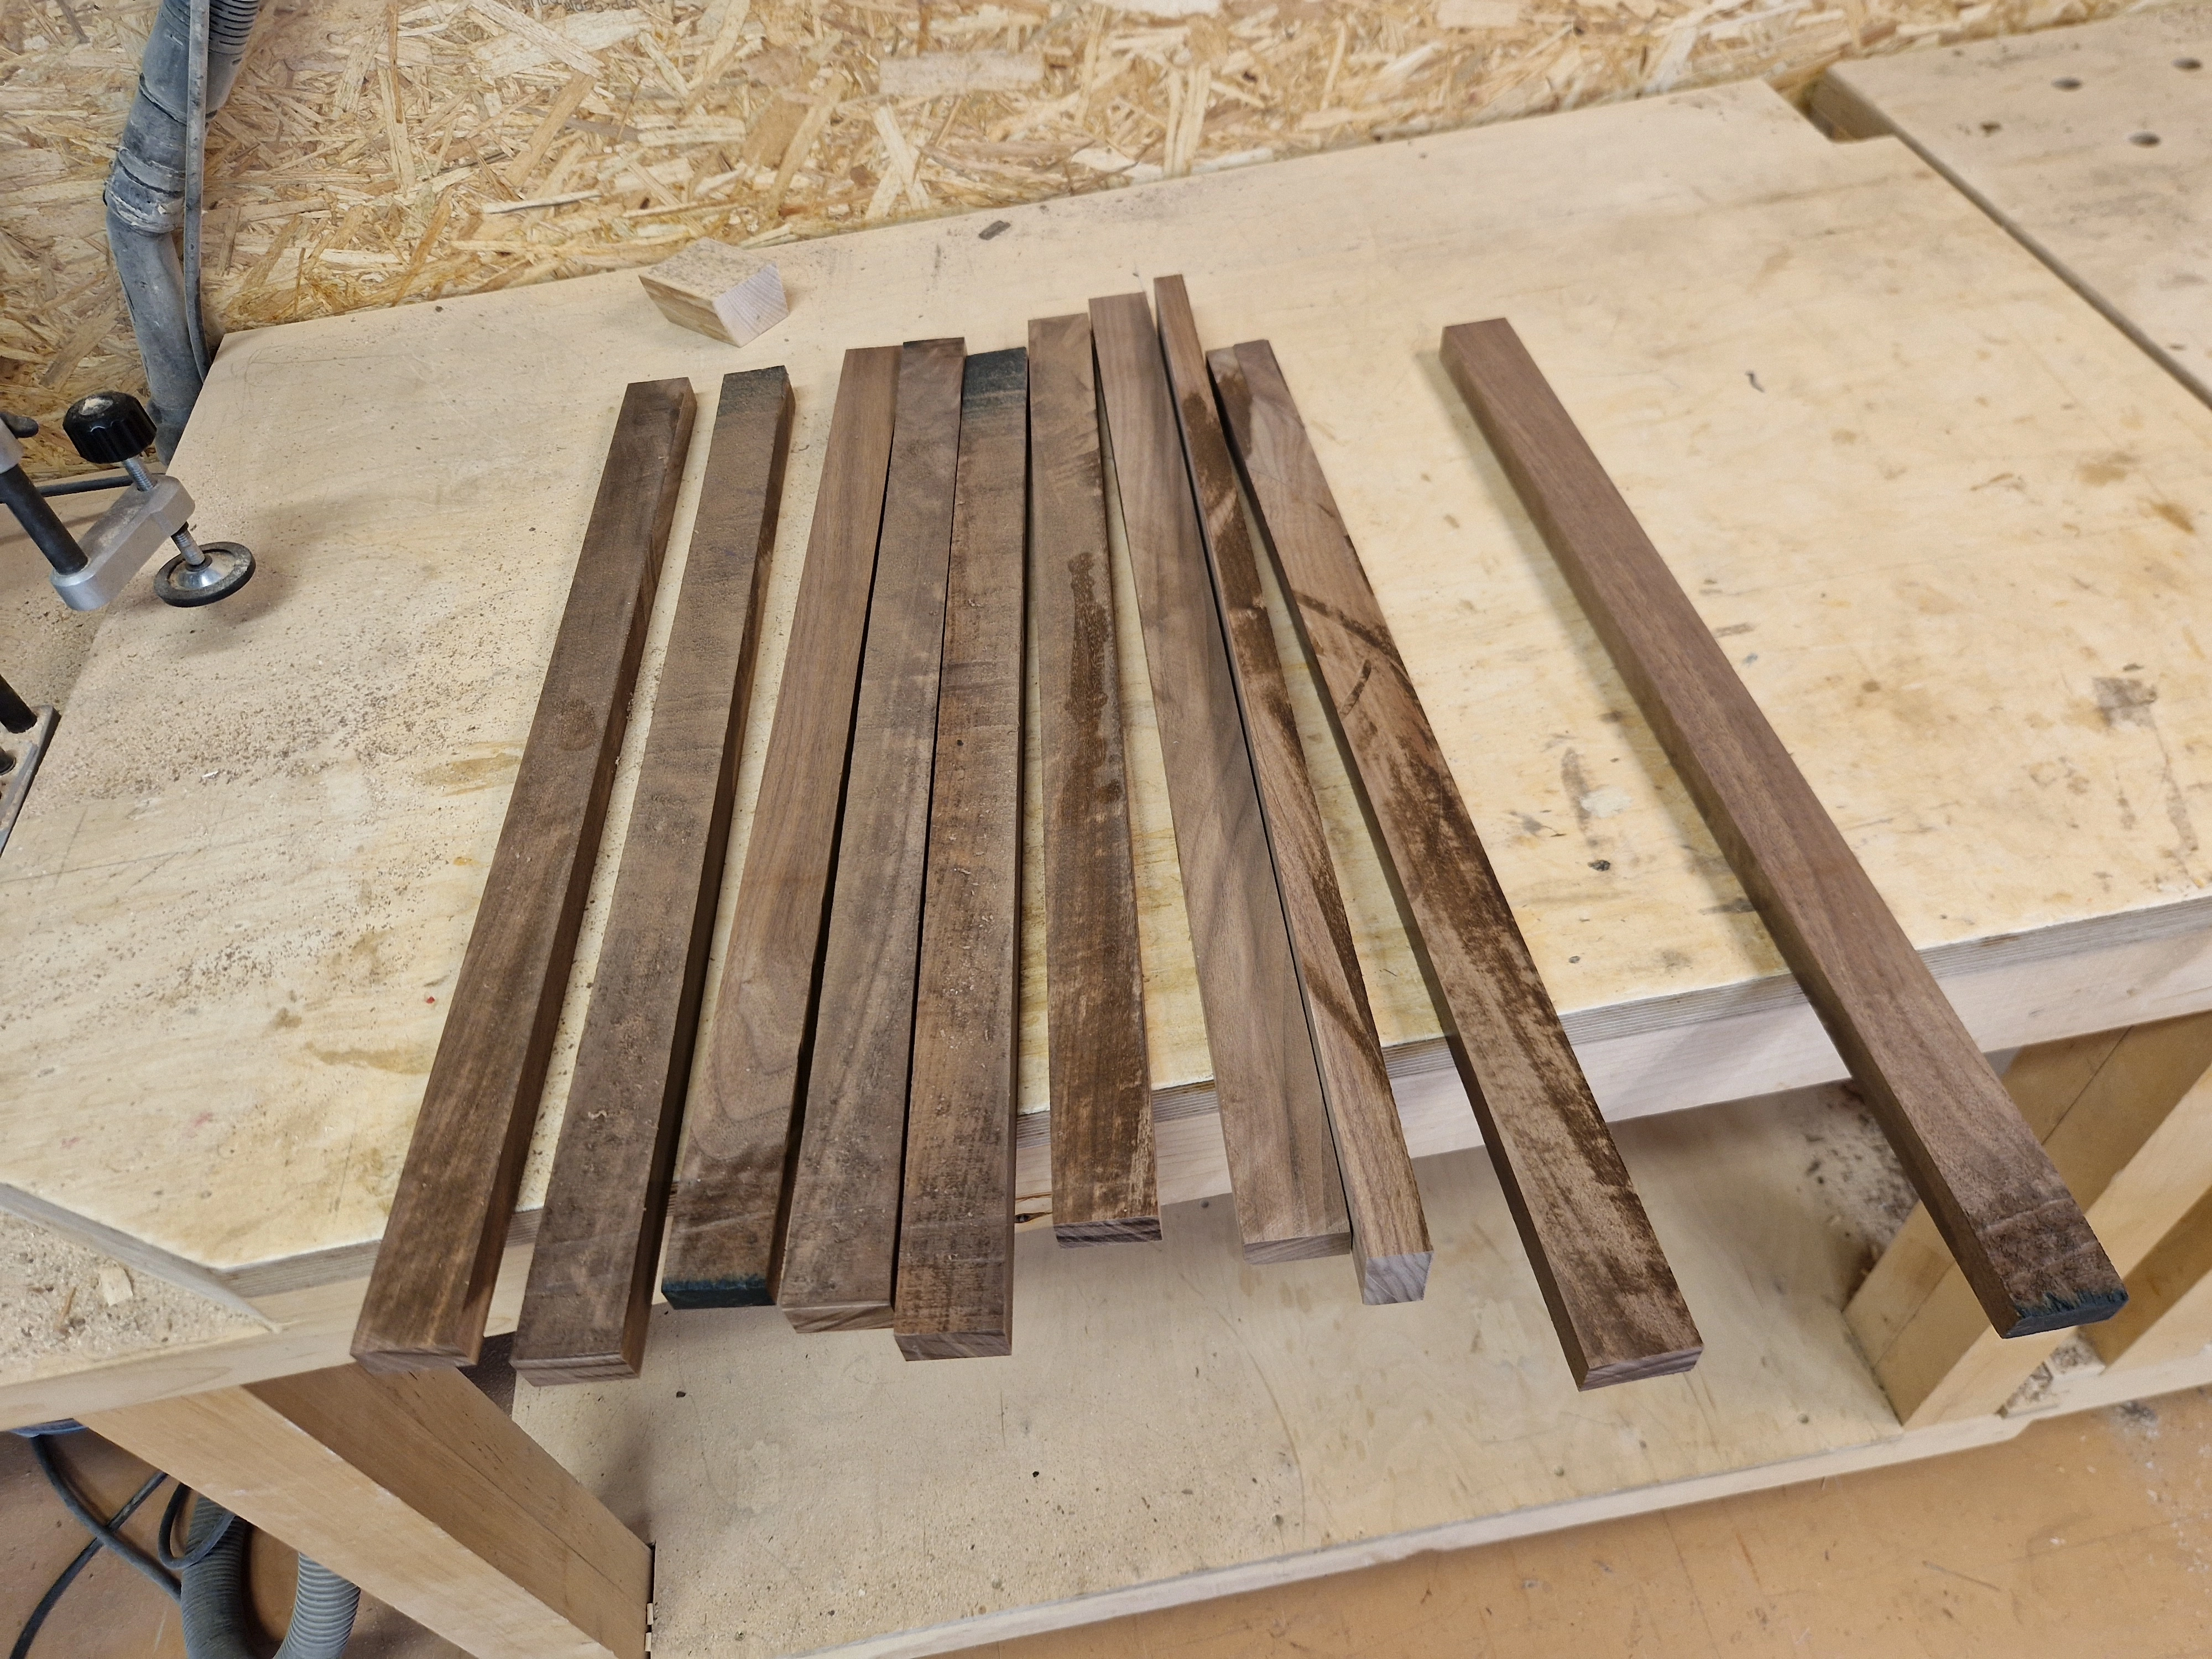
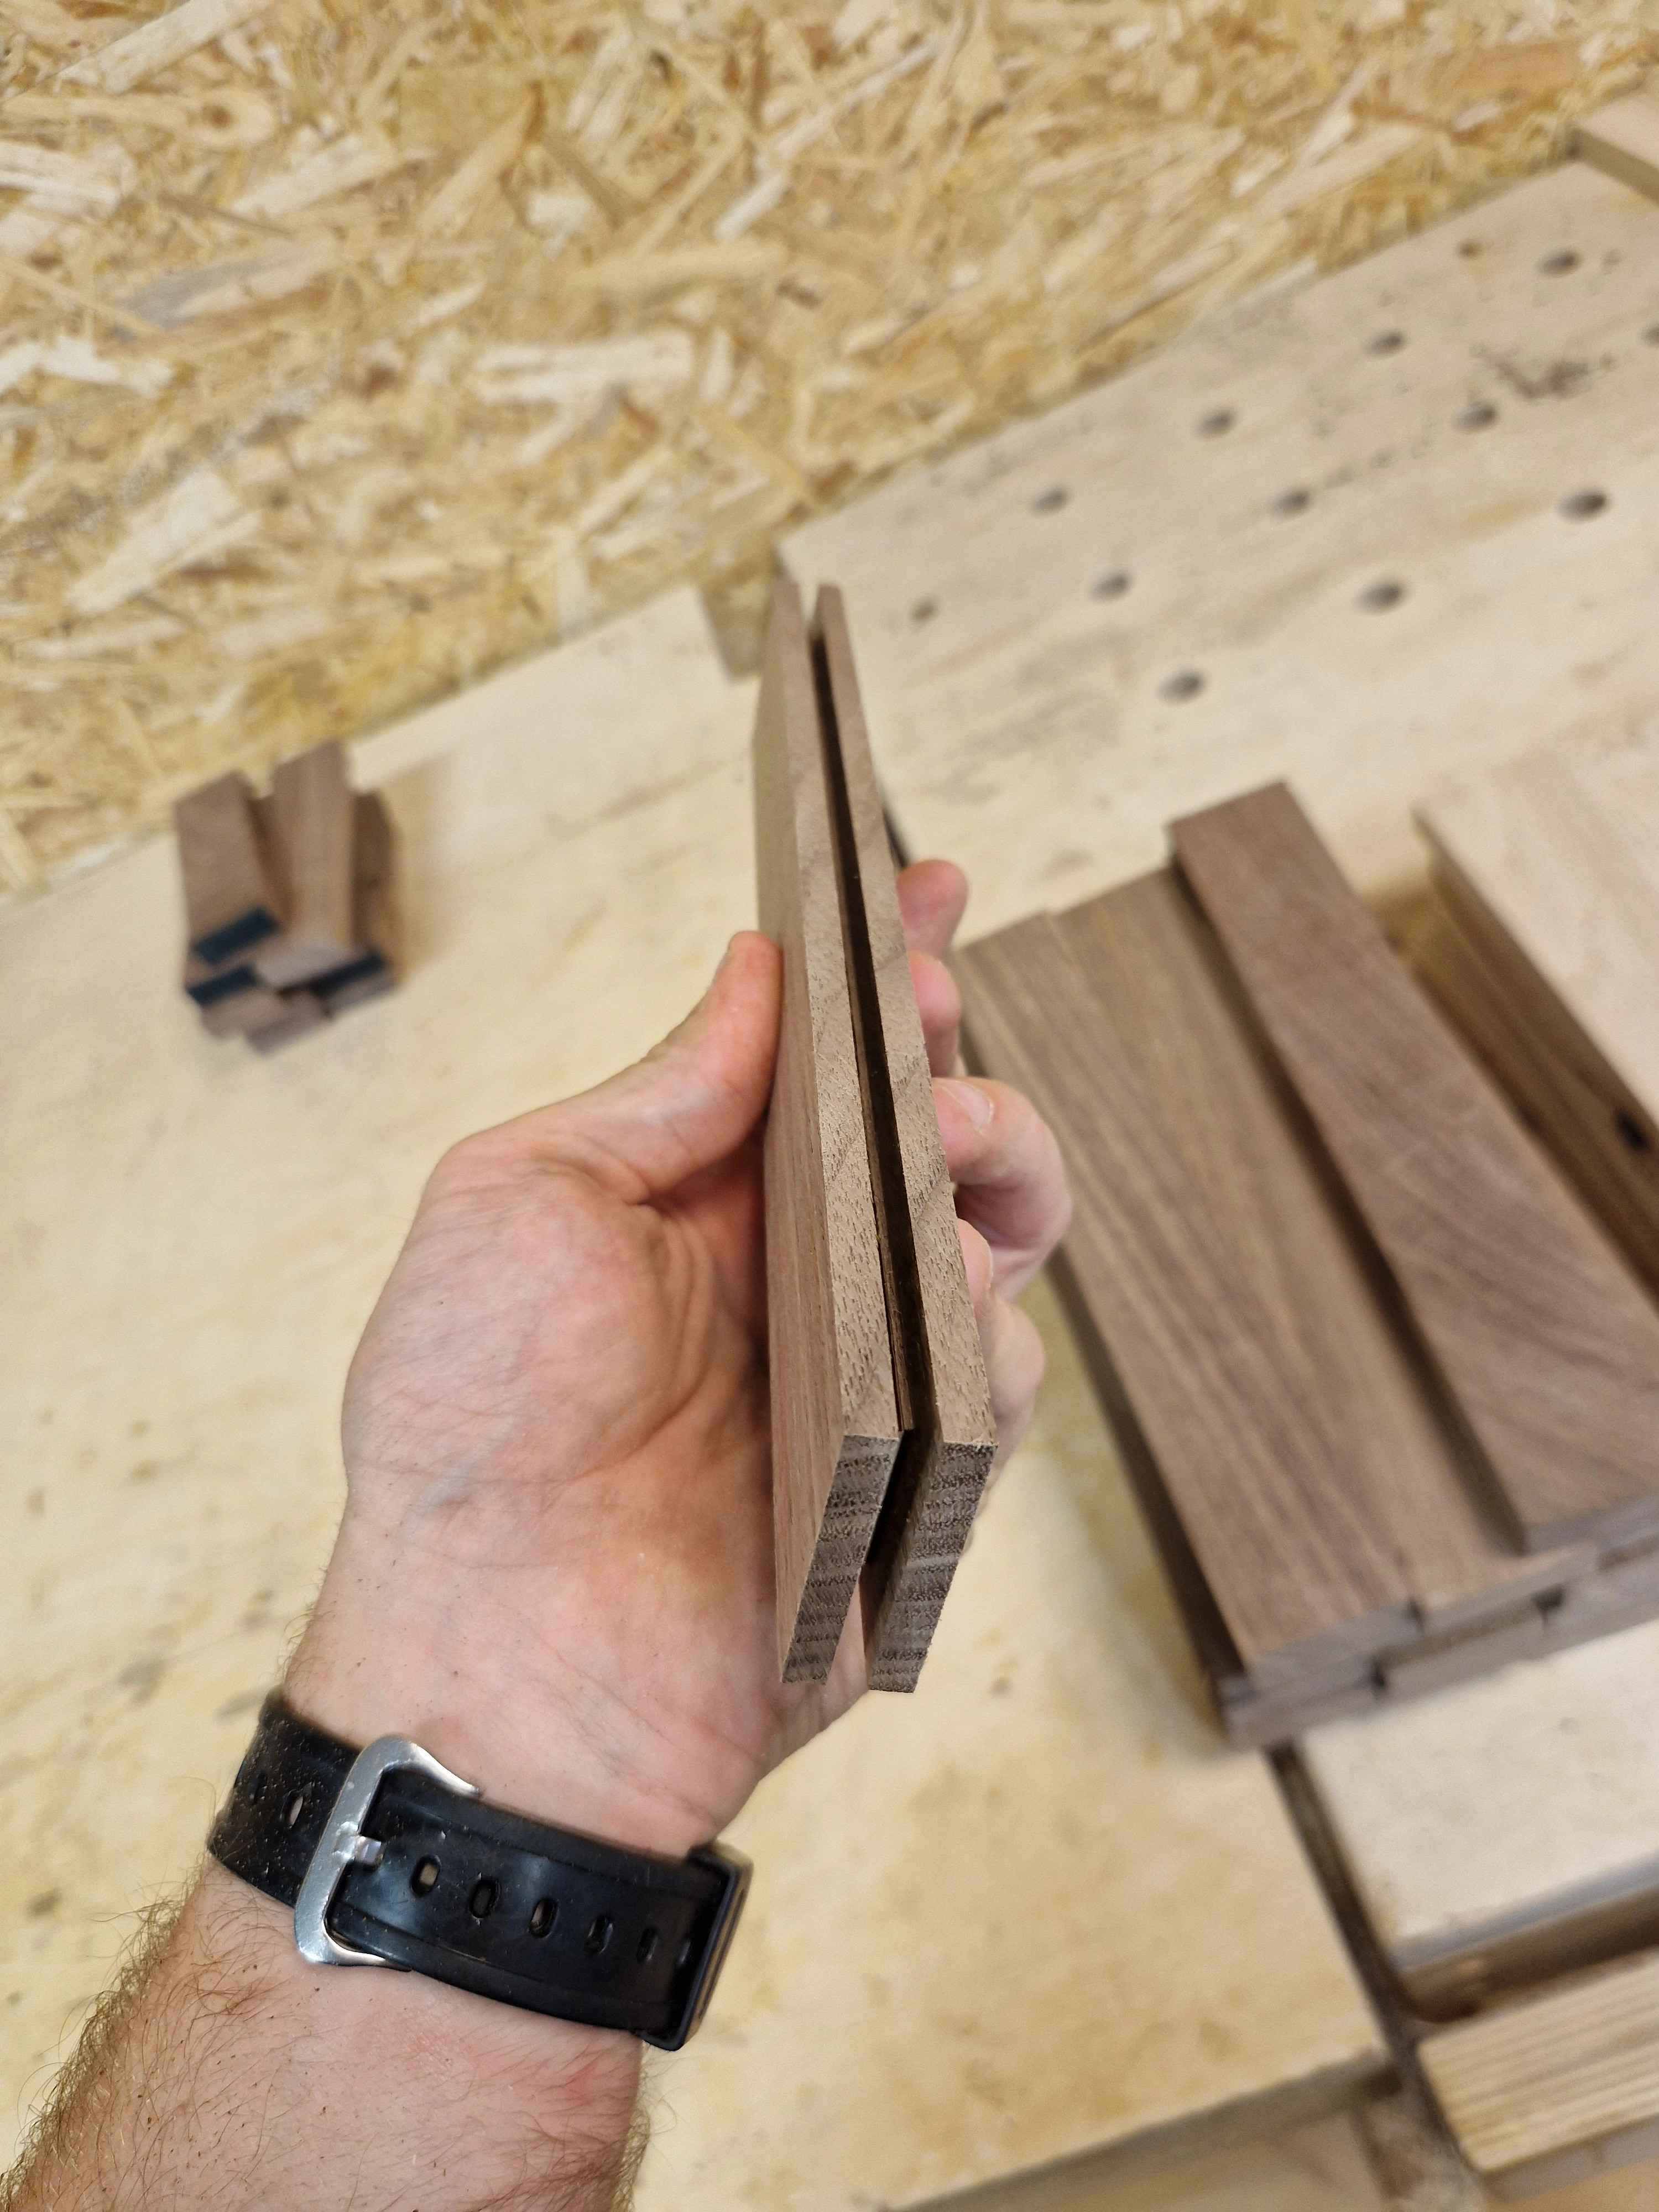
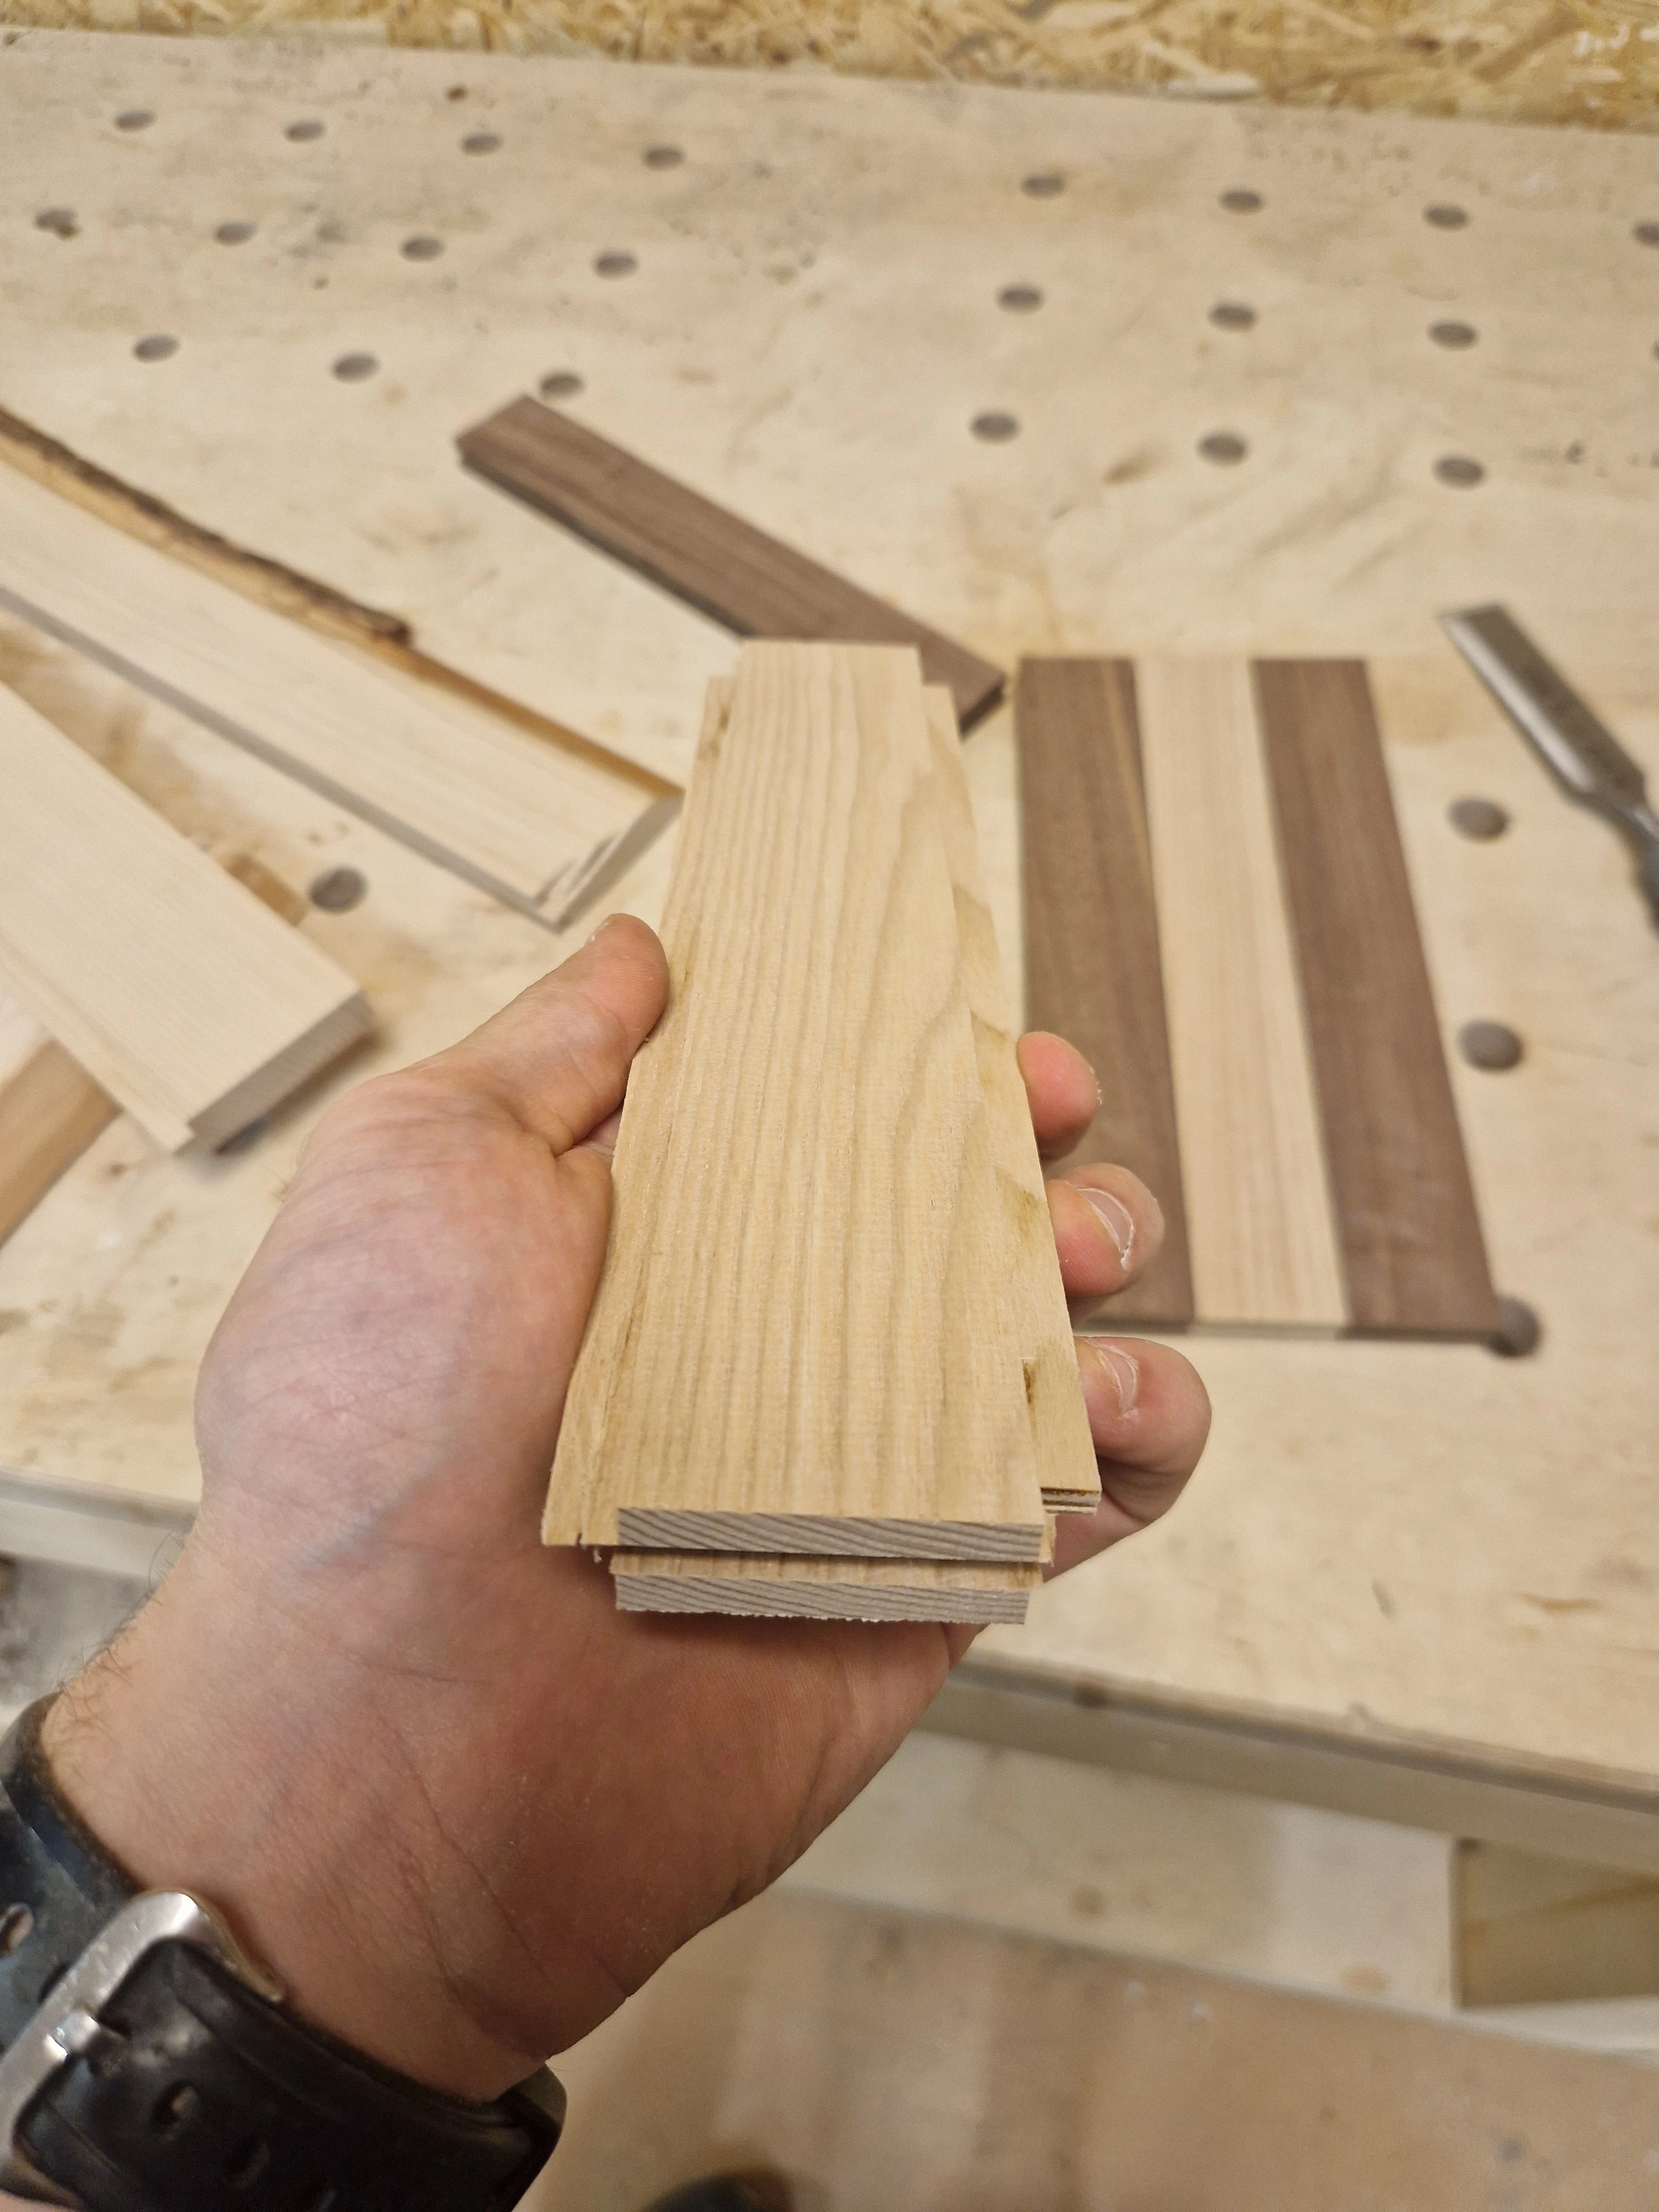
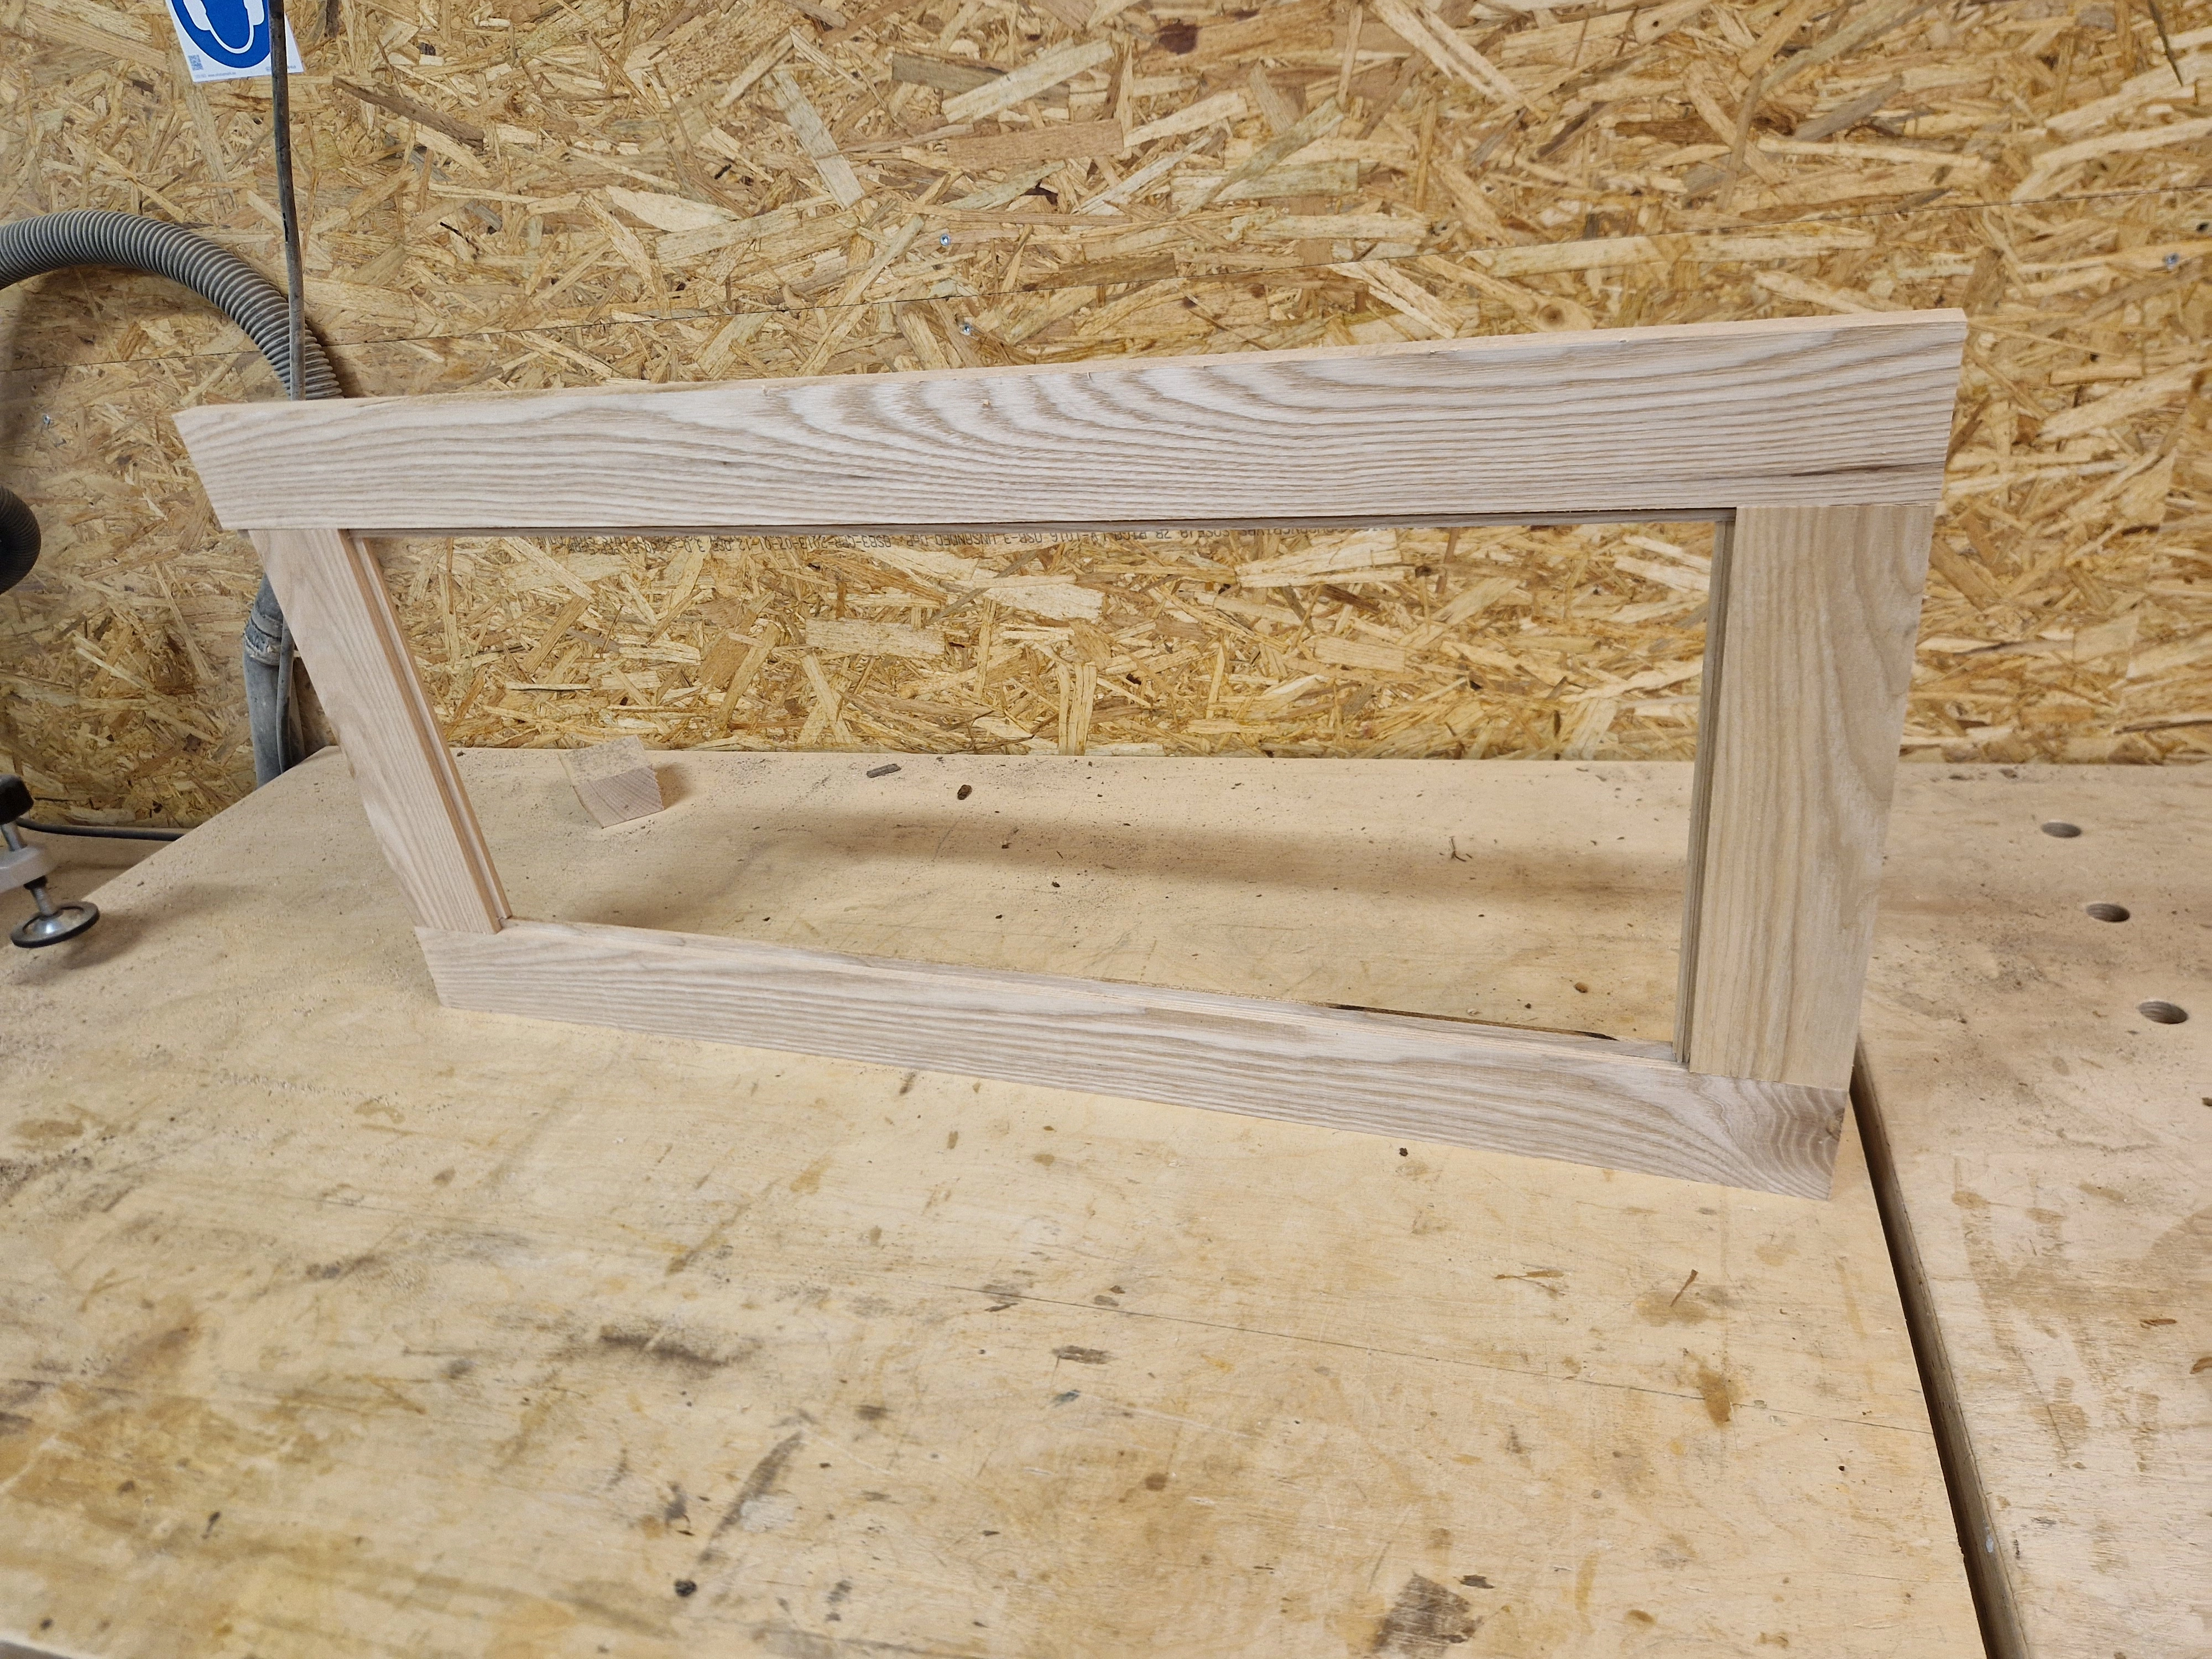
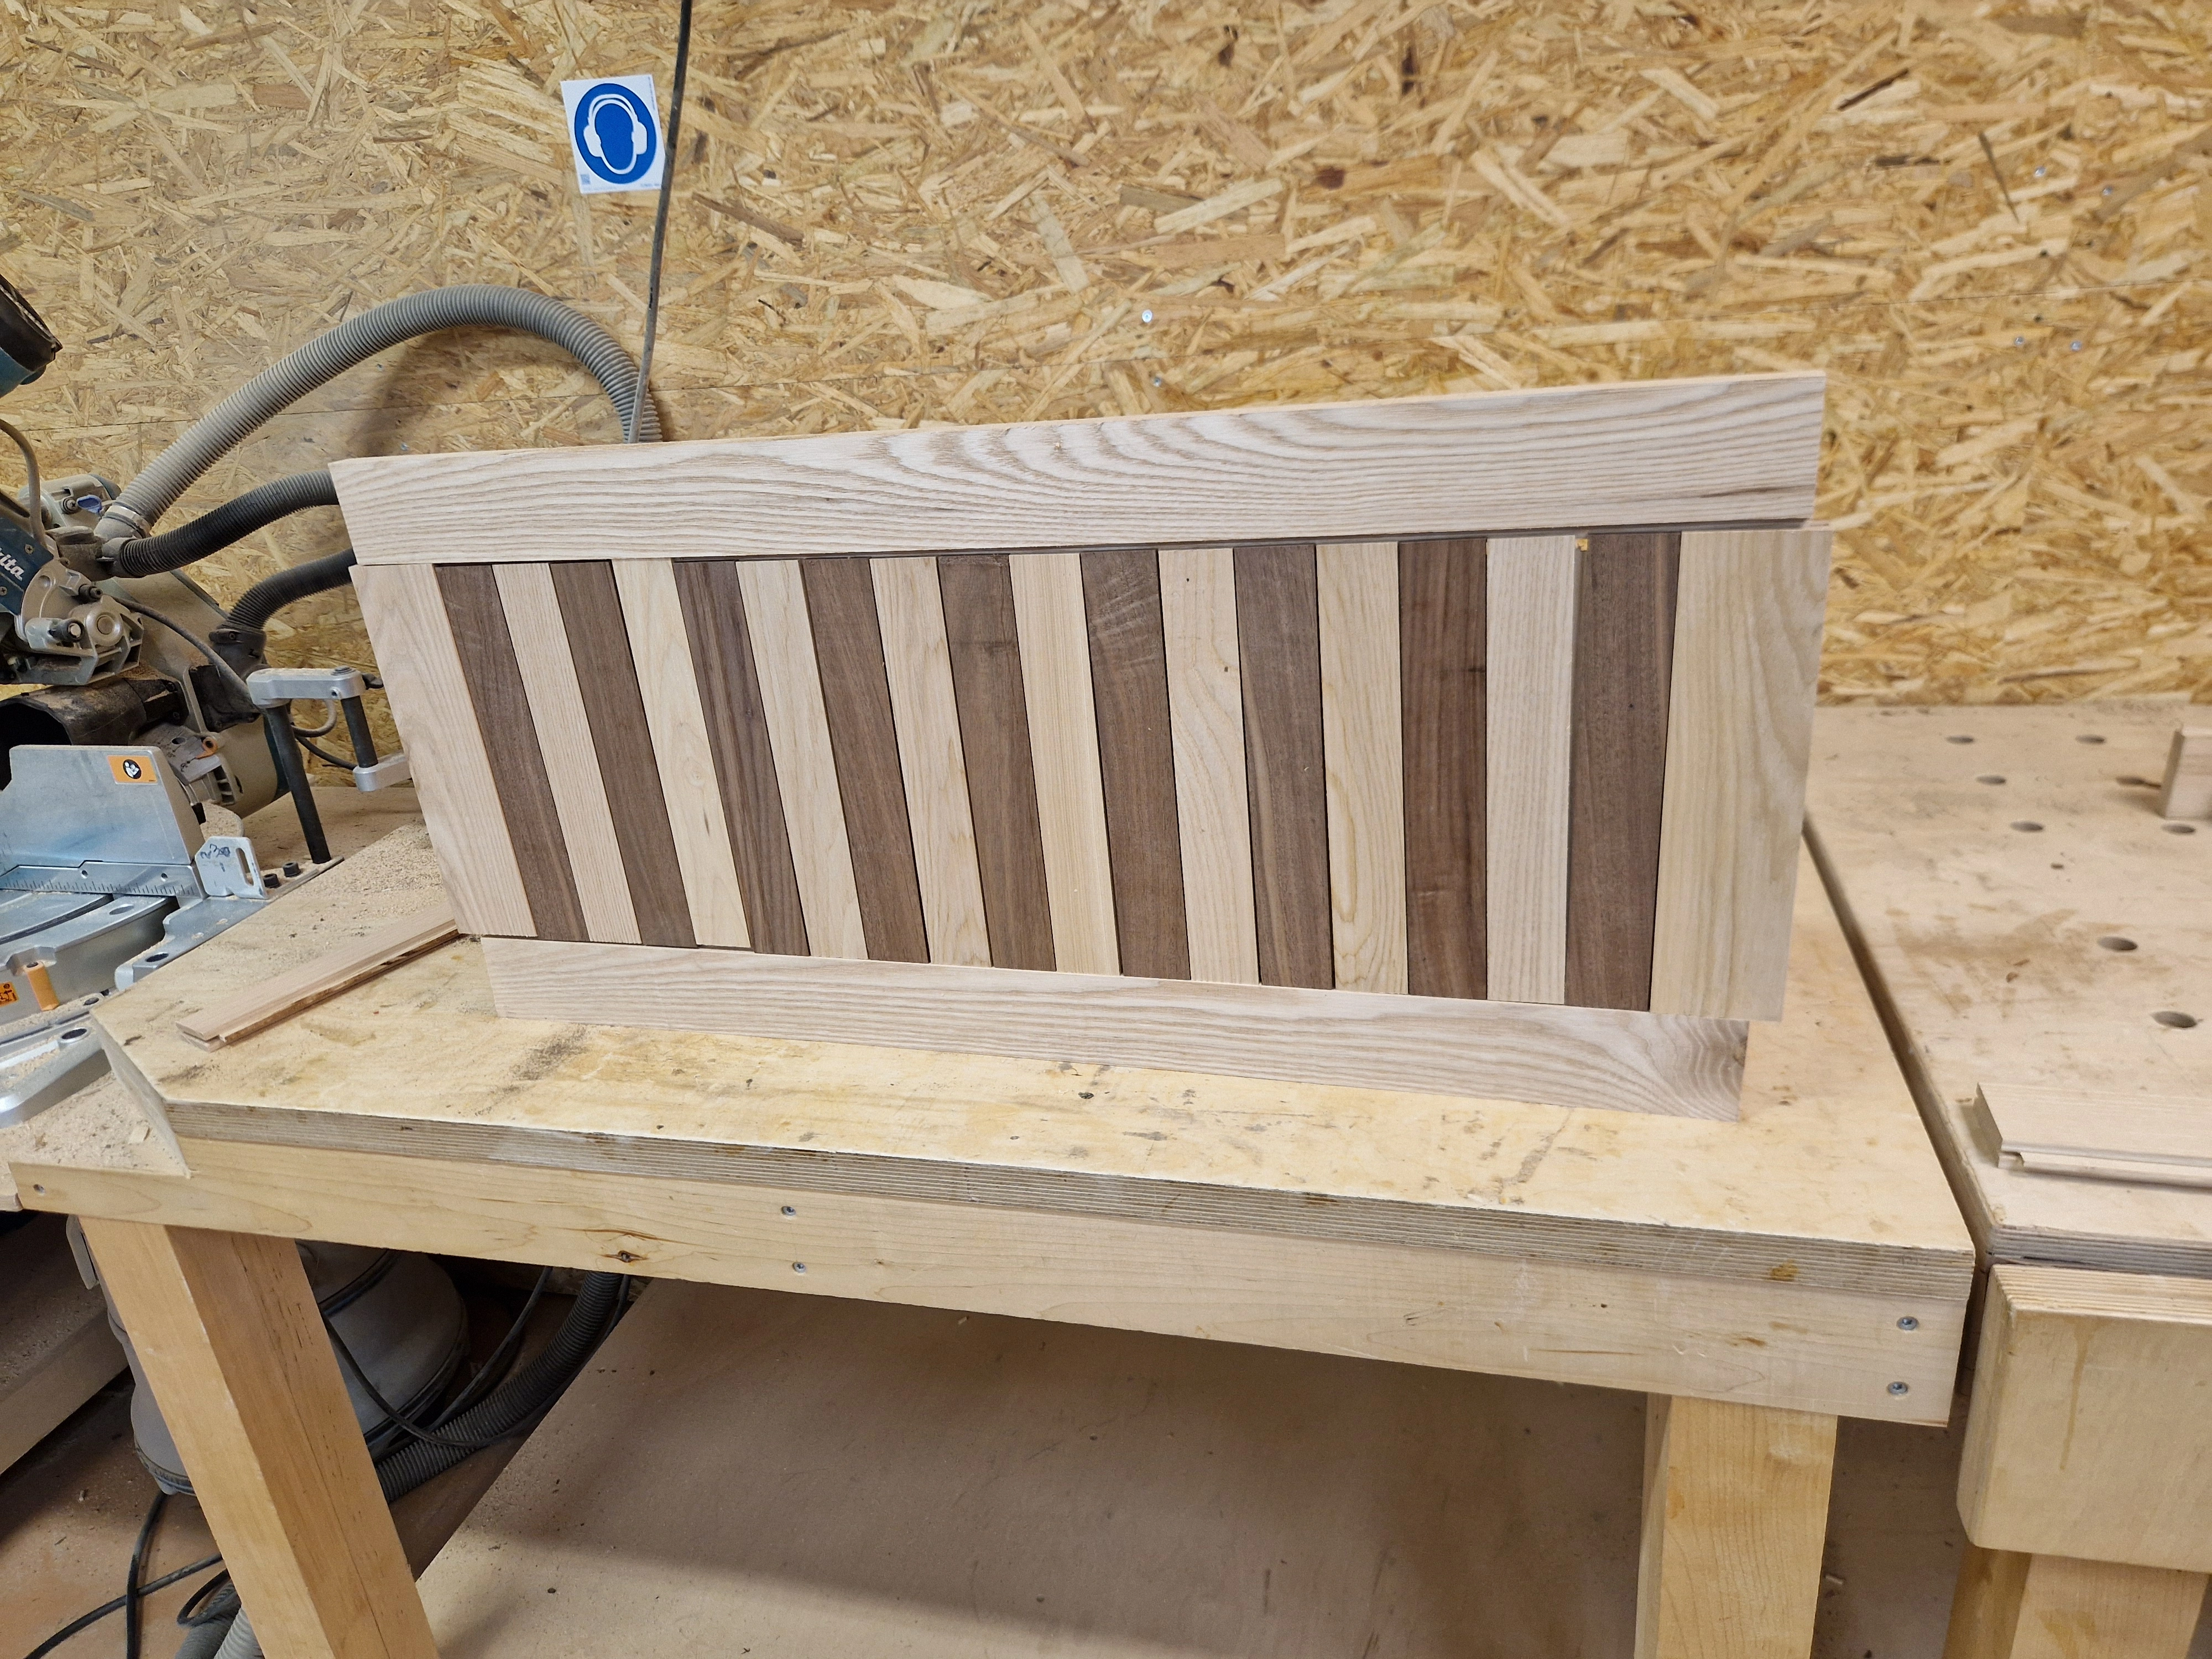
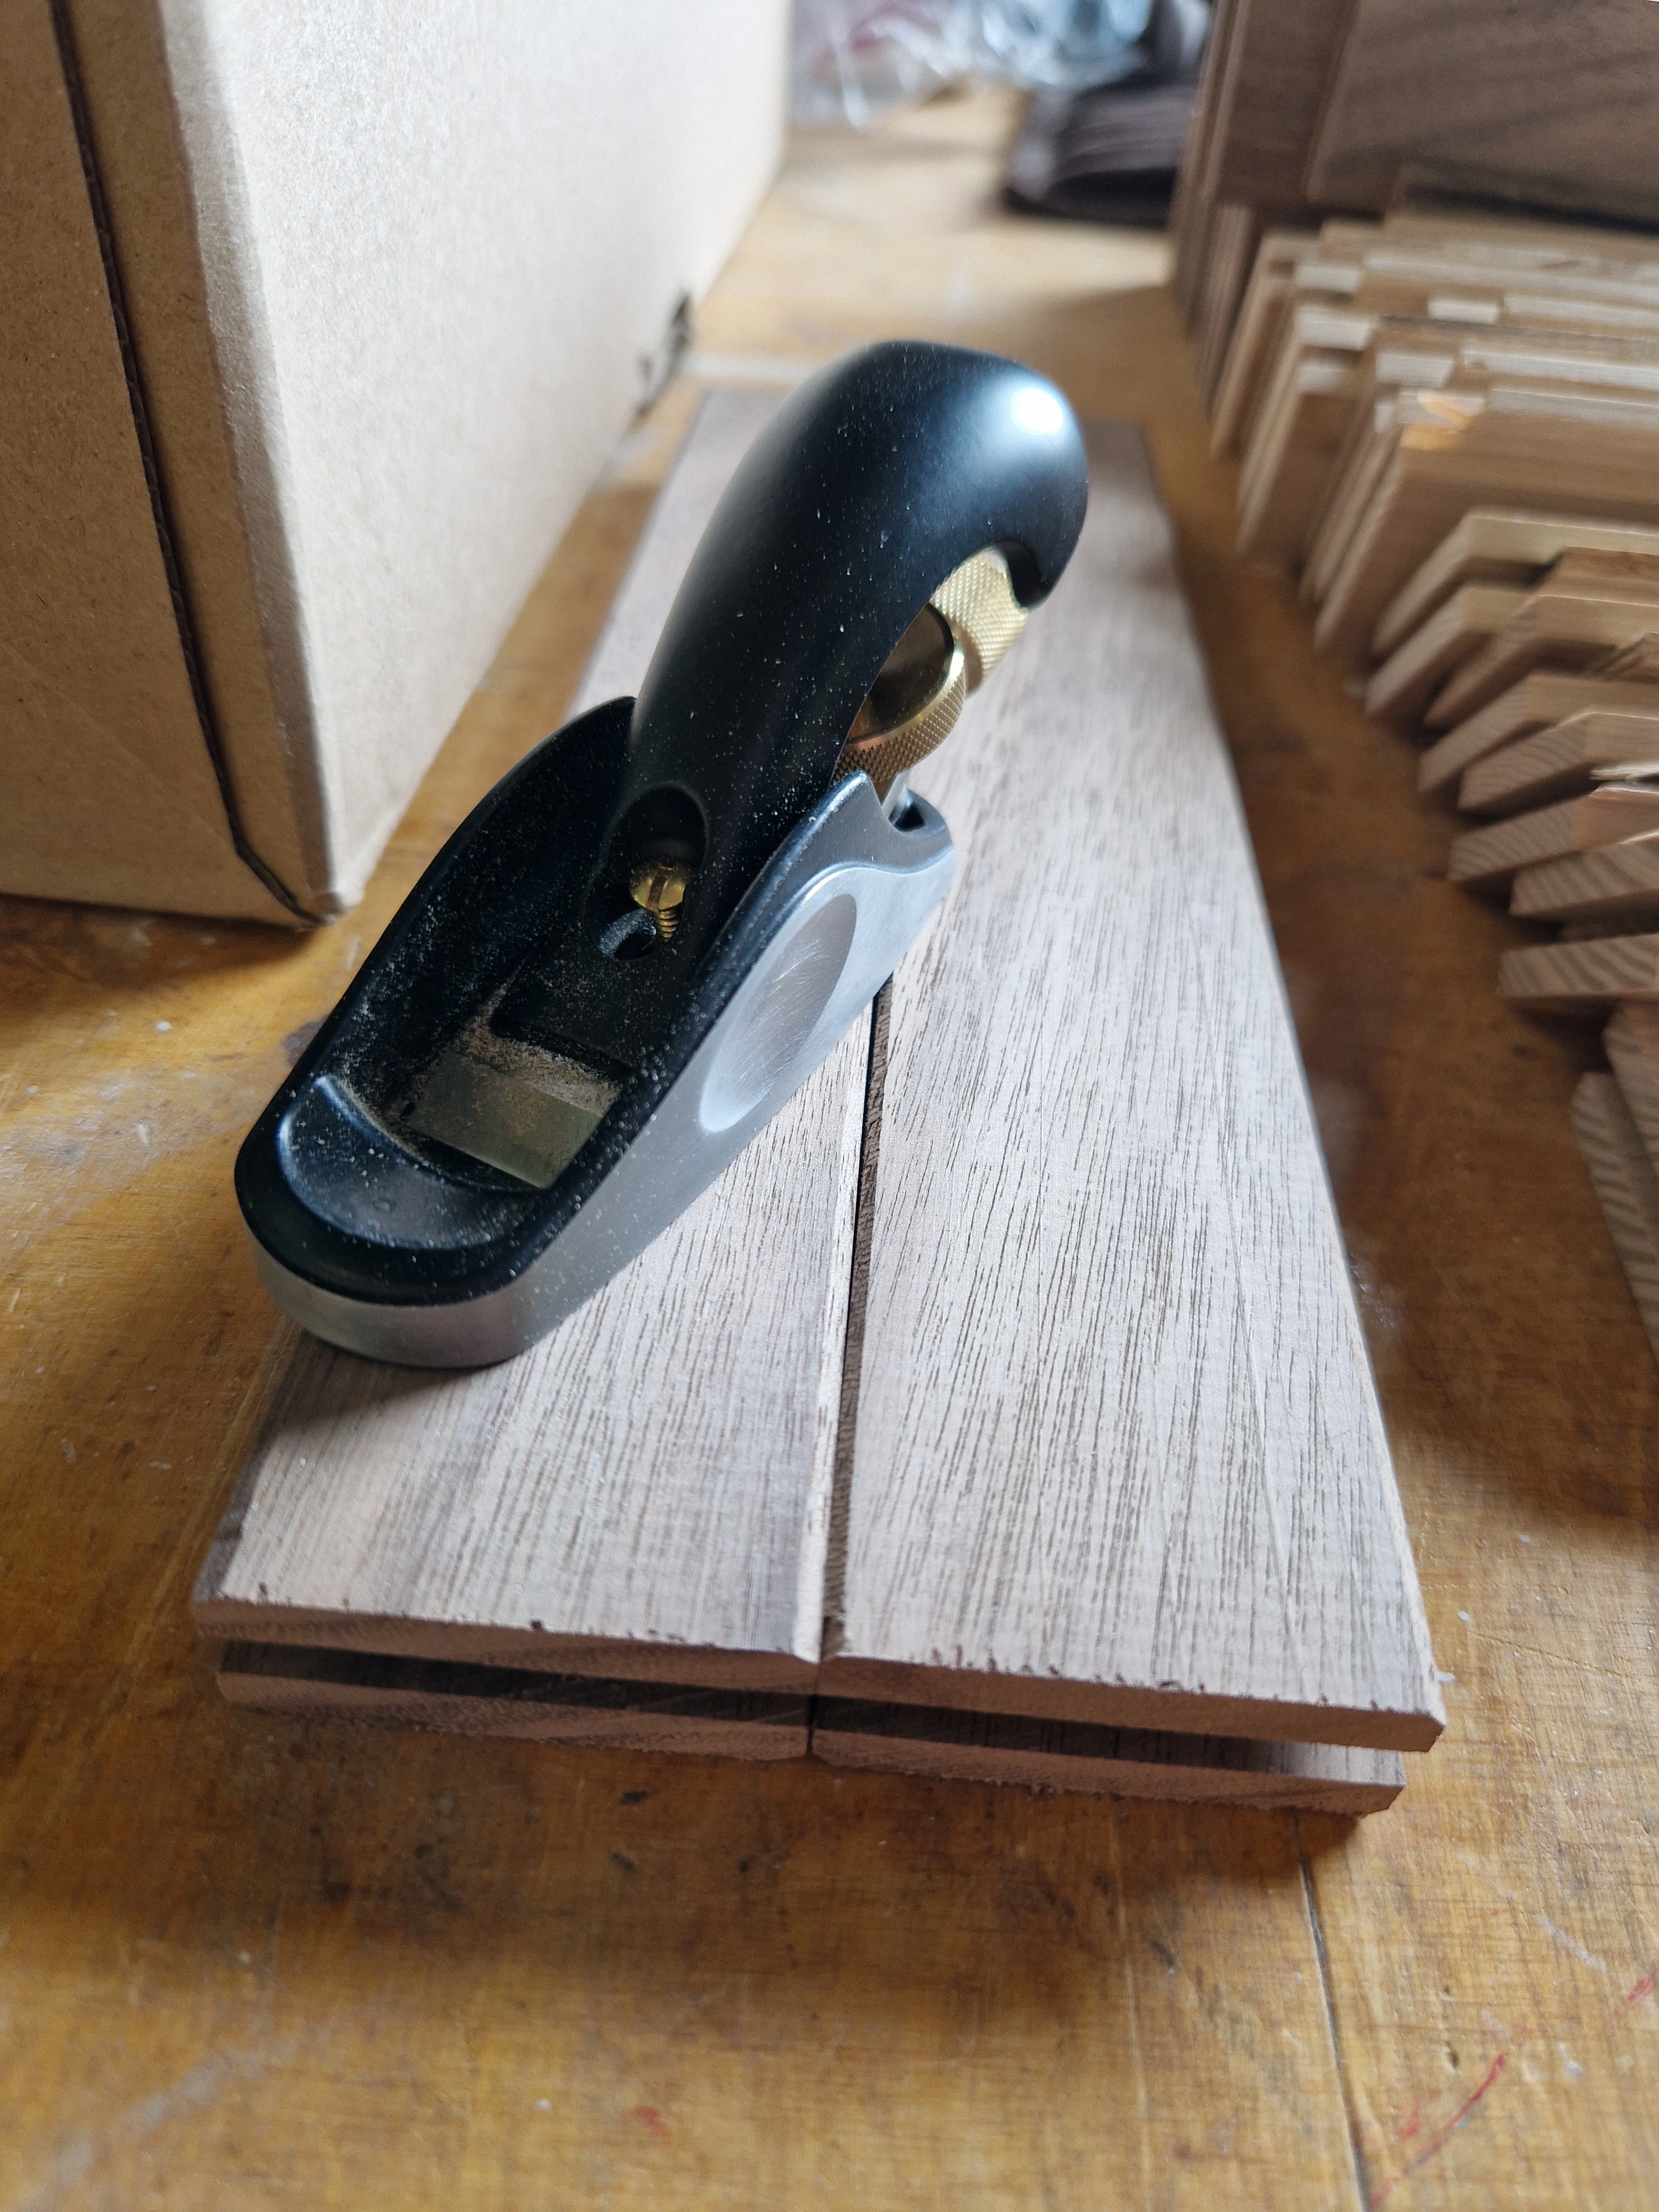
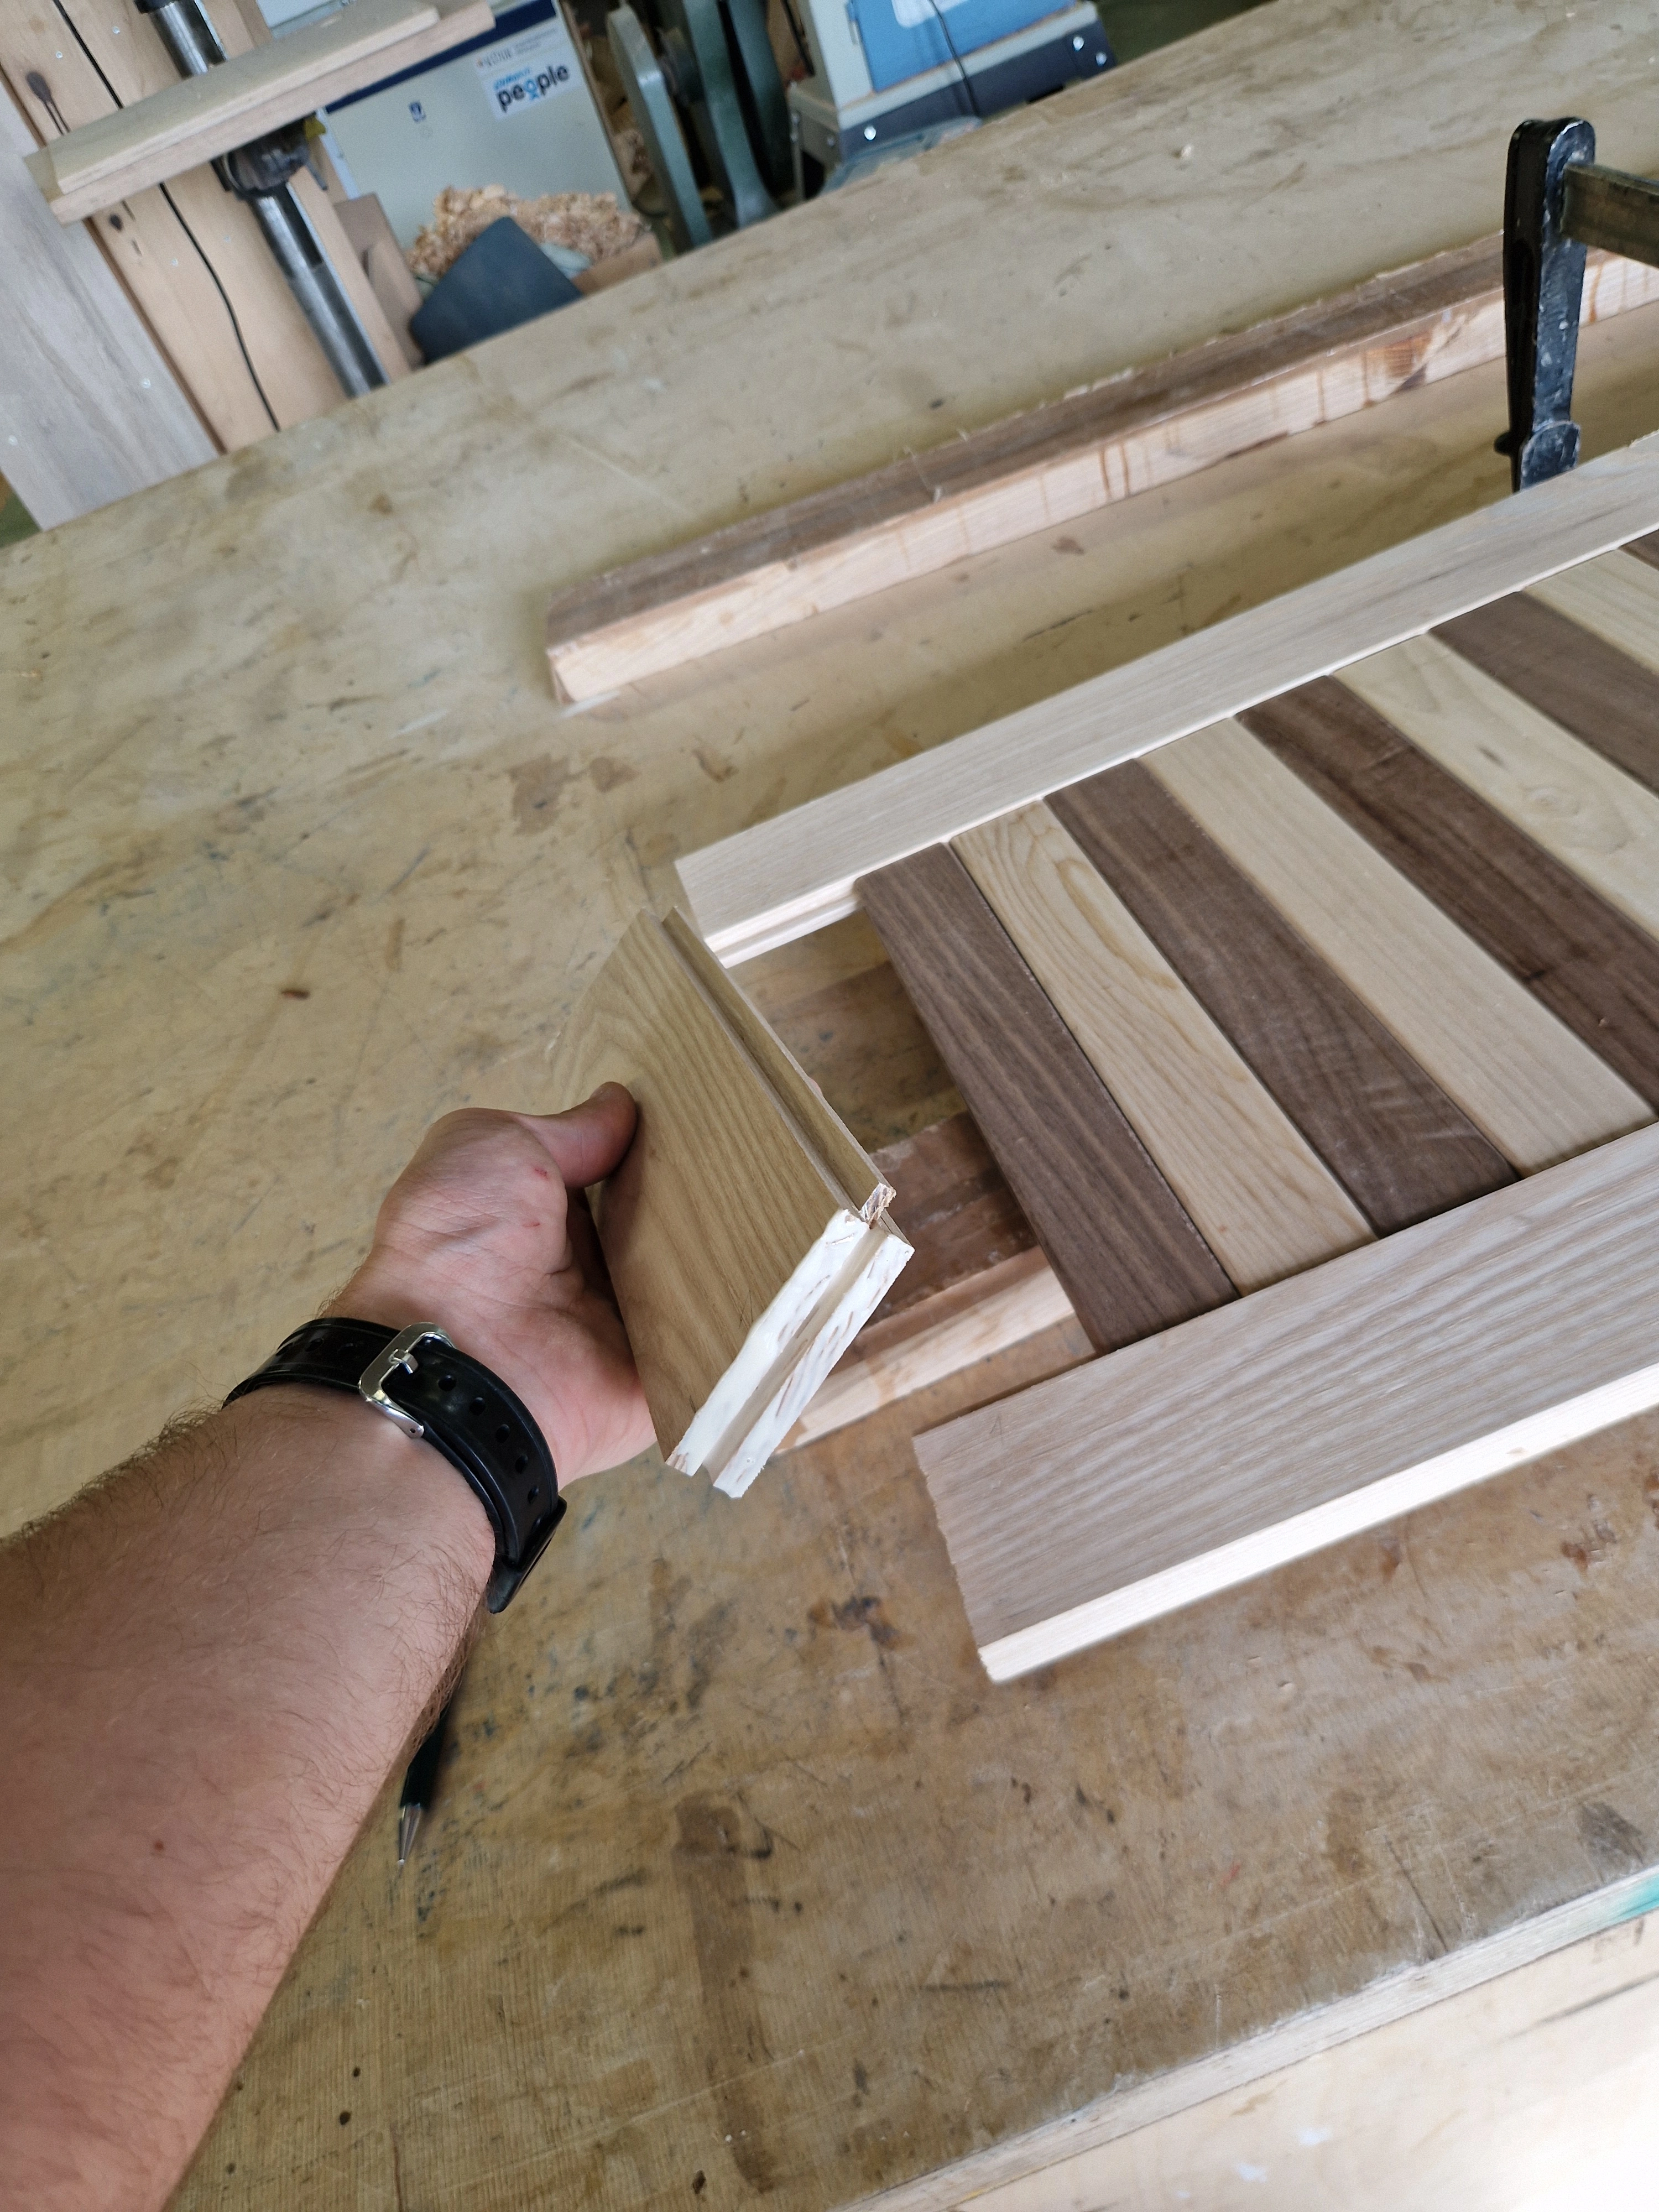
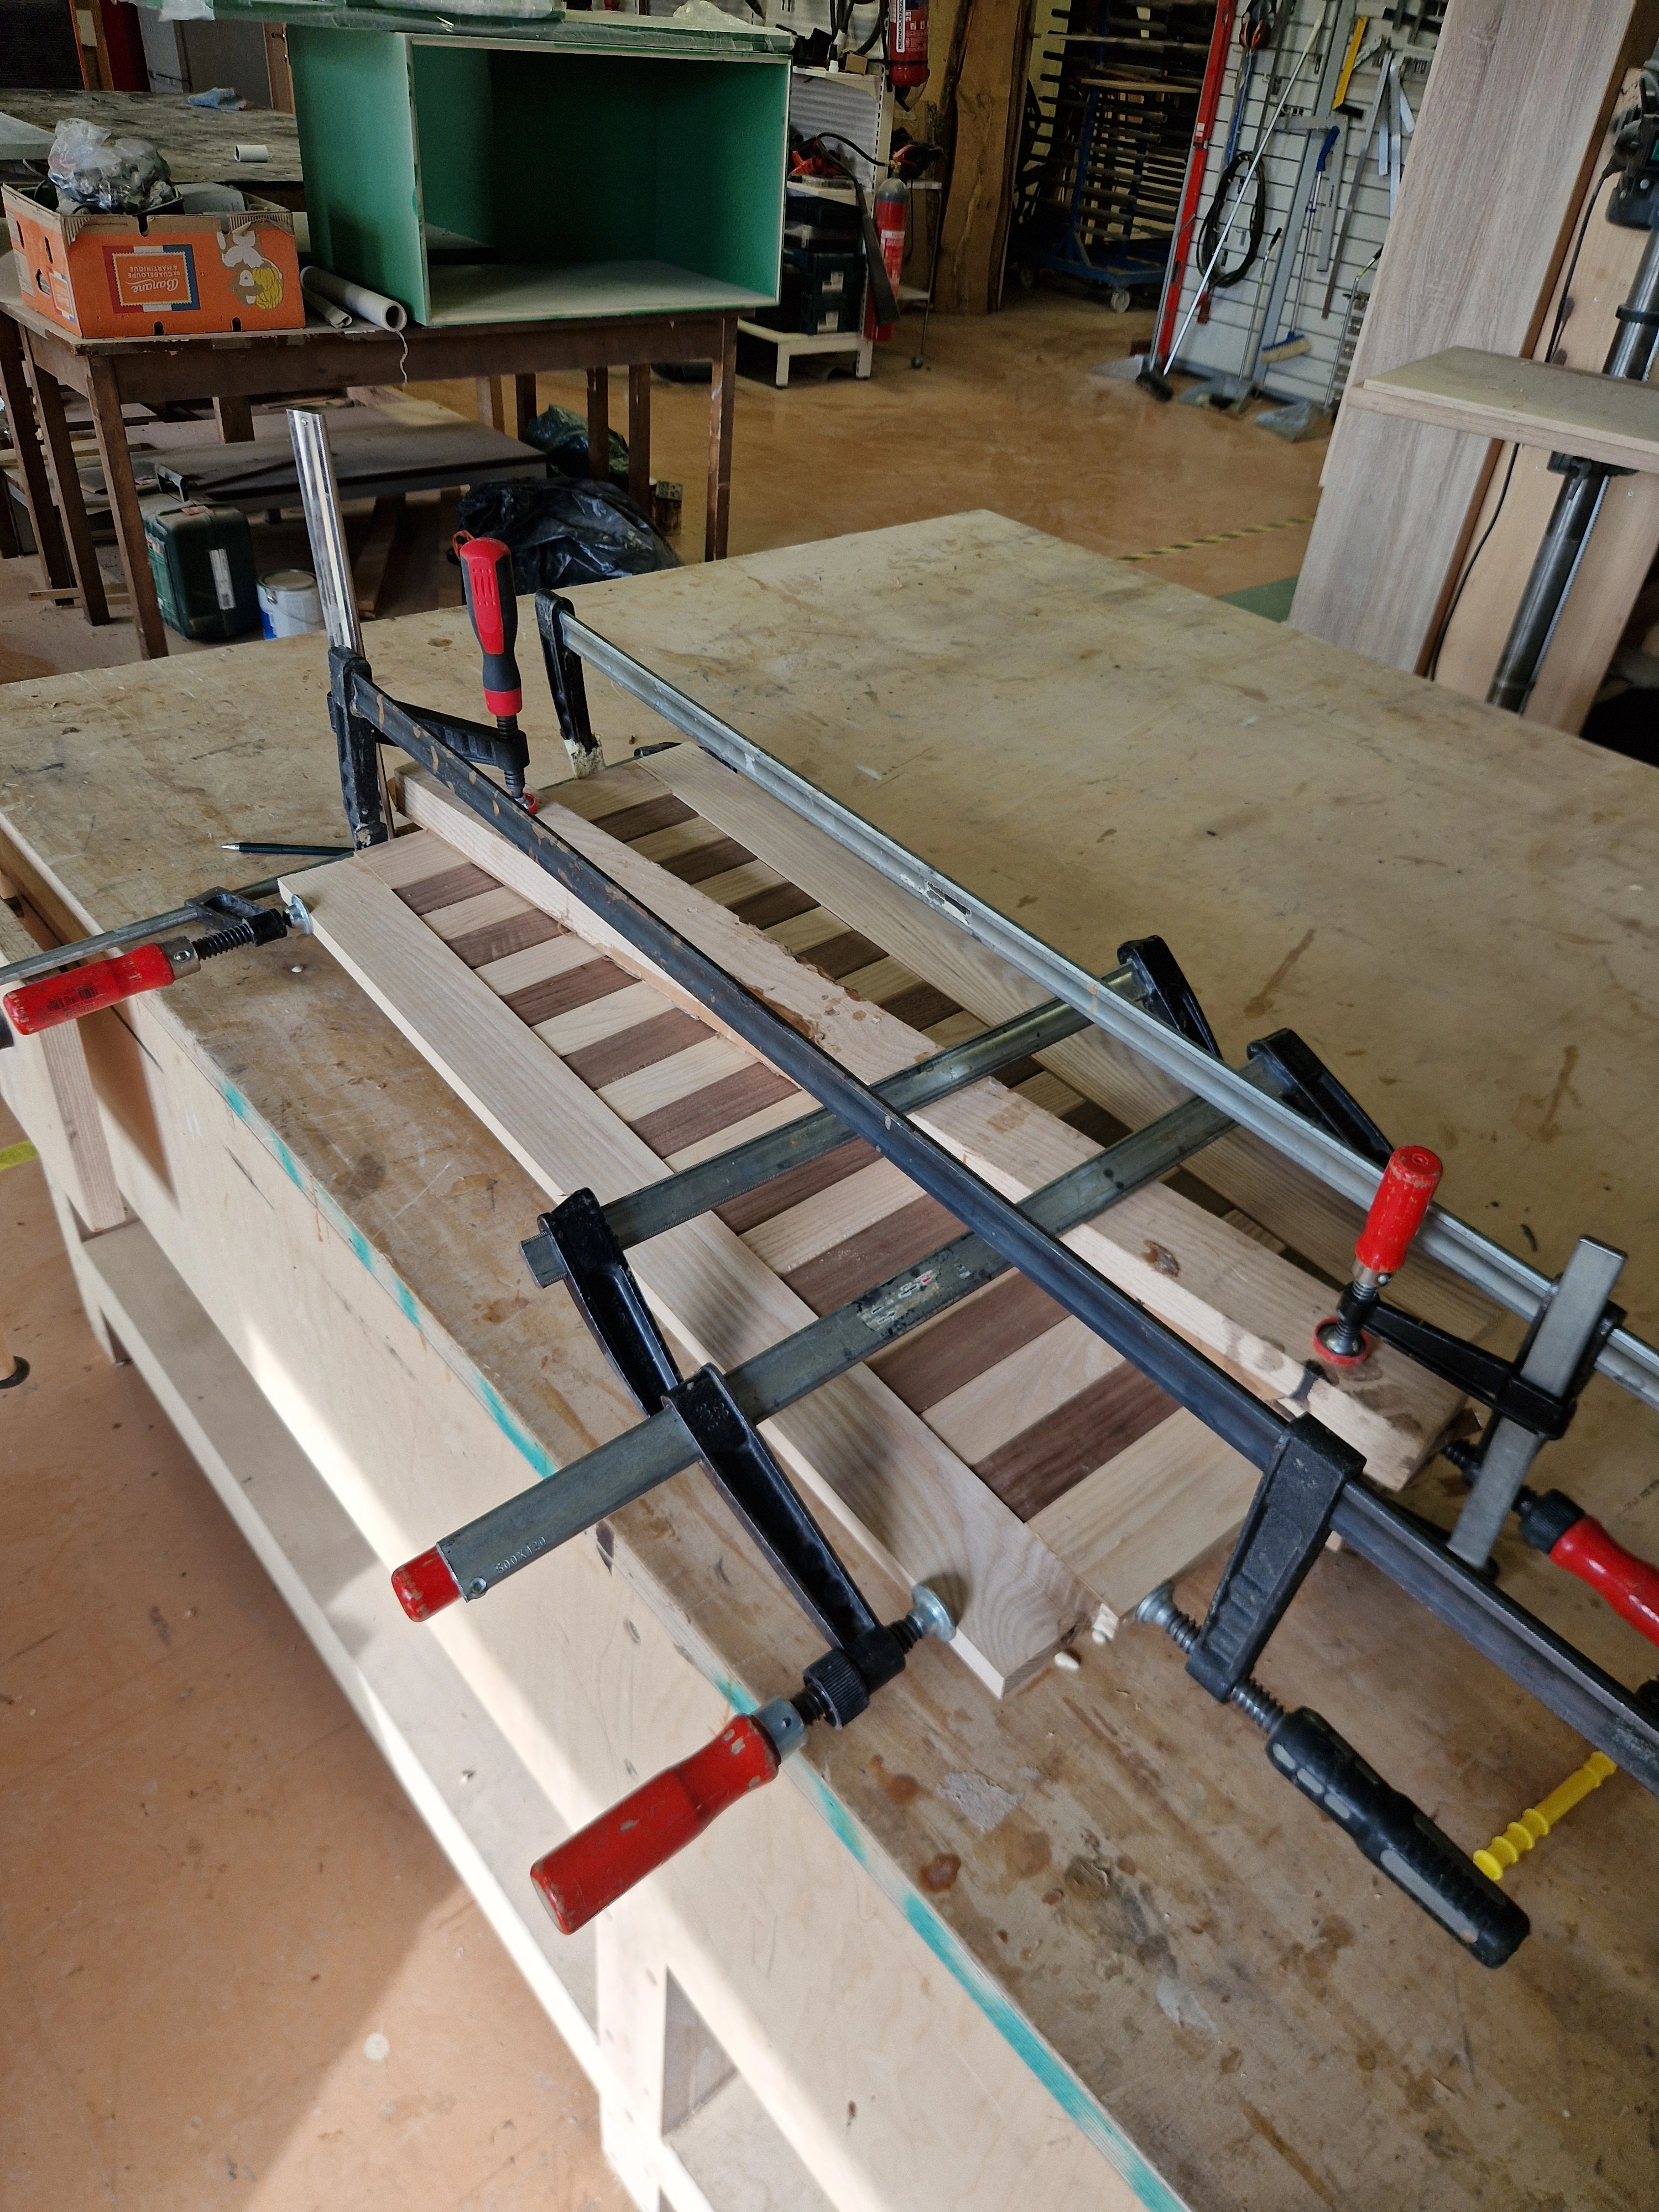
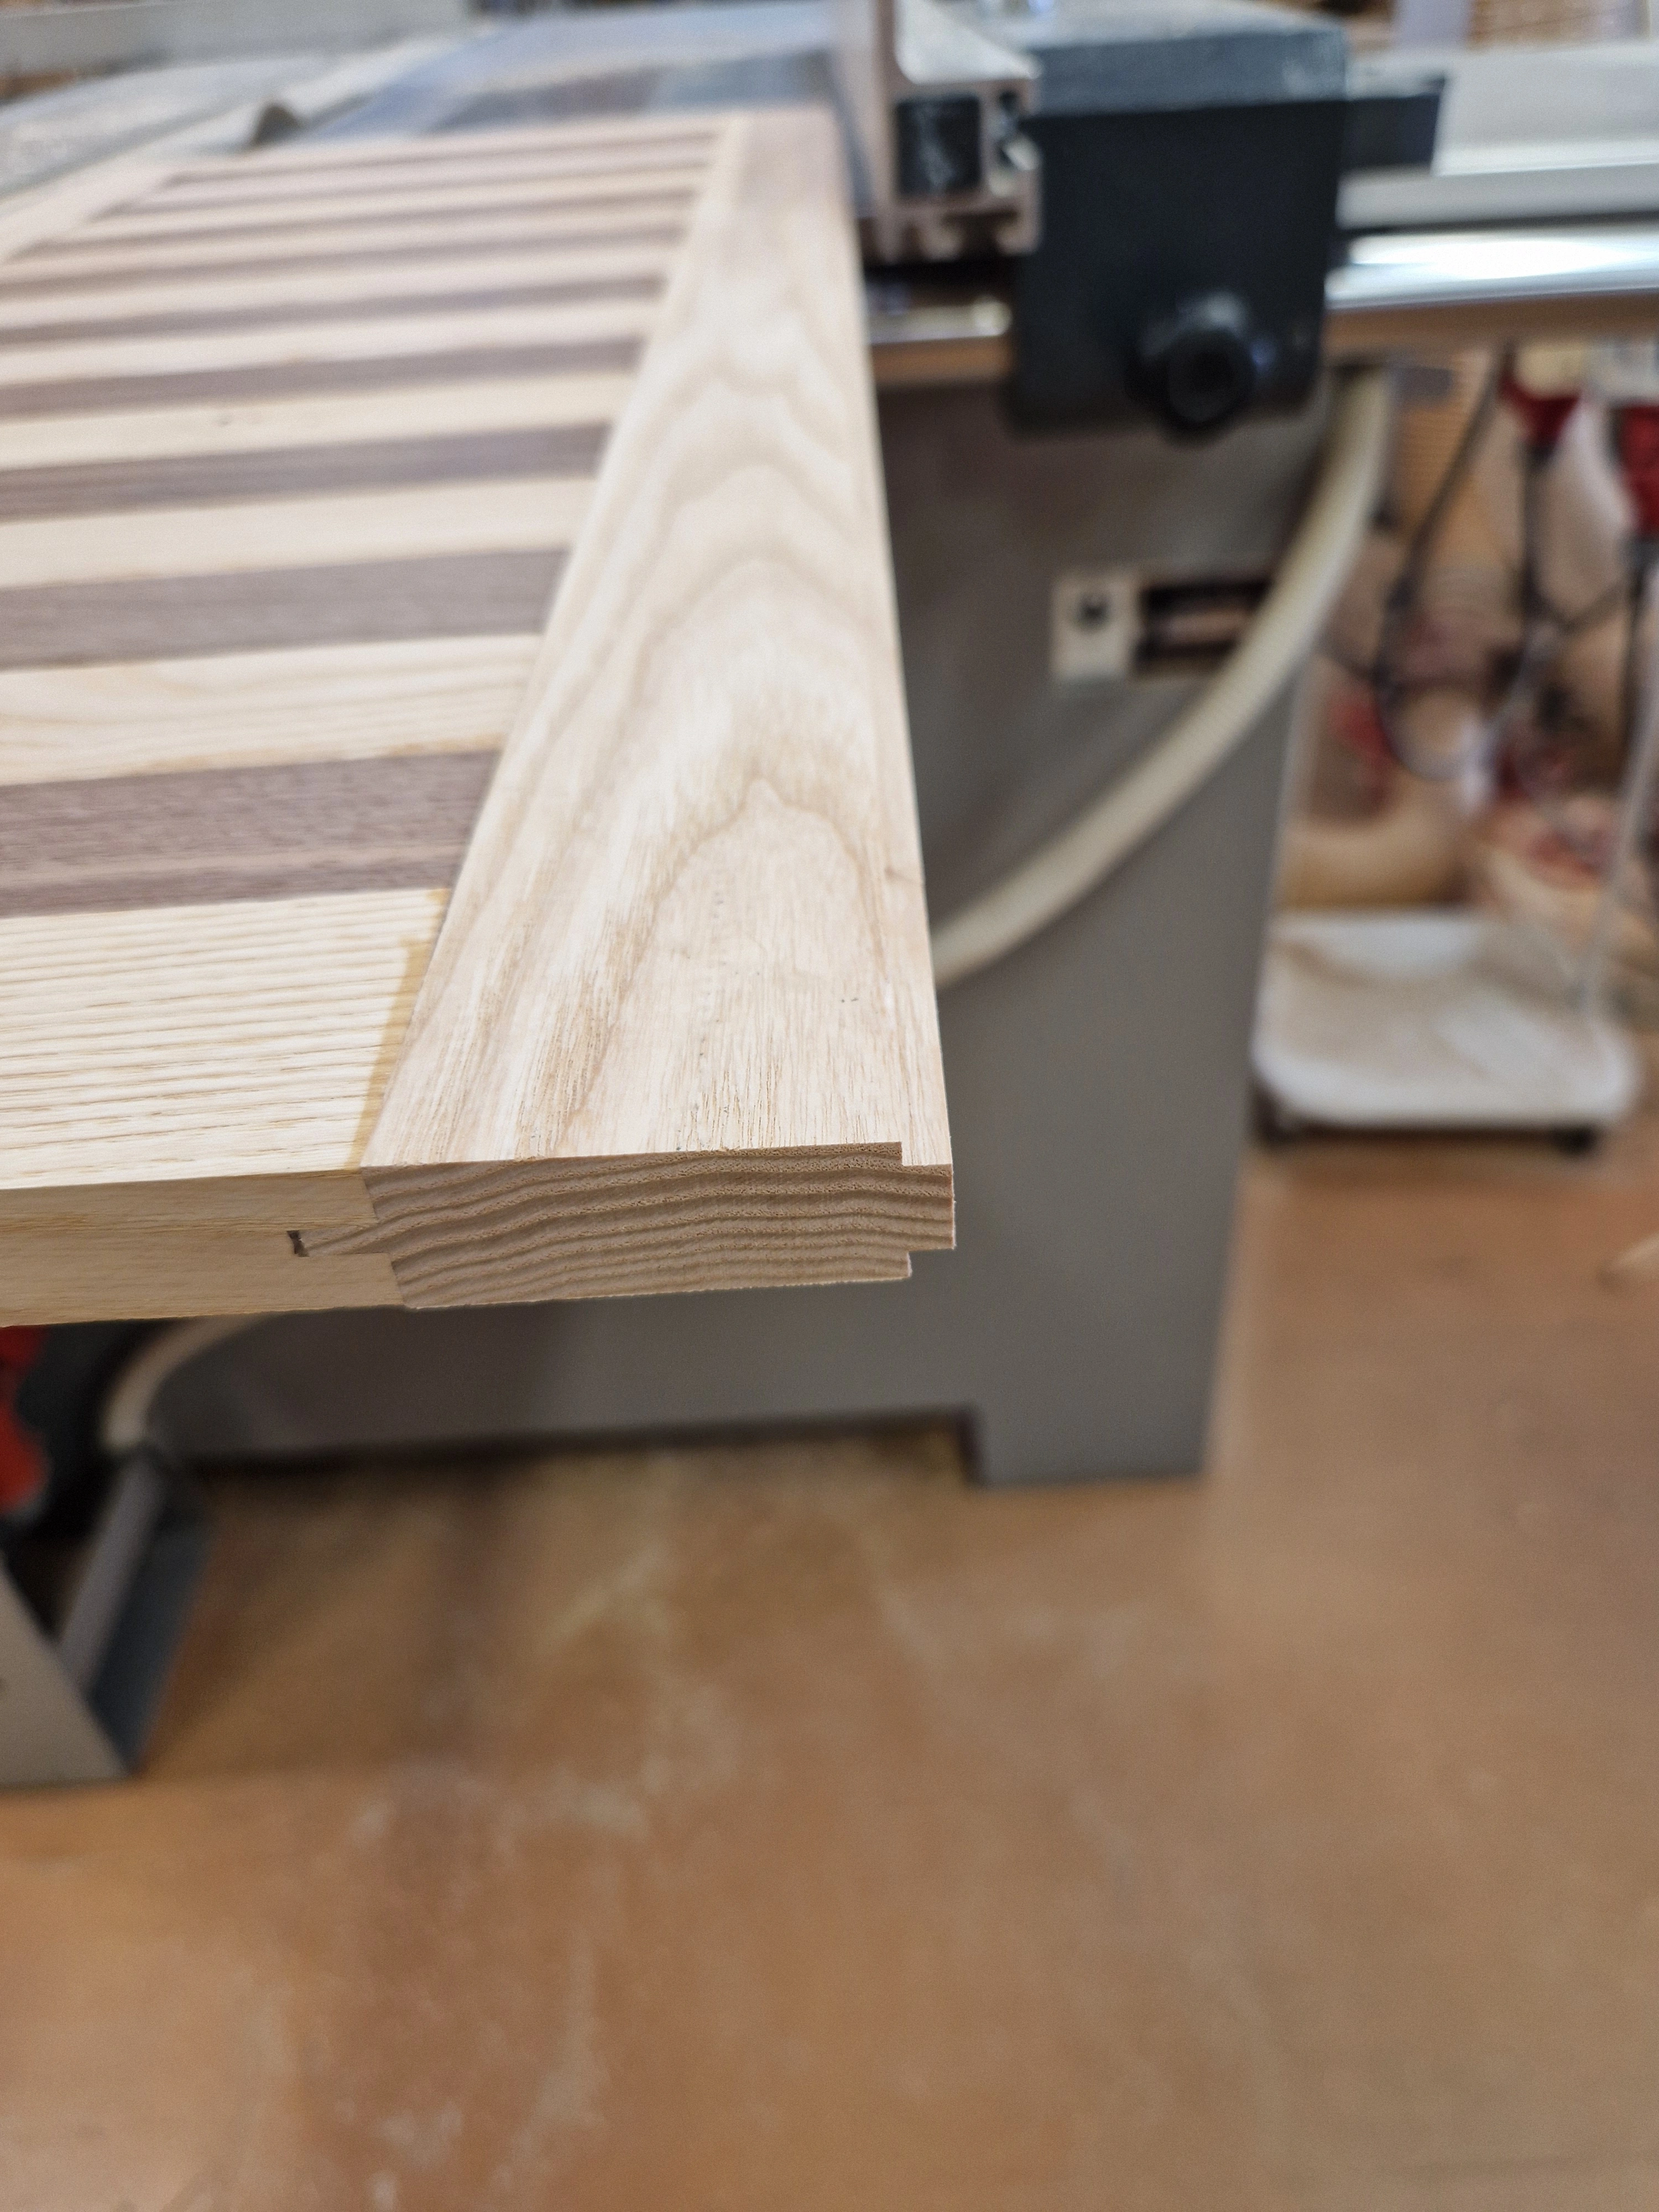
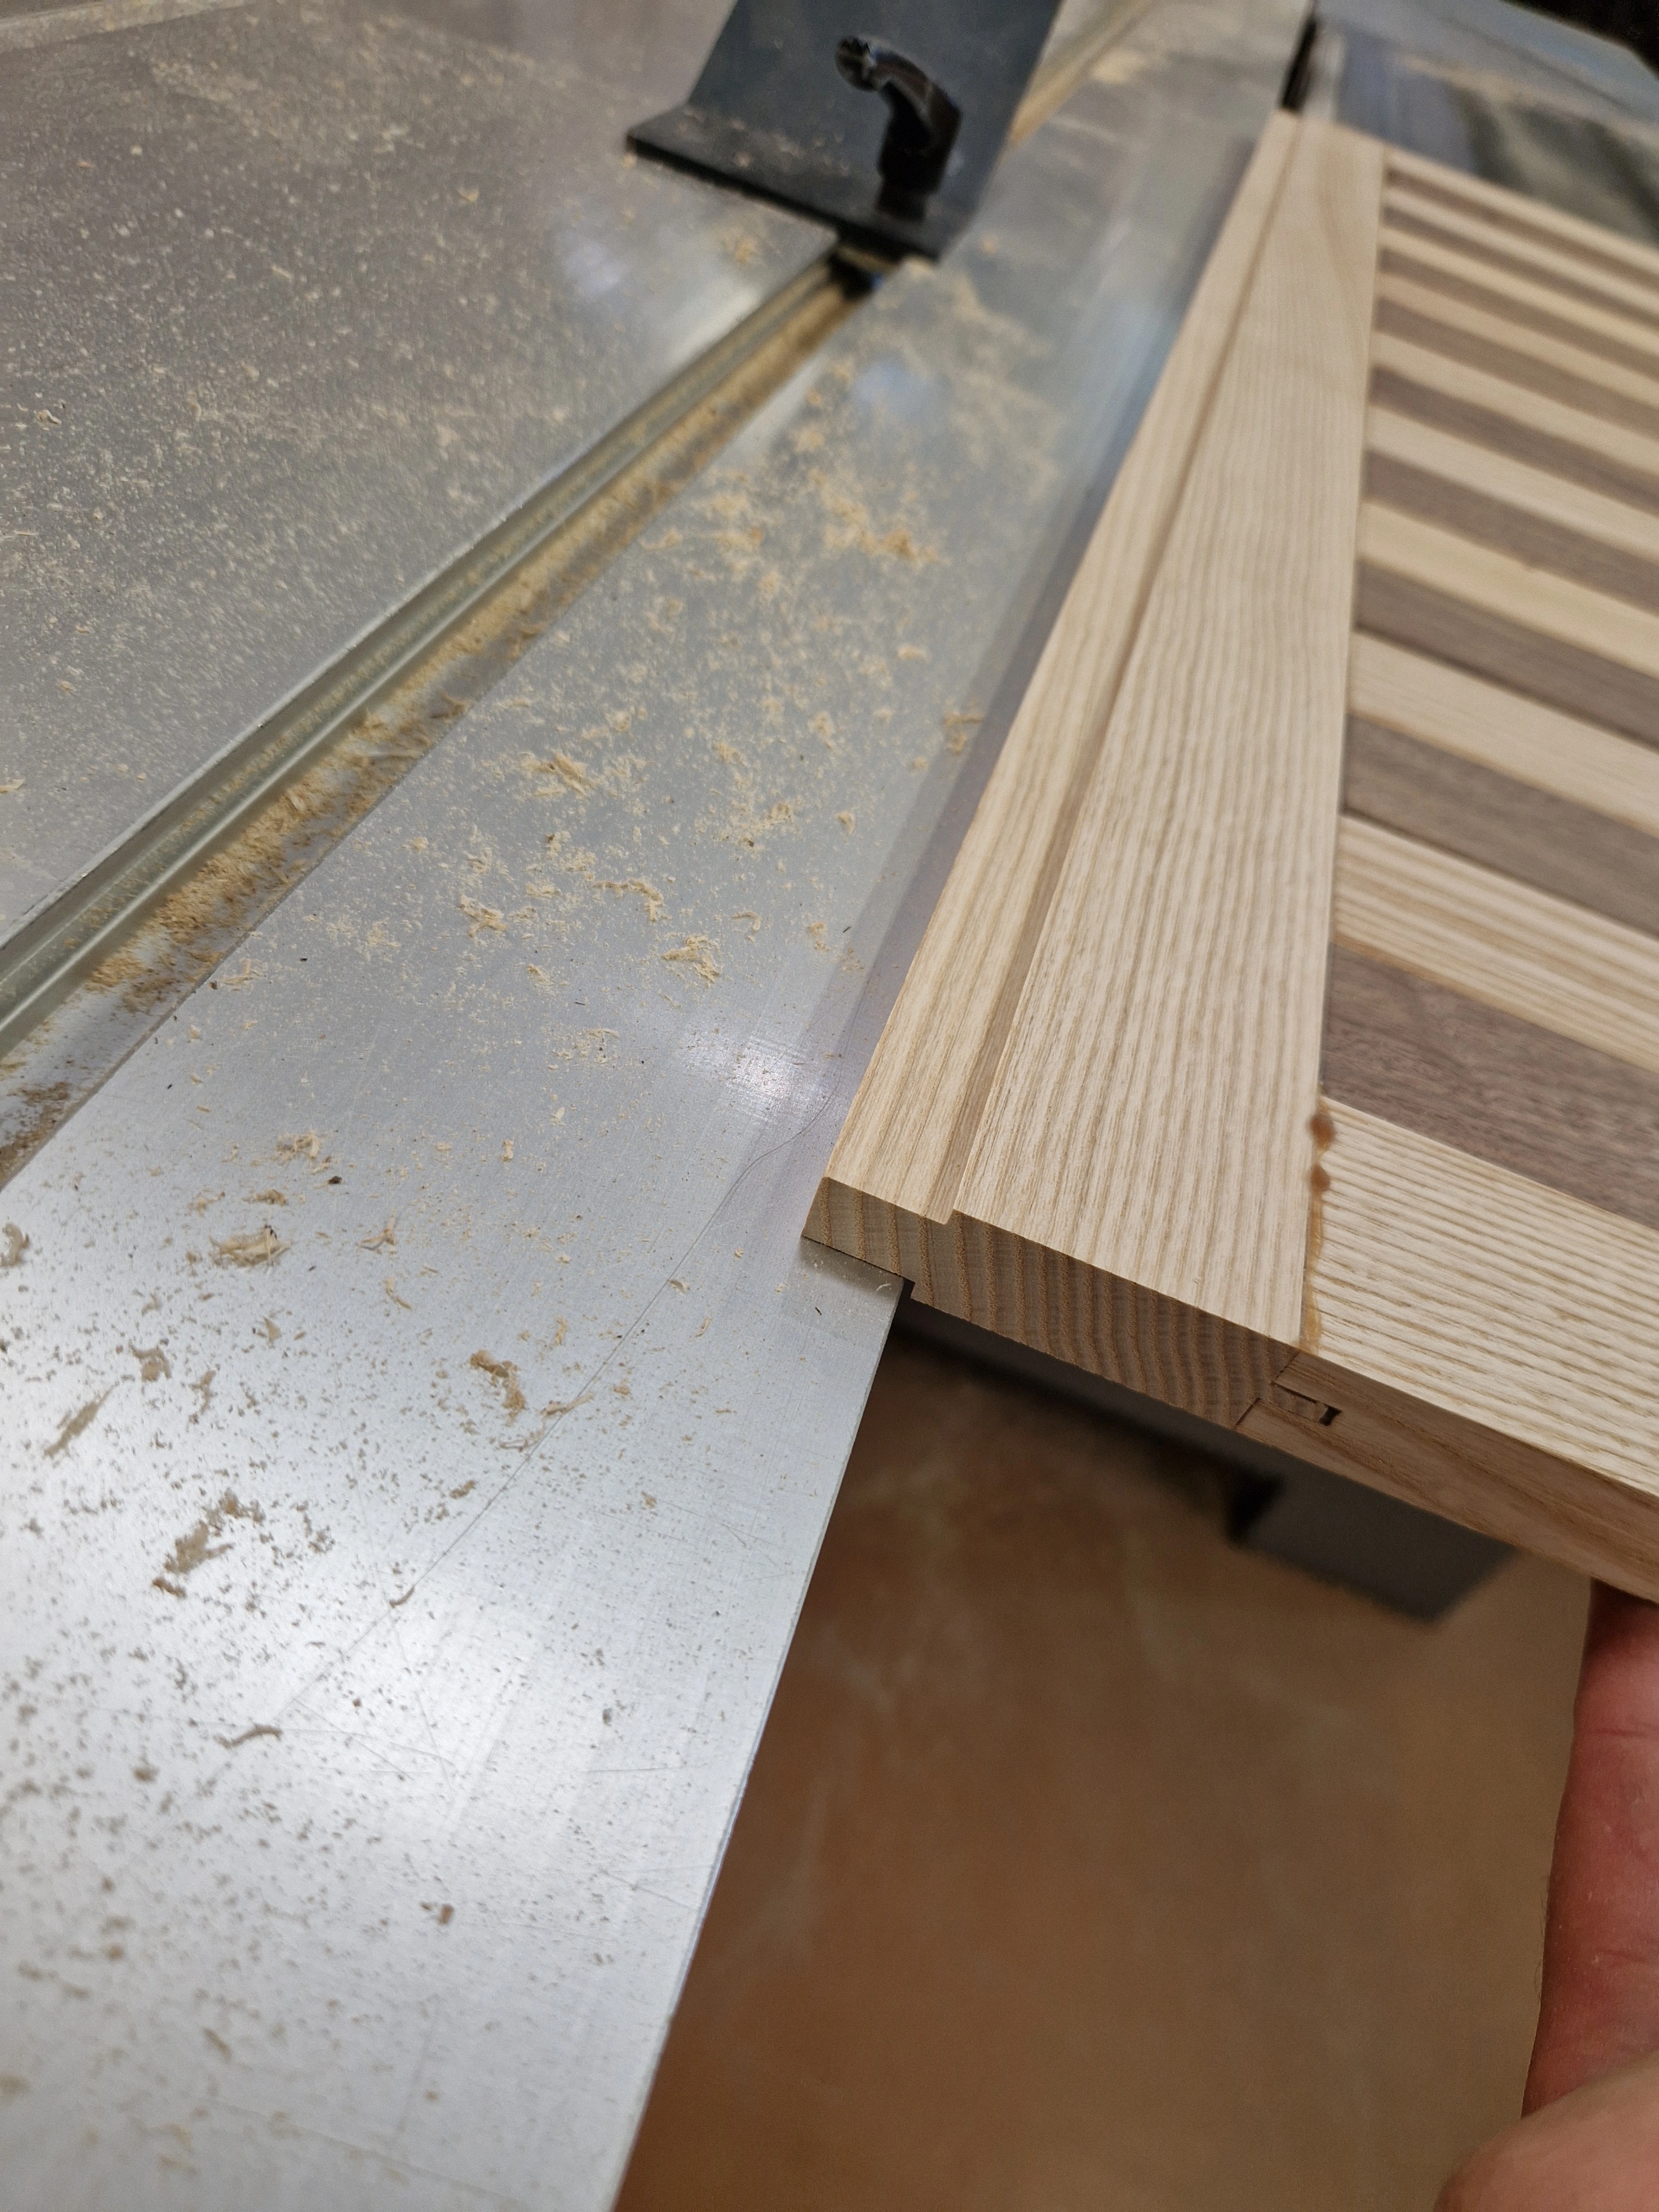
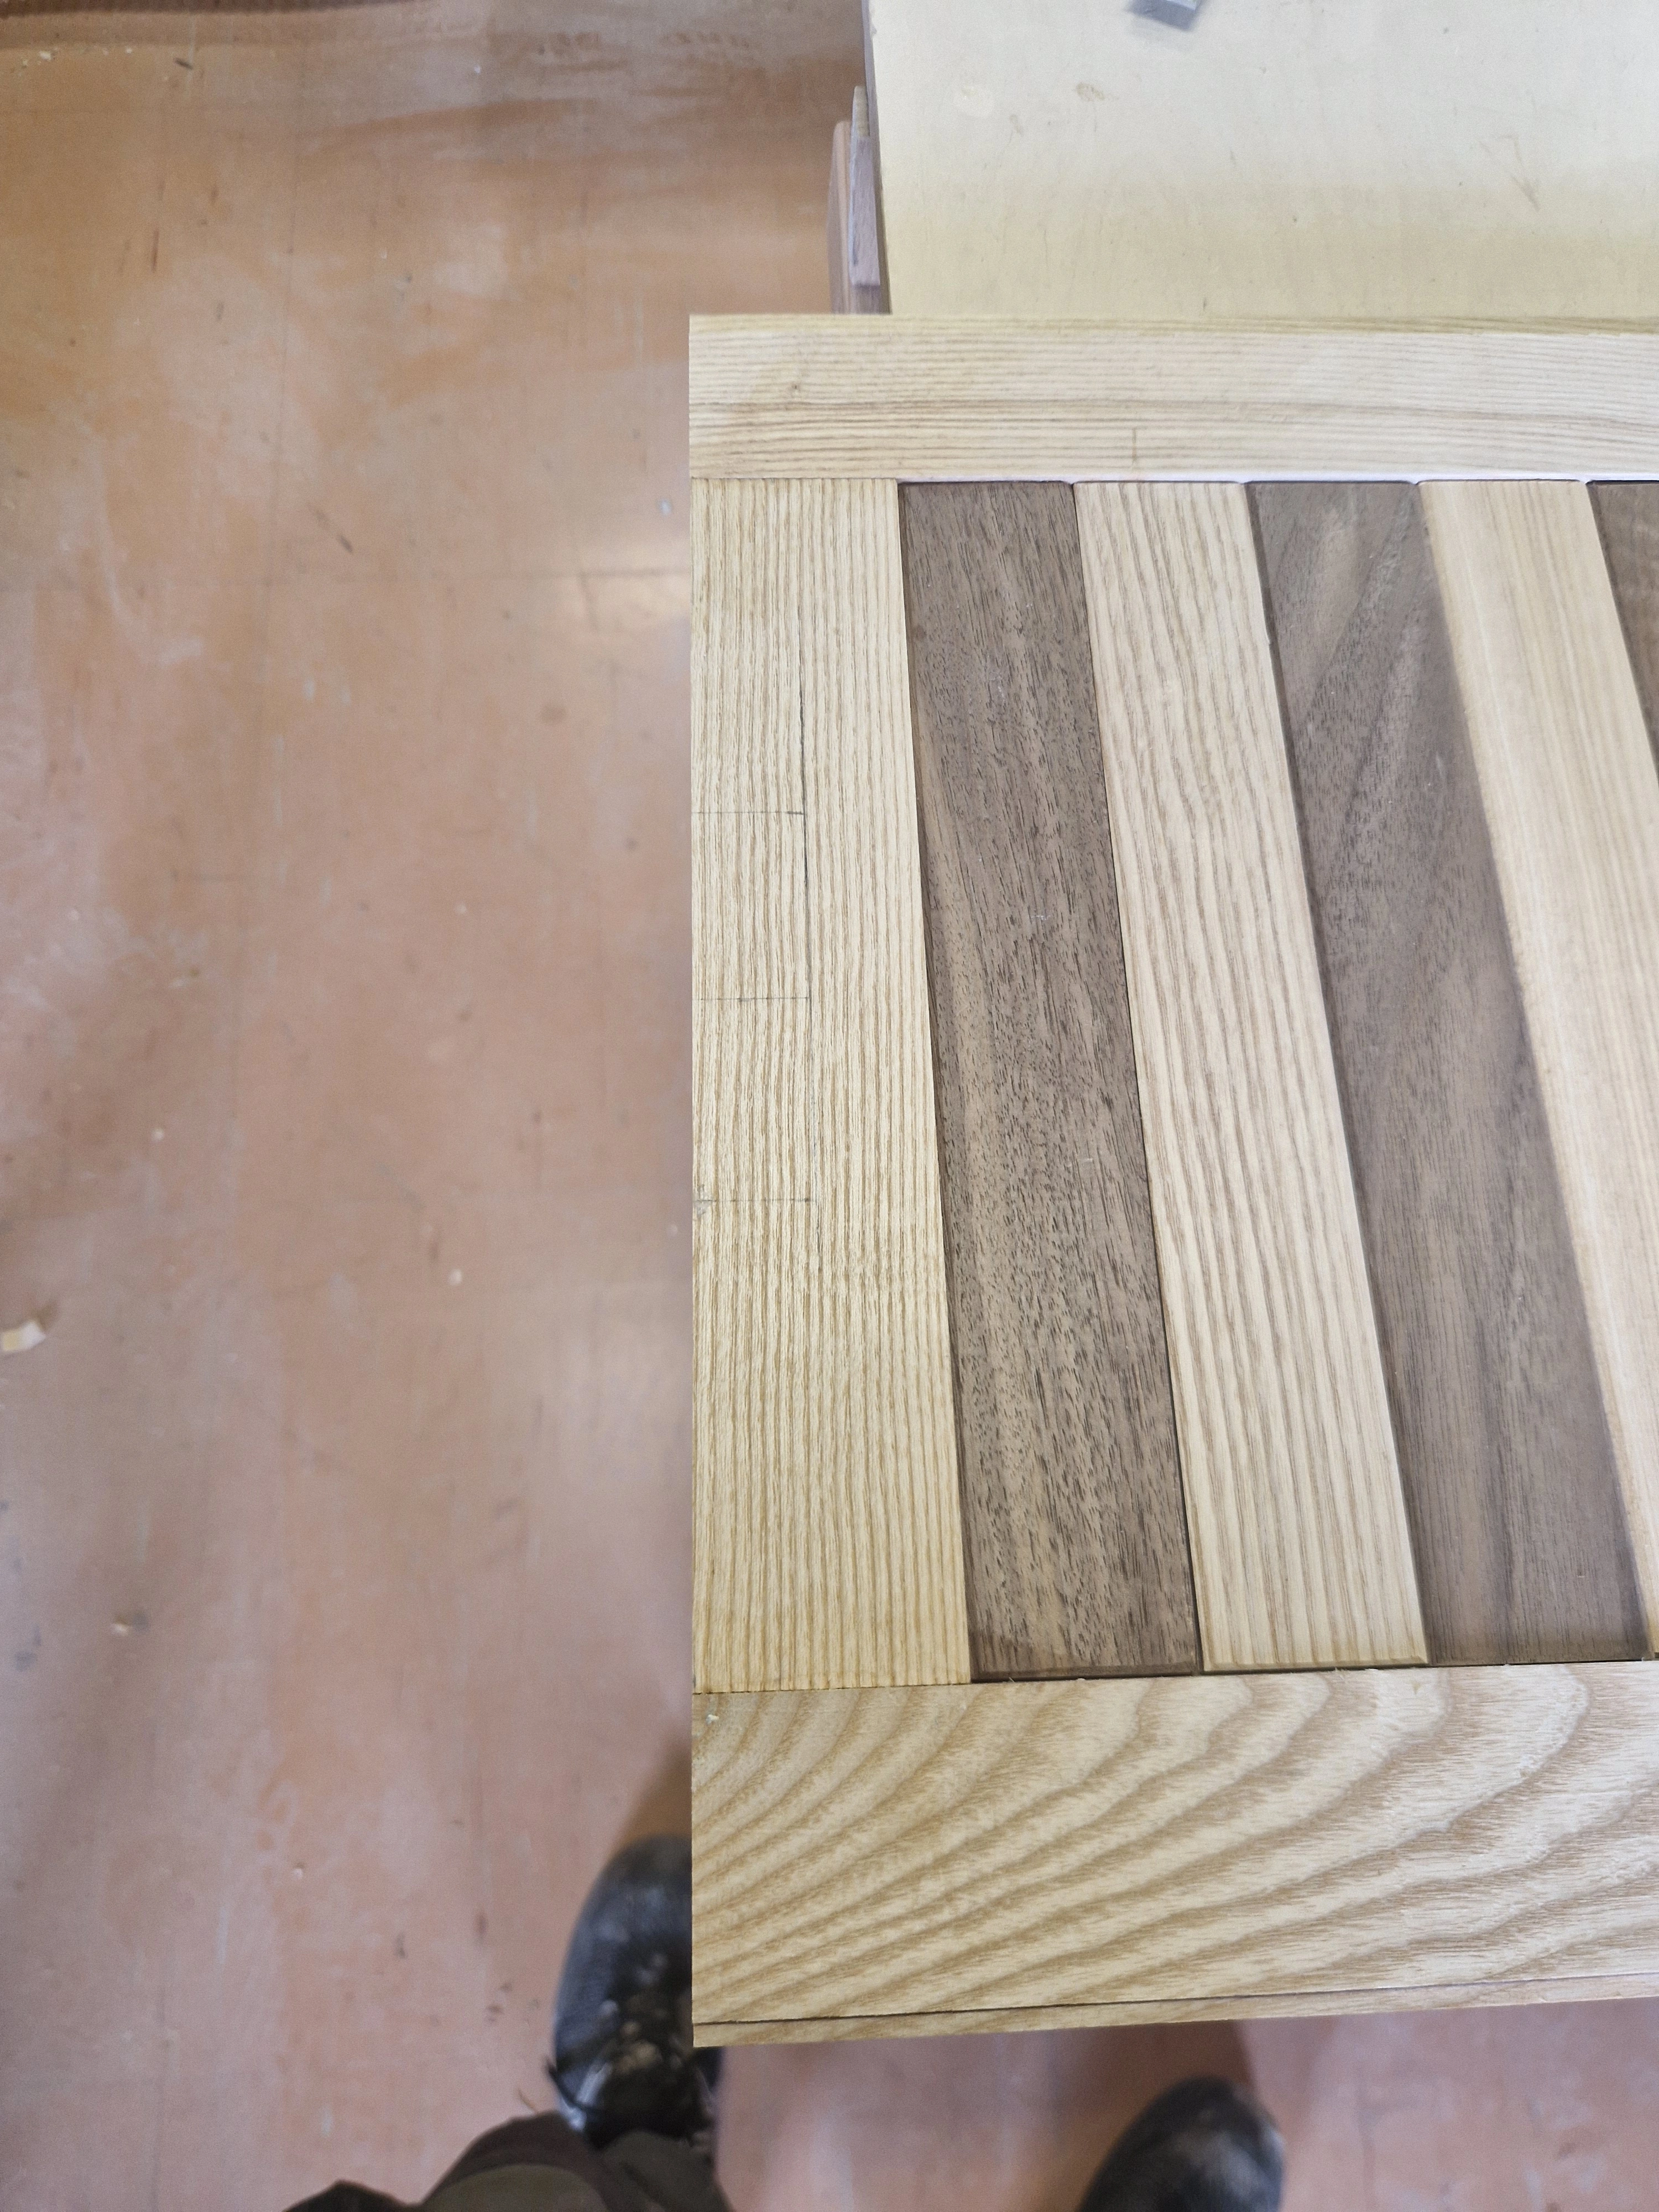
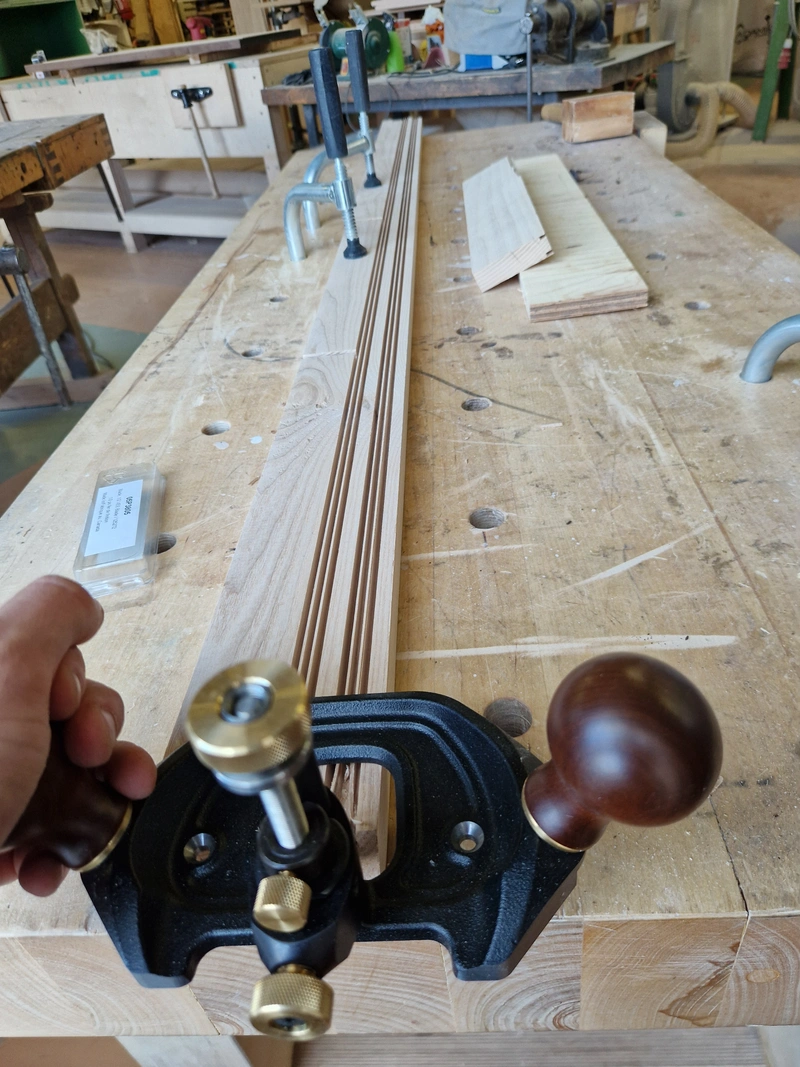
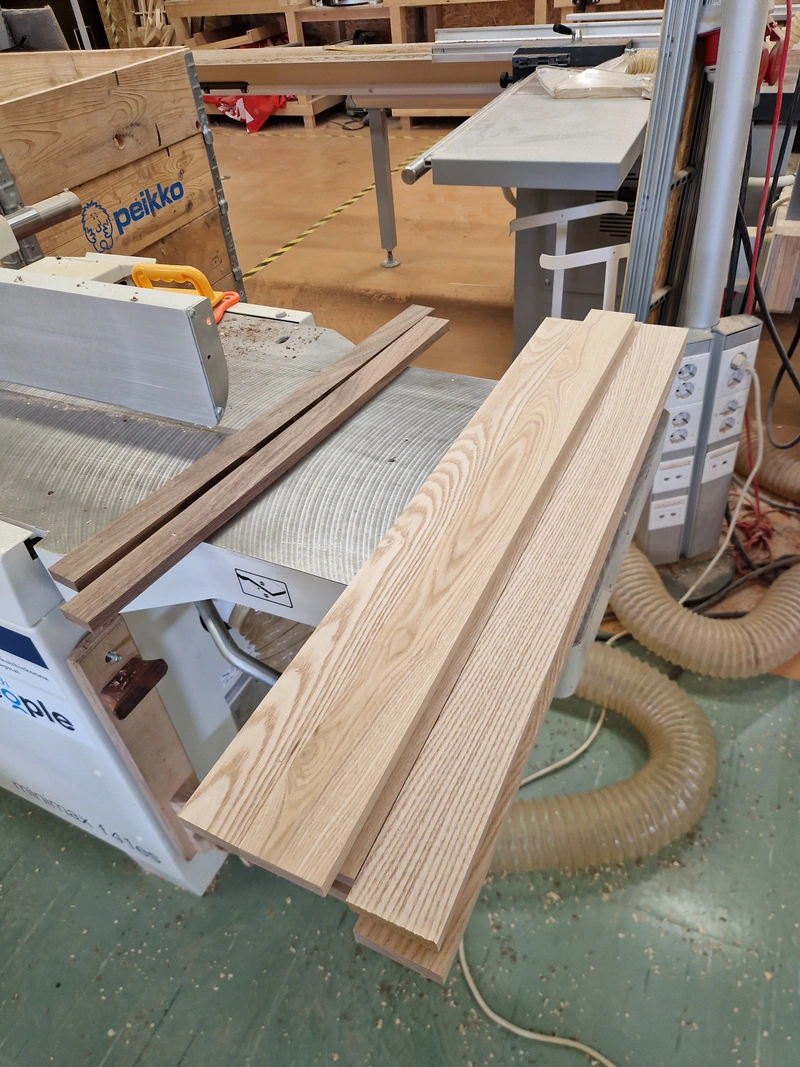
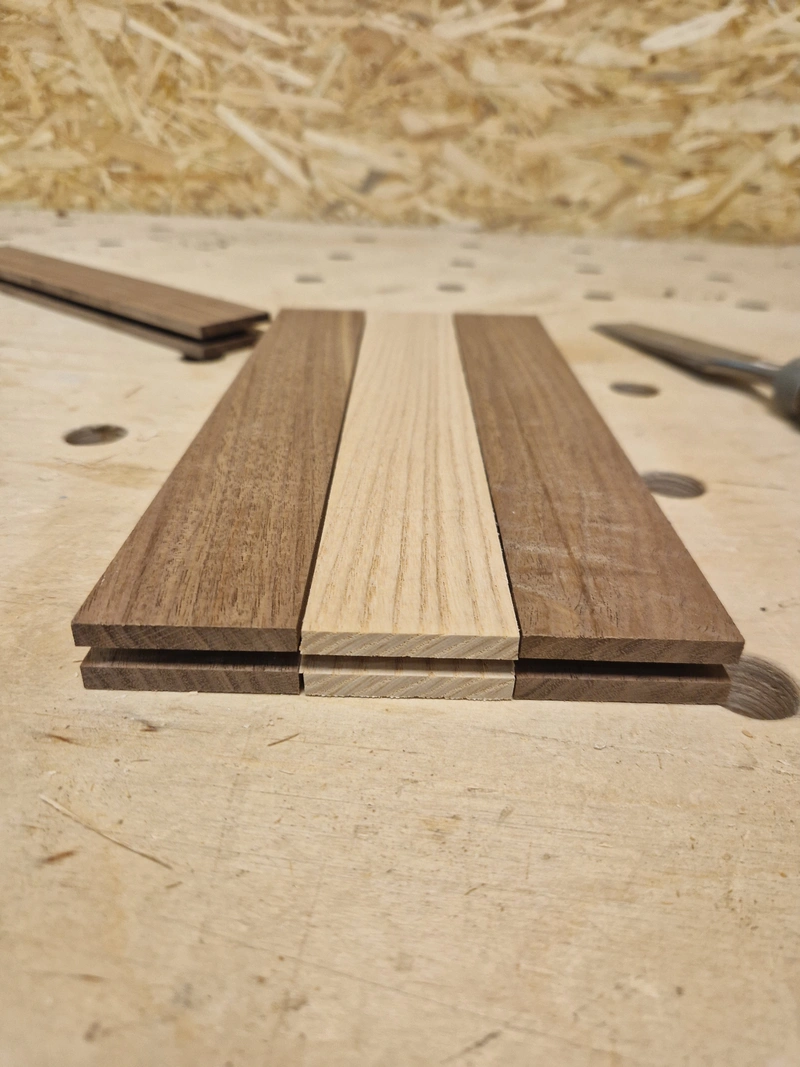
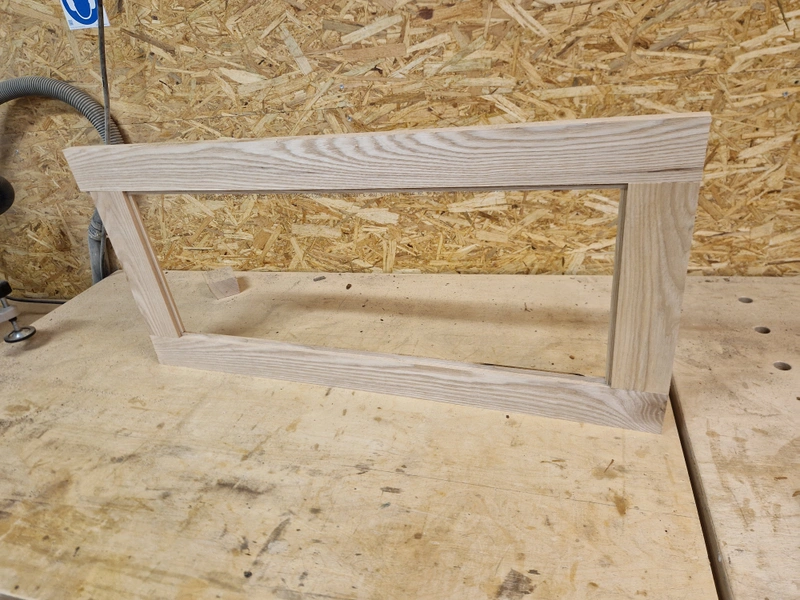
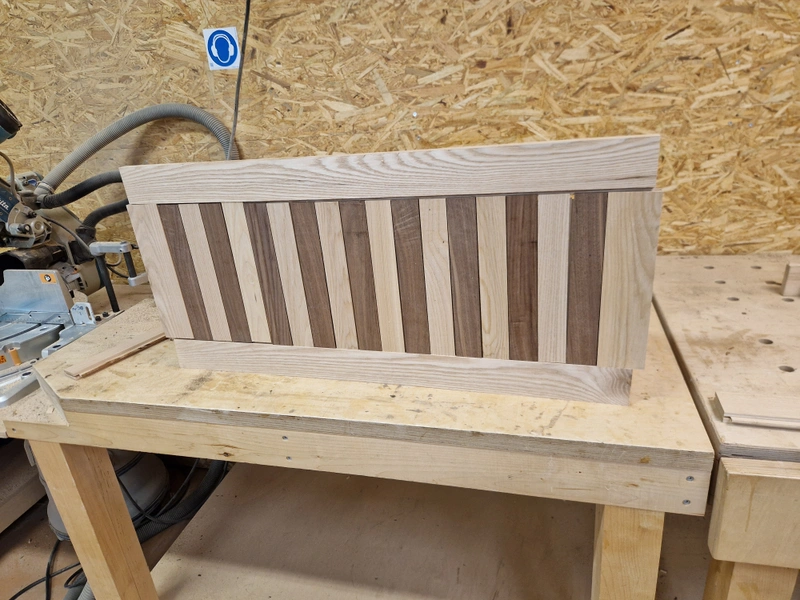
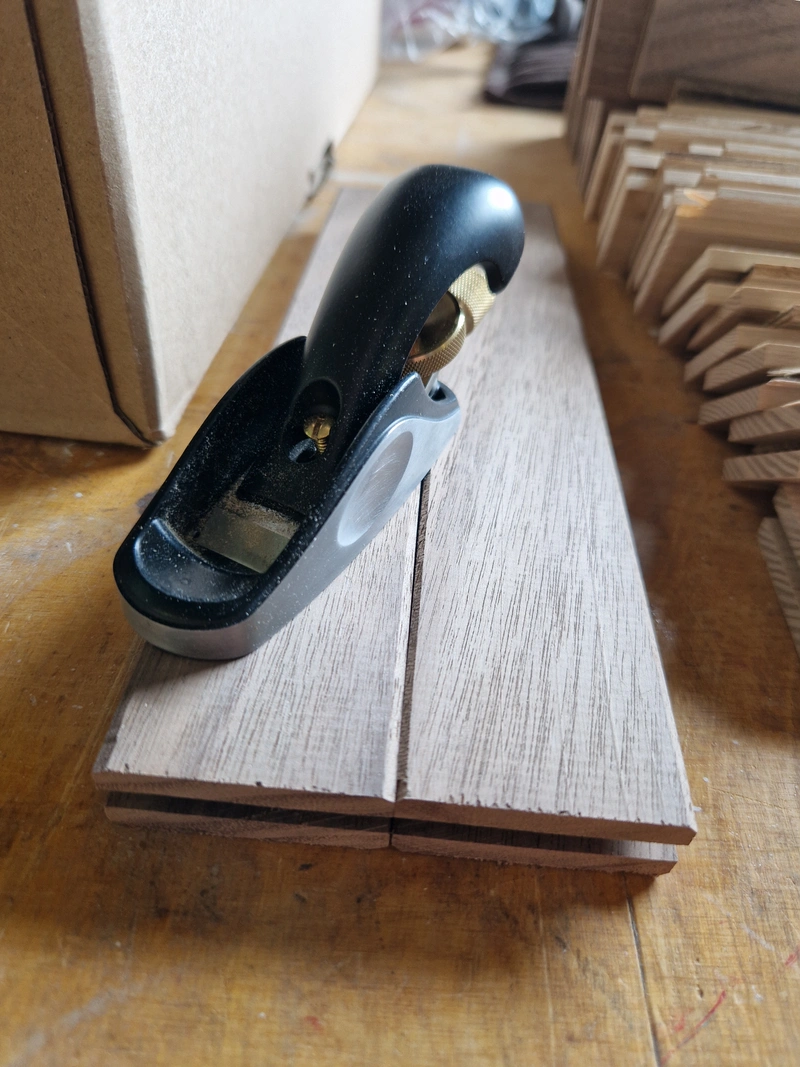
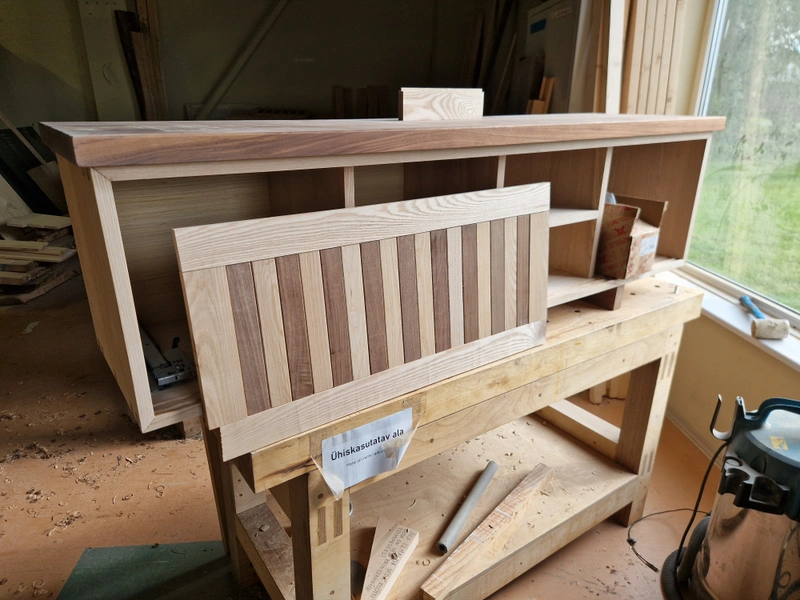
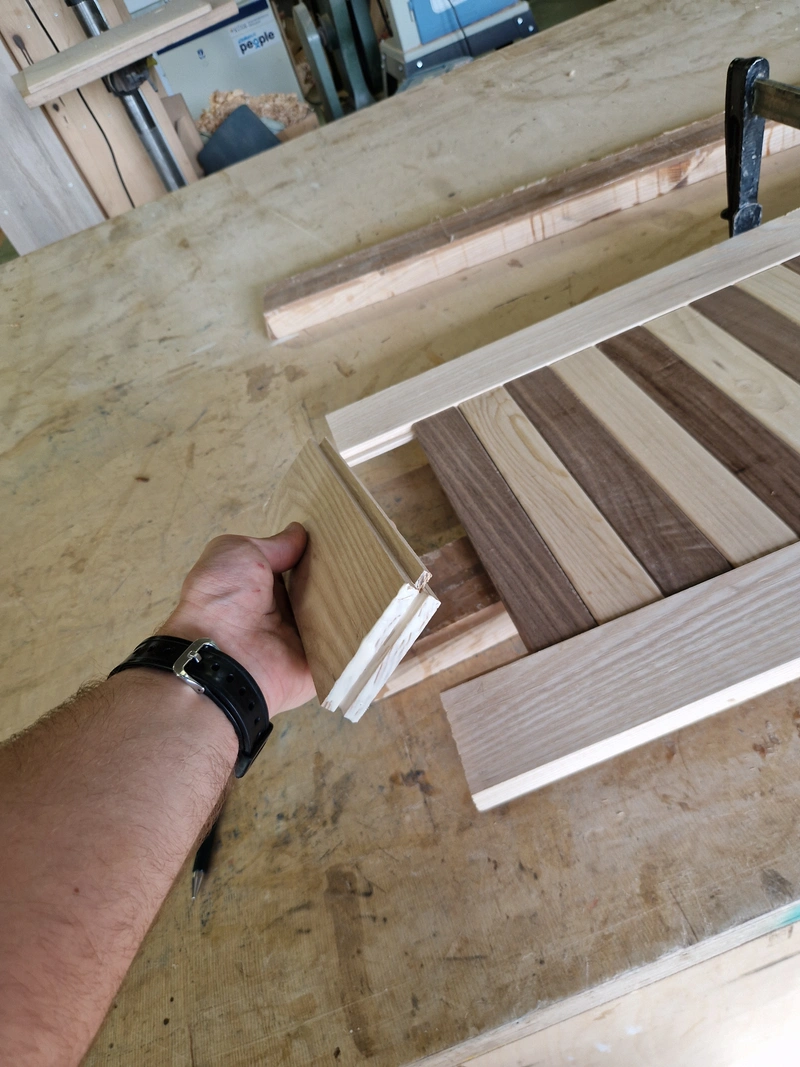
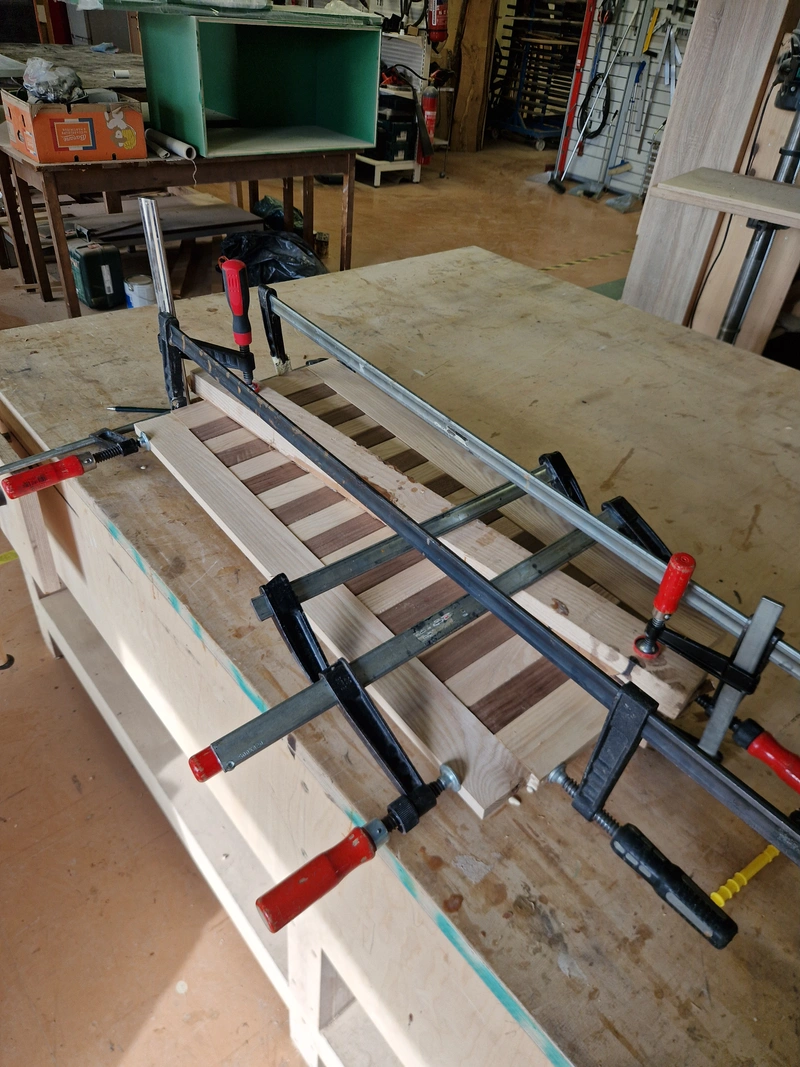
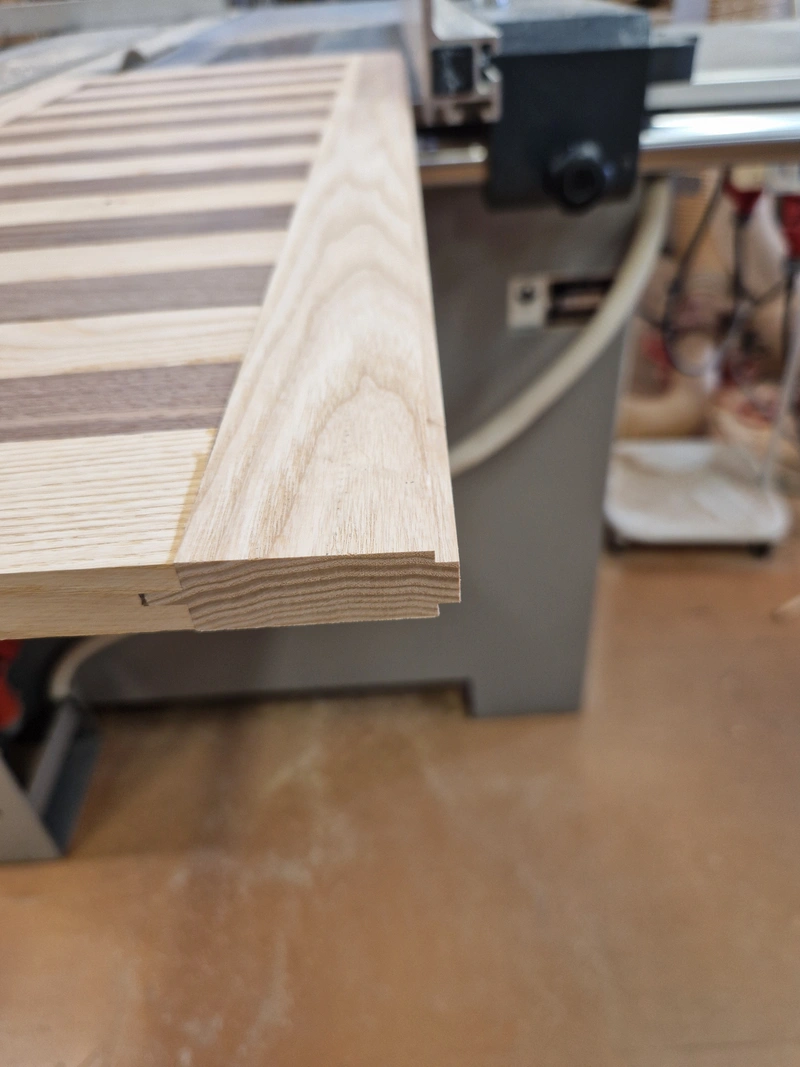
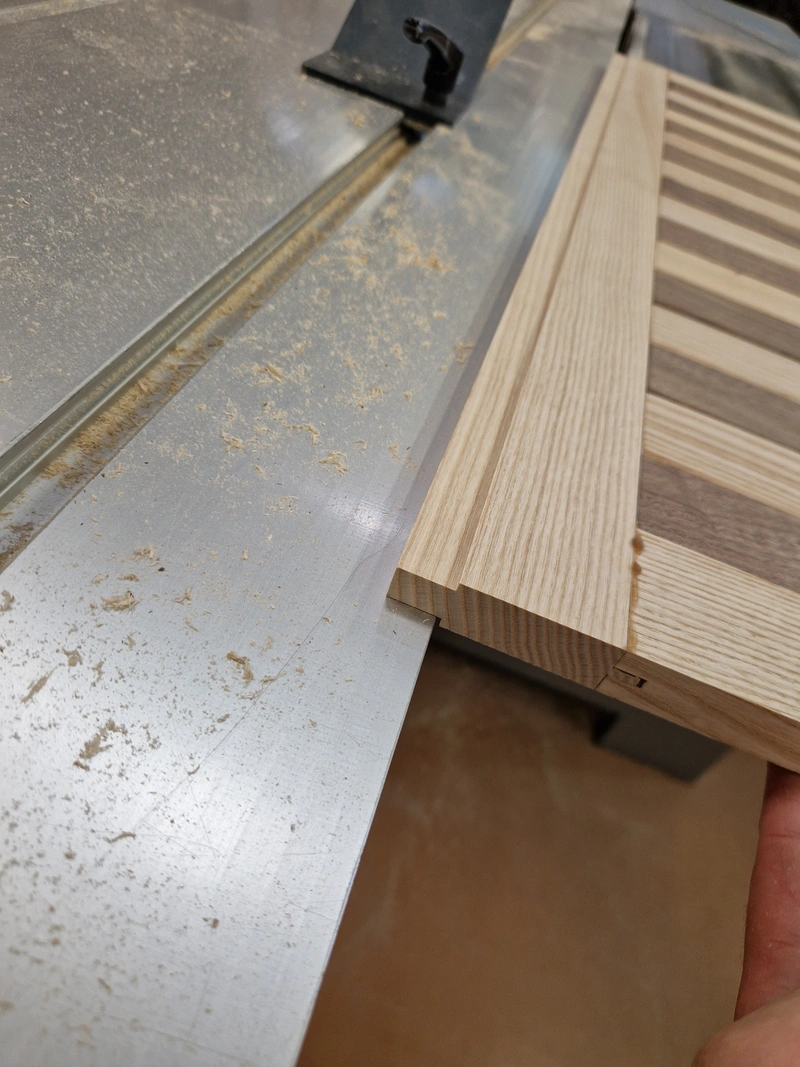
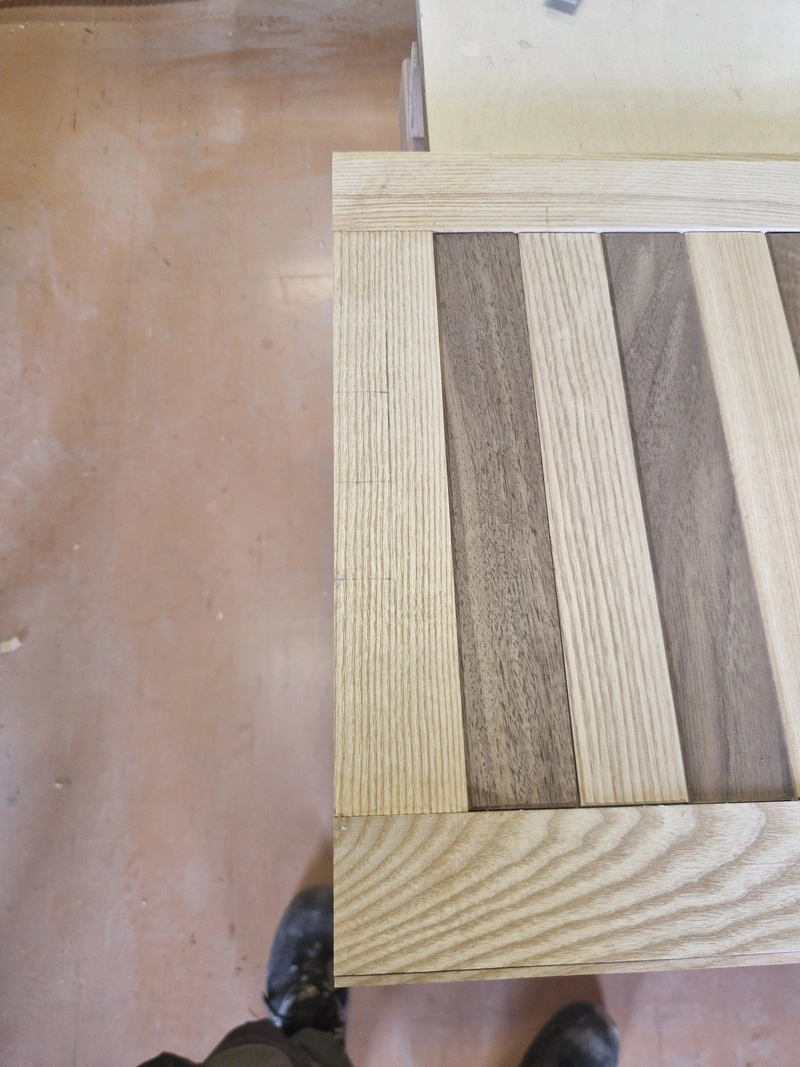
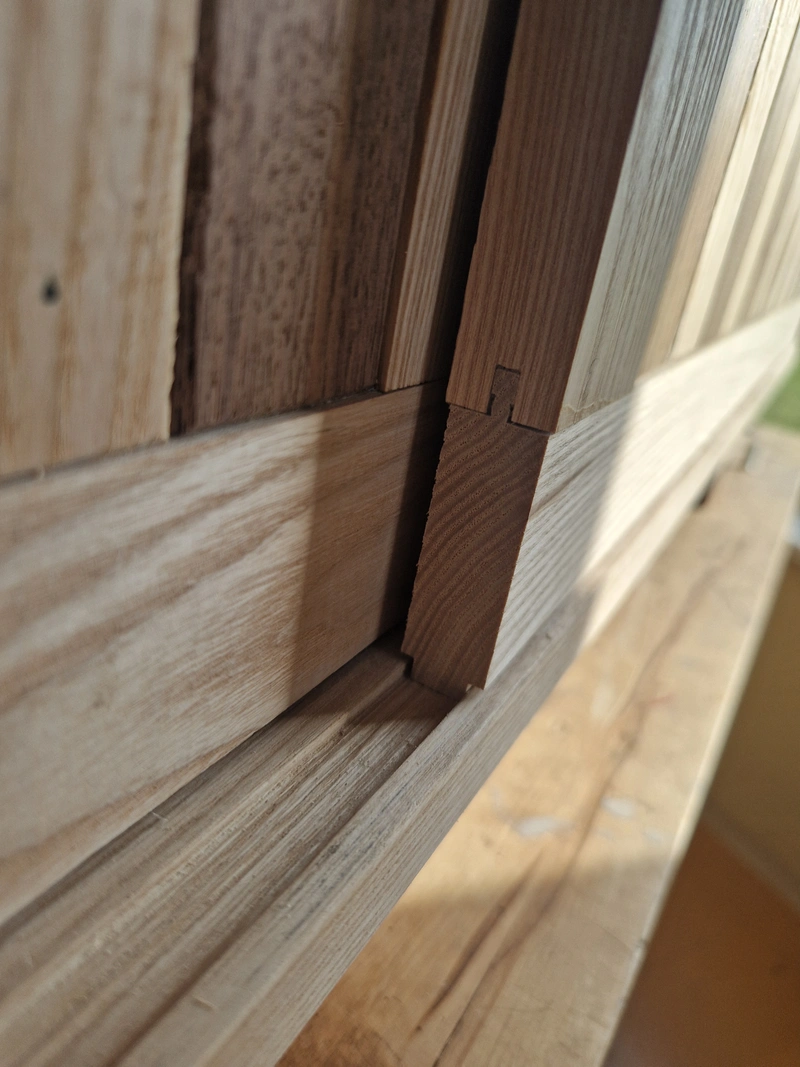
The design is a classic rails-and-stiles door, with the interior being alternating ash and walnut slats, connected via tongue-and-groove joints, but crucially no glue between them, to allow for expansion and contraction as the seasons go by. The rails-and-stiles (outermost ash elements) are glued together, but the center part of the doors are "floating". Hopefully this is enough to keep the doors stable - time will tell.
1 / 22