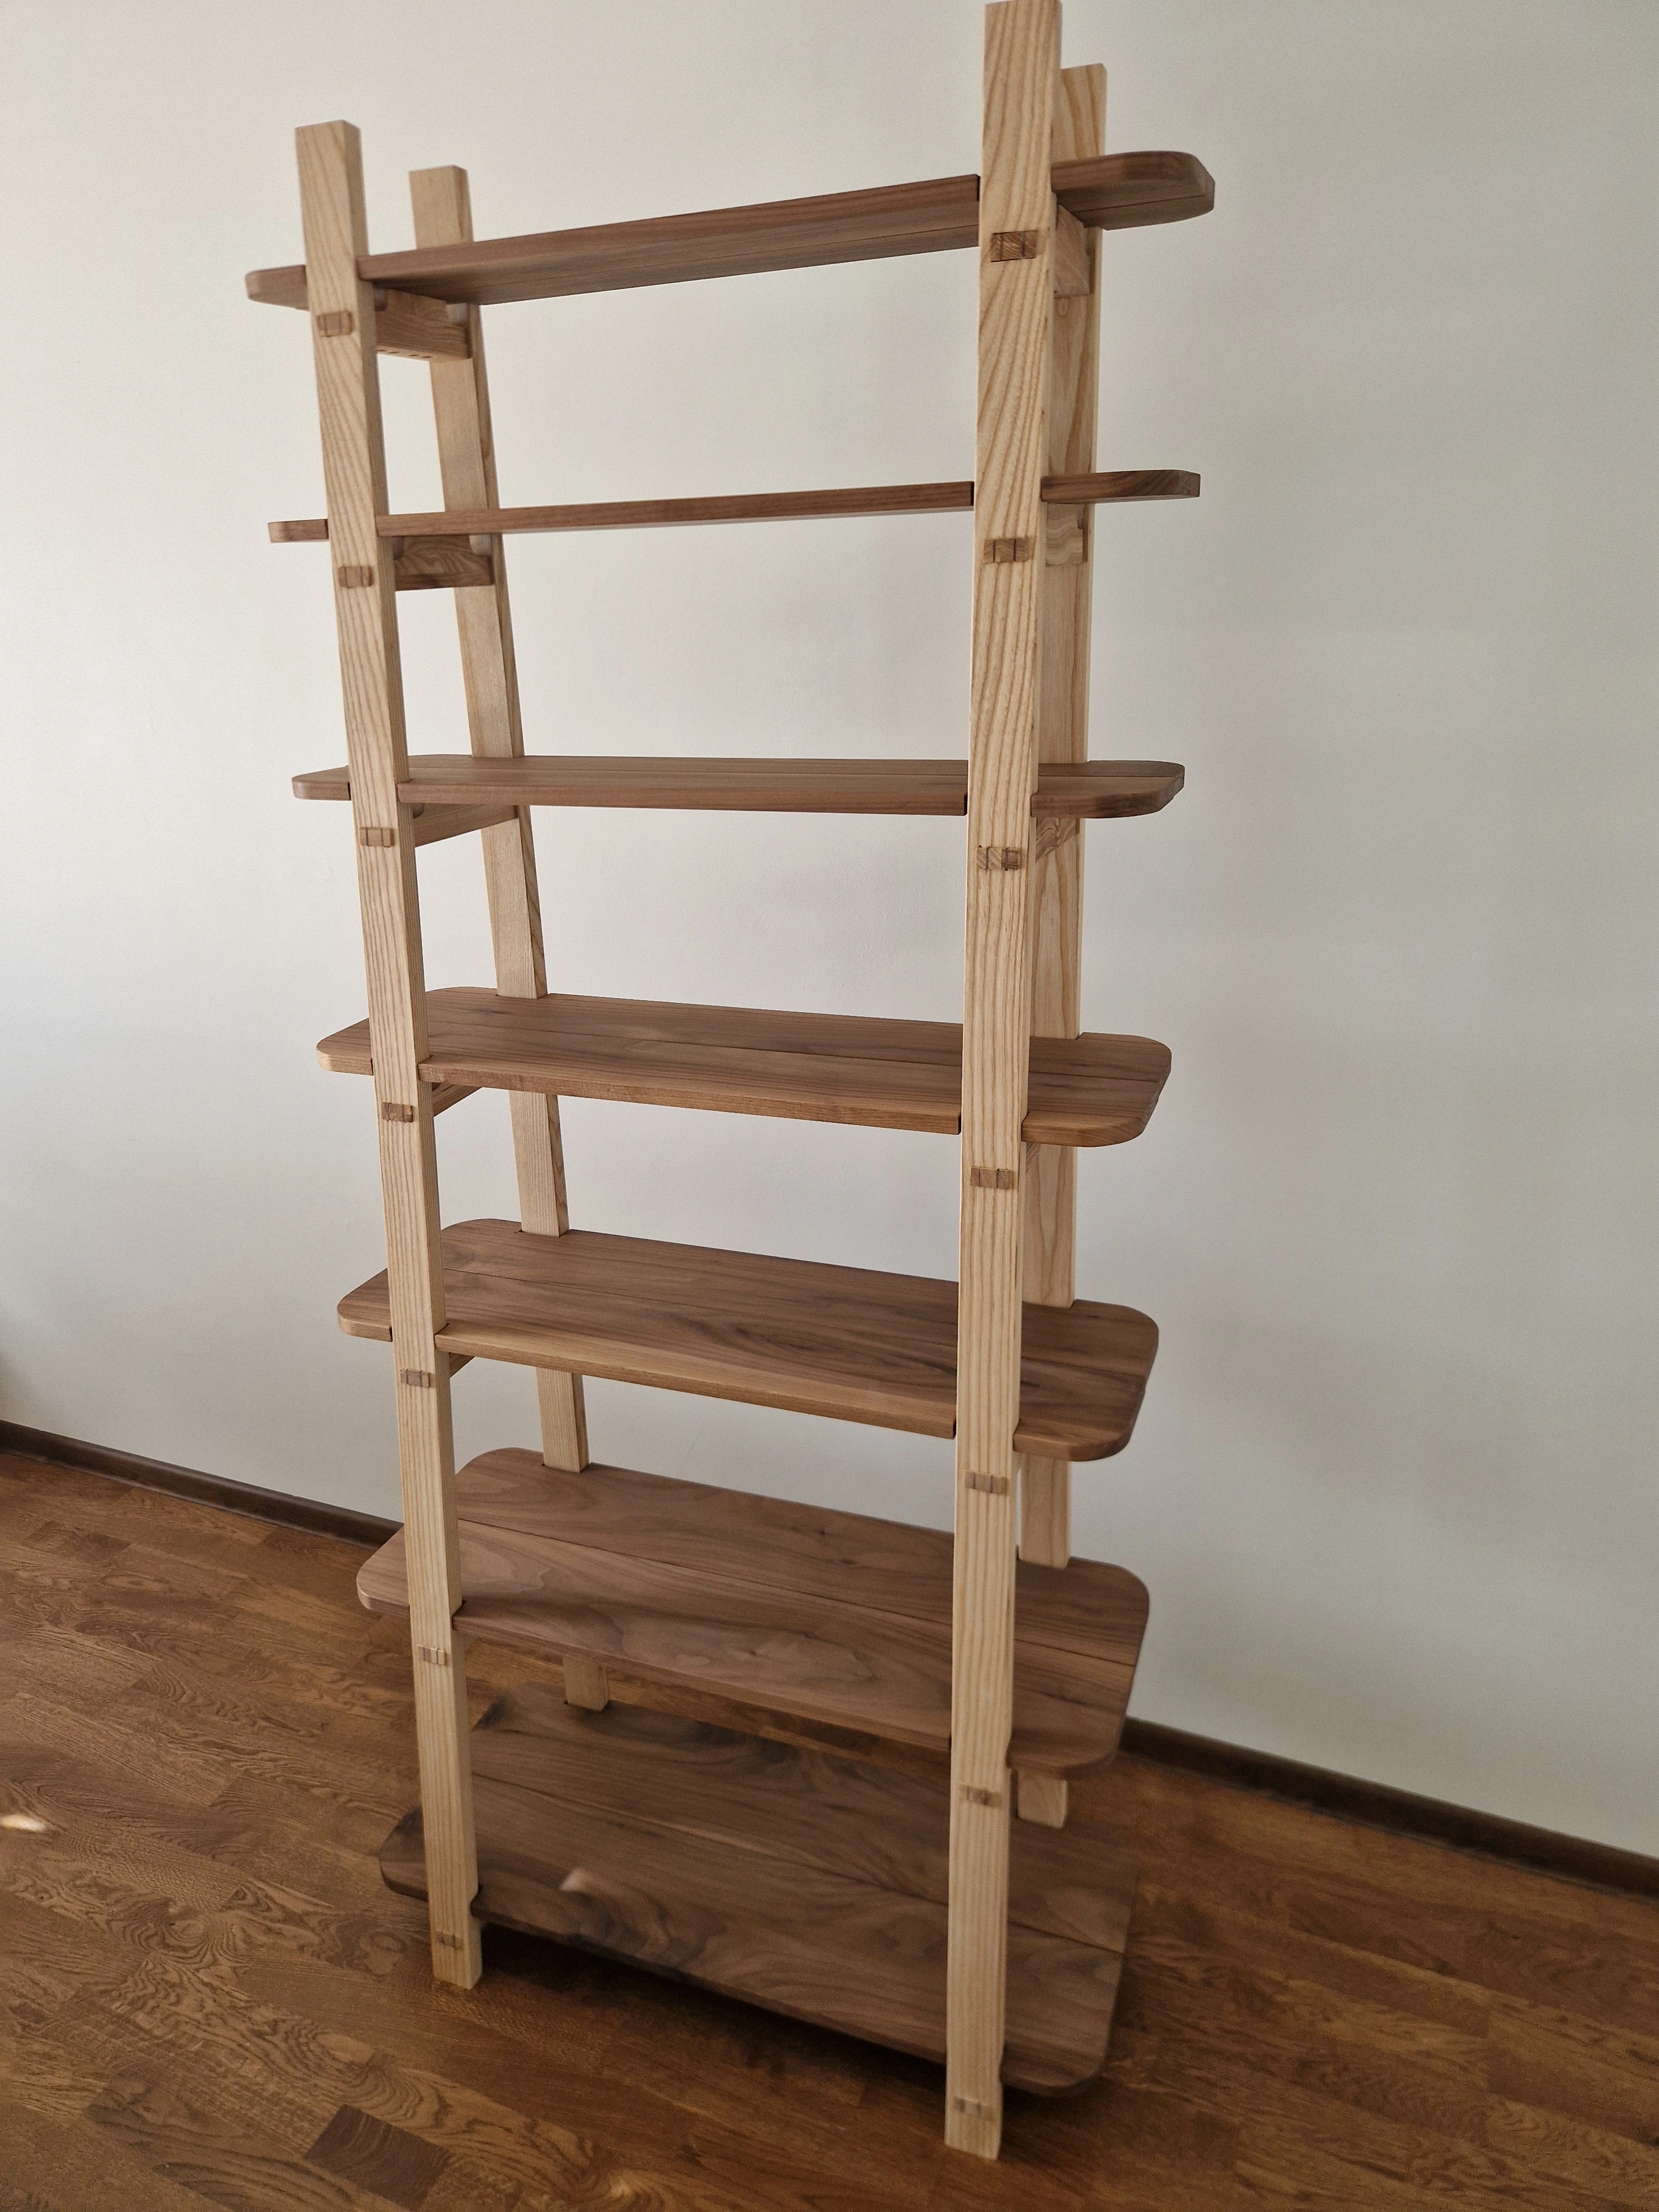
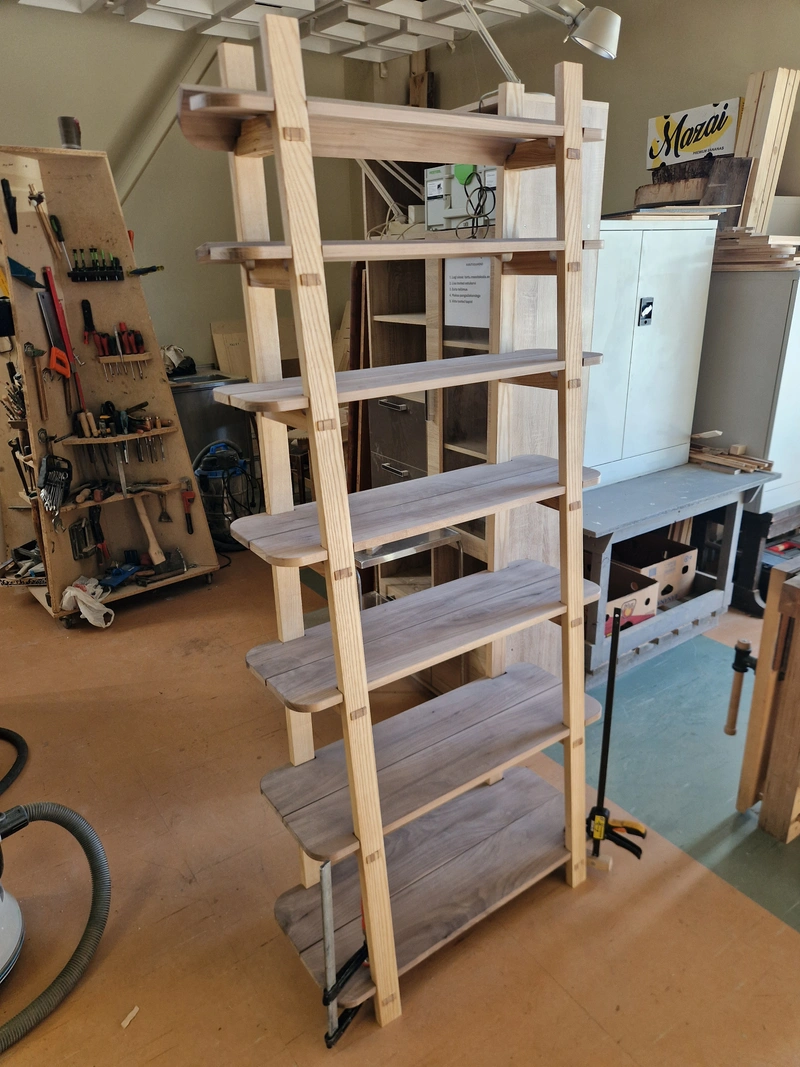
Bookshelf MKII
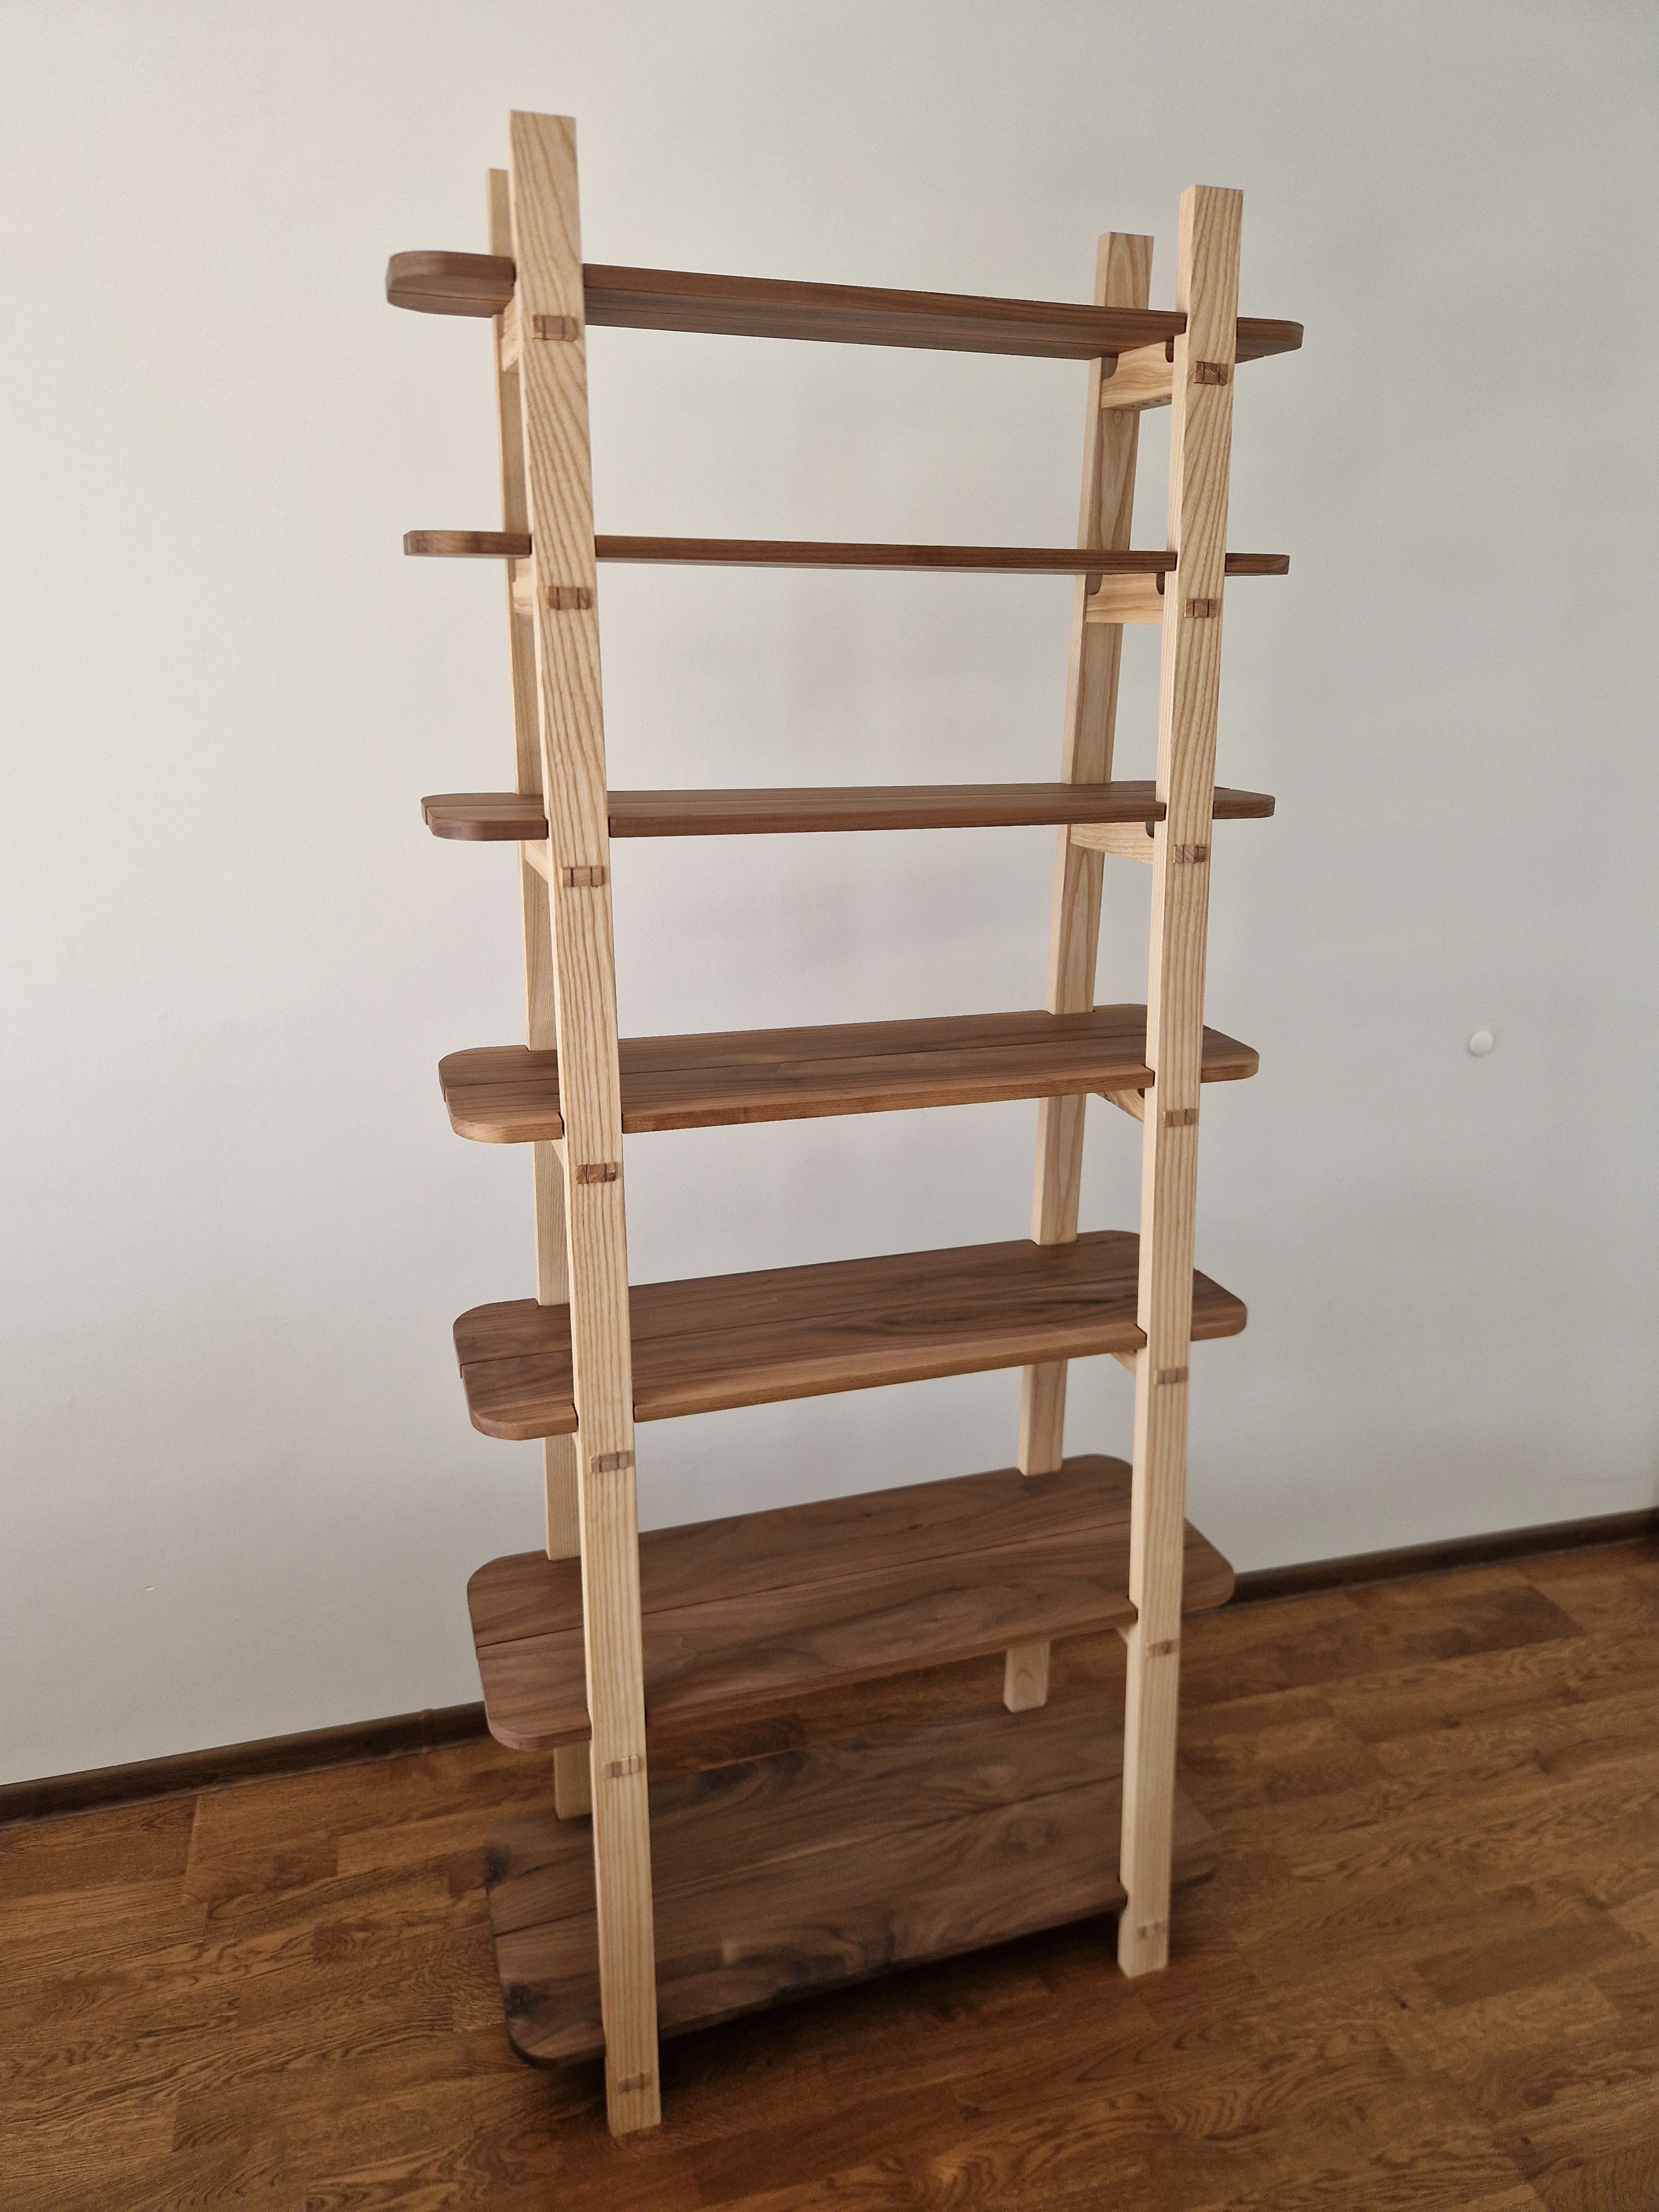
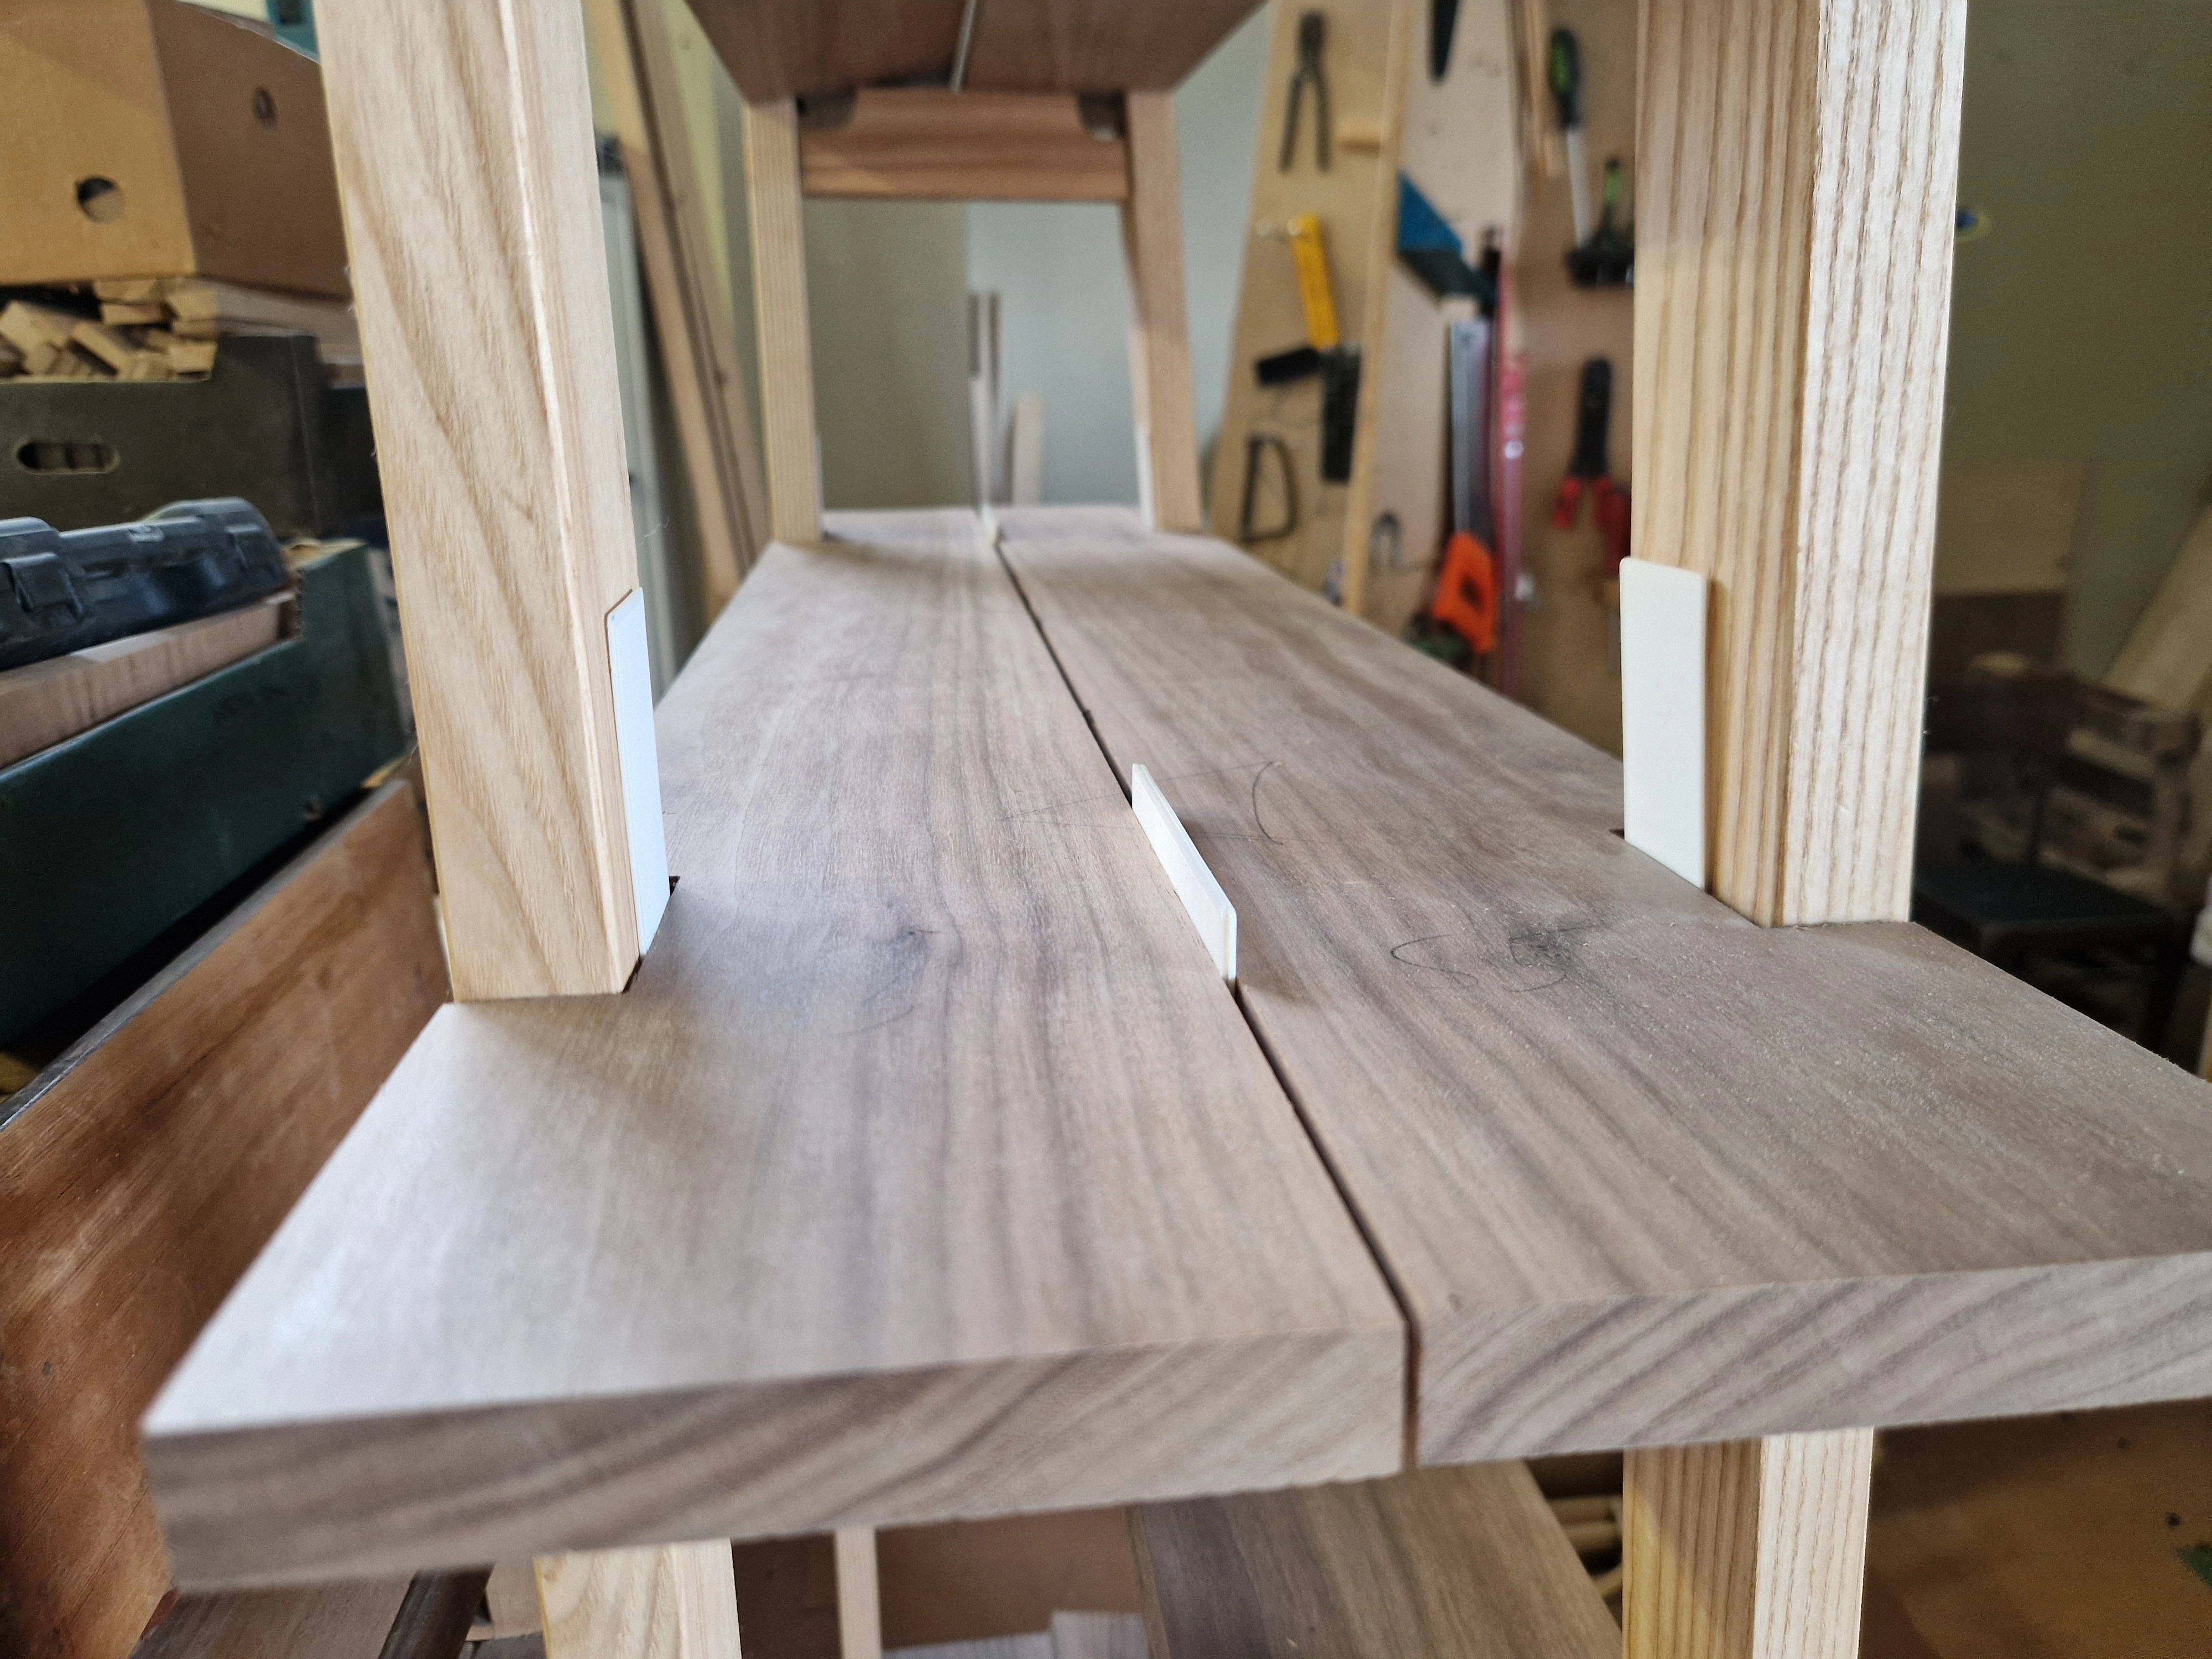
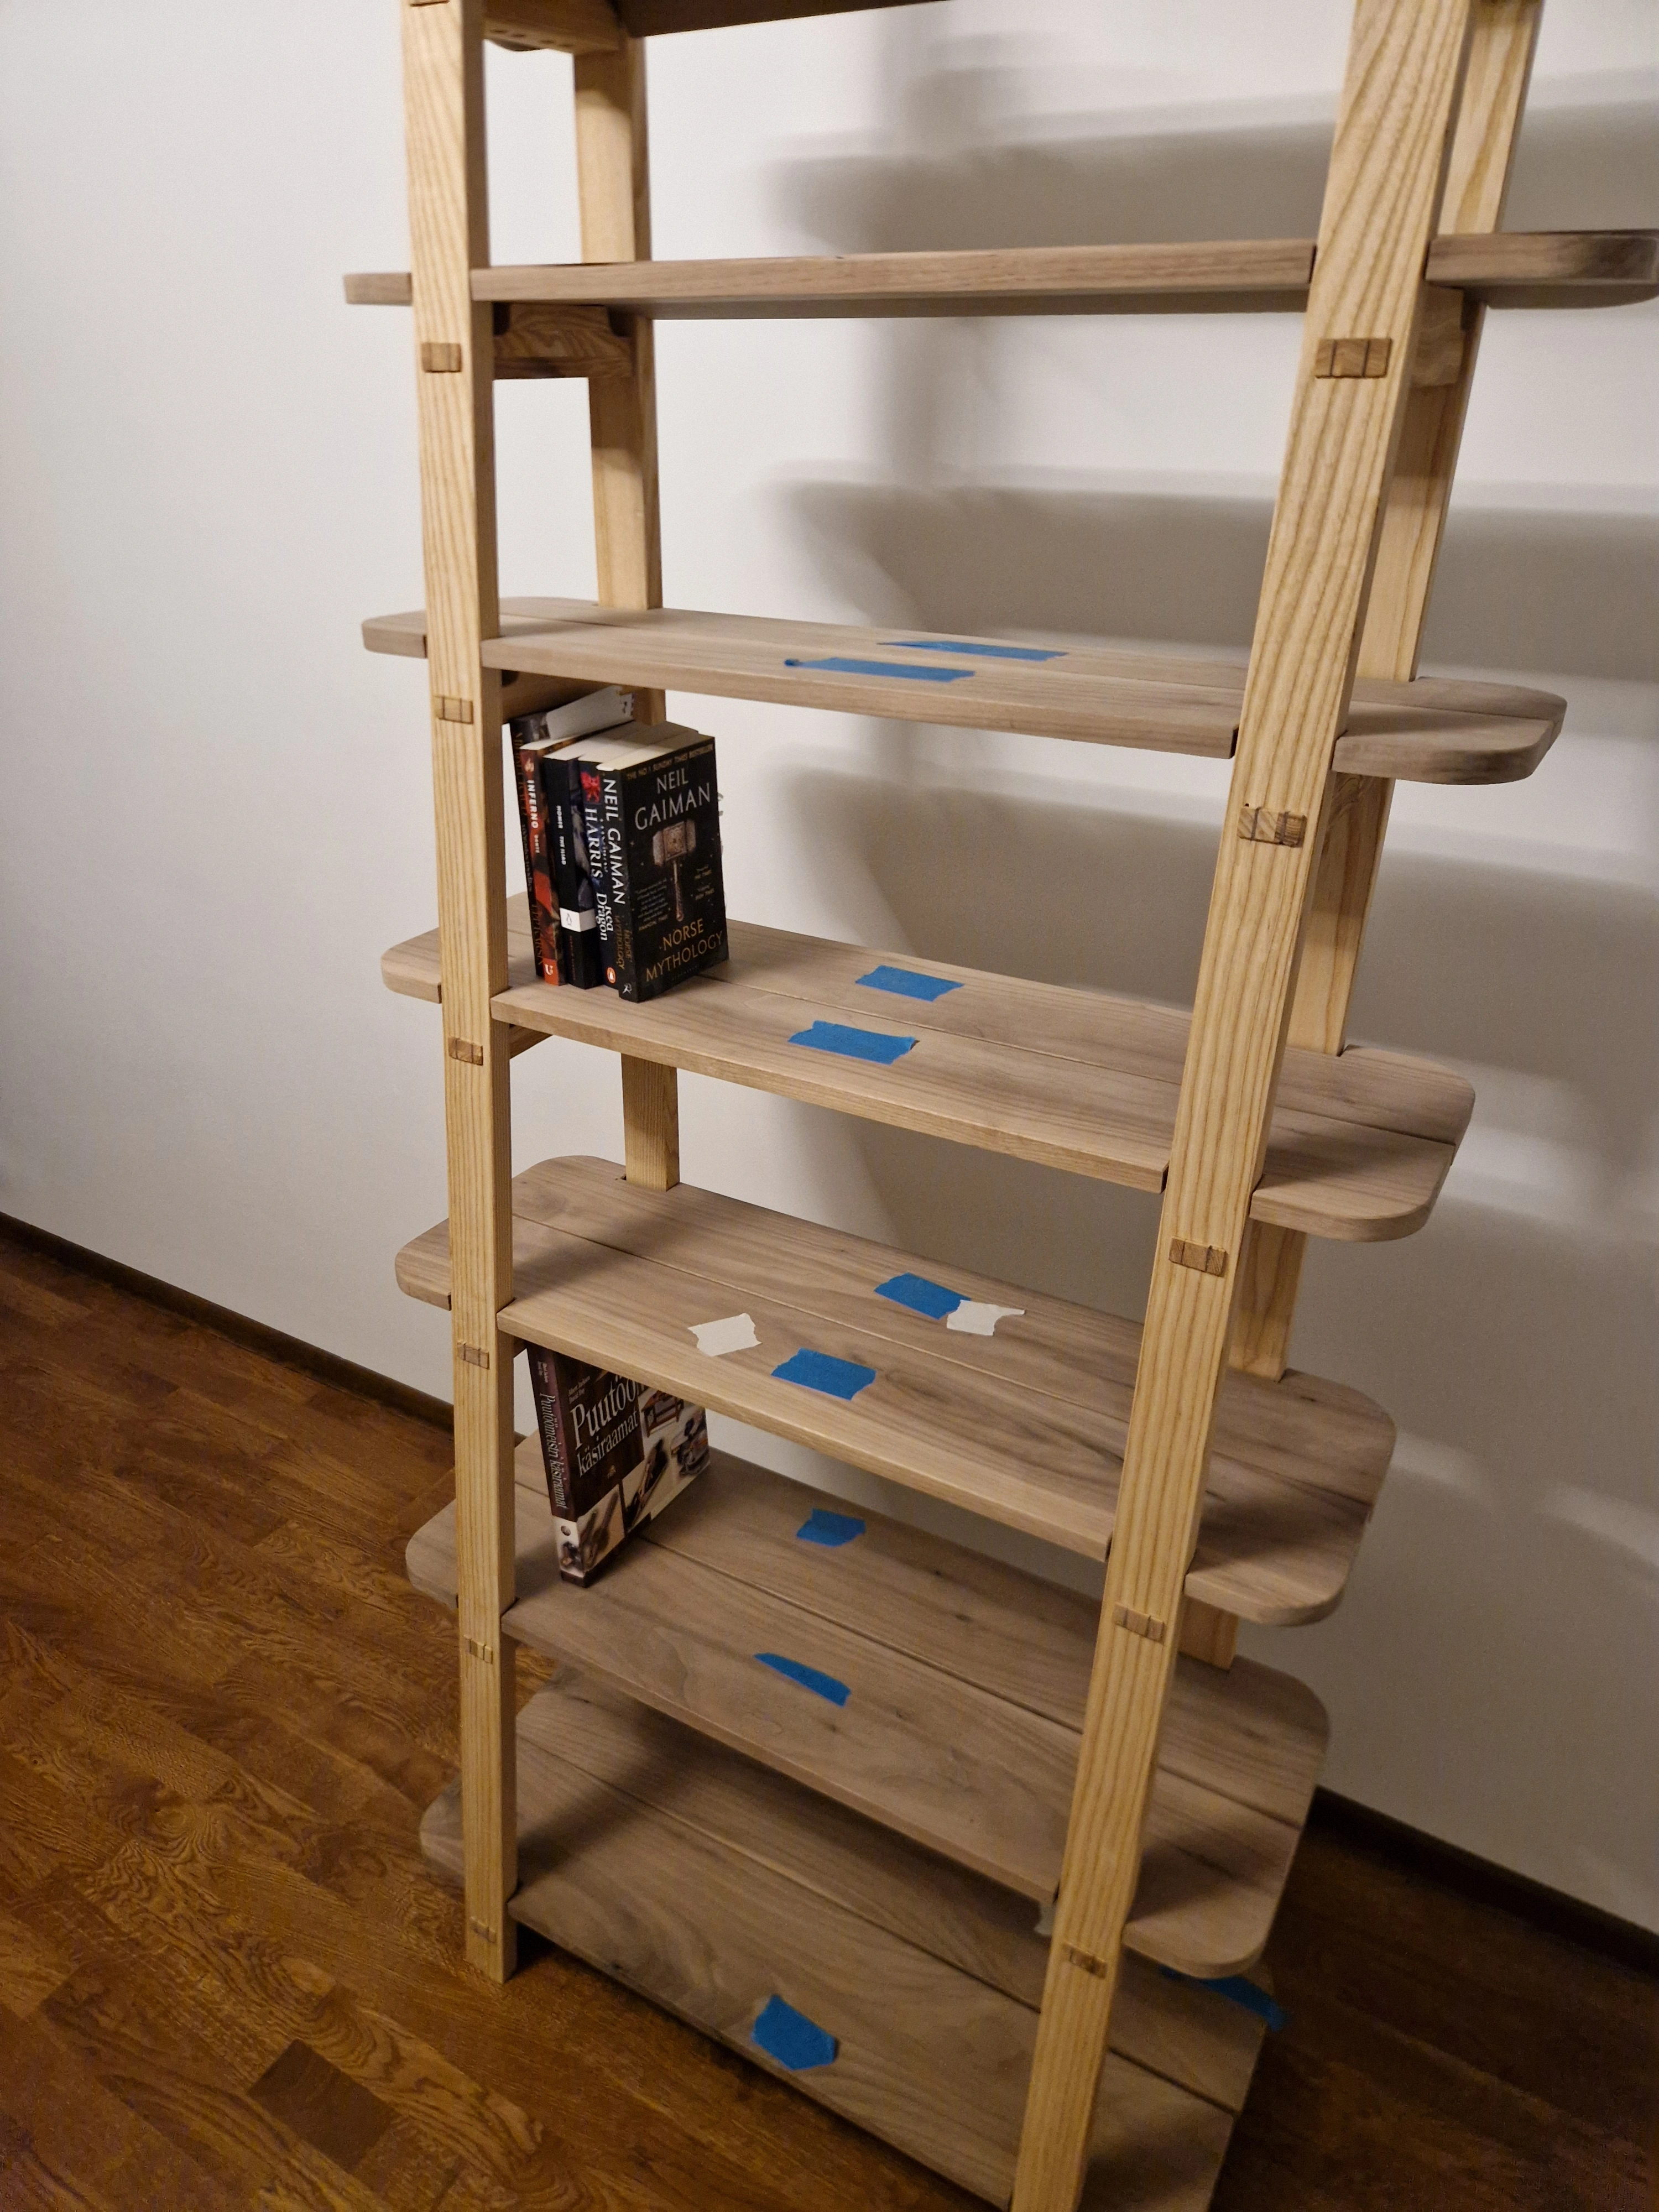
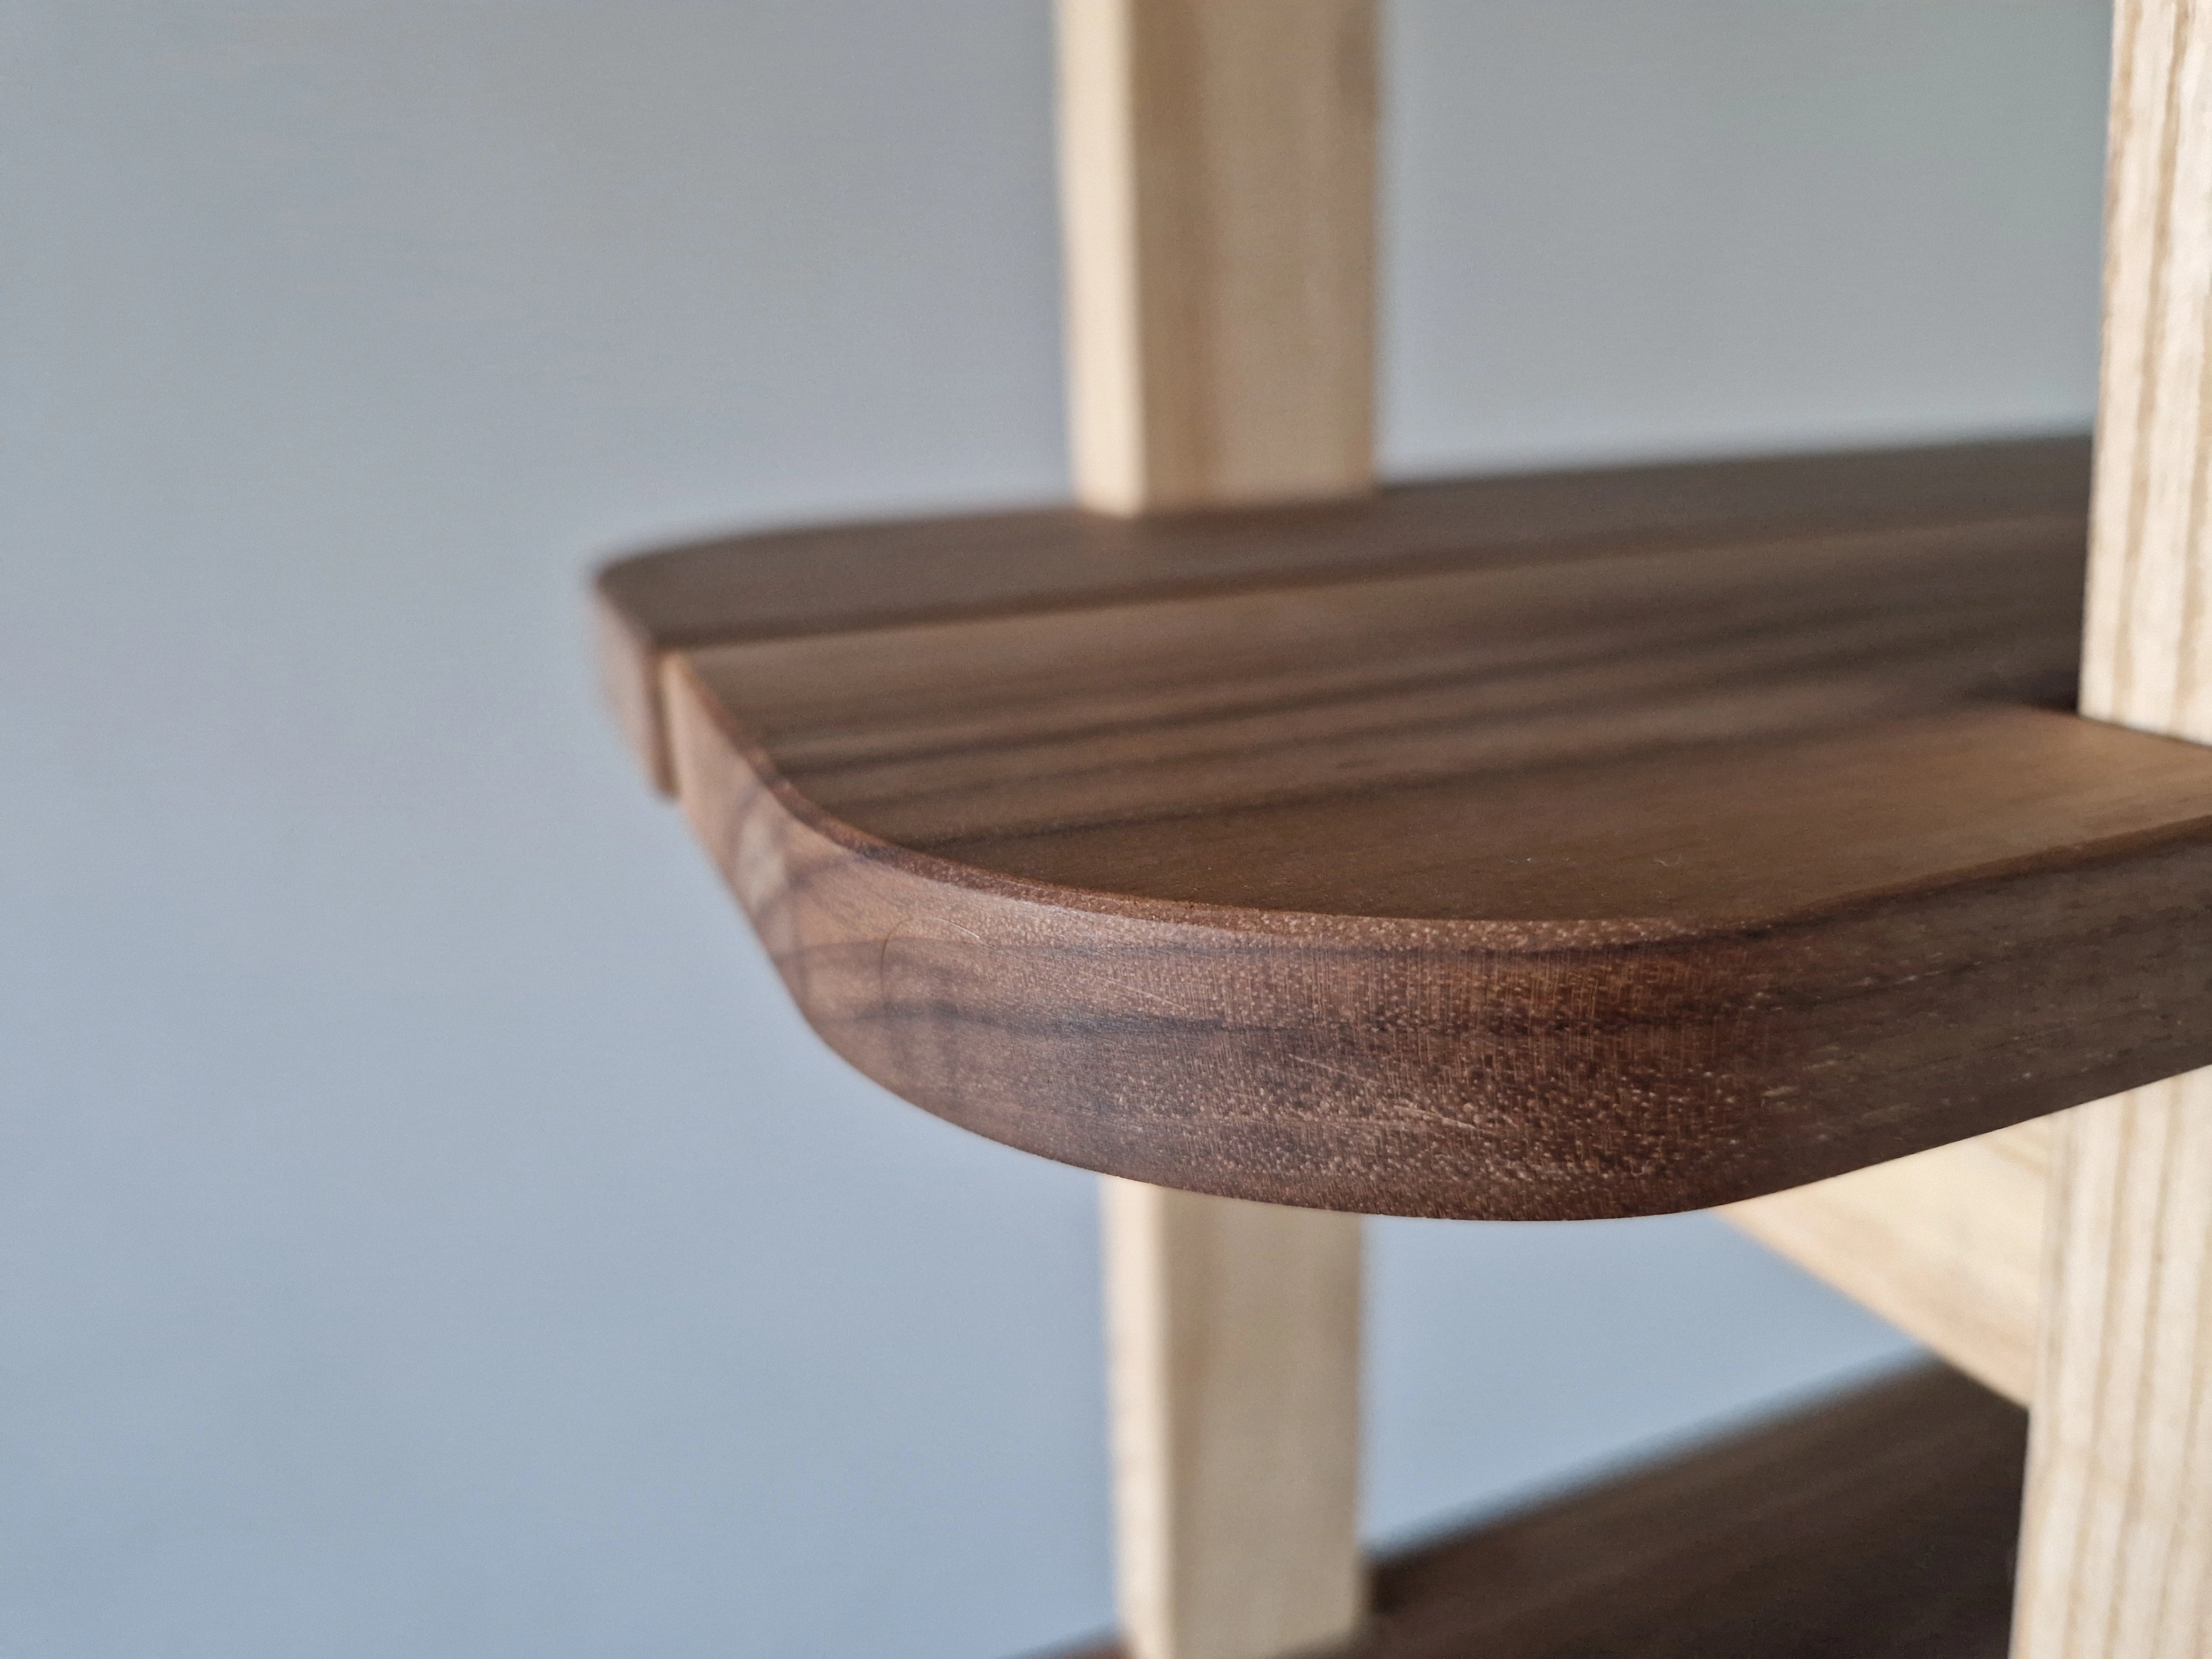
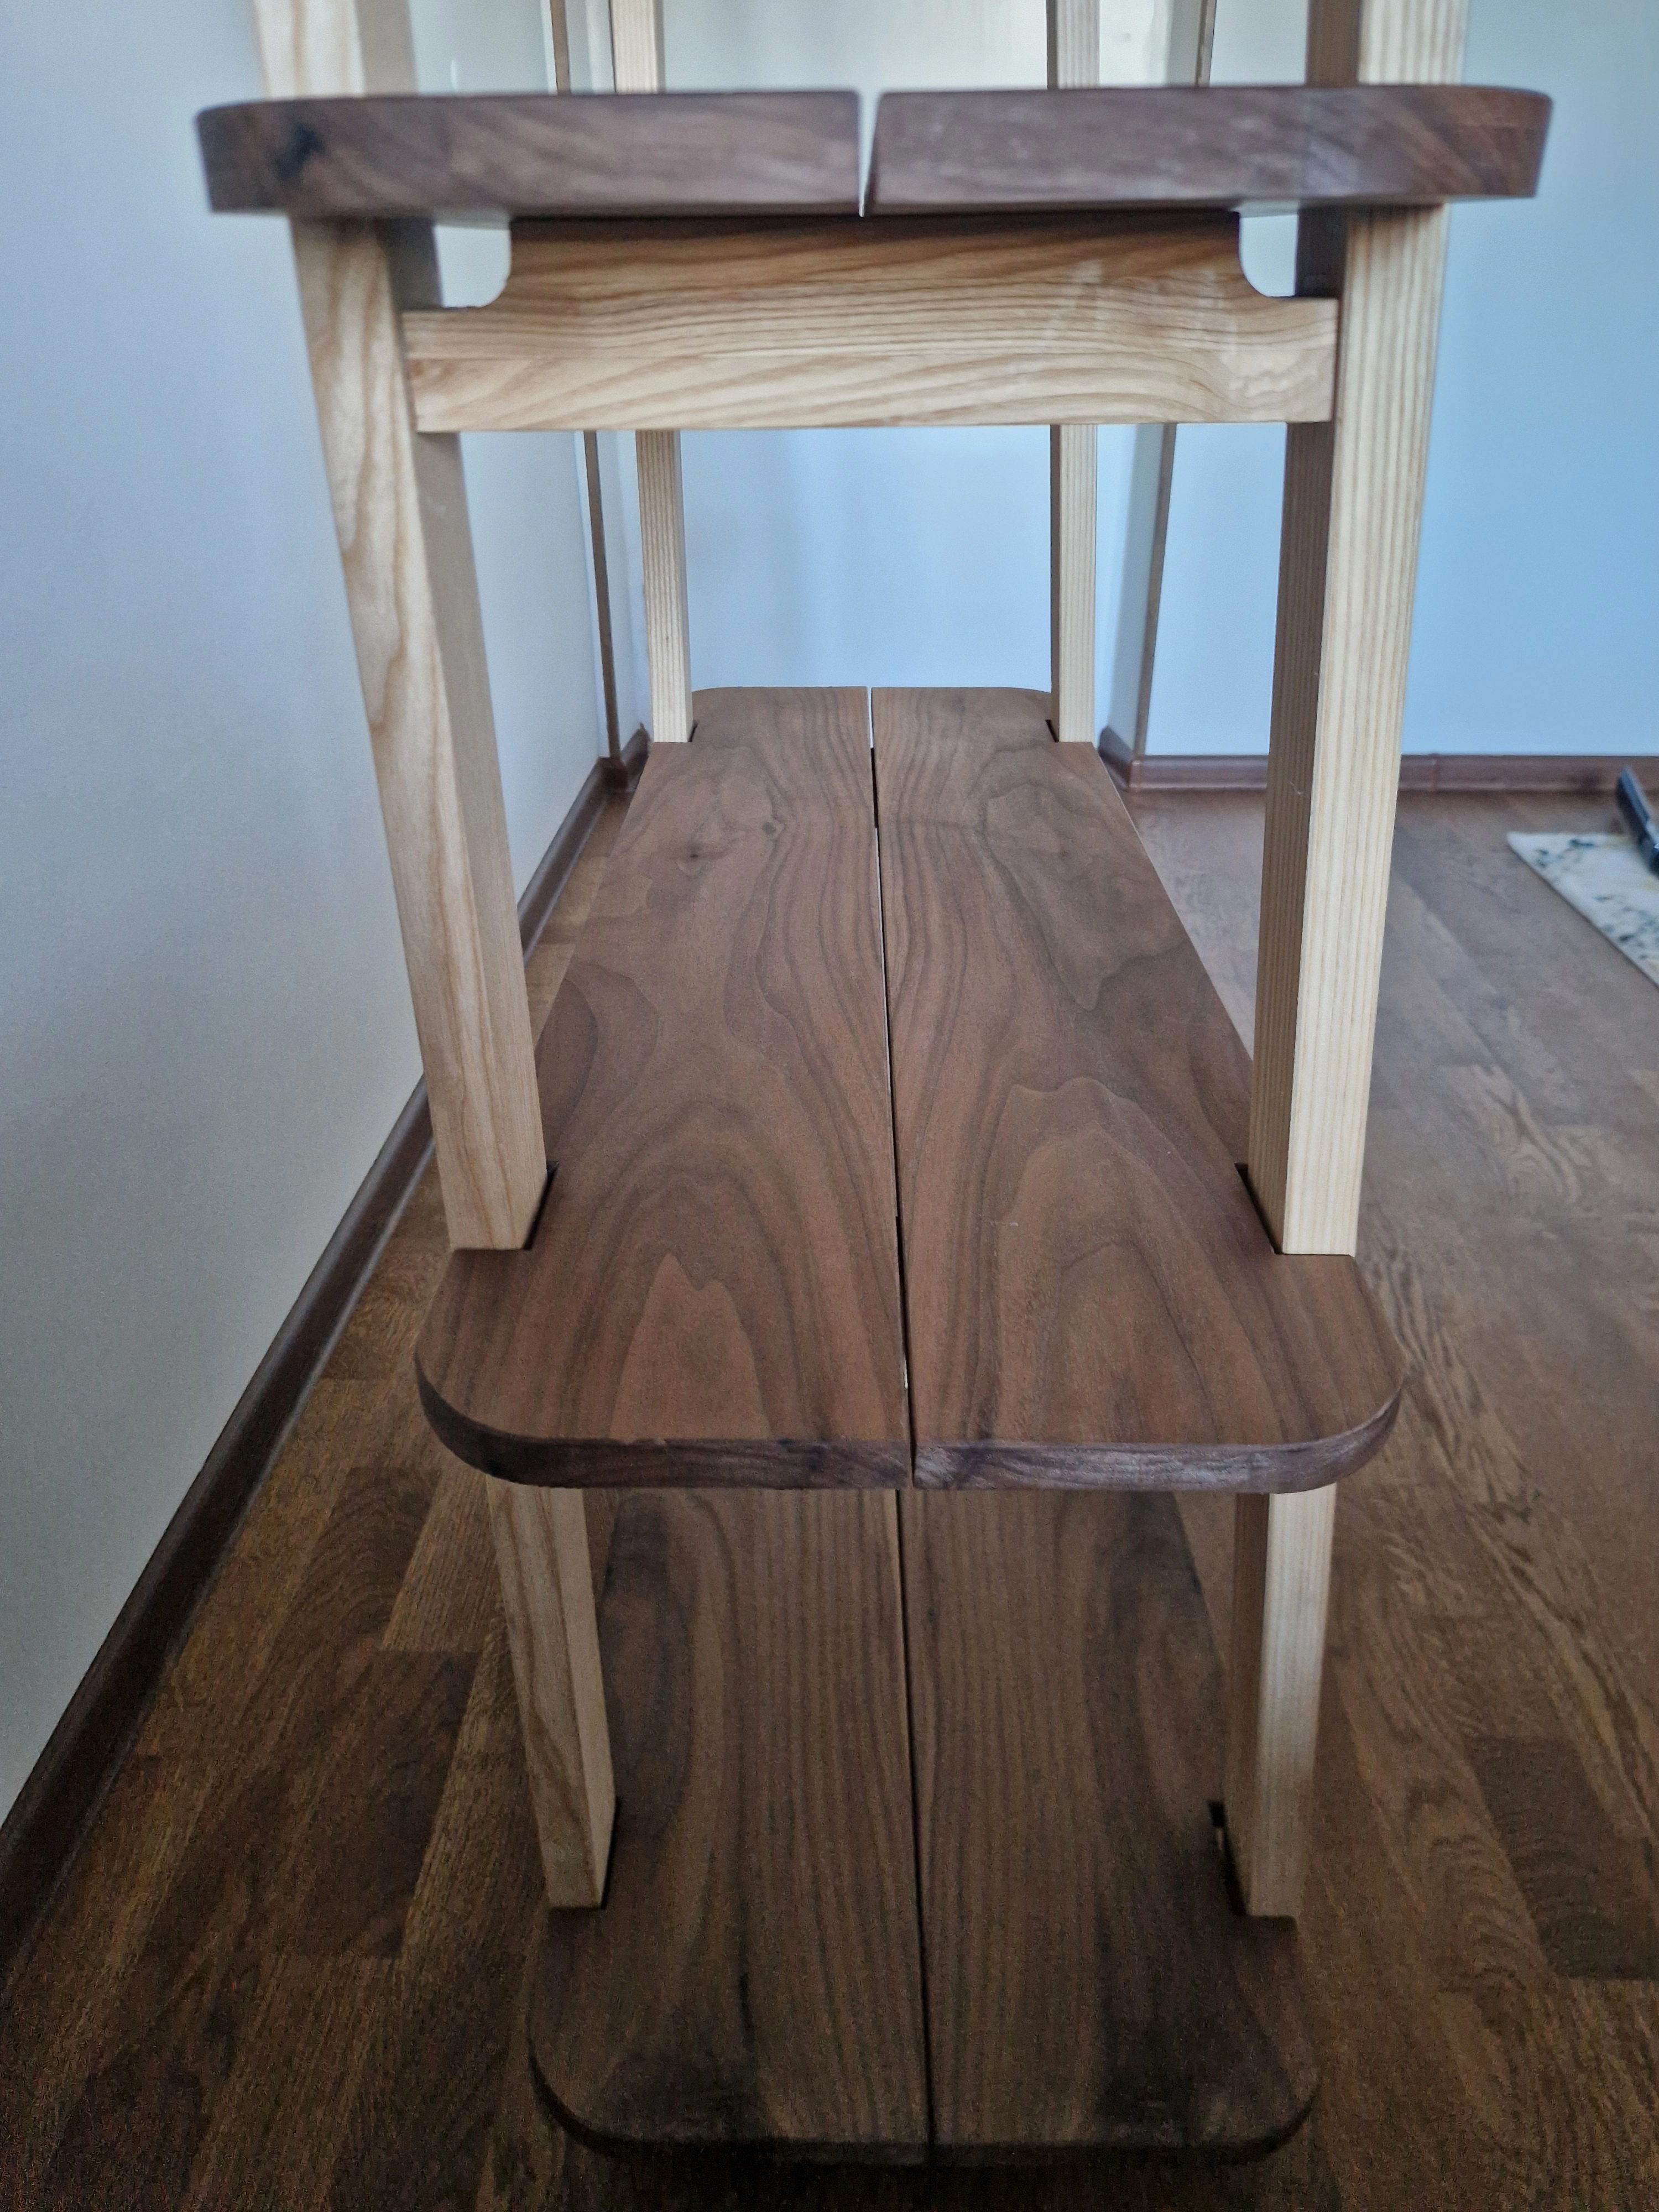
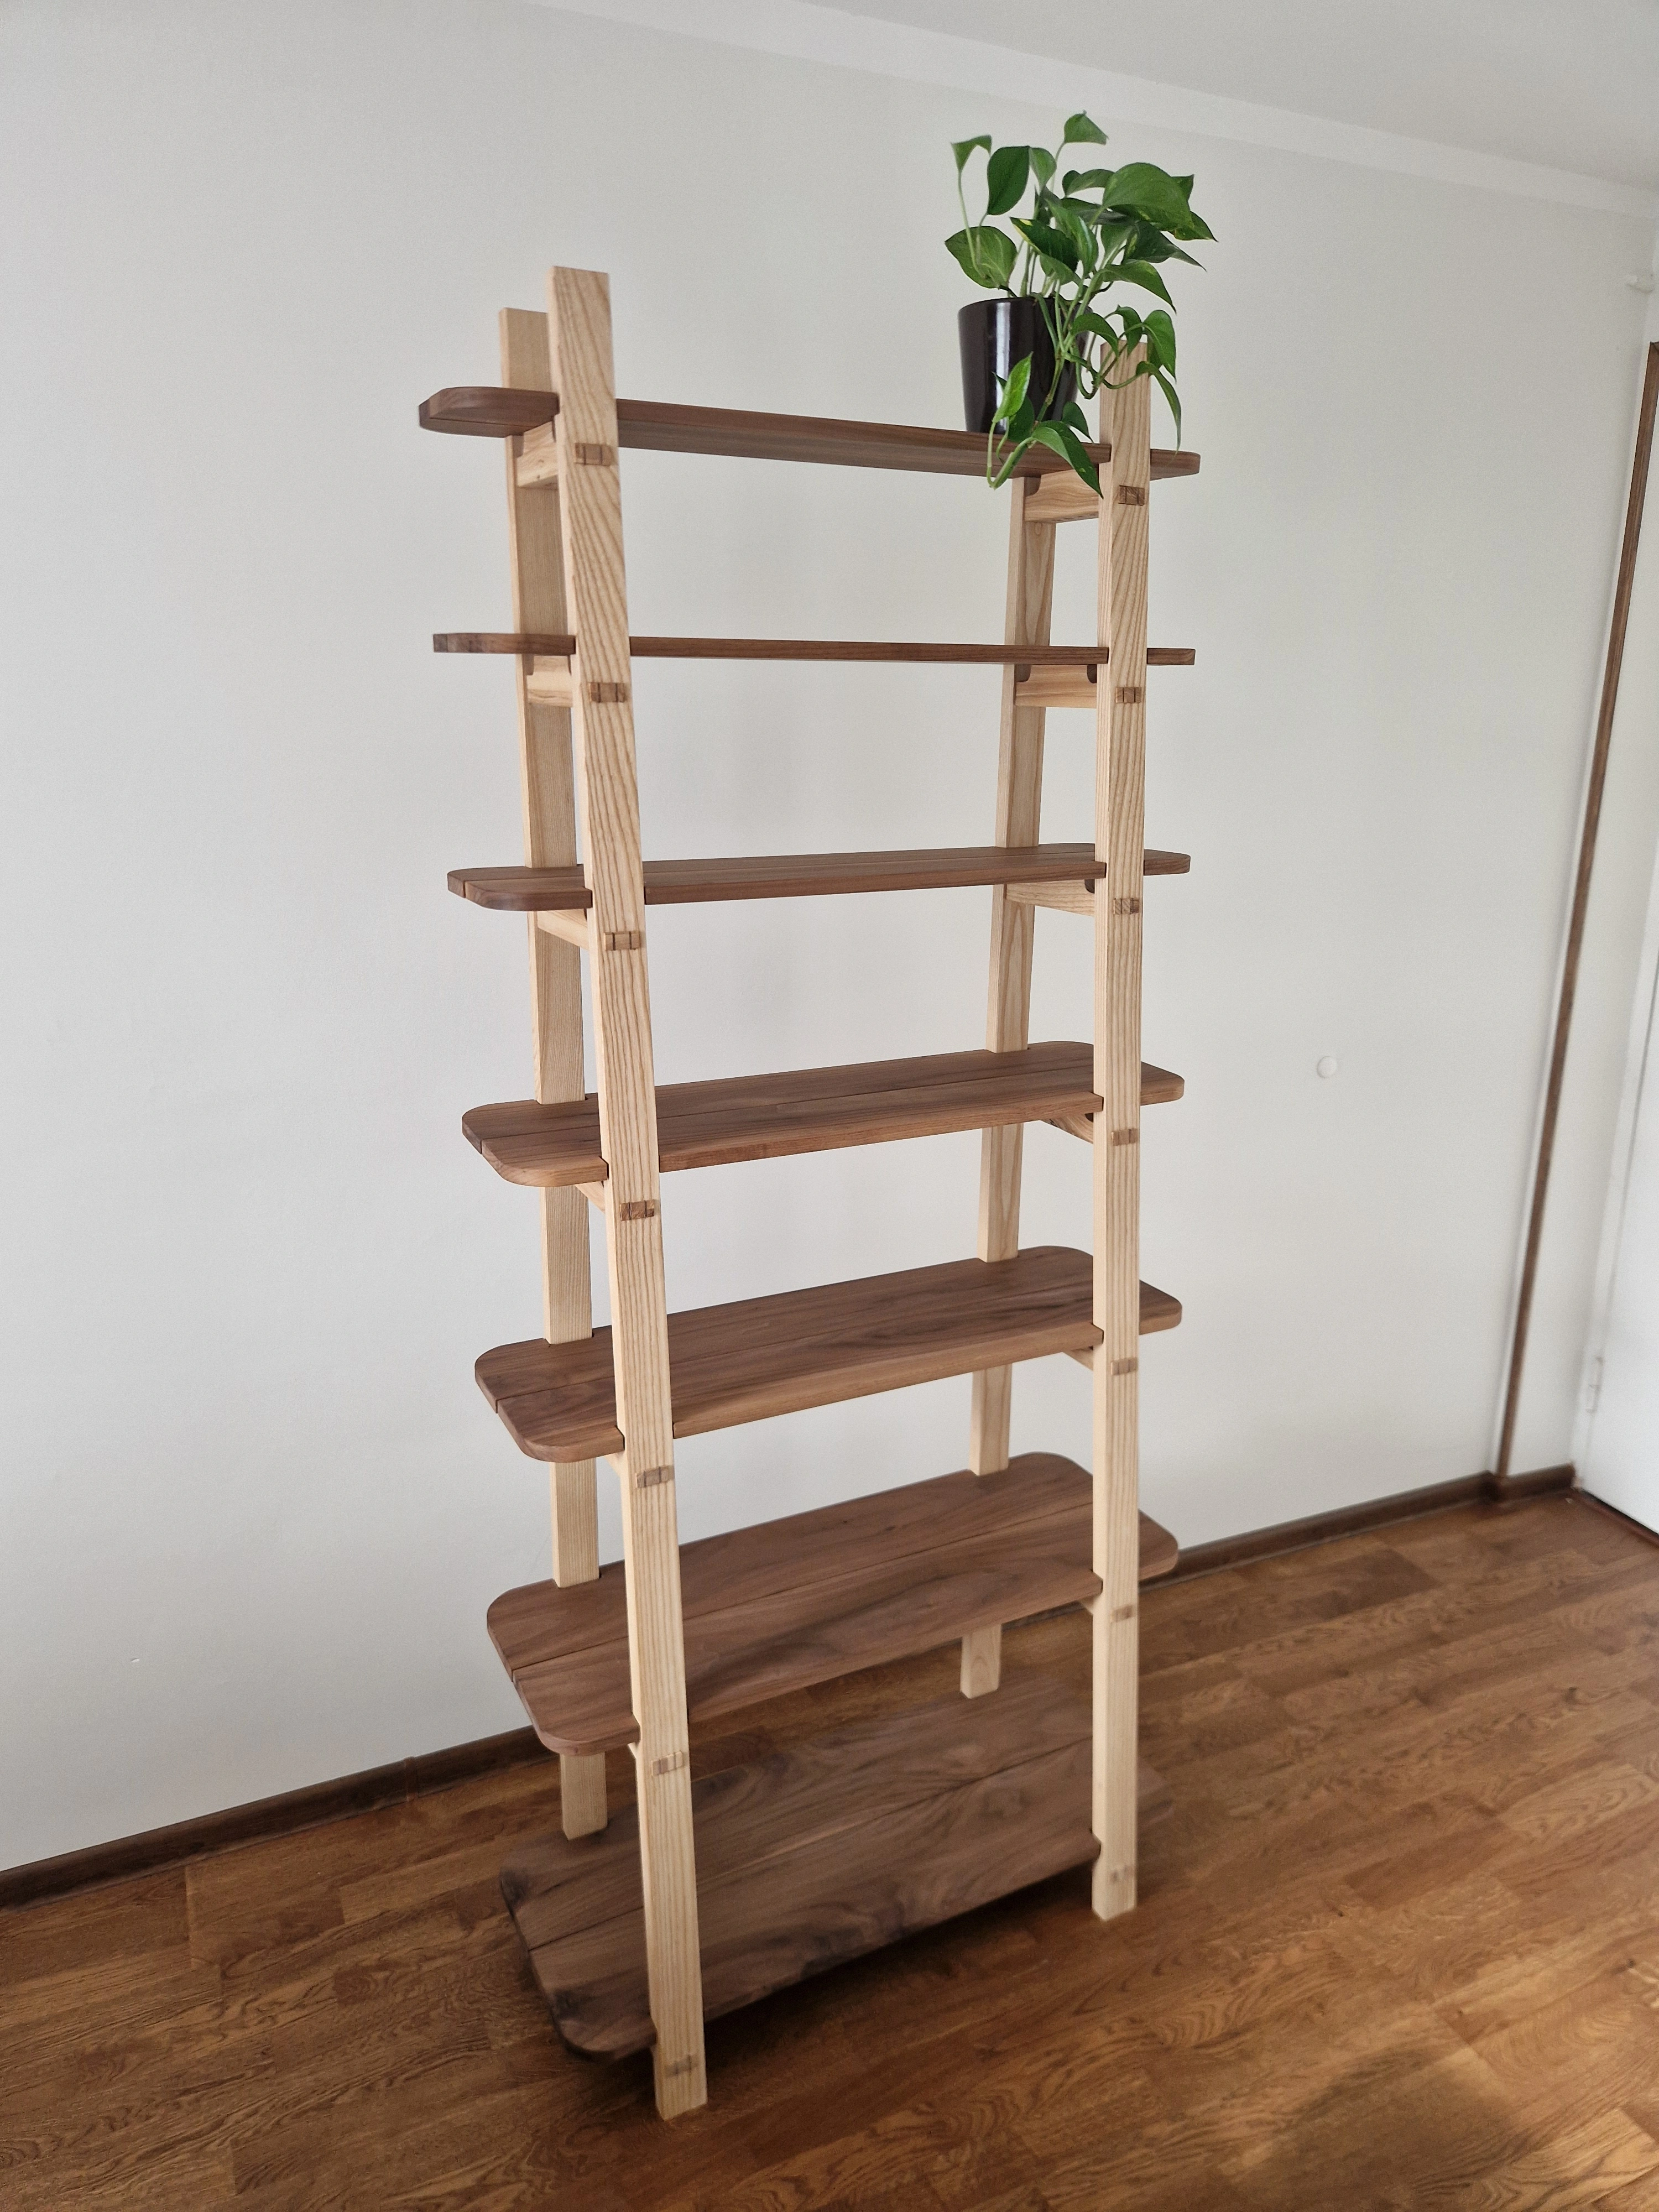
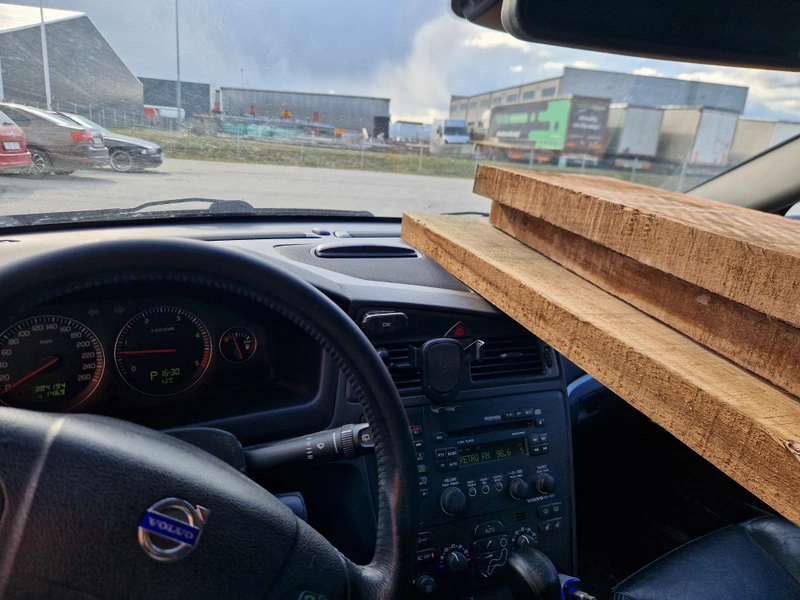
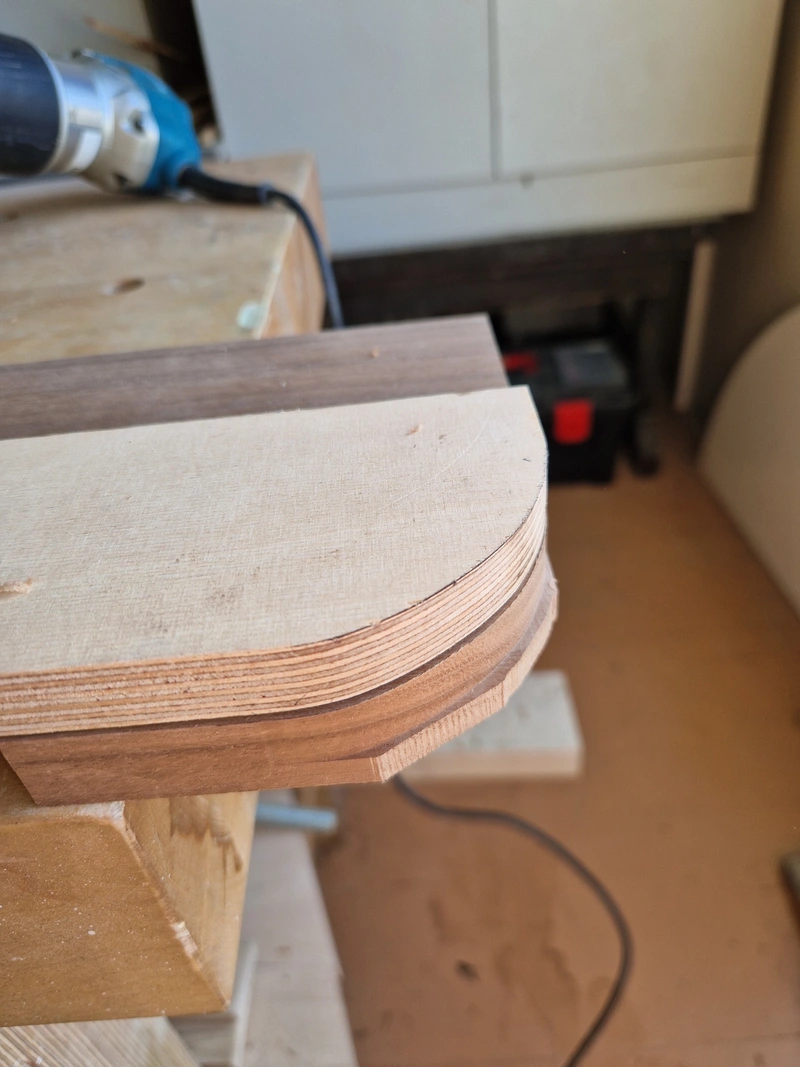
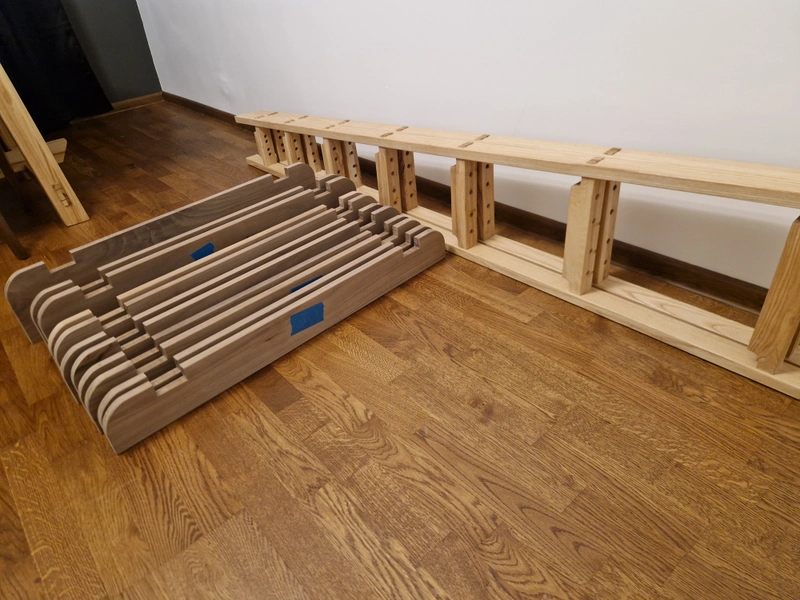
Bookshelf made with ash for the frame and bookmatched walnut for shelves. Bookmatching is achieved by re-sawing the walnut plank in half and flipping it over like a book, giving a mirrored wood grain aesthetic. This technique seemed so thematically correct for this project that I could not pass on the opportunity to finally try it out. The 2mm gap between shelves gives the wood room for seasonal expansion and contraction, allowing the shelves to remain flat and smooth. The corners of the shelves are curved and softened with a 45 degree micro-edge, giving a polished yet soft and refined look.
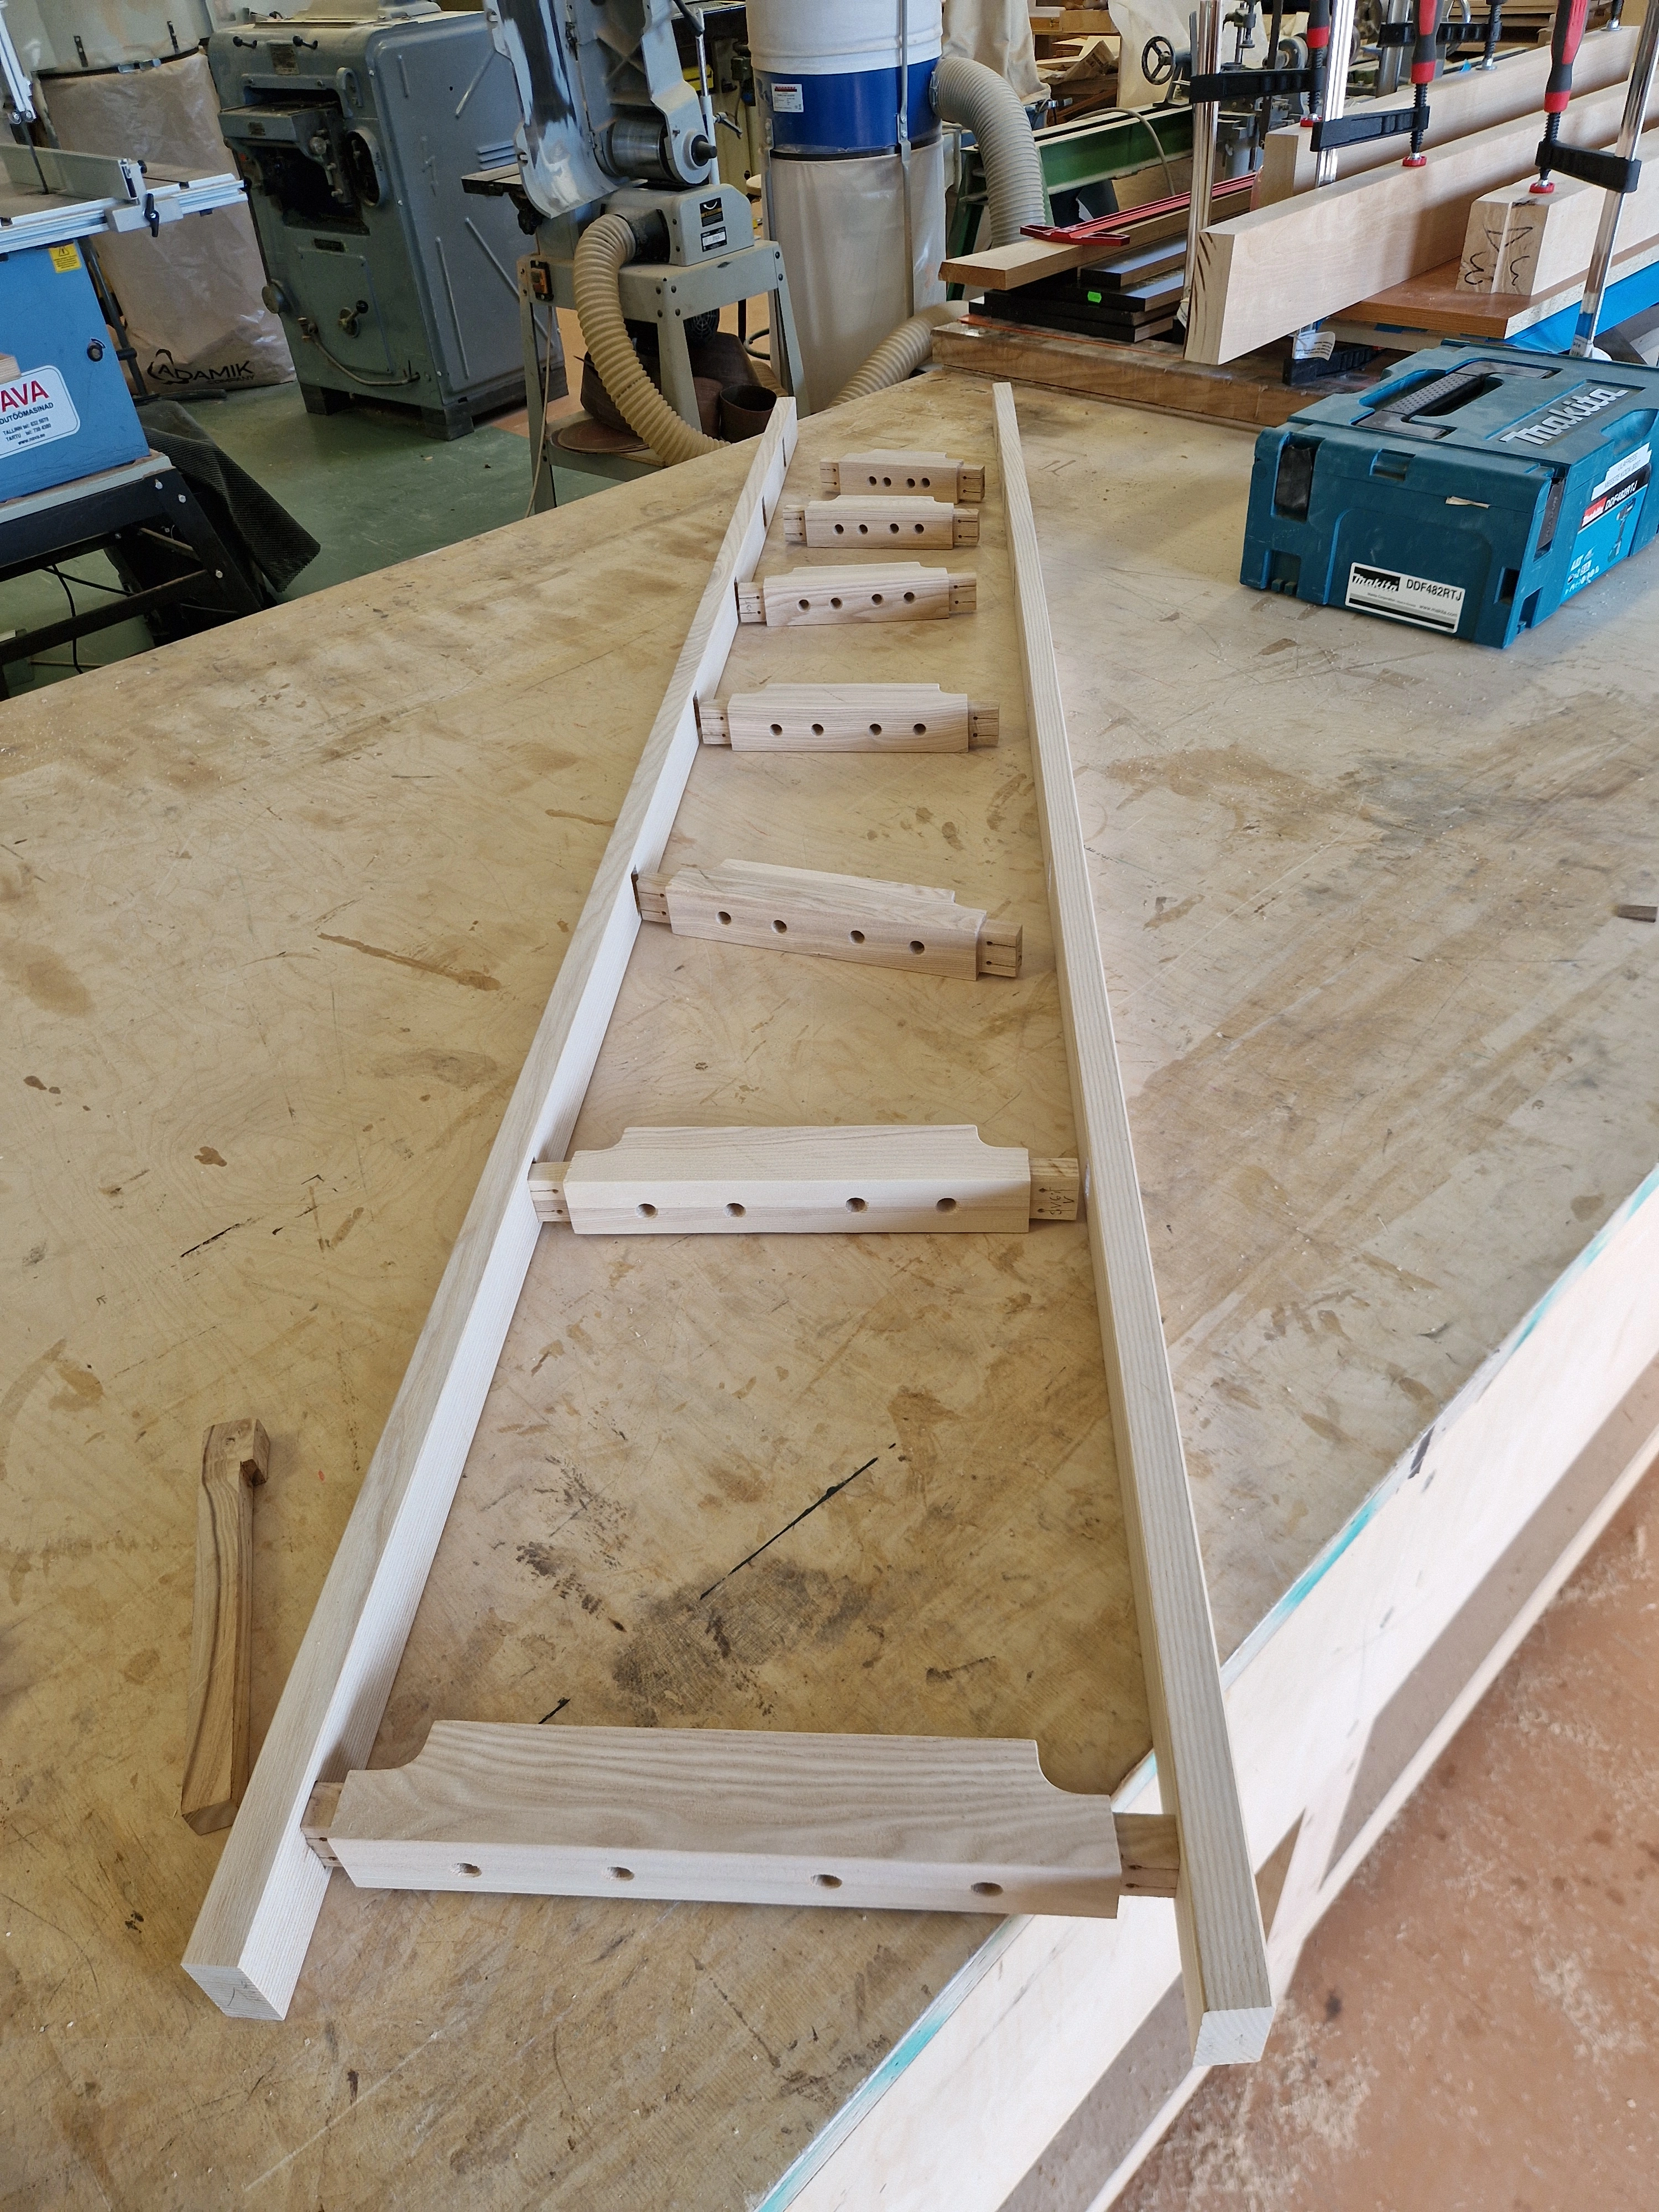
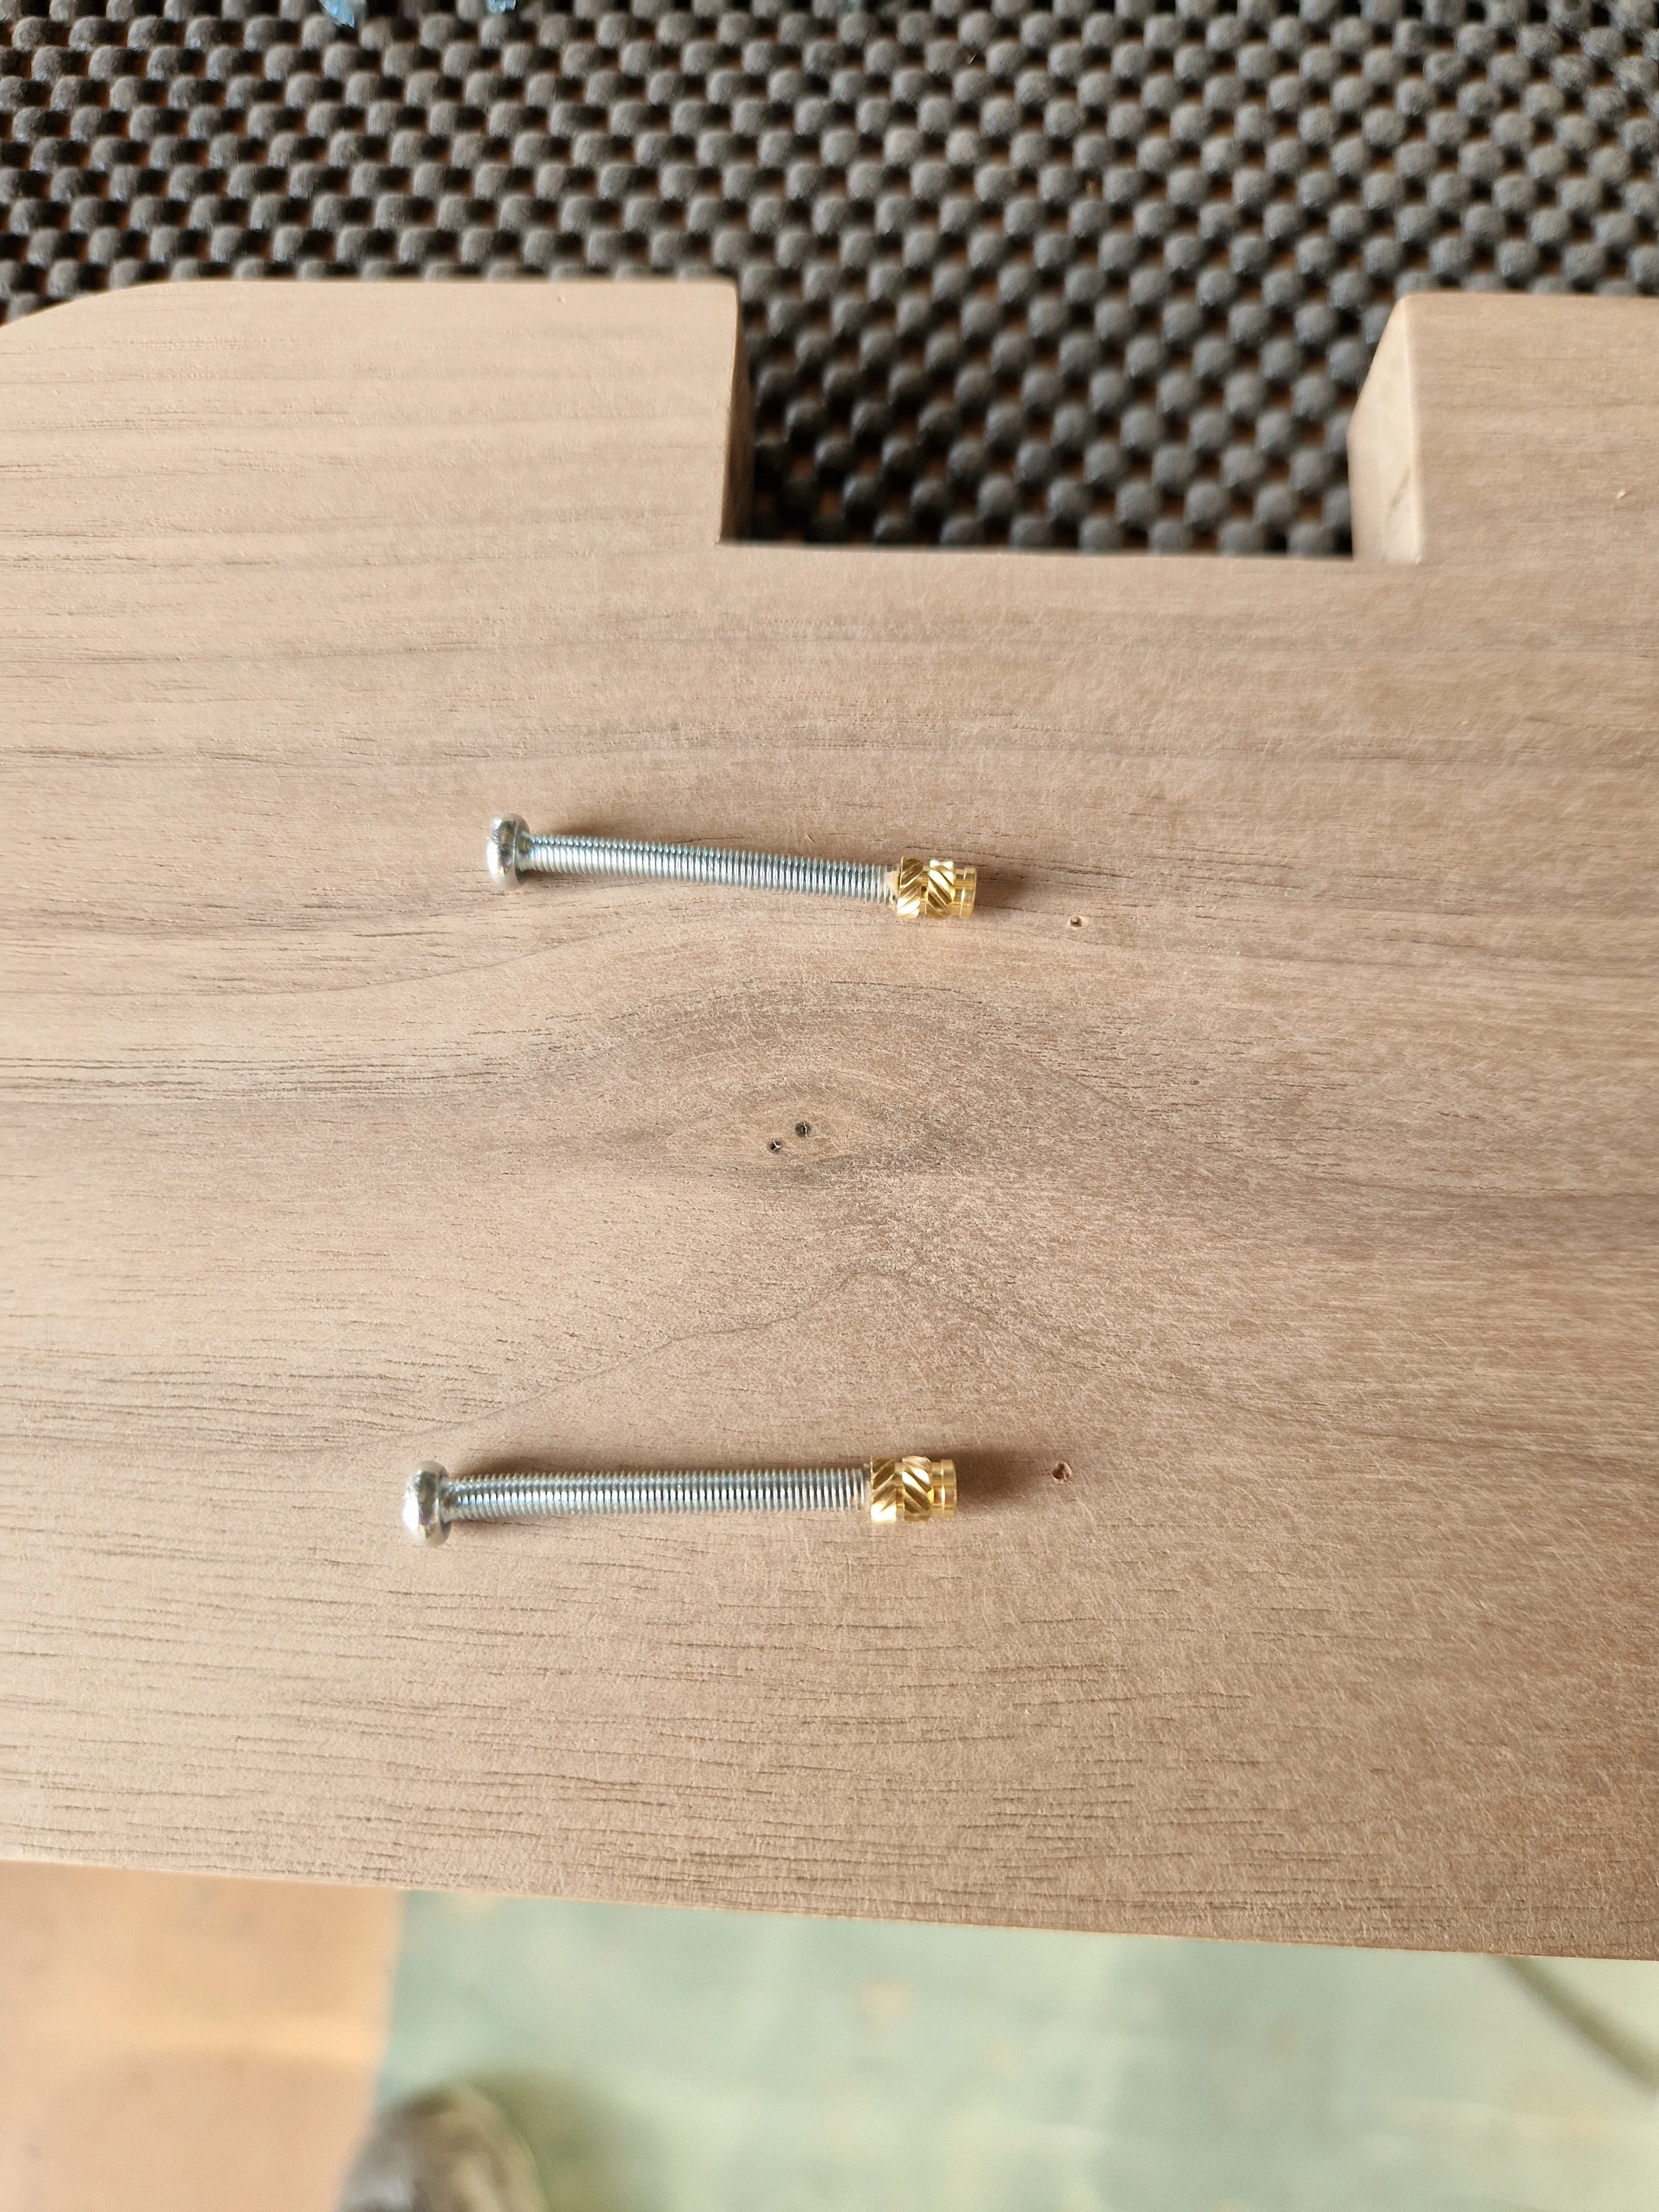
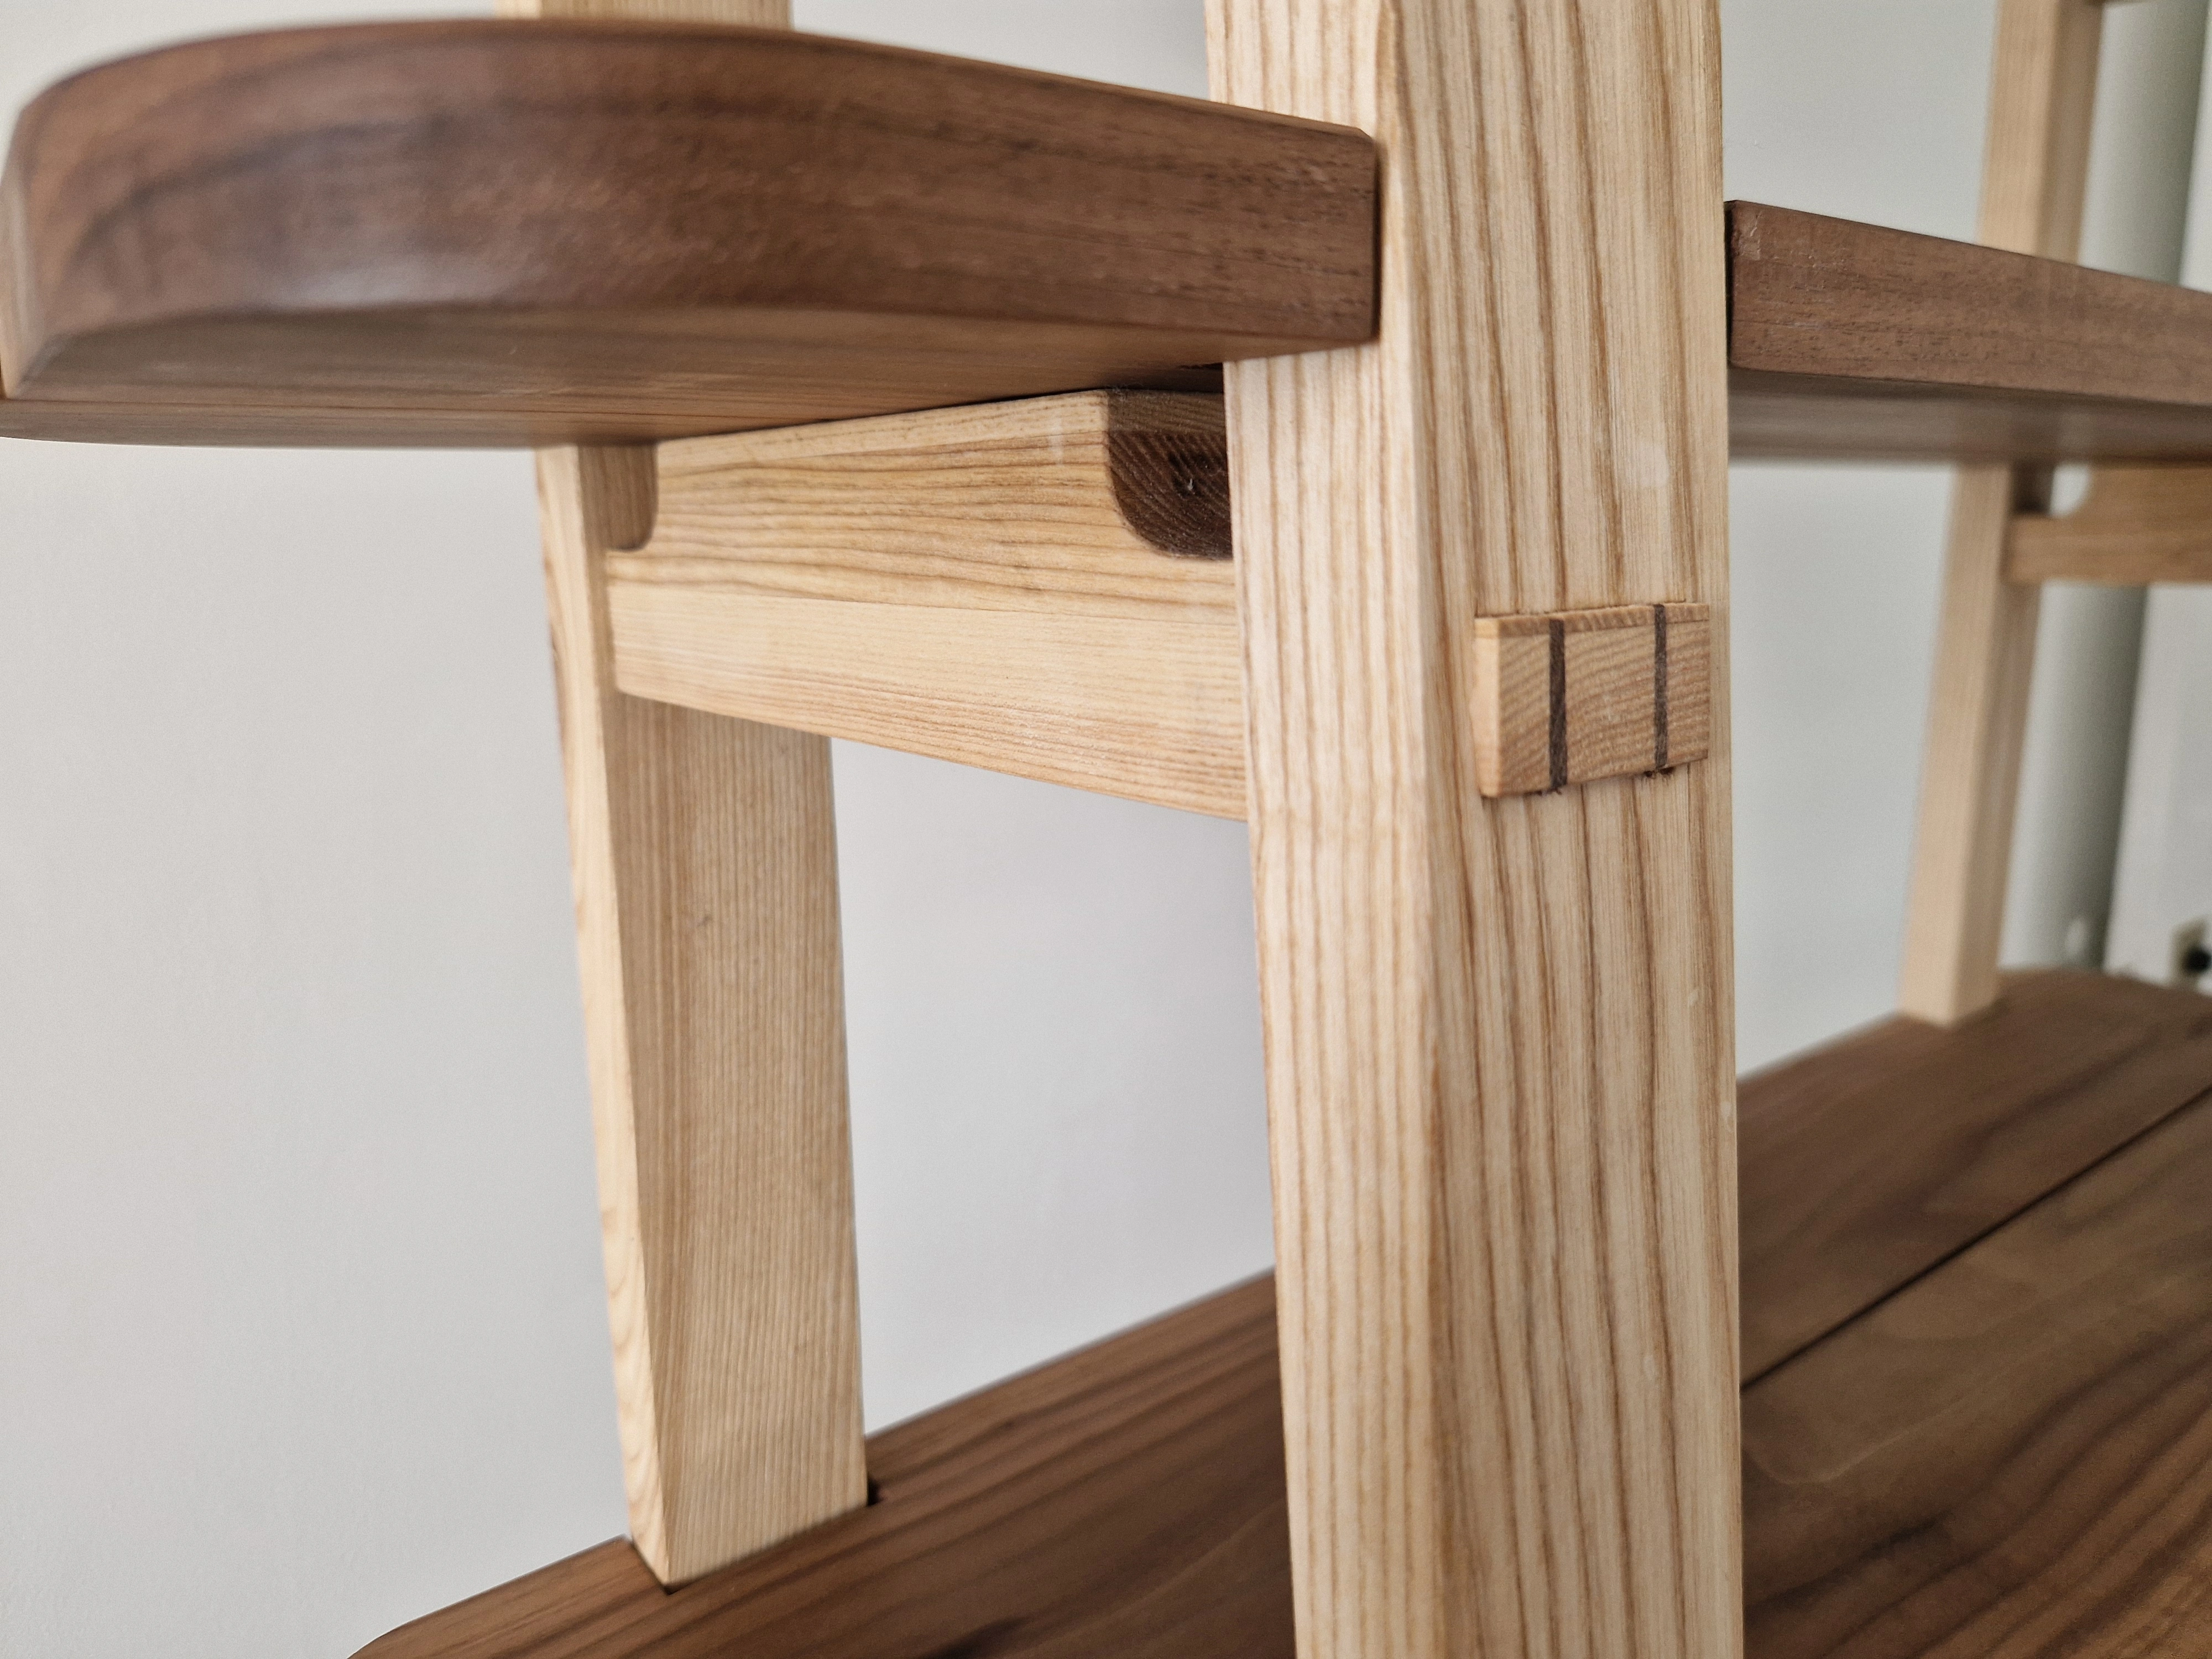
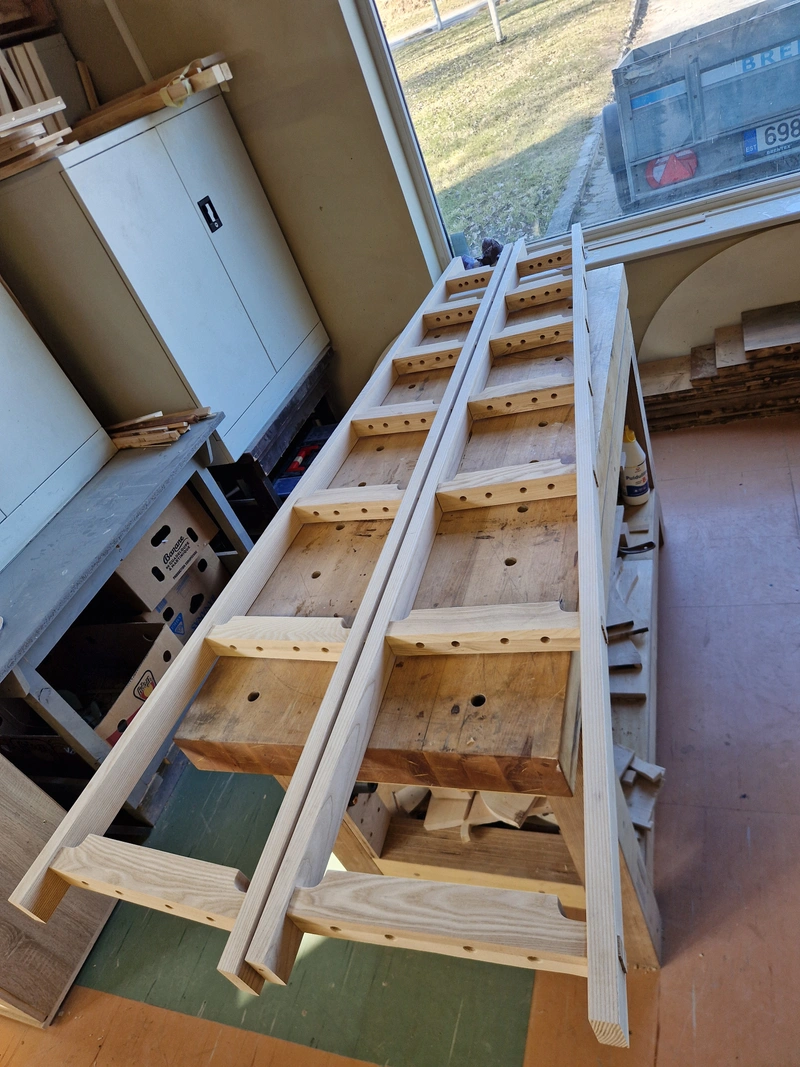
The frame is assembled via classic mortise-and-tenon joints & walnut wedges. The horizontal elements also support the shelves and attach them to the frame via threaded inserts in the shelves. The lack of horizontal support on the backside is compensated with 56 bolts going through the horizontal supports into the shelves.
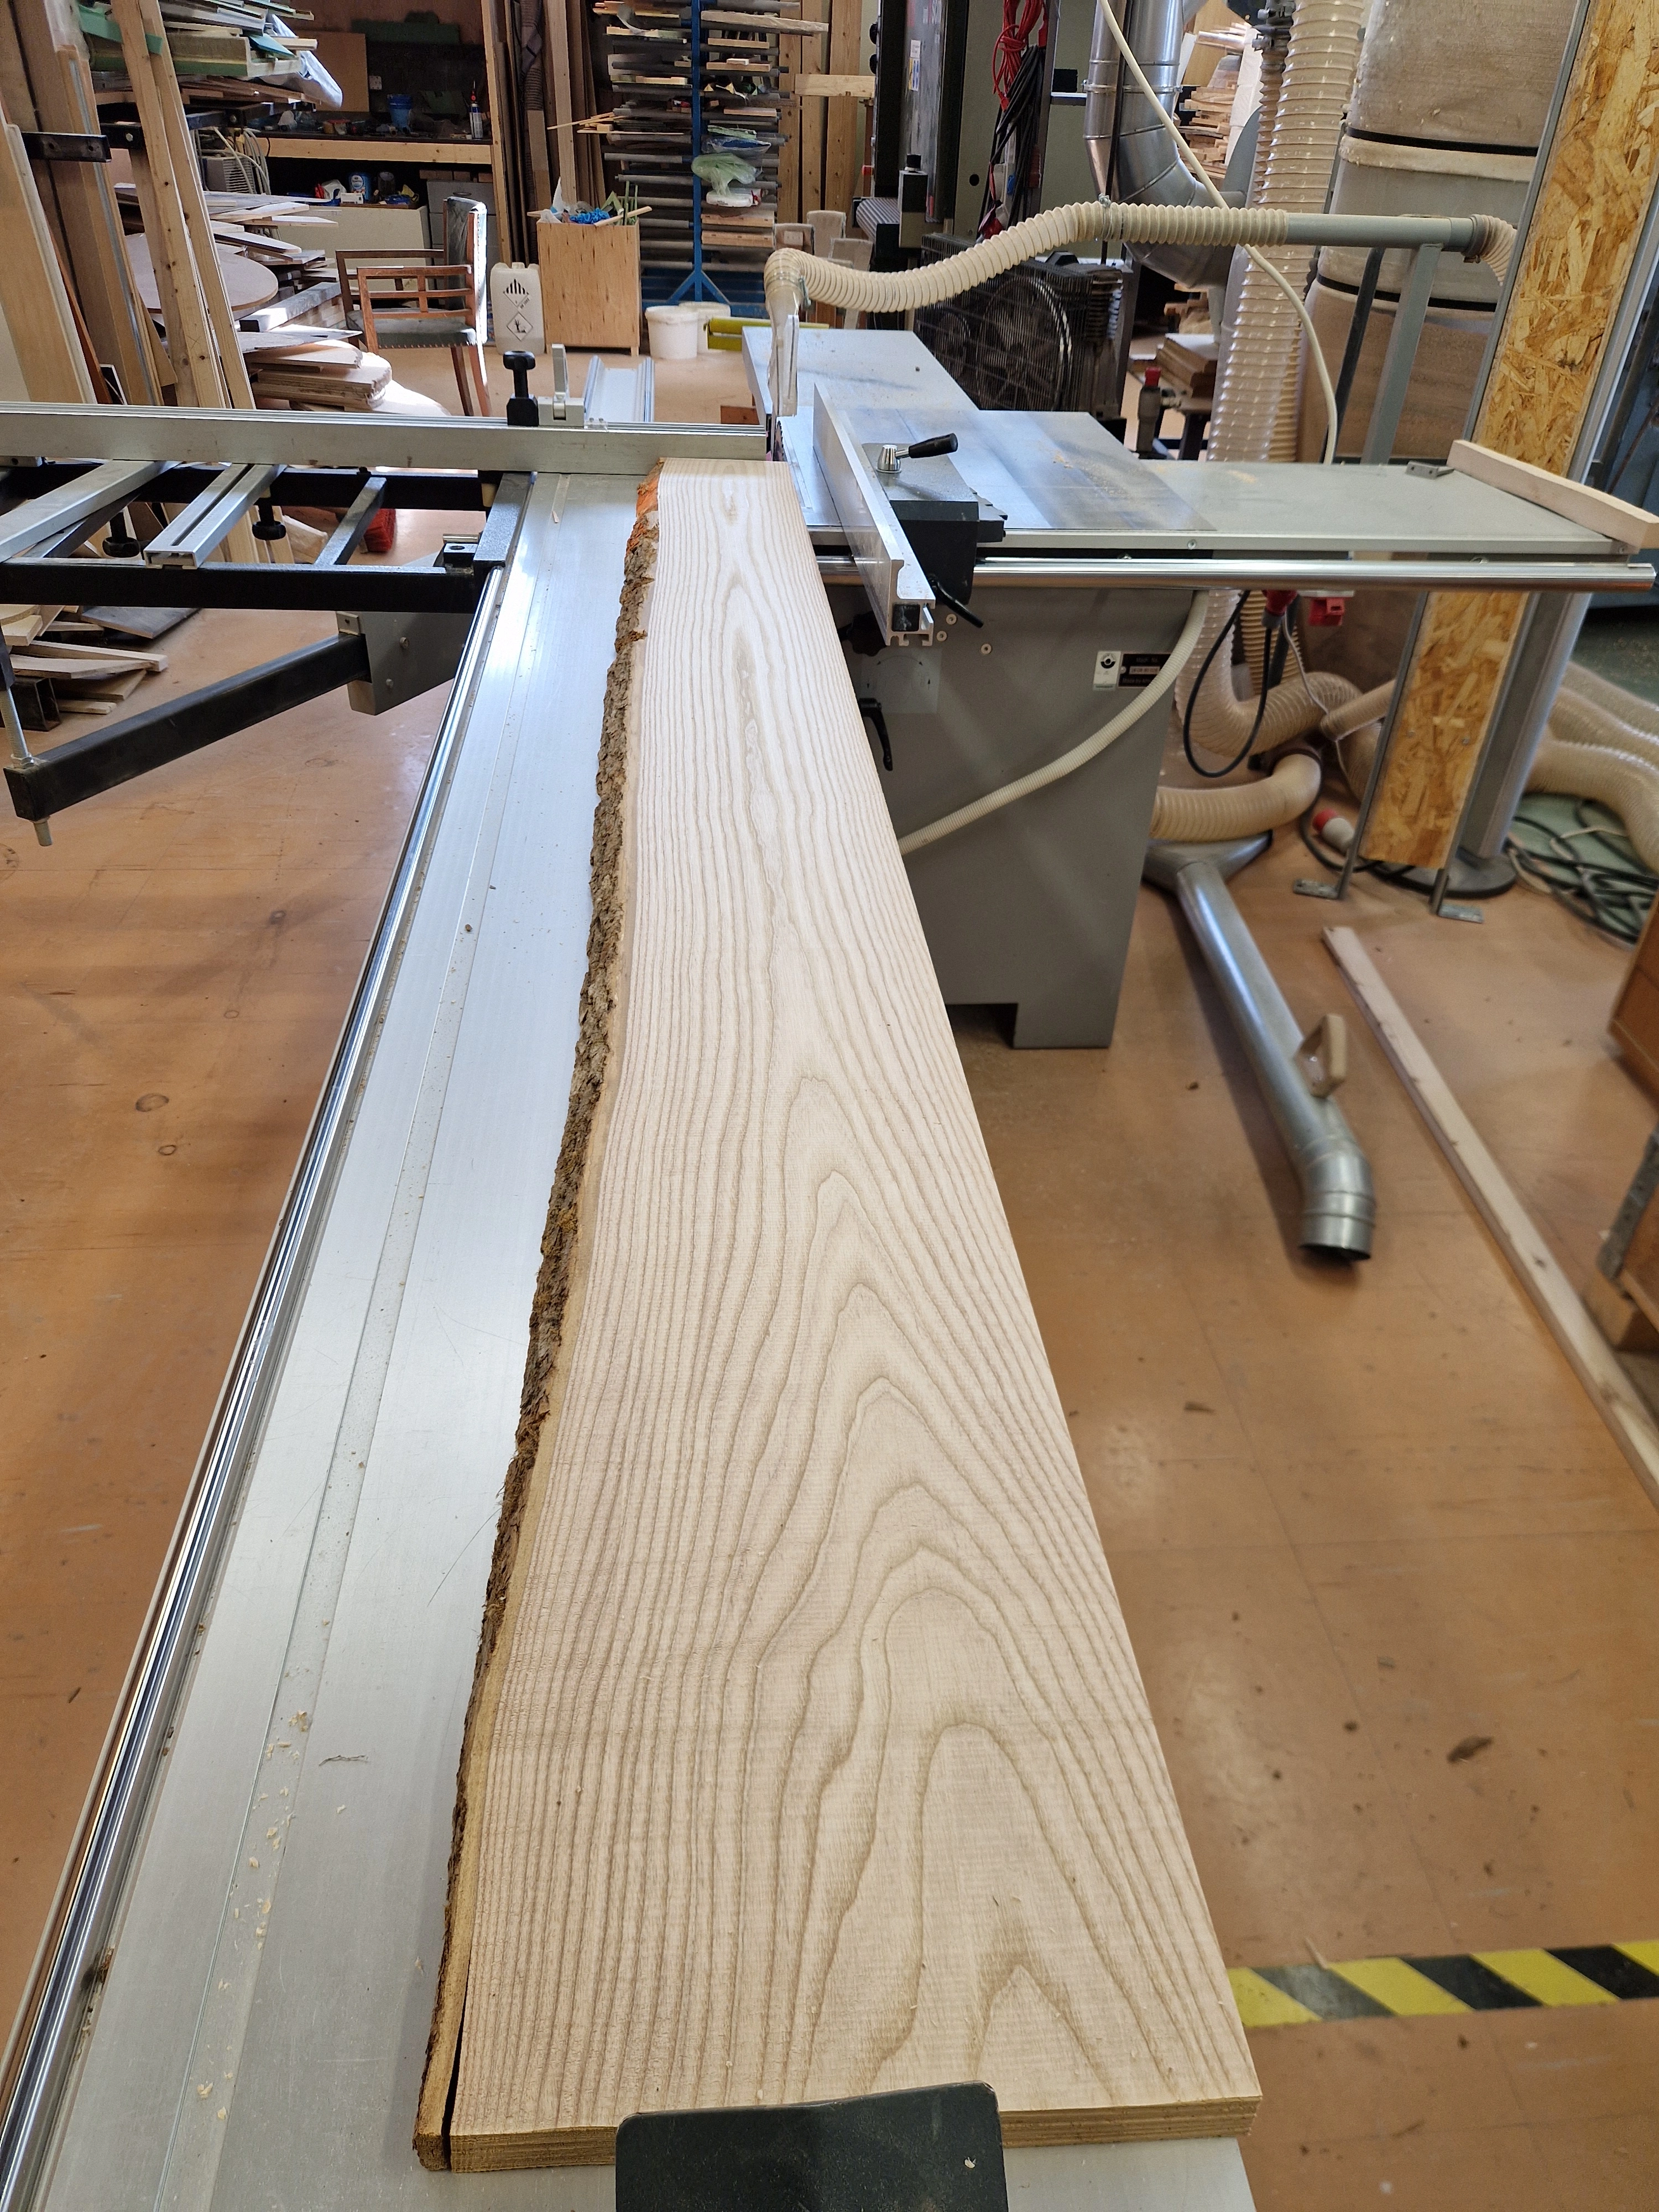
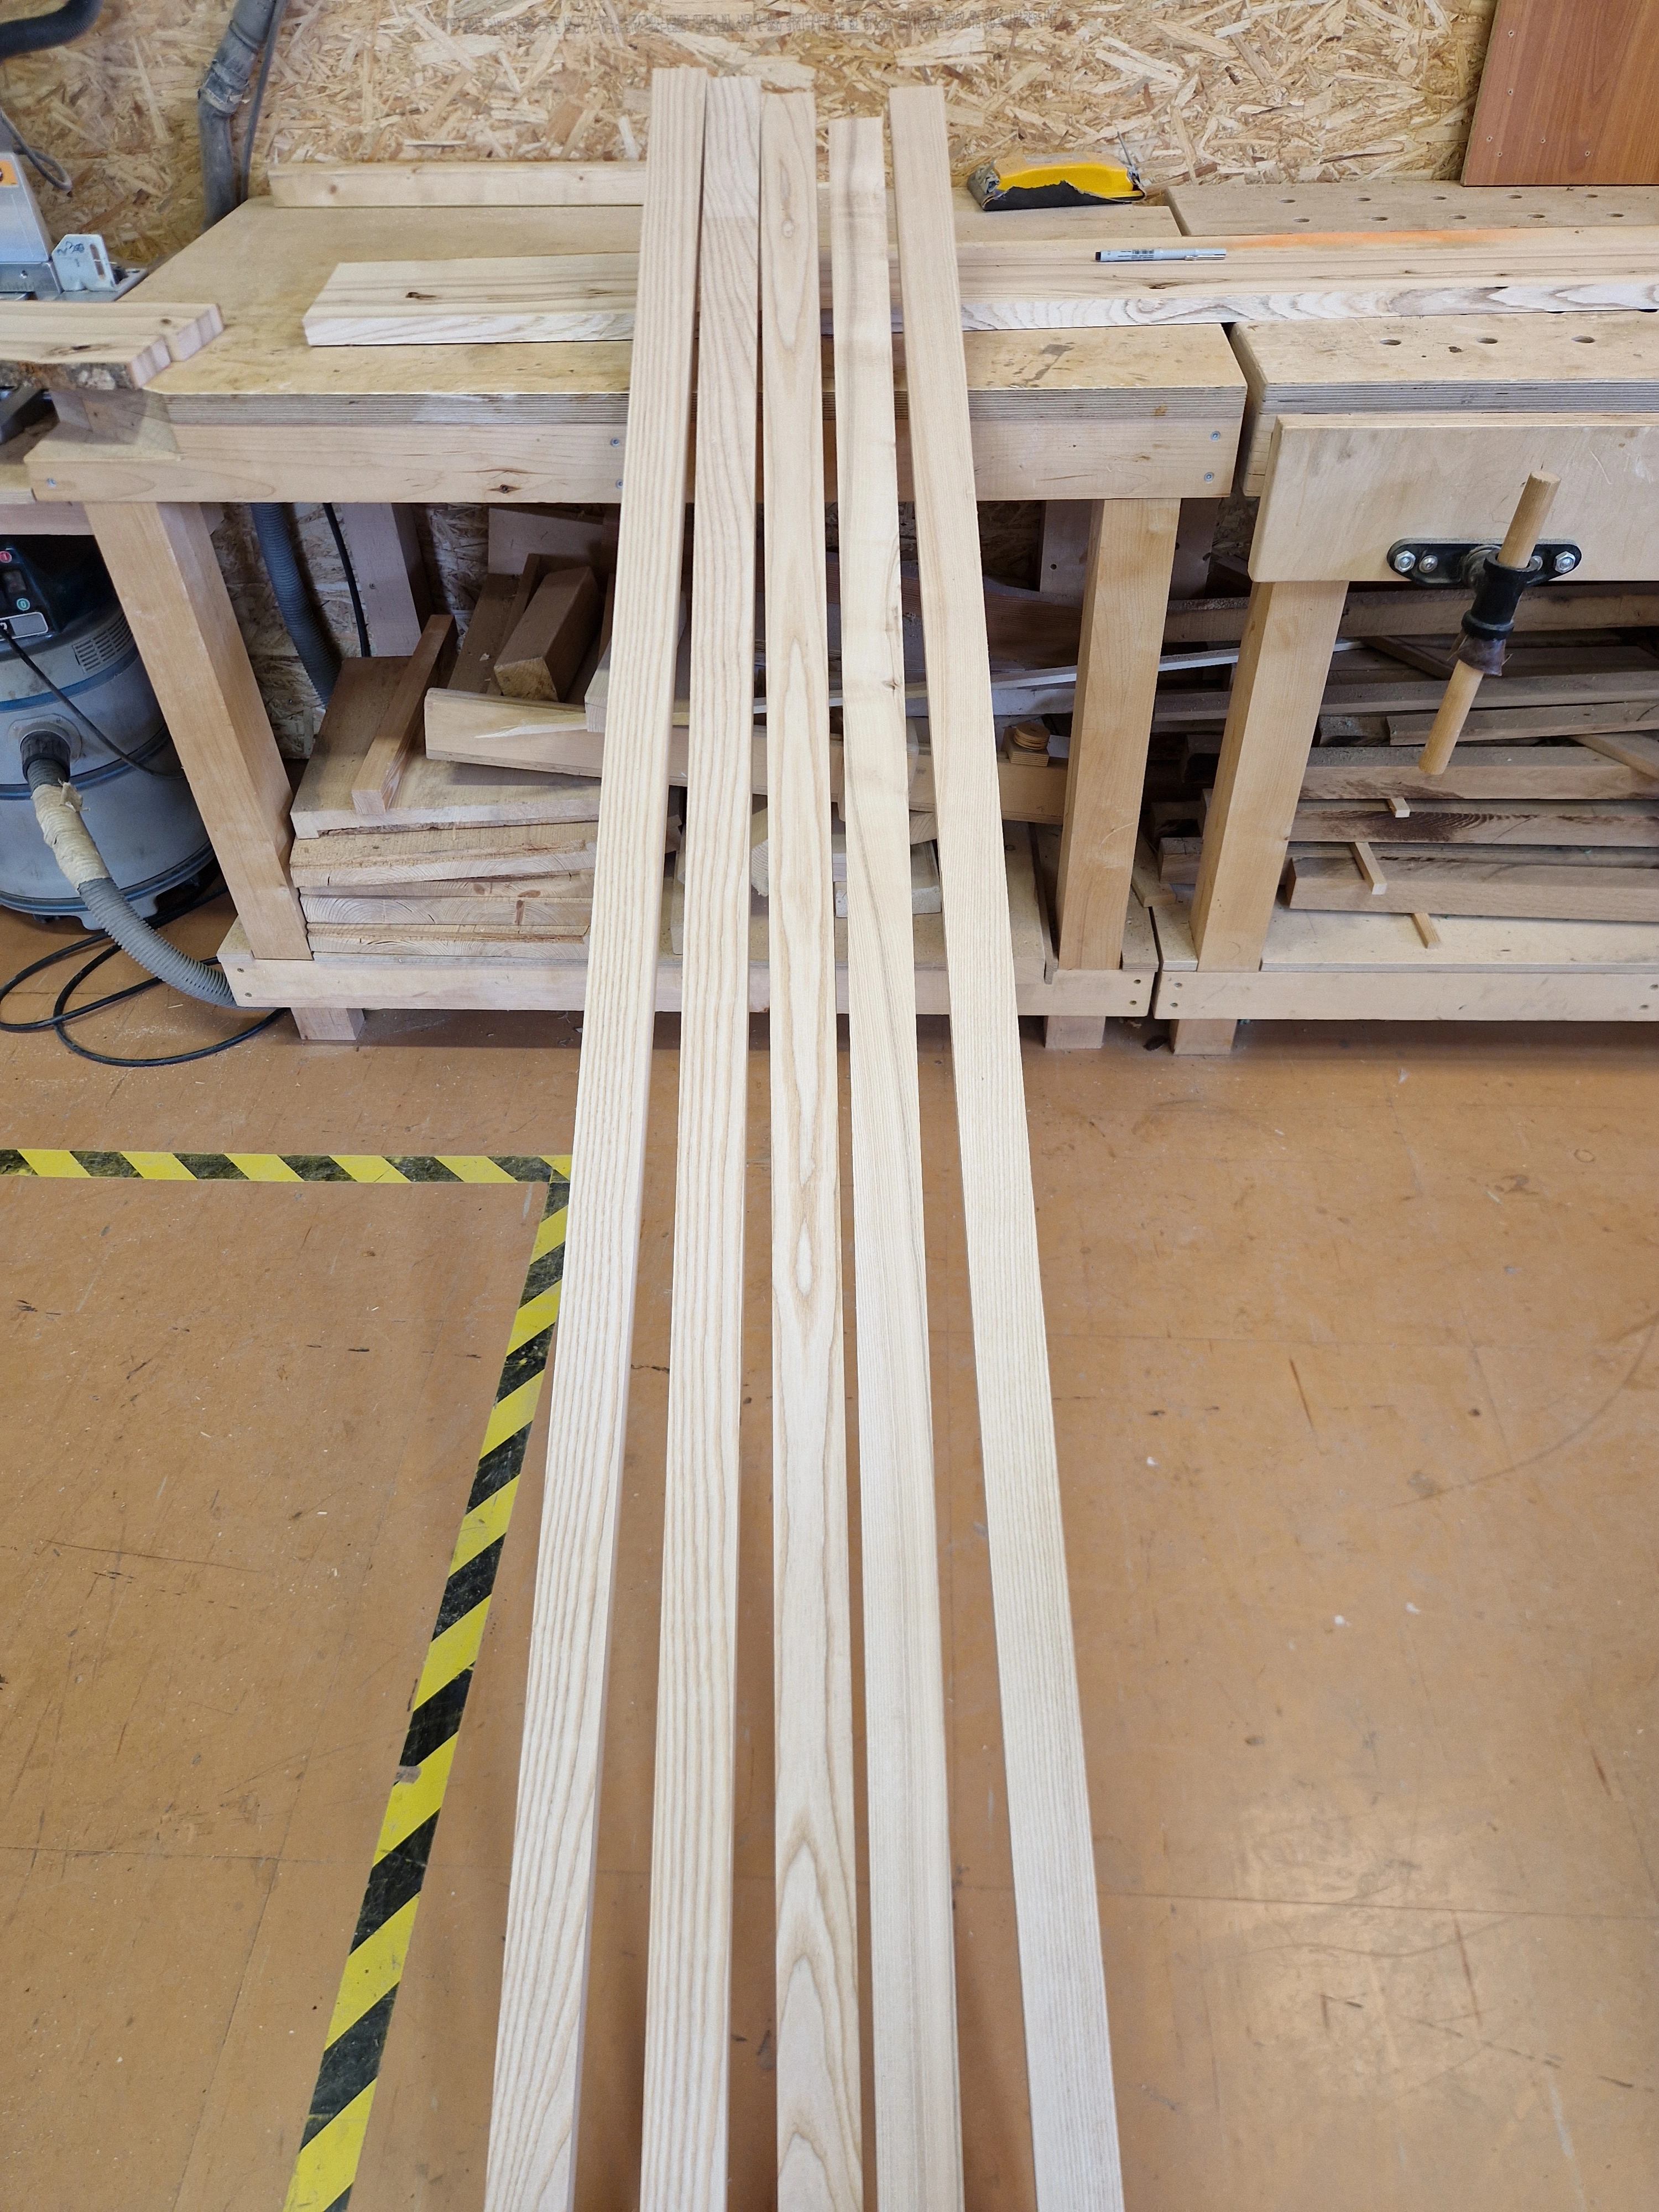
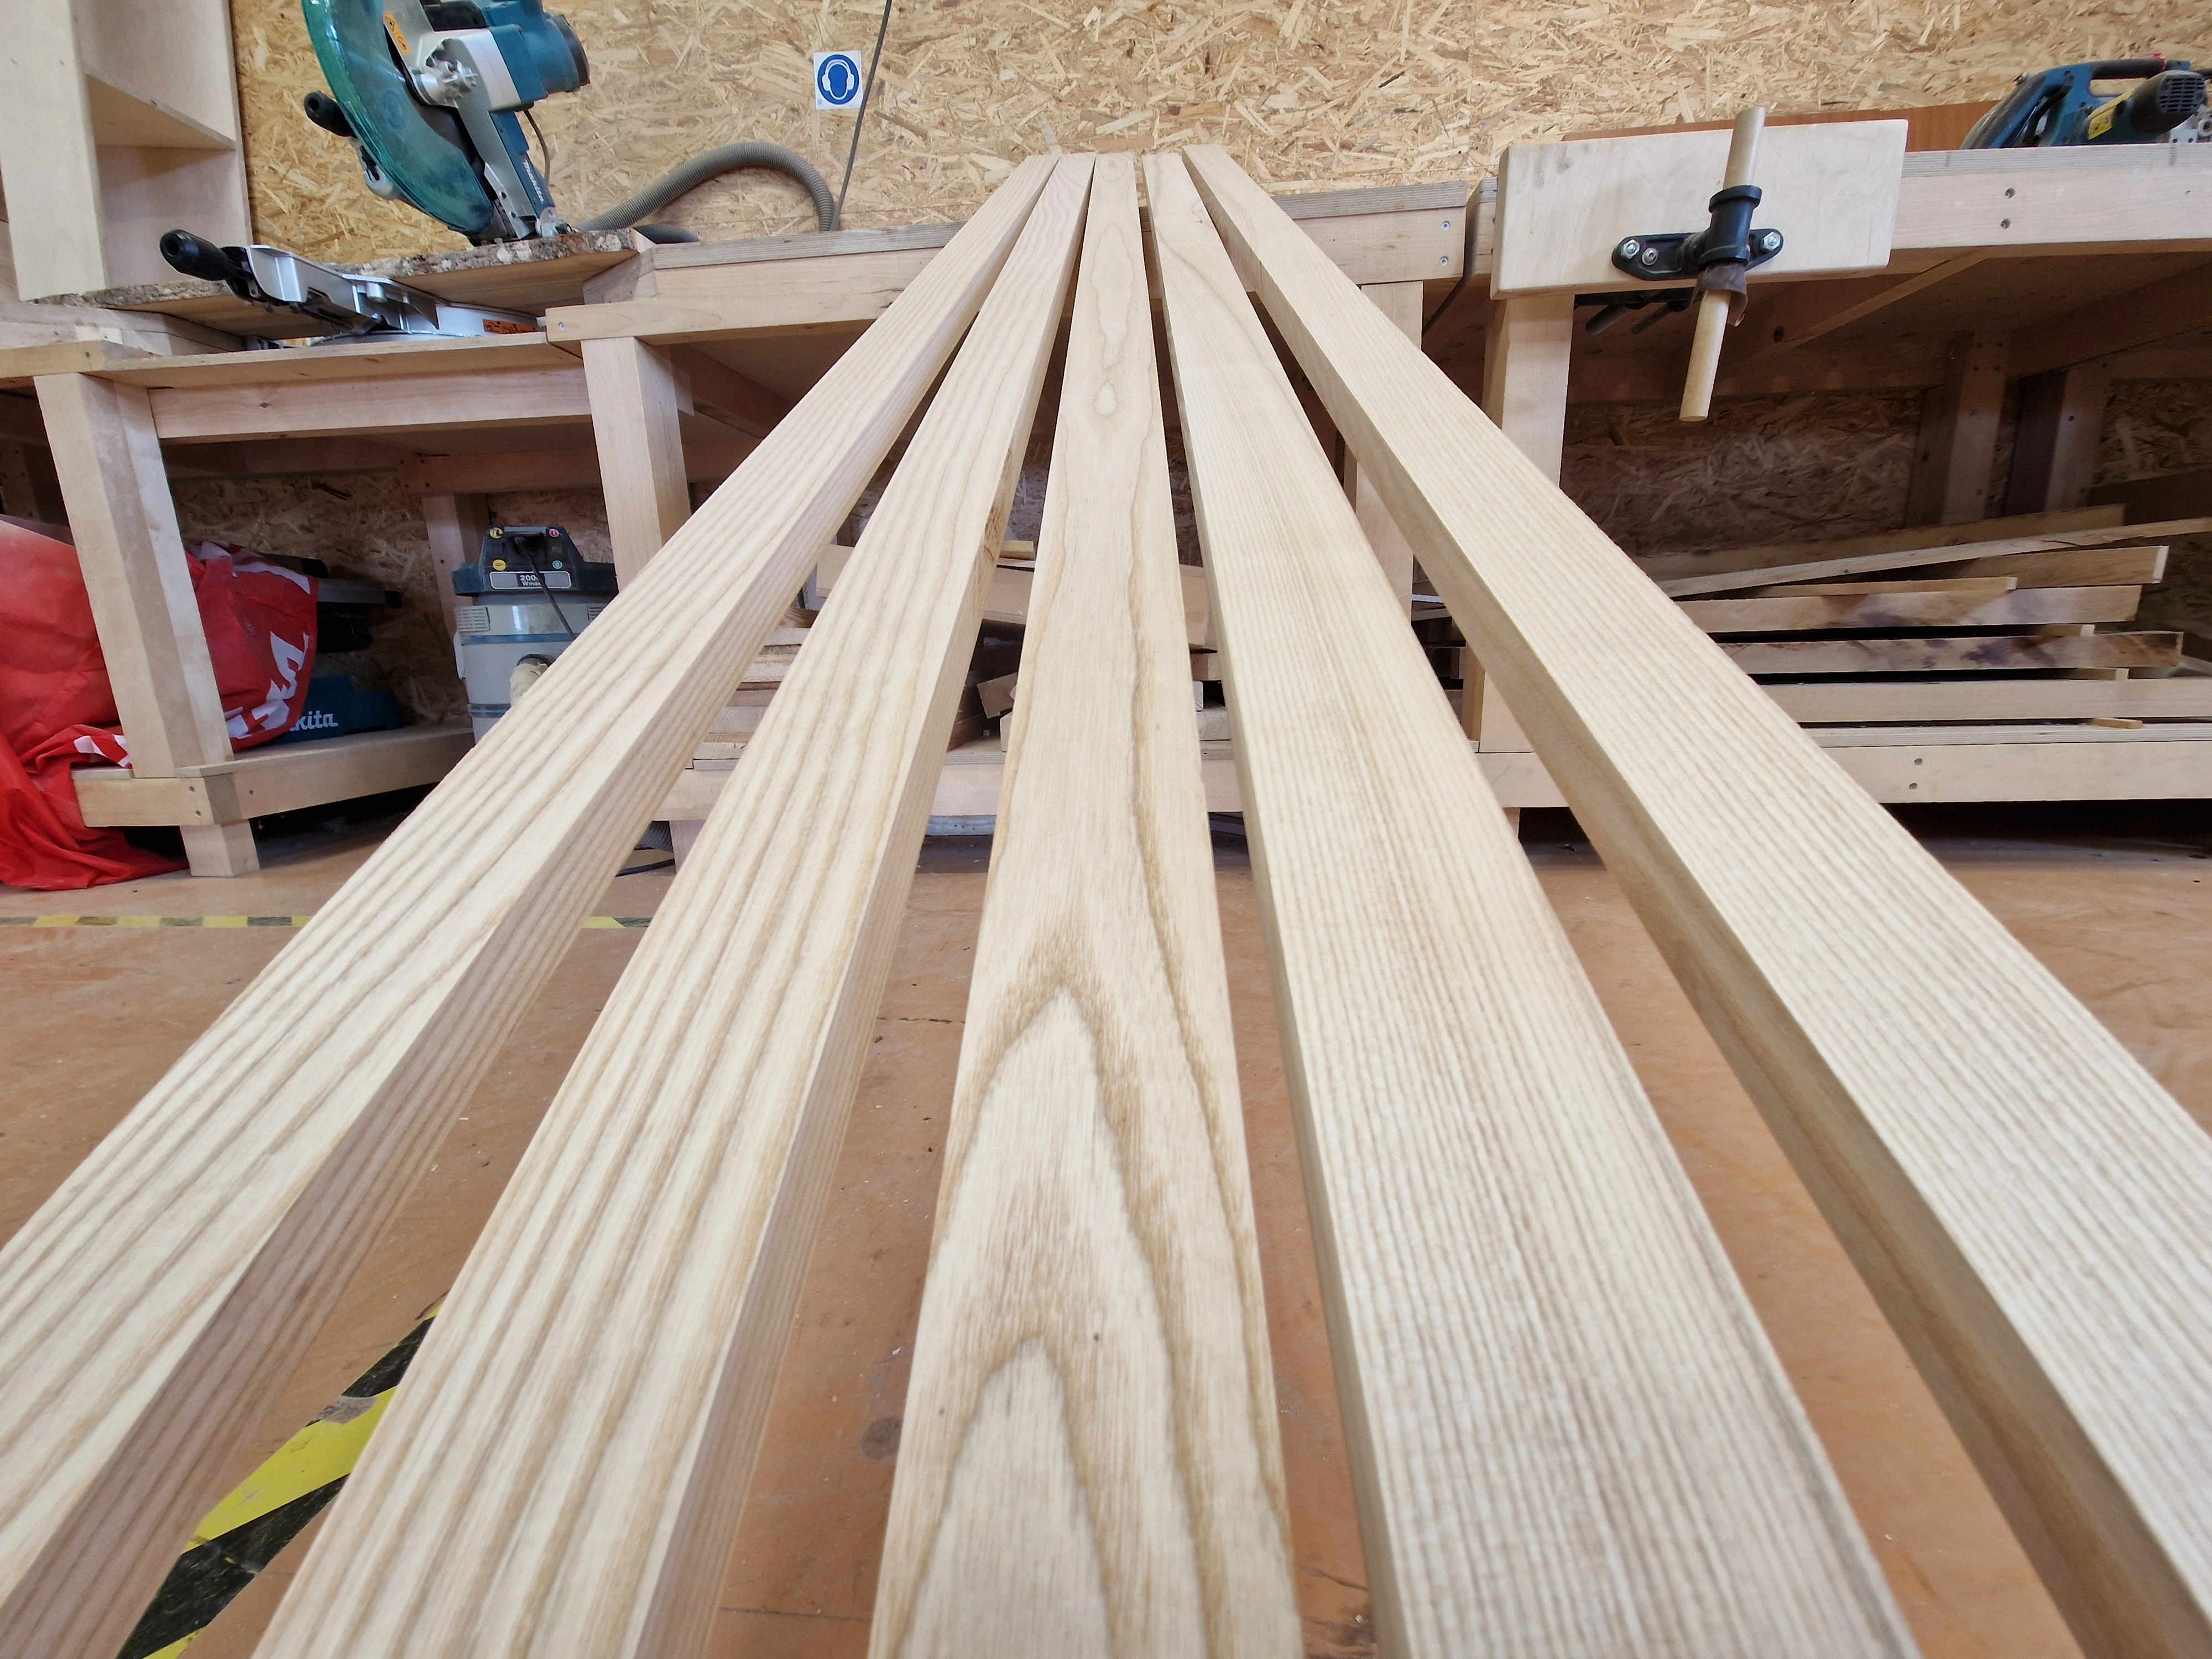
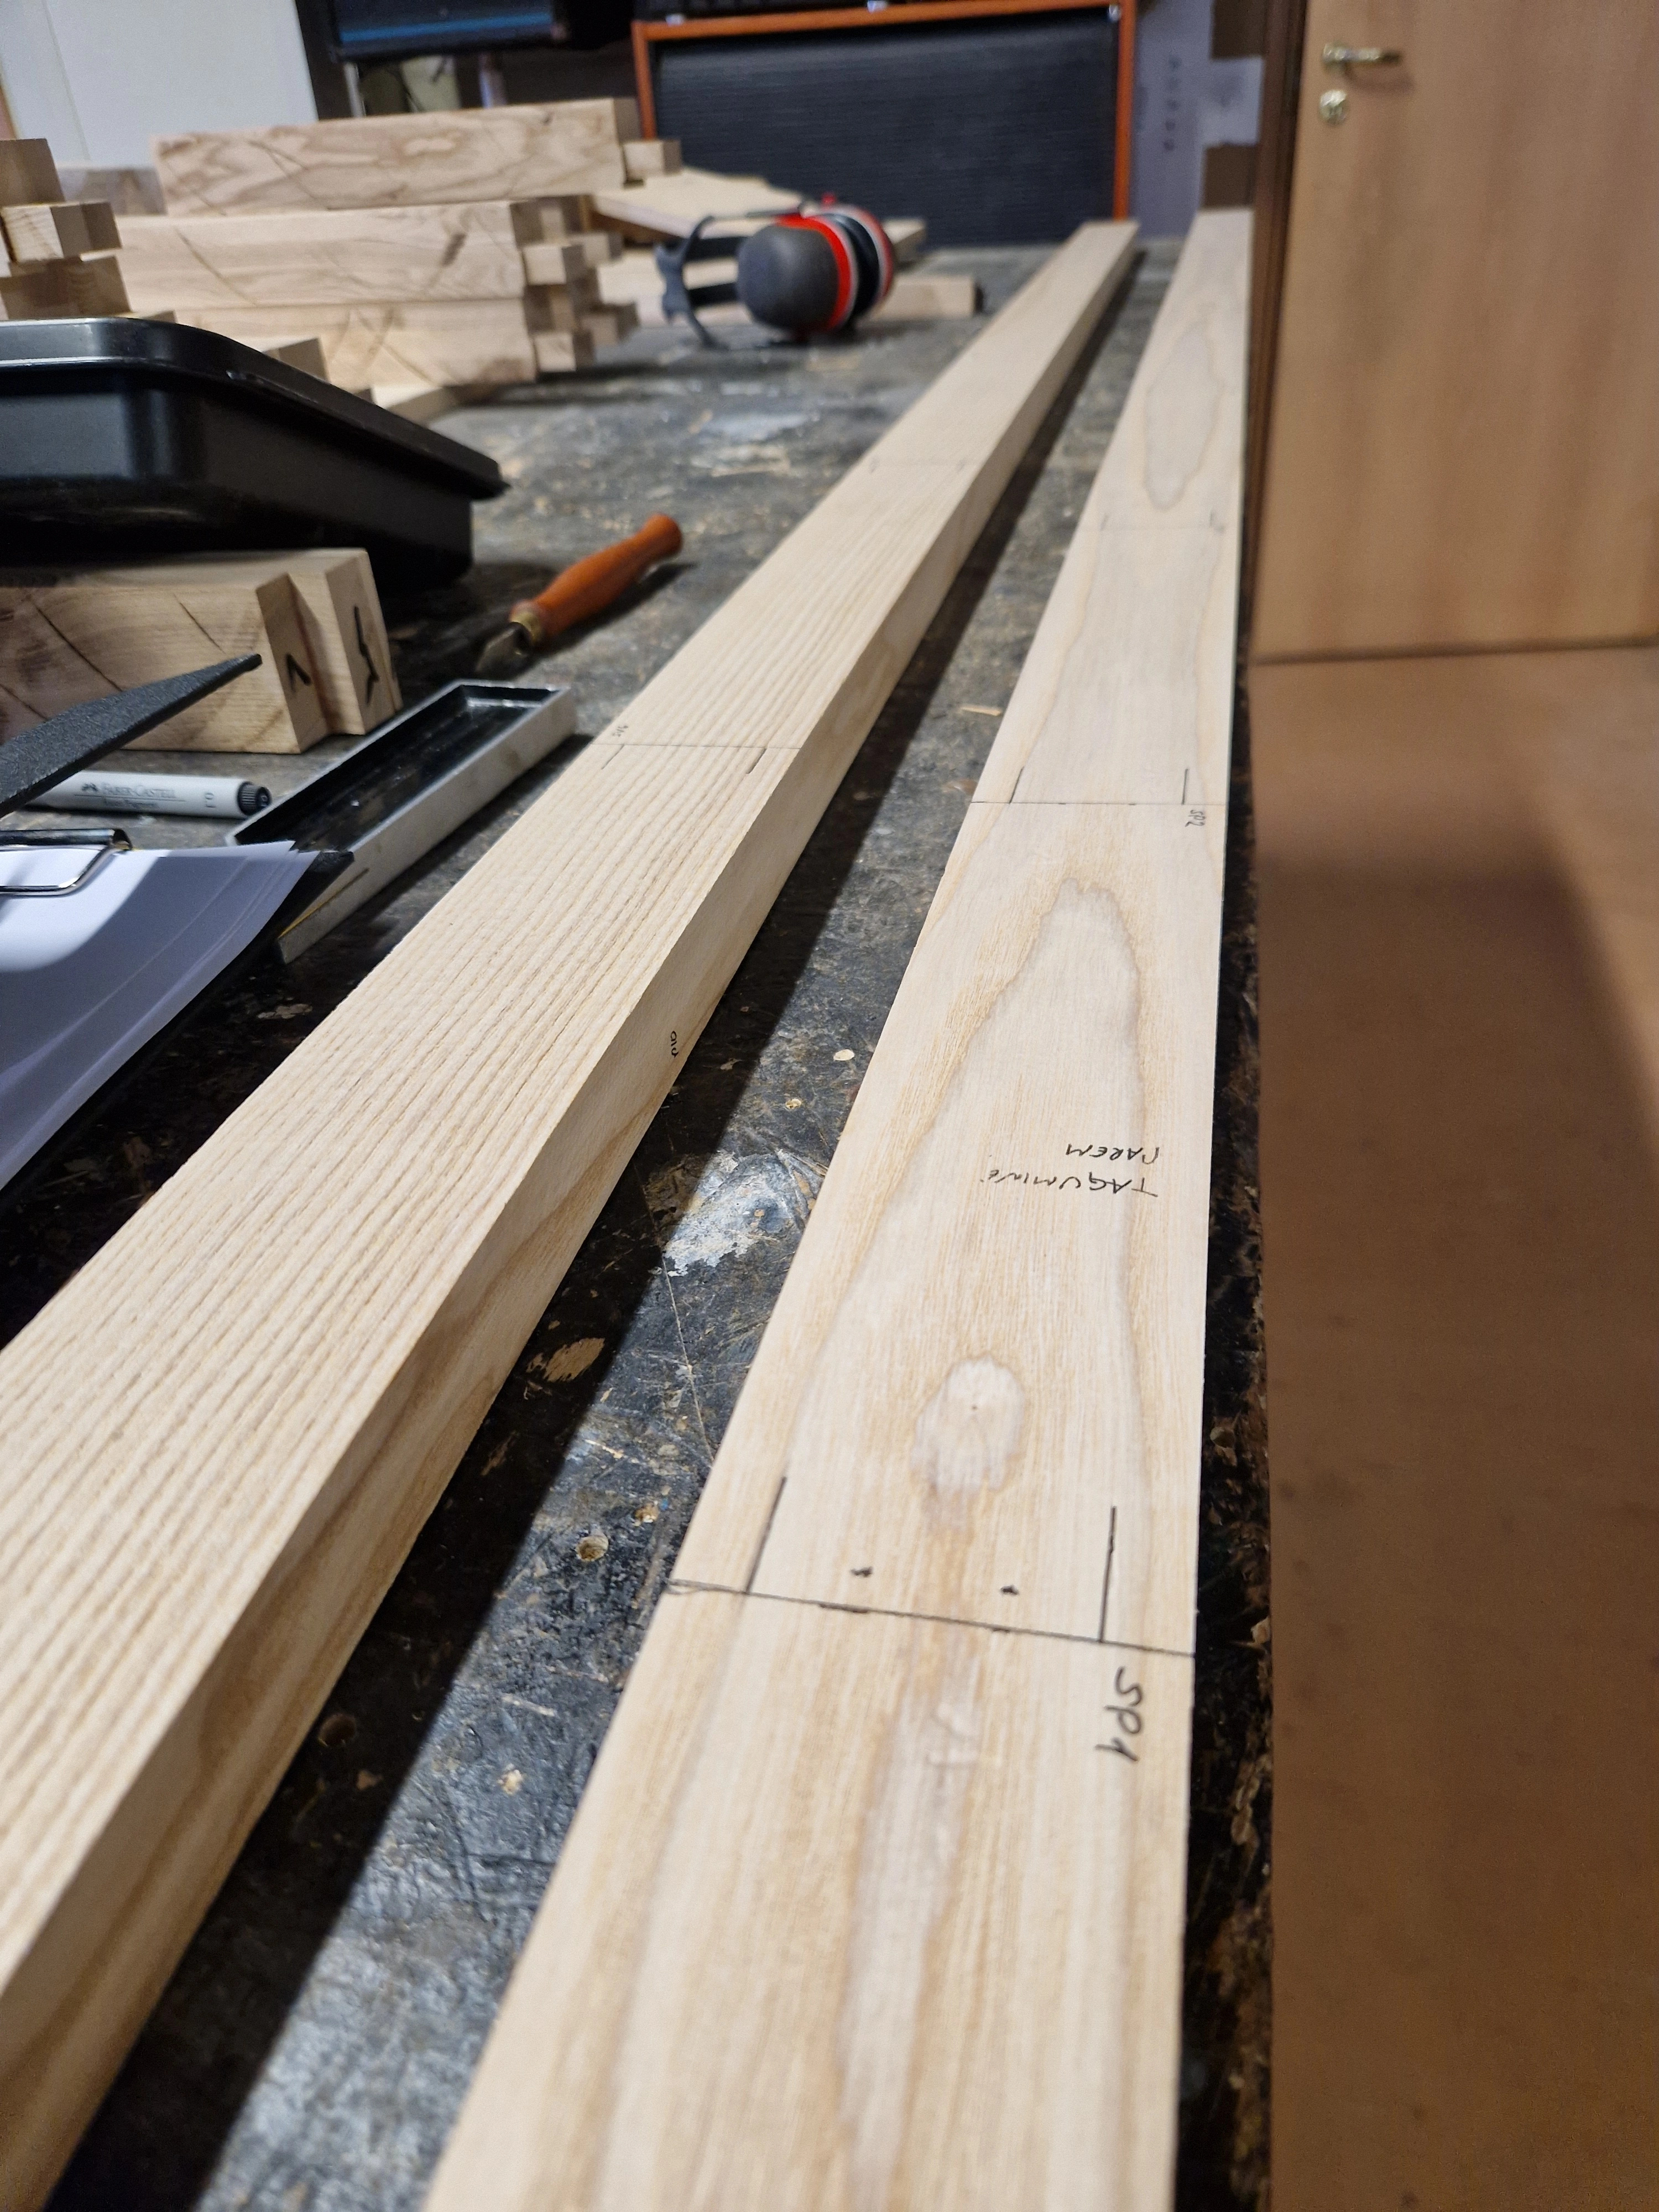
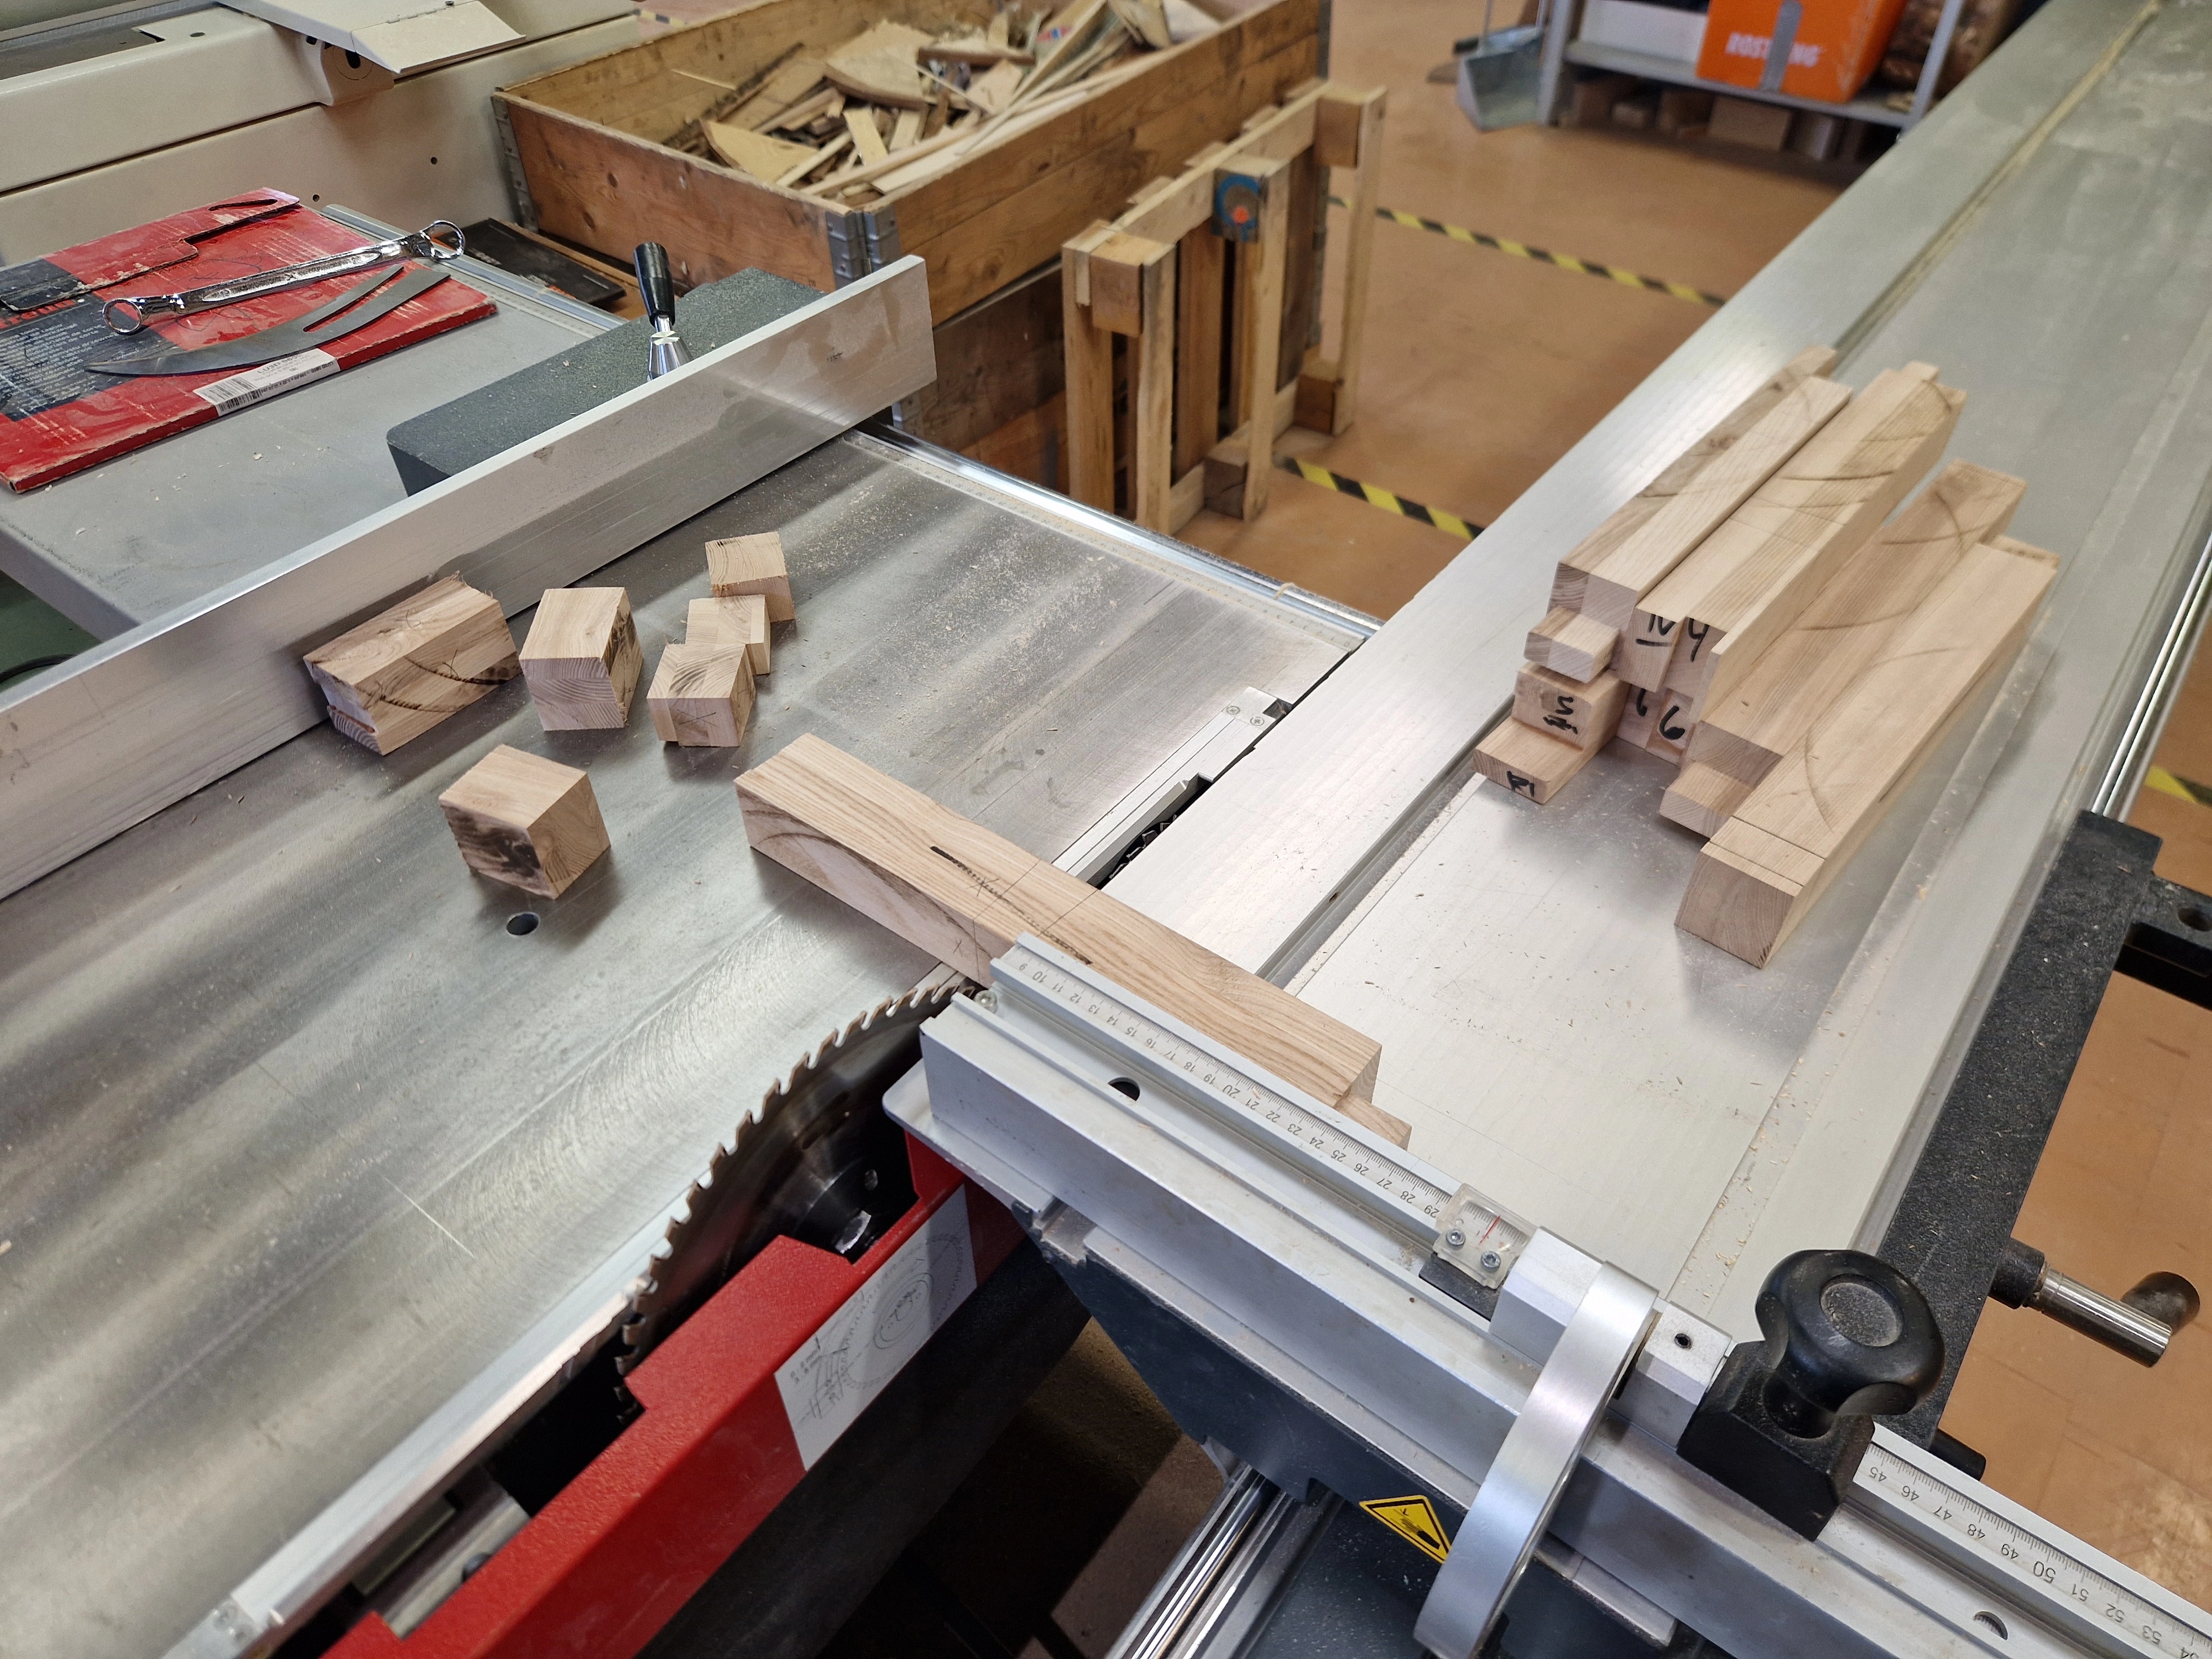
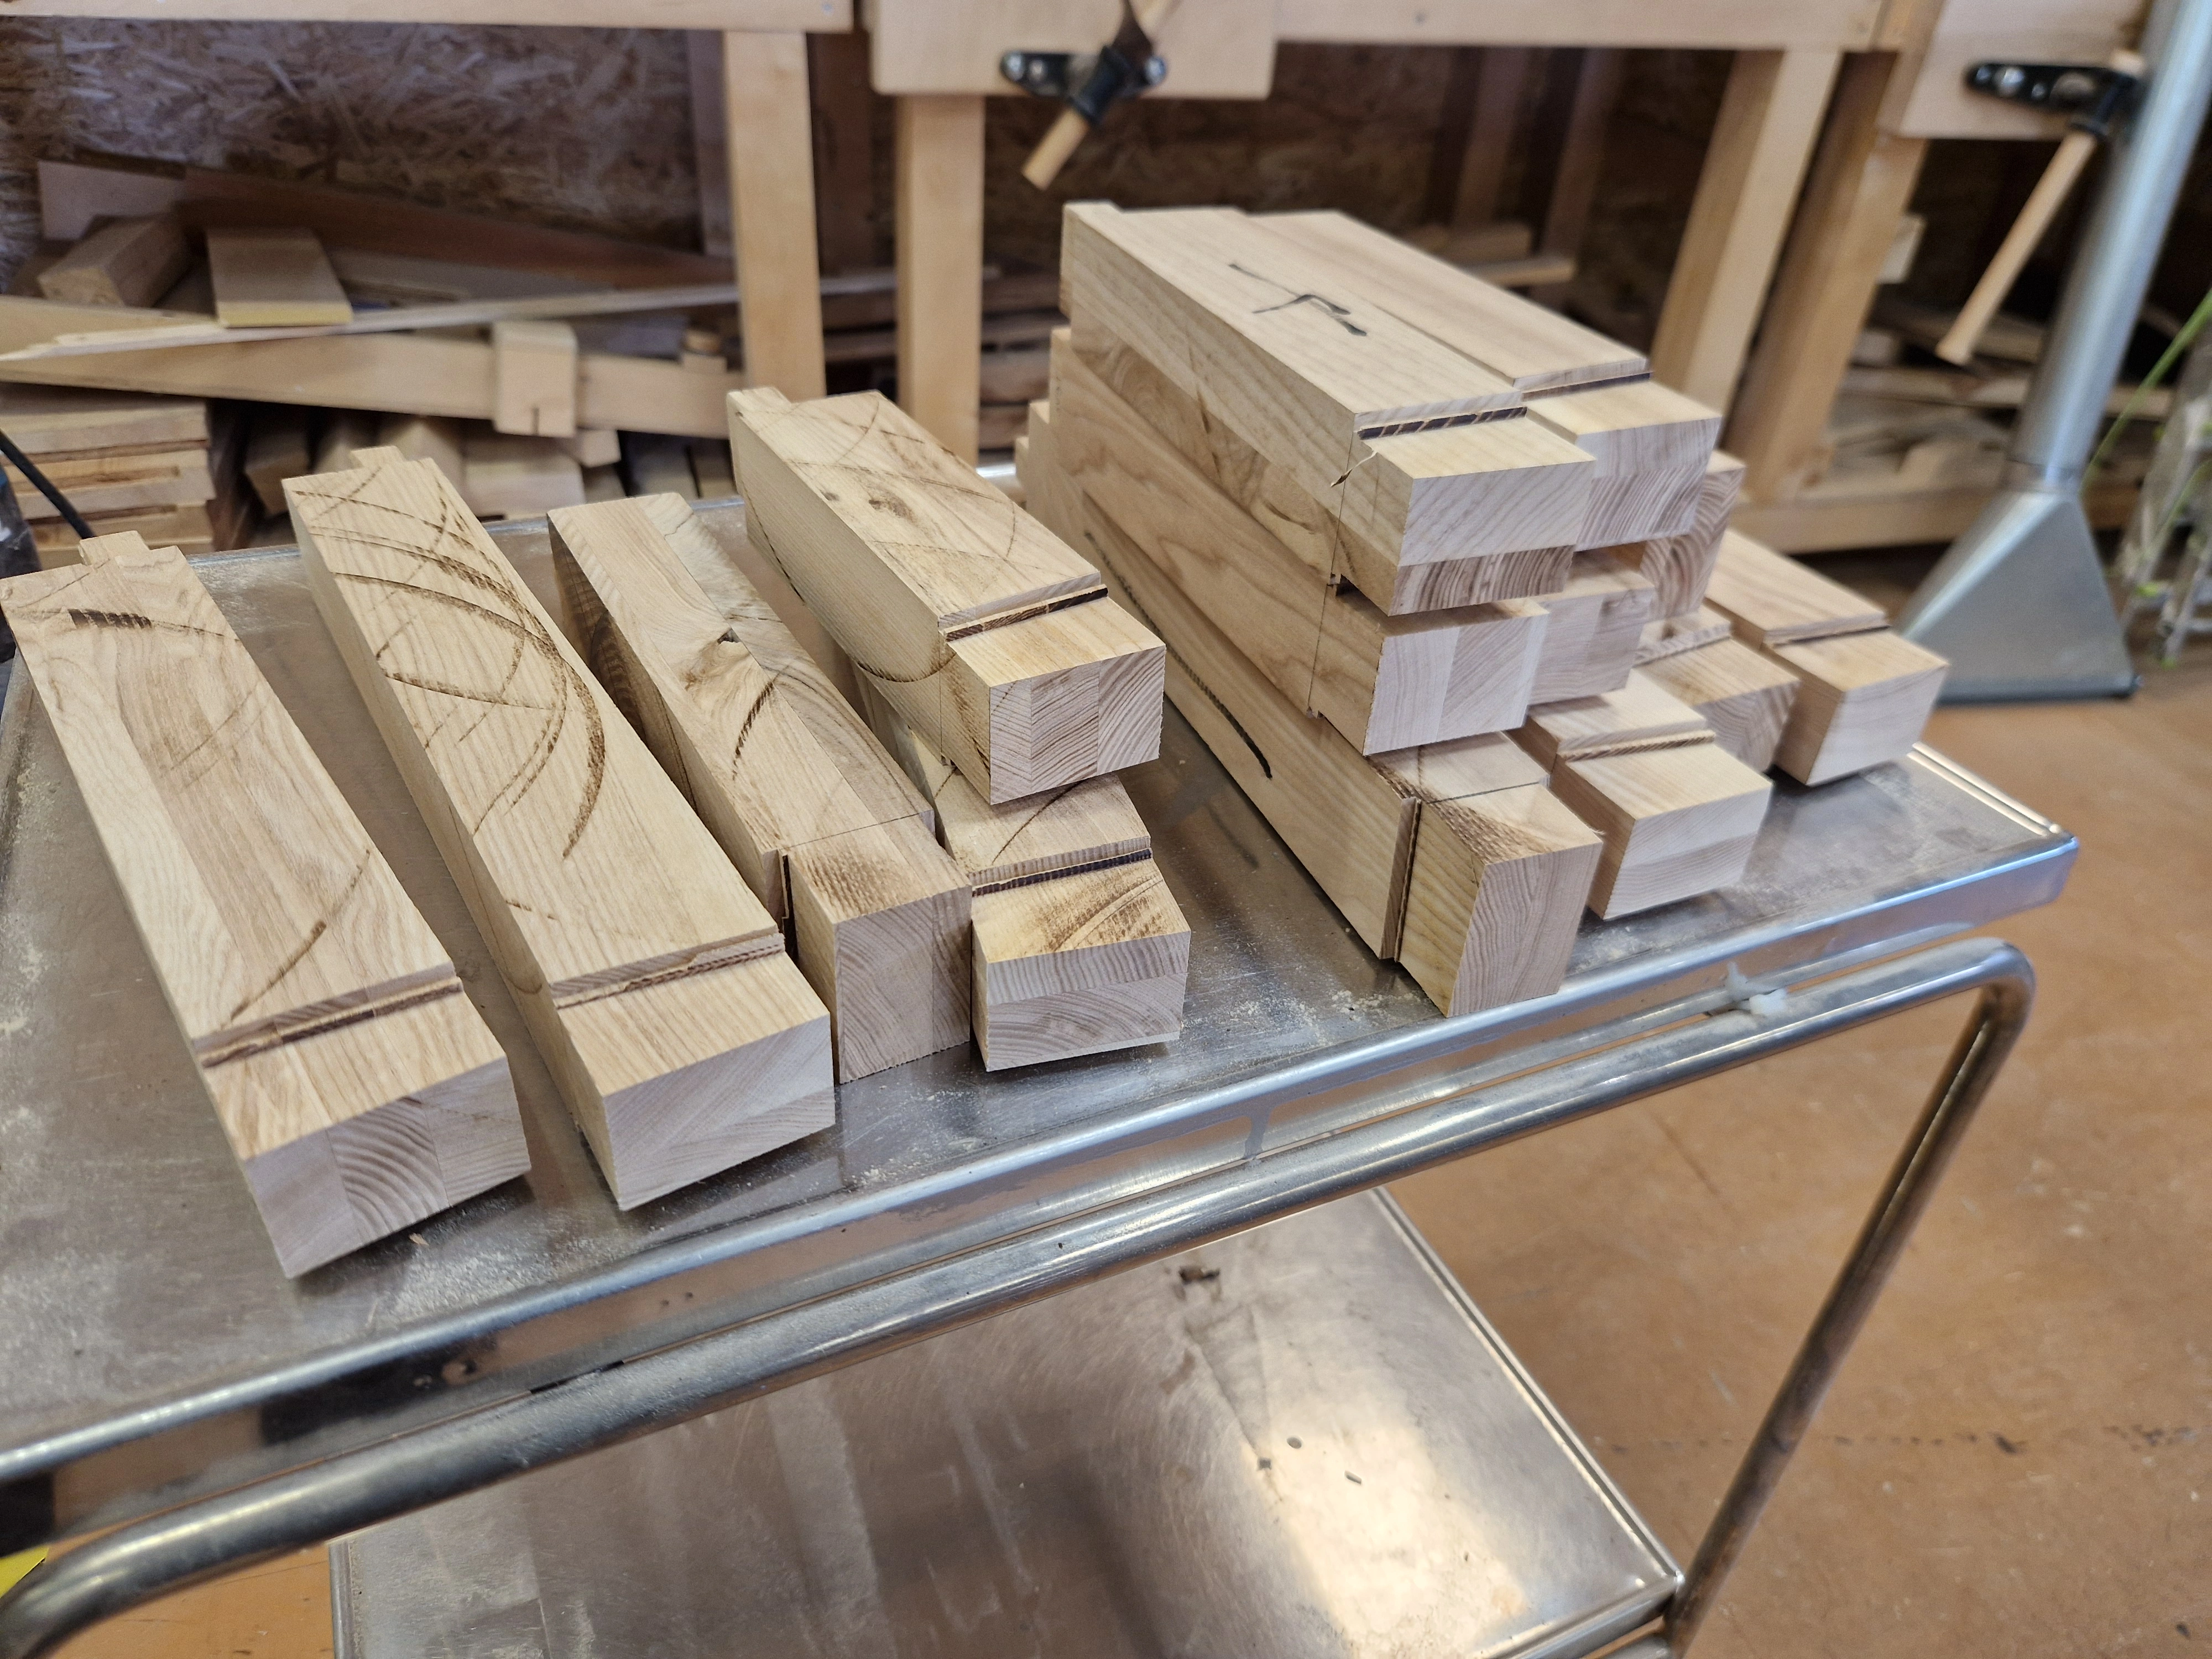
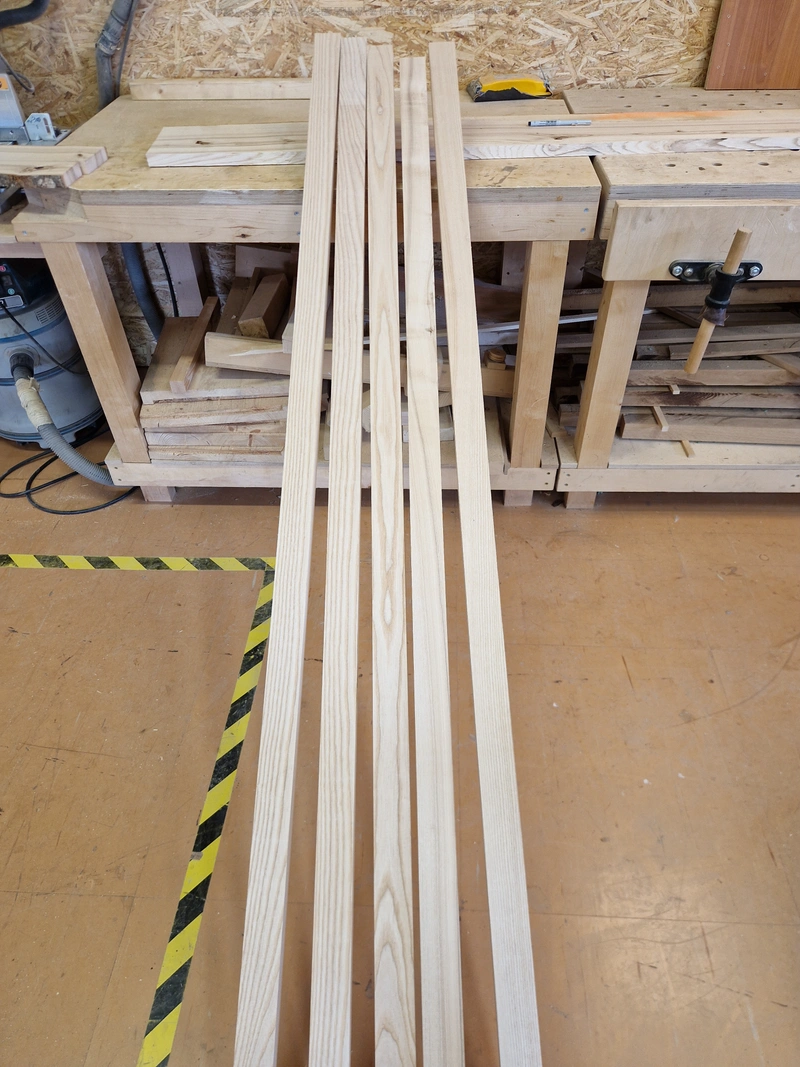
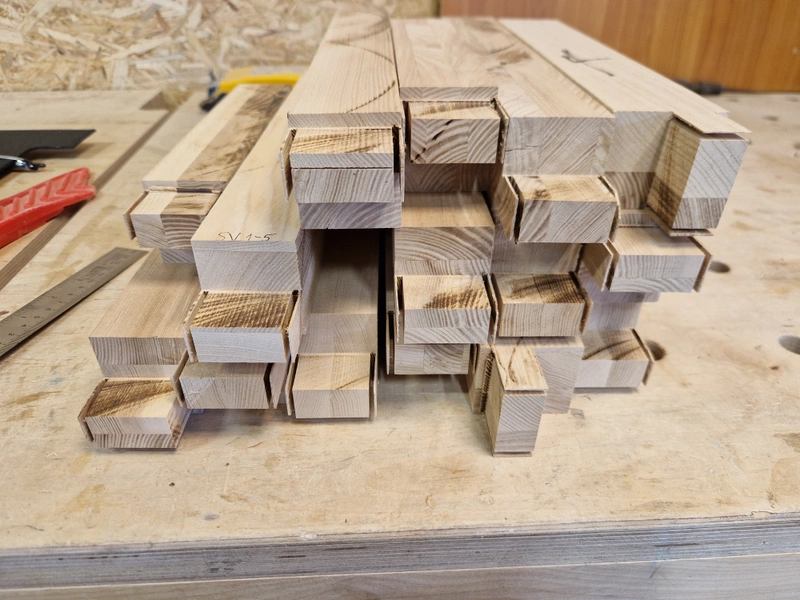
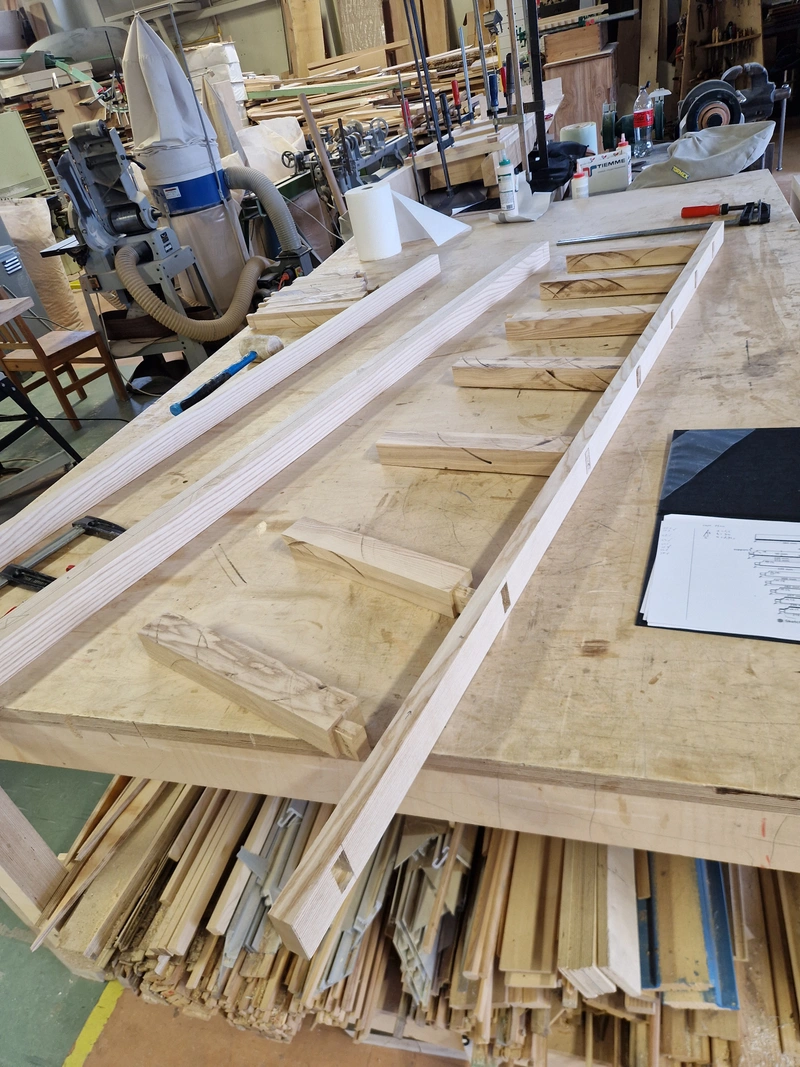
Began with 32mm thick raw stock, did the usual process of jointing, planing and sawing. Since the boards I chose were quite wide then I ended up with 5 vertical elements, 1 spare just in case. Chose the front-facing elements, used a veneer triangle cut in a 5 degree angle to cut the bottom of the front-facing elements, making them stand at 5 degrees when placed flat on the ground.


1 / 3
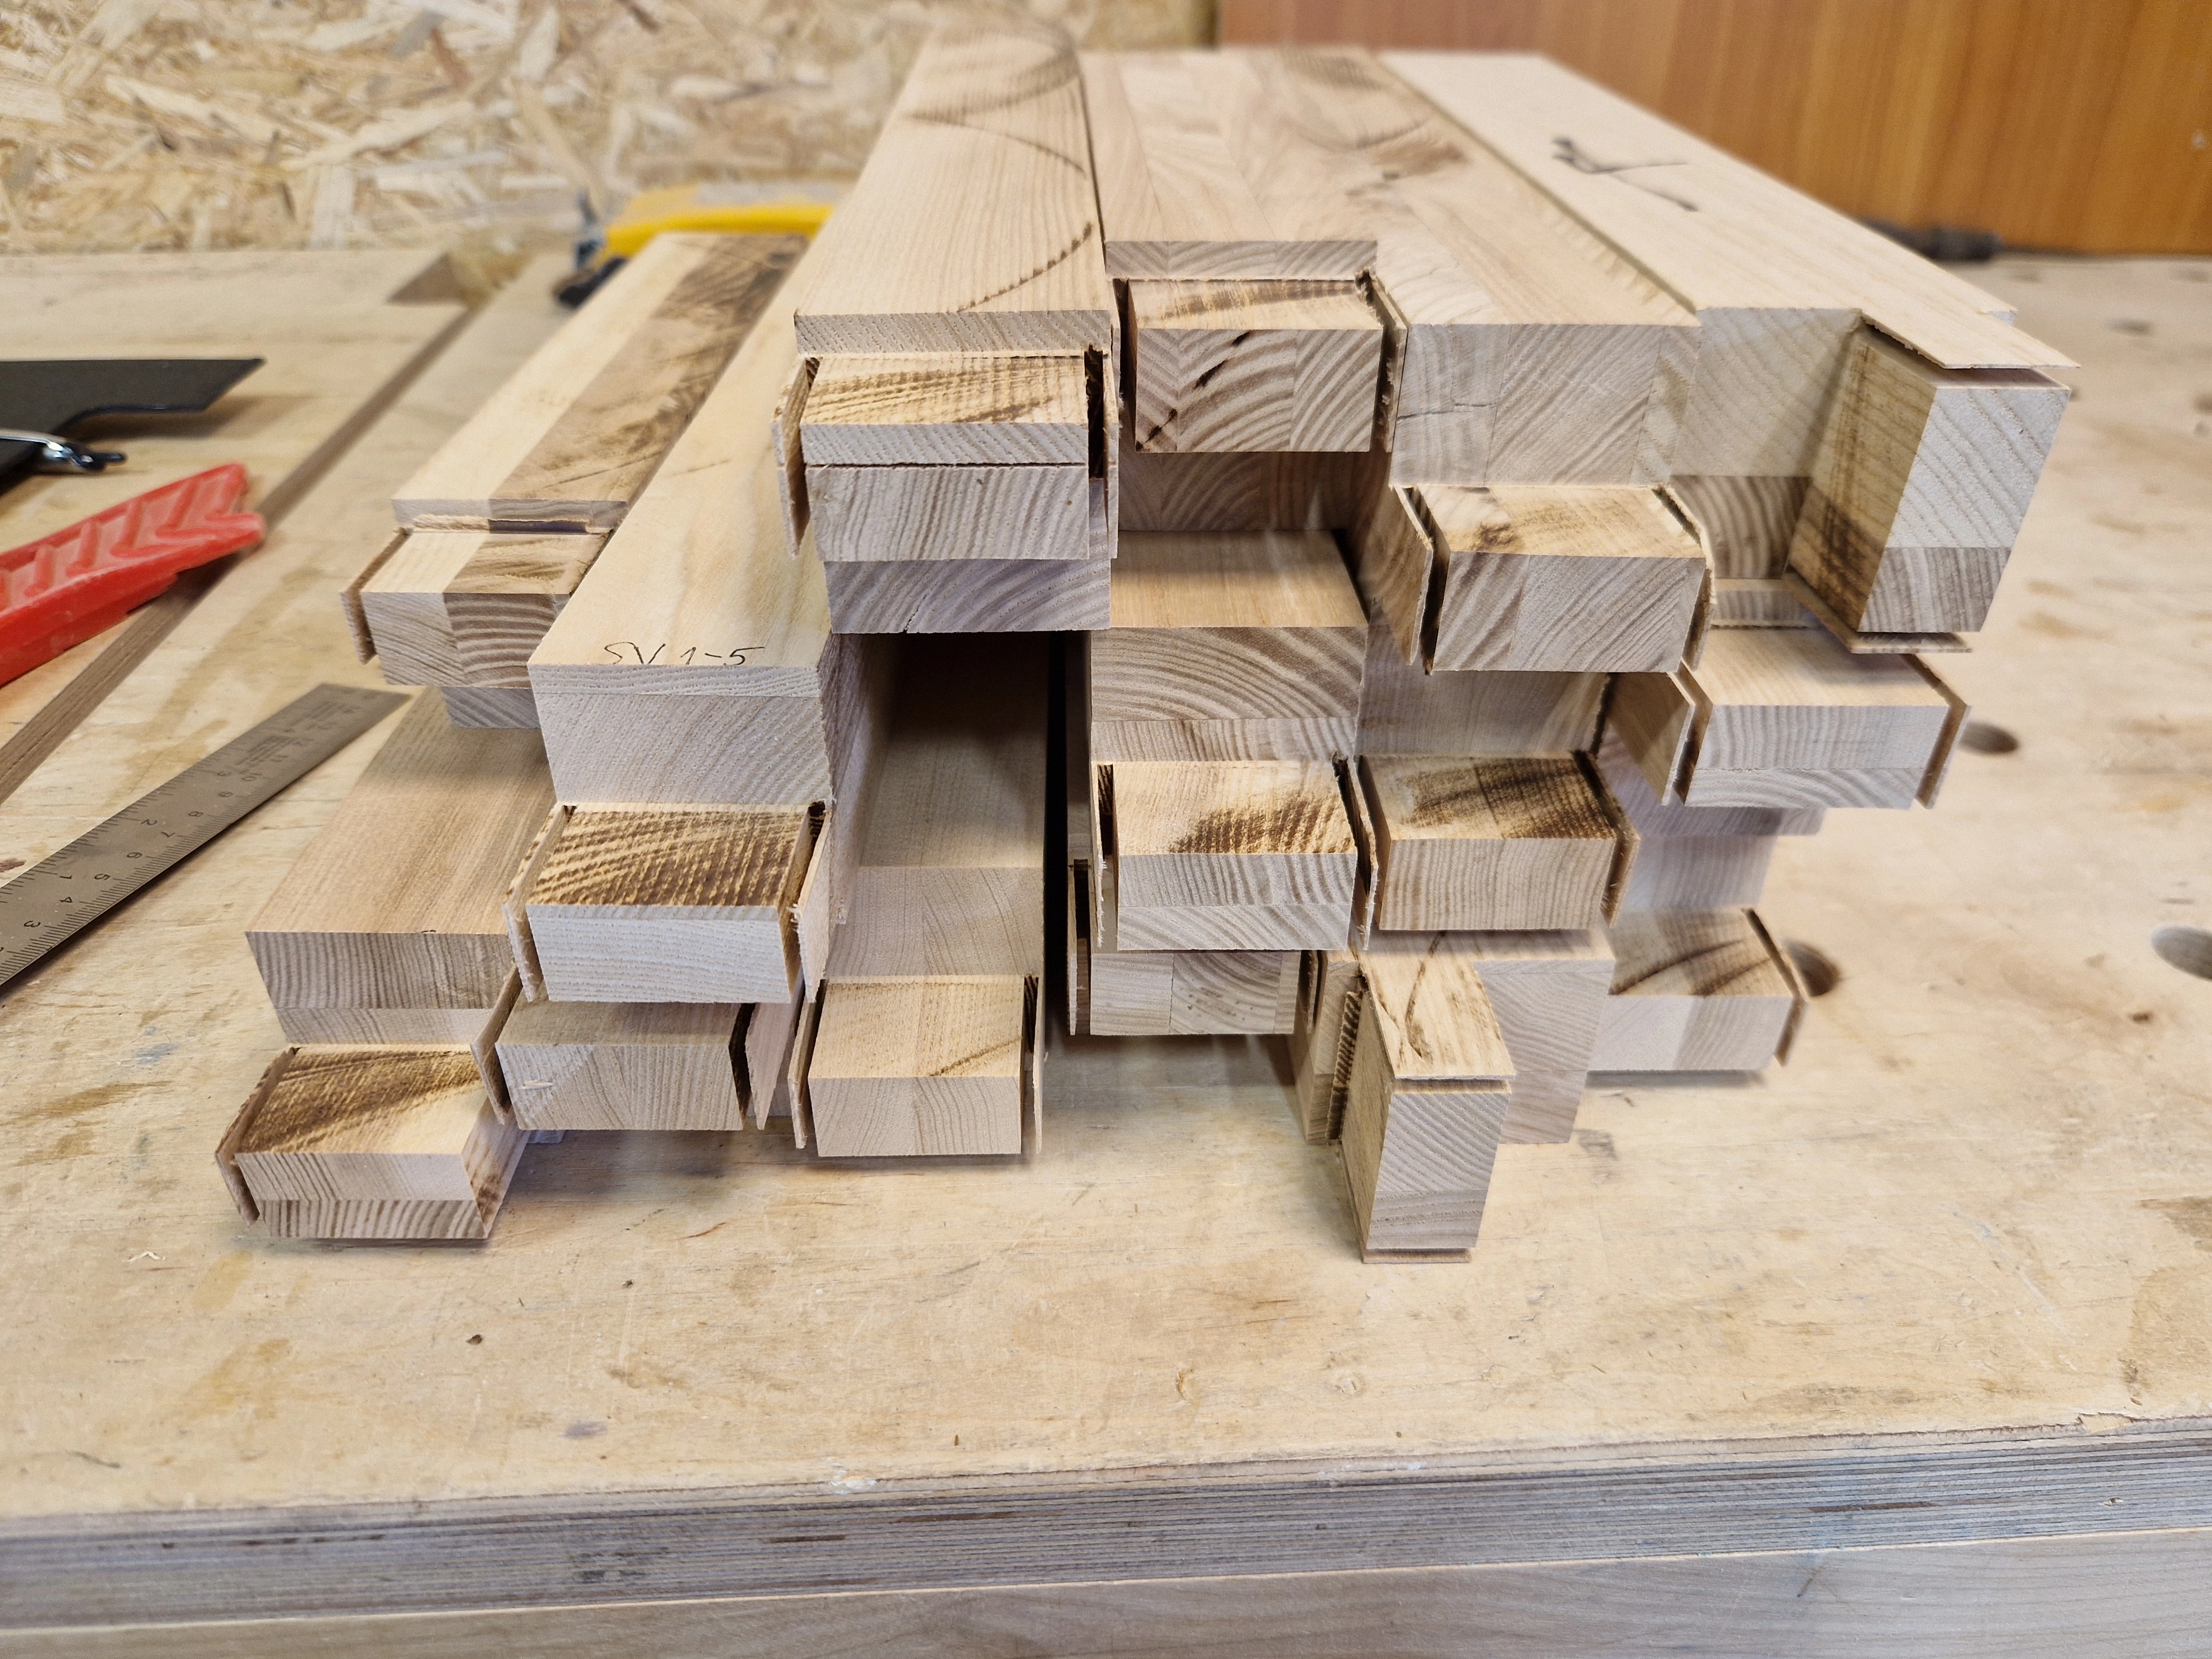
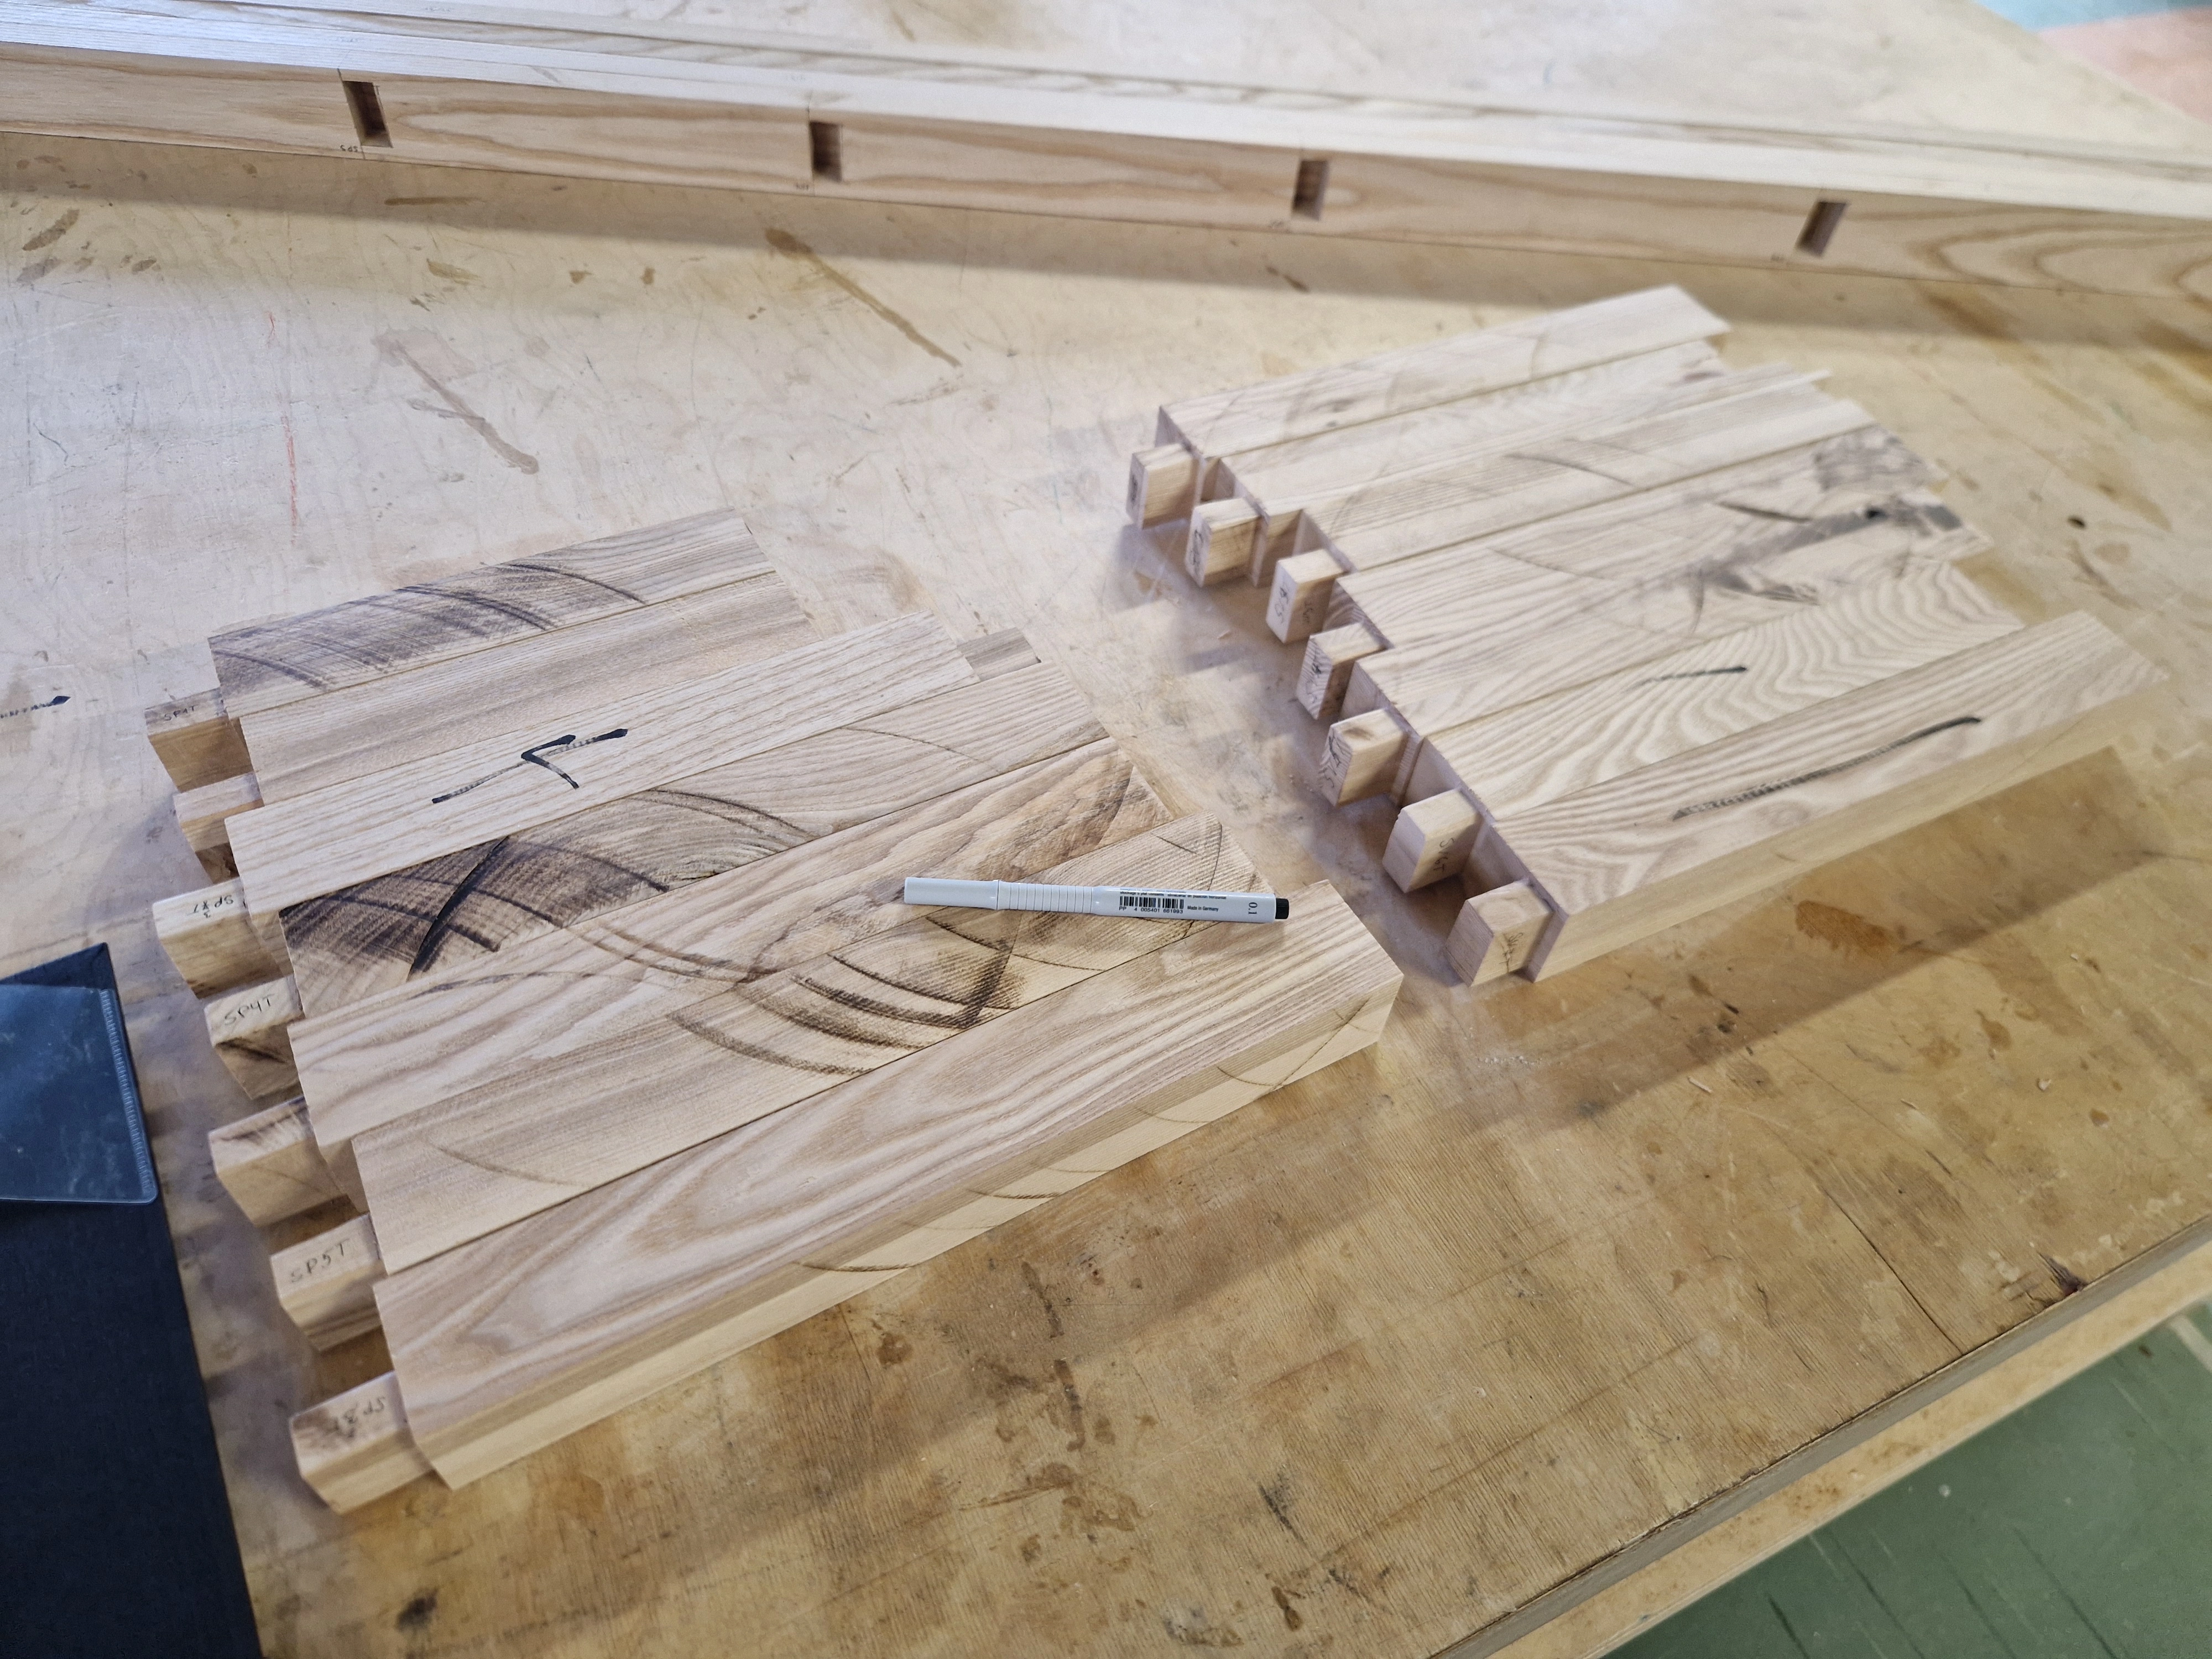
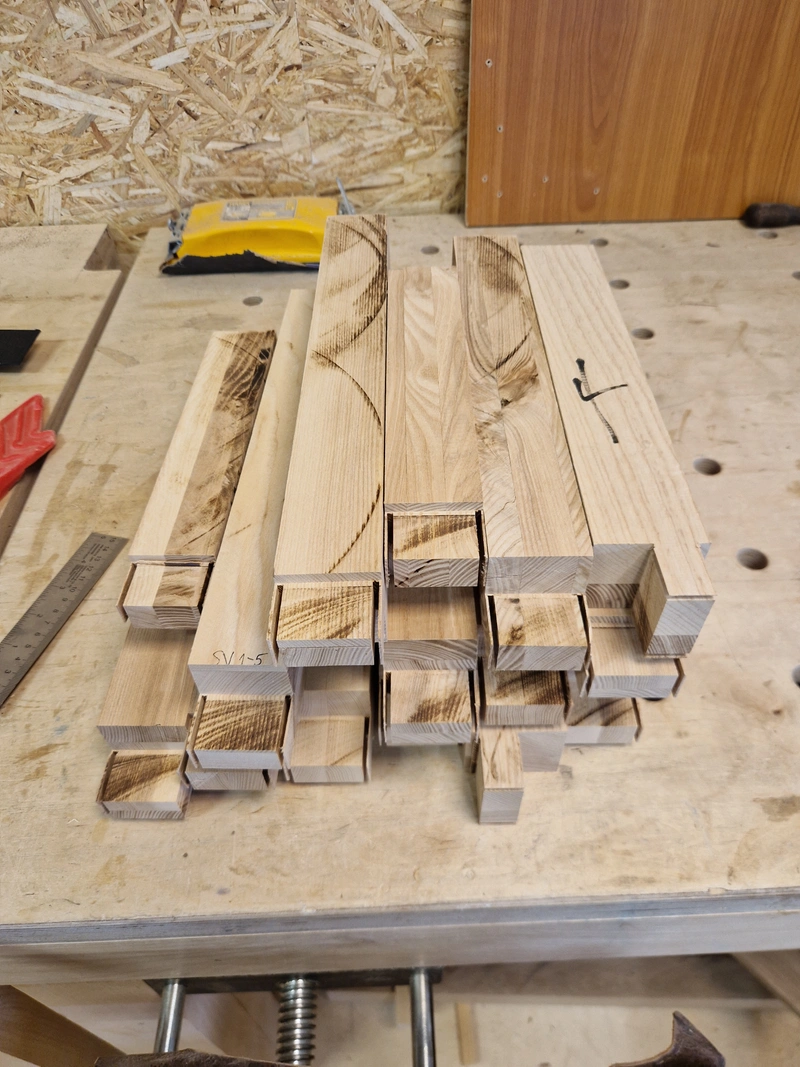
Used my leftover scrap ash material to glue together 14 elements. In hindsight this was quite a lot of work with small reward and high risk. The smart choice would've been to take new boards, glue them together into a very thick board and saw these elements out, giving equal width, length and thickness everywhere with minimal effort. Luckily this scrap-saving choice did not cause issues down the line but I did see the potential for issues had I not been mindful of this. Used the table saw to cut the mortises, which allowed me to get the correct width of the mortise so I could mark the tenons on the vertical elements.
1 / 3
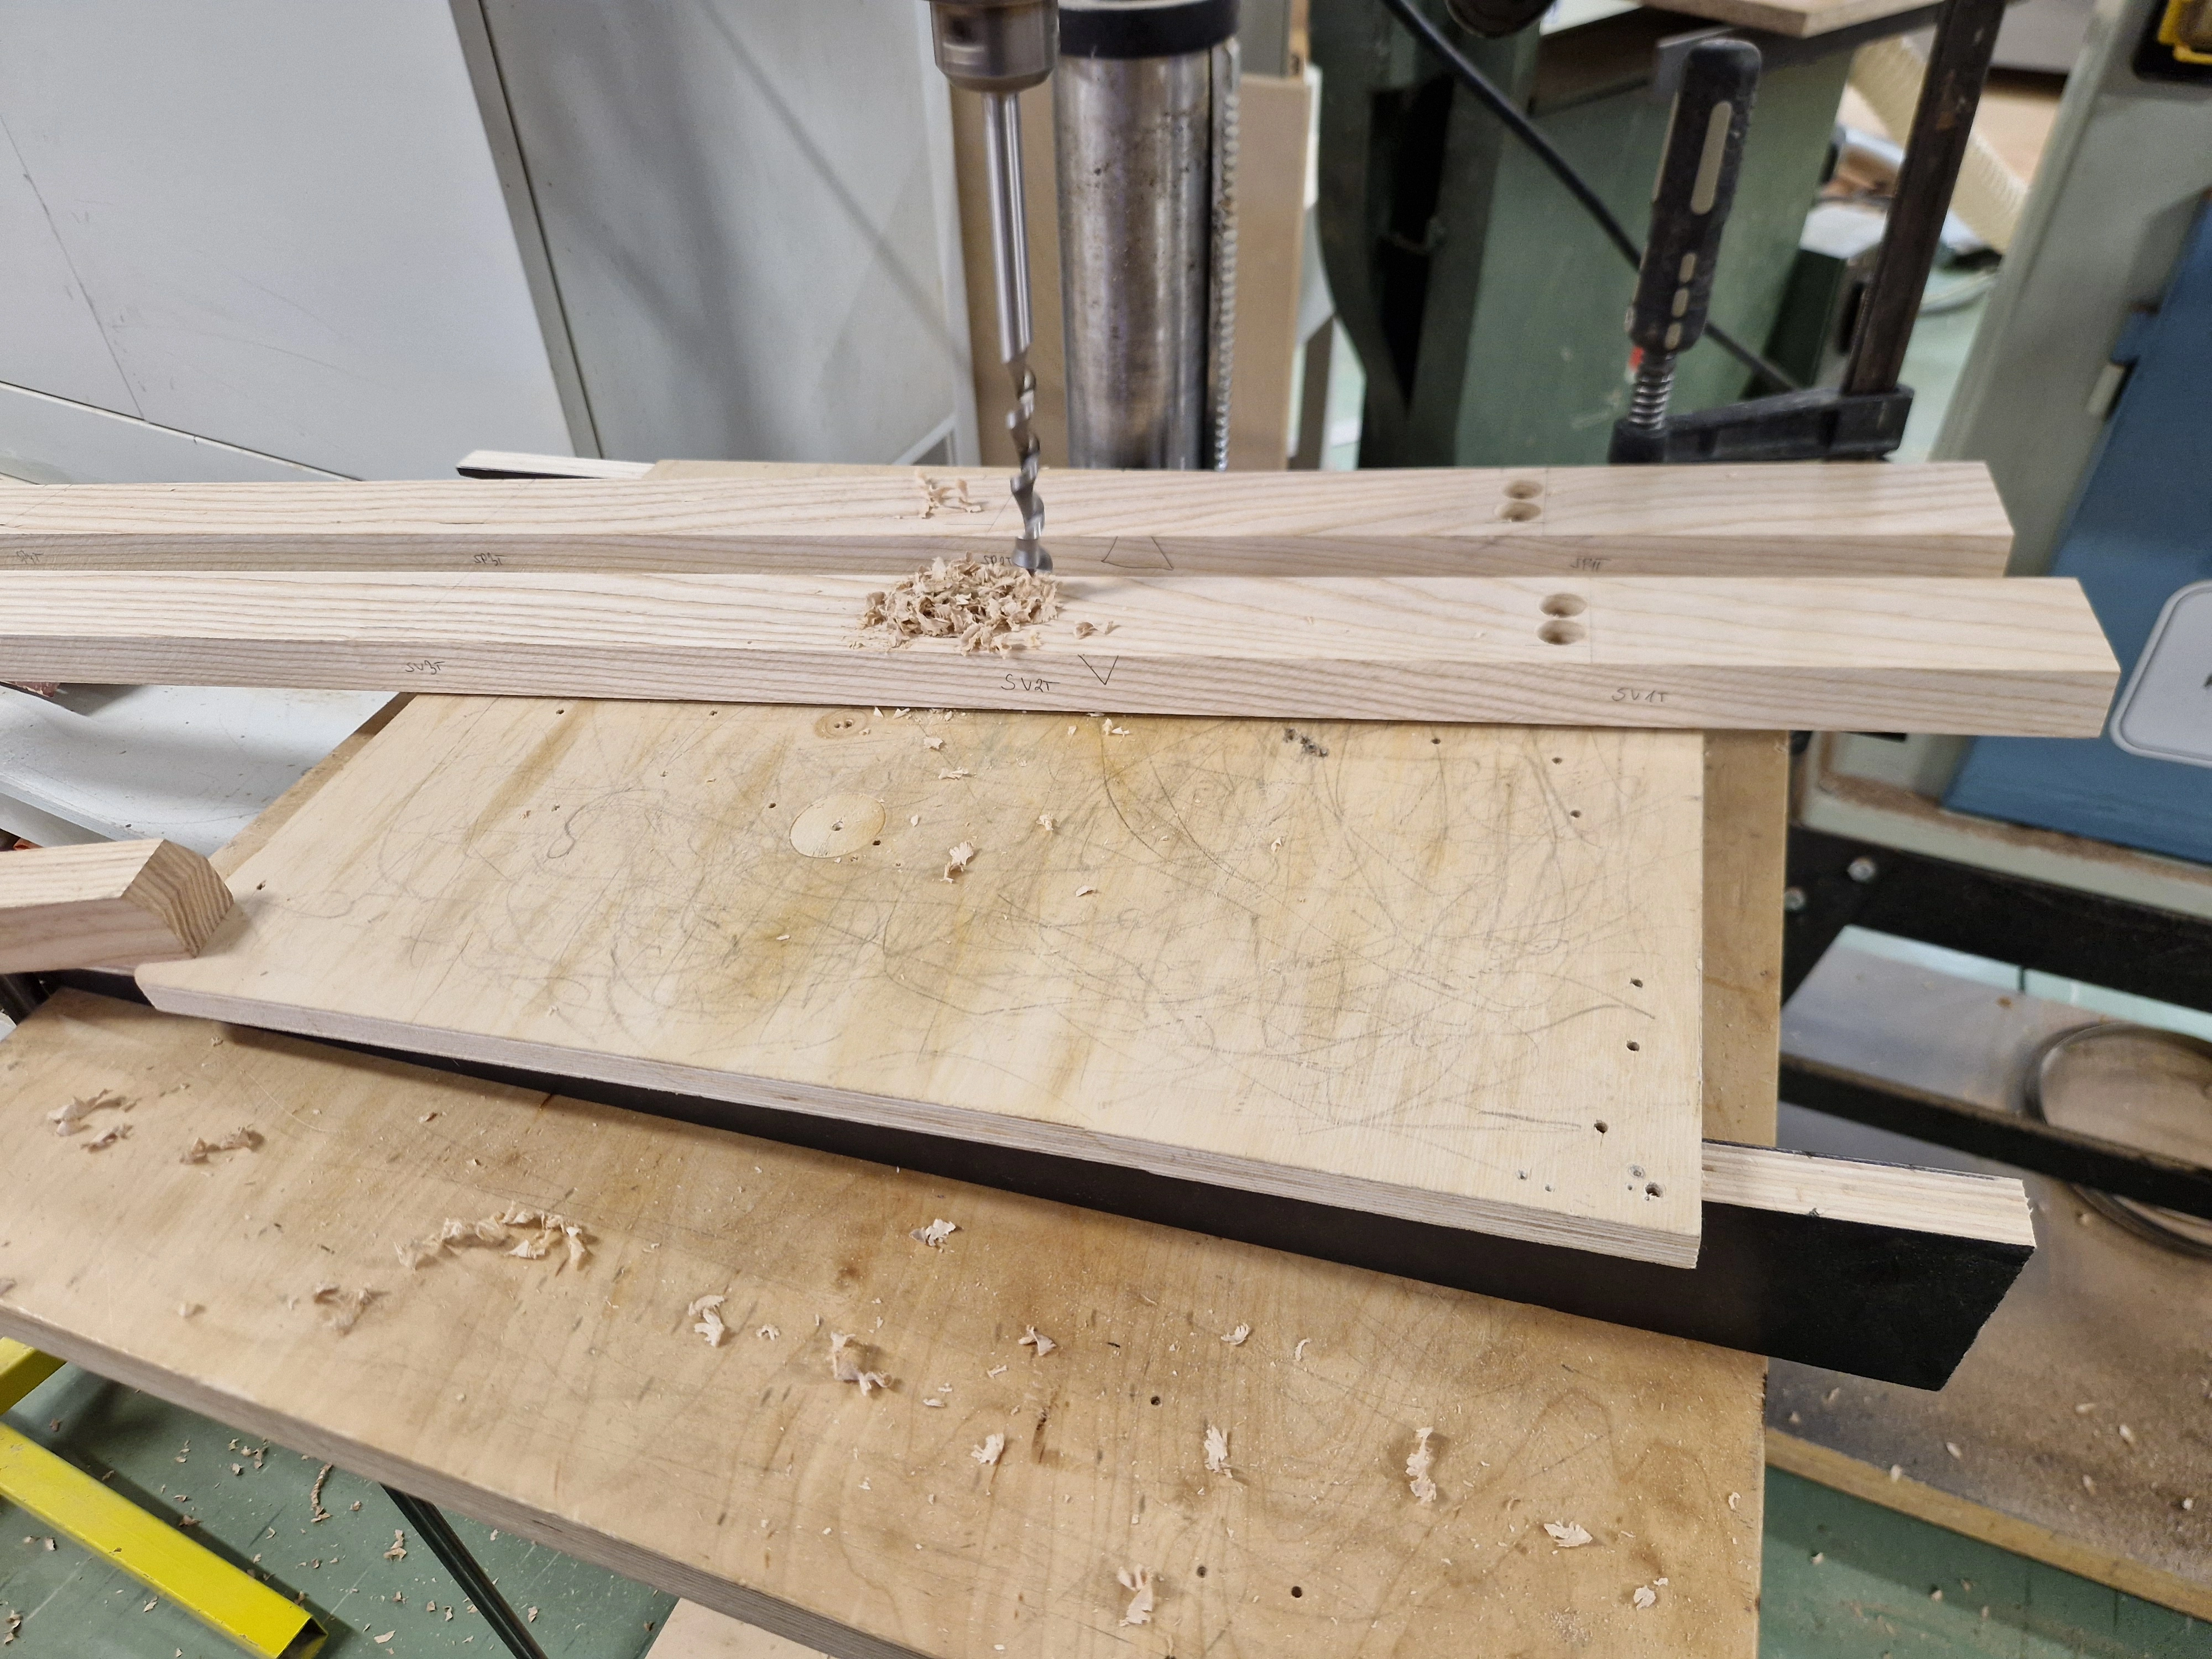
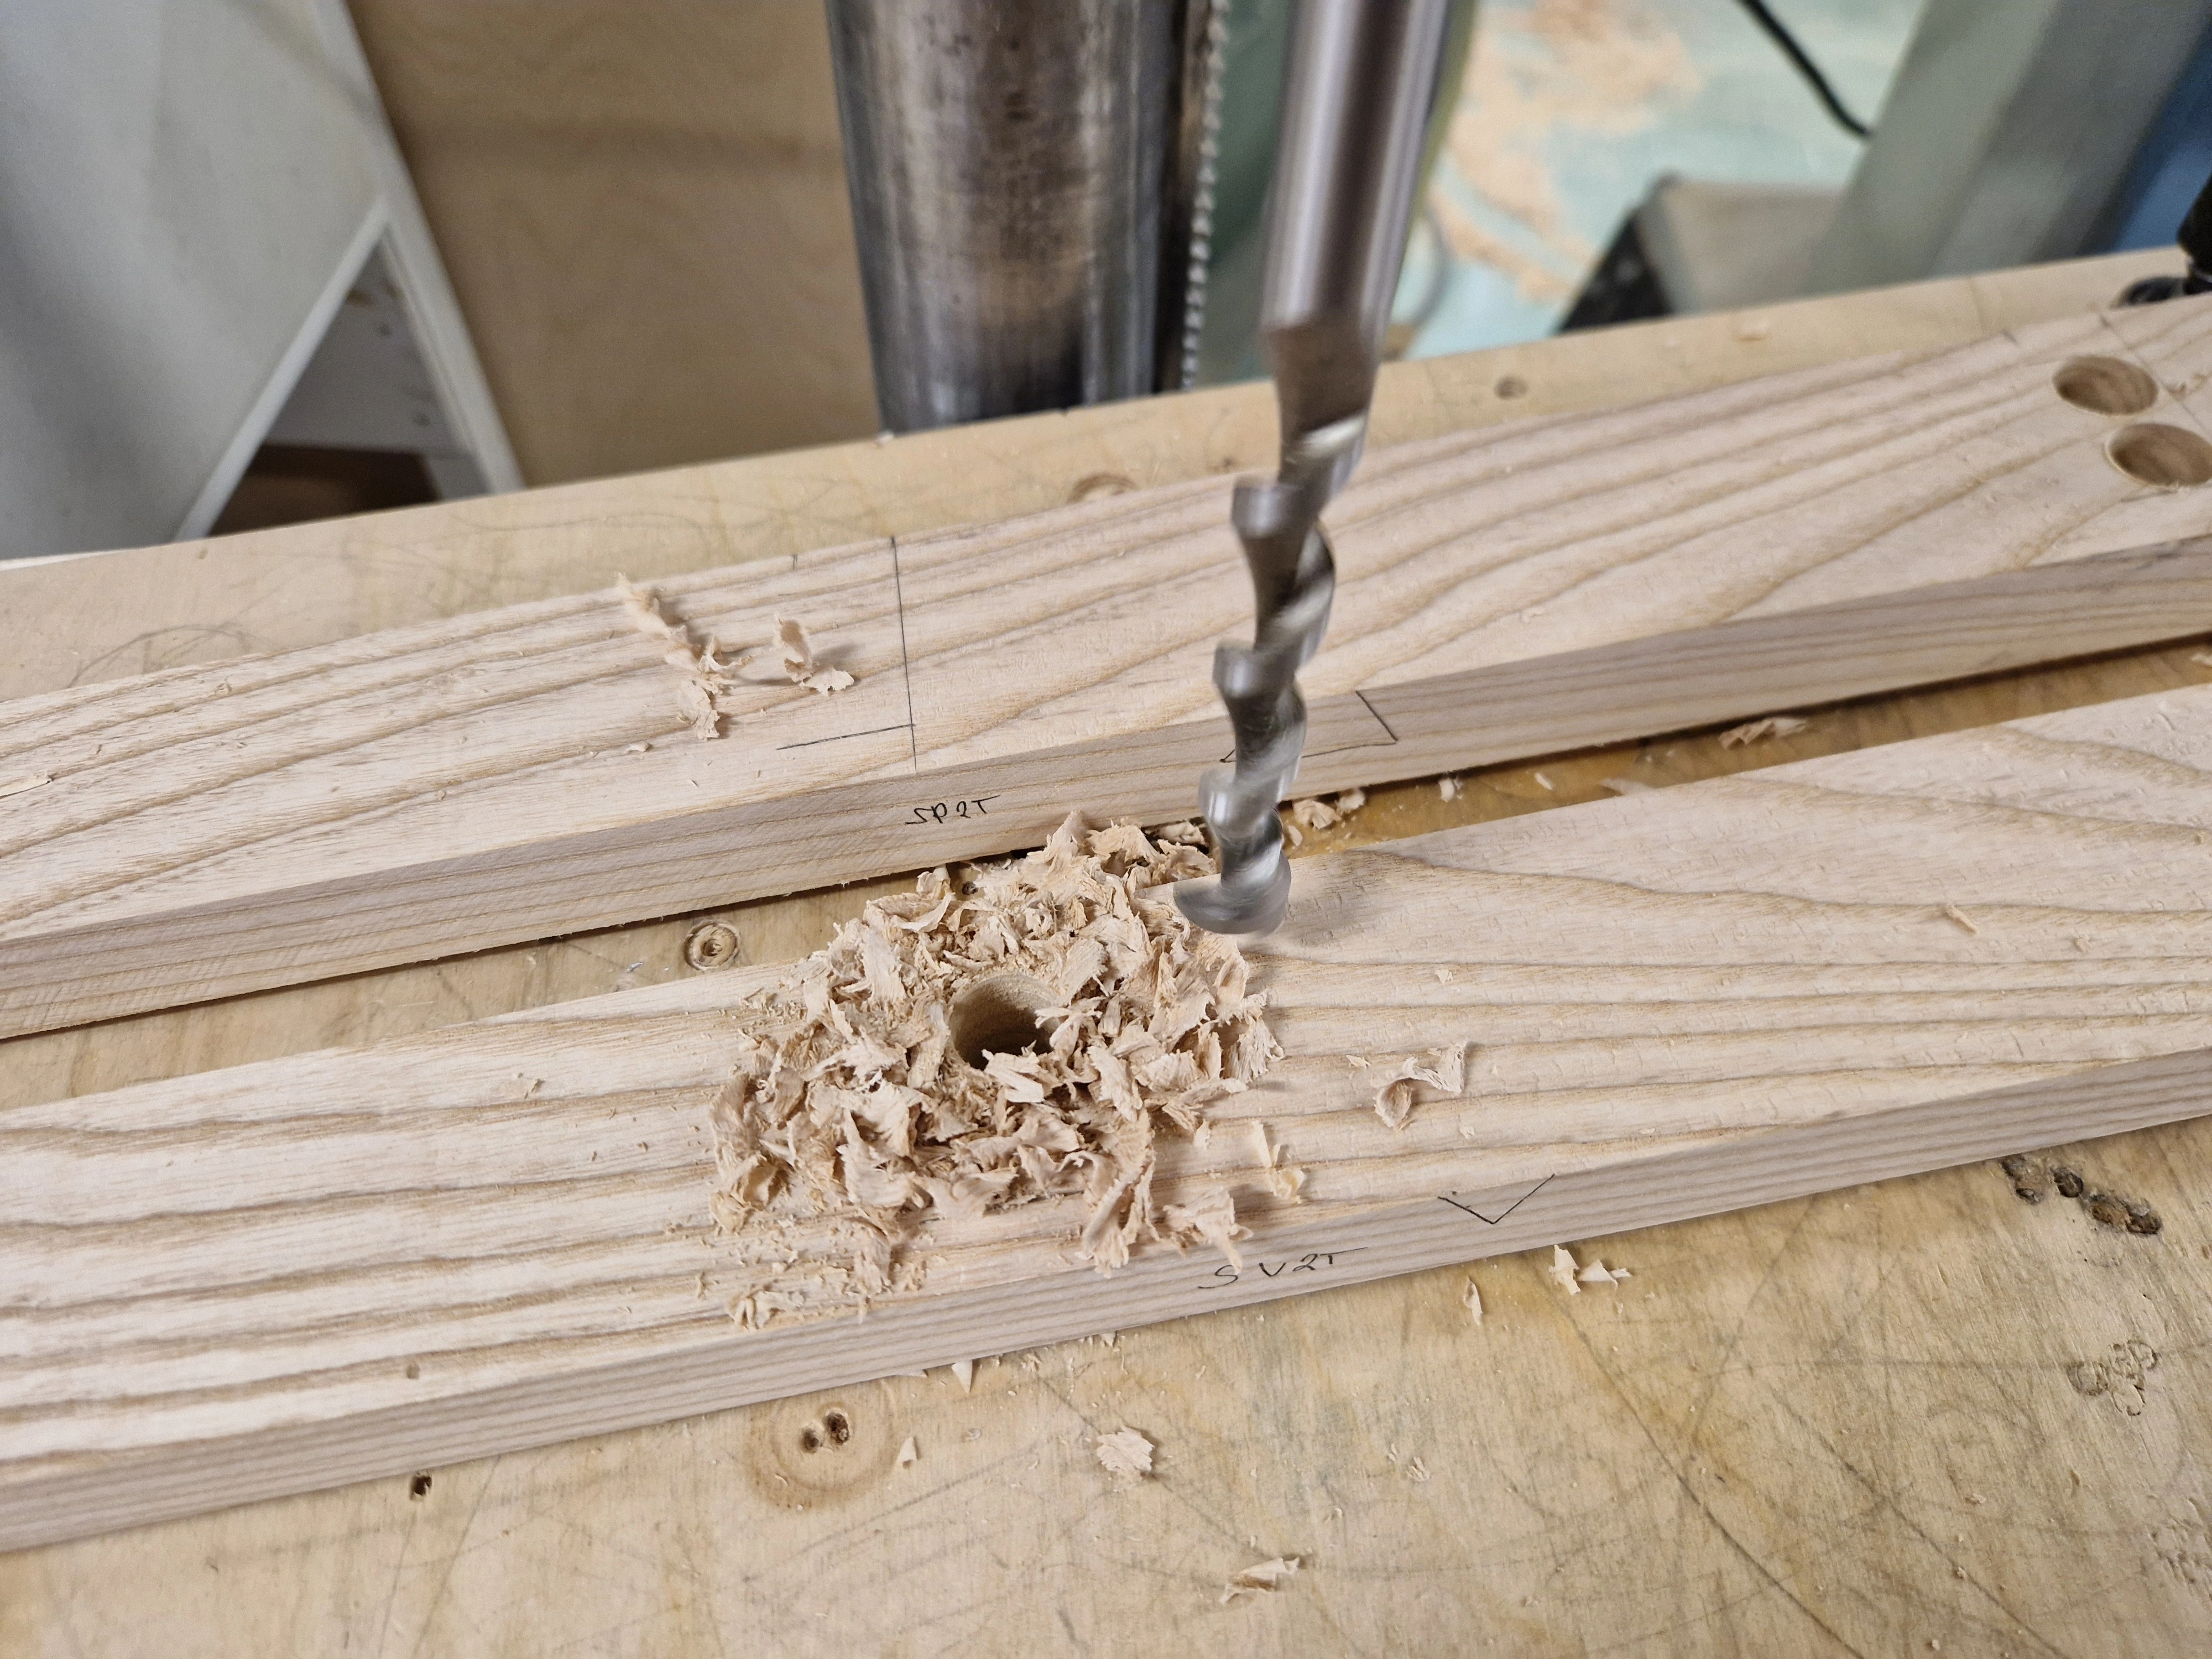
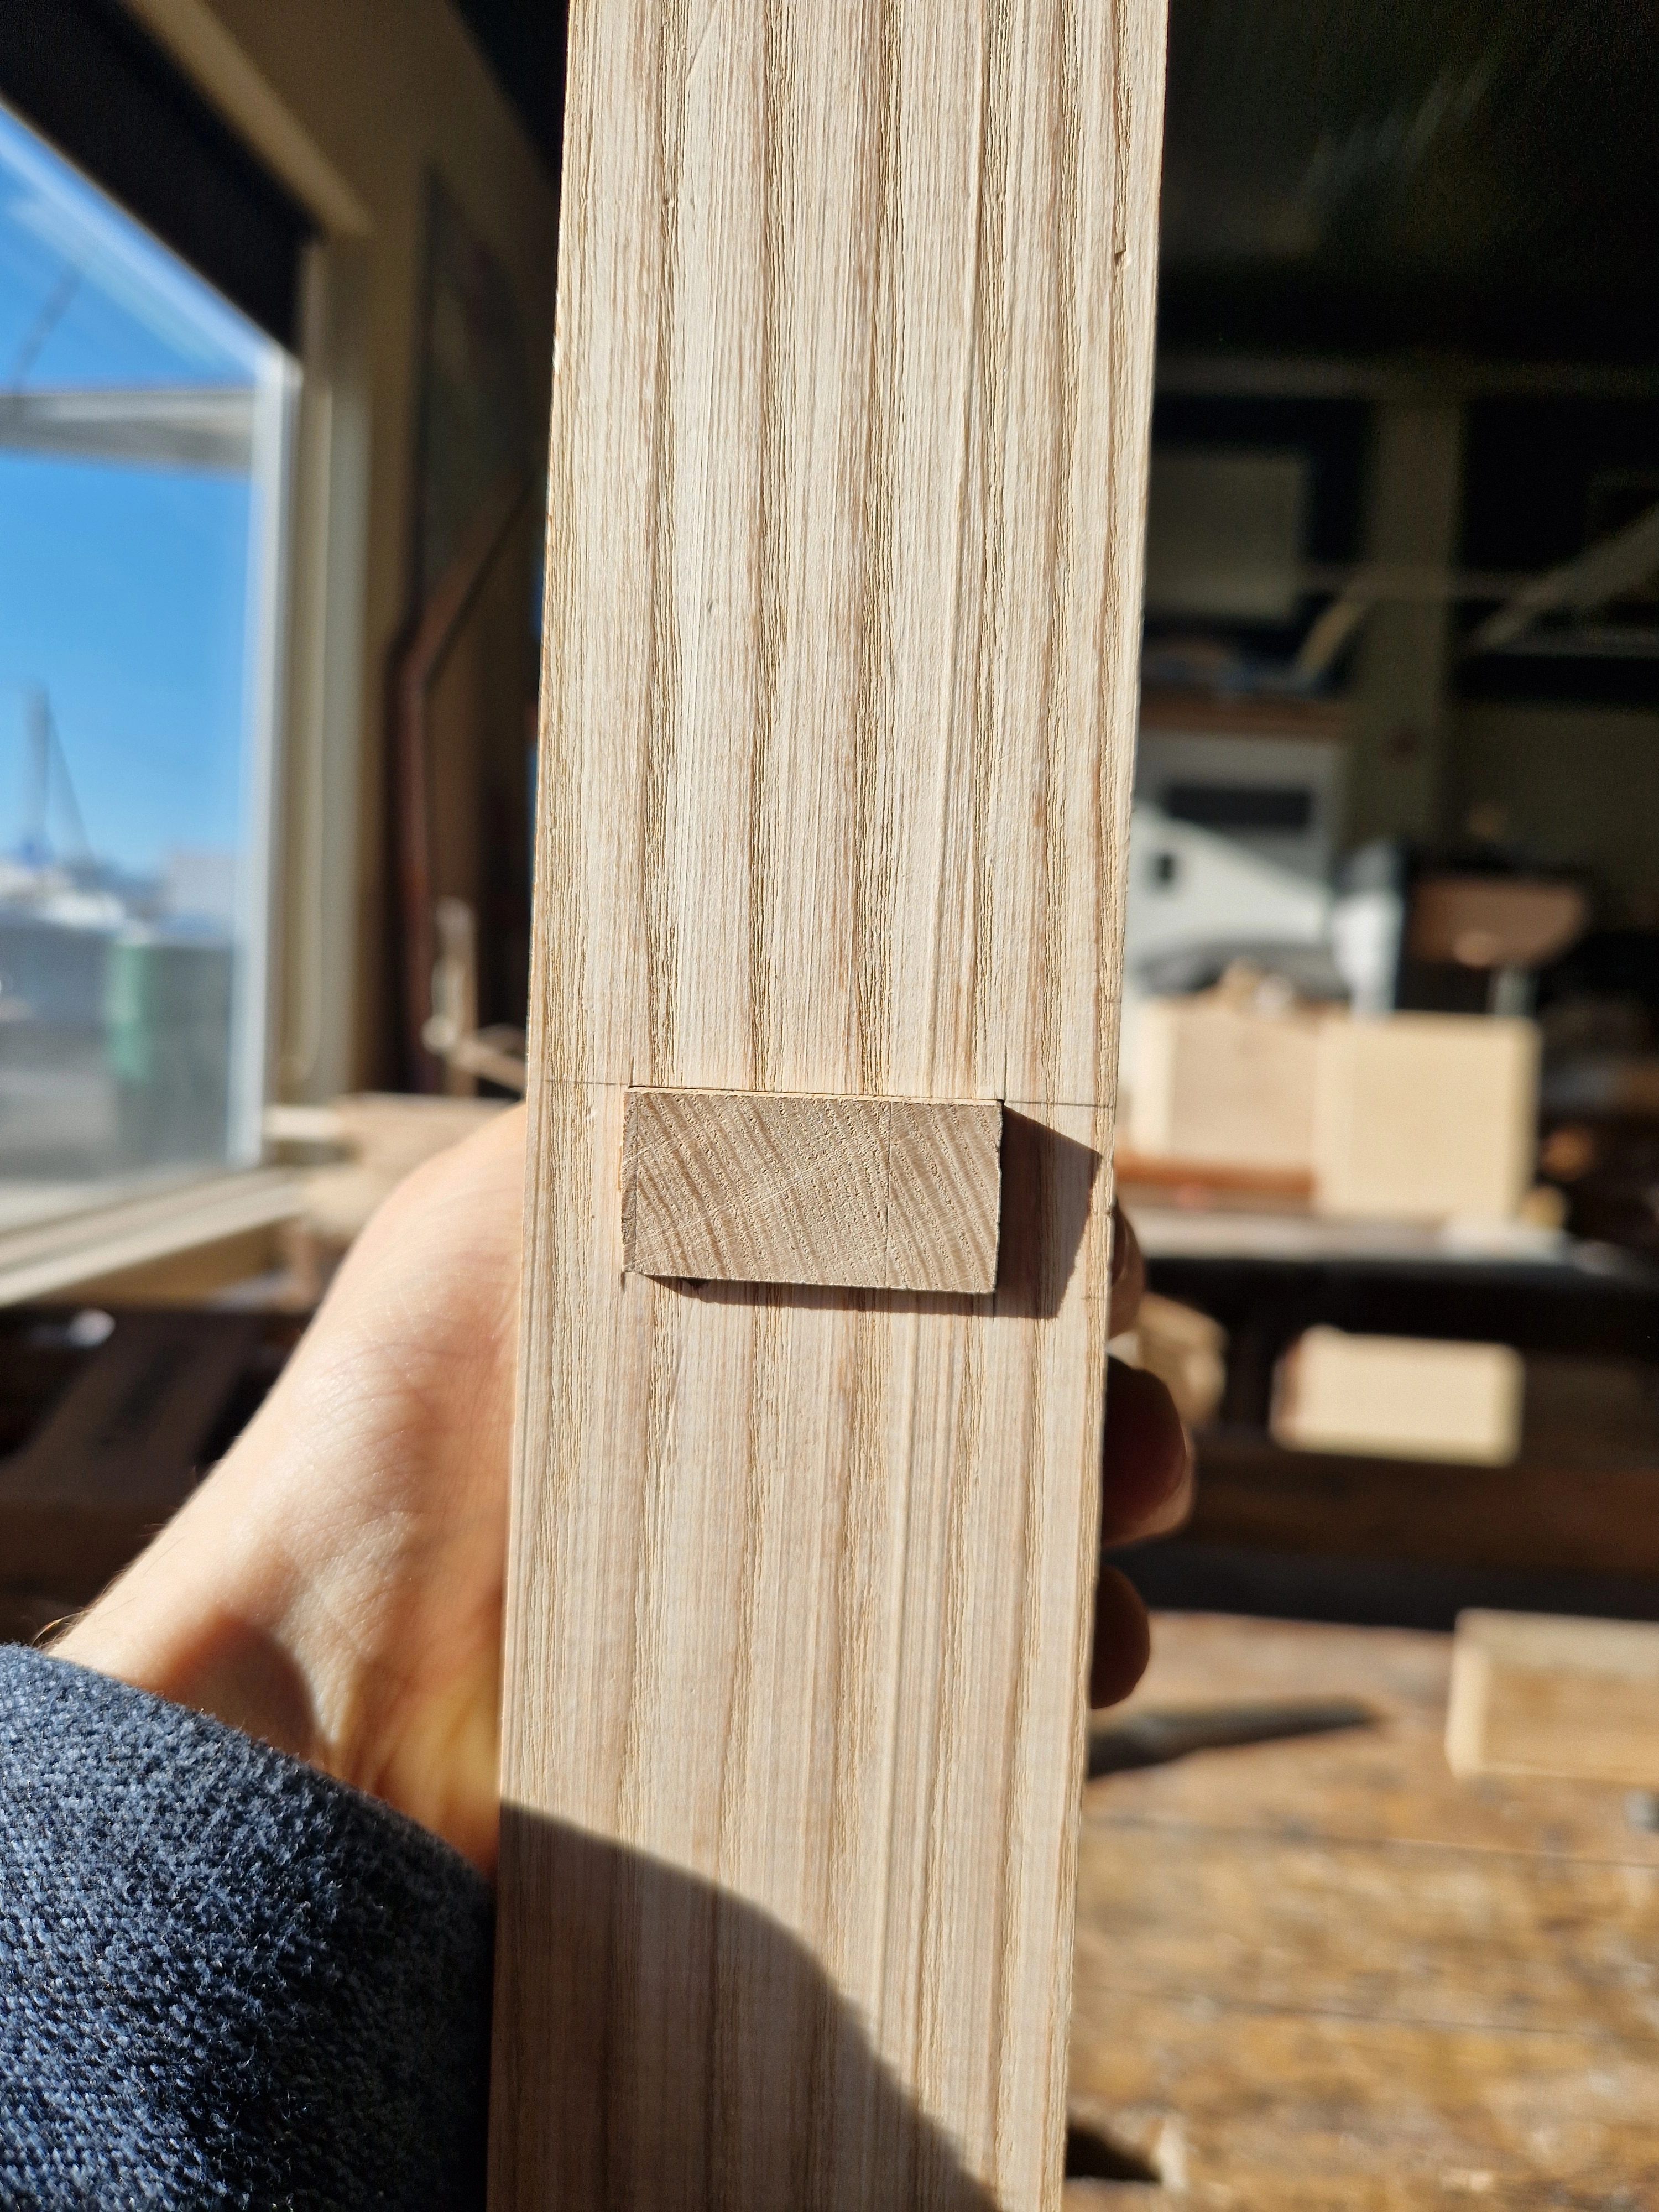
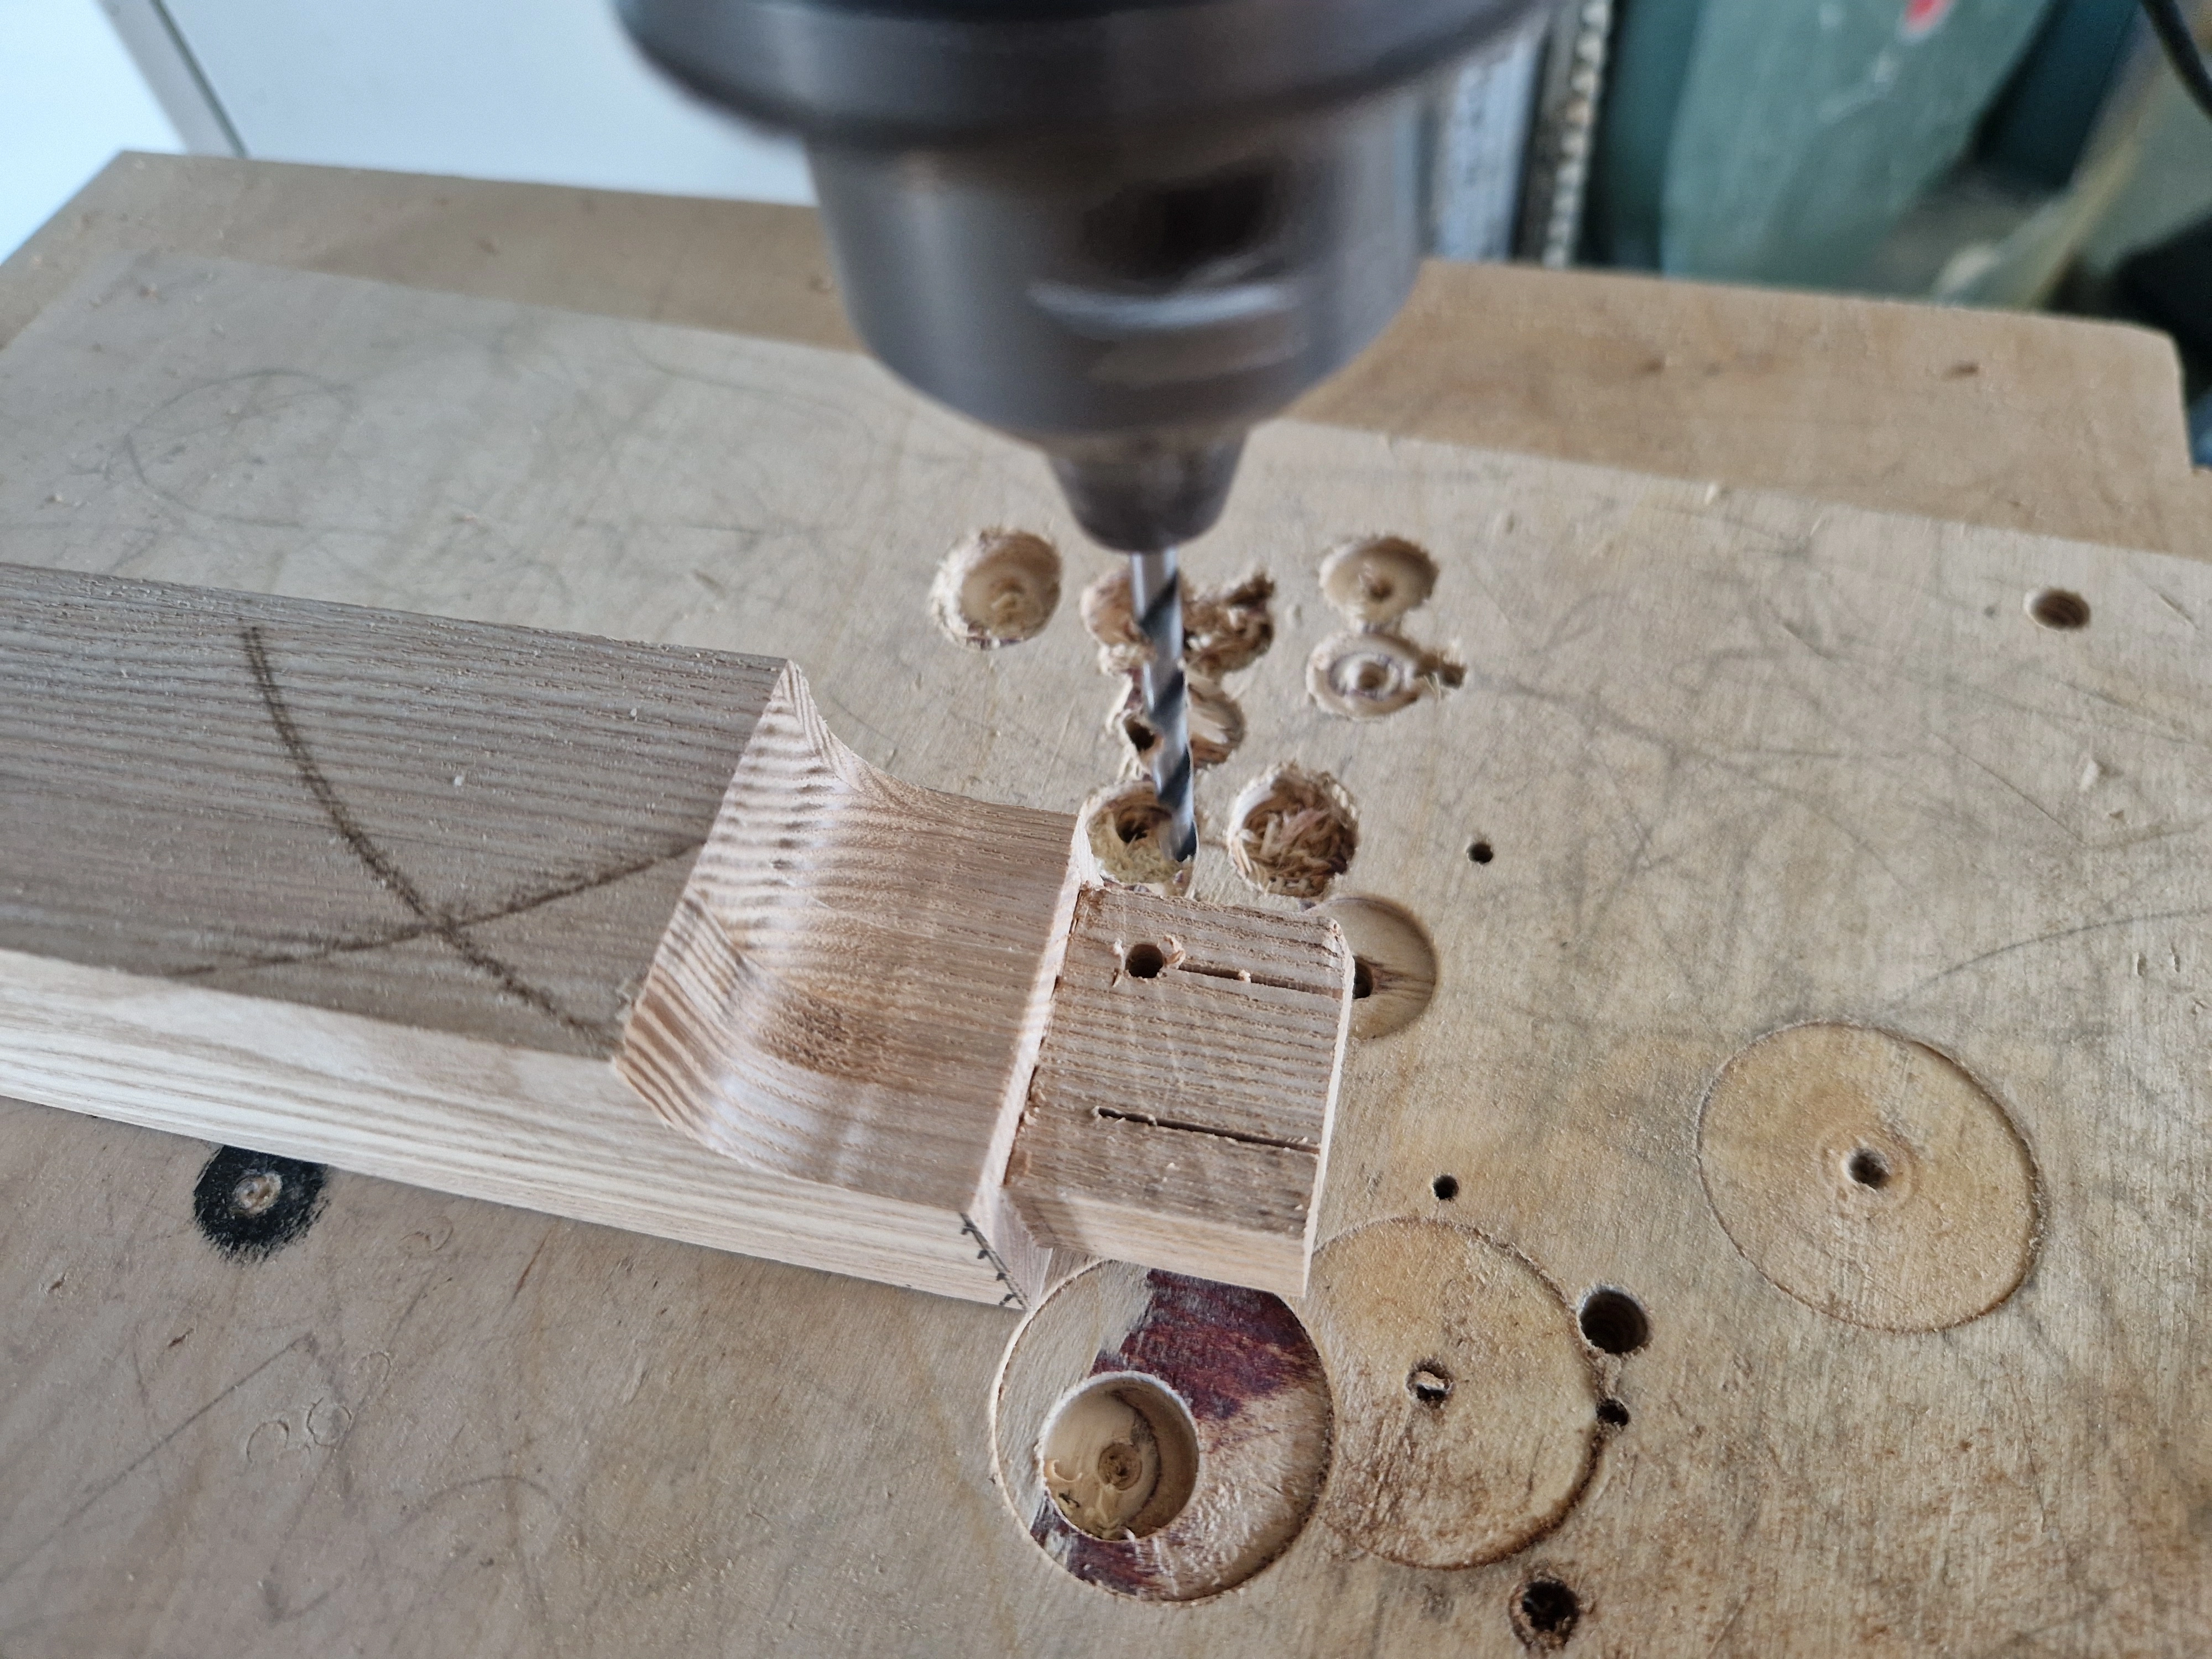
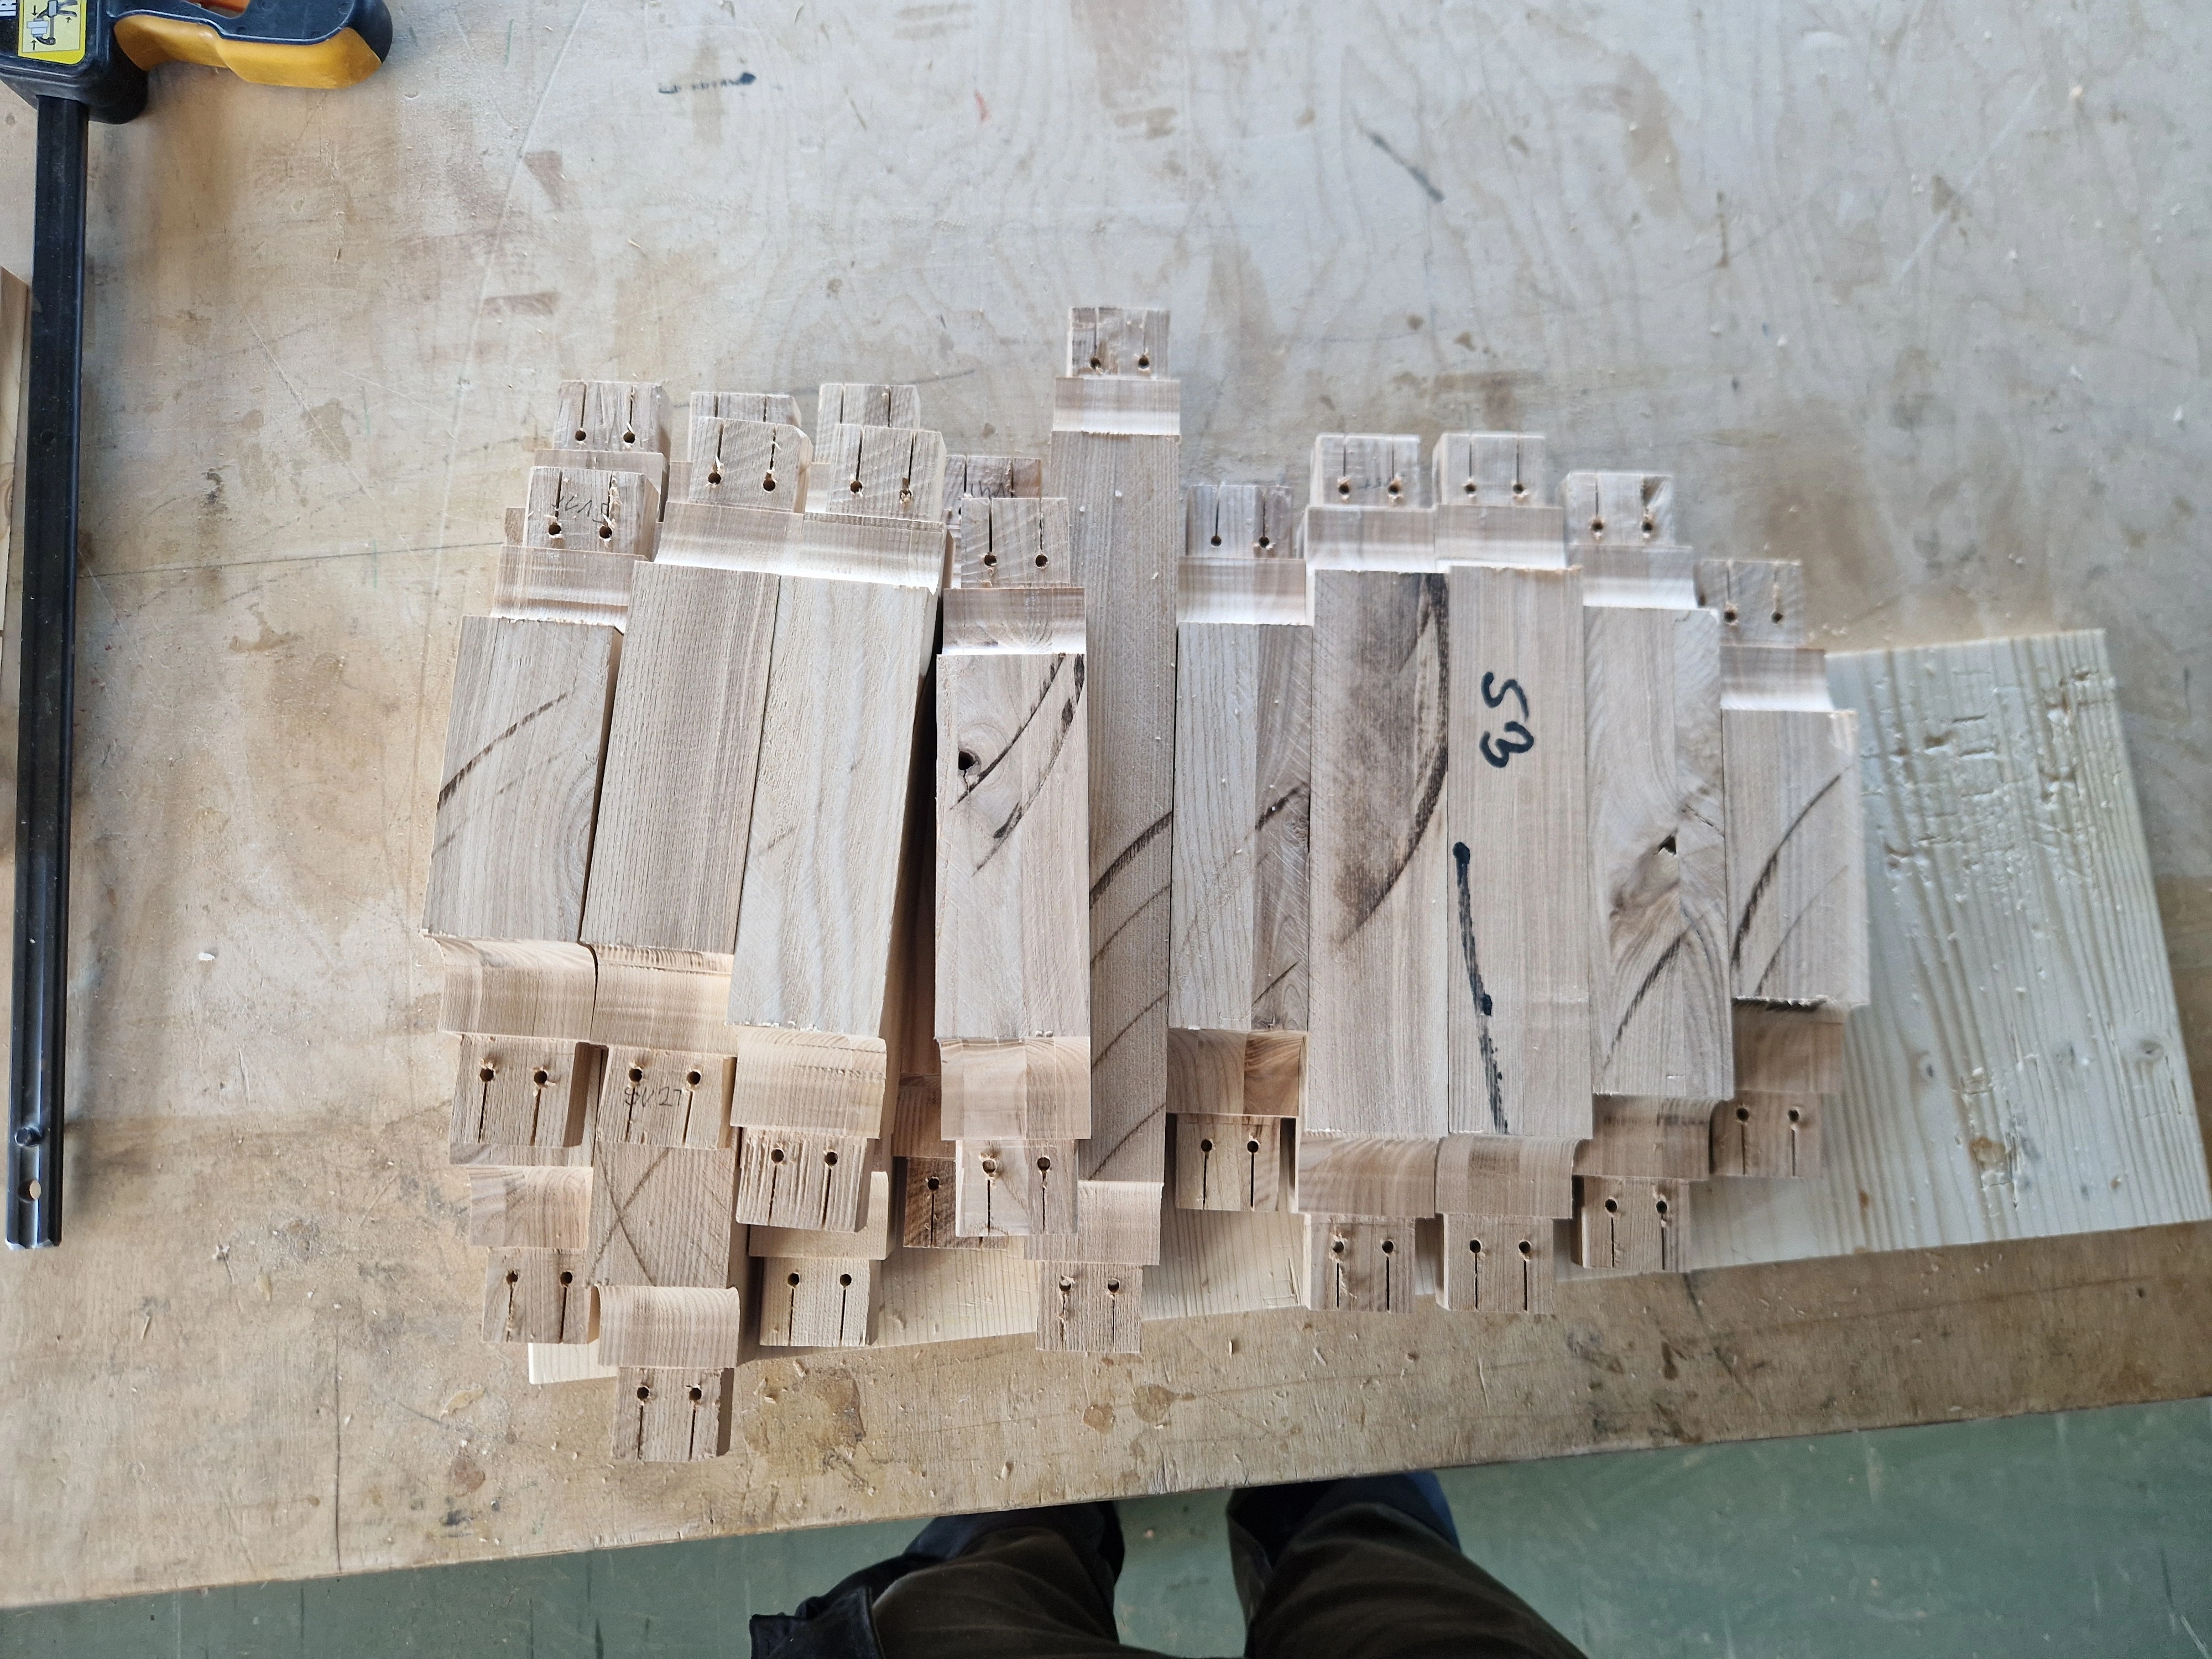
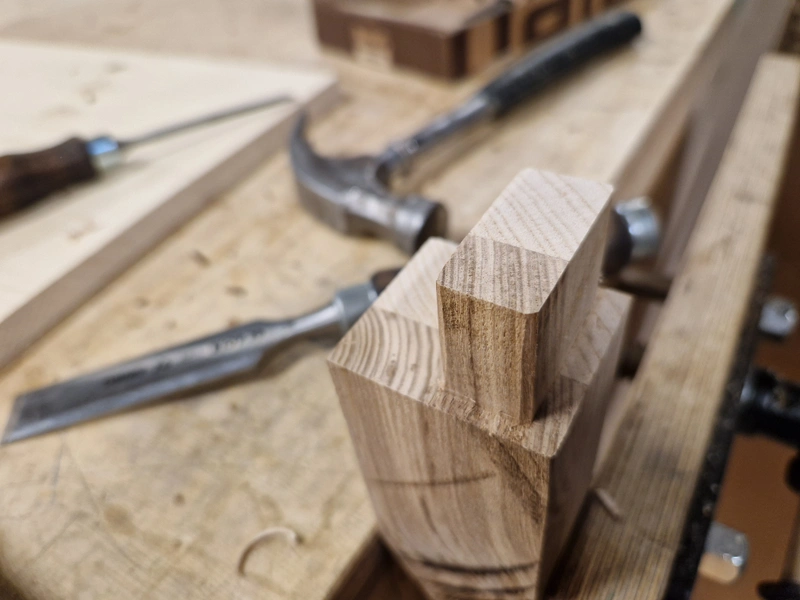
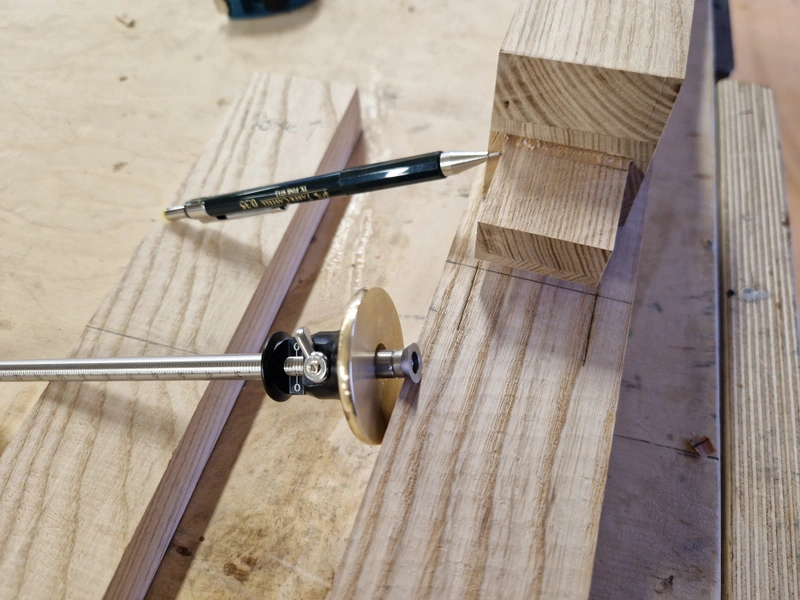
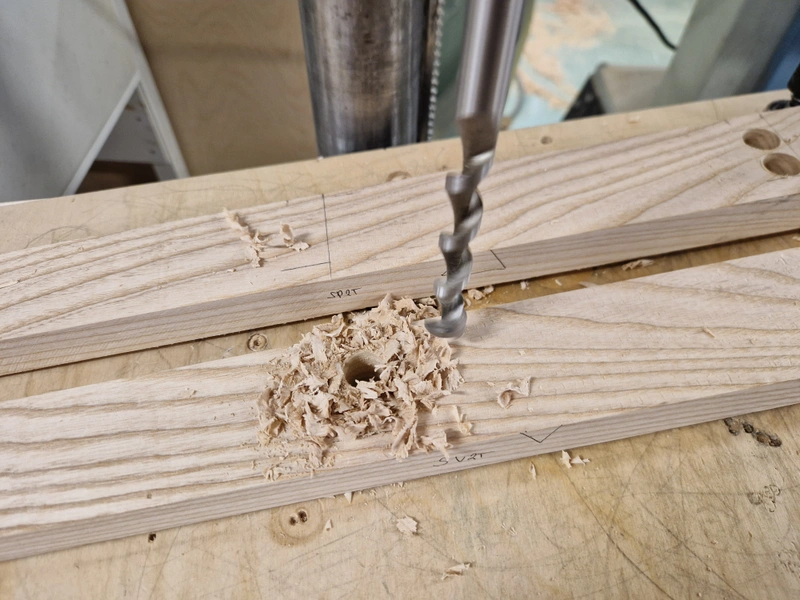
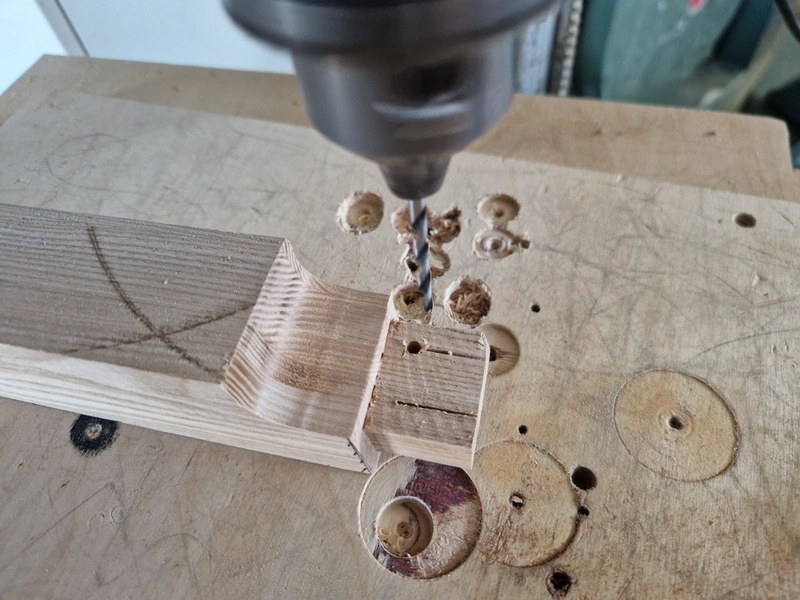
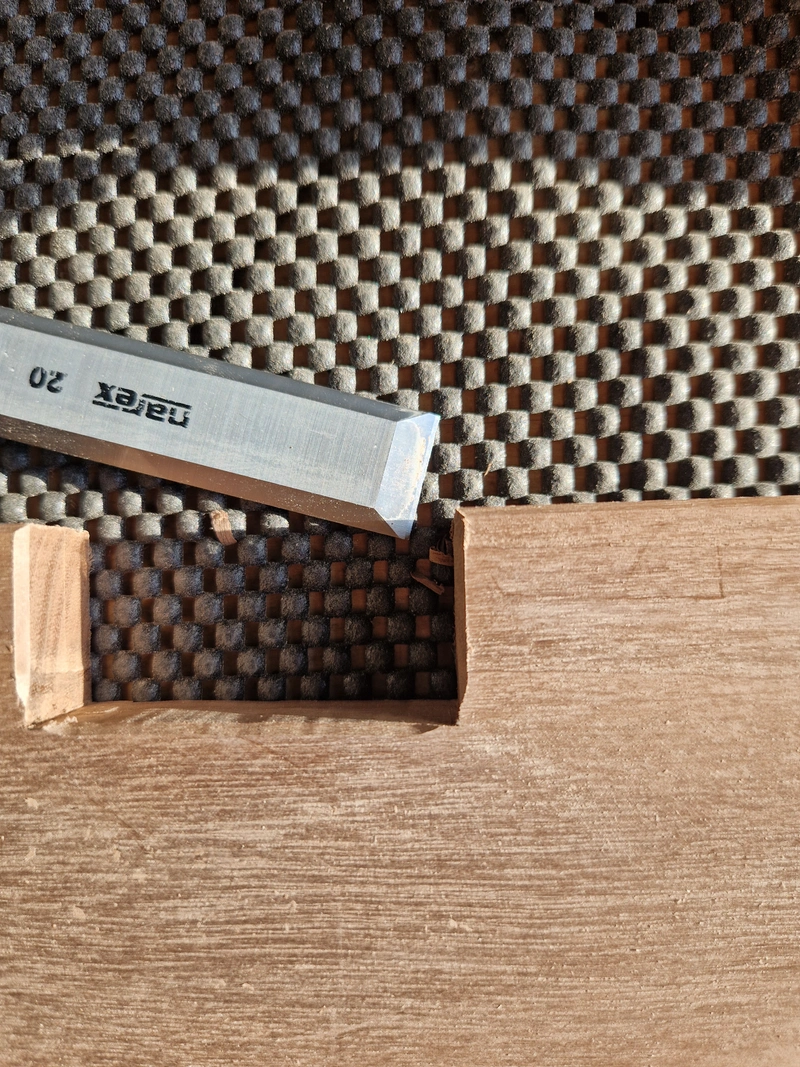
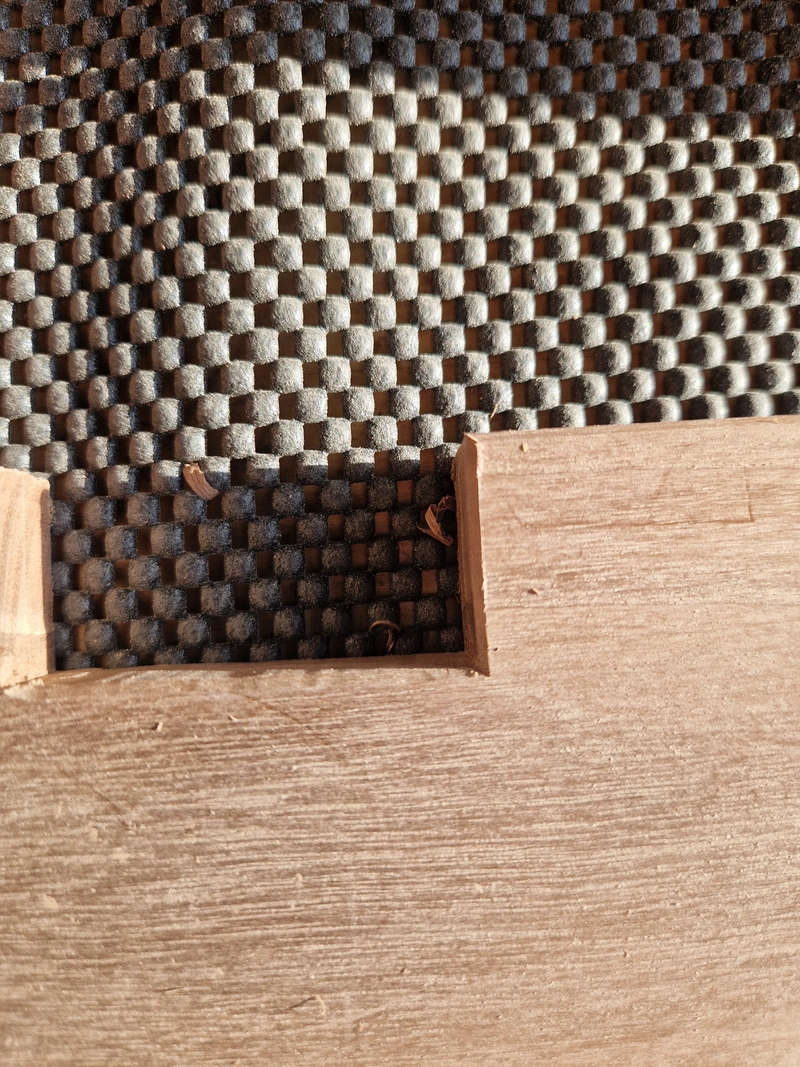
Using the mortises of the connectors, aligned them on the board and used a marking knife and wheel gauge to mark the correct spots. Cut out excess material with a drill and chiseled the sides. As a smart man once said, if you want to learn how to chisel mortises, make a bookshelf requiring you to cut 28 of them. By the 28th I was quite satisfied with the results, although ash is quite difficult to chisel without tear-out. The damage can be minimized by taking it extremely slow and careful, but for fast and clean results the tools must be very sharp and consistently sharpened throughout the project.


1 / 7
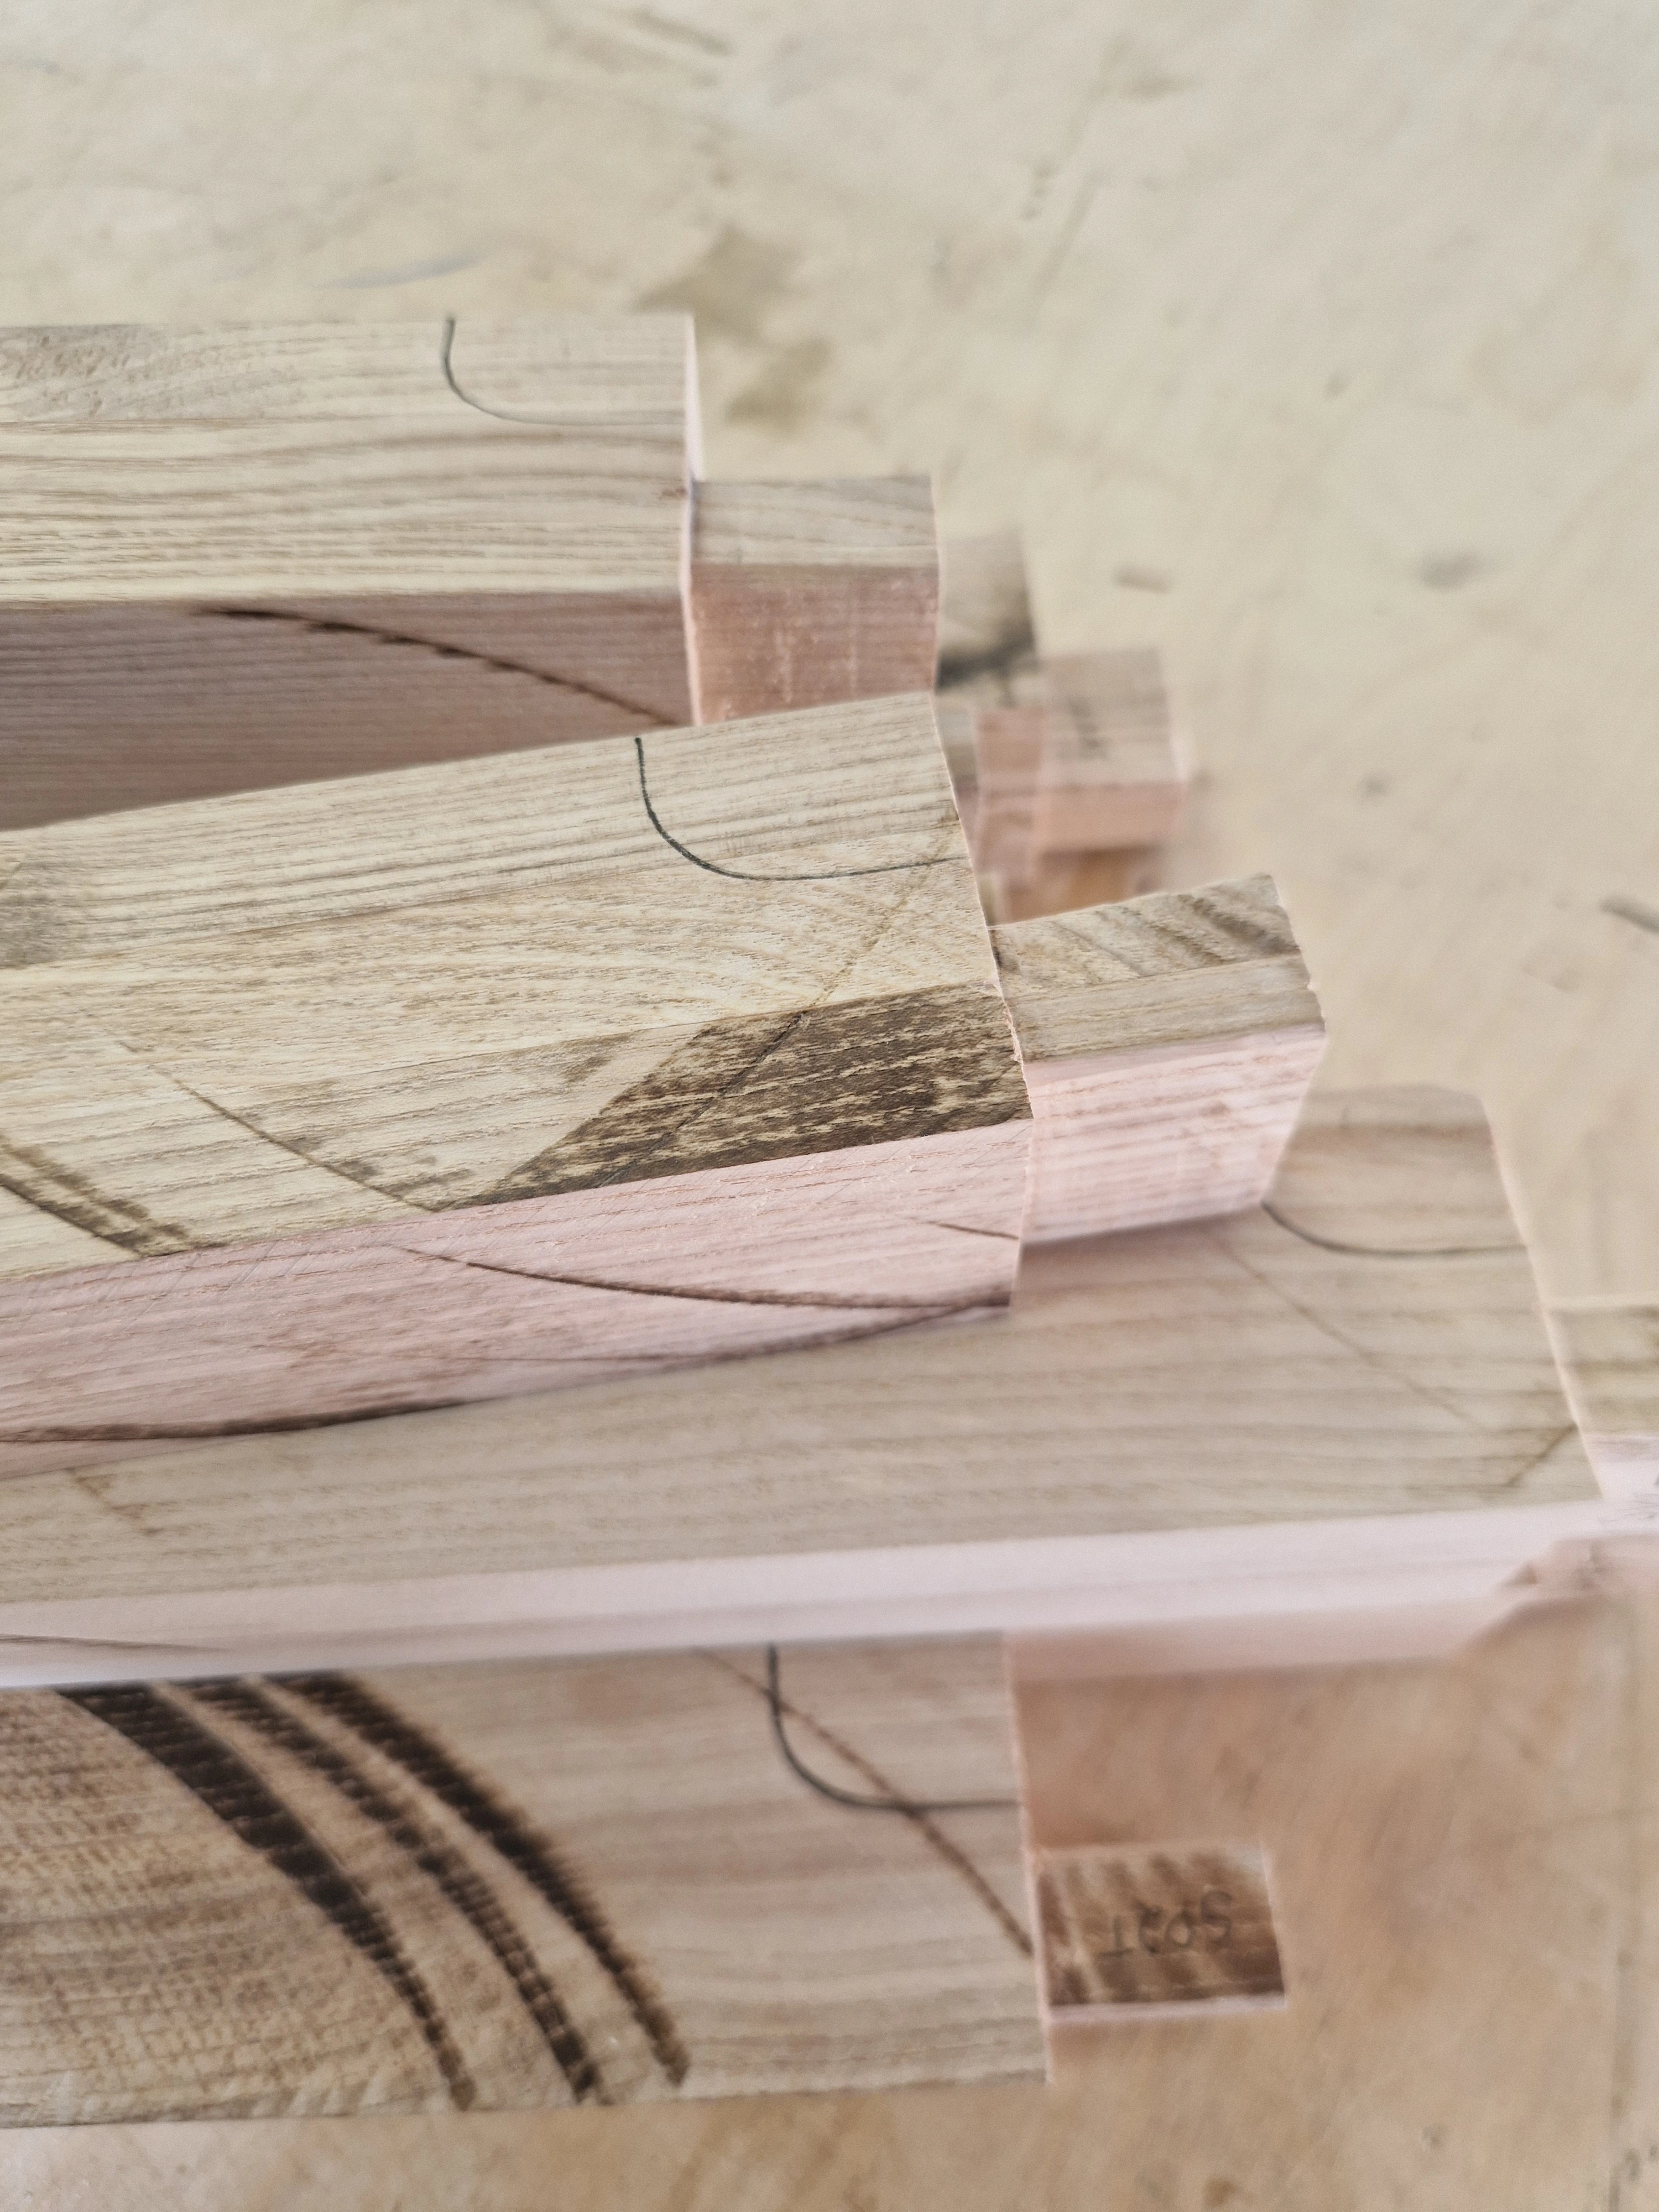
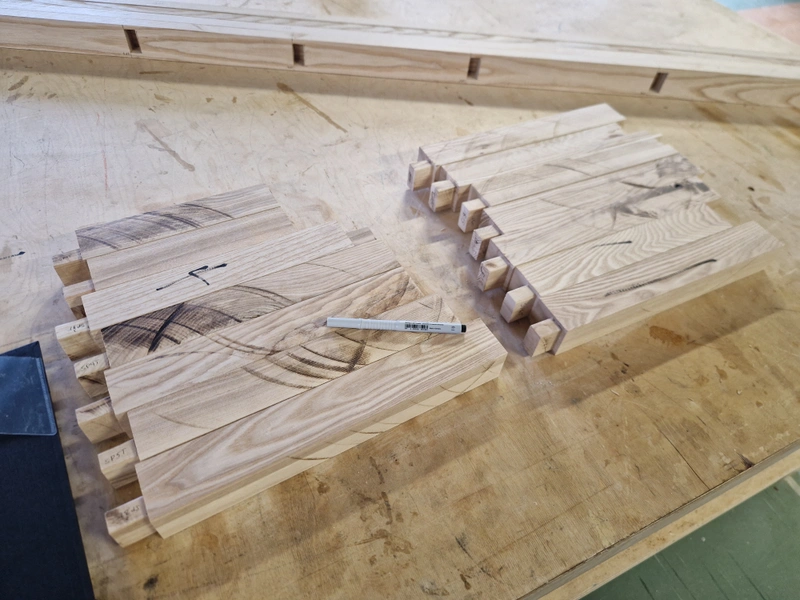
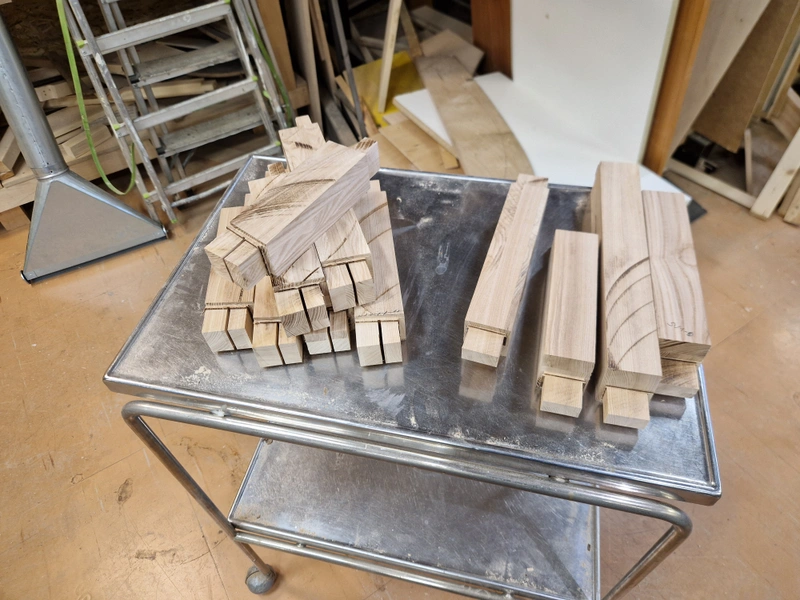
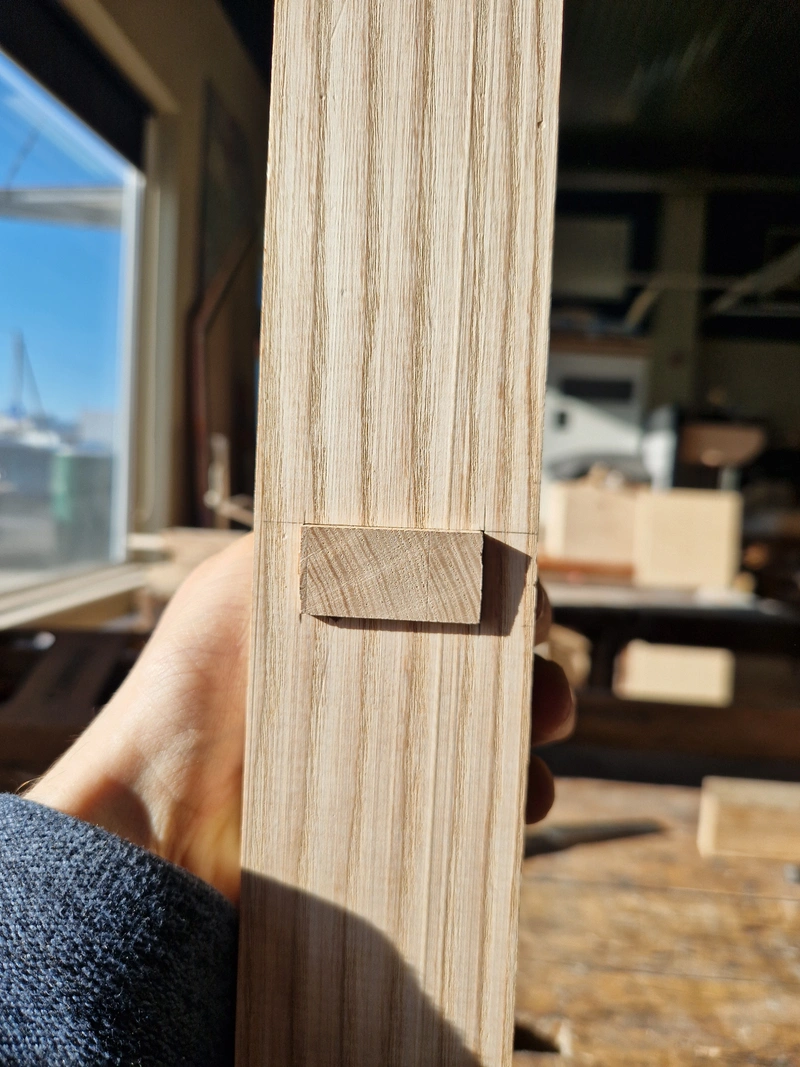
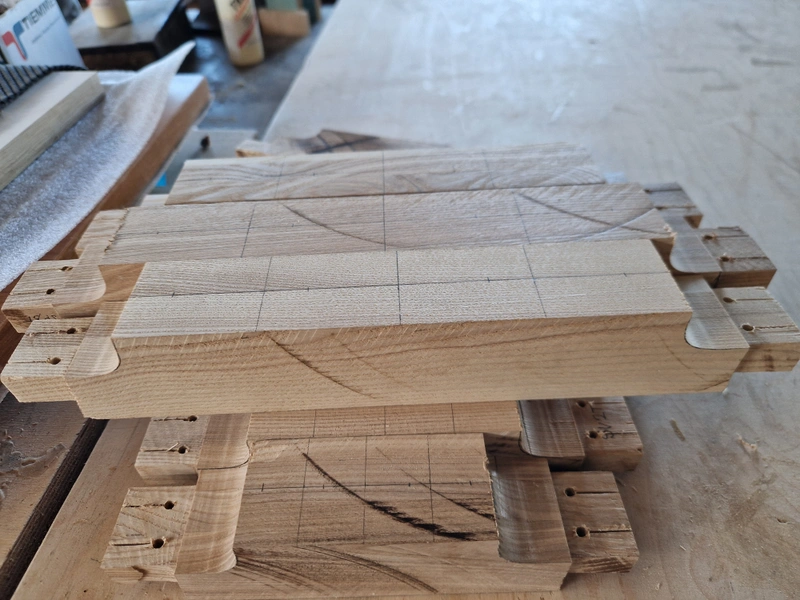
So far the work has been on the upright legs, meaning the mortises and tenons were all 90deg to each other. After validating the joints are adequate, I started working on the other side of the connectors, adding a 5 degree angle to the mortise. Now it was a matter of repeating all the work done up to this point, just in a 5 degree slope. Cut the mortises, marked the tenons on one side, marked them with the required deviation on the other side, drilled the excess, chiseled the mortise and ensured the fit is good. These were the last 14 joints and I was really getting the hang of it, while the first ones took me about 45 minutes per mortise, here I was flying through the process with about 15 minutes per mortise and much better results.


1 / 7
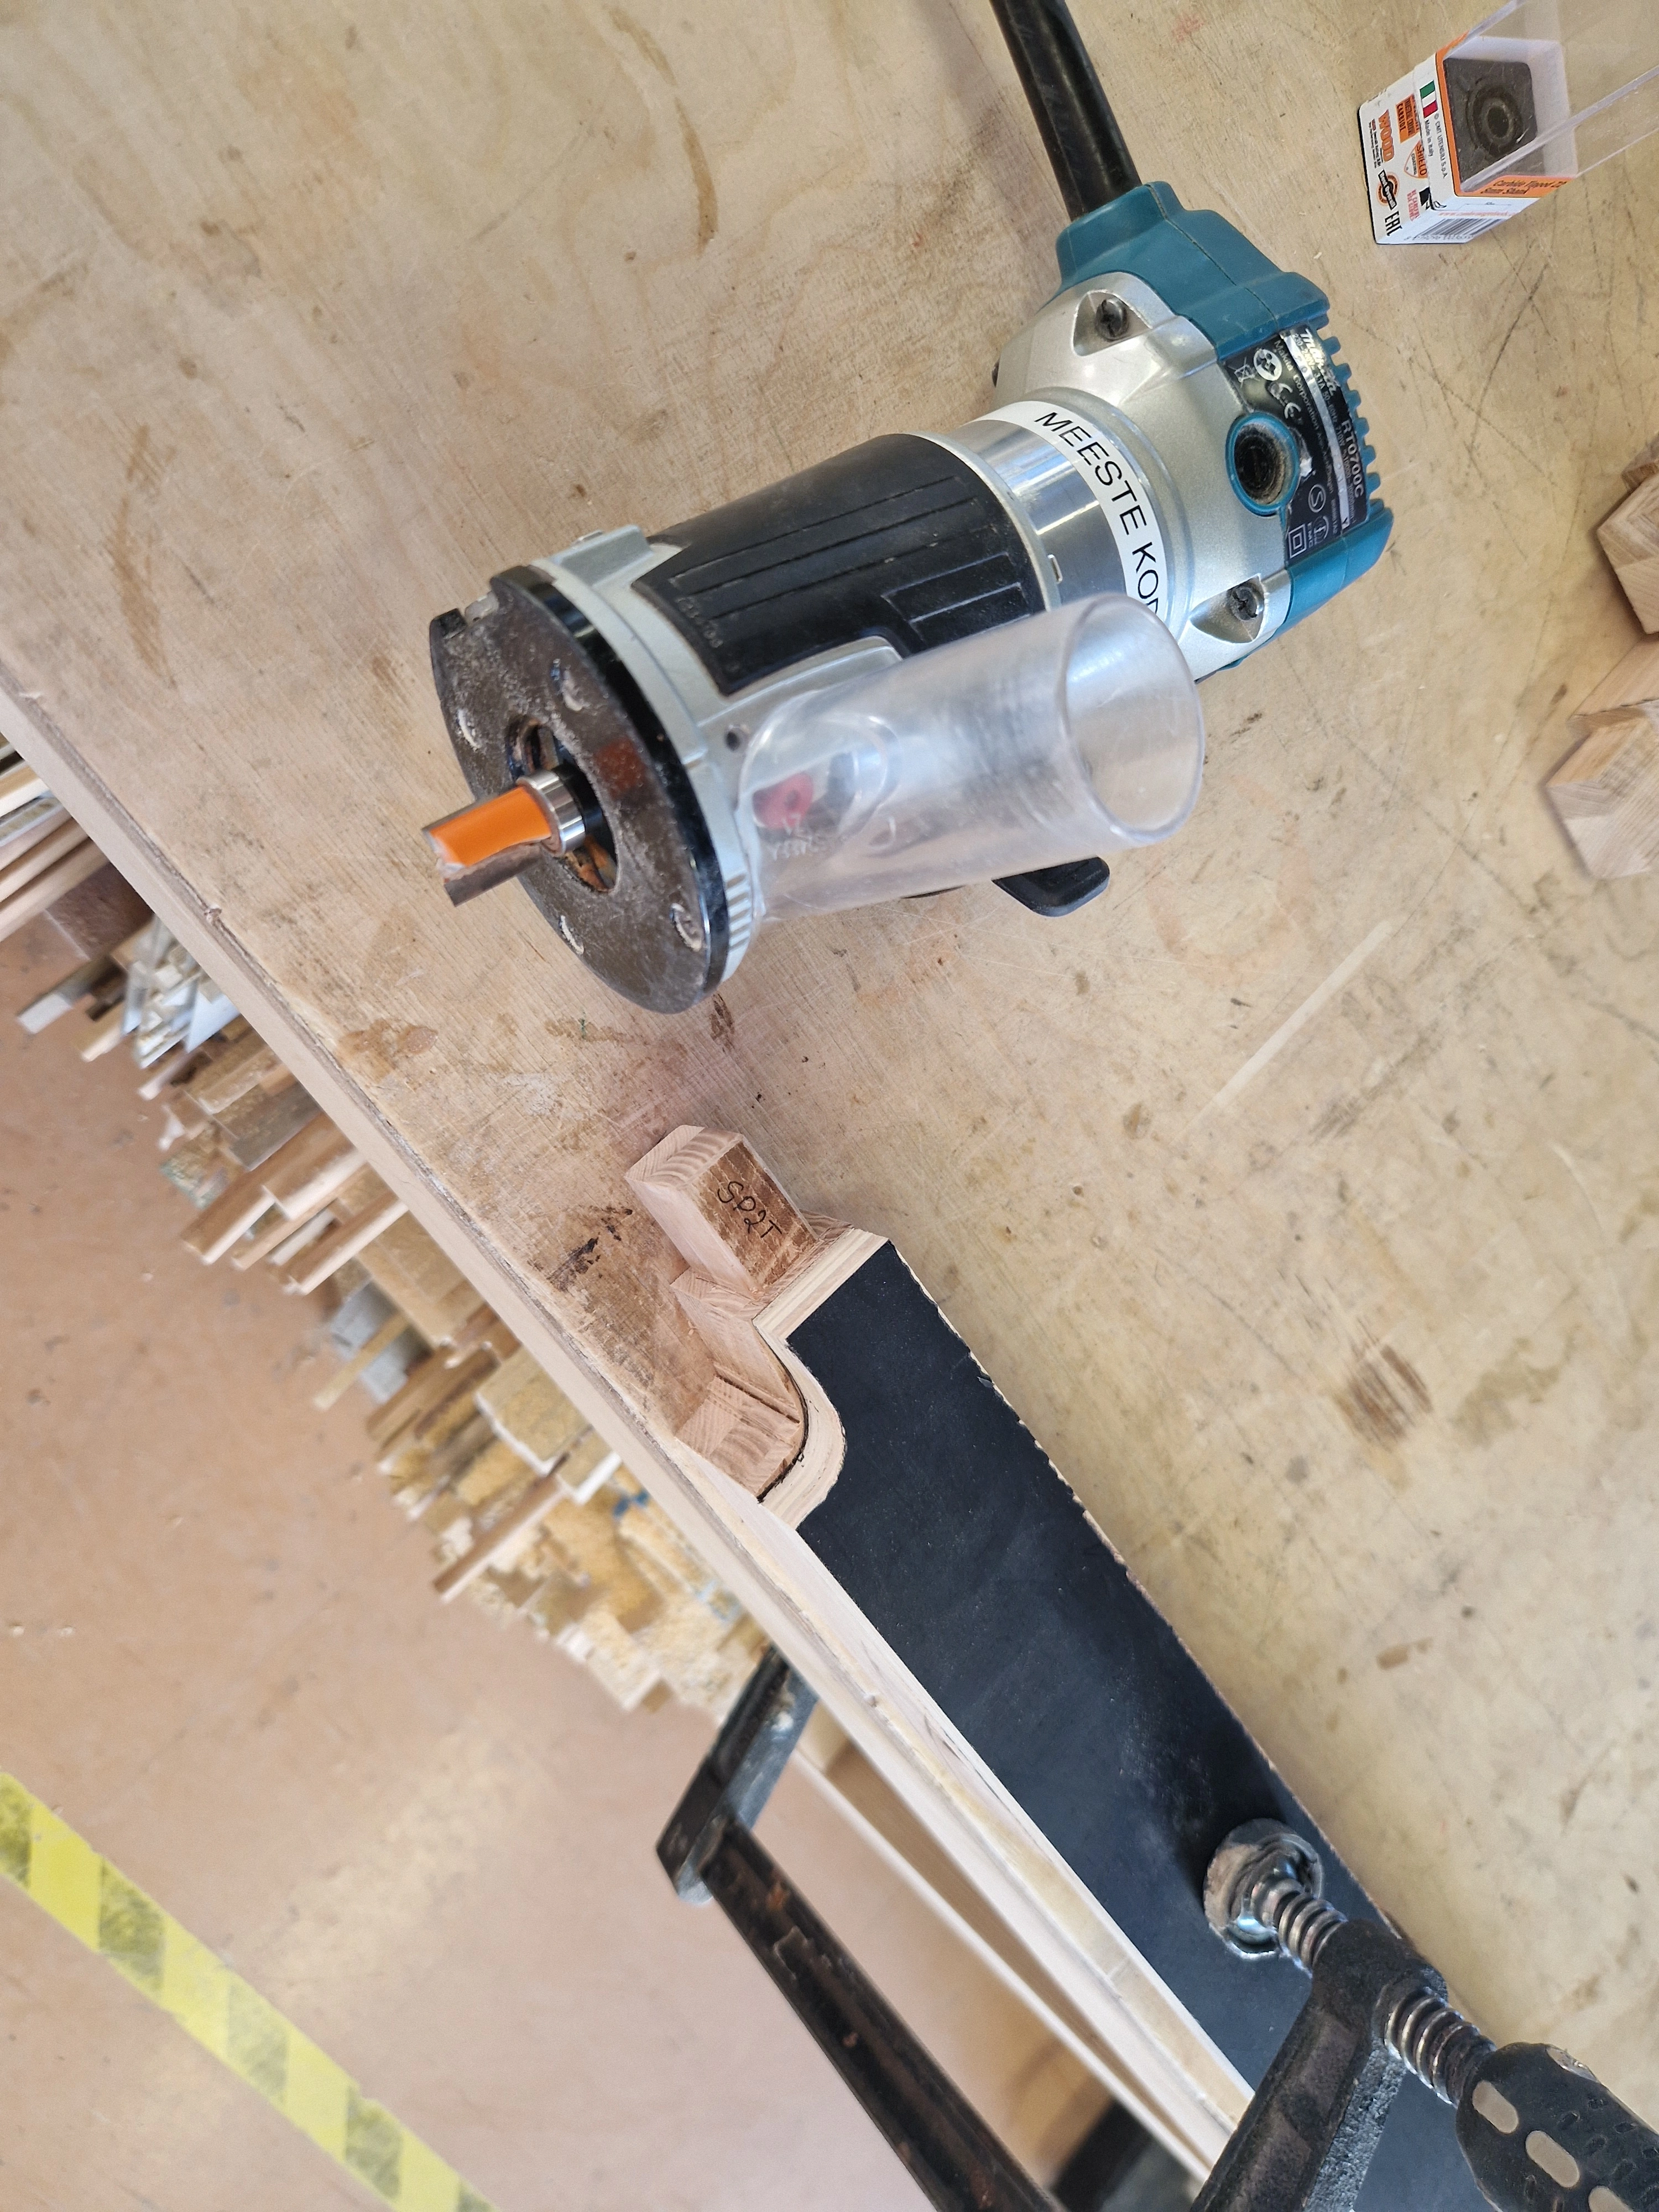
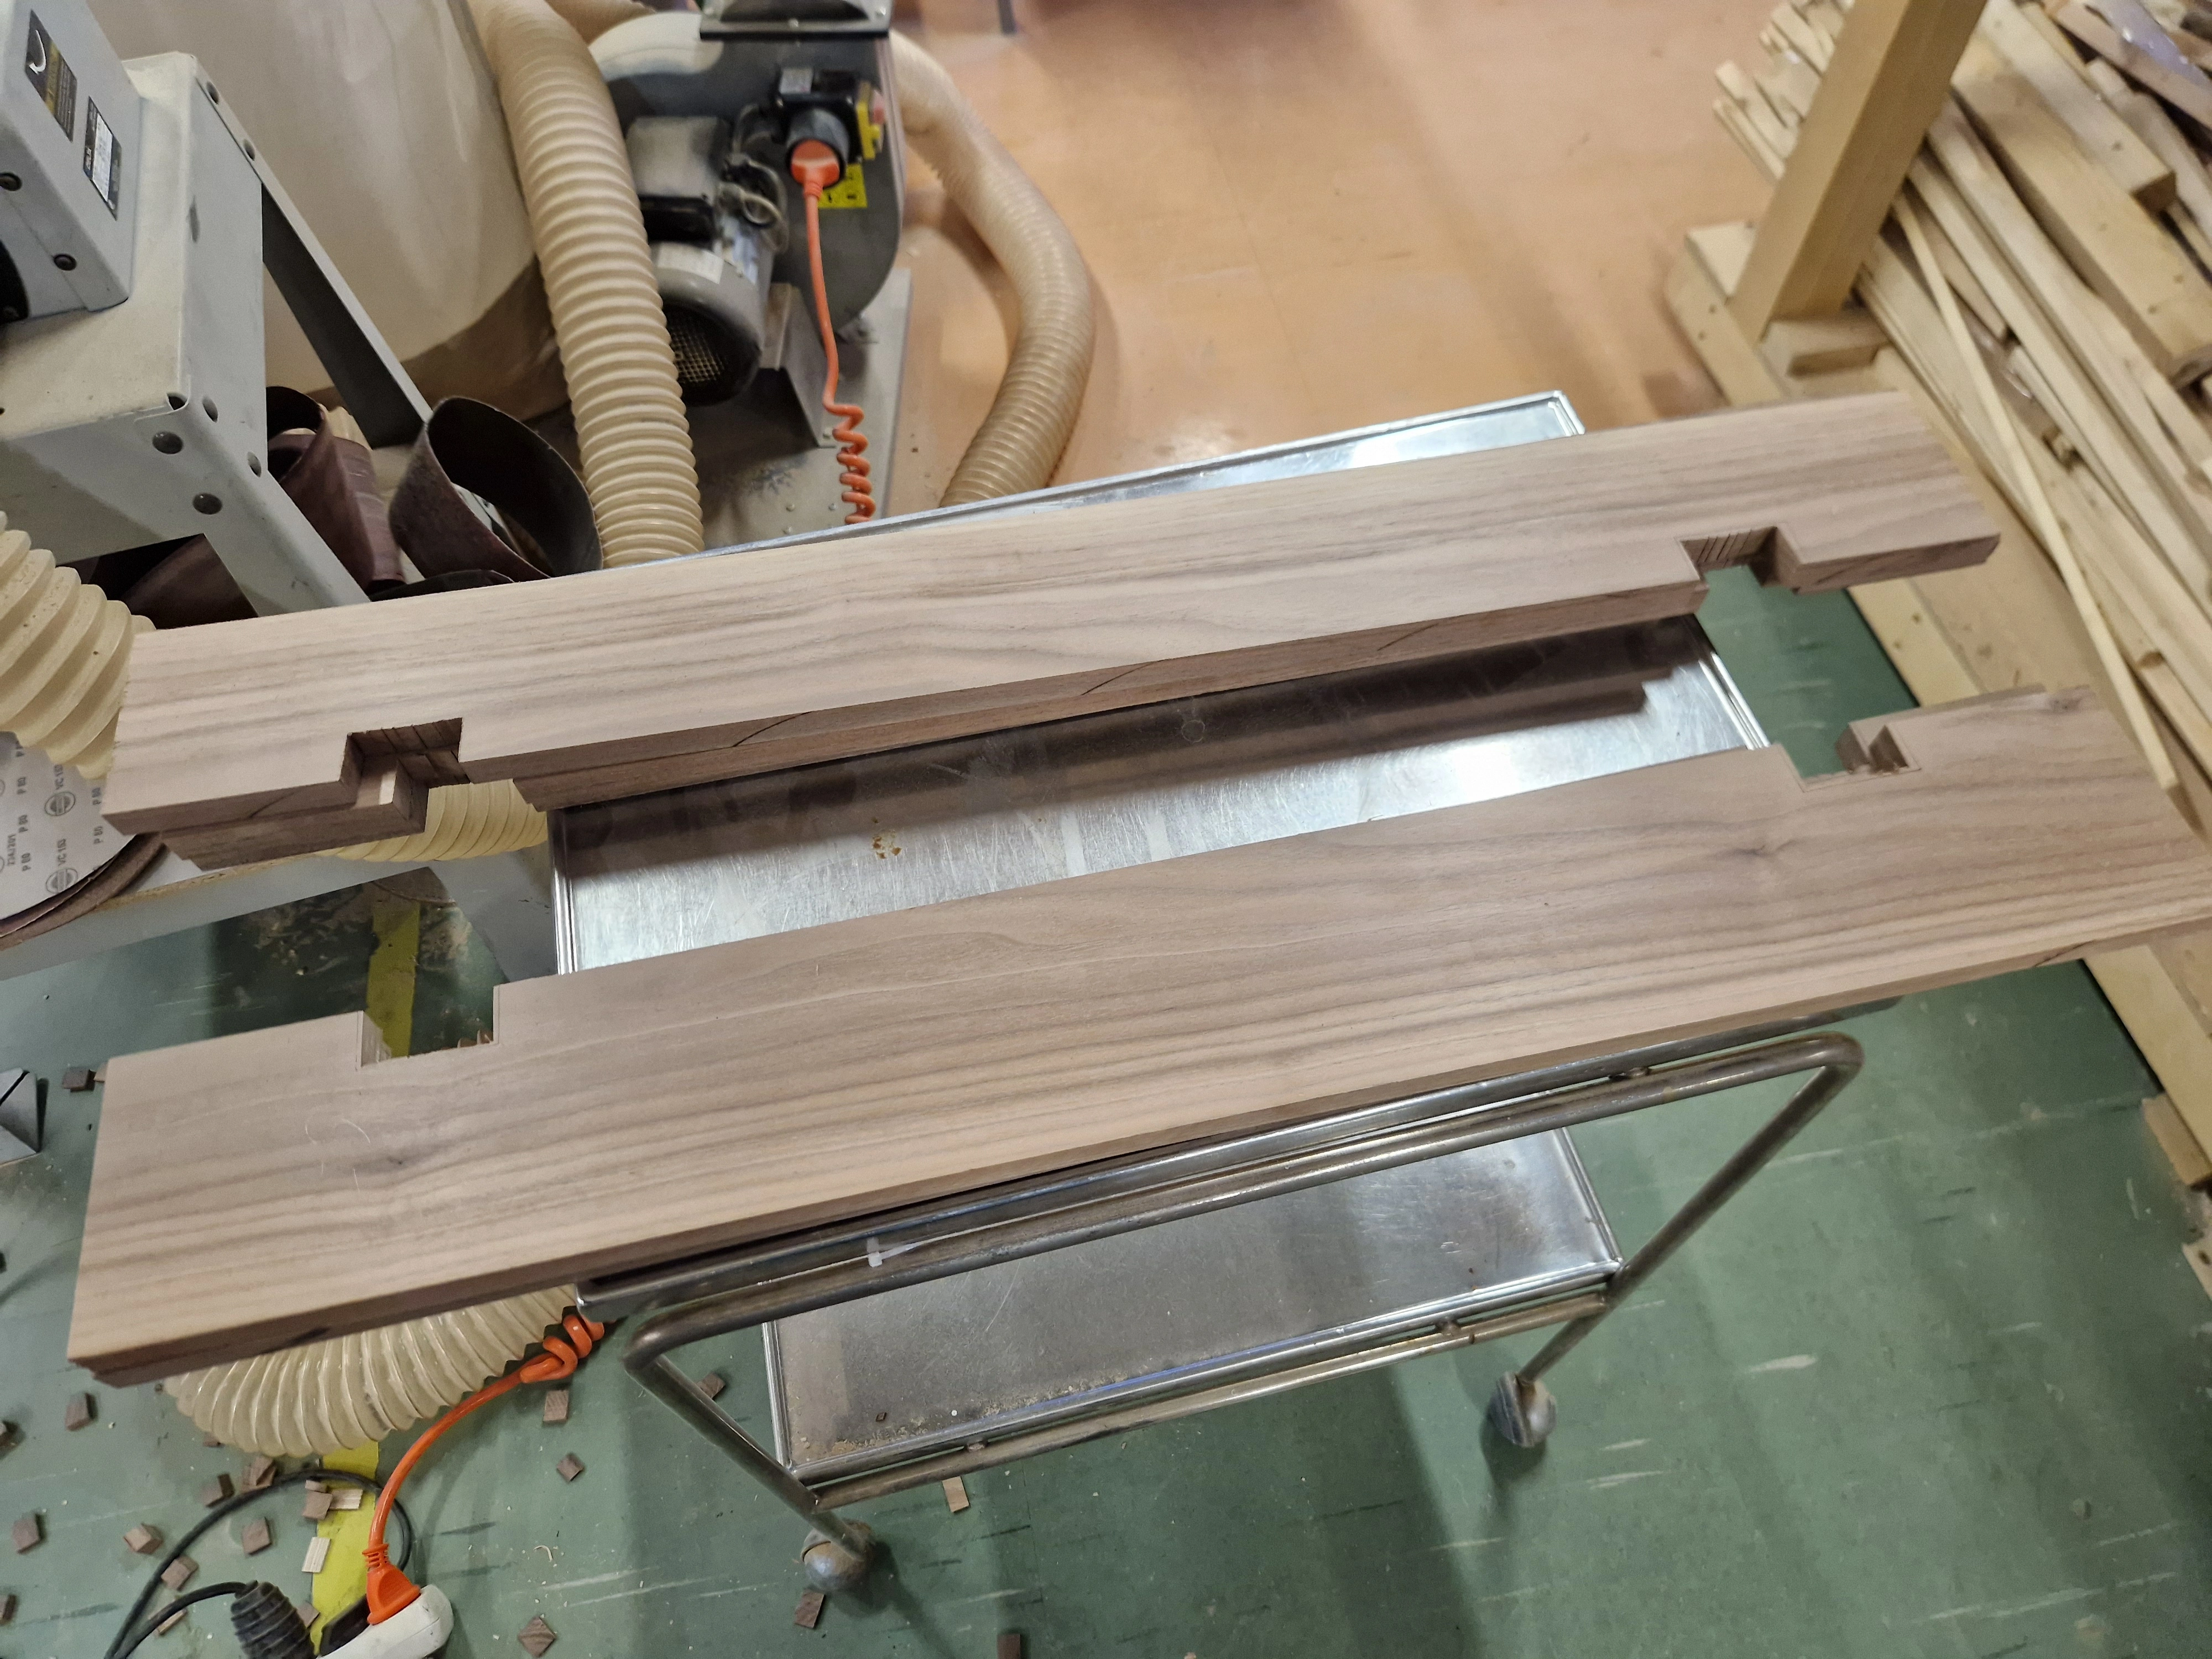
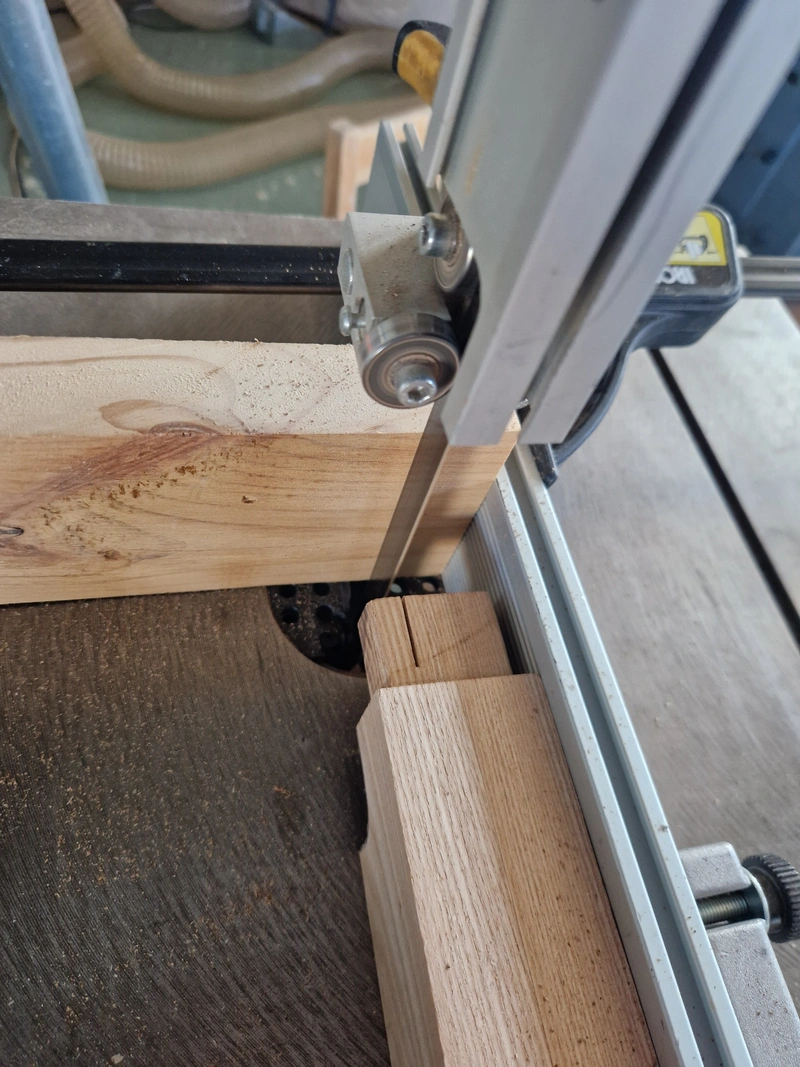
Used the template routing technique to cut the gaps into the sides of the connectors. Purely for aesthetic reasons, to reduce the weight of the design and make it look less bulky. Then I used the bandsaw to cut slots for wedges into the tenons and drilled pressure relief holes in the ends of the slots. This is to allow the wedge to drive in to the tenon without breaking or splitting the wood itself.


1 / 9
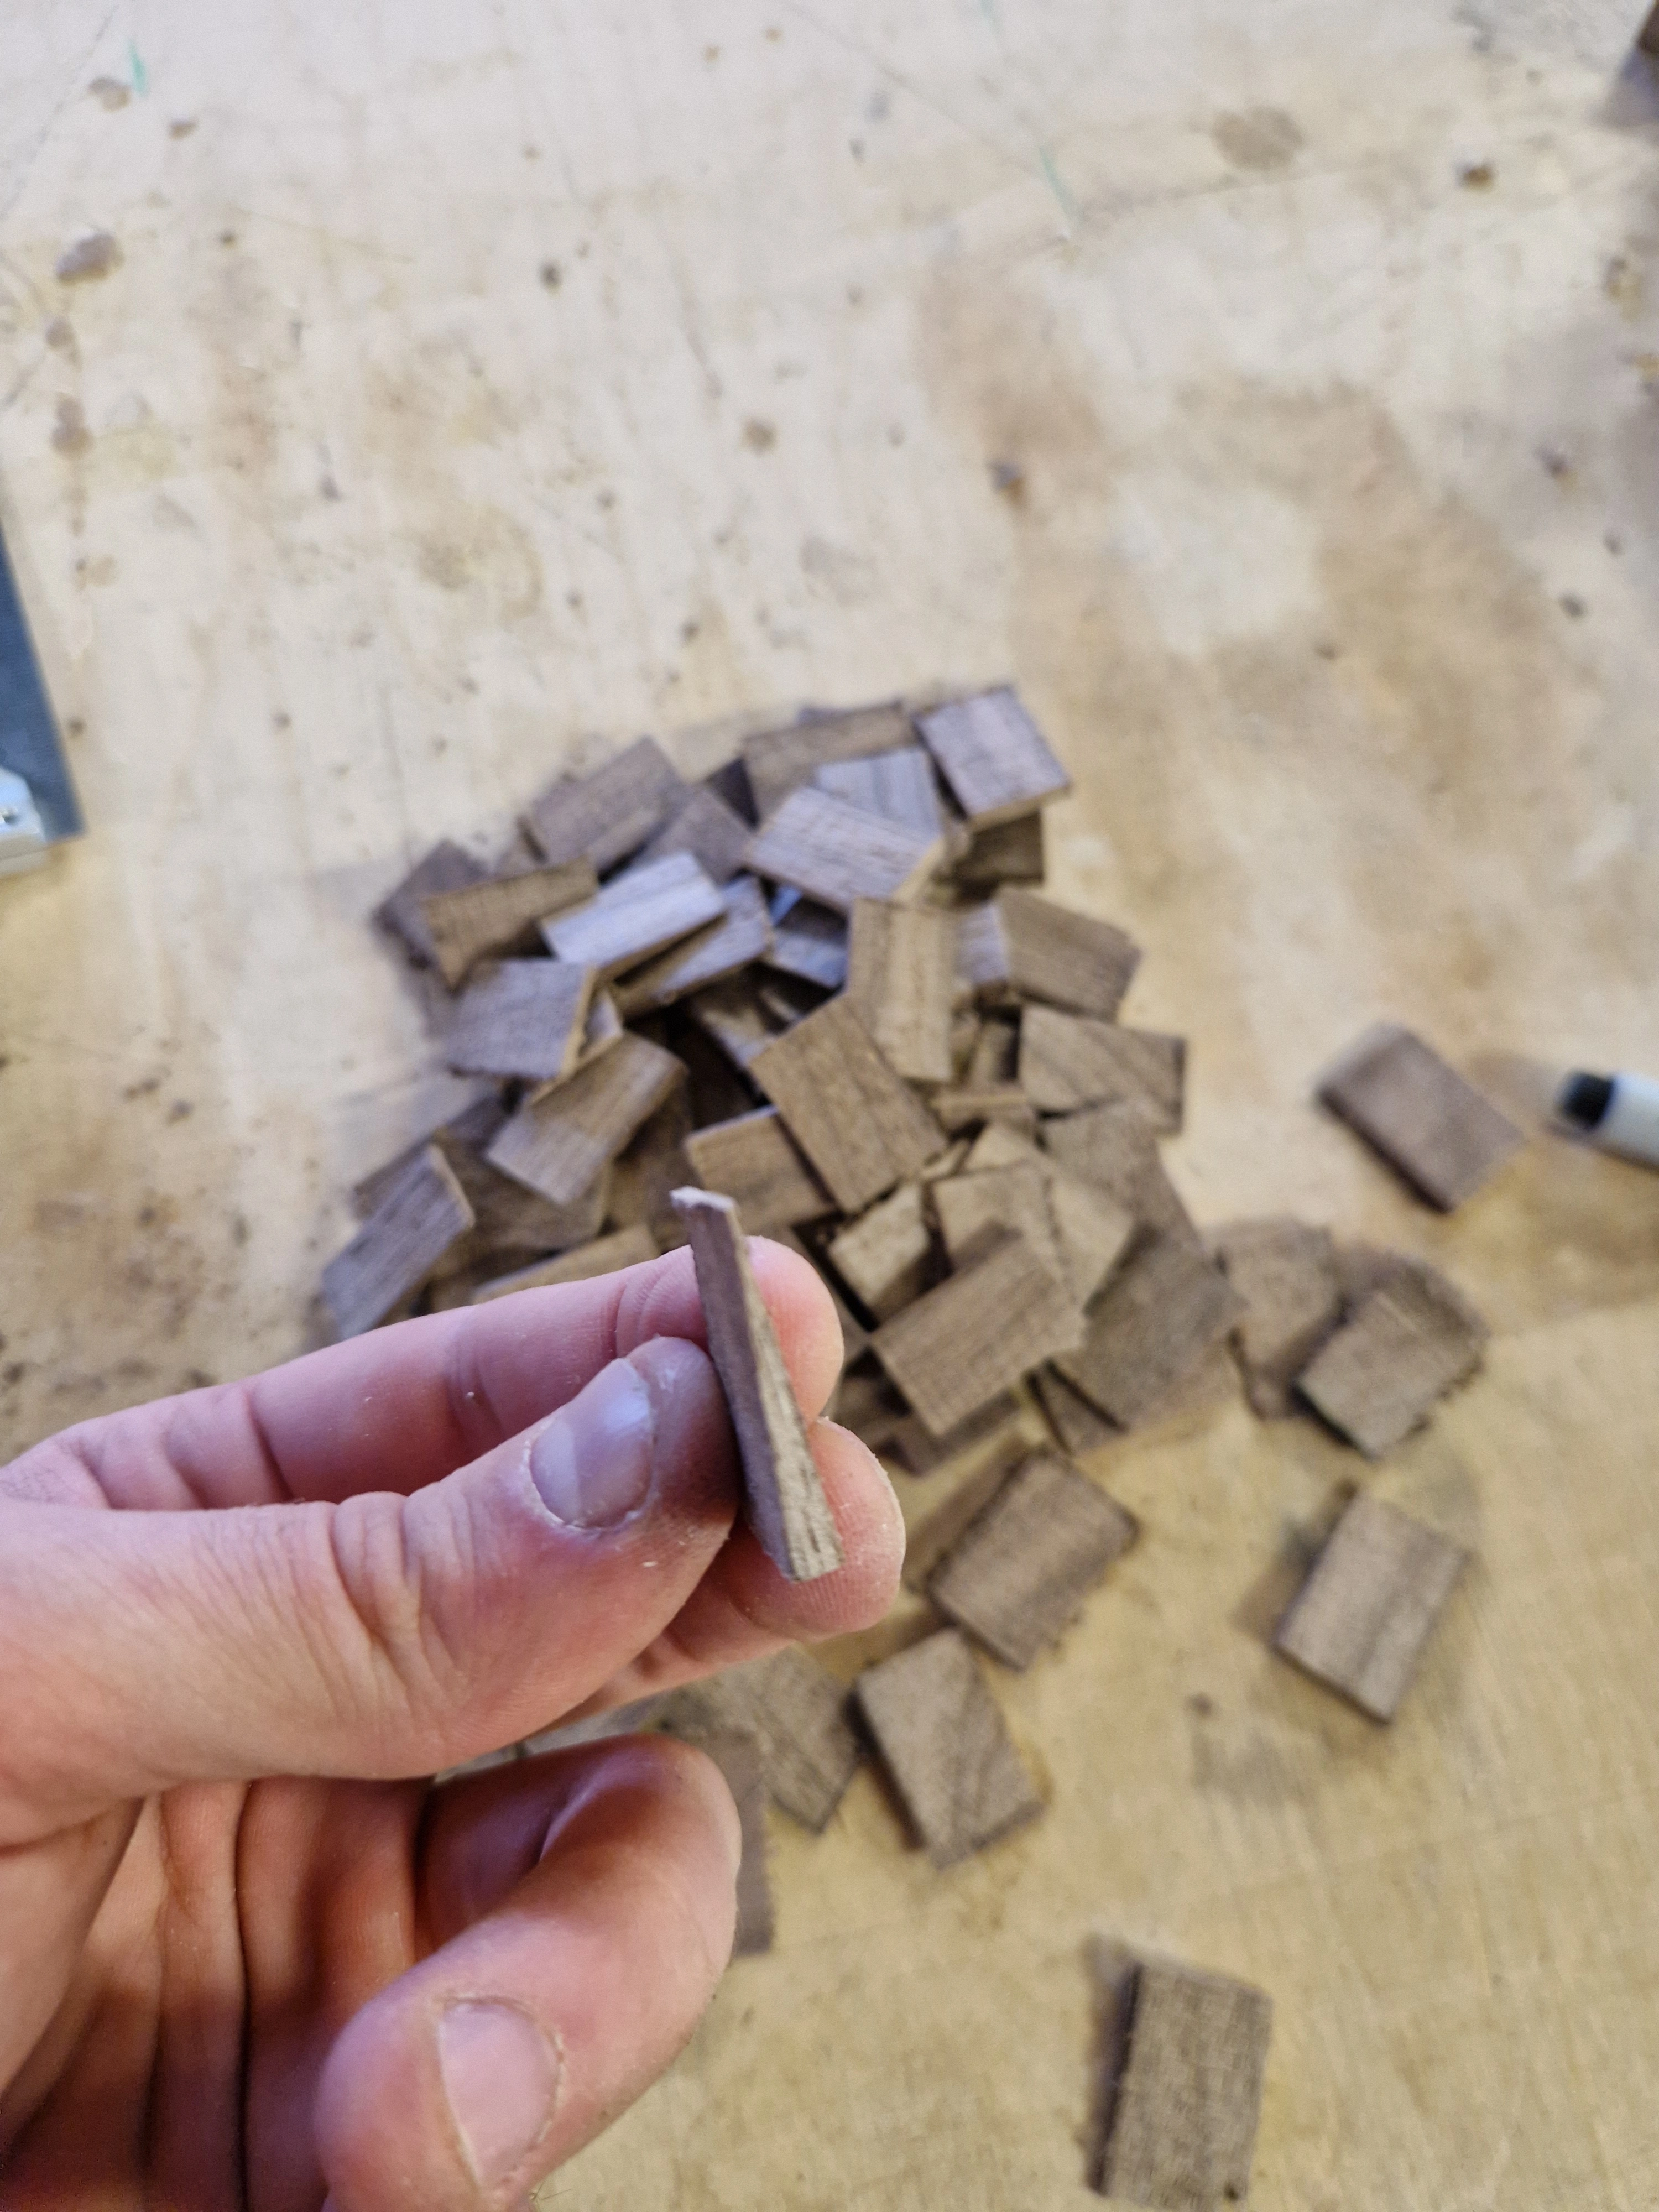
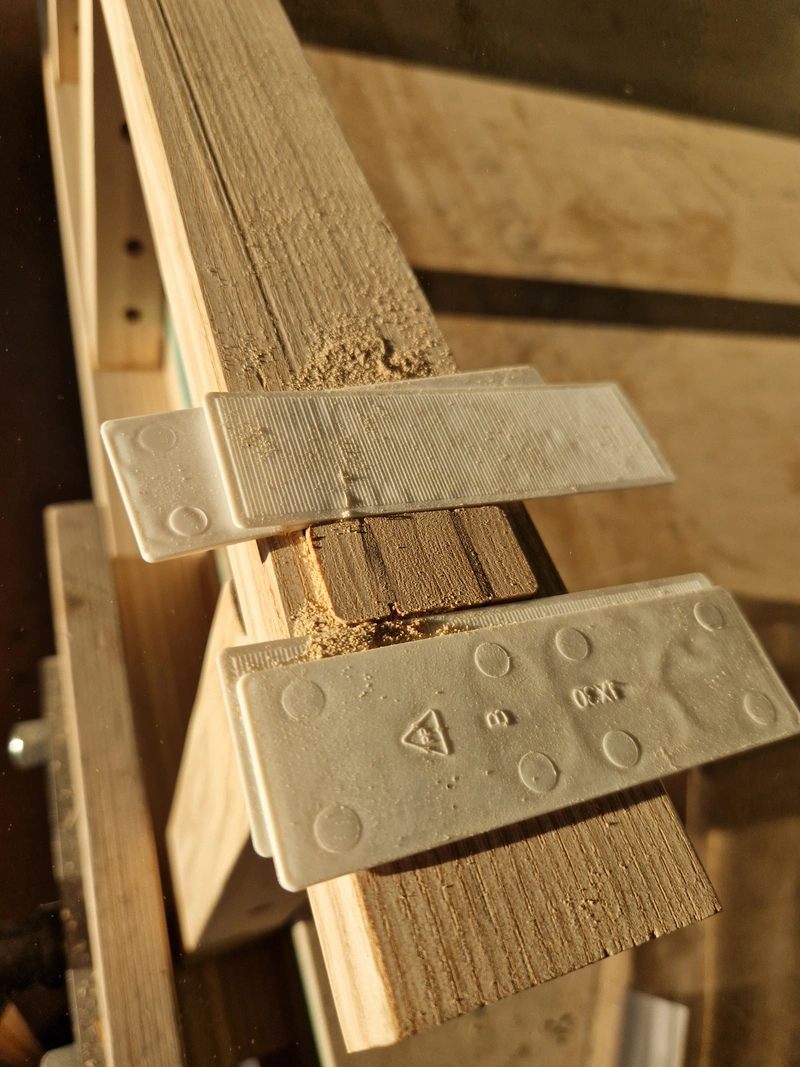
Cut the wedges out of walnut and glued the legs. Biggest mistake here was leaving a blunt edge on the wedges (2nd image), making the process of driving in the wedges during the glue-up take much longer than it had to, thus increasing the overall mental stress of the glue-up. Thankfully, this time only one wedge broke and it's on the backside so it's not too bad. Future lesson is that the tips of the wedges should be as sharp as possible, sharper than a knife's edge if doable, this allows you to basically set the wedges into the joint with no resistance whatsoever, and hammering them after that is easy. If a blunt edge is left on the wedge, the hammer must be used immediately when first driving in the wedge, increasing the potential of a misaligned wedge ruining the aesthetic or breaking against the frame because it has nowhere to go.


1 / 7
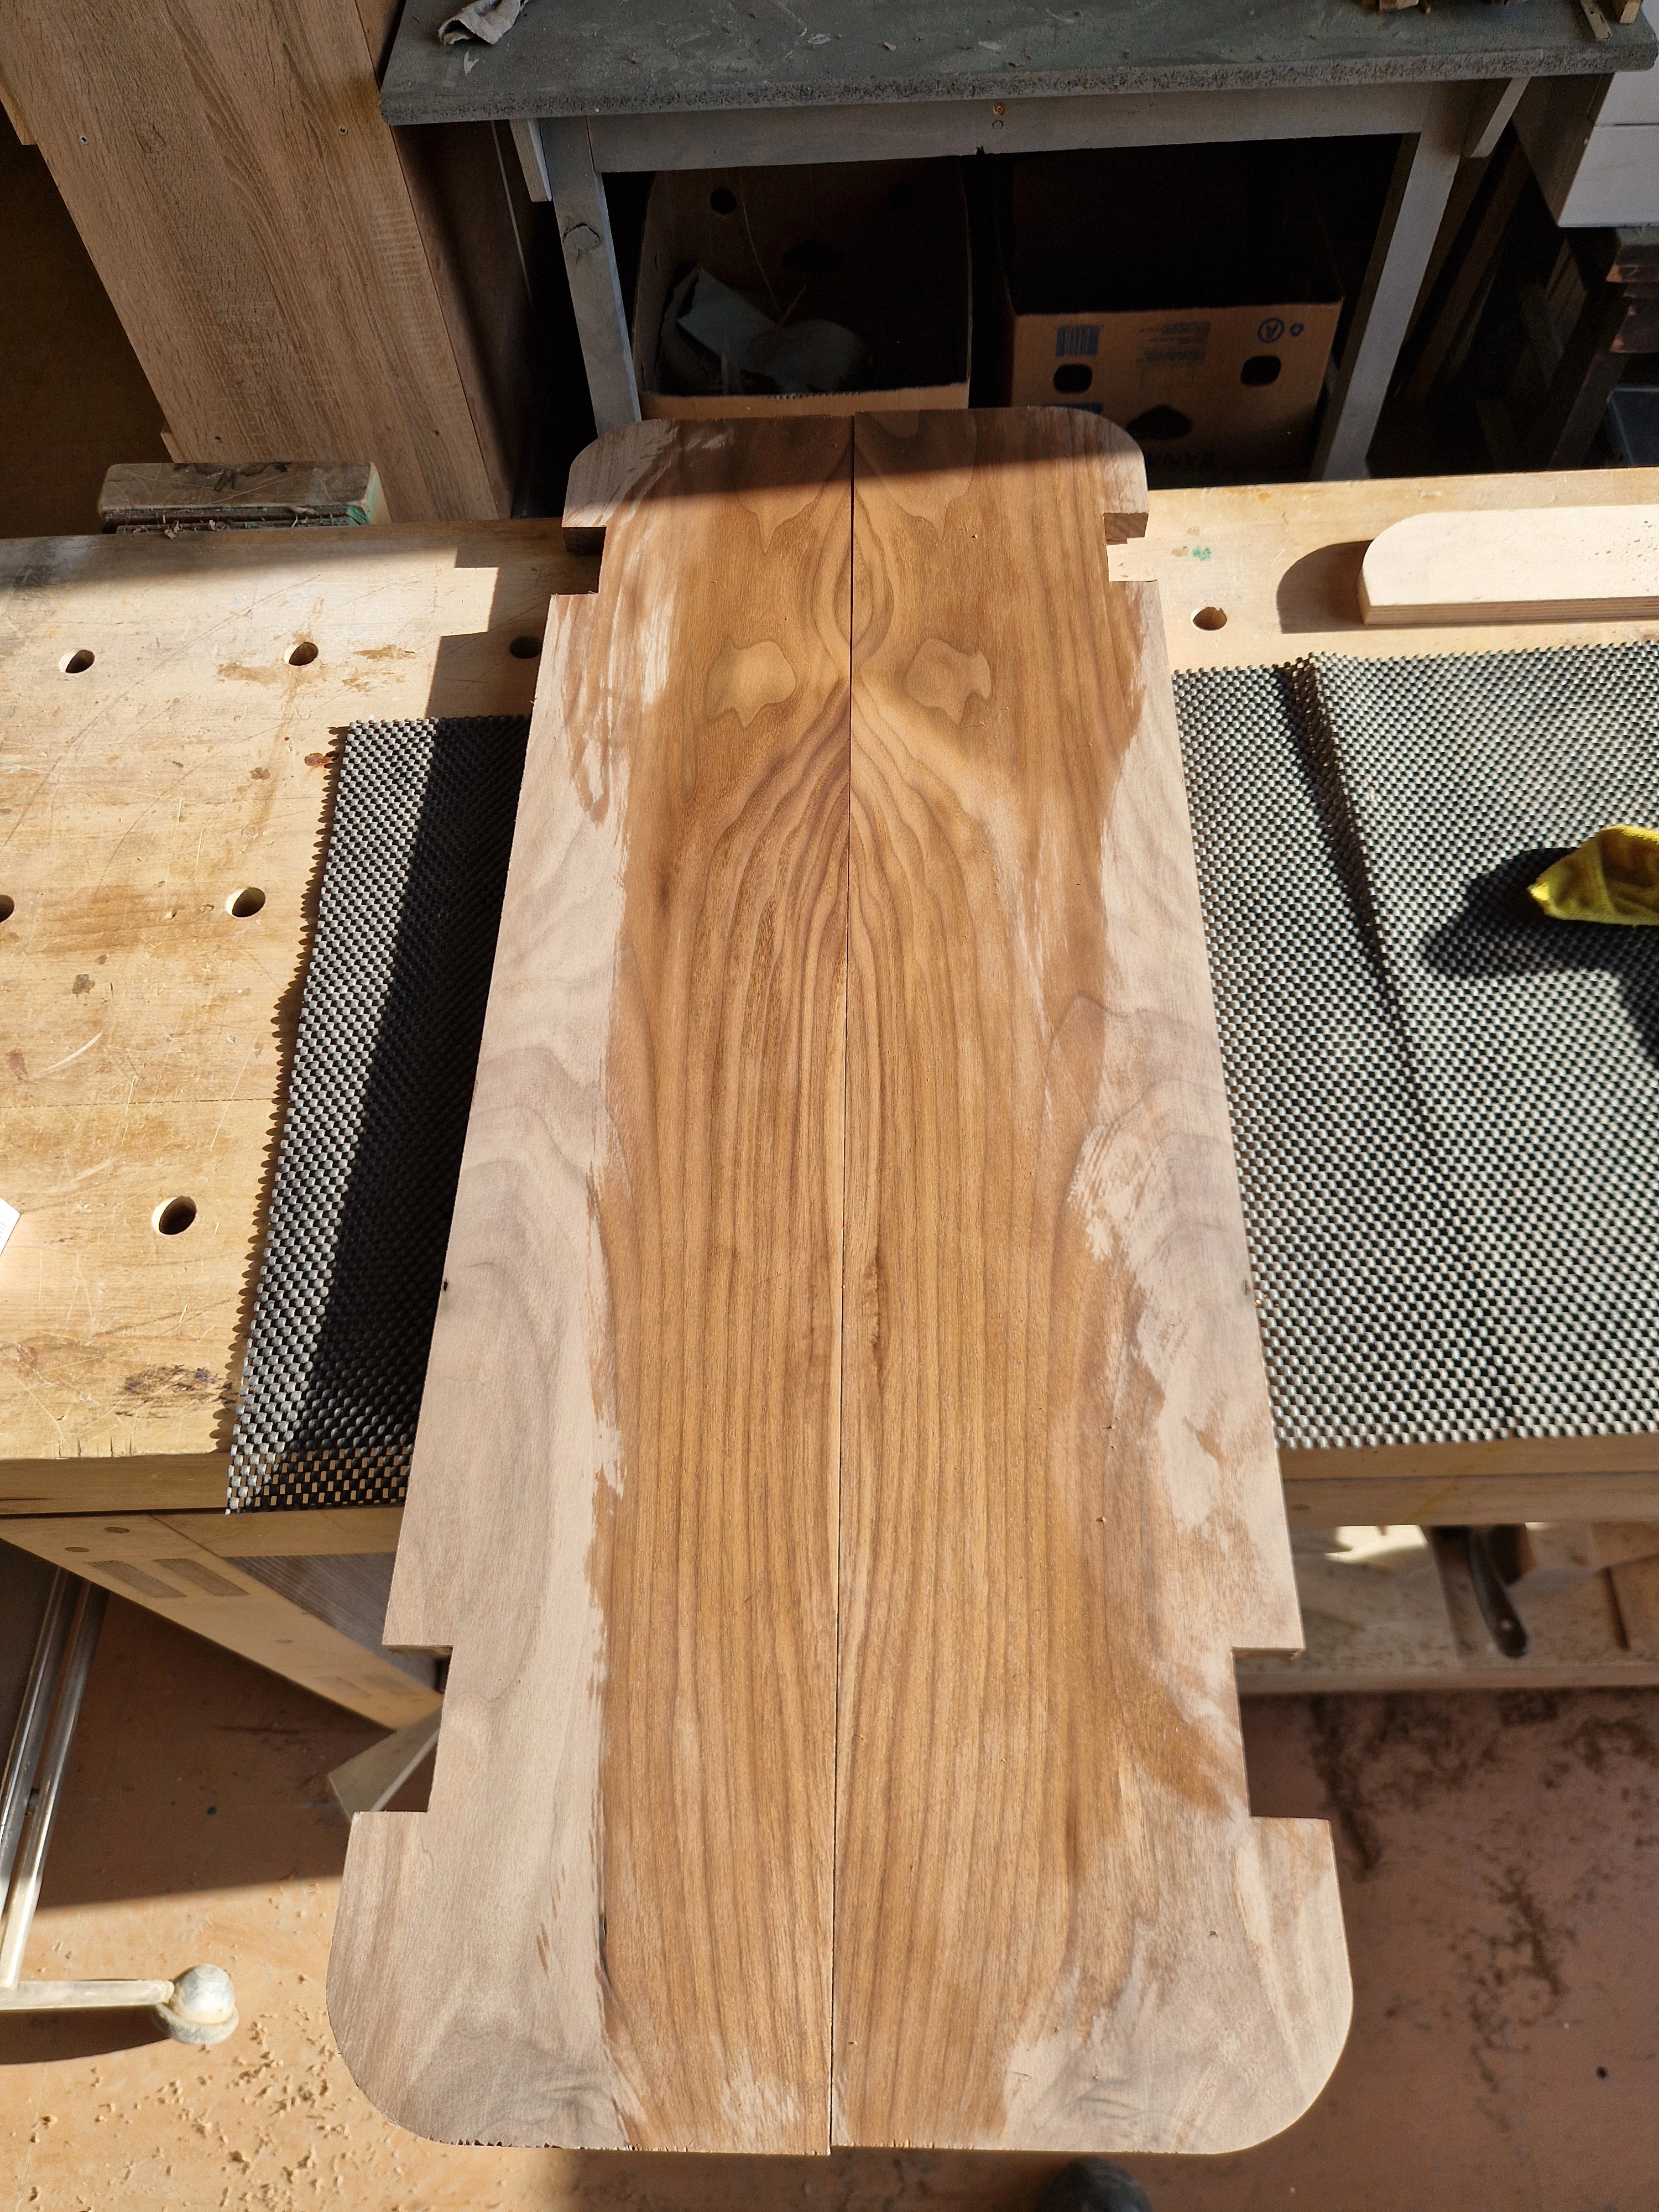
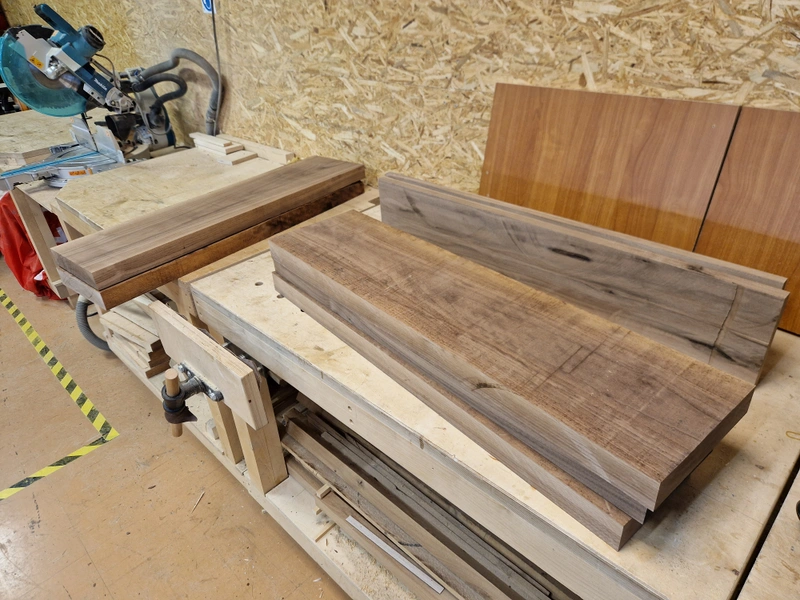
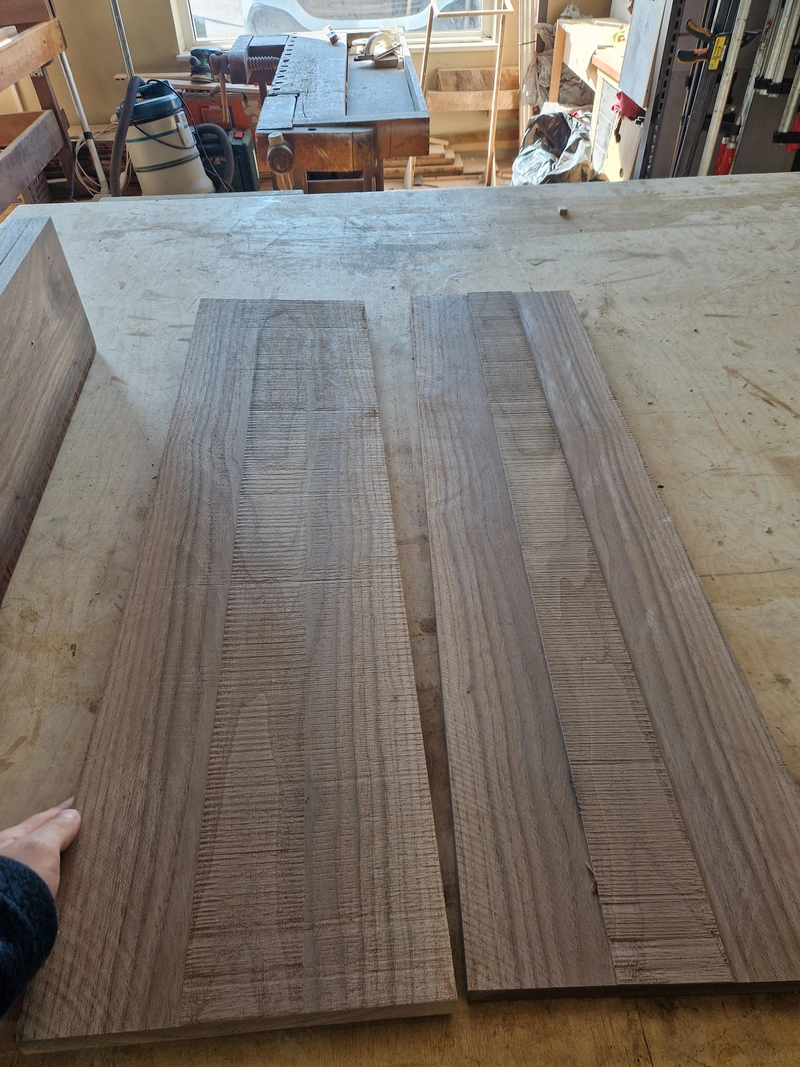
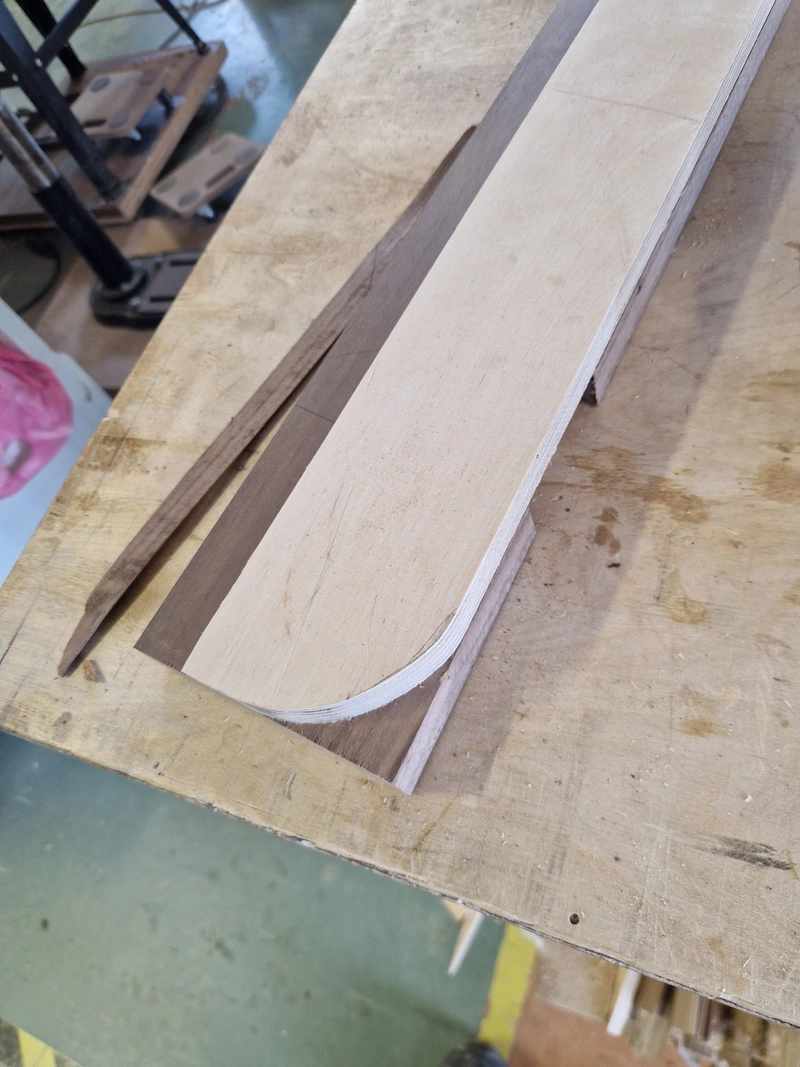
I knew that if ever there was a project where one should try bookmatching, it has to be when building a bookshelf, so that's what I aimed for. What is bookmatching? It's when you take a piece of wood, cut it in half horizontally and flip the top one "open" like a book, resulting in two pieces of wood which have woodgrain mirroring each other. The taunting part of this technique is that you have to be mindful of this up to the end of the project, because preserving this mirrored effect means that whatever you cut from one piece, the same amount of material must be removed from the mirrored piece on the opposite side.
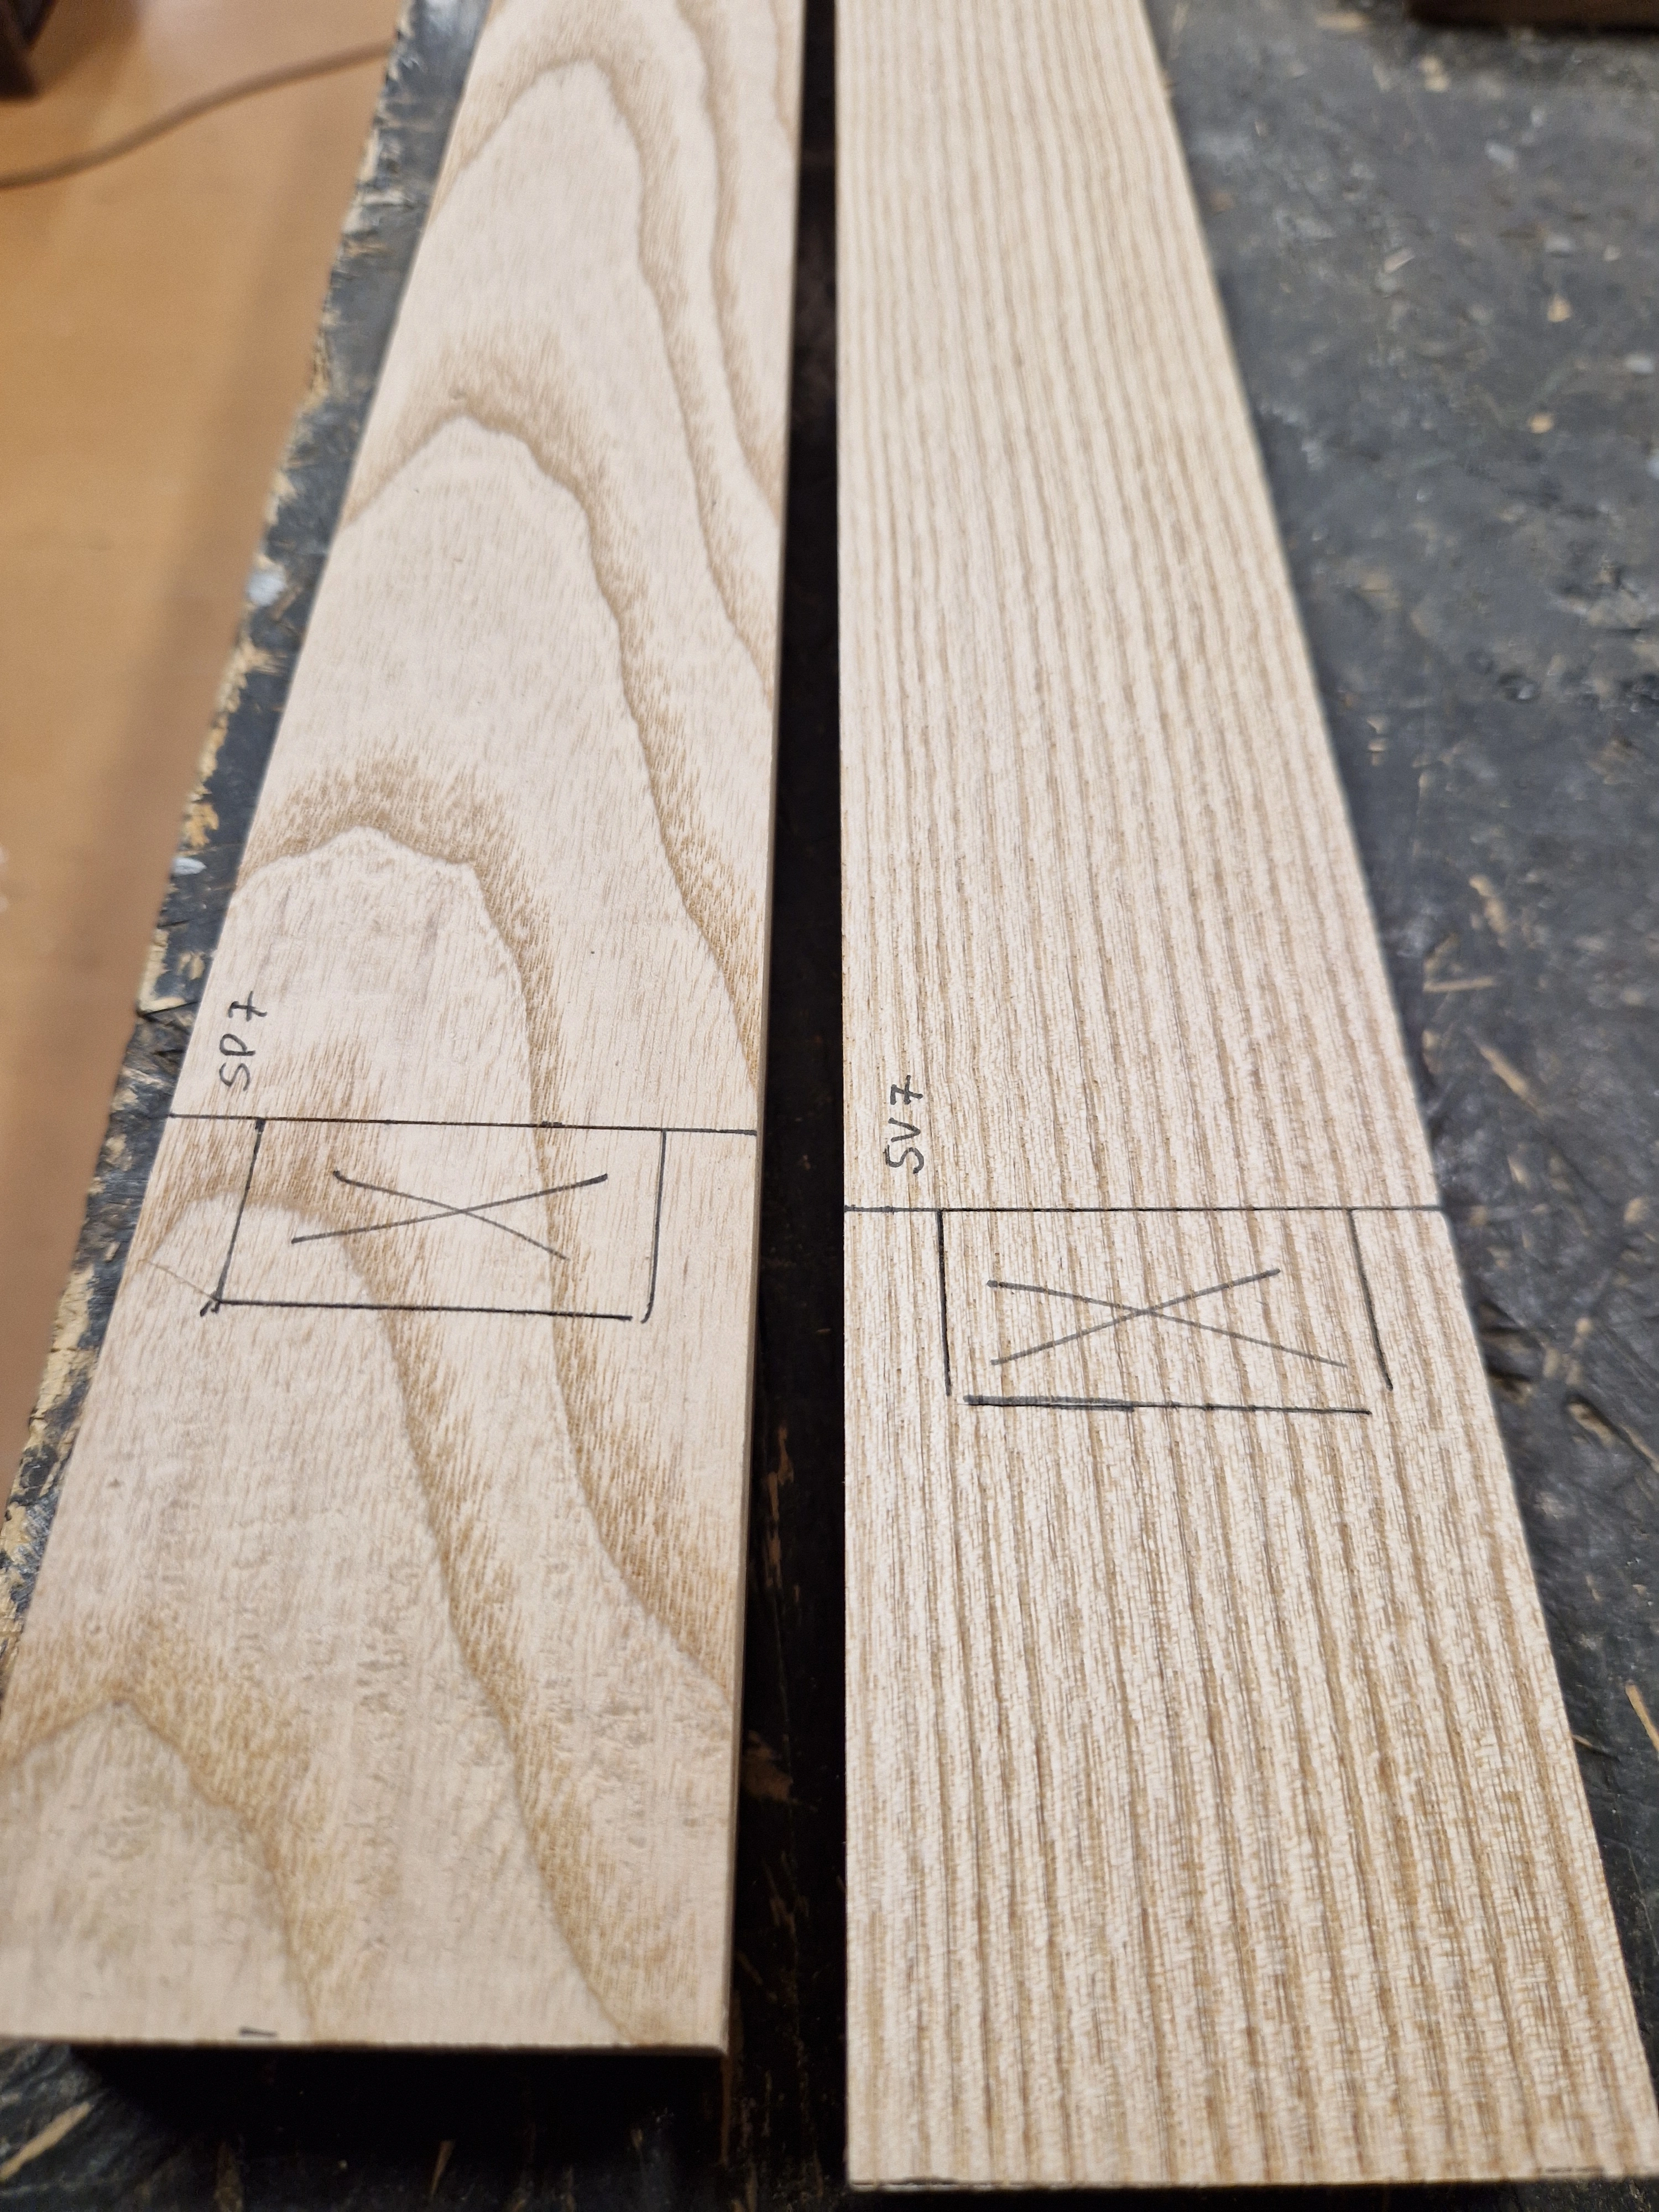
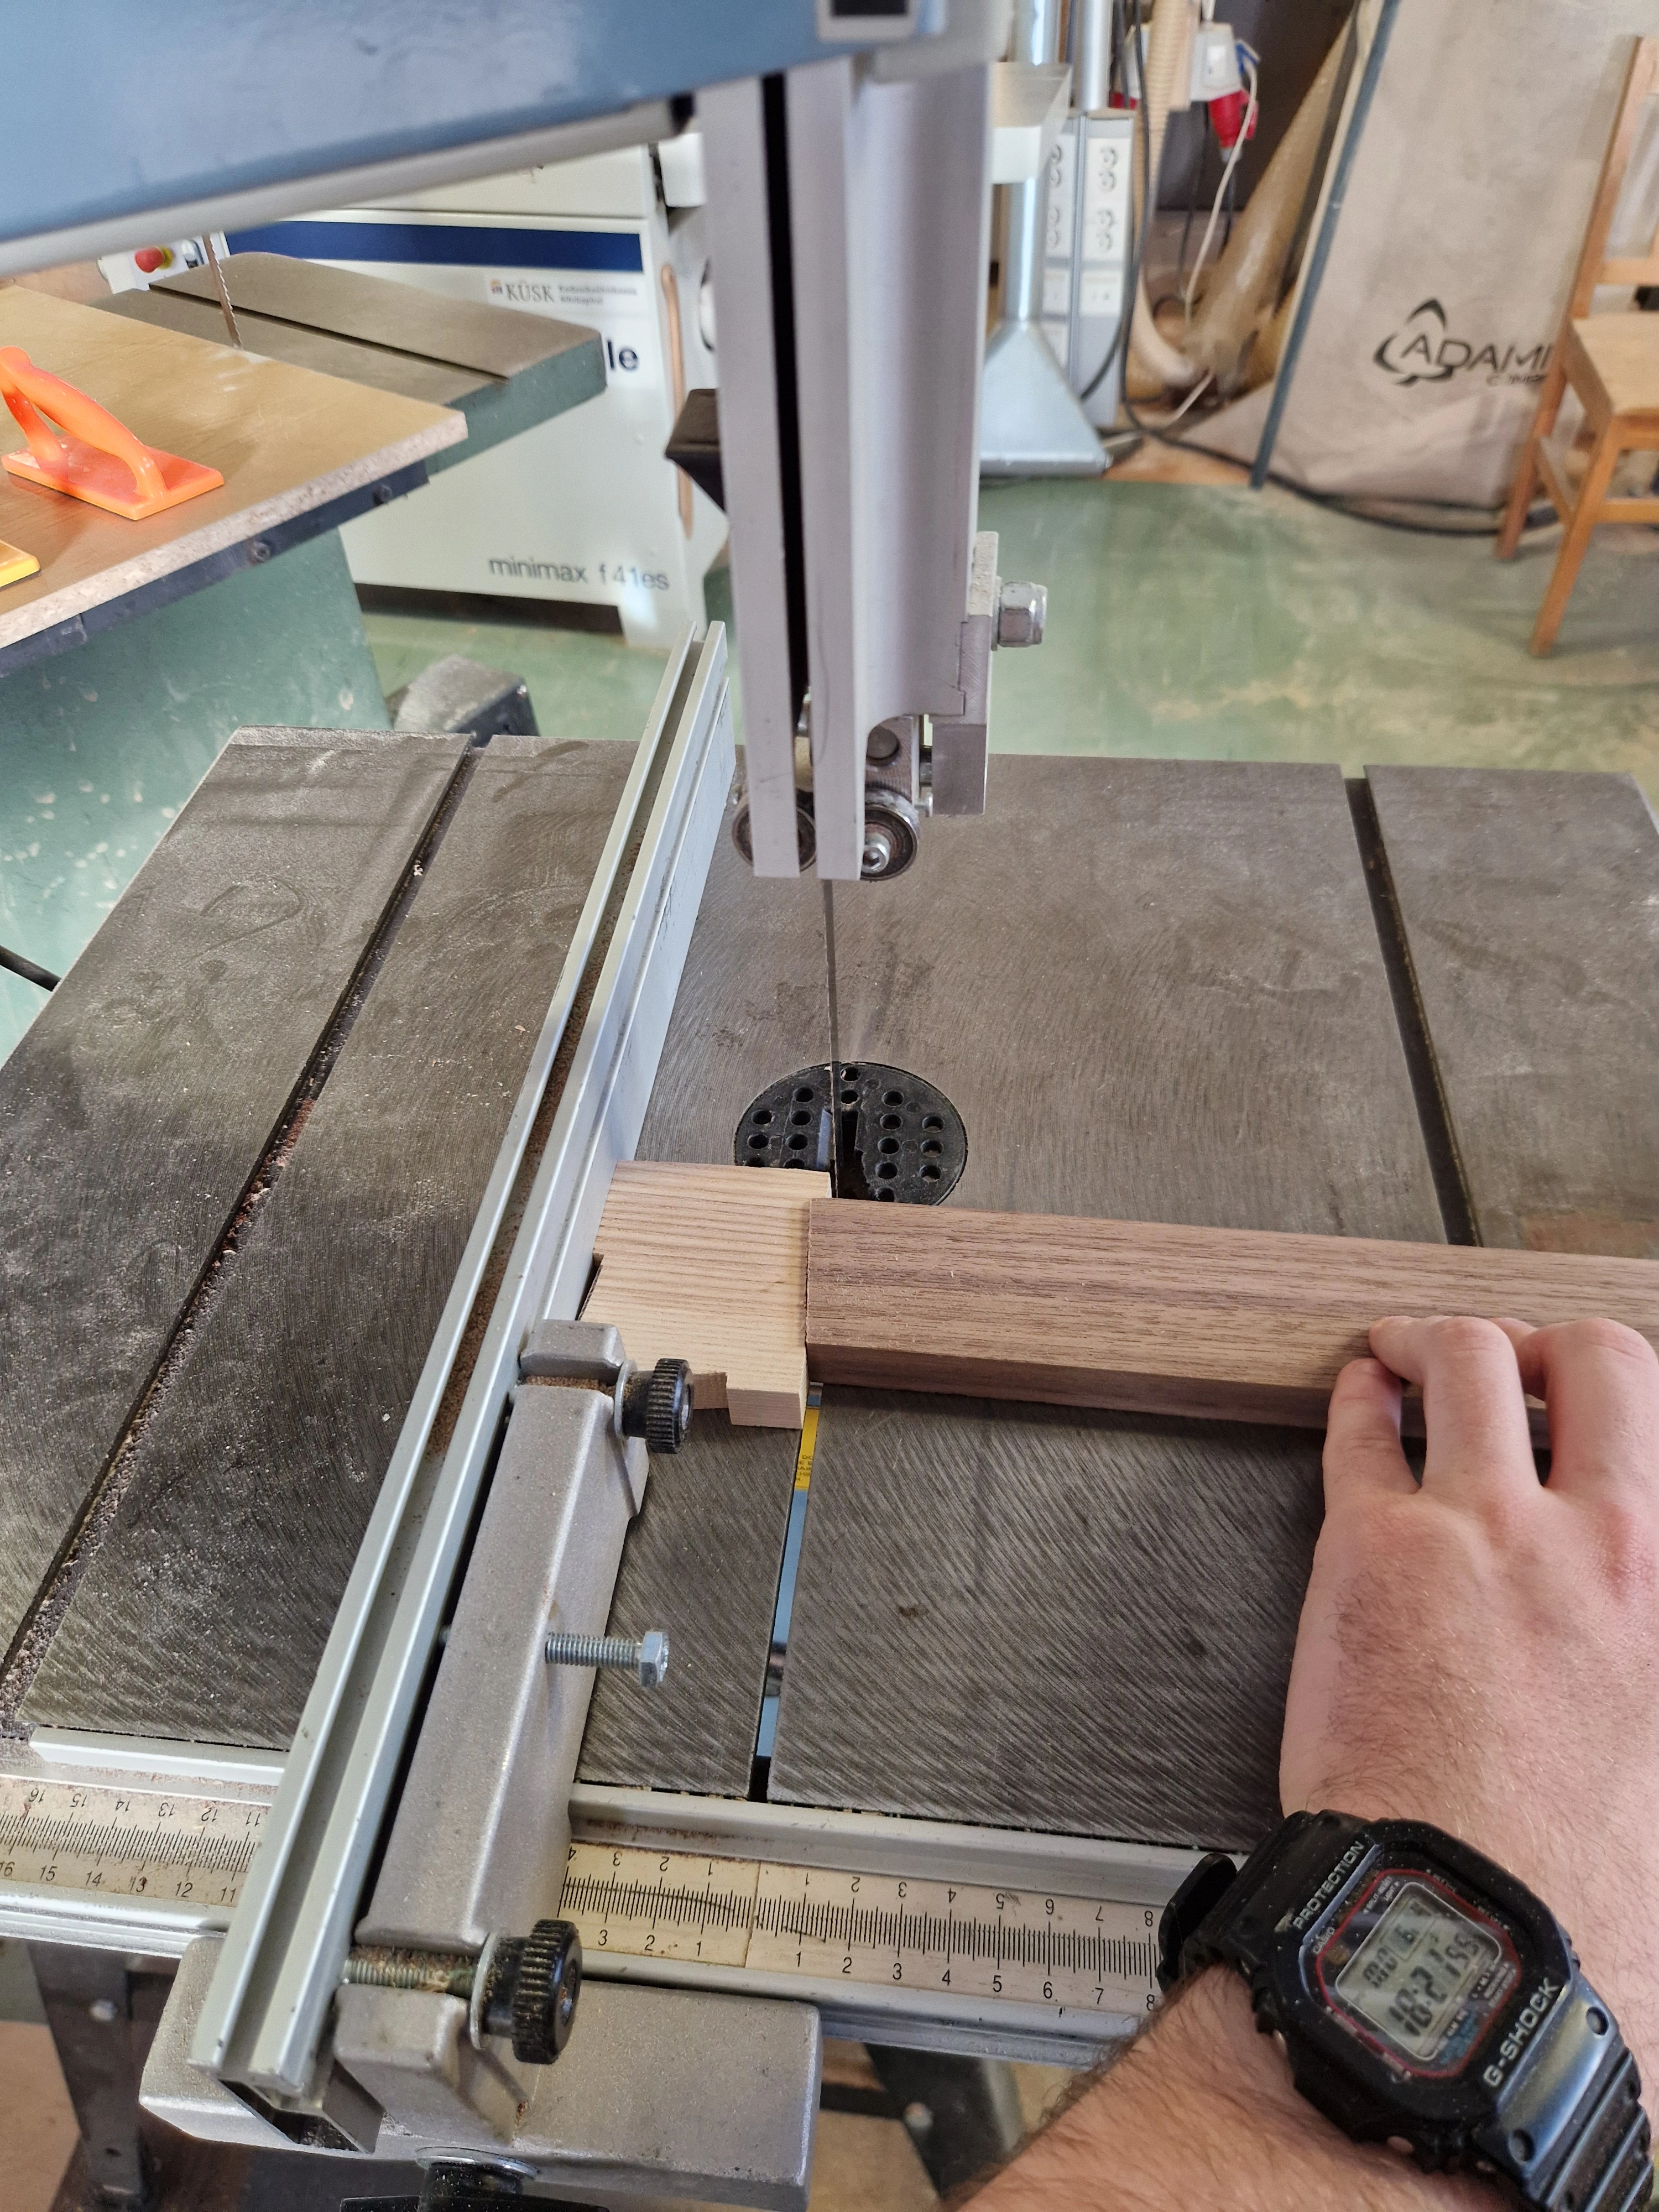
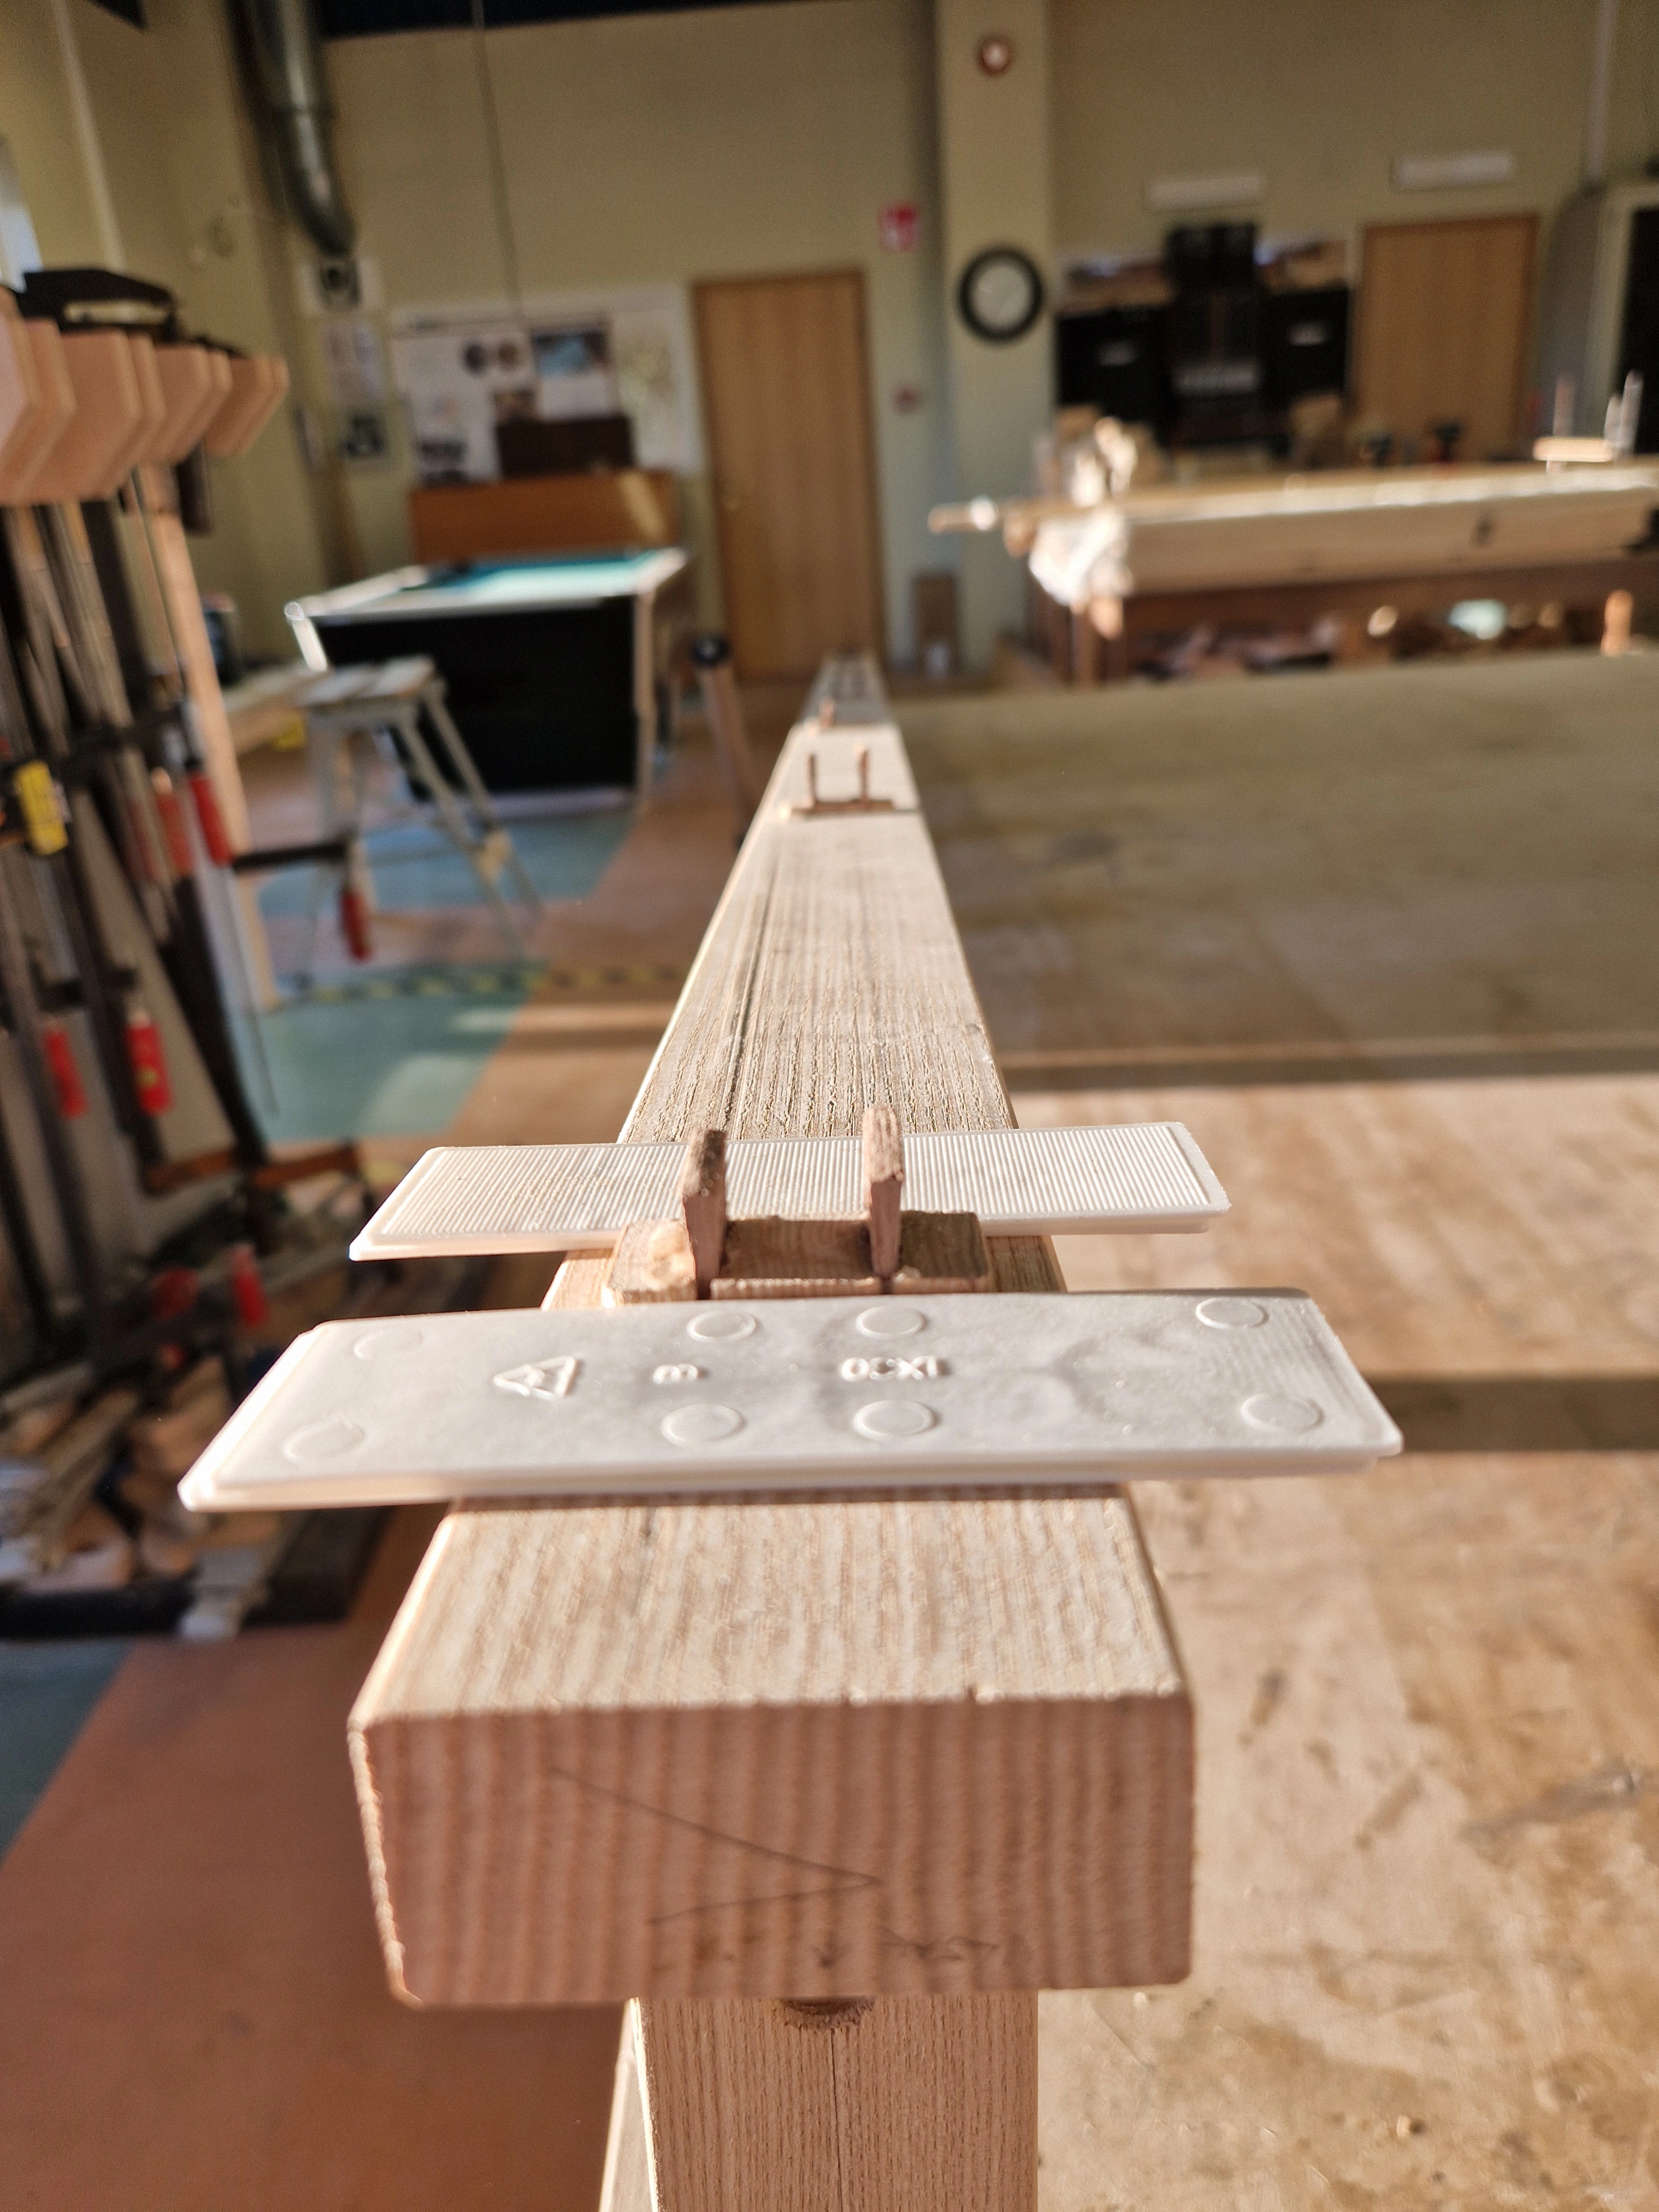
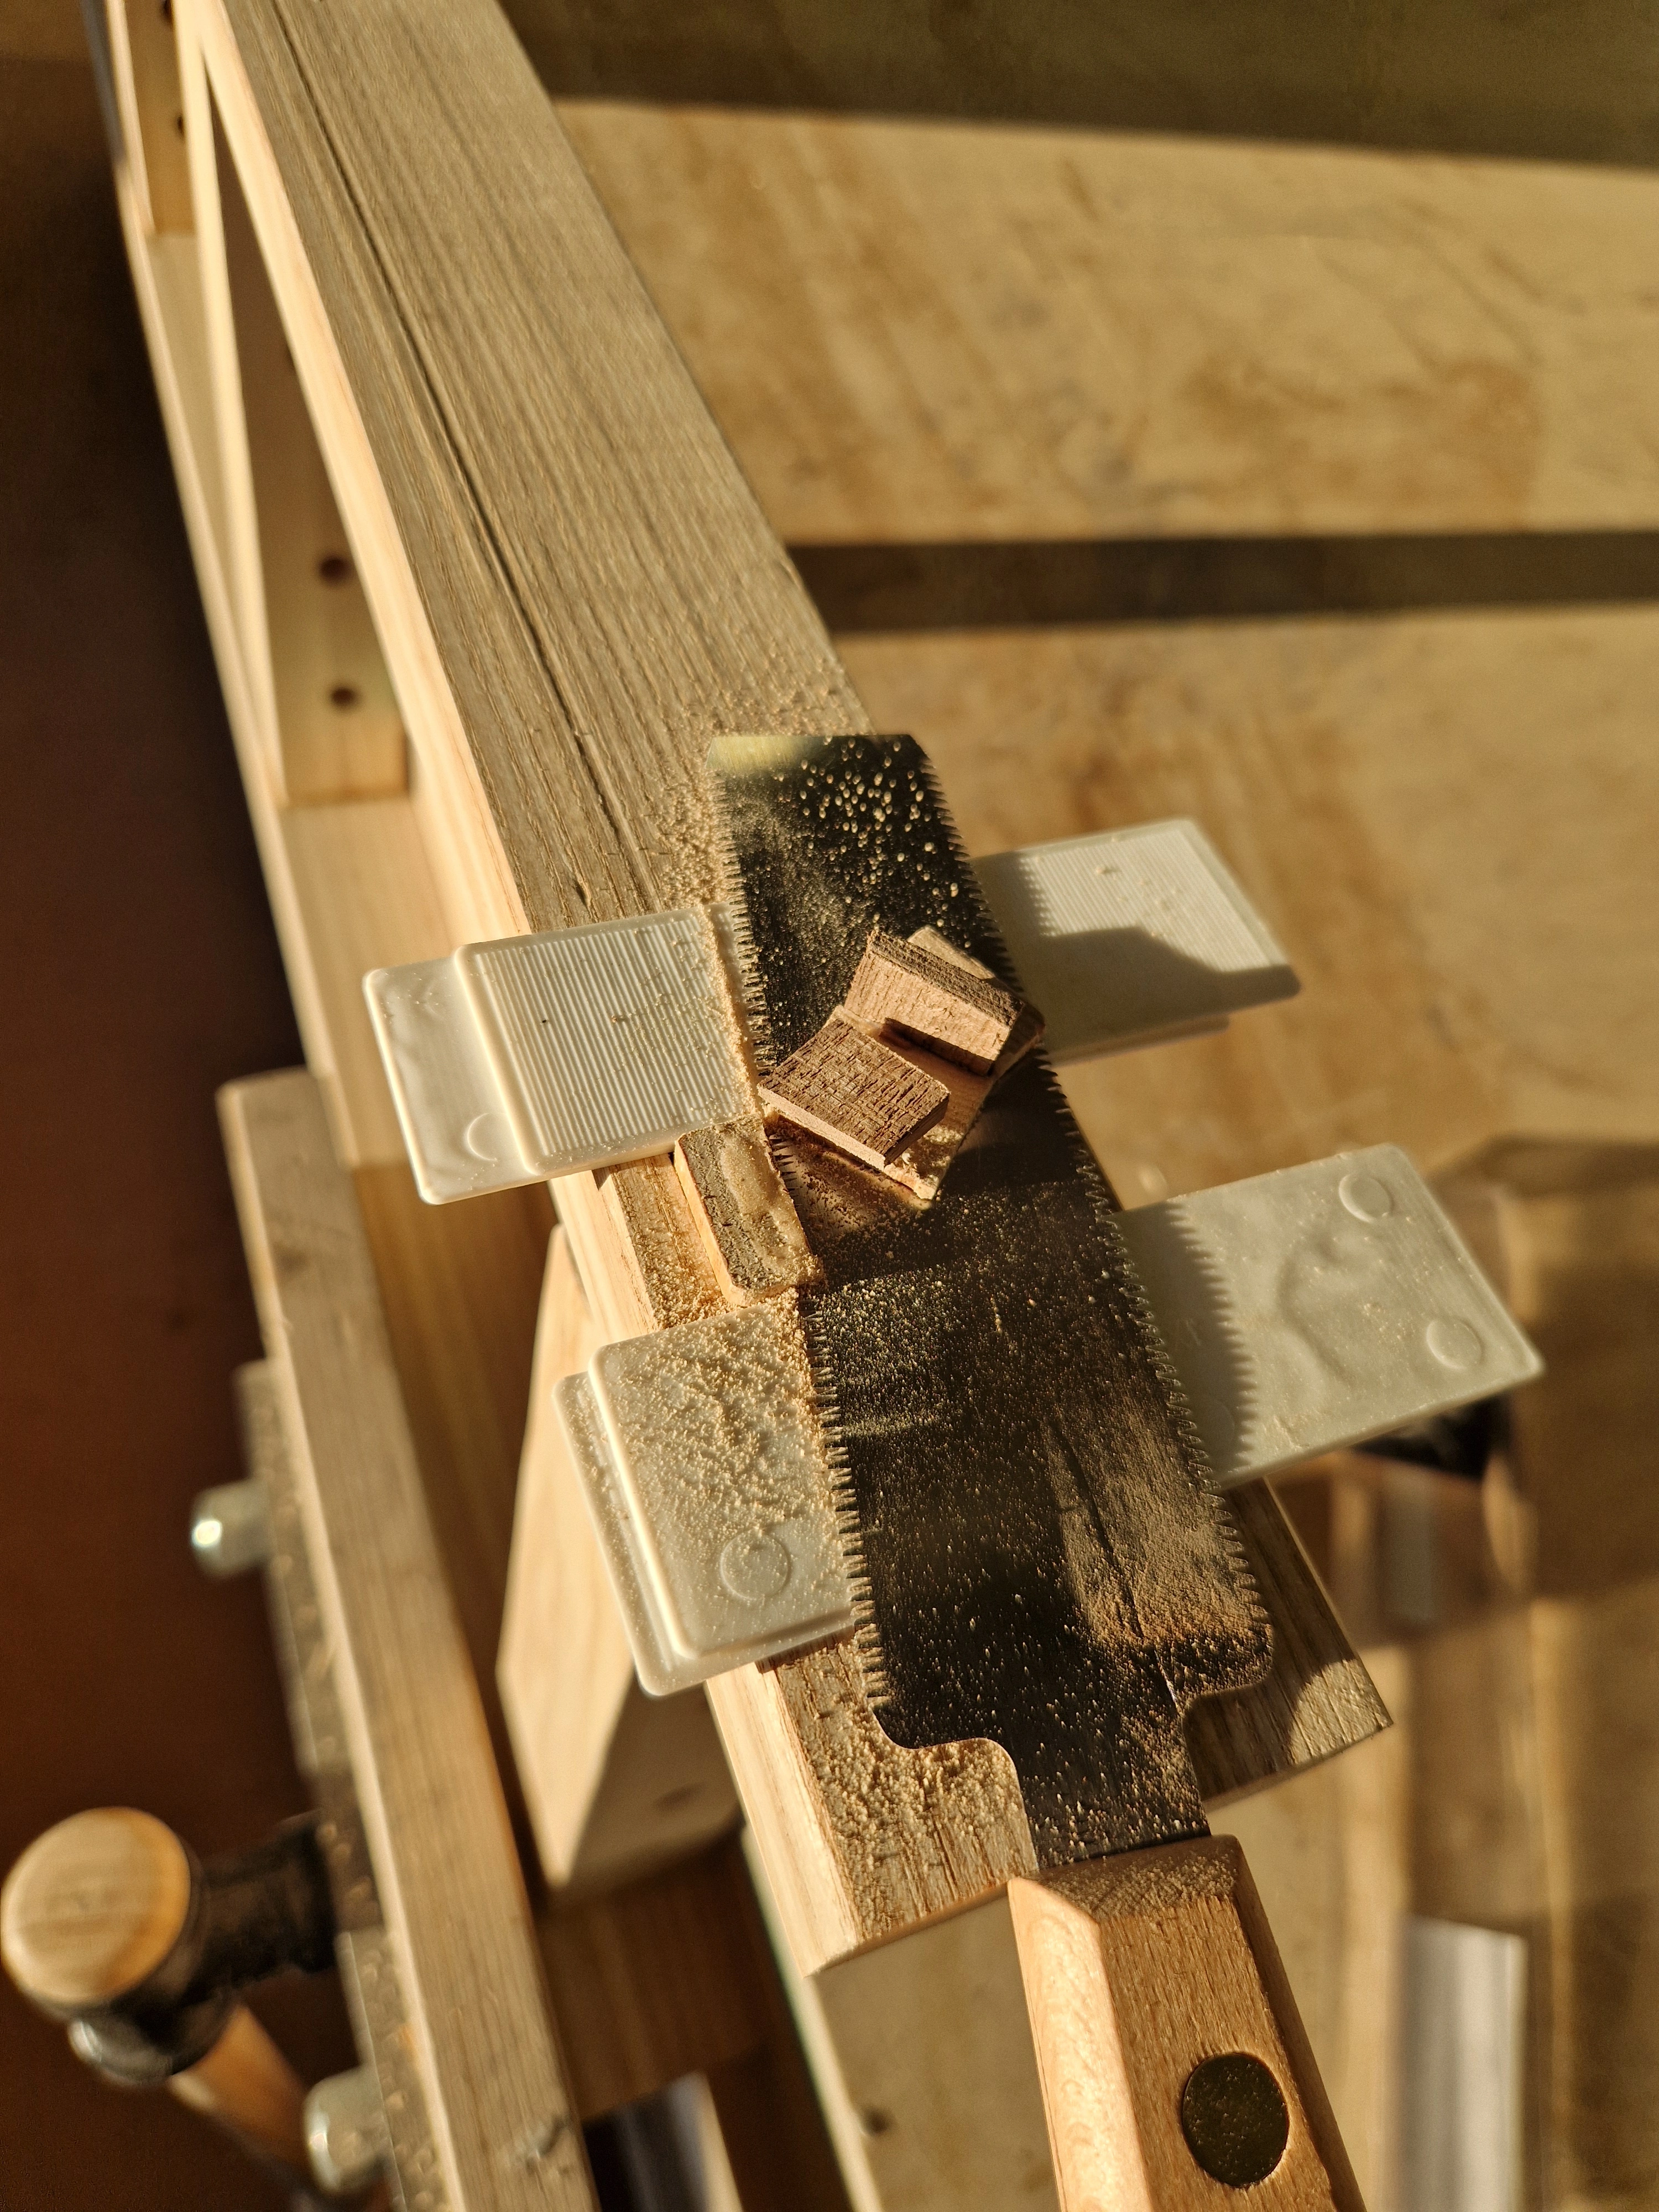
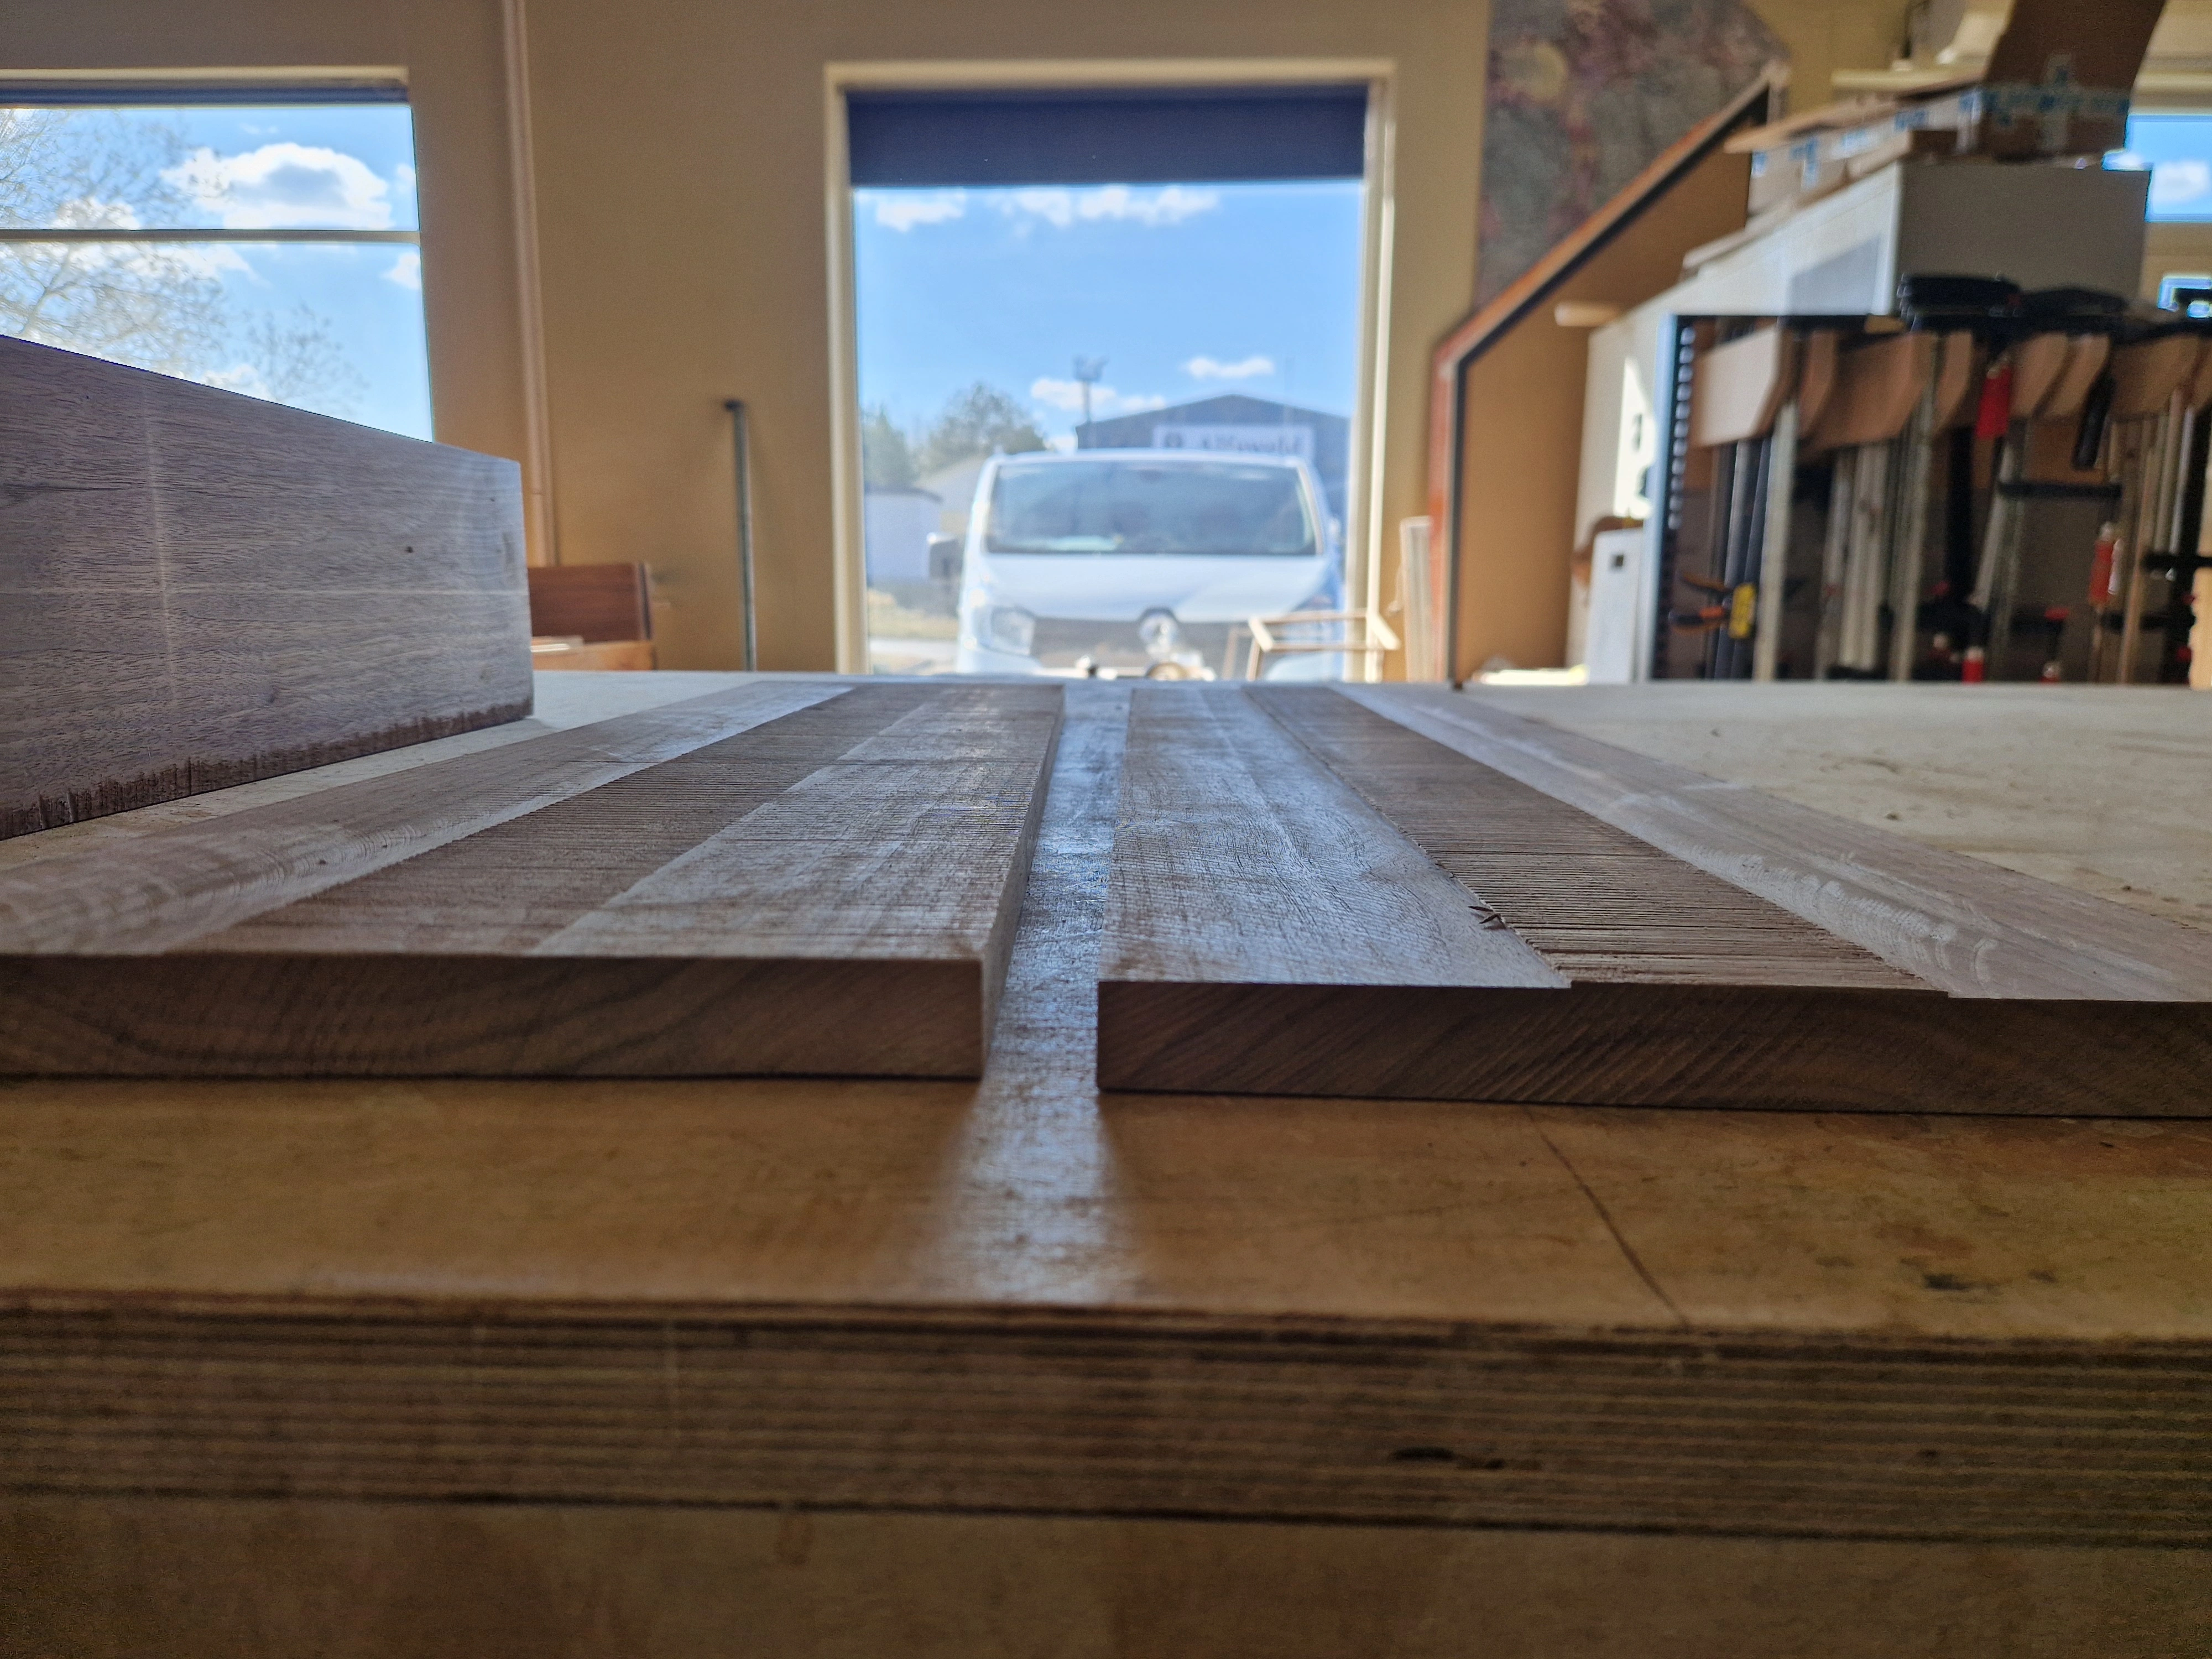
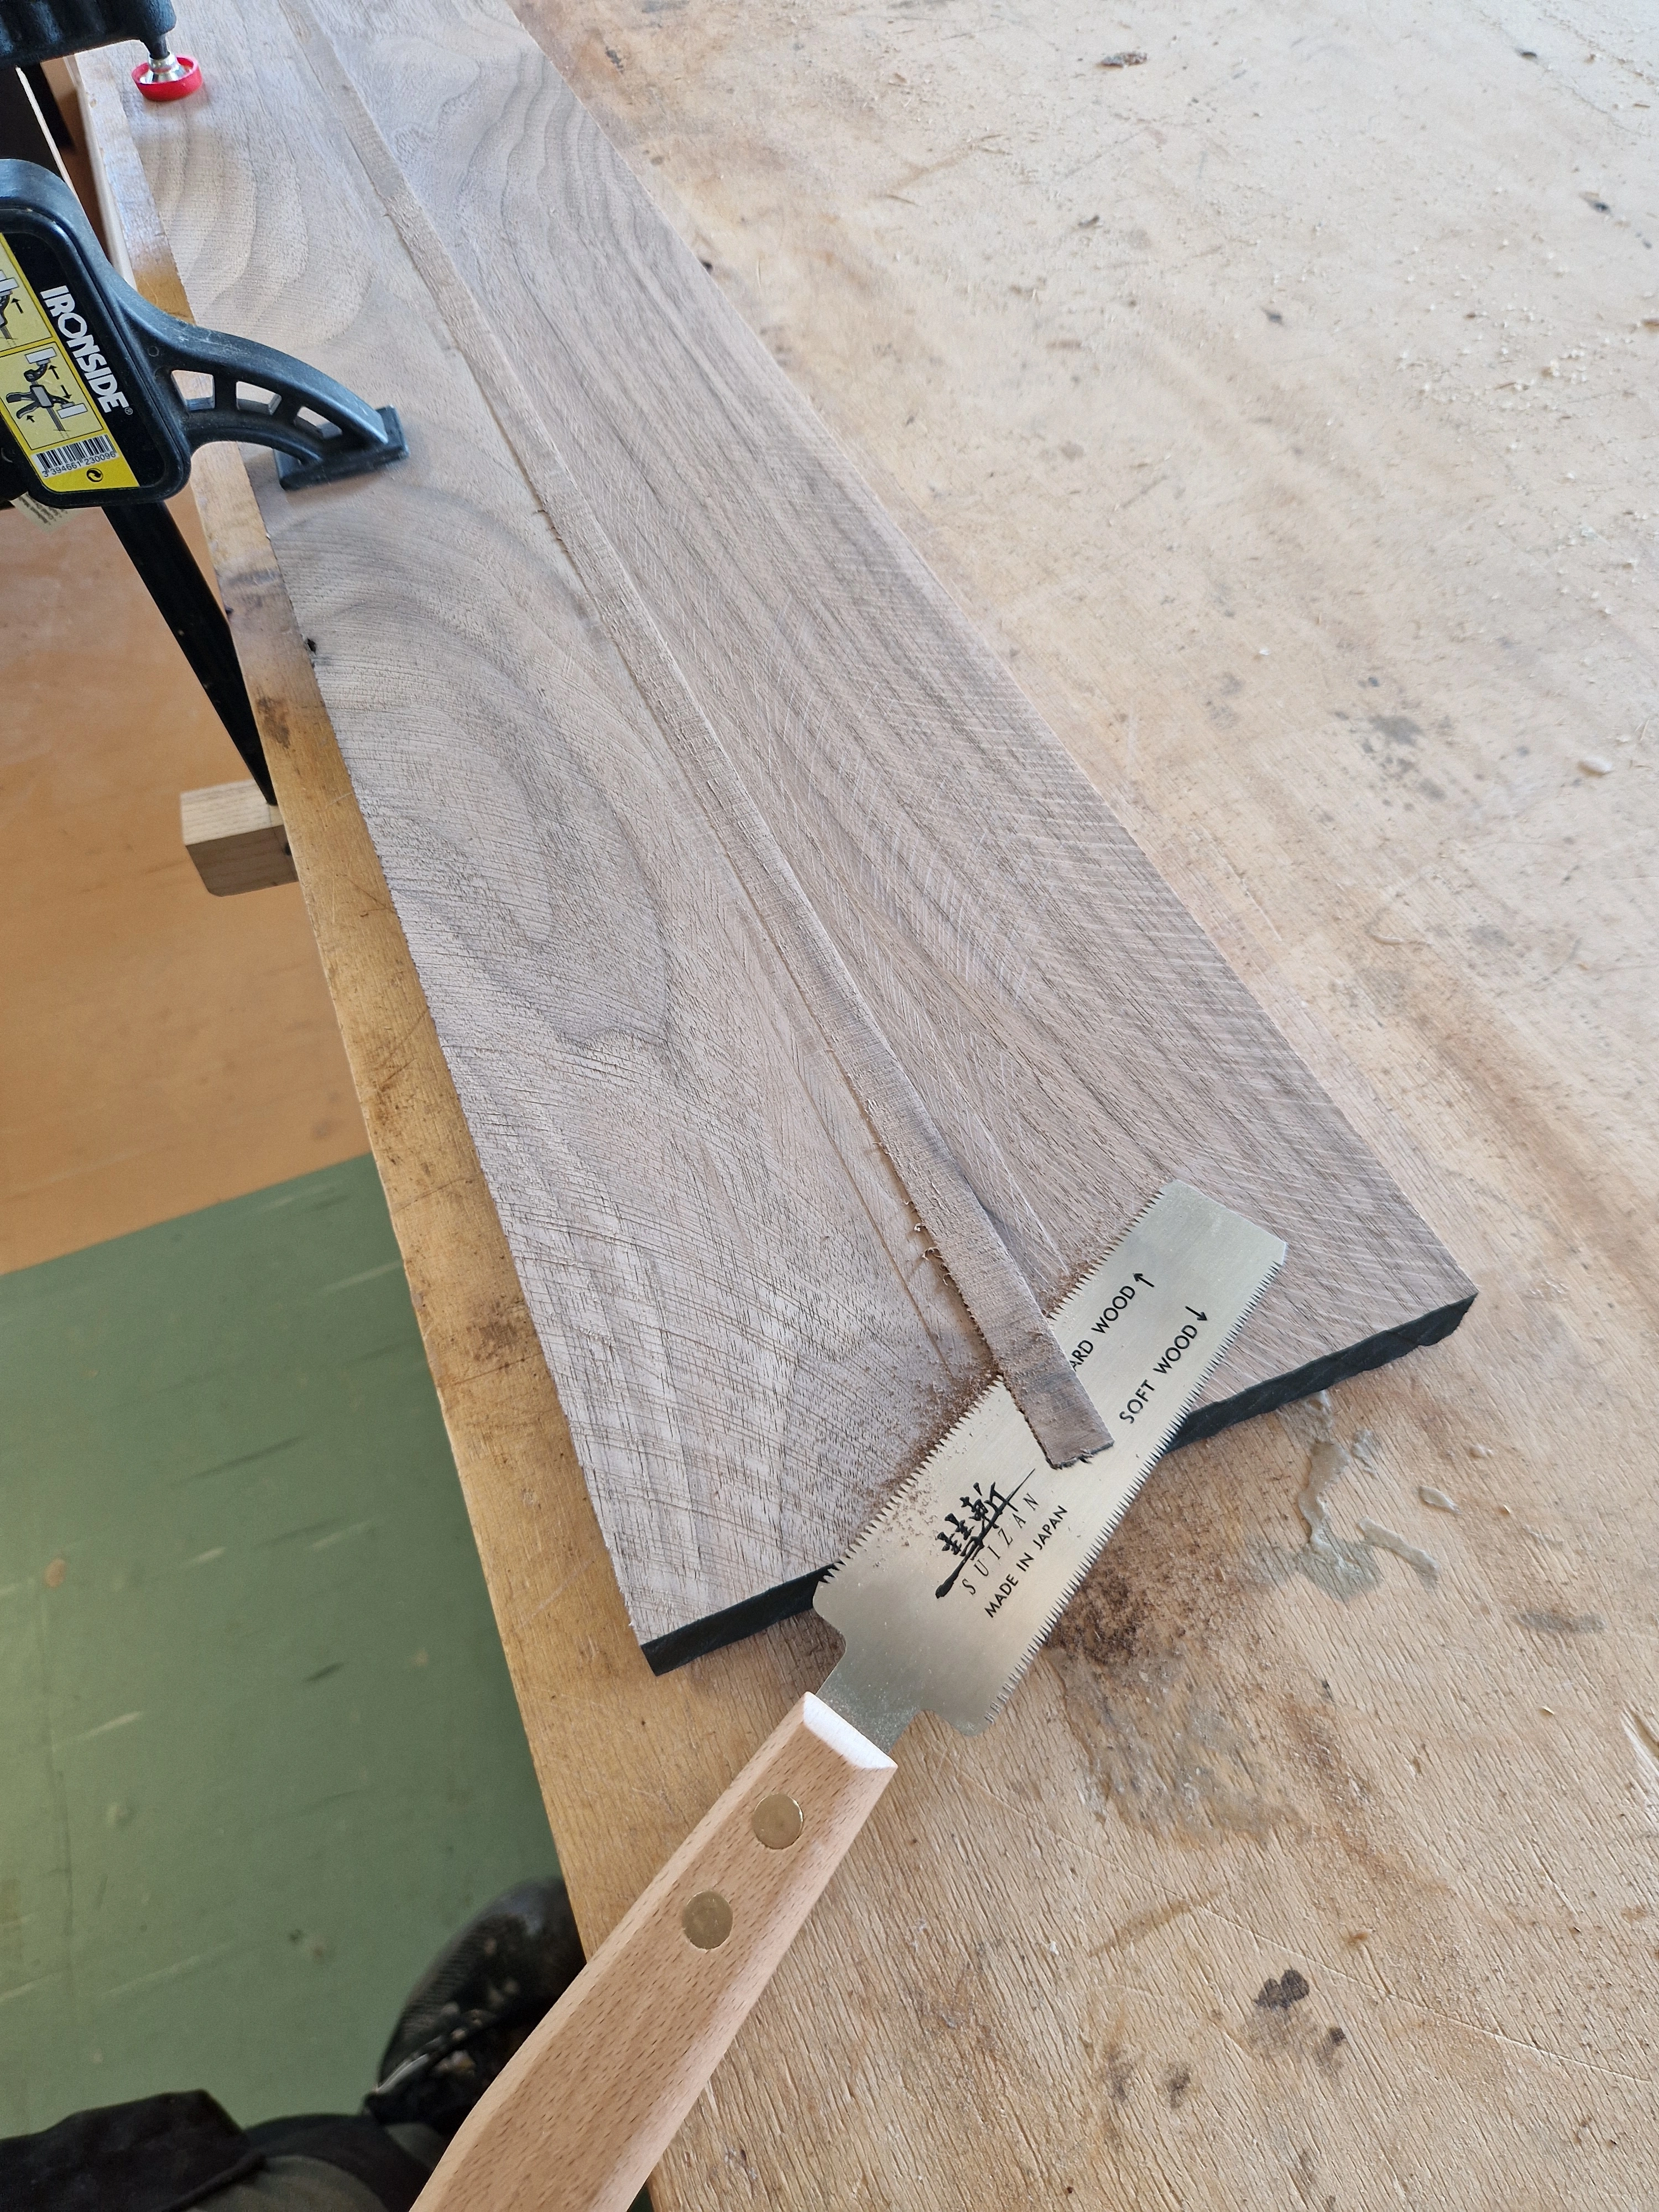
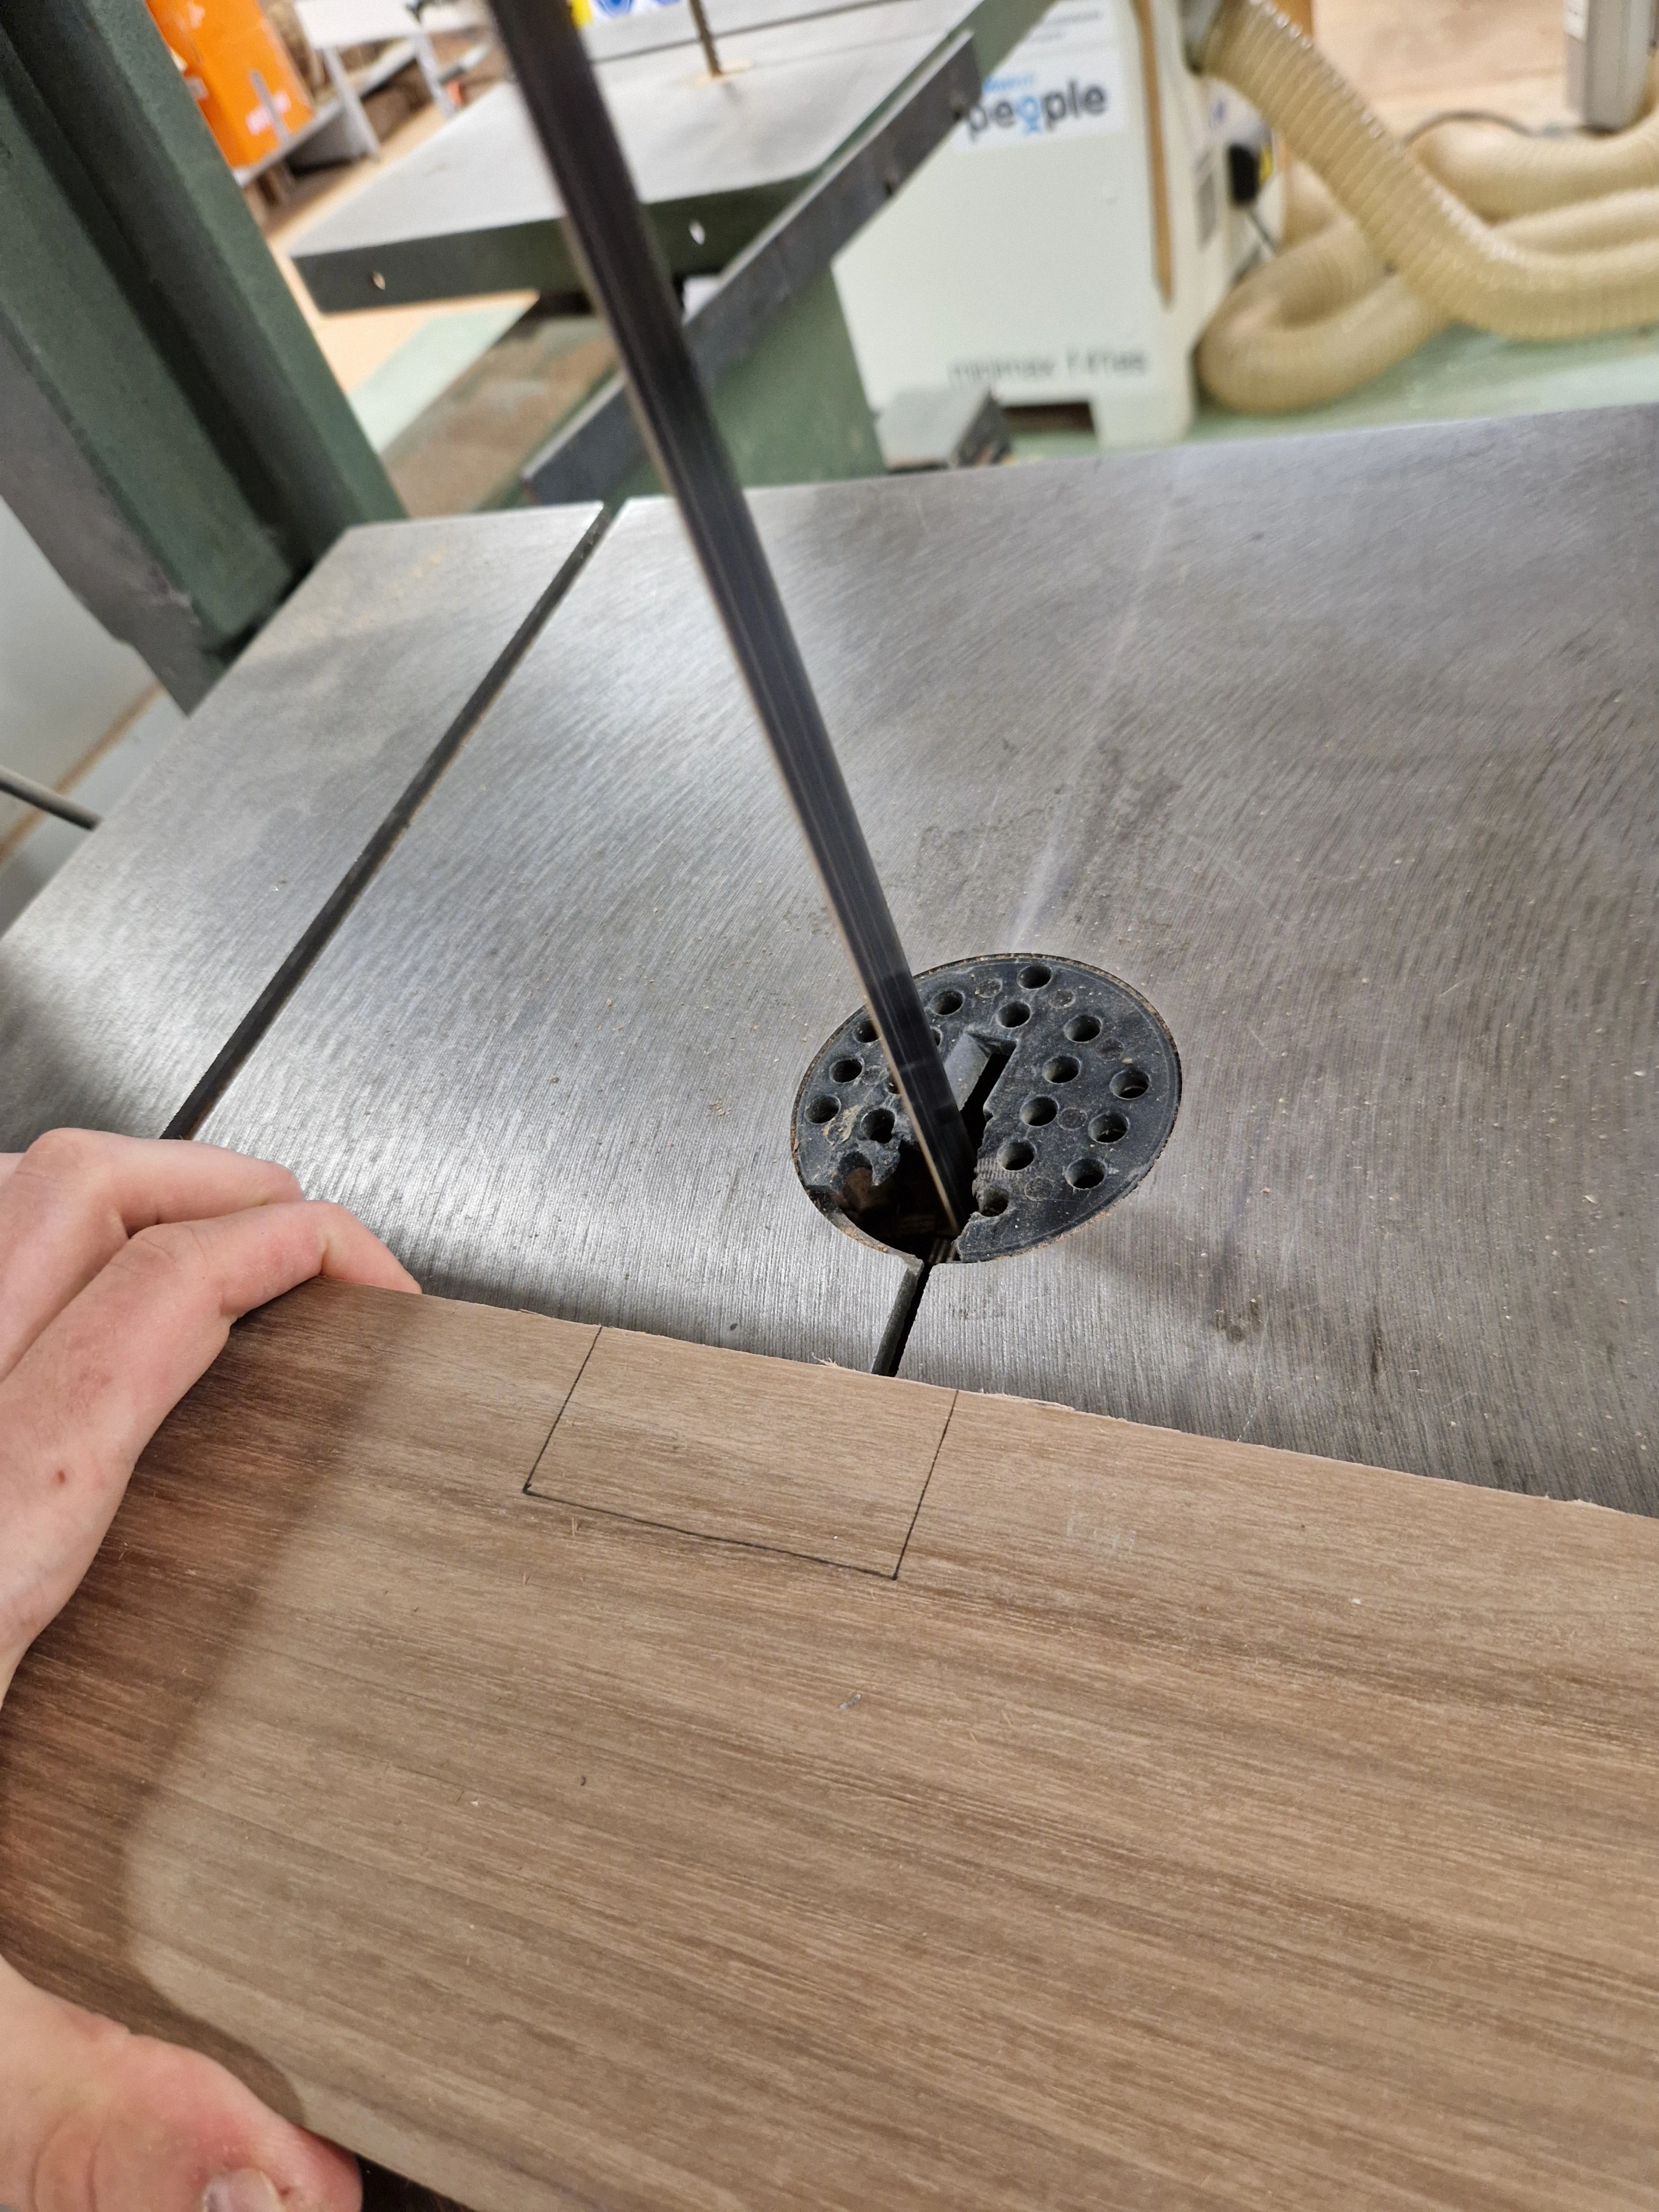
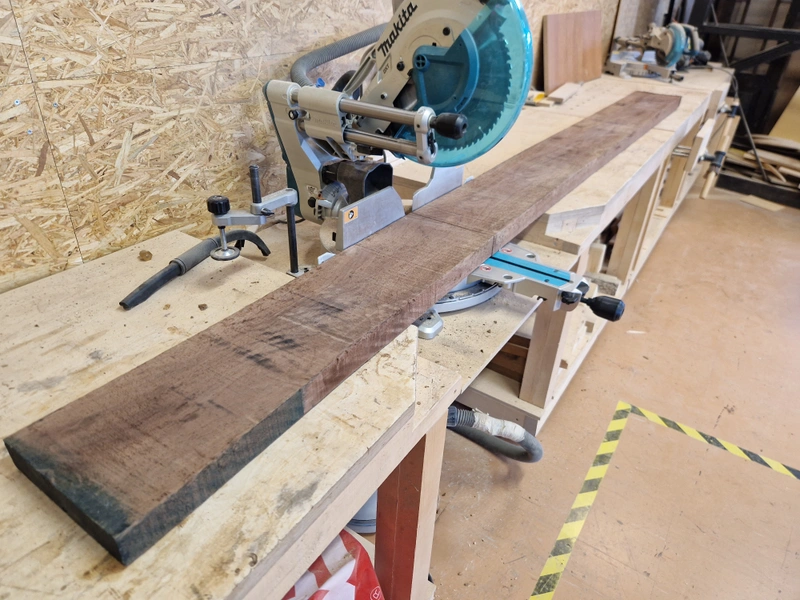
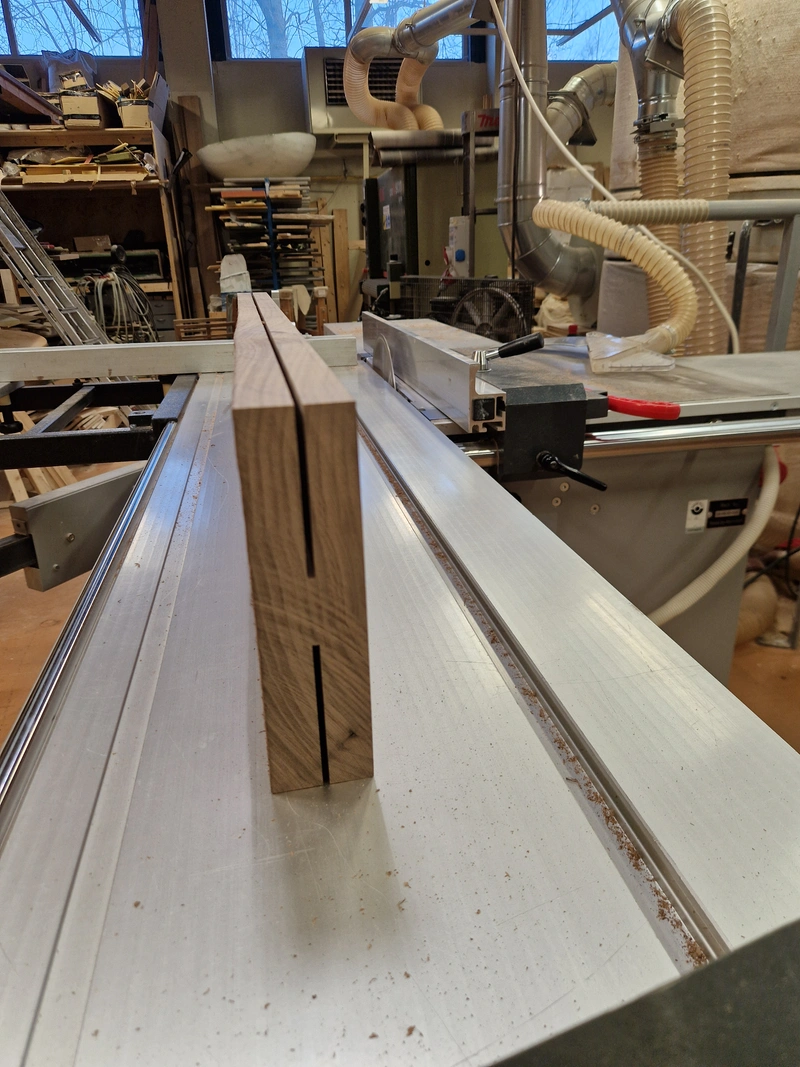
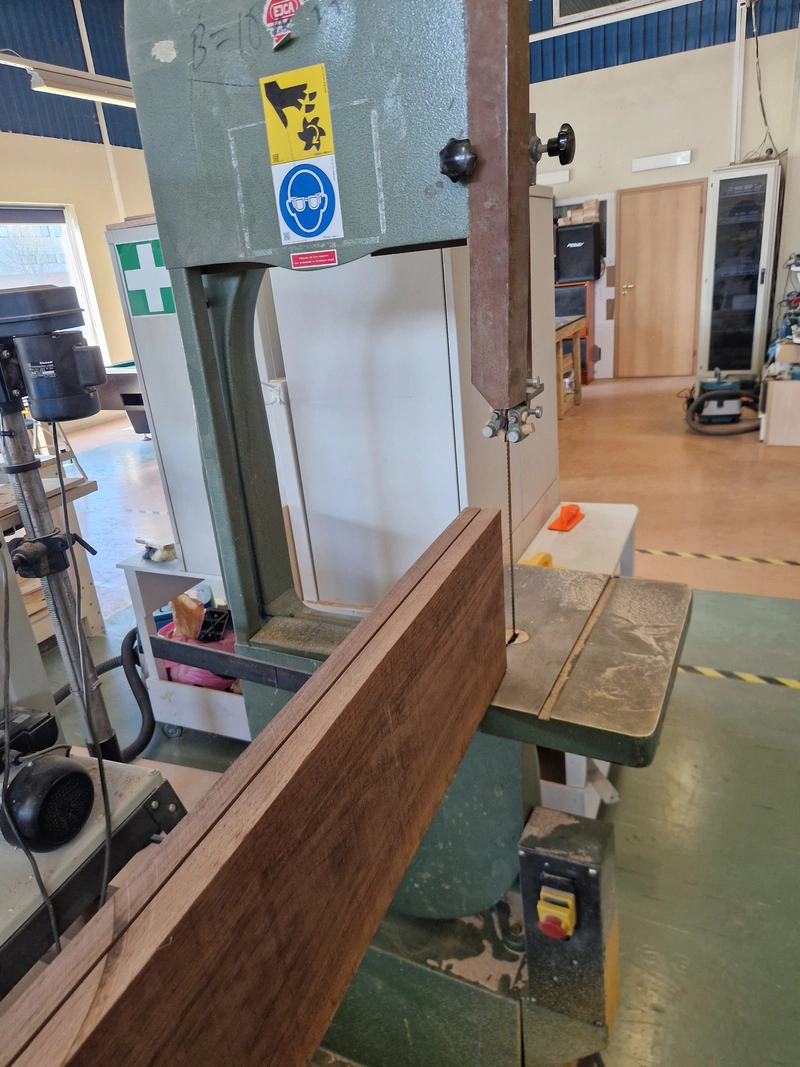
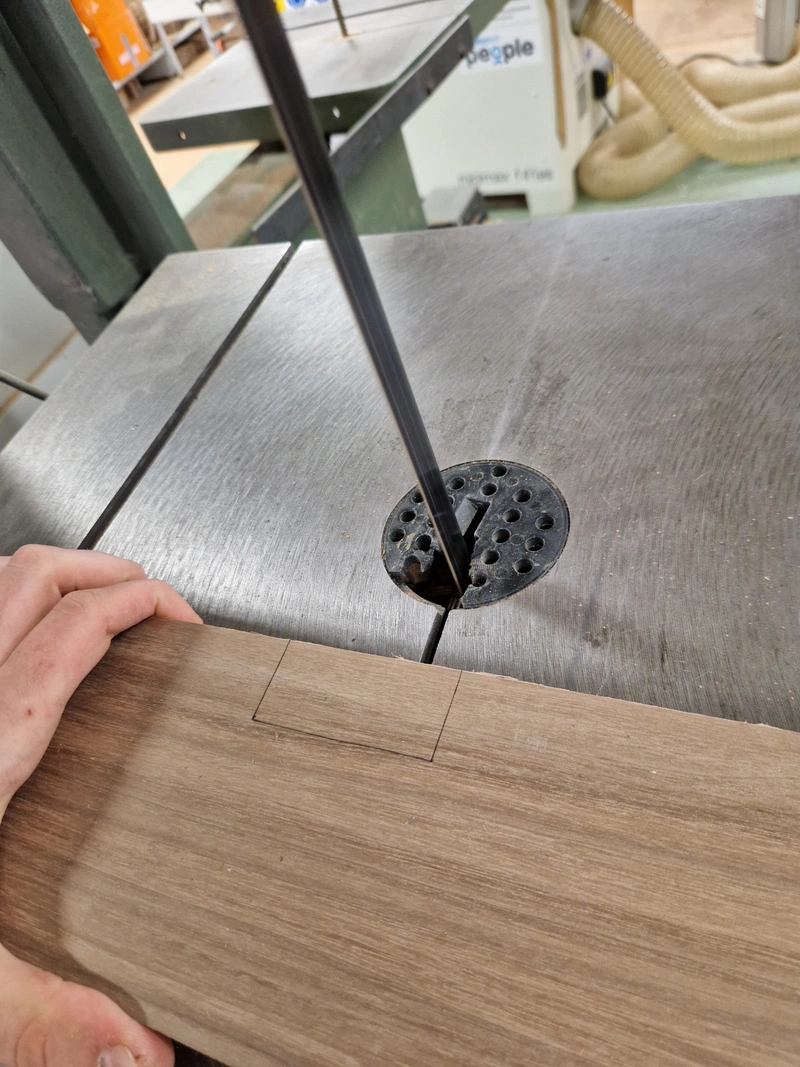
Used the jointer to create the first flat side and a flat edge, used them as references on the tablesaw fence to cut grooves into the board, the grooves were *critical* to ensure the bandsaw blade remains on track, without this the bandsaw would drift off and ruin the board. Looking at pictures 7 & 8, it is possible to see that although I did my best to keep the bandsaw blade at the center of the groove, throughout the entire process it was actively trying to drift off, only held by place by the material itself, resulting in the left piece having a flat side and the right piece having lots of material that had to be removed in the next step.
This technique worked very well.


1 / 10
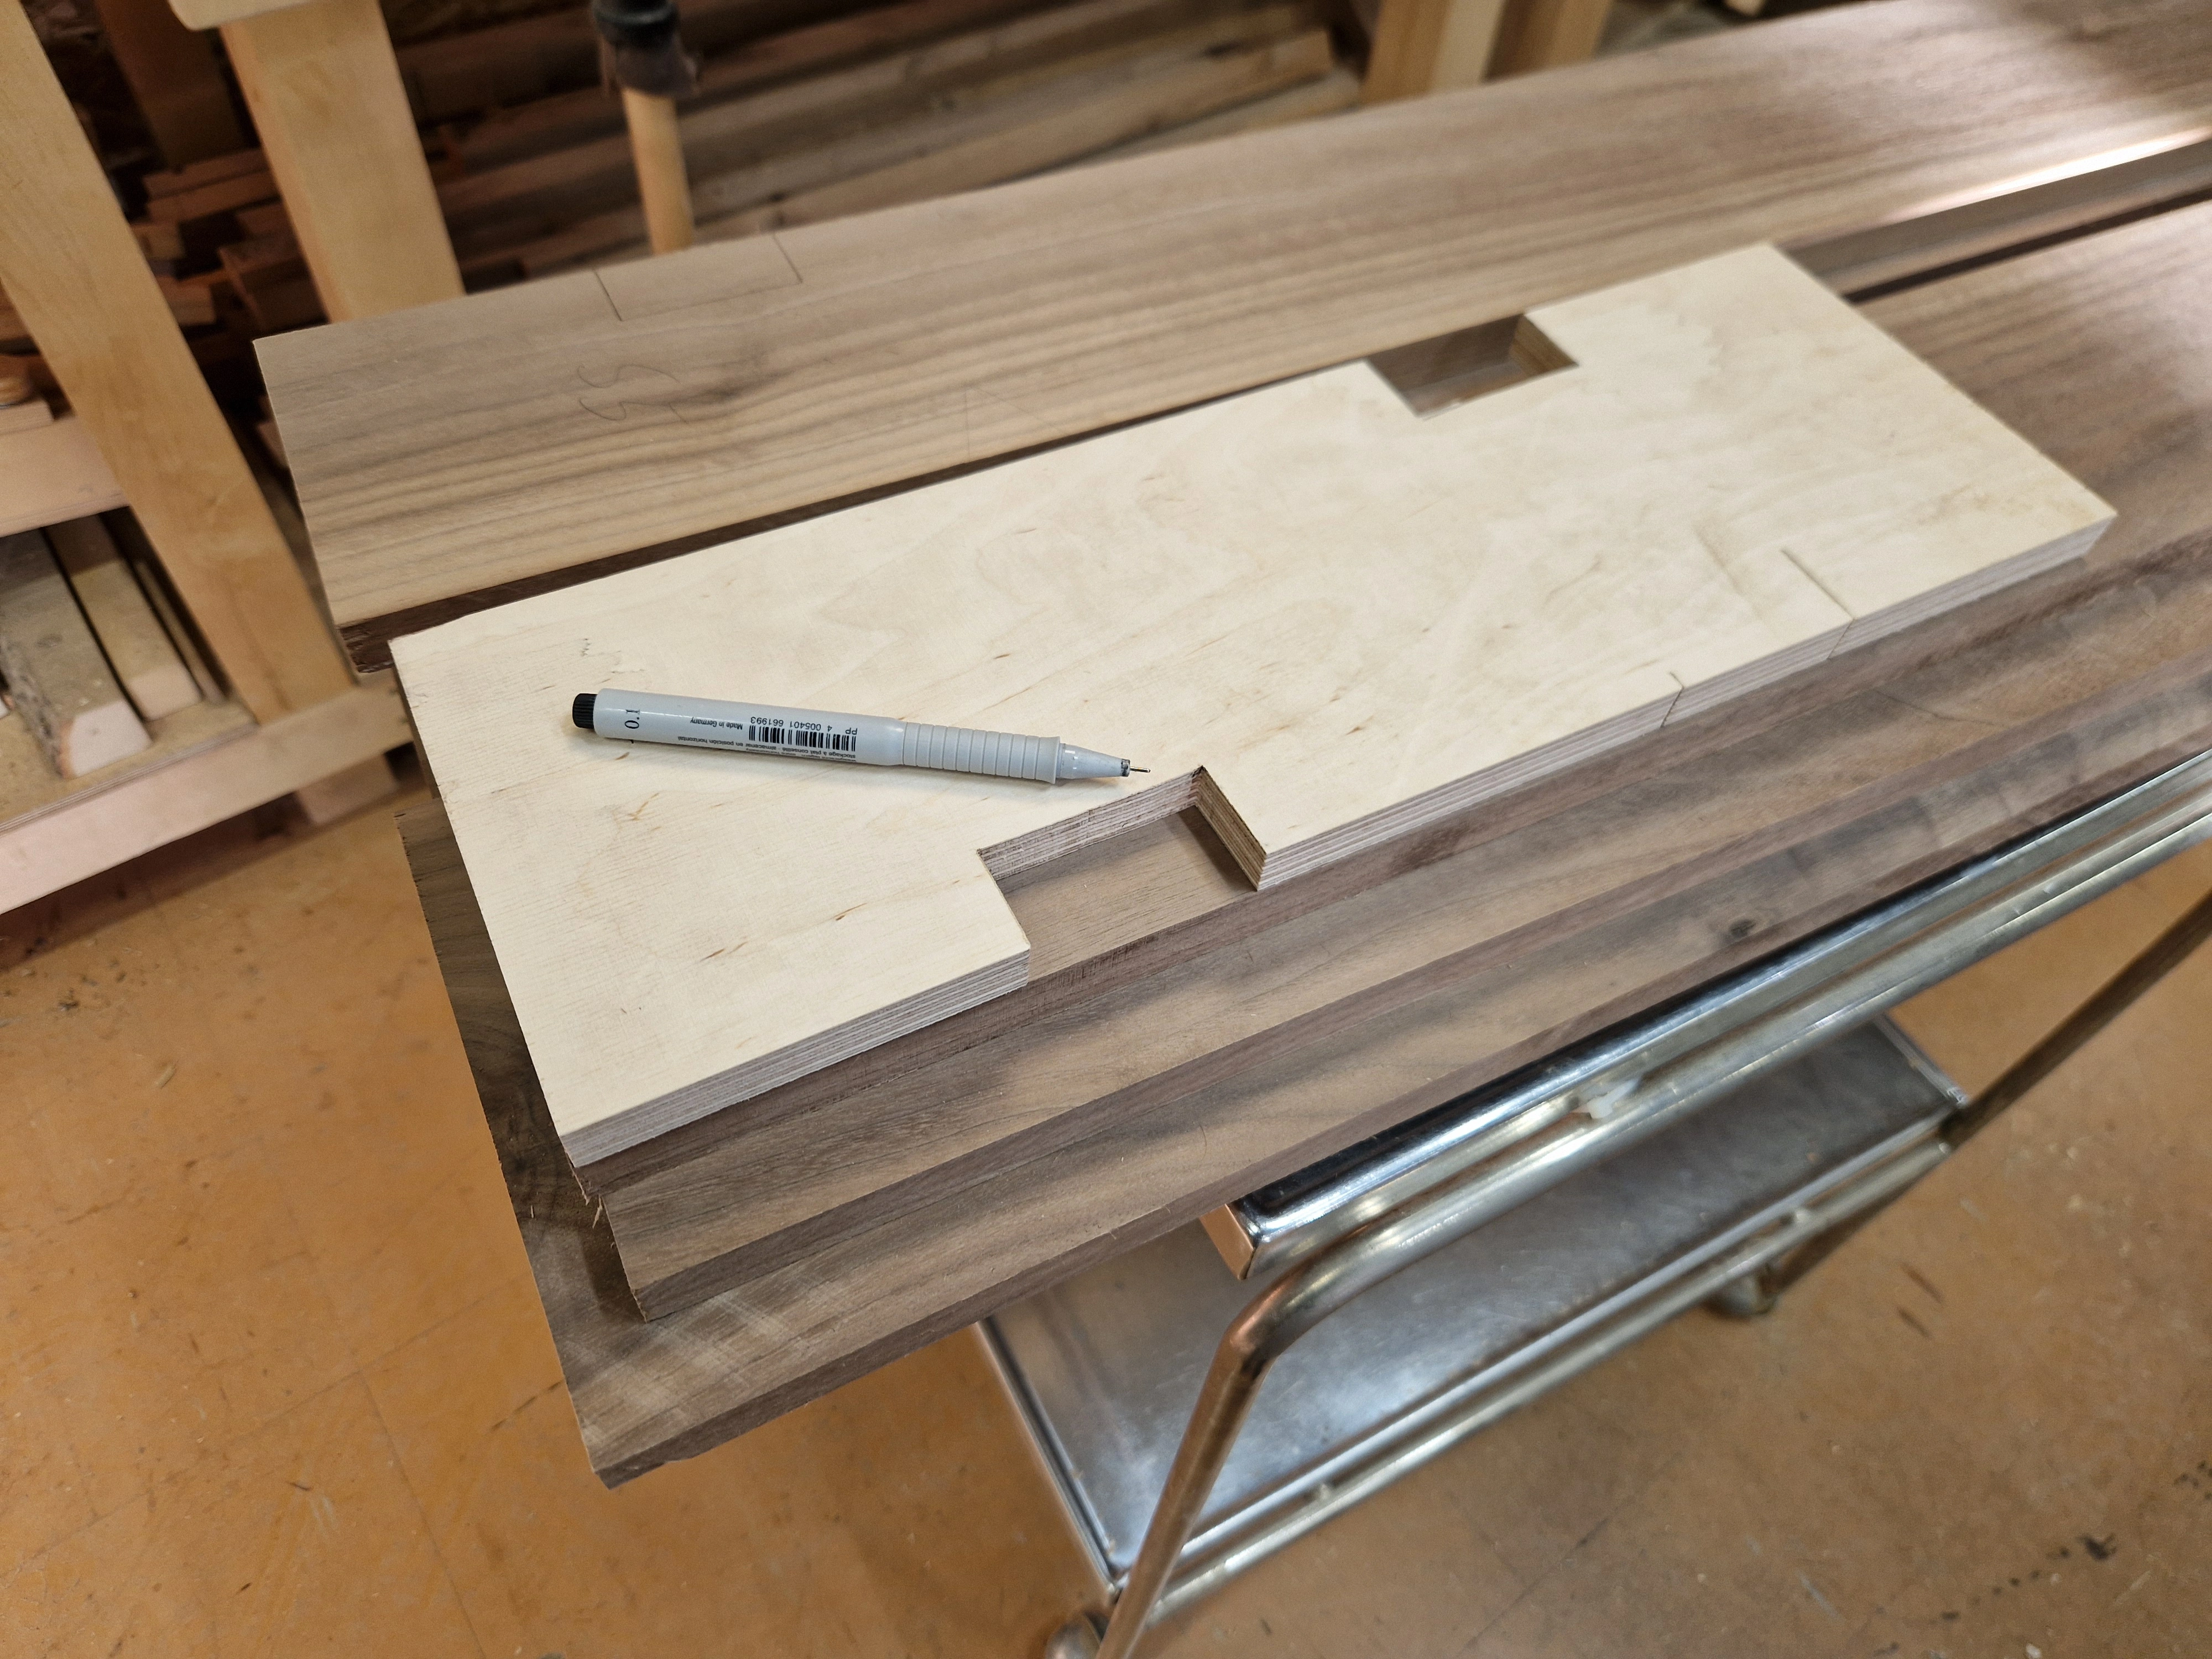
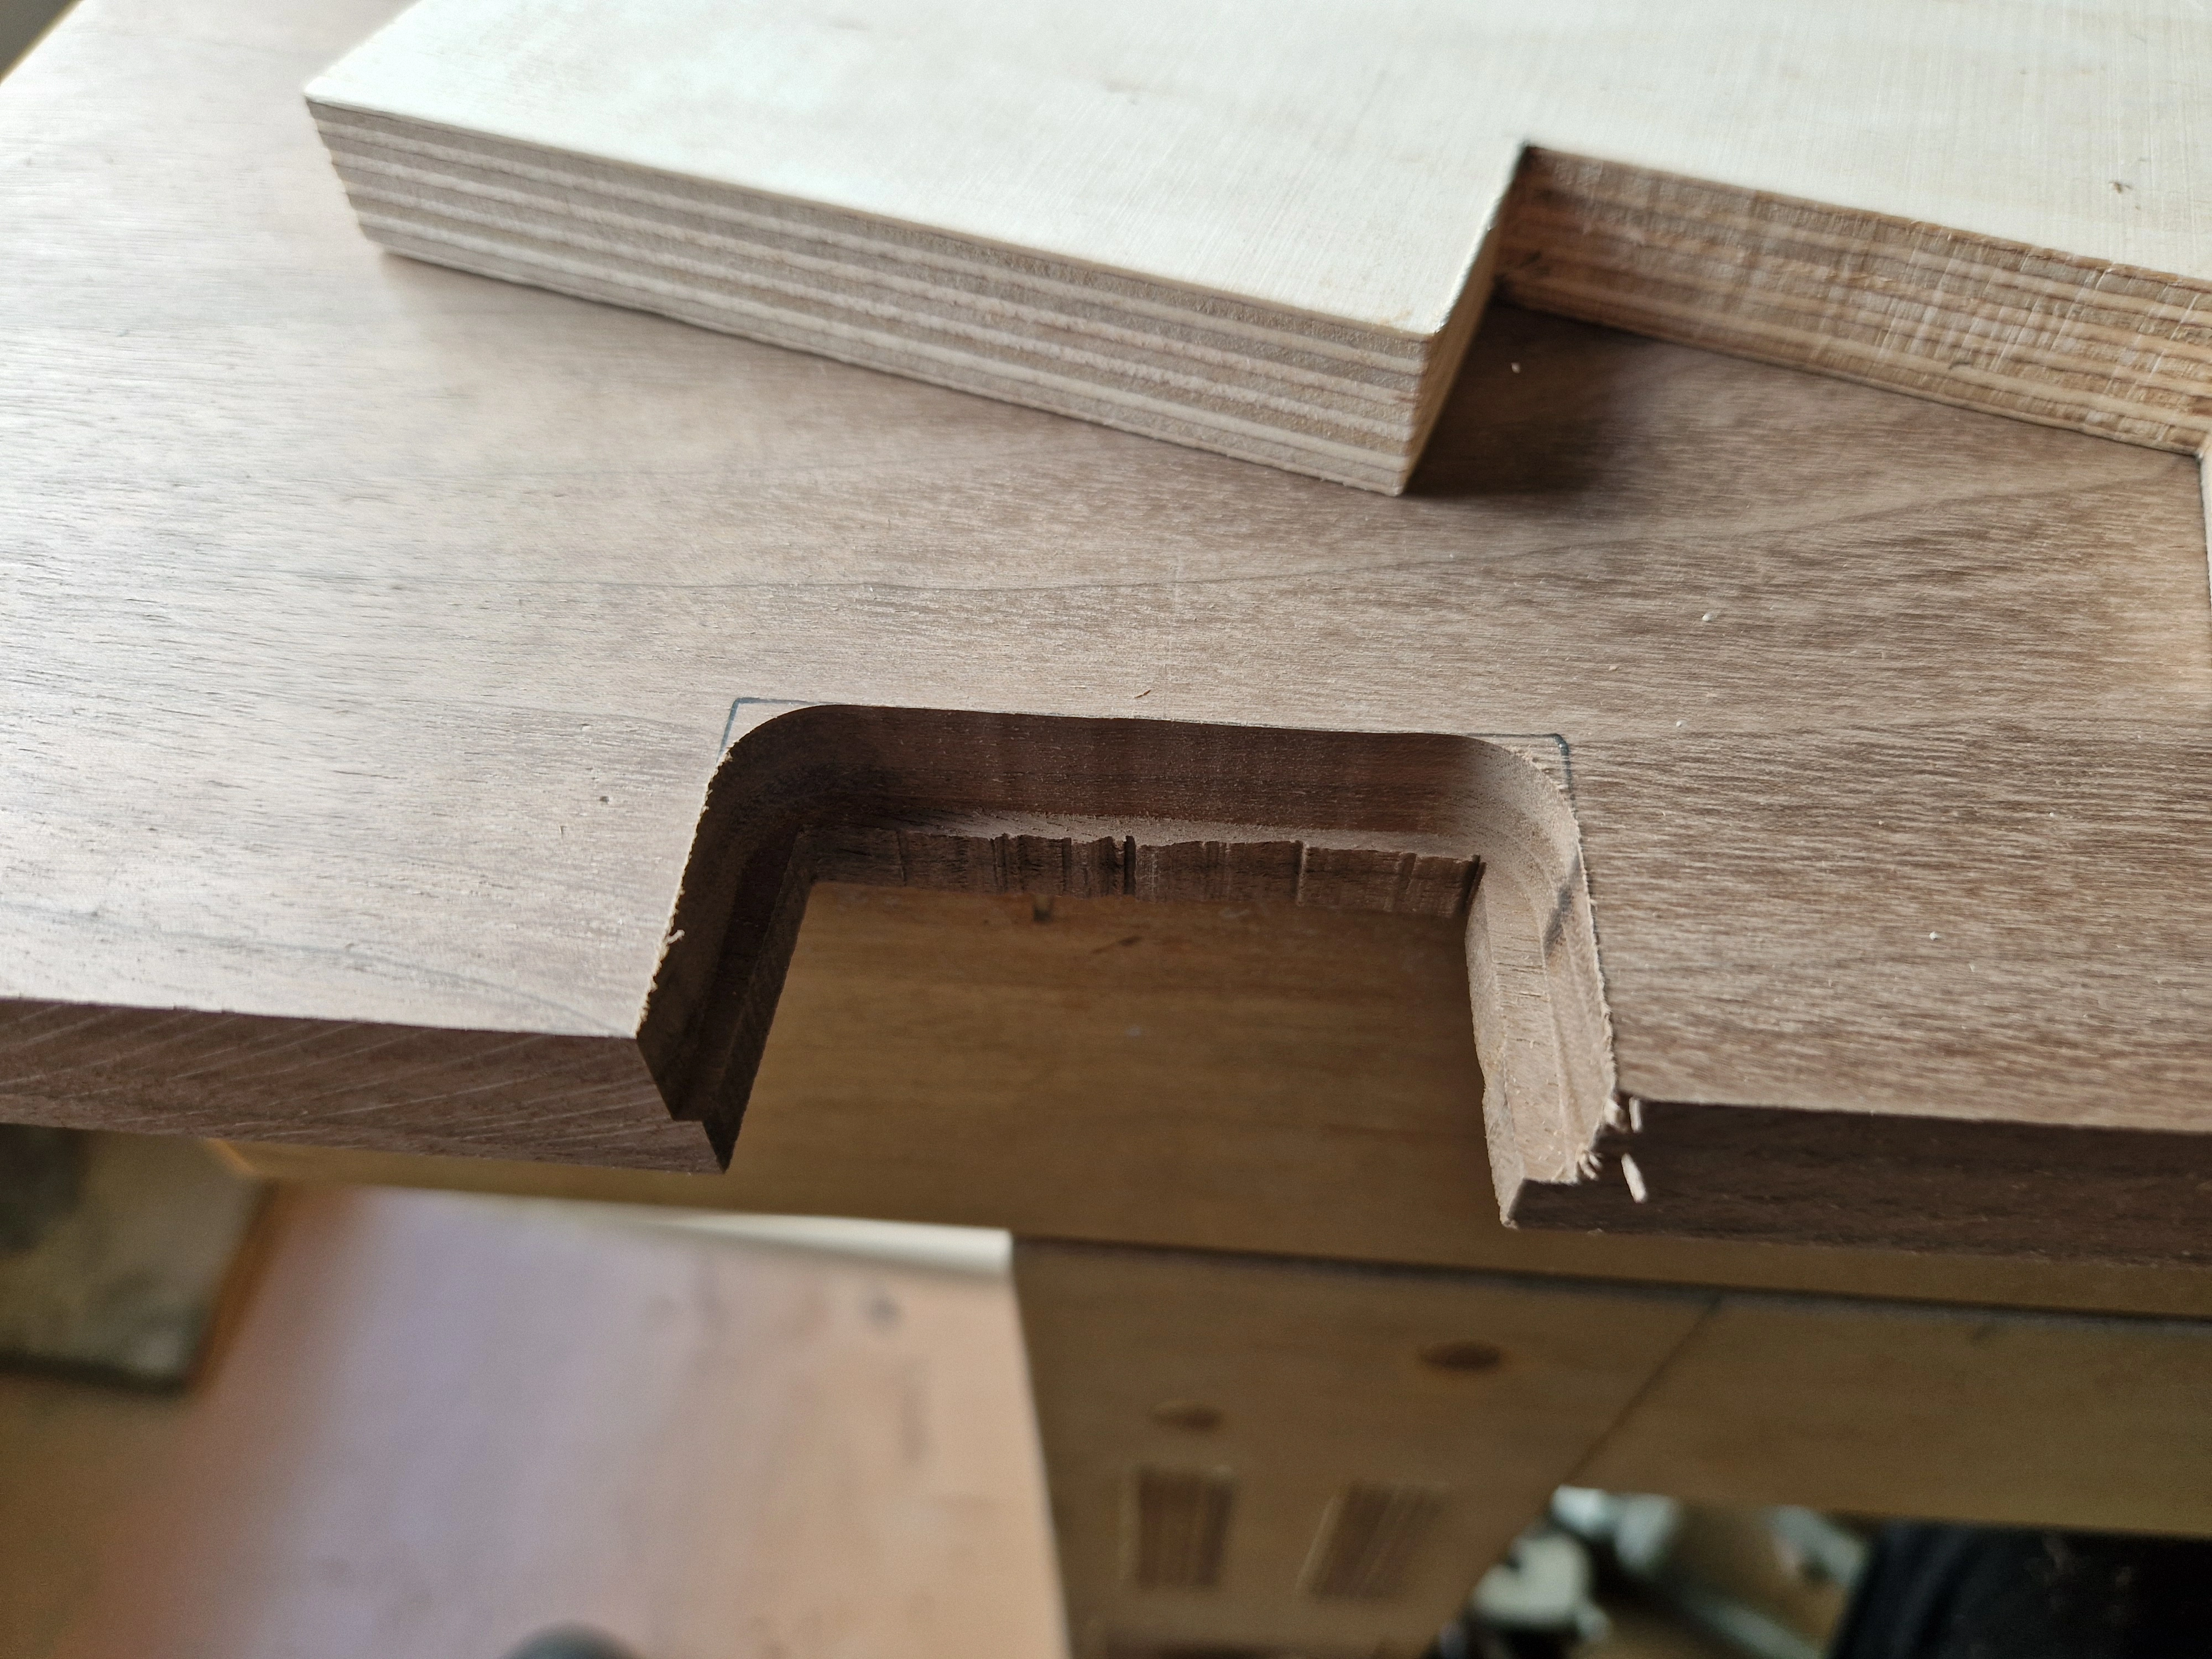
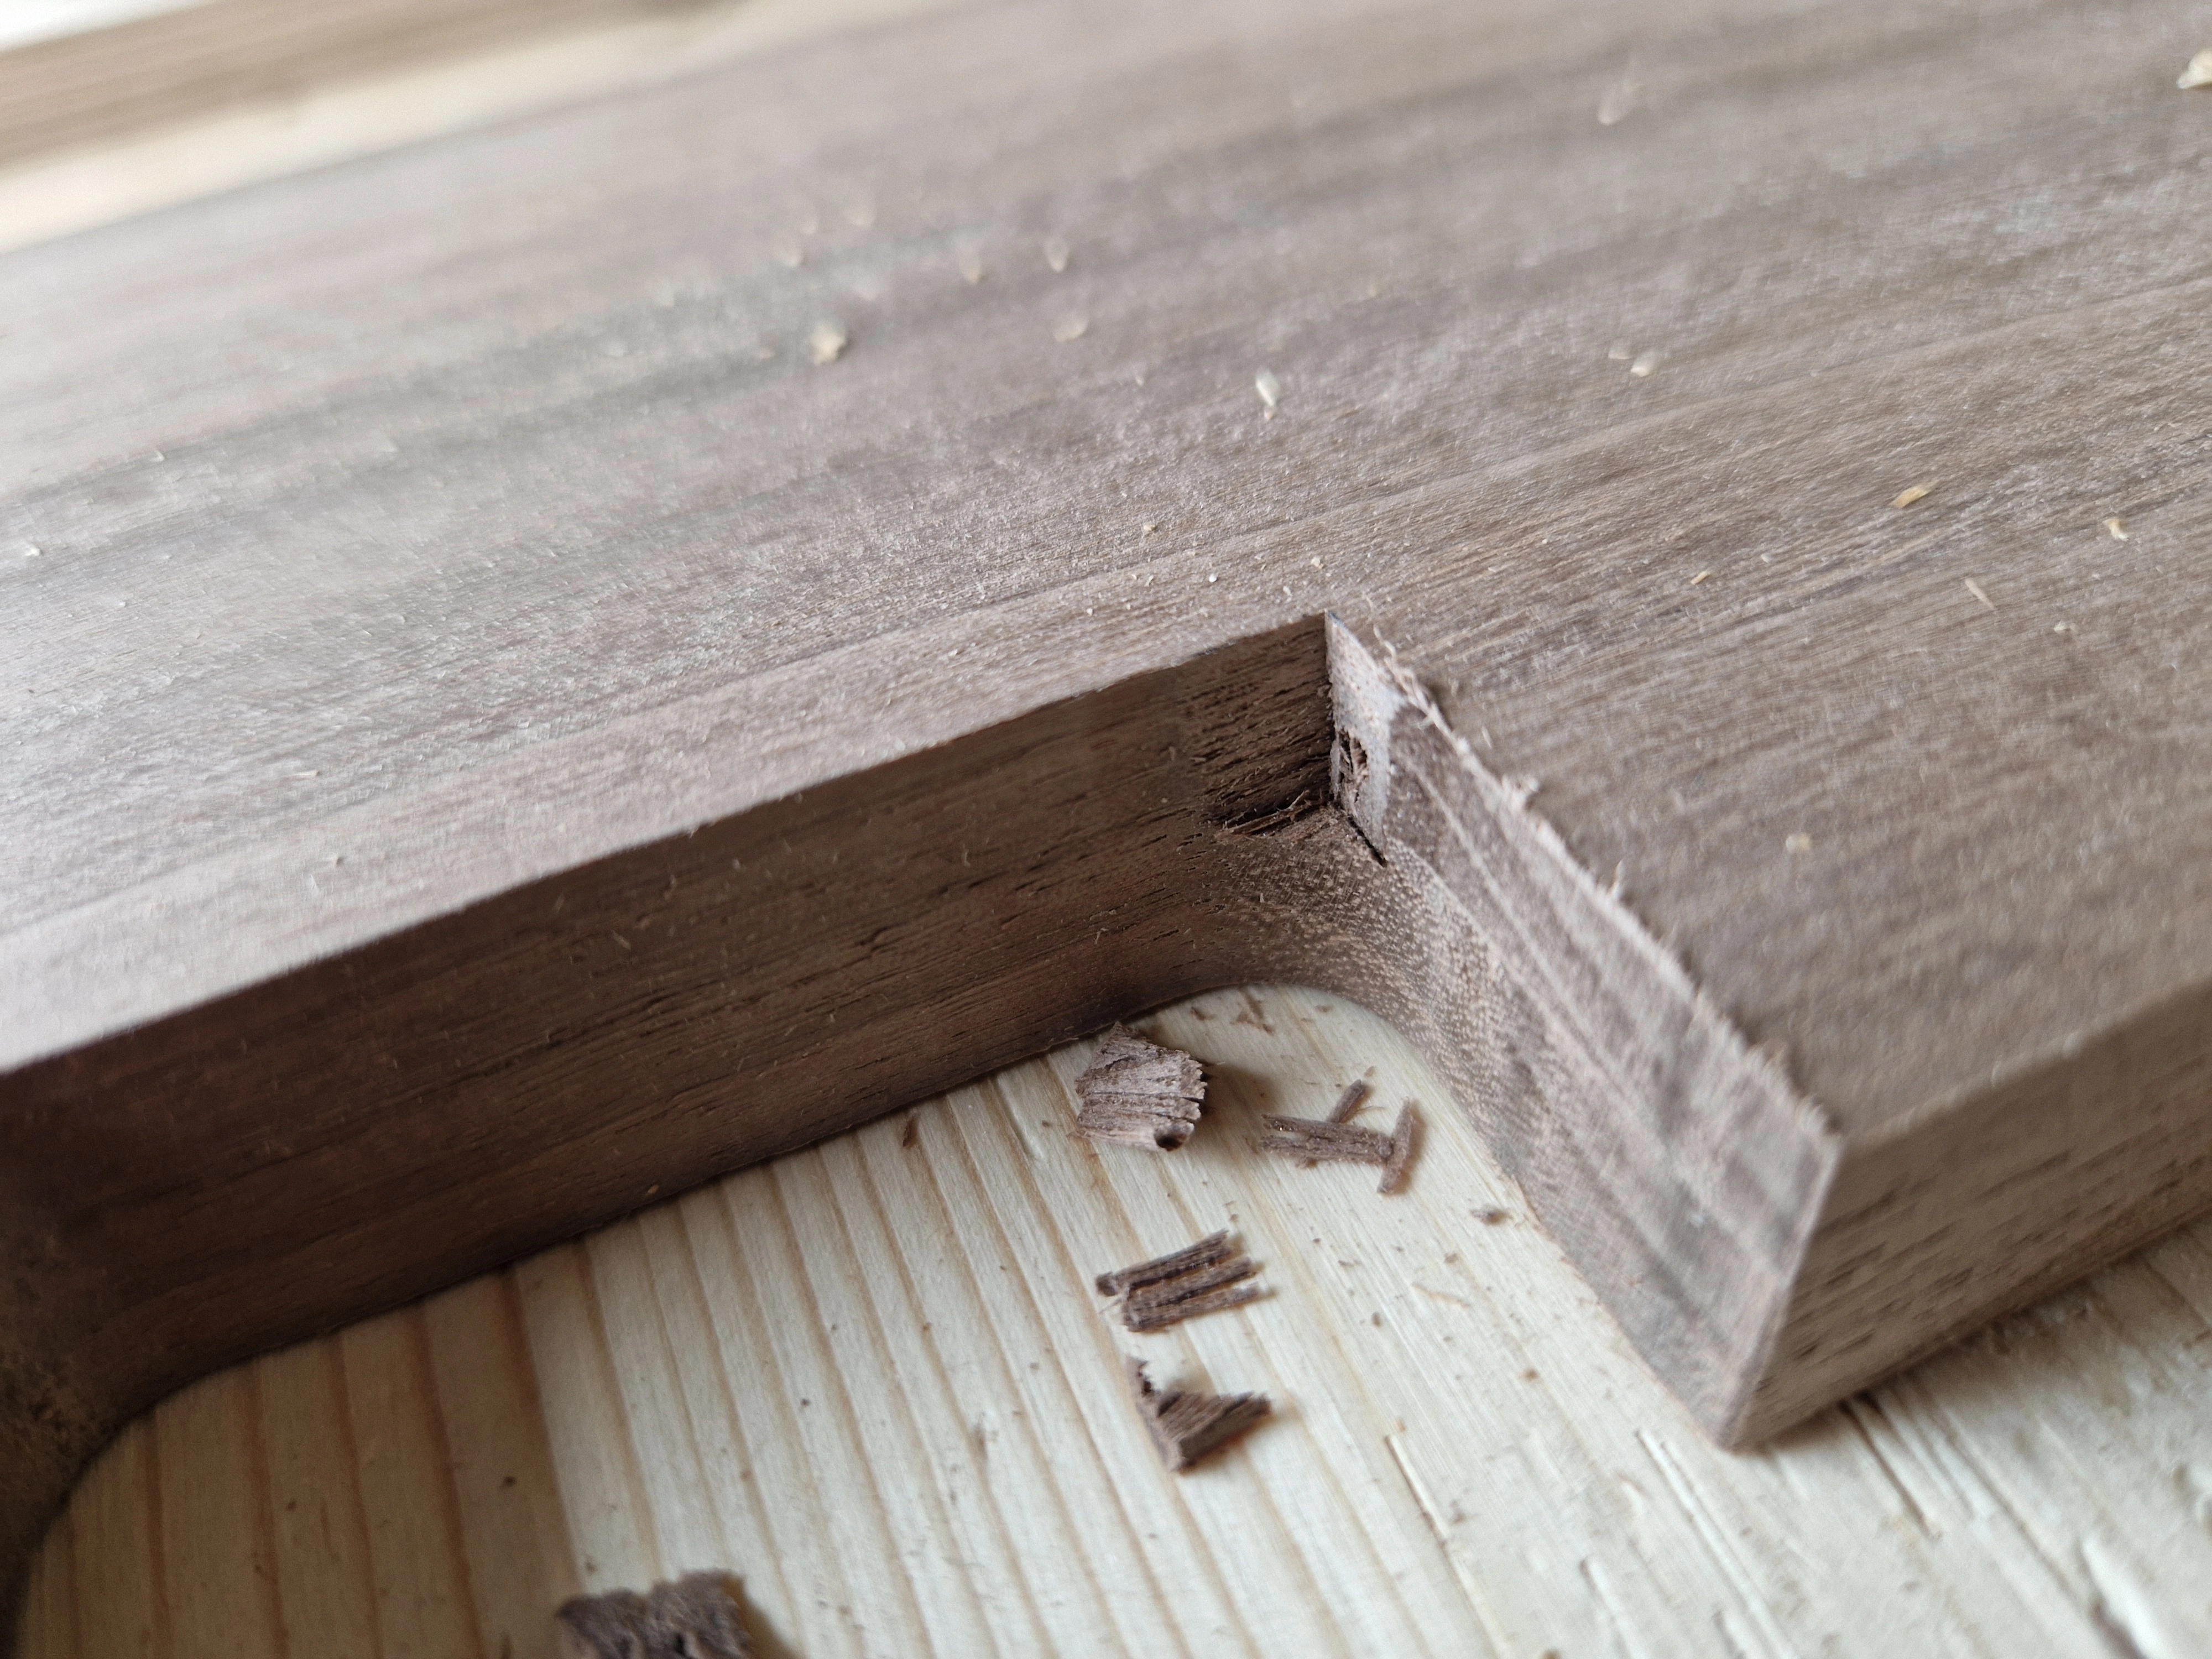
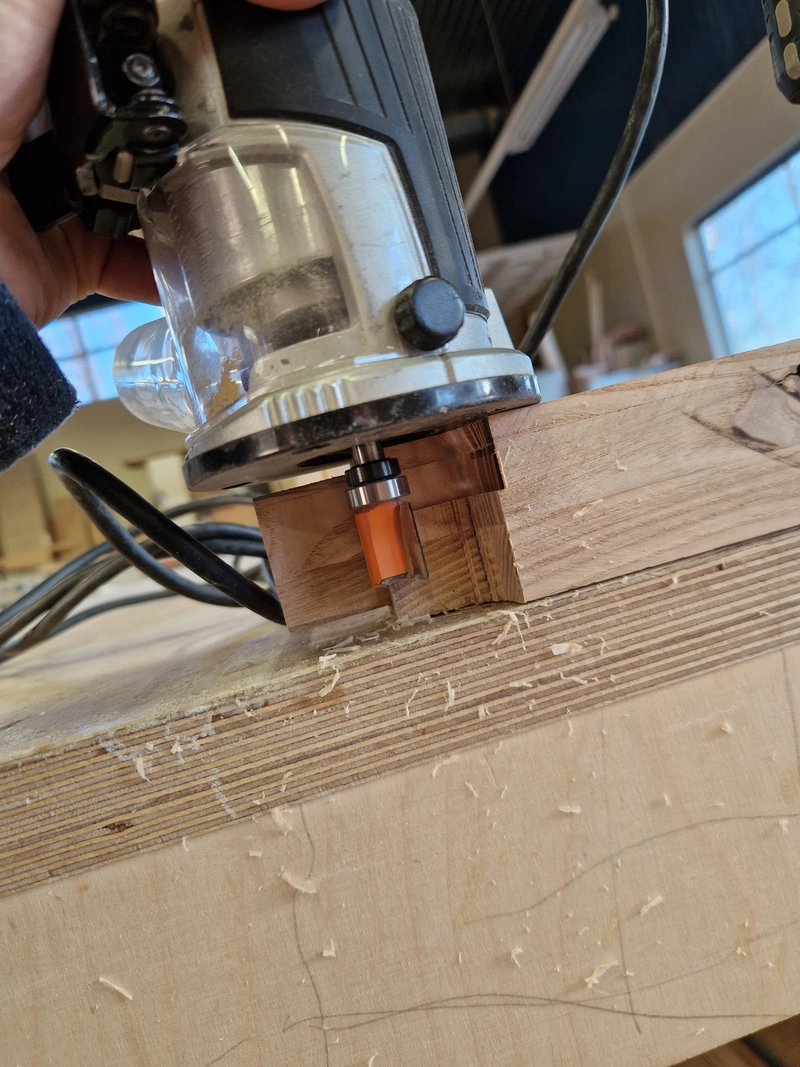
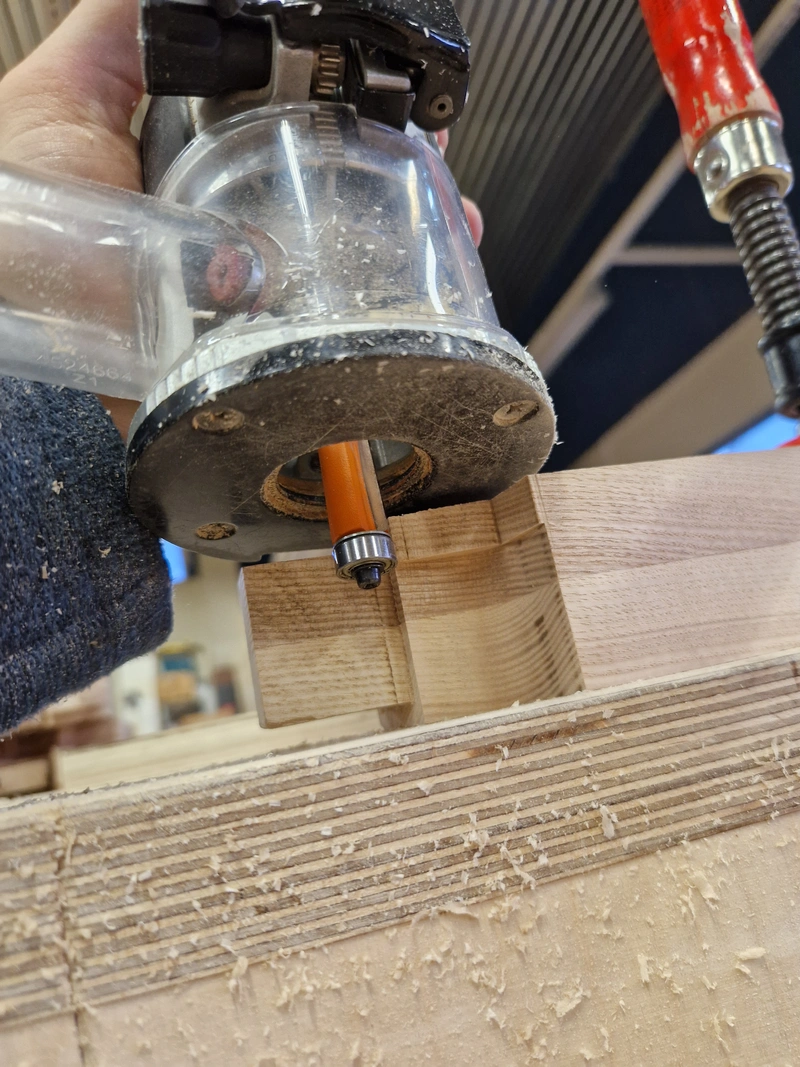
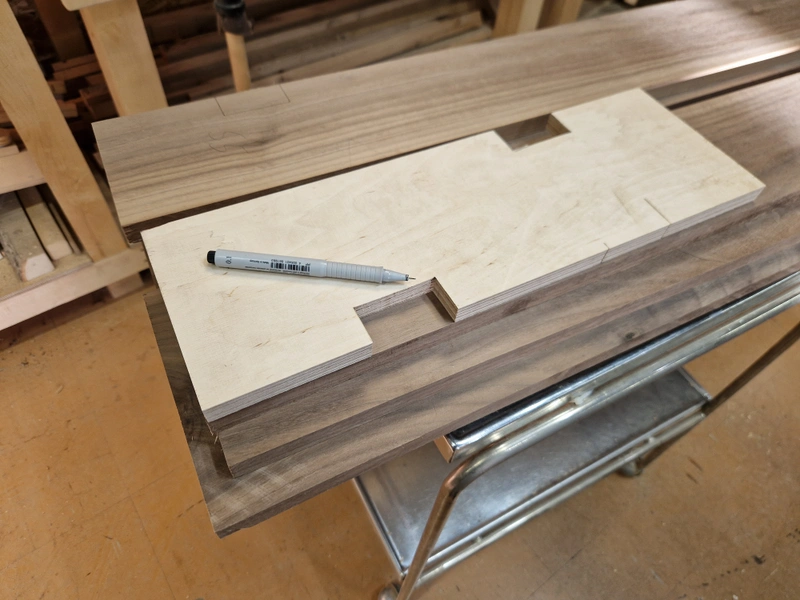
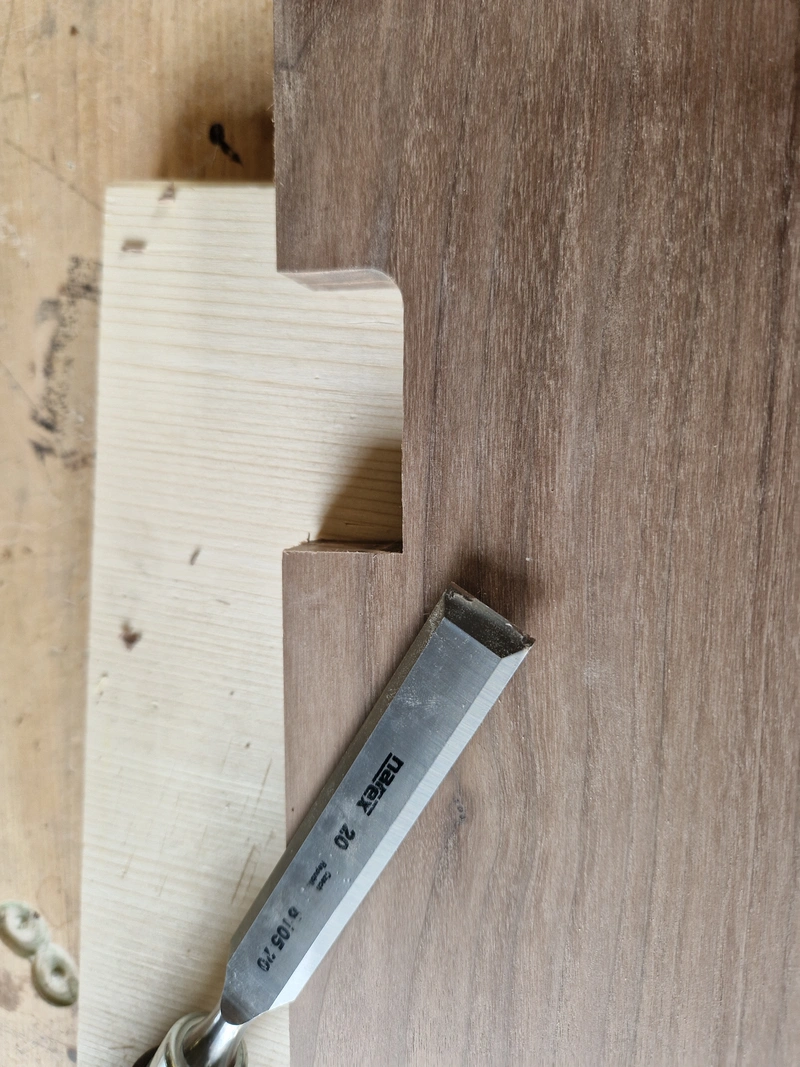
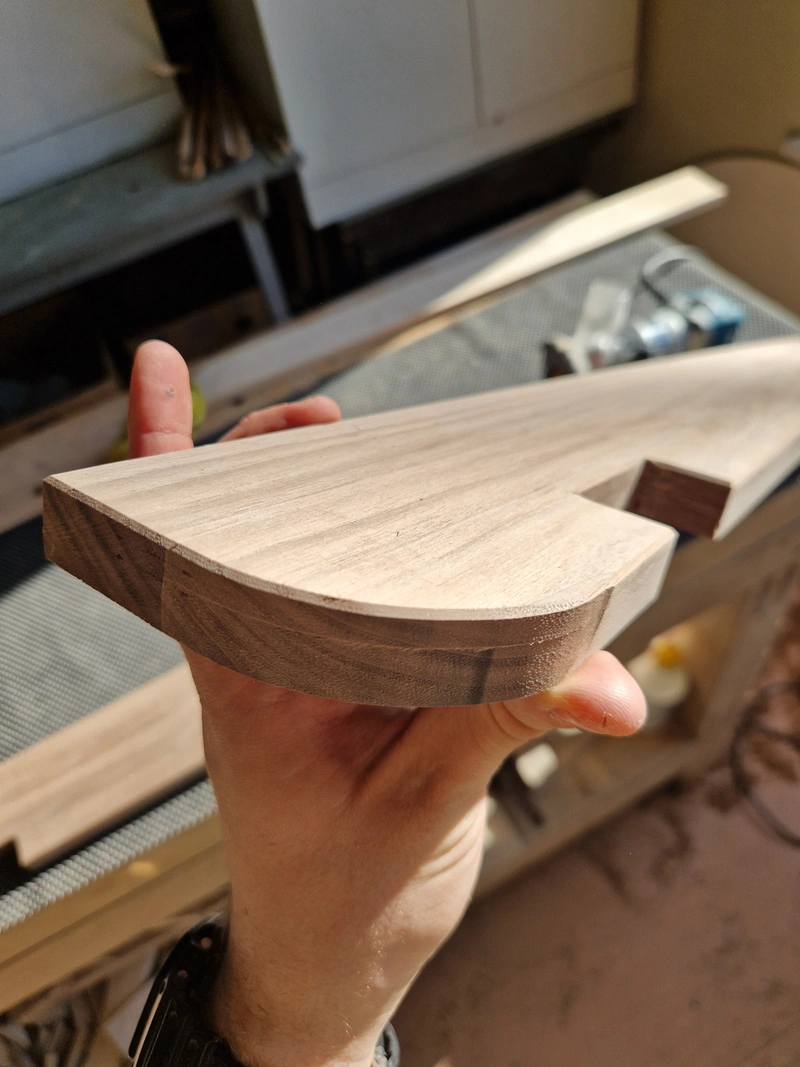
Used template routing technique to create slots for the legs and curves on the corners.
Template routing is when you take some material, typically some veneer you find in the scrap pile, and create a template of the thing you want to make repeatedly in the same size. Here I created one template for the slot into which the 55mm wide board sits in, using the two adjacent edges as references, I could repeatedly mark the locations to cut. Cleared out the waste on the bandsaw, once again used the two adjacent edges as references to clamp the template on the piece, and then used a router bit with a bearing on top to start cutting. The edge of the router bit and bearing are flush with eachother, allowing you to "transfer" the shape from your template to the board. After the first pass, your board now has the shape on it, which now becomes the template for cutting the rest of the material. Don't do this in one go, or you will most likely tear out a huge chunk of your work. Multiple small passes is more reliable and most importantly - a lot safer for your health.


1 / 13
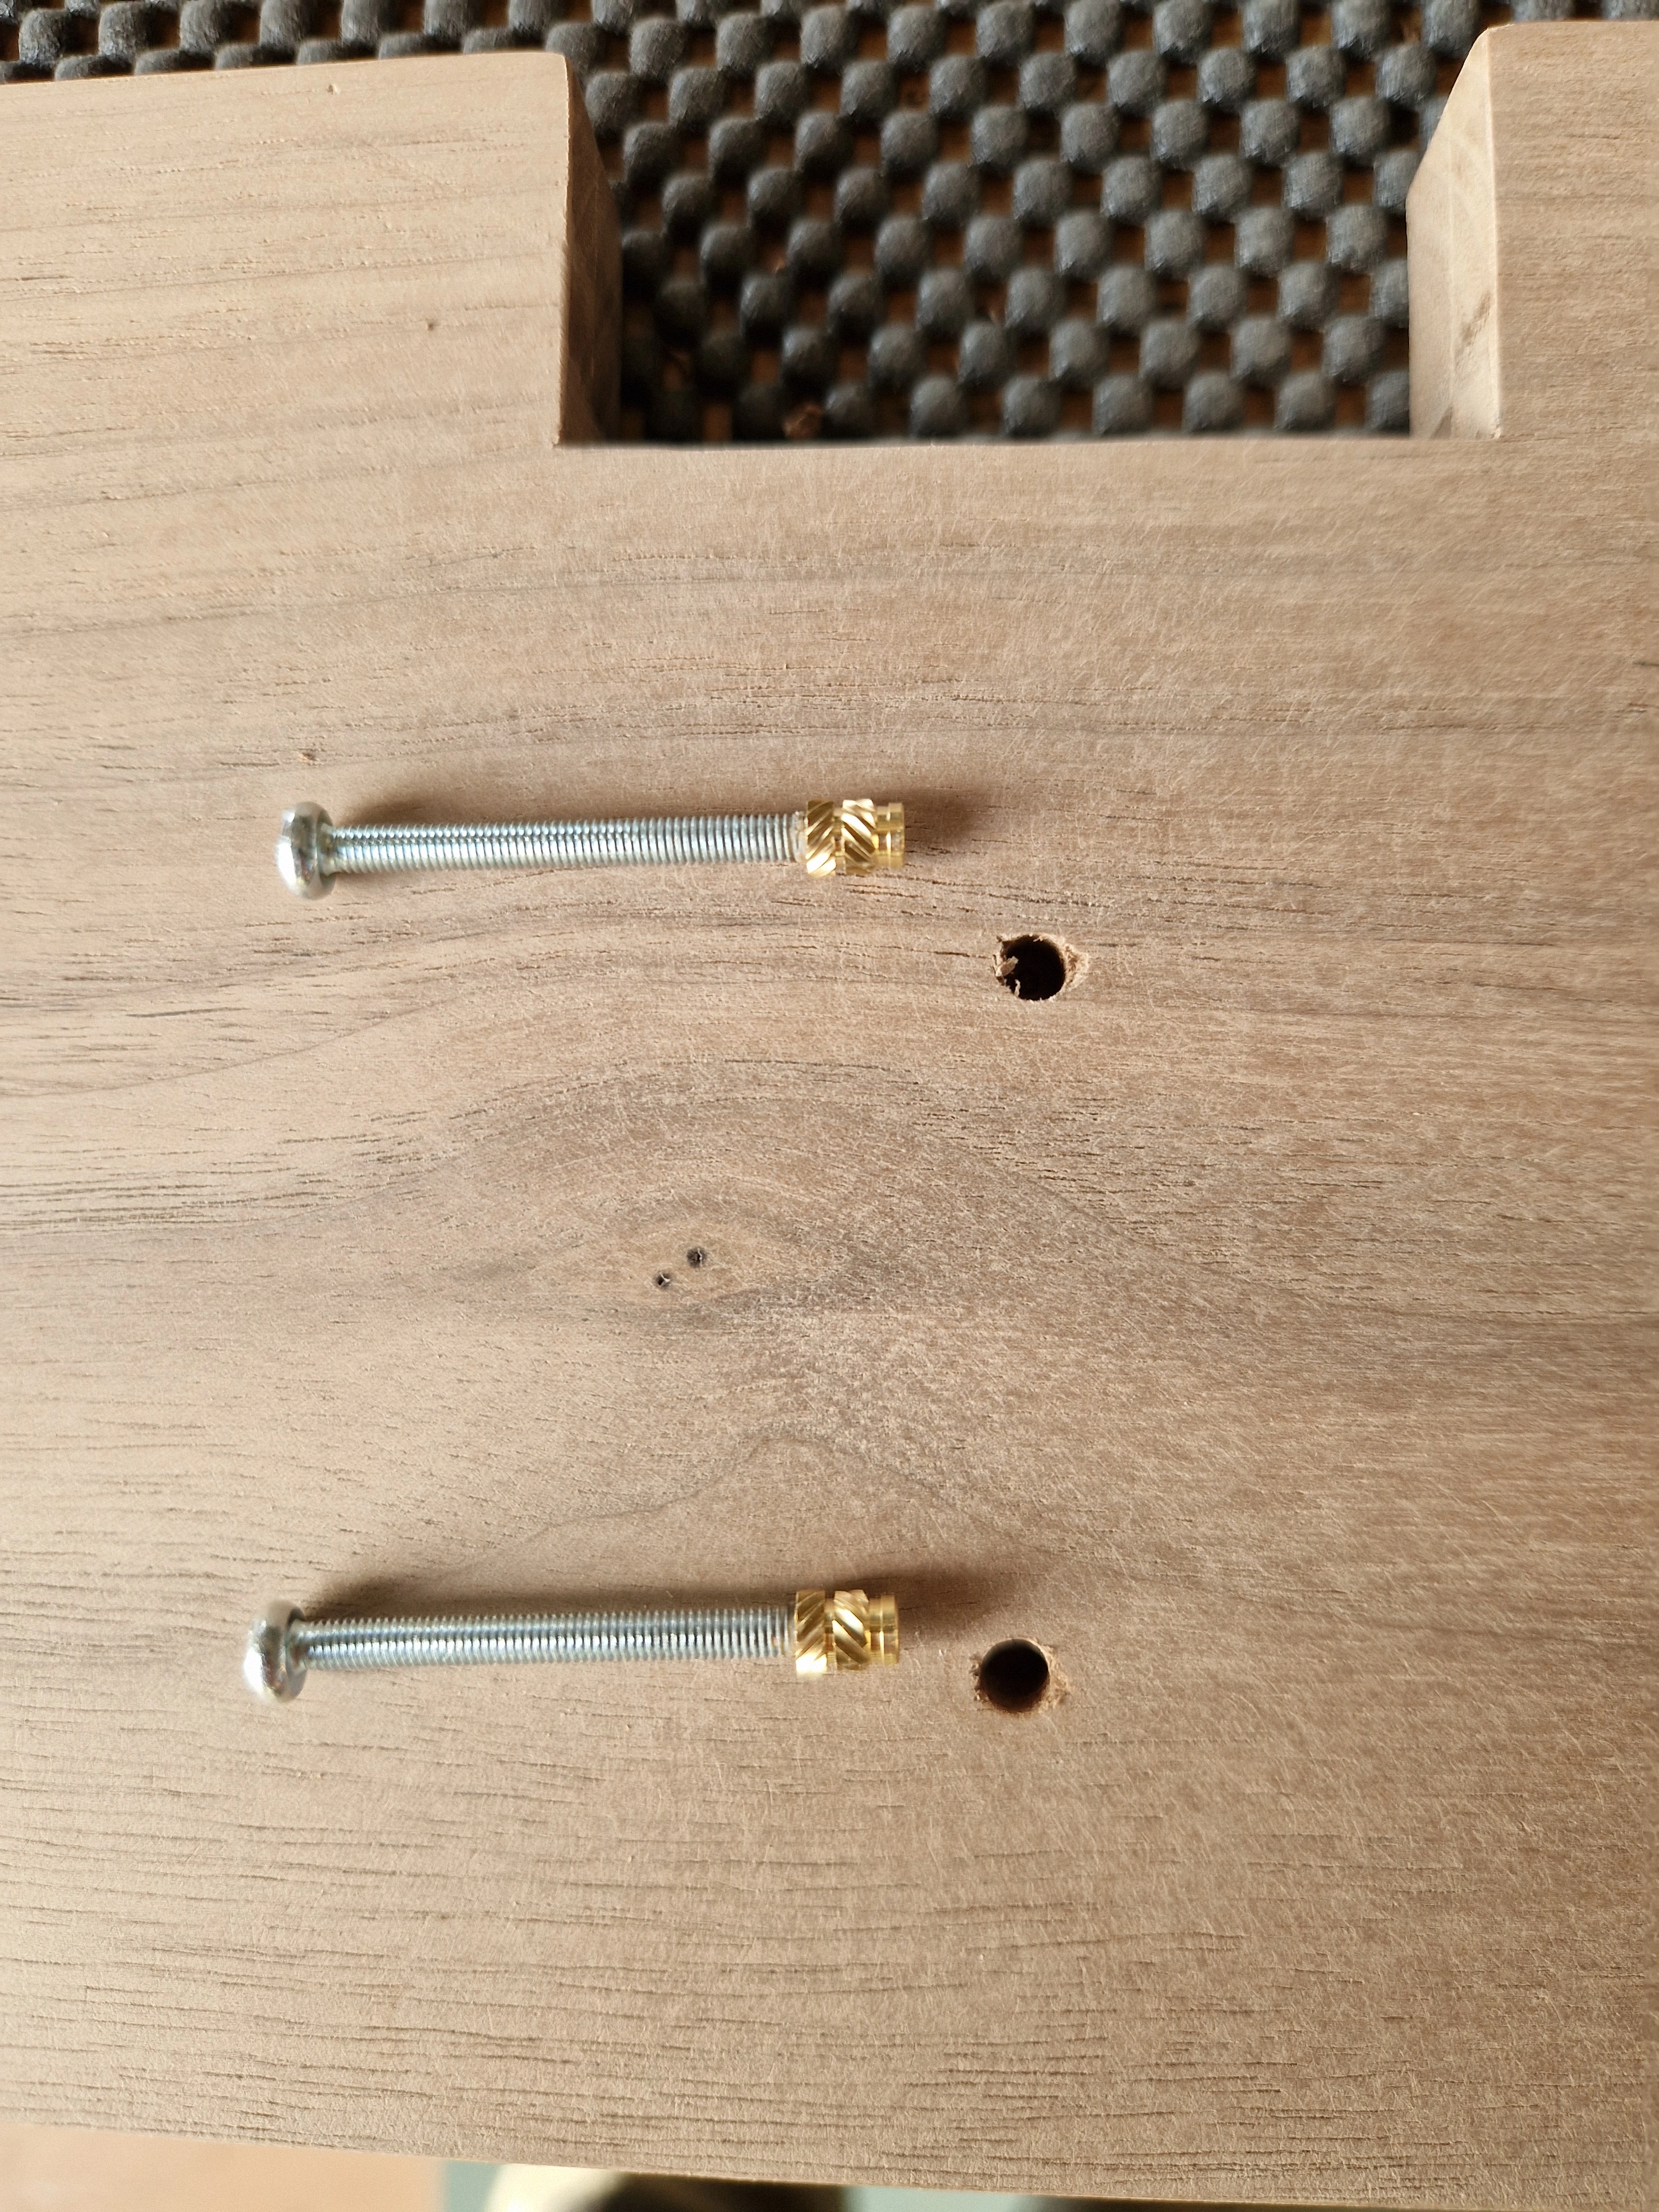
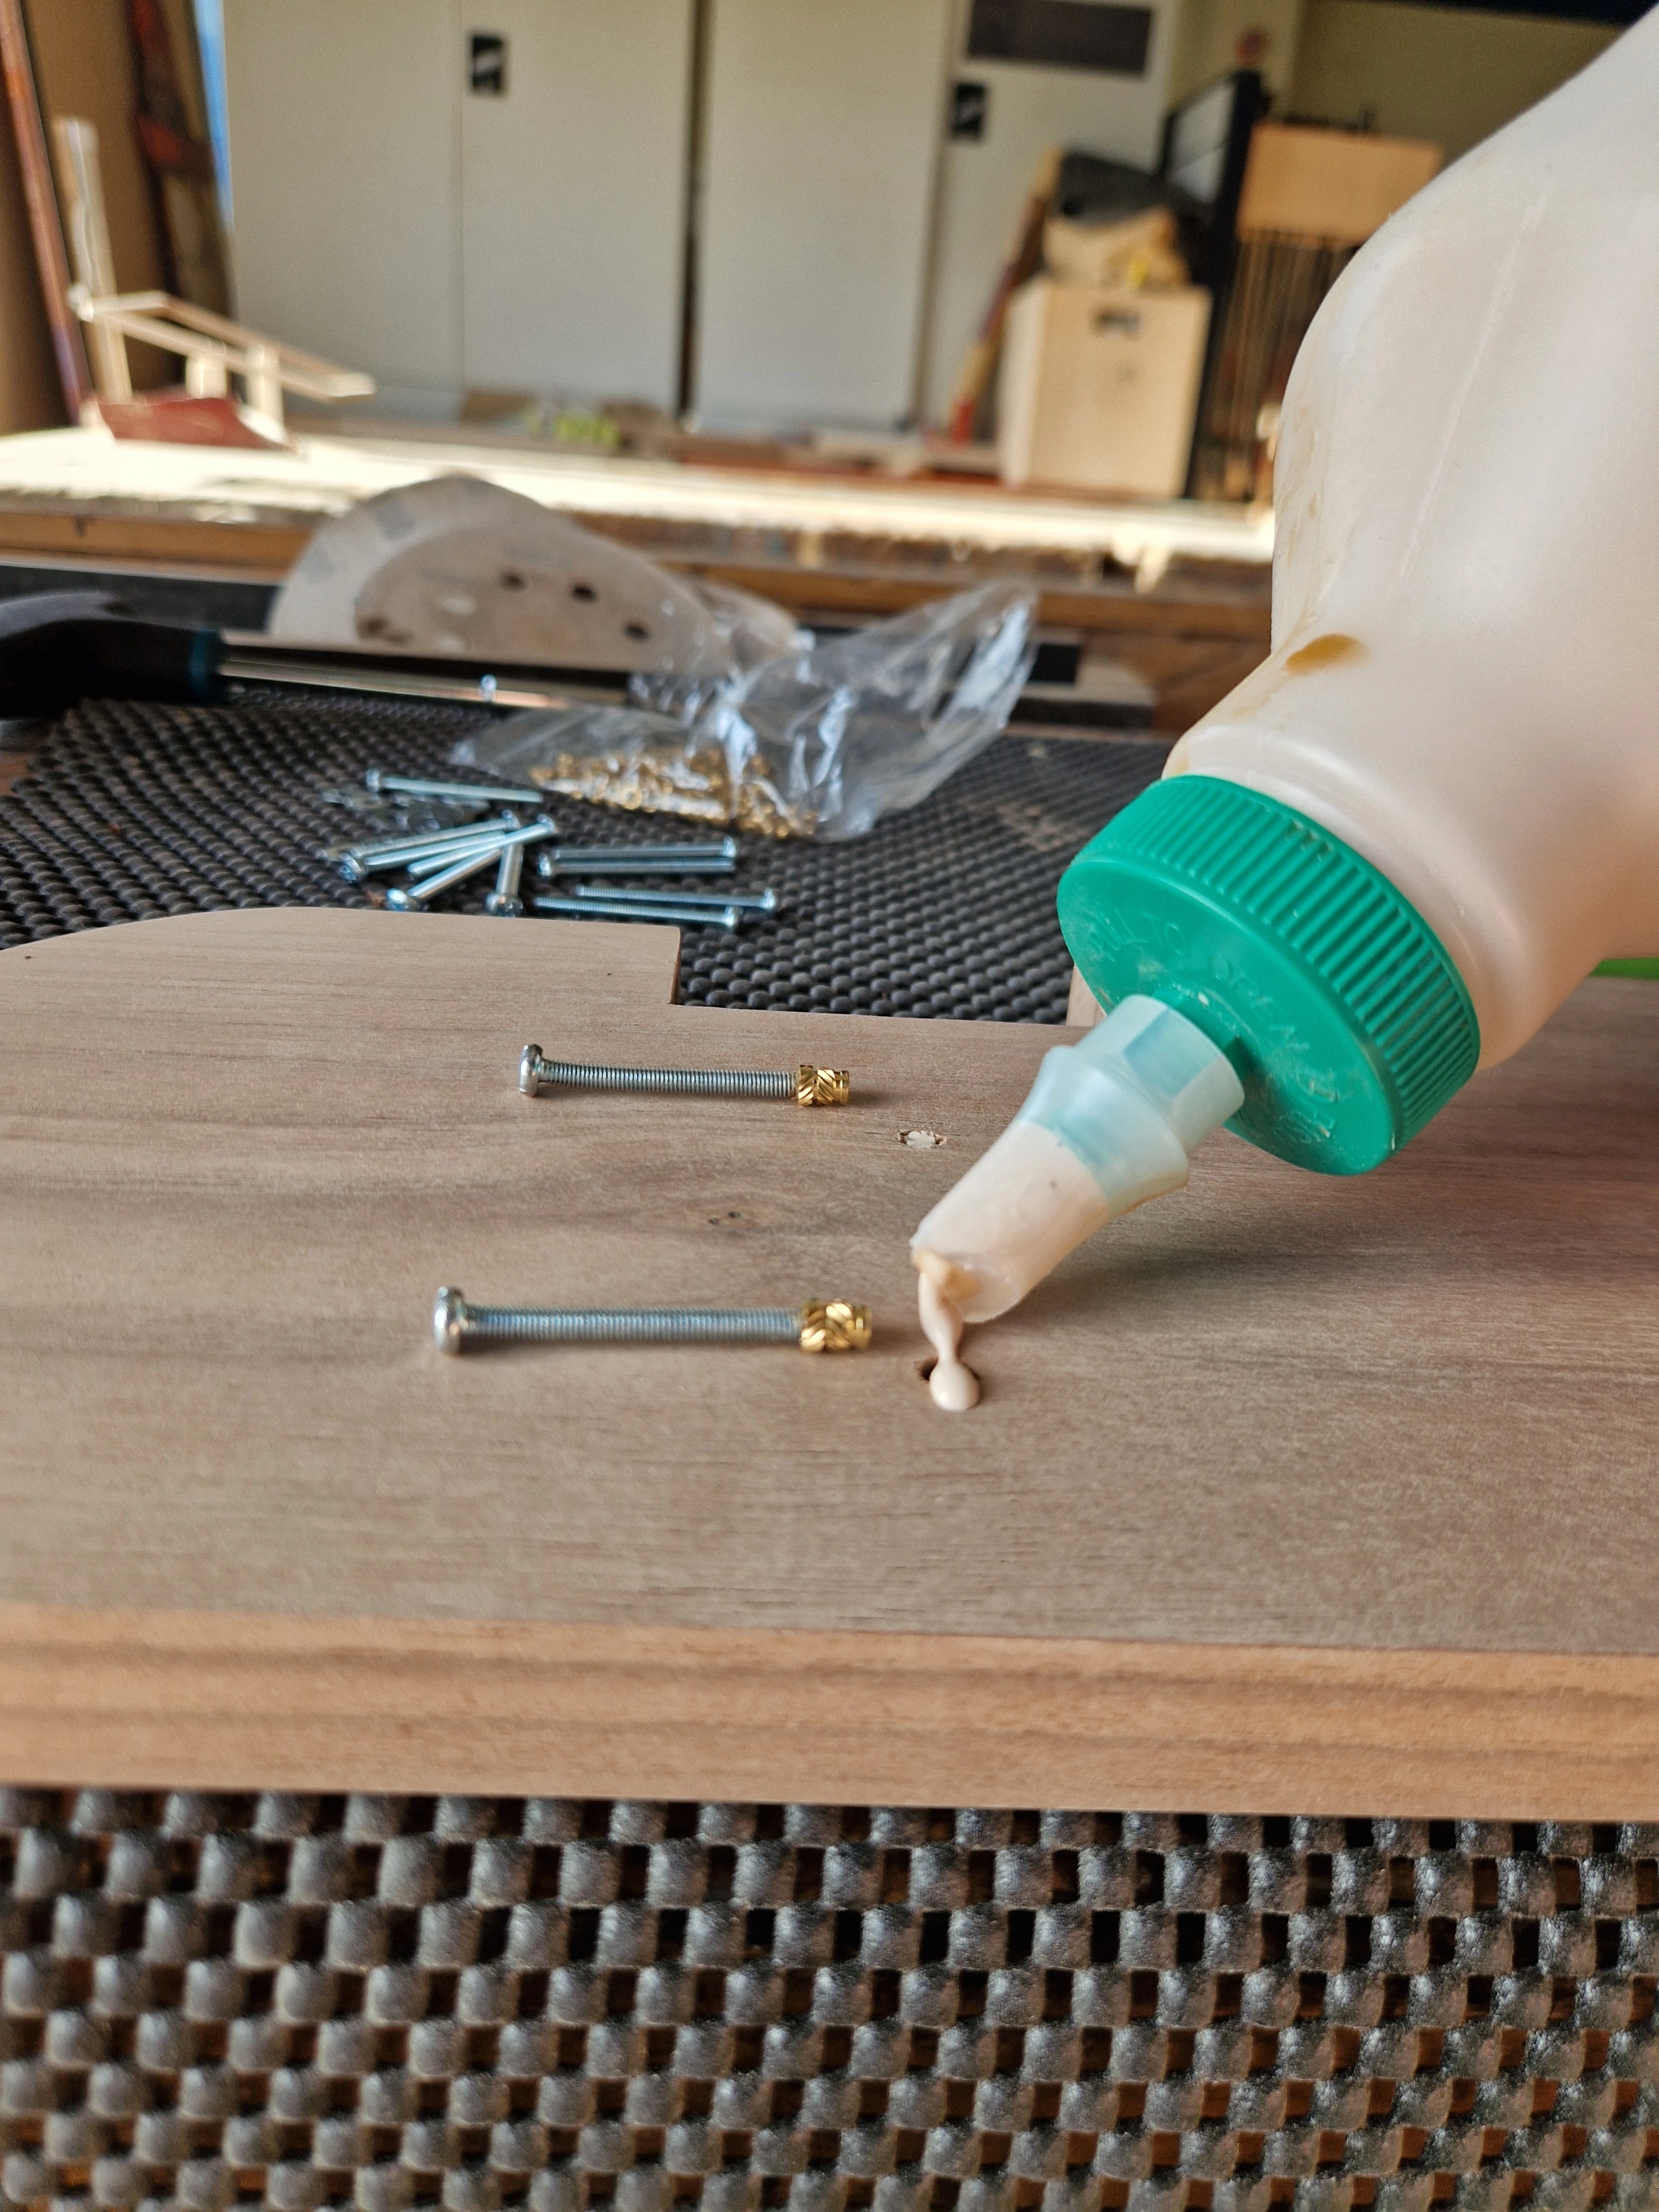
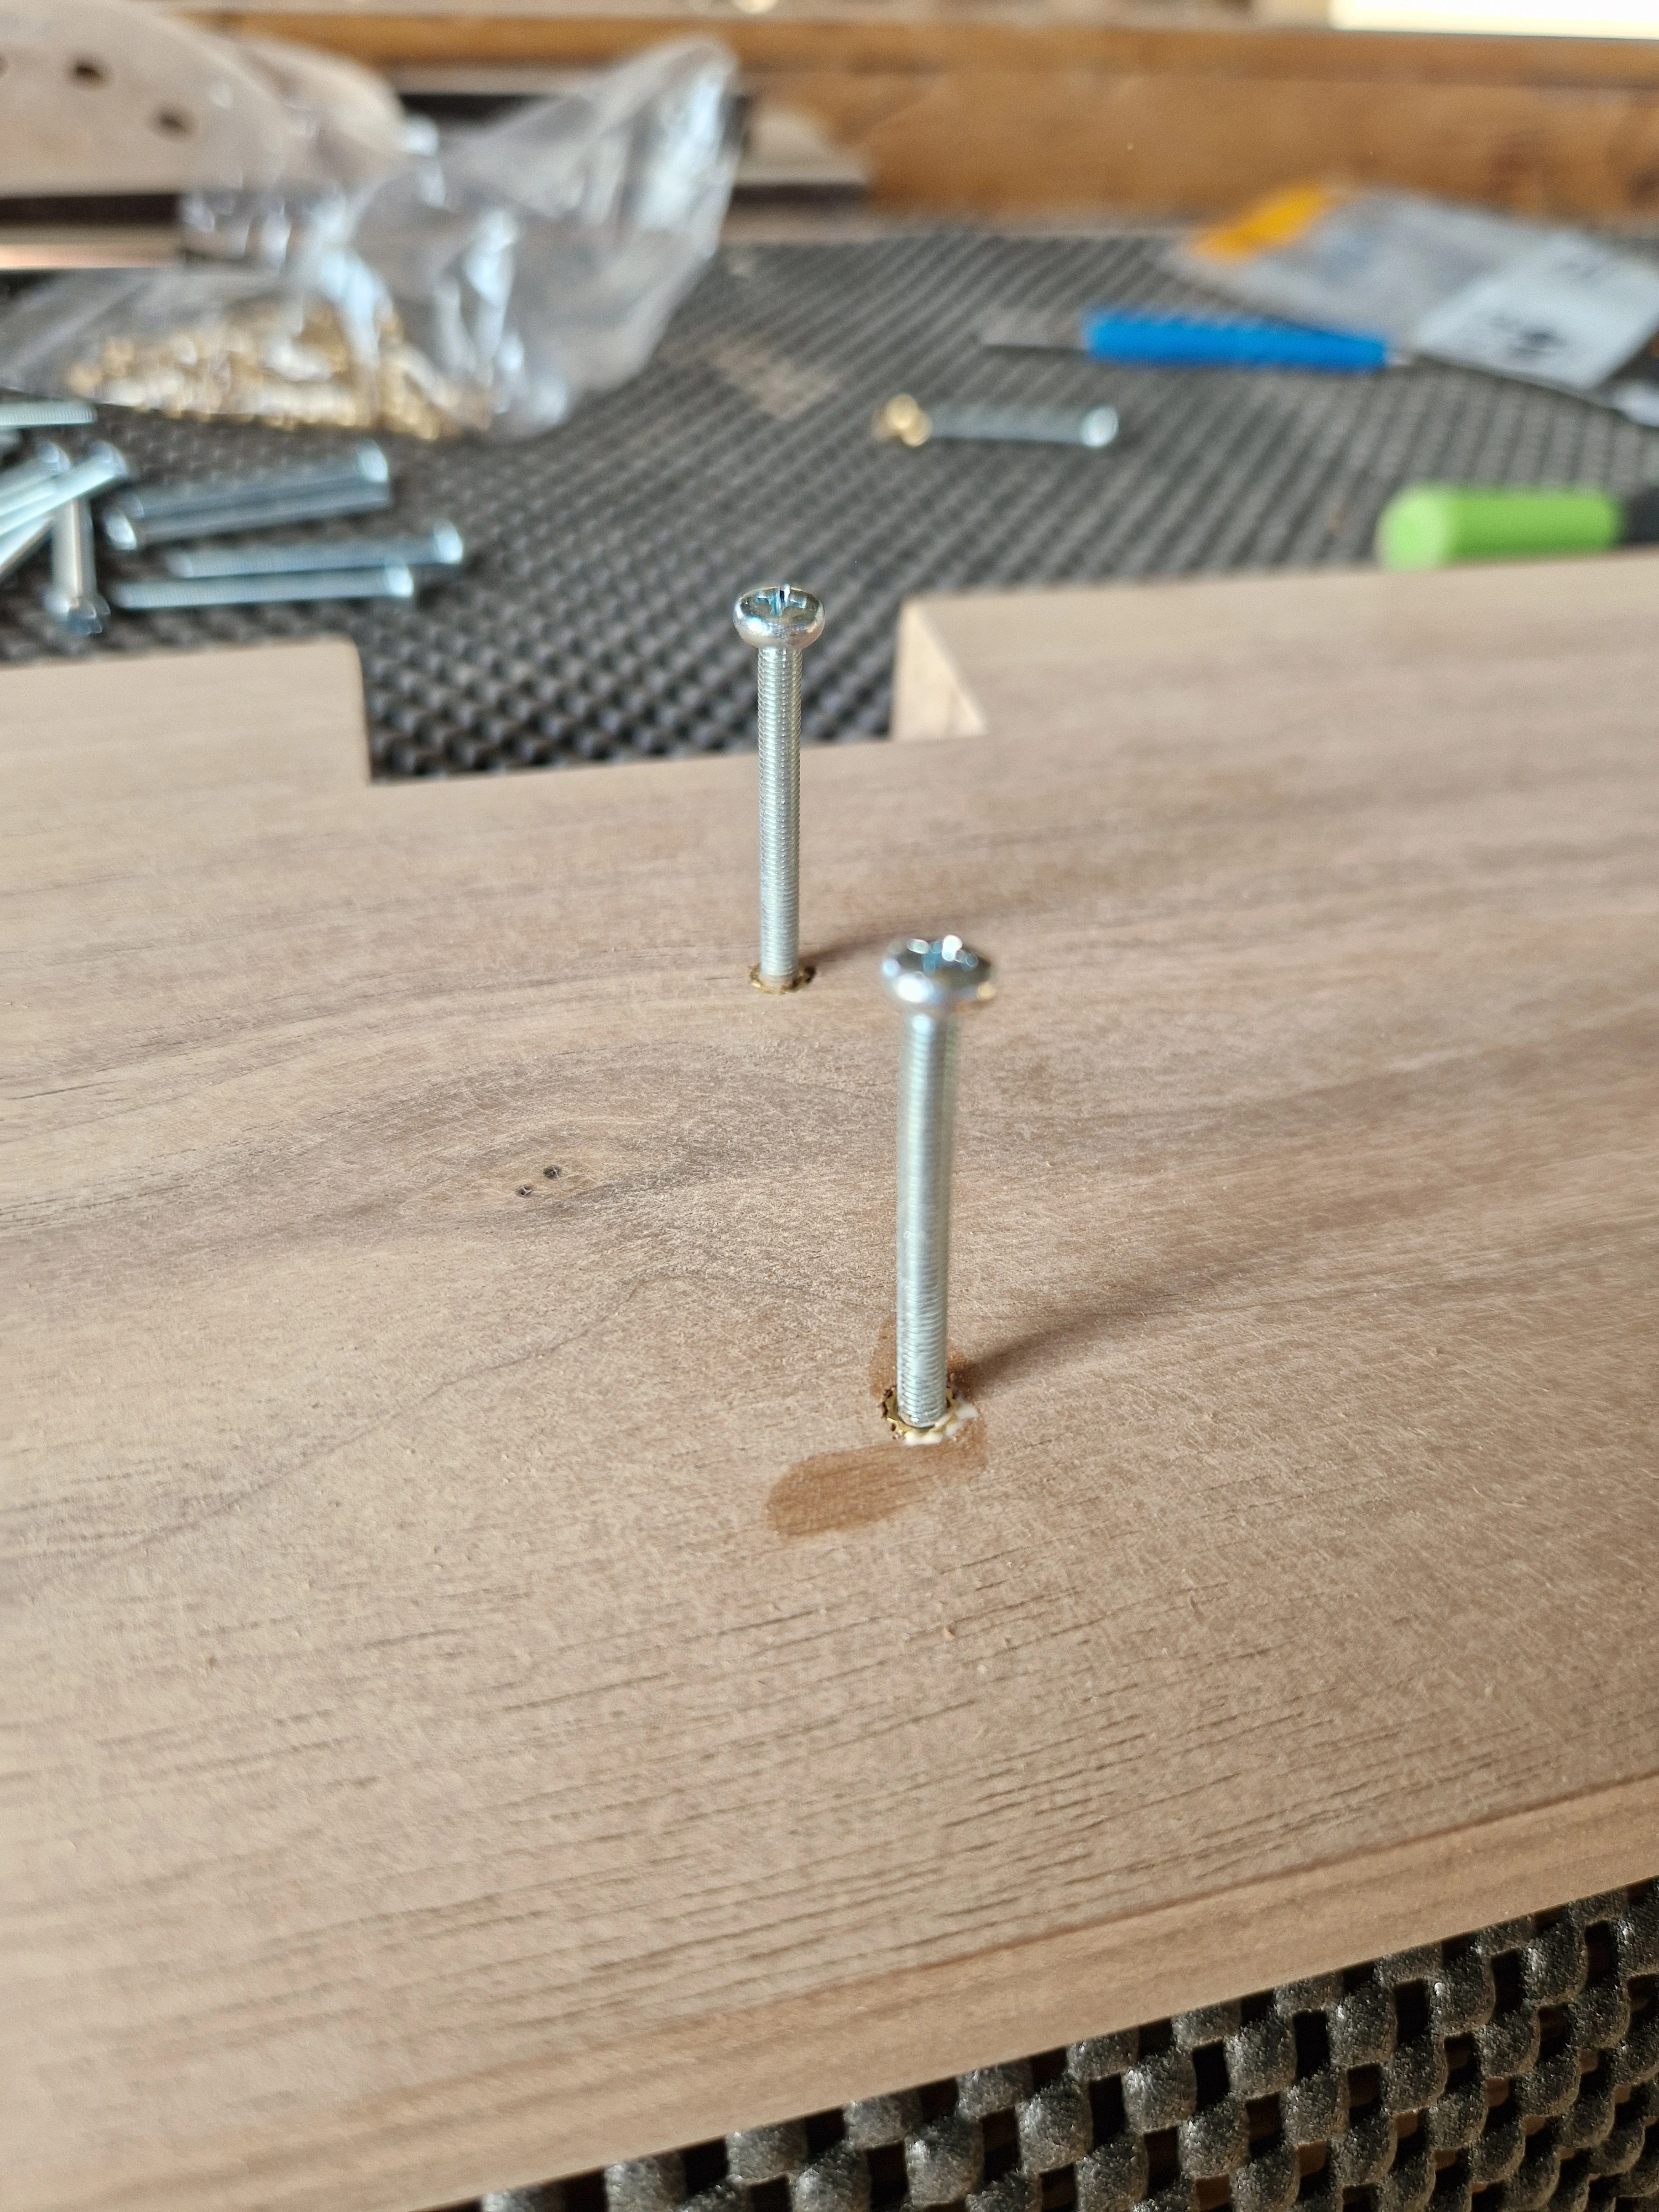
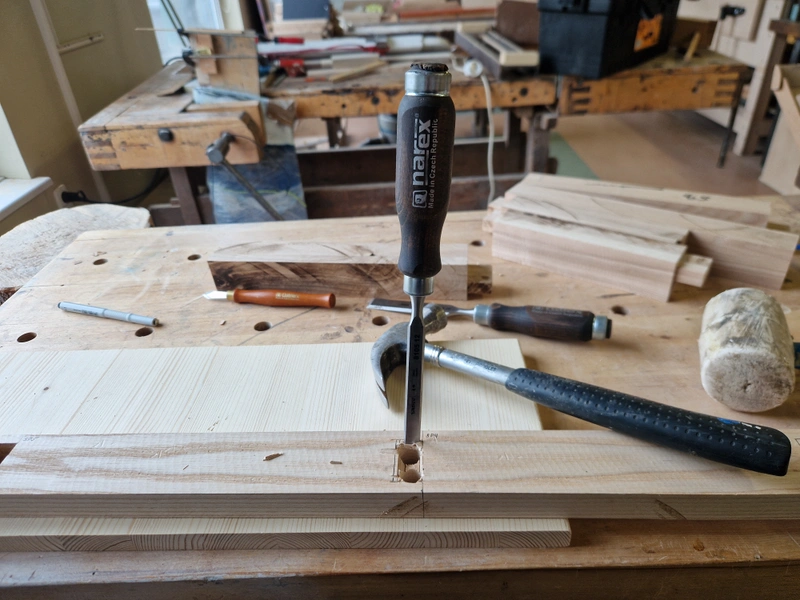
Set the shelves on the legs, clamped the project together and used a drill bit to push through the hole of the connector and mark the spot for a threaded insert on the shelf. Drilled a hole, applied wood glue, hammered in the threaded insert and let it cure. The hole is bigger than the bolt going through it, allowing the wood to expand and contract as it needs to throughout the seasons, while keeping the shelves tightly attached to the frame.


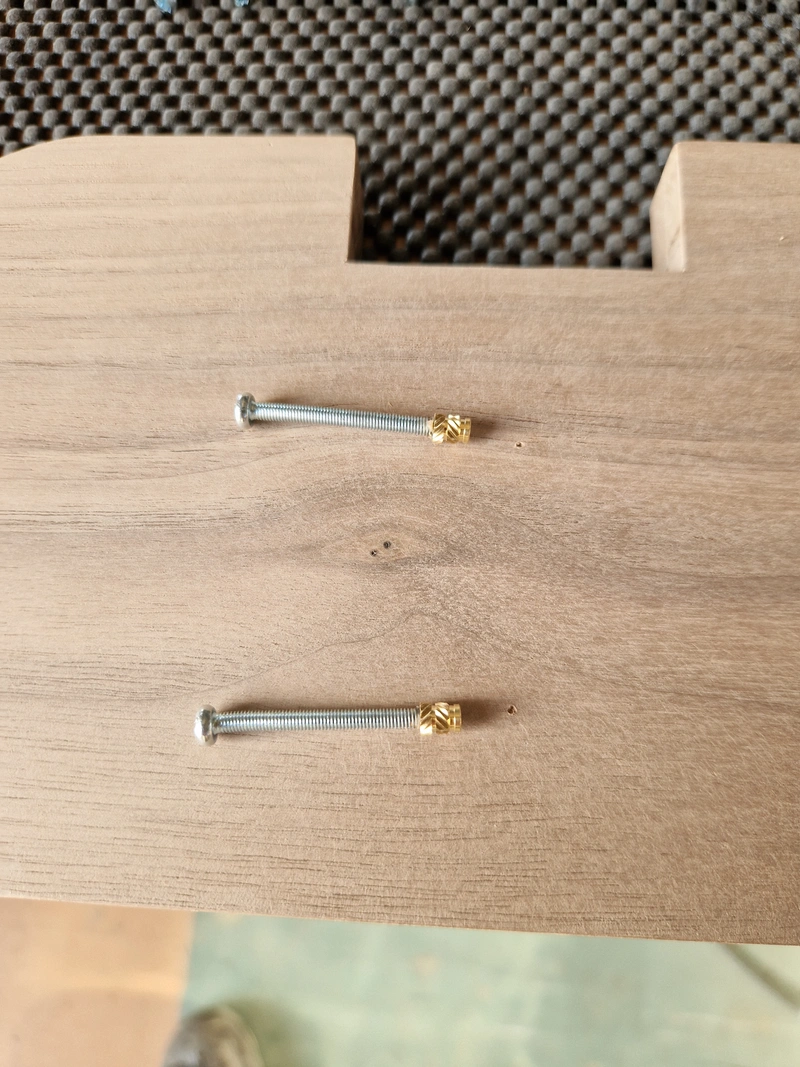


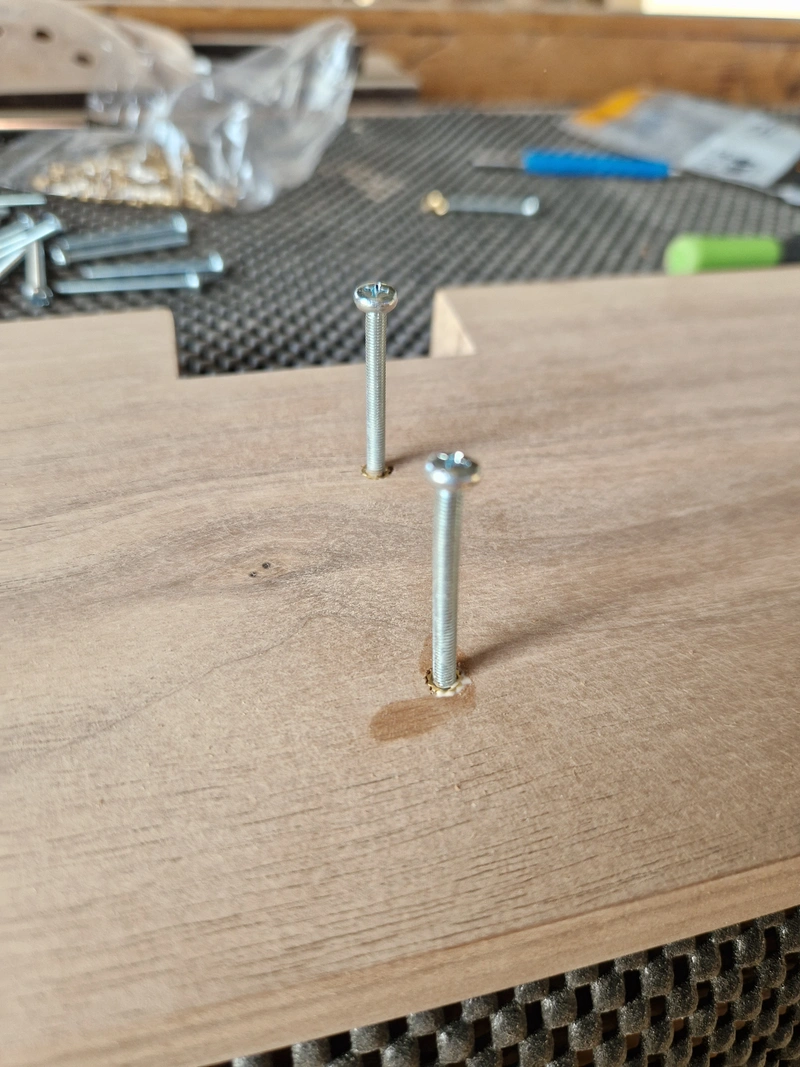
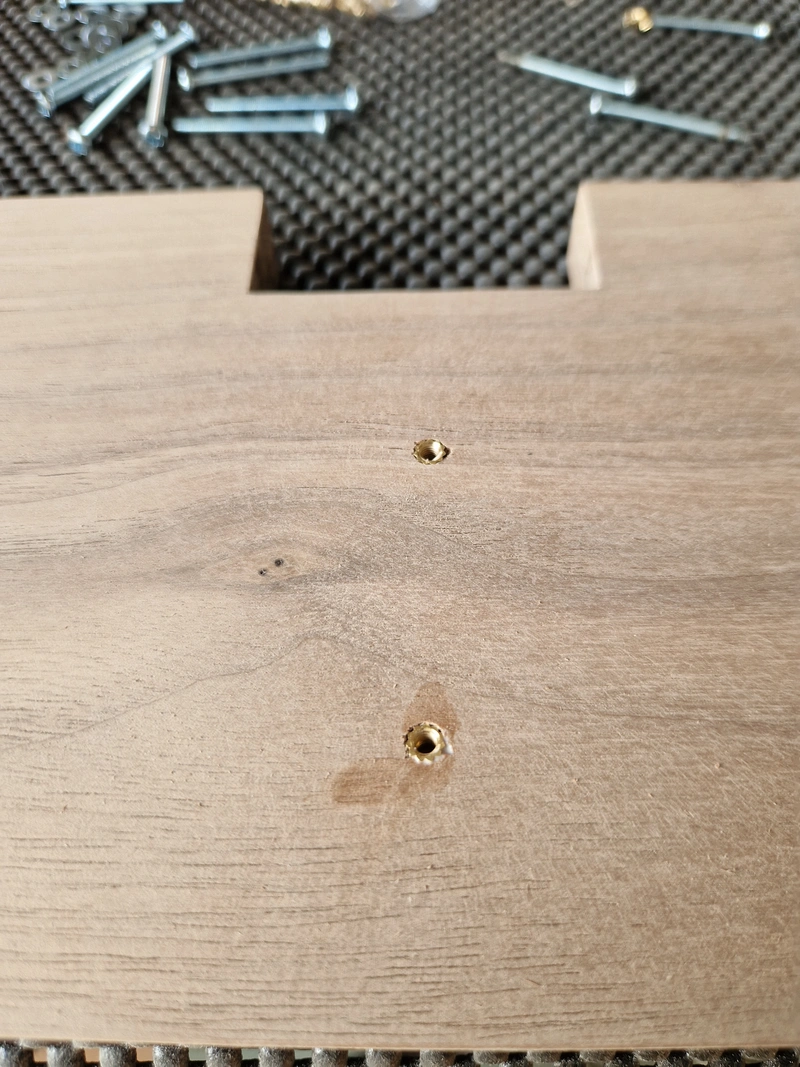

1 / 9